No ice cream maker? No problem! This ice cream in a bag recipe is the easiest way to make delicious creamy homemade ice cream (without an appliance) in just about 15 minutes! Your kids will love the process and it’s the tastiest science project they have probably ever done. Great for summer but you can do it any time of the year and it uses simple ingredients.
Looking for more fun food ideas for kids?
Would you like to save this?
Why You’ll Love Ice Cream In A Bag
It’s Easy! Just pour, seal, and shake your way to this sweet treat with no expertise needed.
It’s Fast! It only takes about 10-15 minutes to get a homemade batch of vanilla ice cream ready to eat rather than taking hours with other gadgets or methods.
It’s Delicious! You won’t believe how yummy this Ice Cream In A Bag tastes with just 3 simple ingredients (and your toppings of choice of course).
It’s Fun! Your kids won’t believe how the milk turns into ice cream right before their eyes! You can also make it a game by playing “hot potato” with the bag or jumping on the trampoline while shaking it!
How Ice Cream In A Bag Works:
While it seems like magic, it’s actually a cool science explanation behind why the ice cream ingredients get cold that fast.
The salt is actually important because when it’s added to ice it lowers the overall temperature of the ice, and as the ice melts, it pulls heat out of your ice cream mixture causing it to freeze quickly.
Shaking your bag as it freezing helps to add air into your ice cream, whipping it up into a delicious treat while you shake it around.
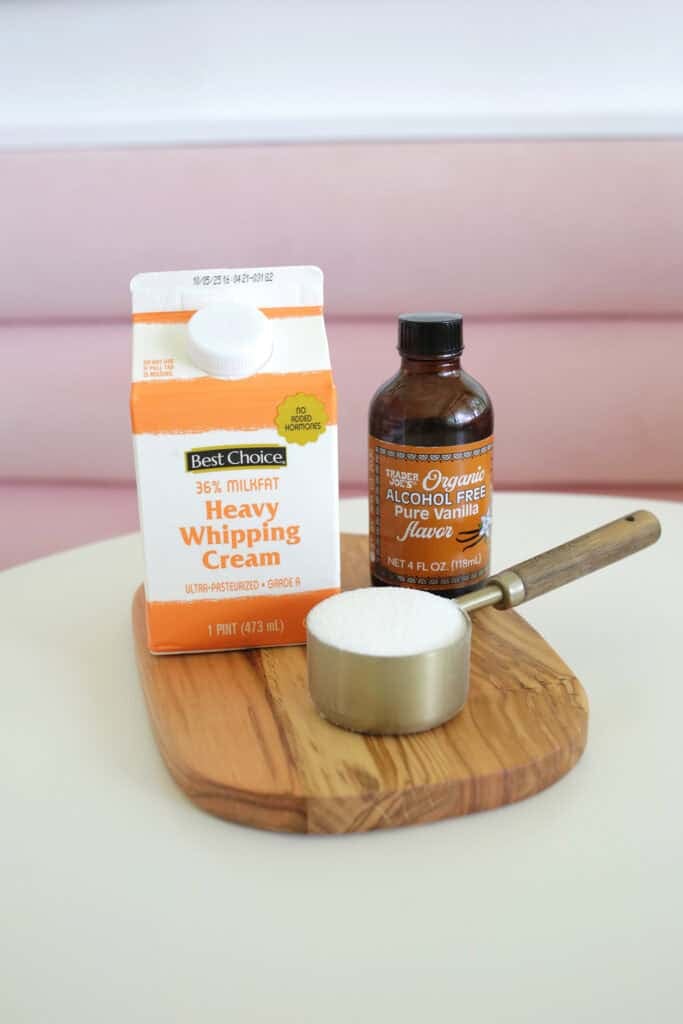
Ingredients for Ice Cream In A Bag
- Heavy cream, half-and-half, or whole milk: While these will all work for your ice cream, the heavier fat content options (like the heavy cream and half-and-half) will give you a creamier result while the whole milk will be a bit icier in its texture. You can also mix and match with doing half one option and half of another if you just have smaller quantities in your fridge.
- Sugar: Just plain granulated sugar is all you need to make your sweet treat!
- Vanilla extract: Adding a little vanilla extract gives the ice cream some fragrant vanilla notes.
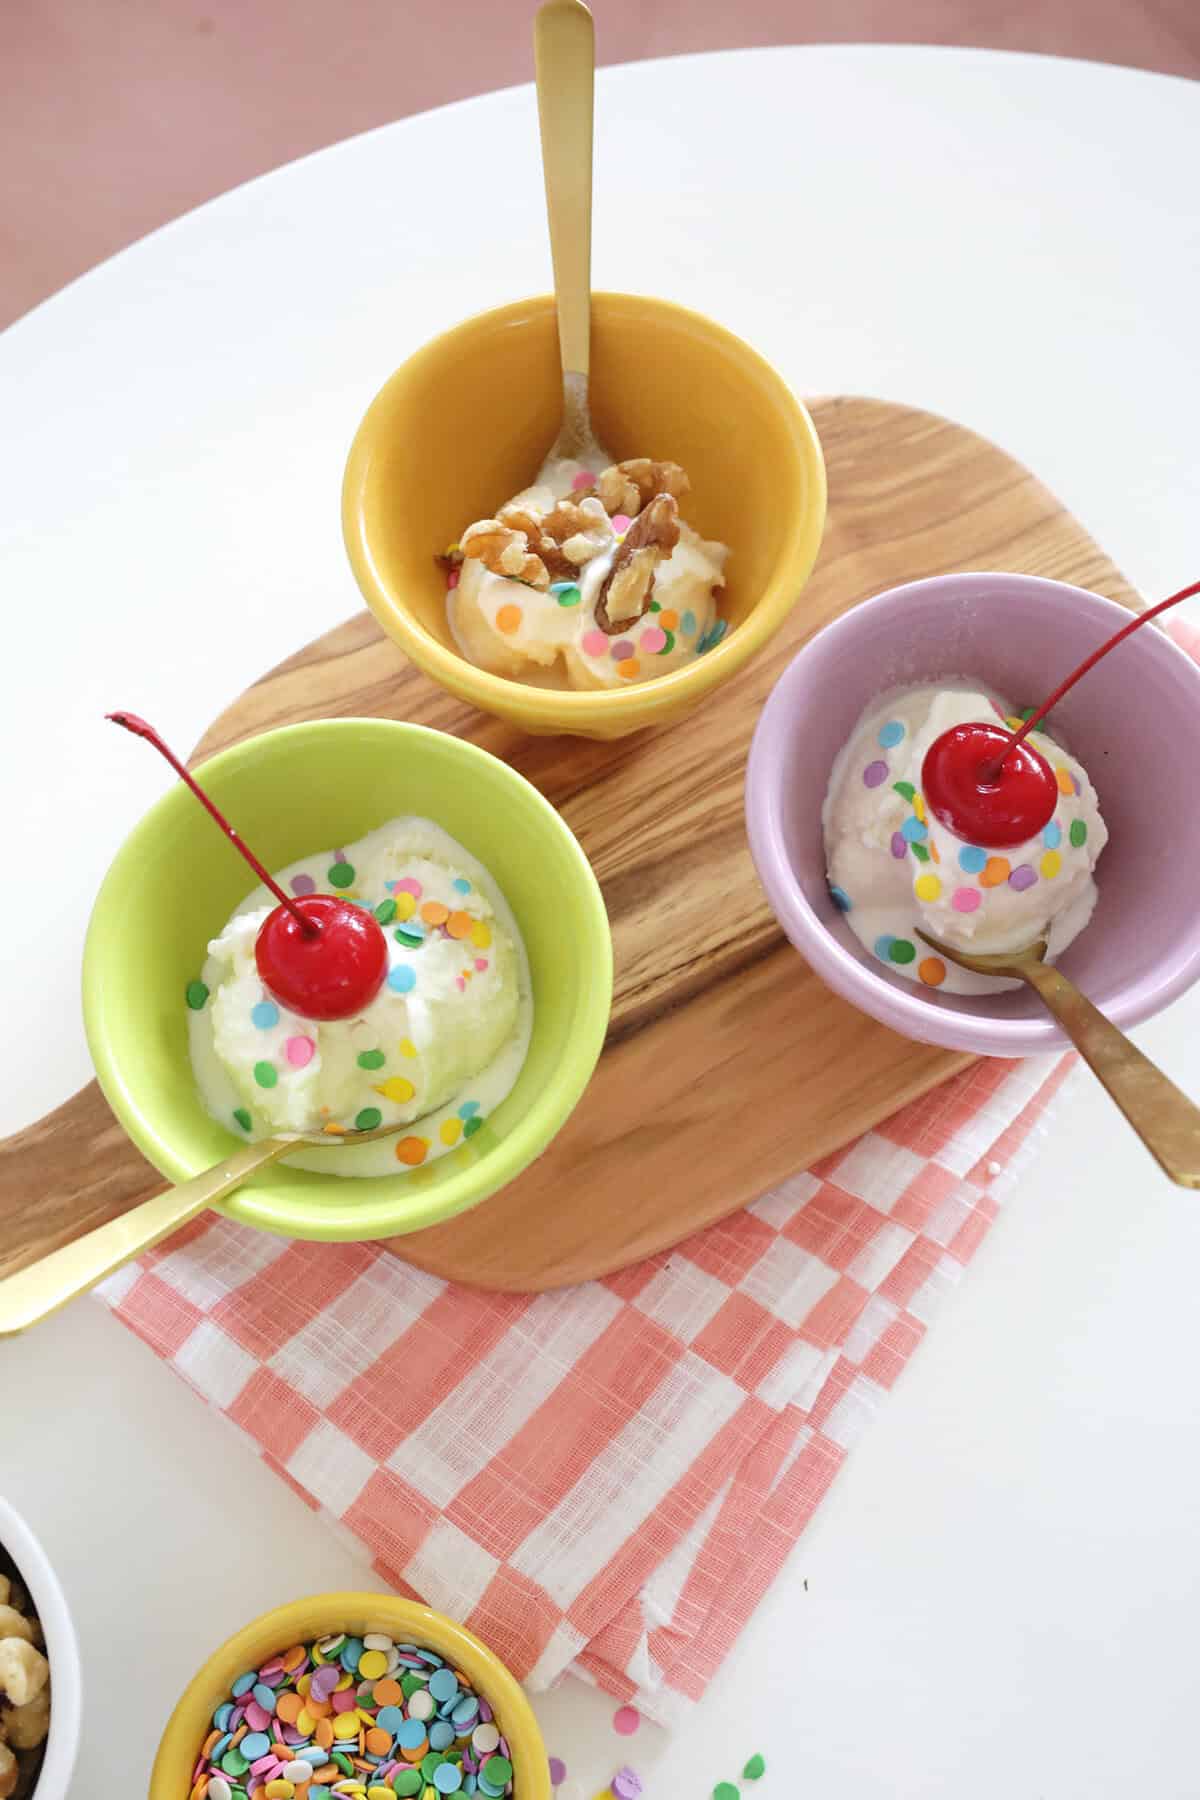
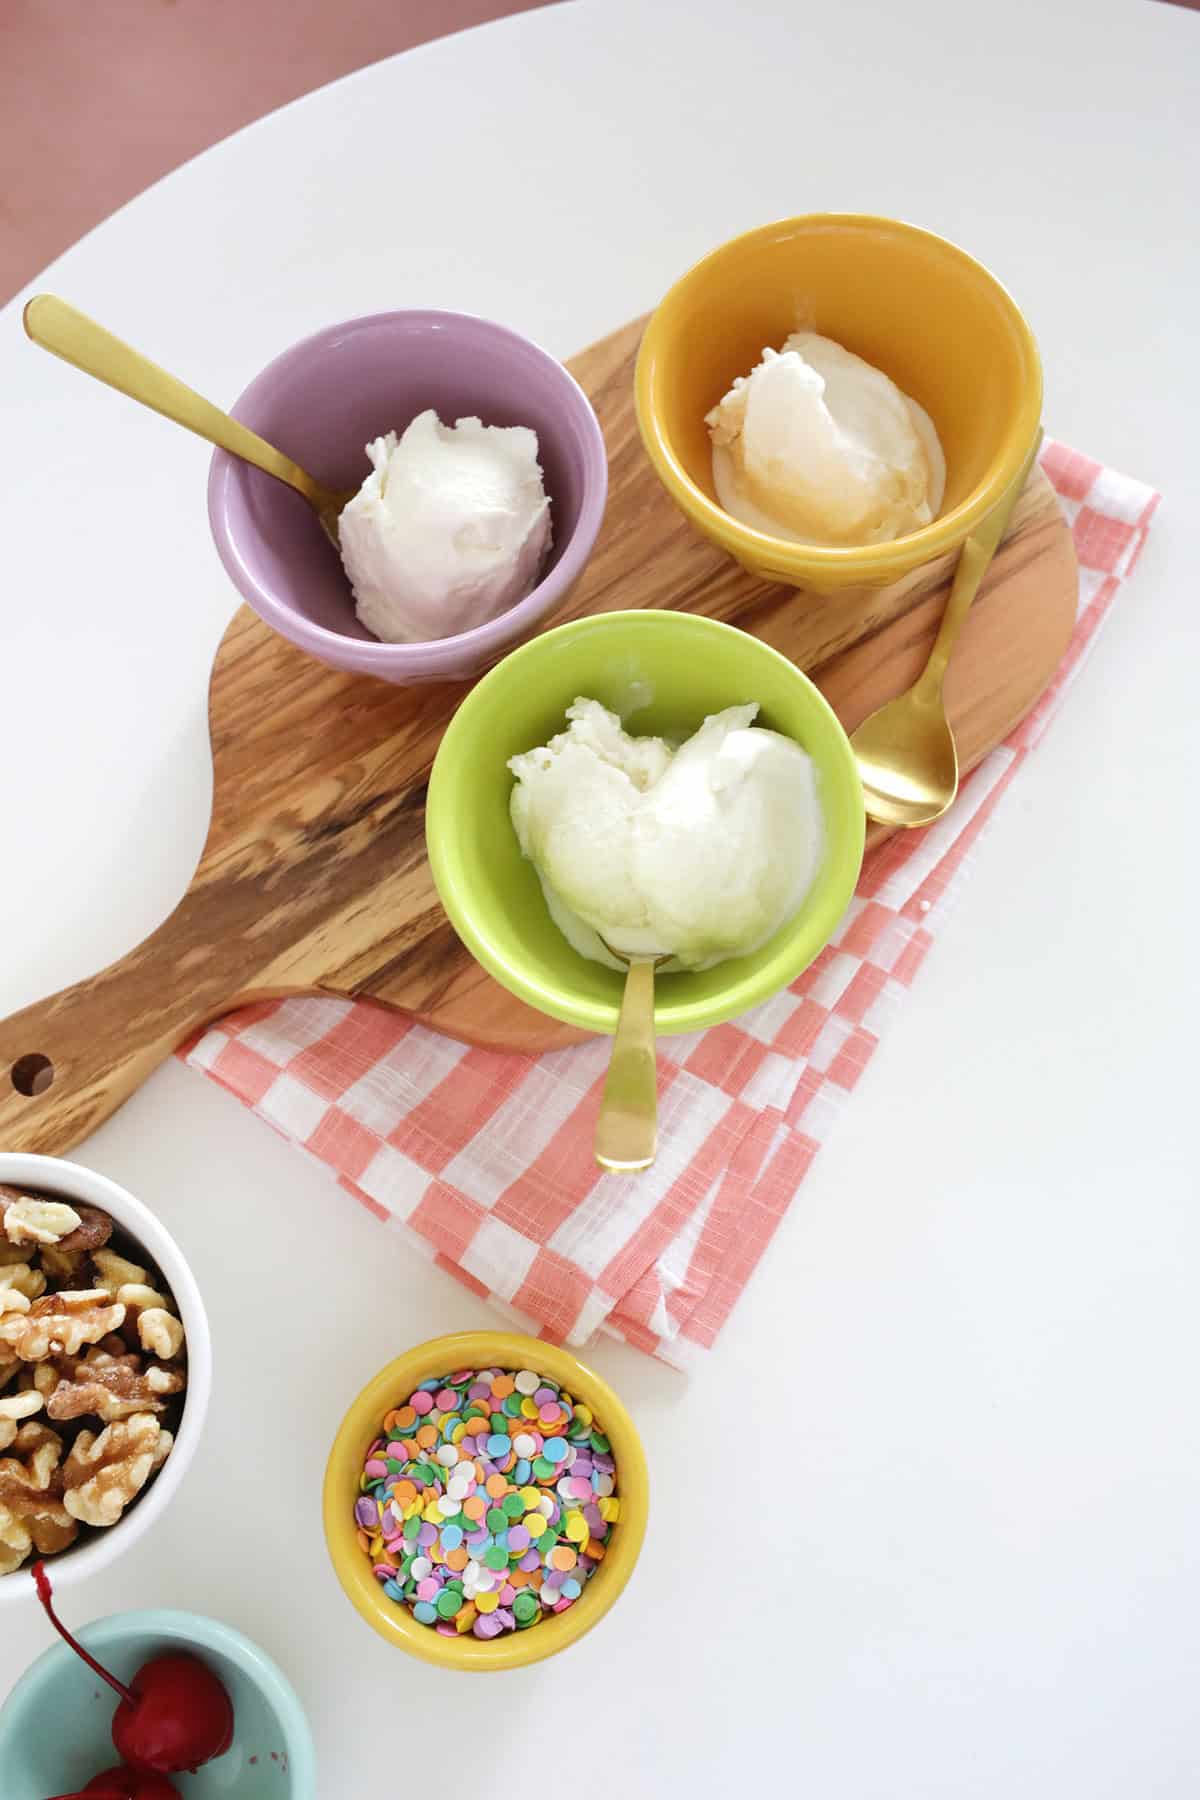
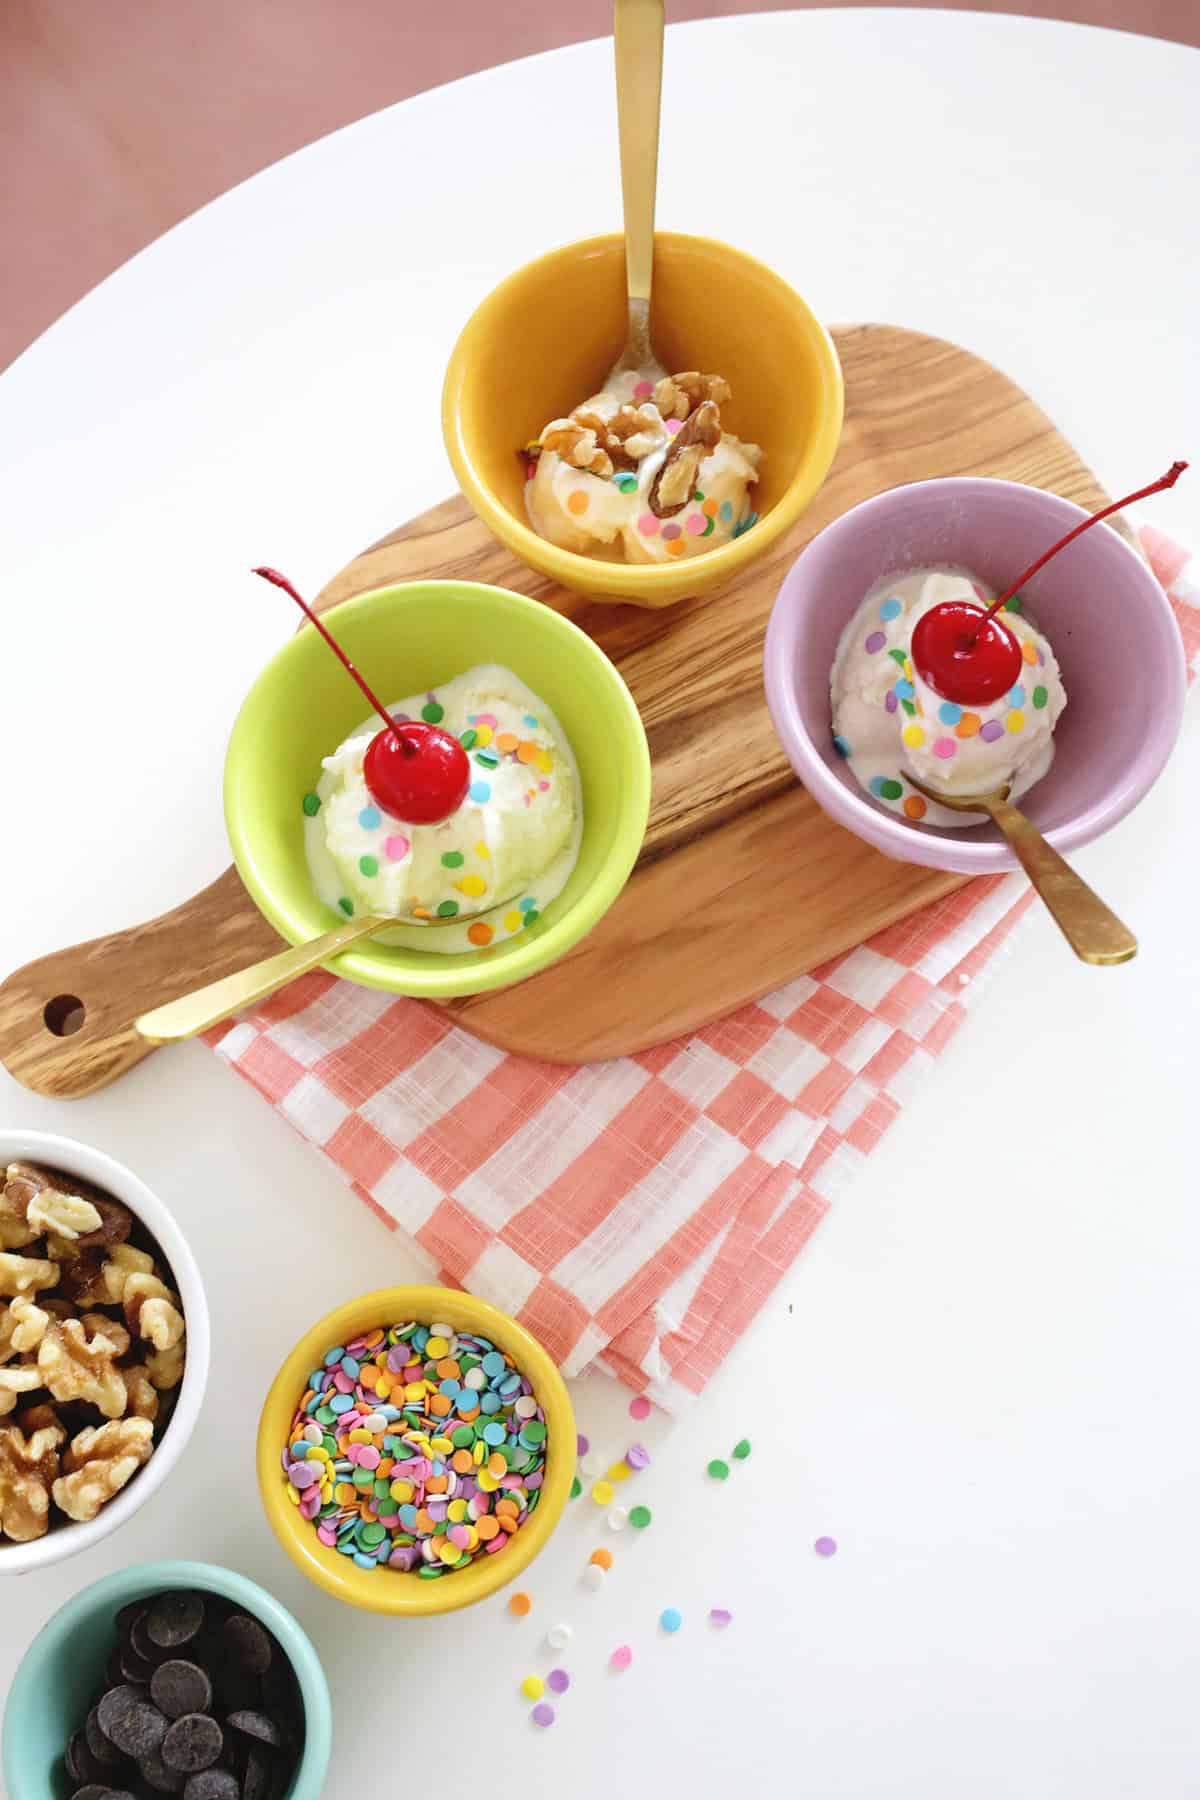
- Mix-in options: This is where you can go full ice cream sundae bar…chocolate syrup, nuts, sprinkles, whipped cream, caramel sauce, crushed candy bars or cookies-go wild!
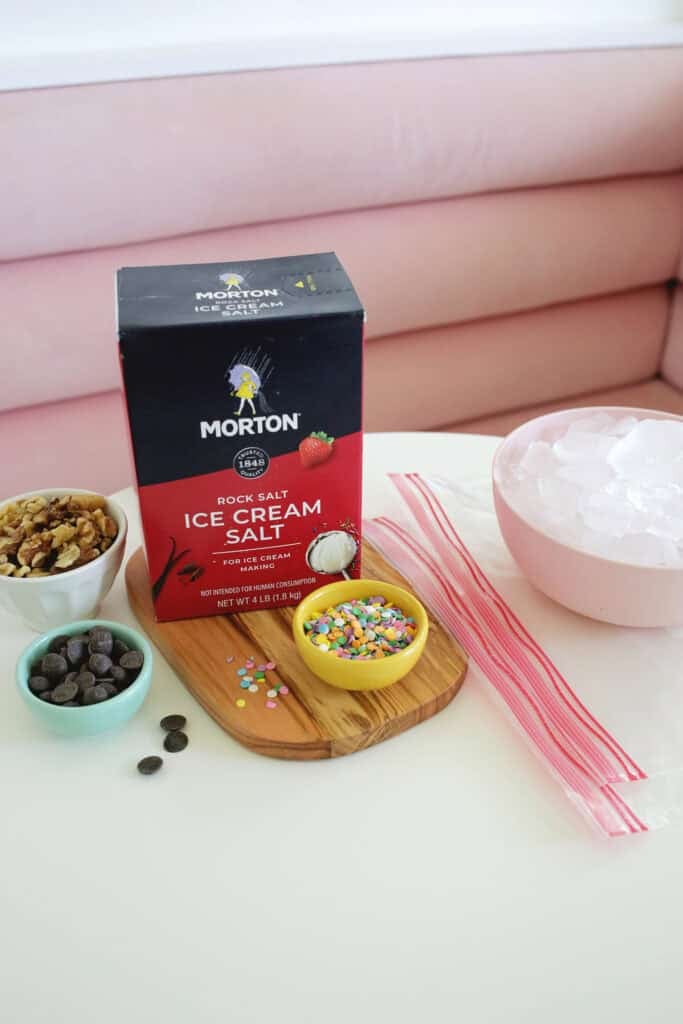
Additional supplies:
- Plastic bags: You’ll want gallon size ziplock bags for this recipe (one for the ice cream ingredients and one for the salt and ice). Some like to use a one-gallon for the ice cream and a five-gallon for the ice and salt, but both can be one-gallon bags. You really don’t want either bag to leak its contents so try to use brand name bags for this experiment.
- Salt: While you can use corse Kosher salt for this recipe, using the bigger rocks of Ice Cream Salt (also called “rock salt”) will lower the temperature the fastest if you have that in your pantry.
- Ice: Ice from your fridge will work just fine for this recipe but you’ll need 6-8 cups so feel free to buy a bag if you want to make sure you have enough to finish your ice cream.
How To Make Ice Cream In A Bag
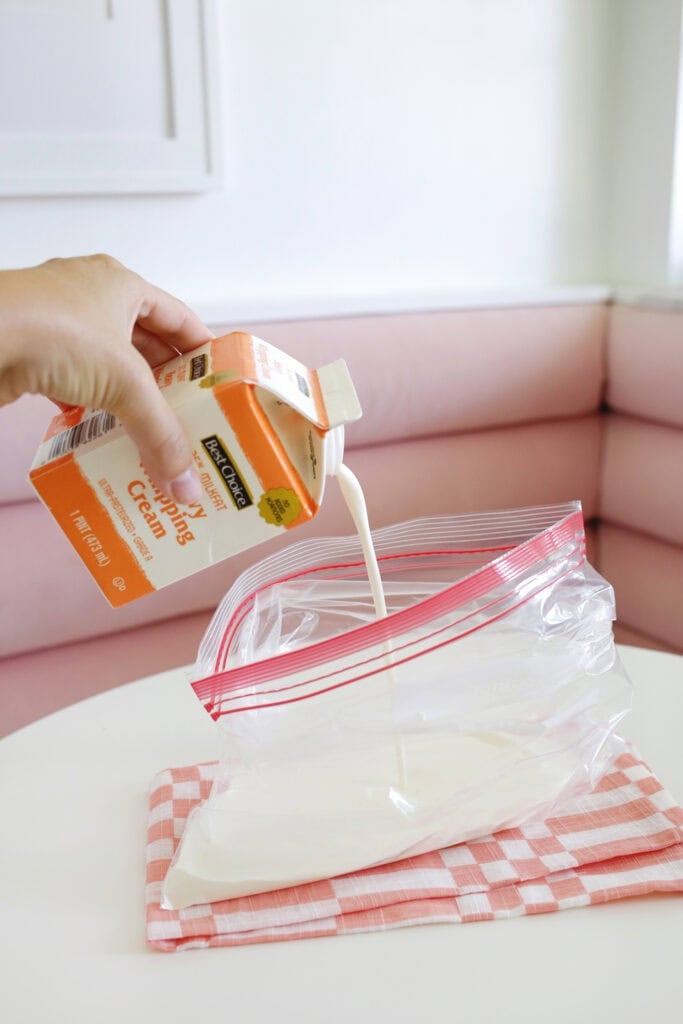
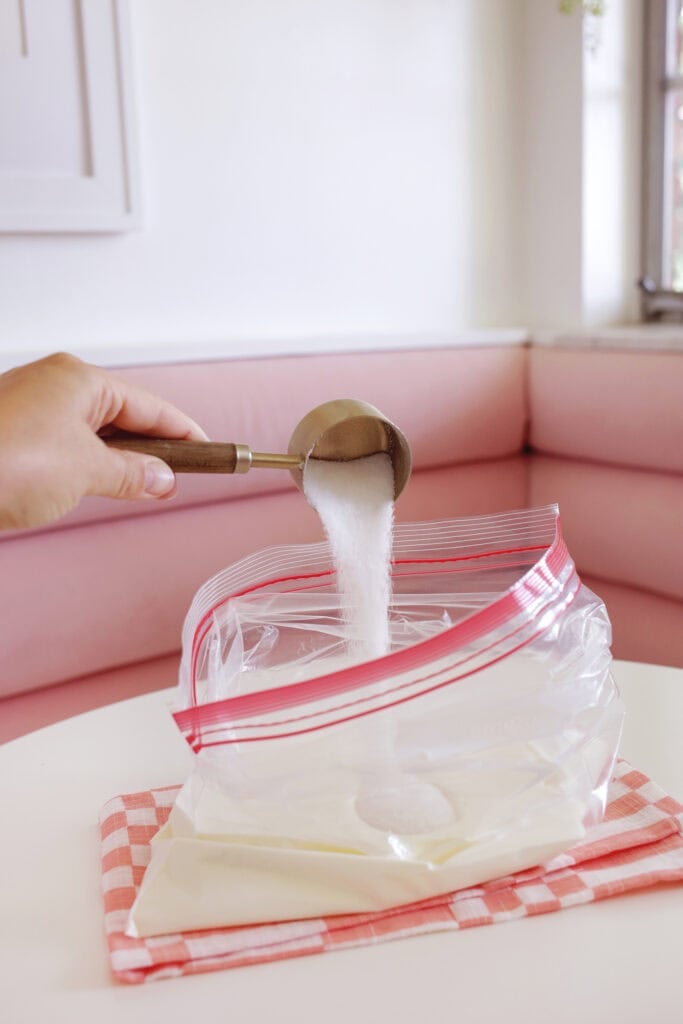
- 1. Pour Ingredients: Add your milk choice, sugar, and extract to a gallon ziplock bag. Press the extra air out of the bag before firmly sealing and squish up the mixture to dissolve the sugar granules a bit.
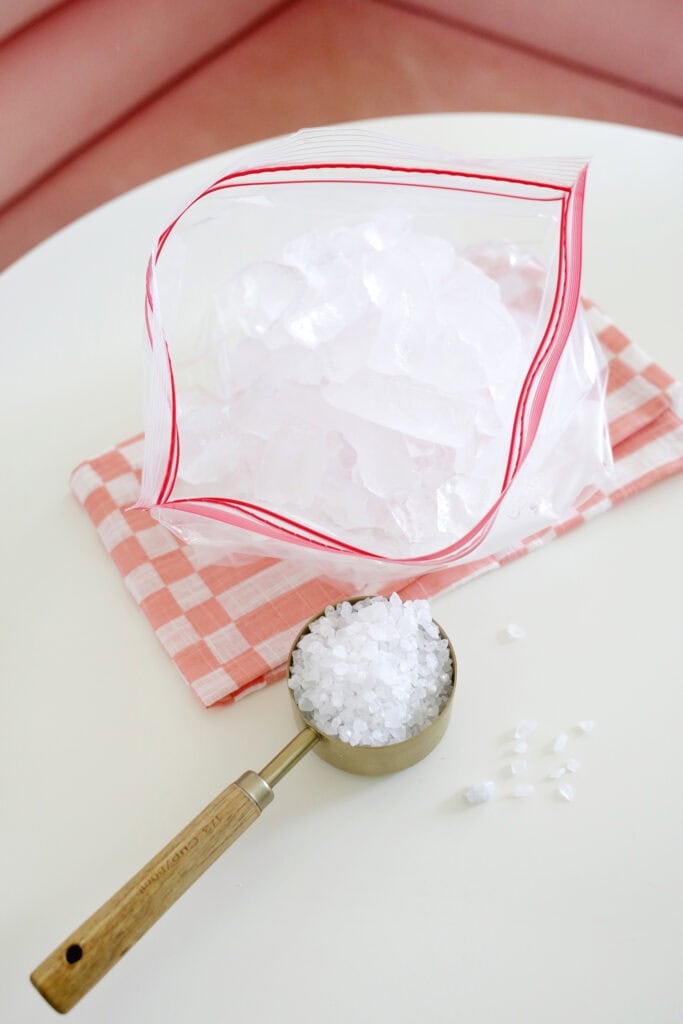
- 2. Add Ice and Salt: To another ziplock bag (don’t add it directly to your ice cream ingredients!), add your salt and ice so it’s about halfway full (you need room to add your ice cream bag).
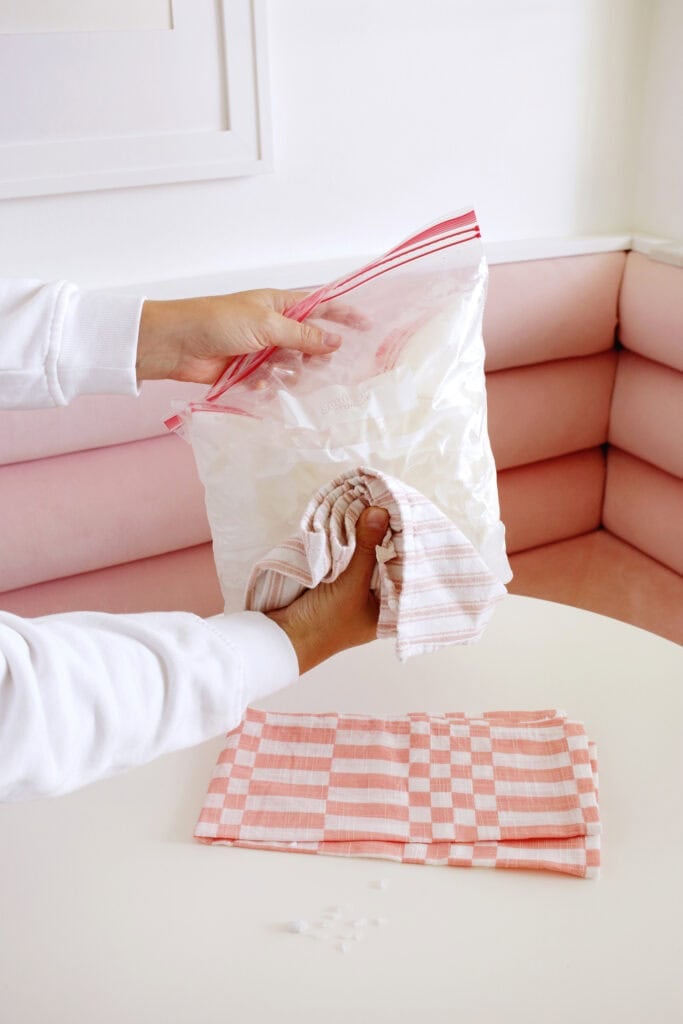
Place your sealed ice cream ingredient bag into the ice and salt bag and seal the top of the ice bag after pressing out the excess air. - 3. Shake, Shake, Shake! Shake, lightly squeeze, or massage your bag-within-a-bag for 5-10 minutes until the ice cream has become soft-serve consistency (make sure to use a kitchen towel around the bag or potholders to protect your hands from the cold).
TIP: Shaking the ice cream bag gets REALLY cold so make sure to use a kitchen towel around the bag or oven mitts to protect your hands.
T
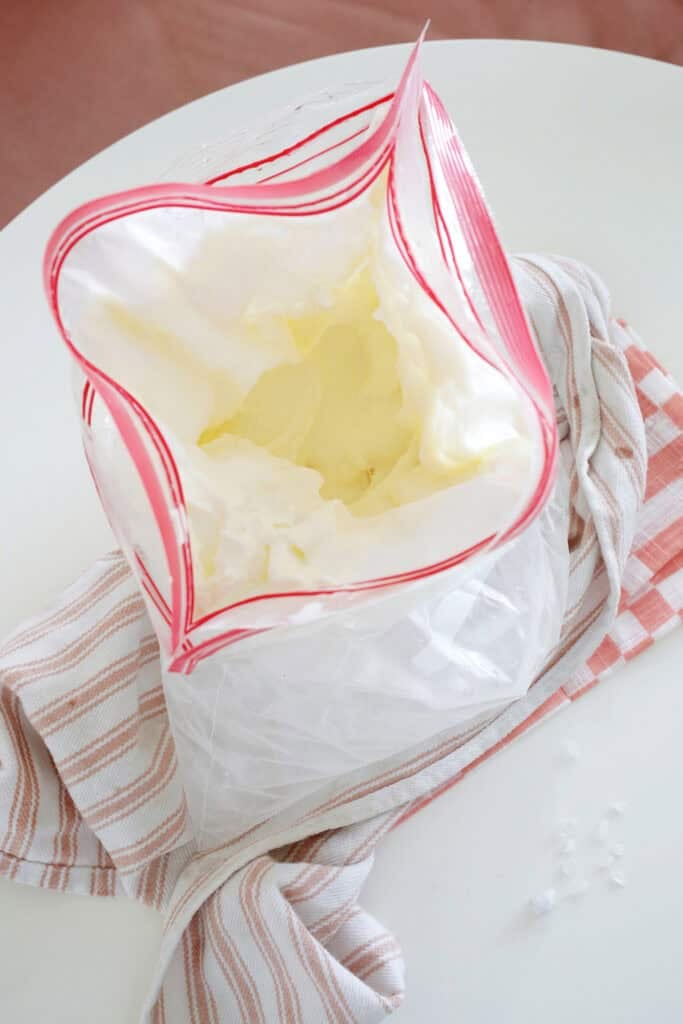
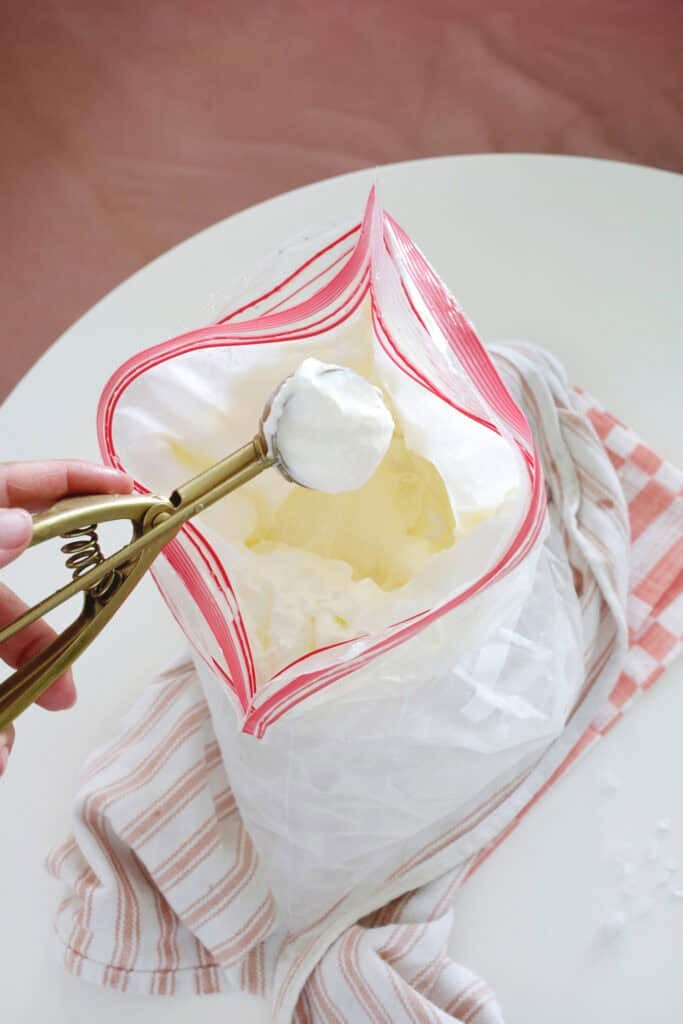
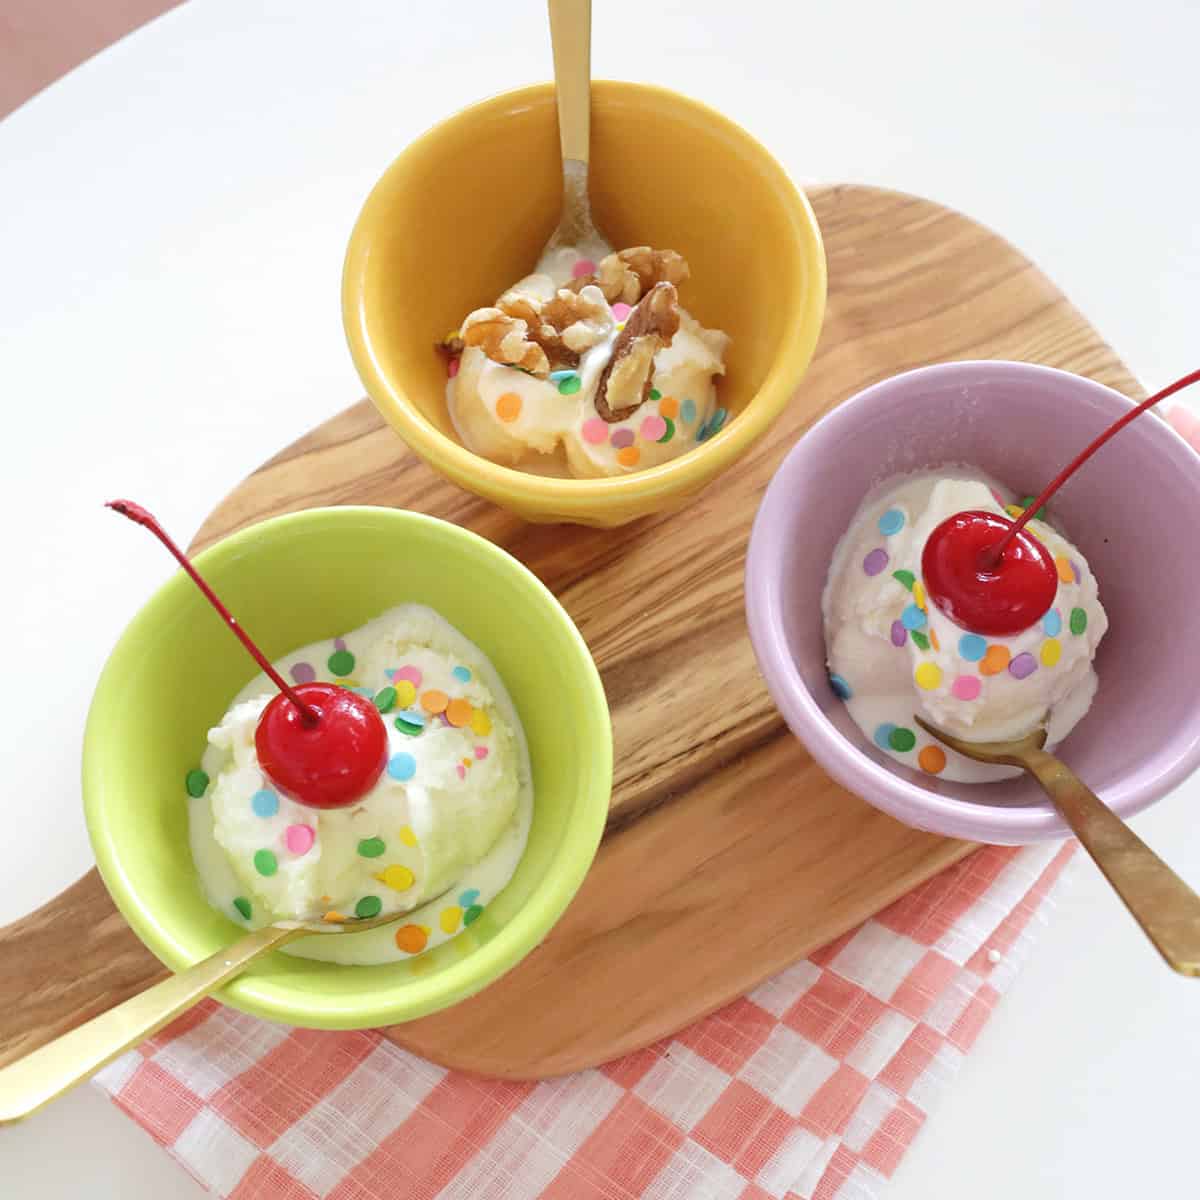
- 4. Enjoy! Once your ice cream has reached the right texture, open the bags carefully so as not to let any melted salty water get into your ice cream bag, and scoop out your ice cream into bowls or cones. Add your favorite toppings and enjoy!
TIP: For a harder consistency ice cream, add the bag to your freezer for a few hours as just shaking the bag won’t go past the consistency of soft serve ice cream.
Lightly squeezing or massaging the bag will help the ice cream solidify evenly, but be careful not to squeeze it too hard or the bag may break!
Frequently Asked Questions
Can you make a non-dairy Ice Cream In A Bag?
Yes! If you want a non-dairy version of this treat, try using coconut milk instead of dairy milk.
Tips For Making Ice Cream In A Bag:
- The more vigorously you shake the bag, the faster it gets cold!
- Using cream or milk that’s super cold right from the fridge will help the ice cream set faster.
- For more intense vanilla flavor, add a scrape of vanilla bean.
- Try adding in pureed strawberries or chocolate syrup to your ice cream base for strawberry or chocolate ice cream!
How To Store Ice Cream In A Bag
Ice cream in a bag will taste the most fresh in the first 1-2 days but can be stored in the freezer for up to 4-5 days. It will start to develop ice crystals after that which can effect the texture and taste.
You can store it in the bag directly in the freezer, or you can transfer it to a freezer safe sealable container. Let the ice cream sit out for a few minutes to soften before scooping if too solid.
Get creative ideas for recipes, crafts, decor, and more in your inbox!
 Get the Recipe

Ingredients
- 2 cups milk or cream
- ¼ cup sugar
- 1 tsp vanilla
- 6 cups ice
- ½ cup rock salt
Equipment
Instructions
- Pour Ingredients: Add your milk choice, sugar, and extract to a gallon ziplock bag. Press the extra air out of the bag before firmly sealing and squish up the mixture to dissolve the sugar granules a bit.
- Add Ice and Salt: To another ziplock bag (don't add it directly to your ice cream ingredients!), add your salt and ice so it's about halfway full (you need room to add your ice cream bag).
- Place your sealed ice cream ingredient bag into the ice and salt bag and seal the top of the ice bag after pressing out the excess air.
- Shake, Shake, Shake! Shake, lightly squeeze, or massage your bag-within-a-bag for 5-10 minutes until the ice cream has become soft-serve consistency (make sure to use a kitchen towel around the bag or potholders to protect your hands from the cold).
- Enjoy! Once your ice cream has reached the right texture, open the bags carefully so as not to let any melted salty water get into your ice cream bag, and scoop out your ice cream into bowls or cones. Add your favorite toppings and enjoy!
- TIP: For a harder consistency ice cream, add the bag to your freezer for a few hours as just shaking the bag won't go past the consistency of soft serve ice cream.
- You can store it in the bag directly in the freezer, or you can transfer it to a freezer safe sealable container. Let the ice cream sit out for a few minutes to soften before scooping if too solid.