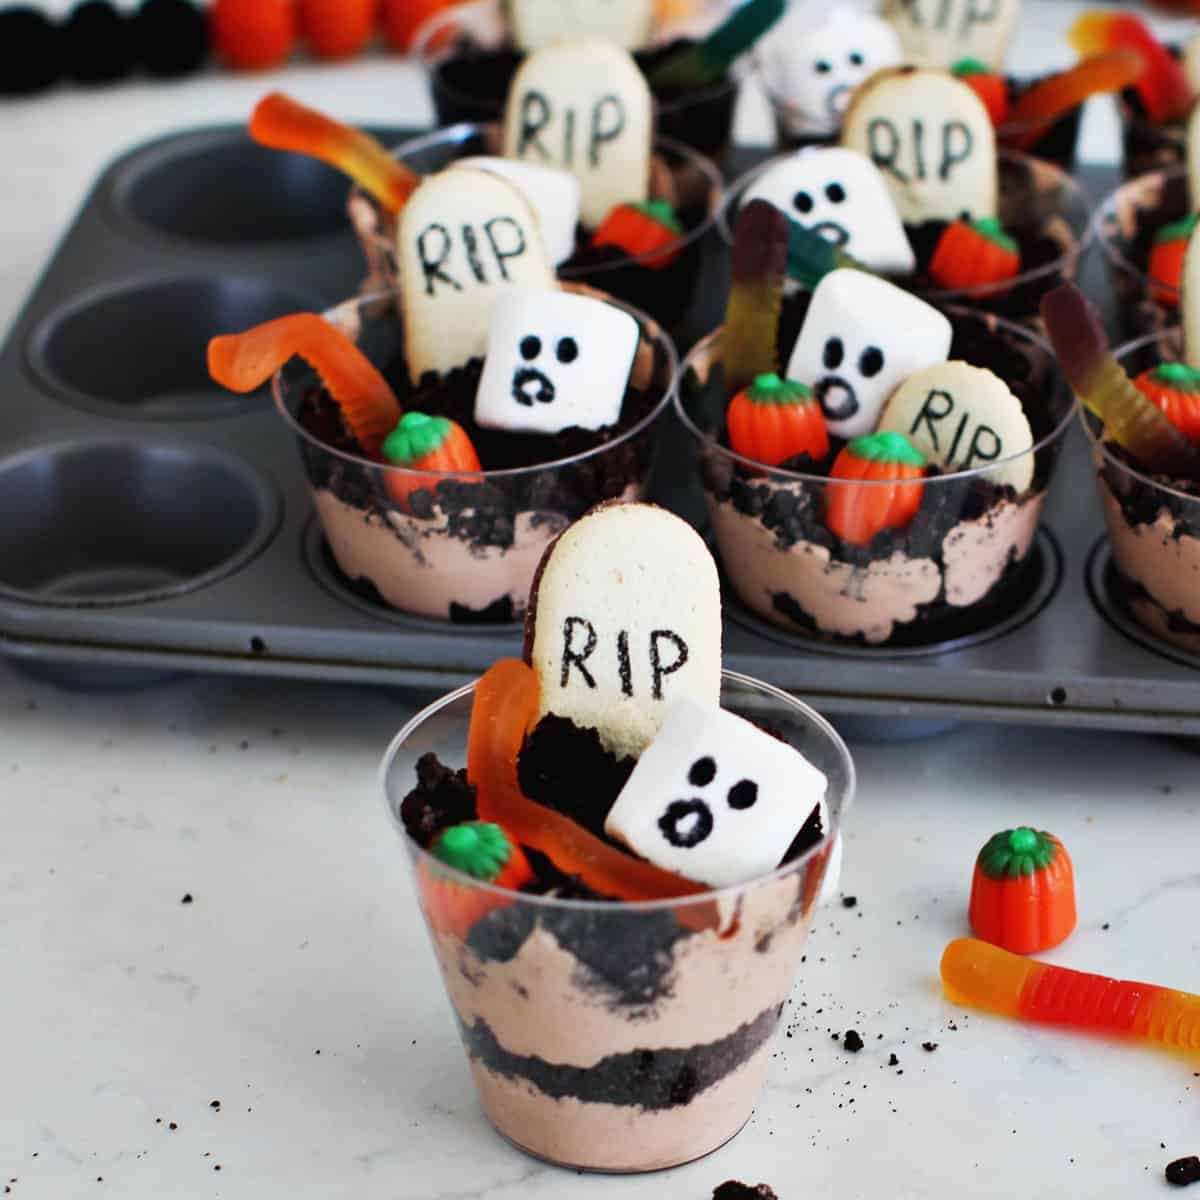
The classic no bake Dirt Cup recipe is a crowd favorite- especially with kids! They get to feel like they’re playing in the dirt or mud while enjoying a fun chocolaty treat with hidden worms! This graveyard pudding twist makes these Halloween dirt cups the perfect addition for the spooky season. Serve them with a peanut butter spider cookie and you’ll be party ready!
This recipe is quick to pull together, makes 10 individual dessert cups and can be a lot of fun to customize. You only need about a half hour to make these for any classroom party or Halloween get together. Wanting to make more? Check out our sand pudding cups or Easter dirt cups for a fun take on this recipe!
Ingredients
- Chocolate Instant Pudding (I used the family size)
- Chilled Milk (I used whole milk)
- Cool Whip– 8oz container
- 33 Crushed Oreos– I used one full package of the classic oreos, they seem to crush up the best.
- Toppings: Gummy worms, candy pumpkins, marshmallow ghosts with faces, (edible food pen) and milano cookies
Supplies
- Mixing Bowl
- Wooden spoon
- Measuring utensils
- Rolling Pin and Ziploc gallon bag- or food processor
- Plastic Cups
- Edible food pen if drawing faces on ghosts!
- Muffin Tin- this is my pro tip and the easiest way to transfer these from the fridge to serving!

How to Make Halloween Dirt Cups
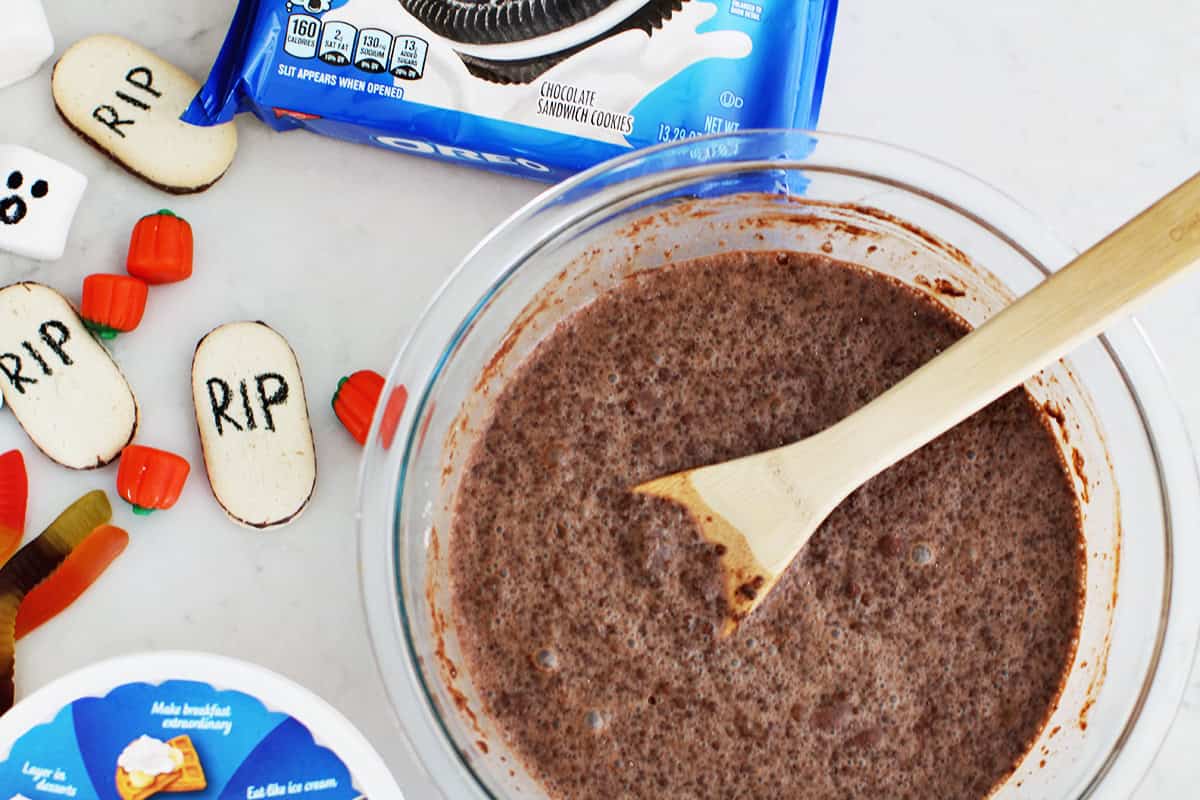
Start by combining your instant pudding mixture with your chilled milk in a bowl. Let sit for 4-5 minutes then stir again.
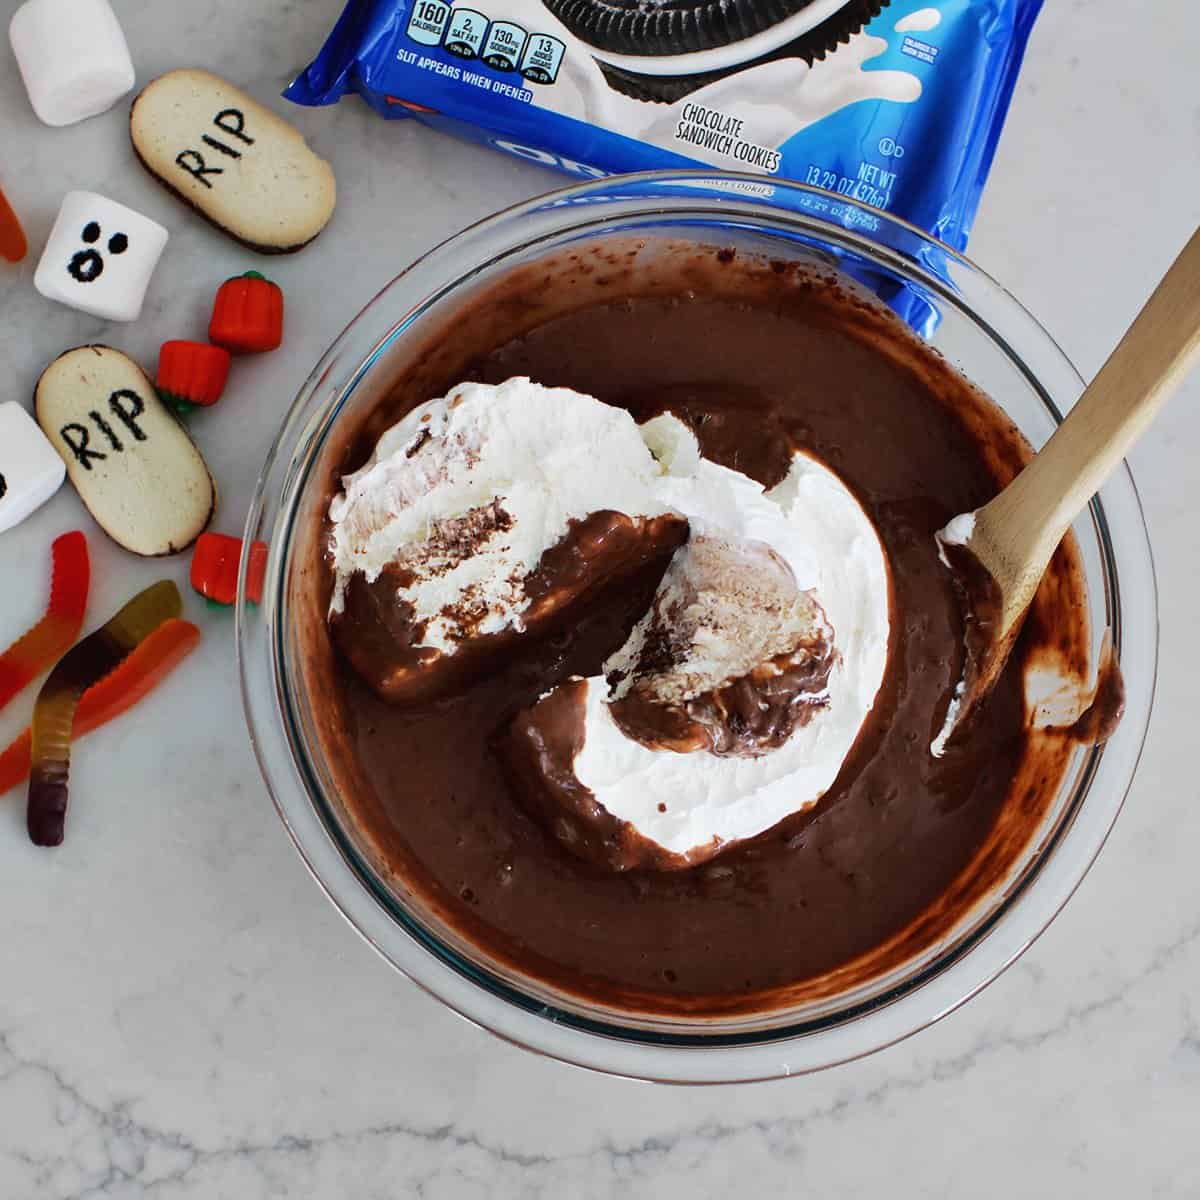
Add your cool whip into your bowl and fold to combine. You can allow your cool whip to thaw for a few minutes to help the process along if you prefer!
Put the combined pudding and cool whip into the refrigerator and allow to chill for 20-30 minutes. This is optional but does help it to combine a bit better.
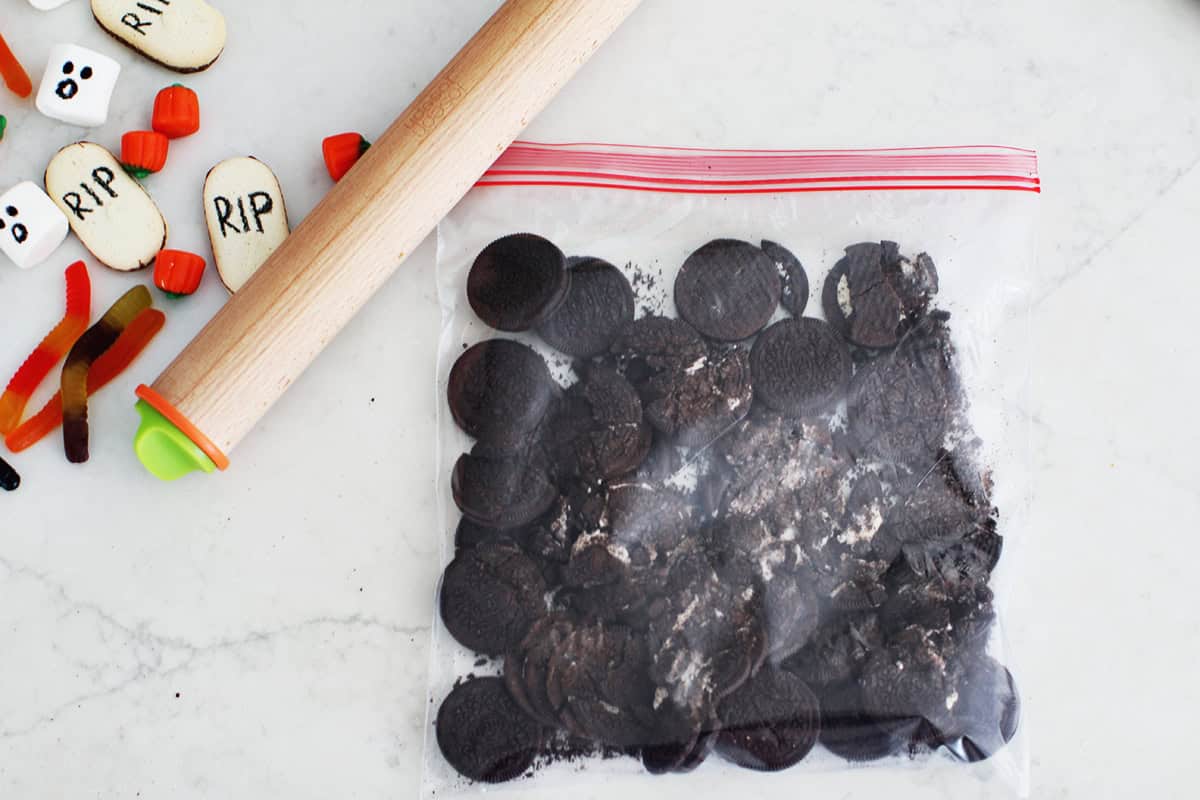
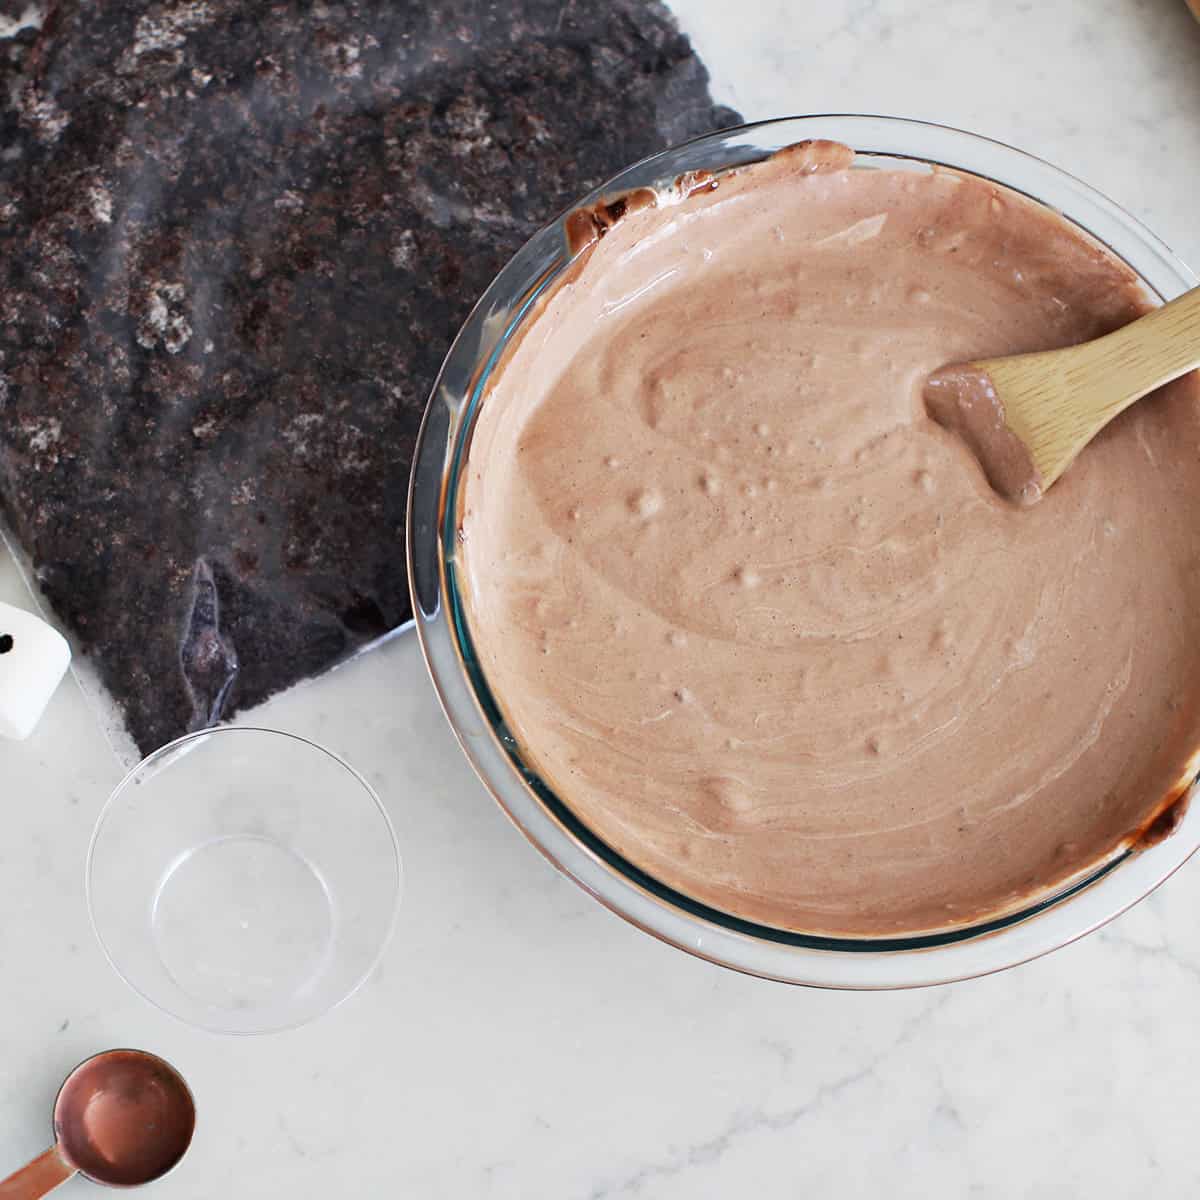
While your pudding is chilling, add your oreo cookies to a gallon sized ziploc baggie and crush with a rolling pin. You can use a food processor too…but this is way more fun!

Next is the fun part! Begin layering your clear cup with pudding and crushed oreo cookies. I did 3 Tbsp of pudding, then 2 Tbsp of cookie crumbs. You can also just use a spoon and eyeball it, but I was hoping to give you an idea of how many this combination would make and I got 10 dirt cups.
Building Your Dirt Cups
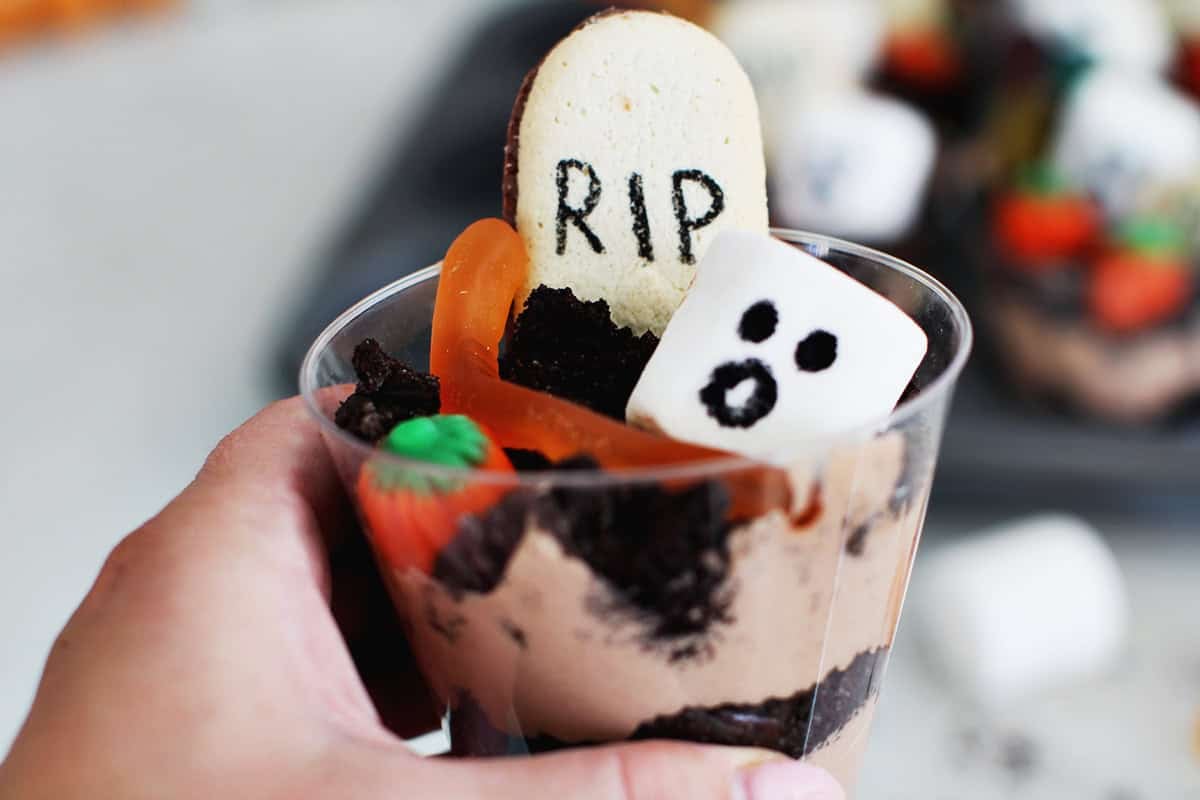
After you’ve built your pudding graveyard, it’s time to decorate it! This is the best part for kids to help with. If you’re planning to serve right away go ahead and decorate. But if you’re going to be saving these for a party or an event later on, go ahead and get them in the fridge and decorate before your event so your candy doesn’t harden. You could also prep the ‘graveyards’ and set out all the toppings so kids can decorate their own!
Ideas for Spooky Dirt Cups
Make these Halloween-themed by adding things like:
Would you like to save this?
- gummy worms
- candy pumpkins
- cookies made into gravestones with RIP (or names!) written on them
- marshmallow ghosts or peeps
- candy bones or eyeballs
- neon sprinkles
Storing Your Halloween Dirt Cups
My favorite tip around making these is to put each cup in a muffin tin. That will help you carry it to and from the fridge, as well as set it on a table to serve. These will stay good in the fridge for 2-3 days.
 Get the Recipe

Ingredients
- 1 box instant pudding, family size (5.9oz)
- 3 cups chilled milk (I used whole)
- 1 container cool whip (8oz size)
- 33 crushed oreos. One standard package
- 10 gummy worms
- 10 candy pumpkins
- 10 milano cookies
- 10 marshmallows
- 1 food safe pen
Equipment
Instructions
- Start by combining your instant pudding mixture with your chilled milk in a bowl. Let sit for 4-5 minutes then stir again.
- Add your cool whip into your bowl and fold to combine. You can allow your cool whip to thaw for a few minutes to help the process along if you prefer!
- Put the combined pudding and cool whip into the refrigerator and allow to chill for 20-30 minutes. This is optional but does help it to combine a bit better.
- While your pudding is chilling, add your oreo cookies to a gallon sized ziploc baggie and crush with a rolling pin. You can use a food processor too…but this is way more fun!
- Next is the fun part! Begin layering your clear cup with pudding and crushed oreo cookies. I did 3 Tbsp of pudding, then 2 Tbsp of cookie crumbs. You can also just use a spoon and eyeball it, but I was hoping to give you an idea of how many this combination would make and I got 10 dirt cups.
- After you've built your pudding graveyard, it's time to decorate it! This is the best part for kids to help with. If you're planning to serve right away go ahead and decorate. But if you're going to be saving these for a party or an event later on, go ahead and get them in the fridge and decorate before your event so your candy doesn't harden. You could also prep the 'graveyards' and set out all the toppings so kids can decorate their own!
- My favorite tip around making these is to put each cup in a muffin tin. That will help you carry it to and from the fridge, as well as set it on a table to serve. These will stay good in the fridge for 2-3 days.
How fun! I’ve never thought to turn these Halloween-y. Such a good idea 🙂
Thanks so much!! 🙂