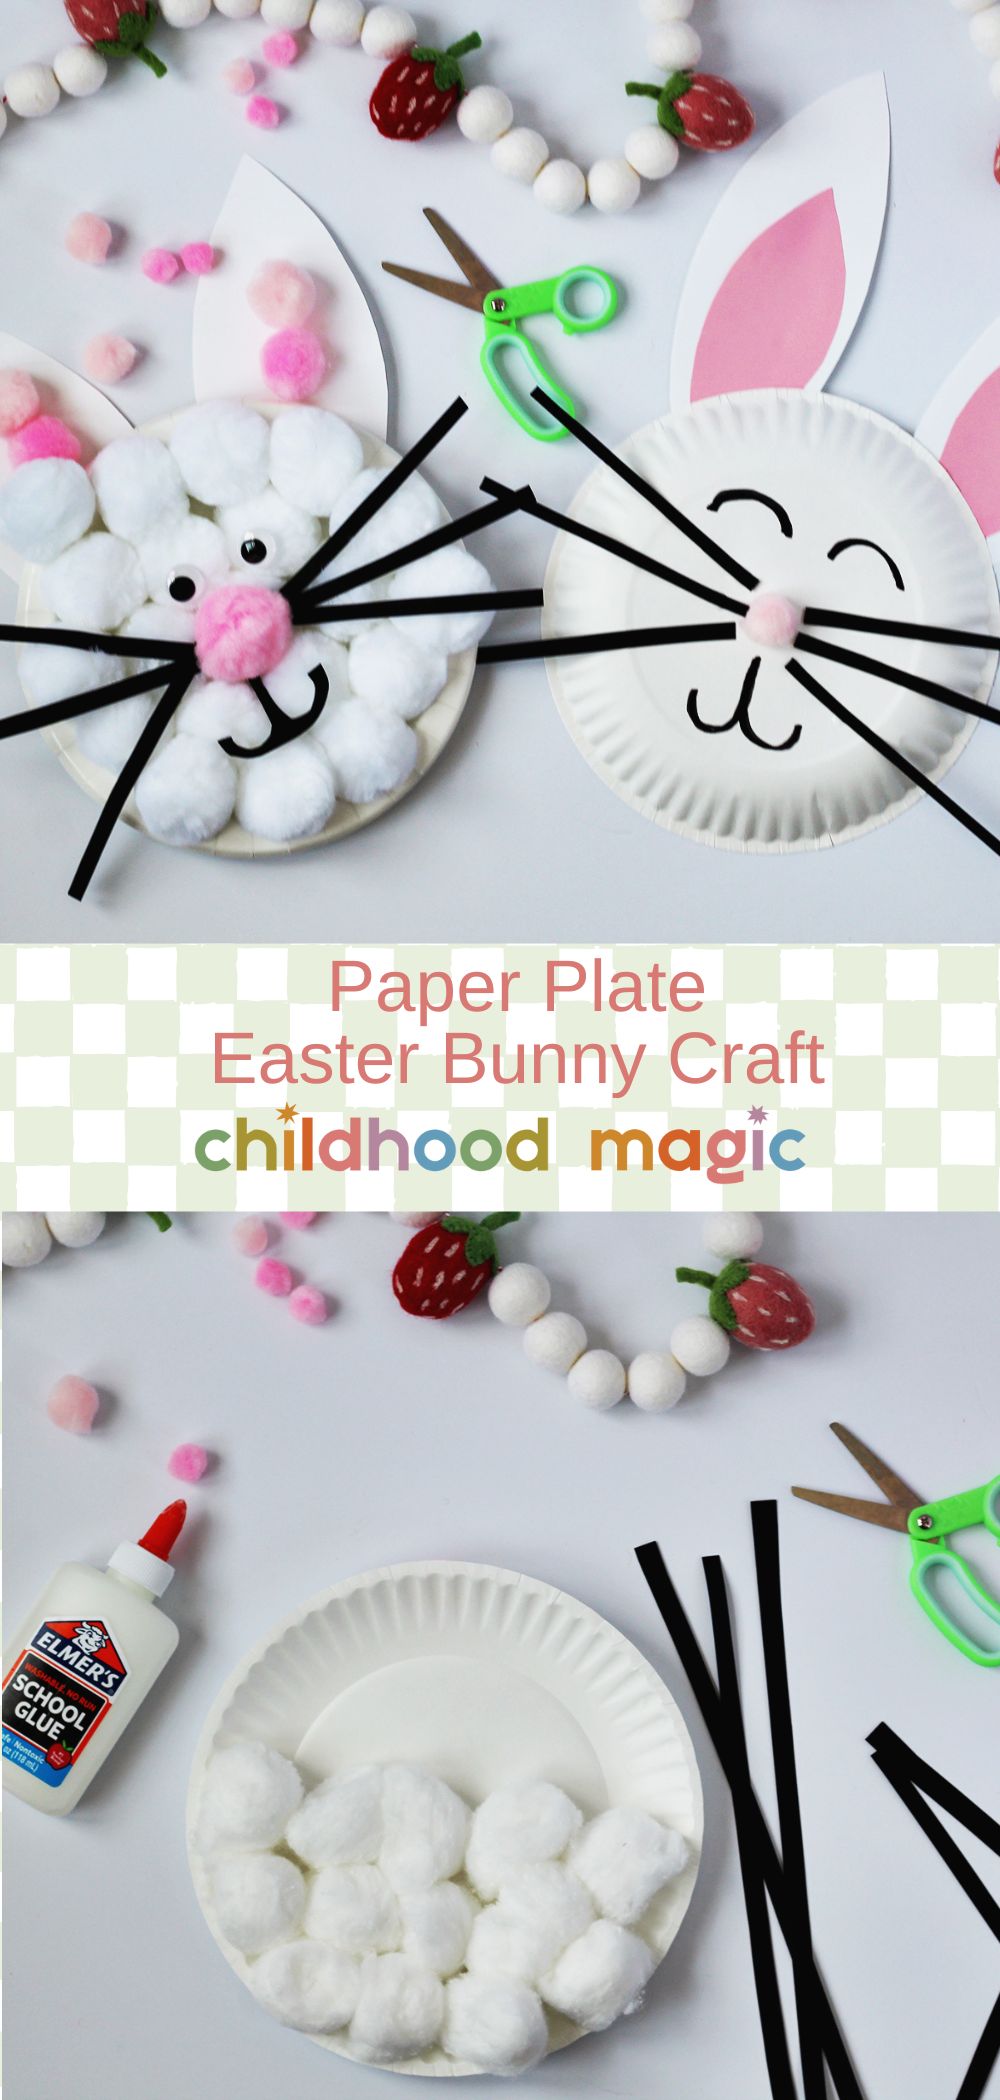
Easter crafts are a fun way to celebrate the season. Whether you’re planning an epic Easter egg hunt, dyeing eggs or even learning about the letter B and spring animals this easy paper plate Easter bunny craft is sure to be a hit!
Paper plate crafts are some of my favorites because of how simple and versatile they are. They’re affordable too because you typically have all the supplies on hand or can easily grab them at the grocery store. There are two ideas below on how to make your Easter bunny but one fun thing about this craft is that kids can get creative and make their own custom bunnies!
P
Related: Easter Egg Template, Cross Template, Easter Rabbit Template, Paper Plate Rainbow Craft, Paper Plate Lion Craft
Would you like to save this?
Why kids love paper plate crafts
- Easy to find supplies are everything! Easy to find, easy to make, easy on parents and easy for kids.
- The best kind of kids projects are things you already have in your home, or can easily grab on your next grocery store trip.
- If you mess up it’s very easy and poosible to start over.
Supplies for your Paper Plate Easter Bunny
- Paper plates
- Scissors (remember to do the cutting if your child isn’t ready to yet.)
- Cotton balls– I love the jumbo size!
- Construction paper scraps or paint
- School glue
- Markers or crayons
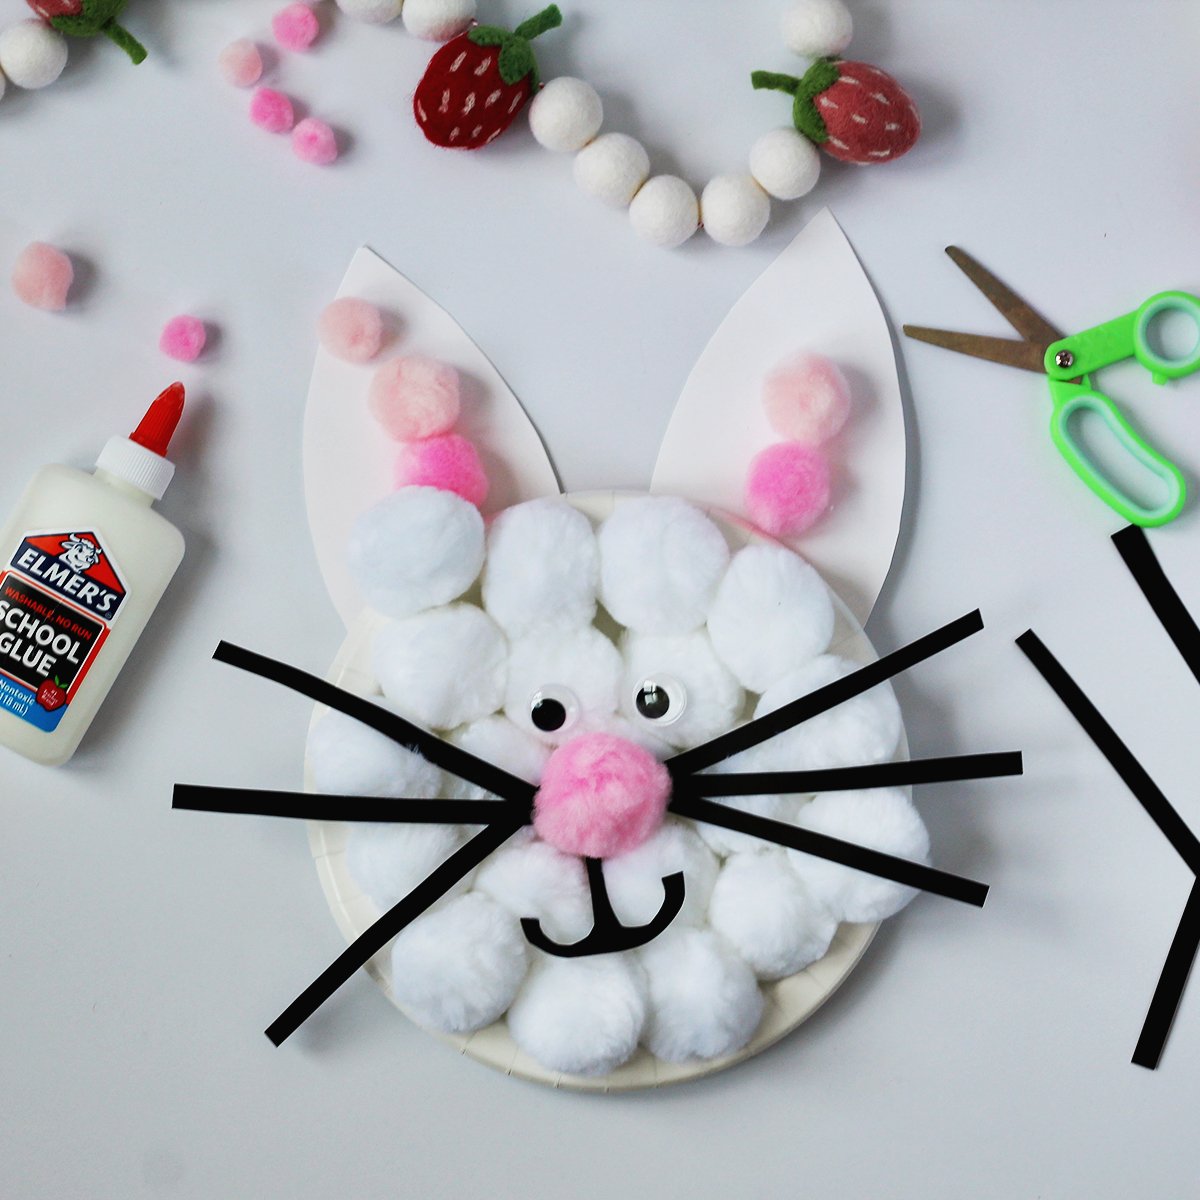
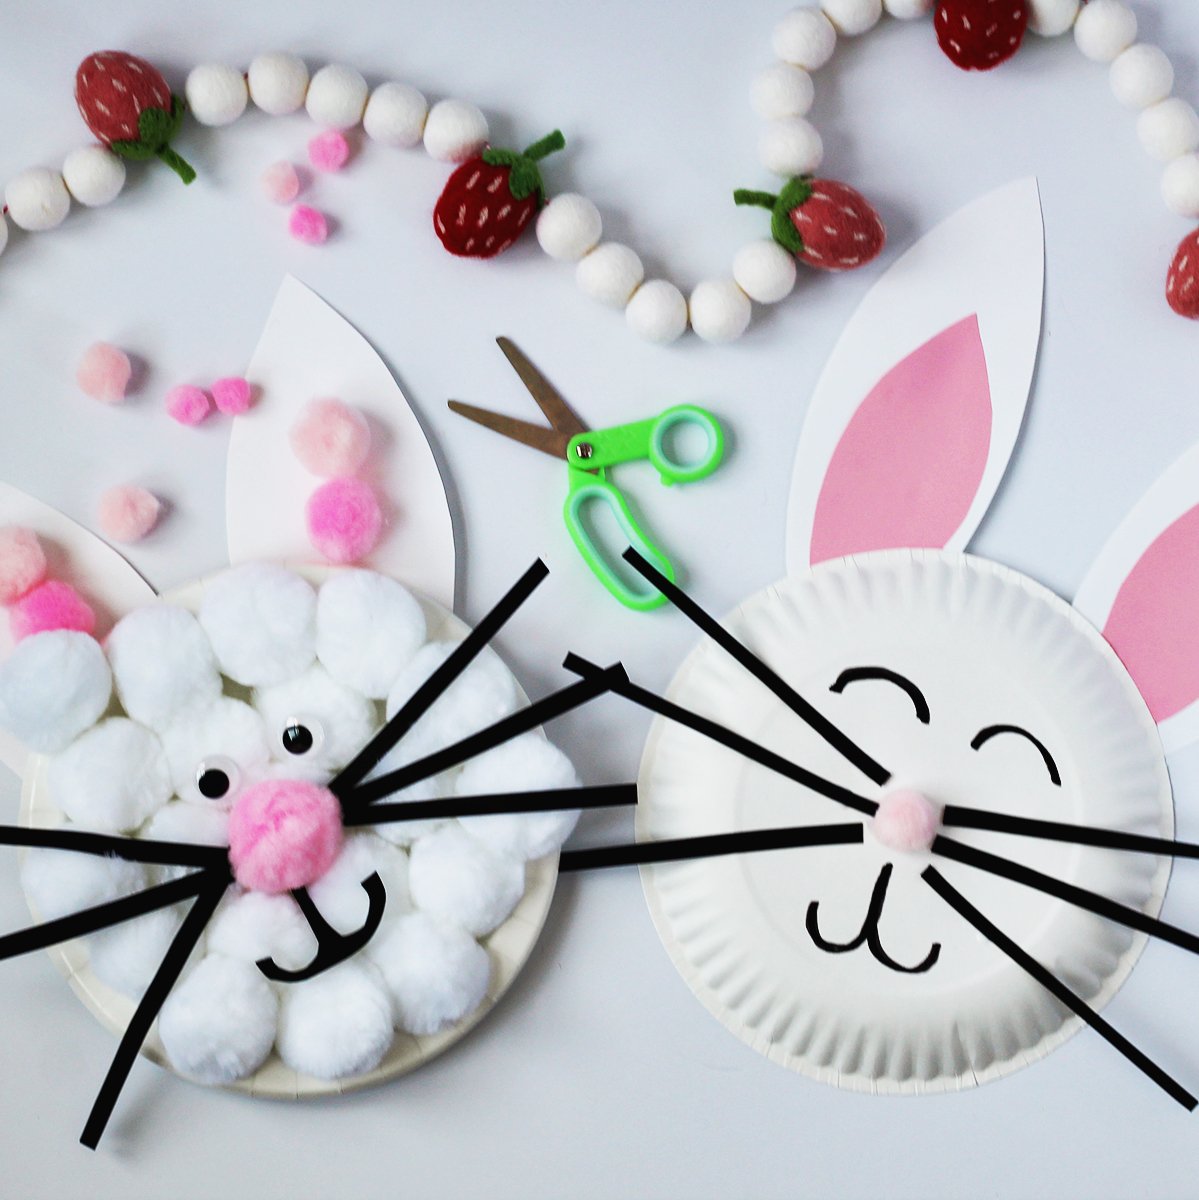
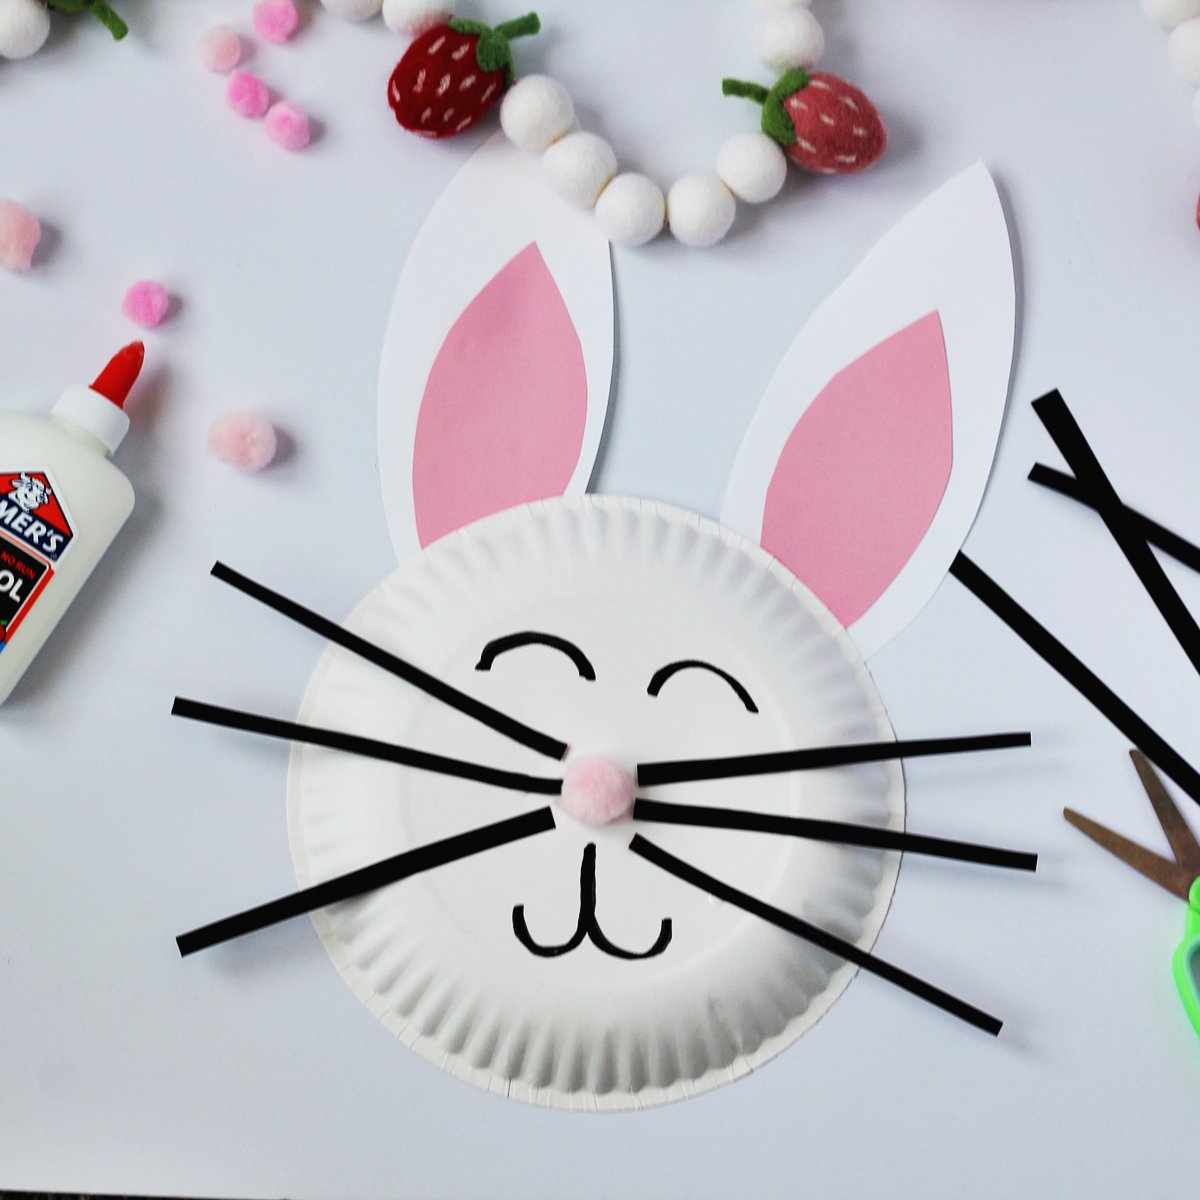
Make Your Rabbit Craft
- To make the ears, cut out an ear shape and glue to the back of your plate. Use pink cardstock to make the inner ear, or simply color it in.
- If you’re making the pom pom version, start by glueing on your cotton balls. This is a great way for kids to practice putting glue on a plate and lining up cotton balls.
- Alternatively, you could use scraps of paper or just one pom to glue on as the nose. If you’re making a version where you color on the face, you can flip the plate over to make coloring a bit easier.
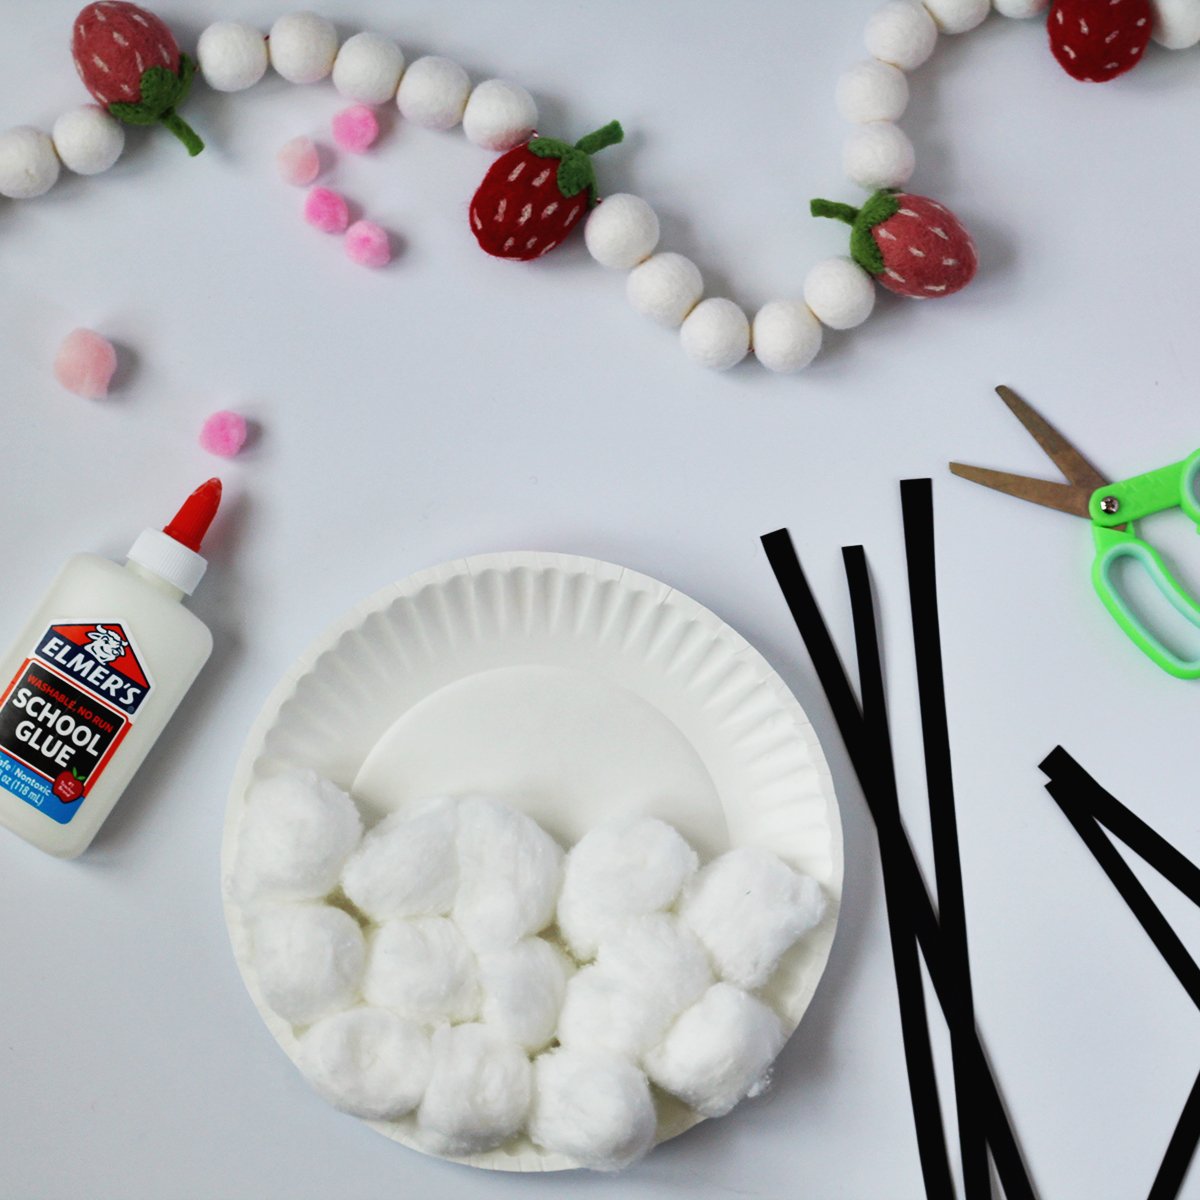
- Cut your whiskers and glue onto the paper plate. Glue on googley eyes and any other details you want to include. If you’re using cotton balls you’ll want to make the smile out of cardstock too. This is a great scissors skills activity!
- Alternatively, if you’re coloring, add the eyes and mouth with marker or crayon.
- Allow any glued pieces to dry and your paper plate Easter bunny is complete!

Get creative ideas for recipes, crafts, decor, and more in your inbox!
 Get the How-To

Supplies
- 1 paper plate
- 1 bag cotton balls
- 1 piece black cardstock
- 1 bottle school glue
- 2 googley eyes (optional)
- 1 single pom (pink)
Instructions
- To make the ears, cut out an ear shape and glue to the back of your plate. Use pink cardstock to make the inner ear, or simply color it in.
- If you're making the pom pom version, start by glueing on your cotton balls. Alternatively, you could use scraps of paper or just one pom to glue on as the nose.
- If you're making a version where you color on the face, you can flip the plate over to make coloring a bit easier.
- Cut your whiskers and glue onto the paper plate. Glue on googley eyes and any other details you want to include.
- If you're using cotton balls you'll want to make the smile out of cardstock too. This is a great scissors skills activity!
- Alternatively, if you're coloring, add the eyes and mouth with marker or crayon.
- Allow any glued on pieces about 15-20 minutes to dry and your paper plate Easter bunny is complete!