Would you like to save this?
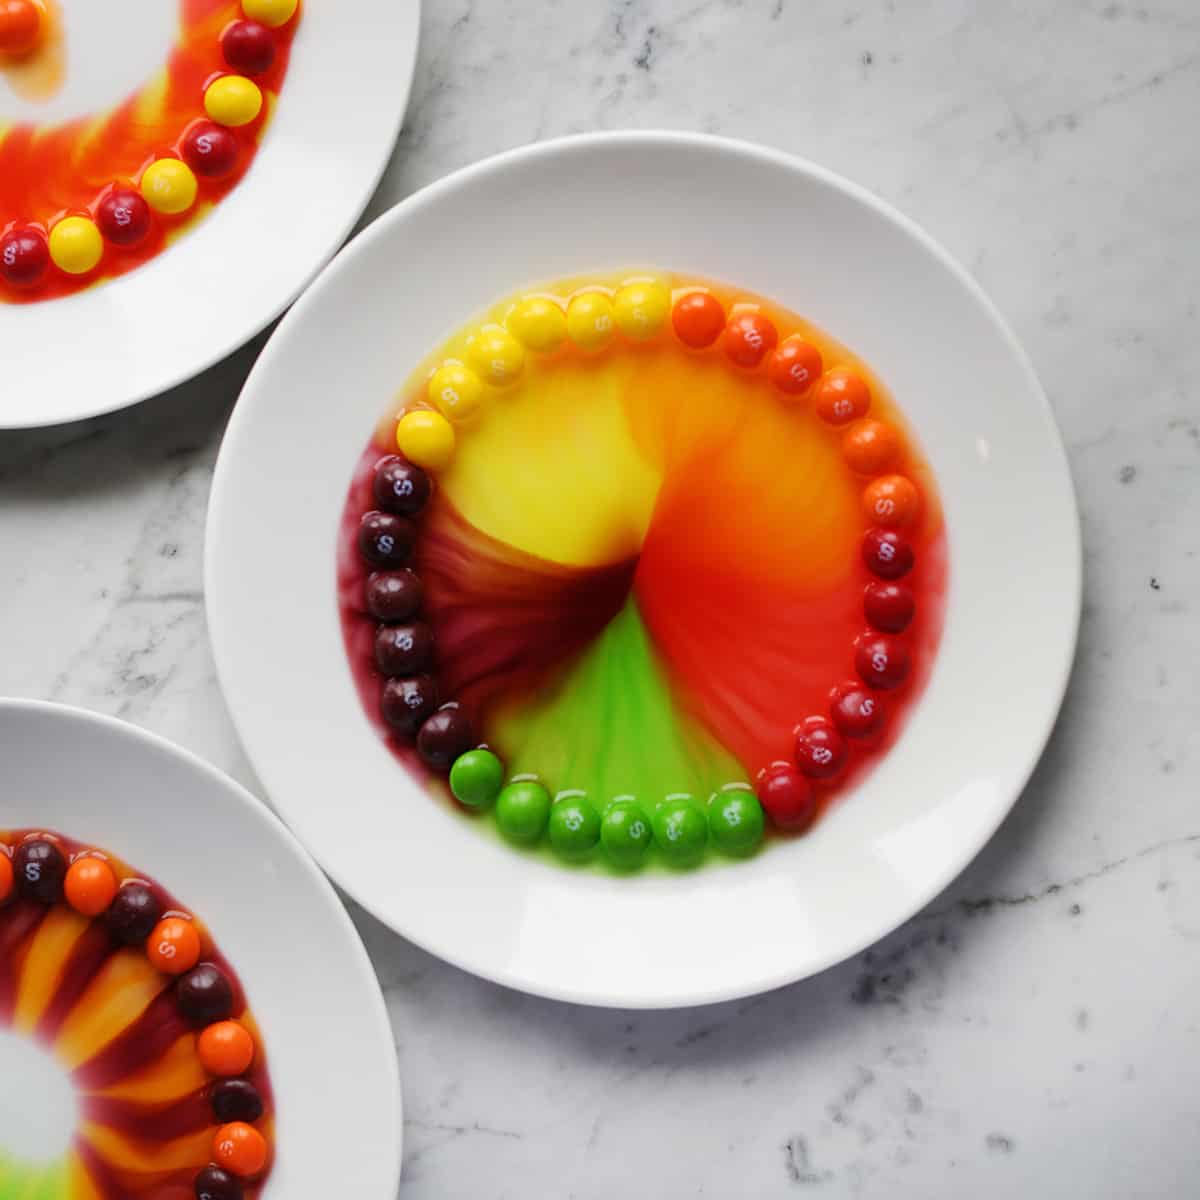
The Skittles experiment is a fun and colorful kid’s science experiment that is safe for almost any age!
While the Skittles experiment is great introduction to science experimentation for kids, it is also colorful and could function as a temporary art project as well.
This is also a very low cost project, as all you need are Skittles and water to conduct the experiment.
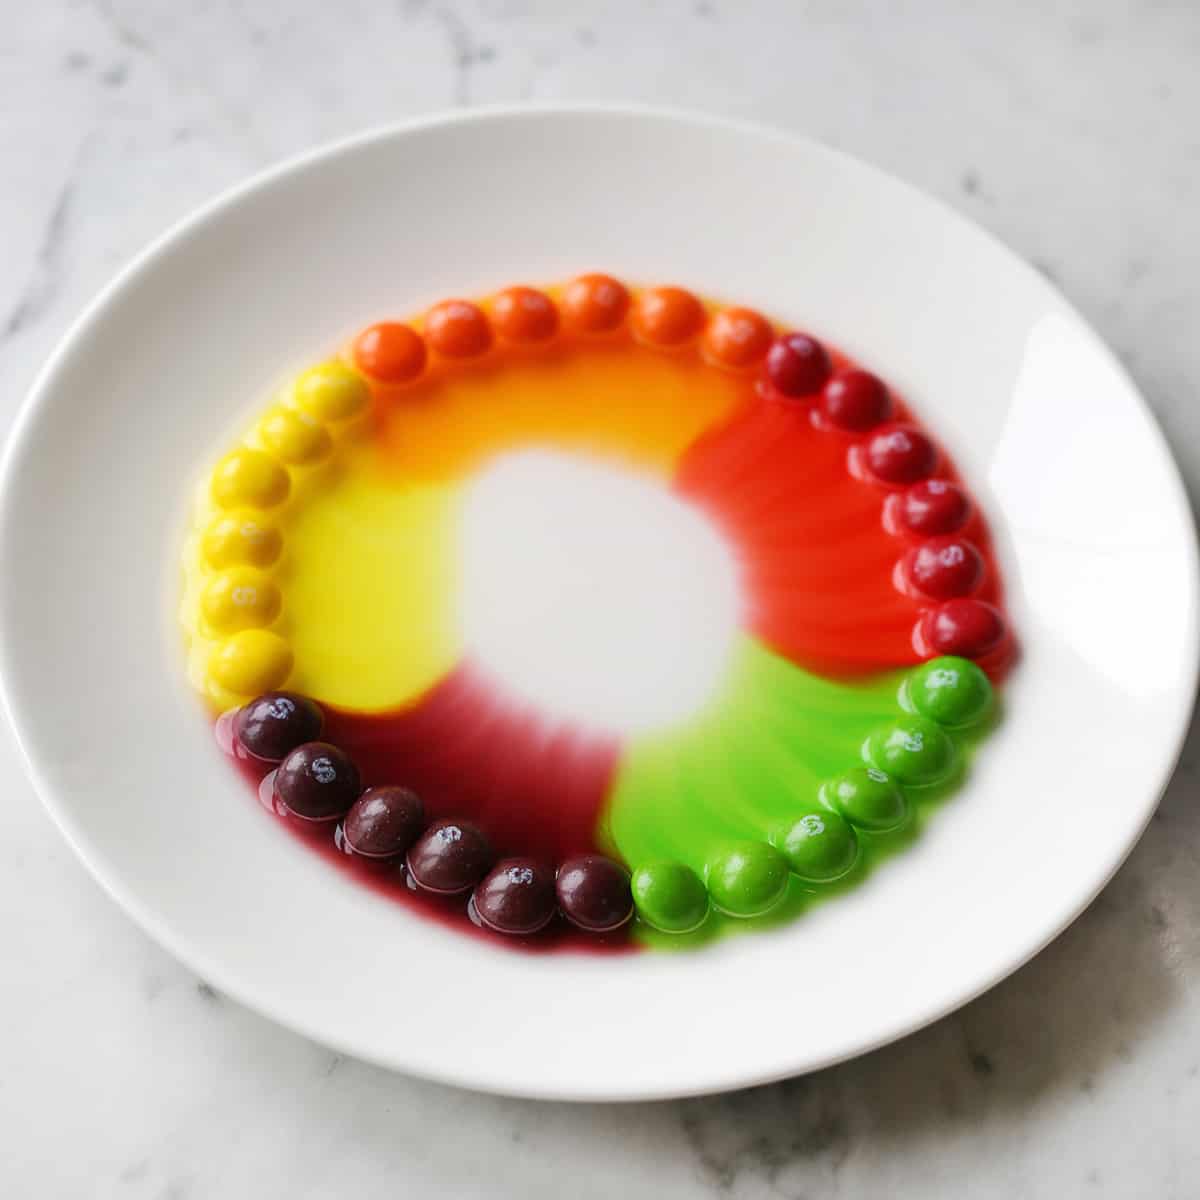
The Skittles experiment demonstrates concentration gradient, a chemical concept that means chemicals will move from areas of high concentration to lower concentration as they try to equalize the contractions (which is why the colors from the Skittles candies will bleed).
If this concept is a little beyond your child’s age range, the Skittles experiment is still a great science experiment for kids as it still creates the opportunity to:
- Form a hypothesis (ex., will warm water or cold water cause the Skittles to bleed faster?)
- Observe and record their observations
- Practice fine motor skills by placing the candies on plates in different arrangements
Related: Check out Milk Painting Experiment, Elephant Toothpaste, and our sensory archive for more science and other hands-on learning projects for kids!
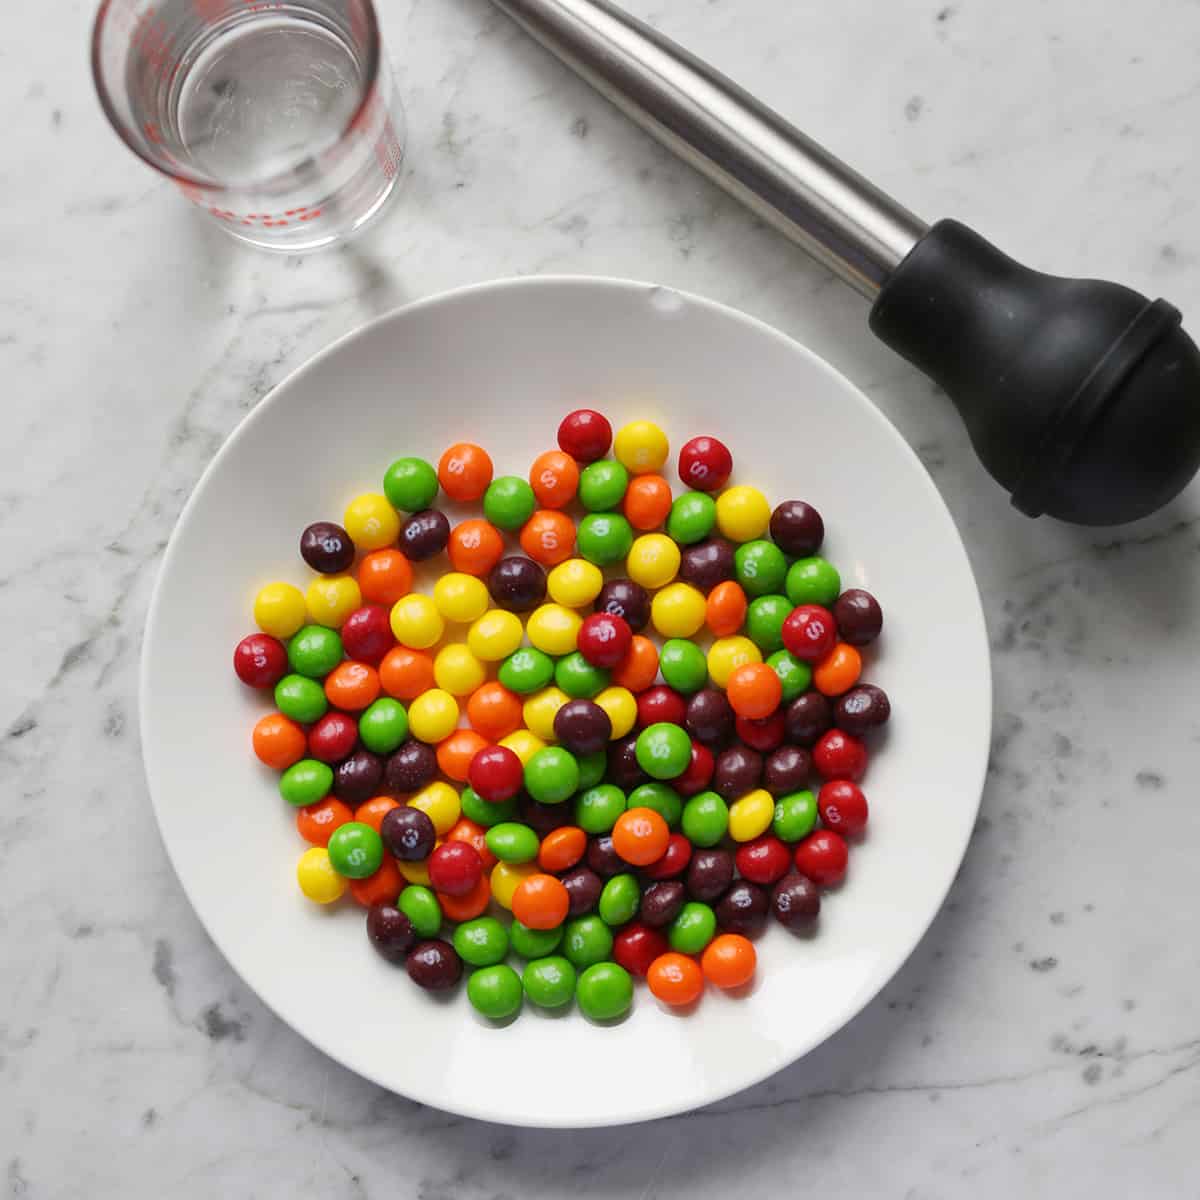
Skittles Experiment Supplies:
All you need are Skittles and warm water—that’s it! However, if you want to allow your child to create a different hypothesis, you may want to have other liquids on hand like vinegar, club soda, or milk.
You will also want to use white plates or lightly colored plates so you will be able to observe the colors bleeding.
And last, I like to use a turkey baster to add the warm water, as the goal is to not disturb the design you’ve created. Sometimes pouring water from a cup or other container can prove difficult as it will move the Skittles around.
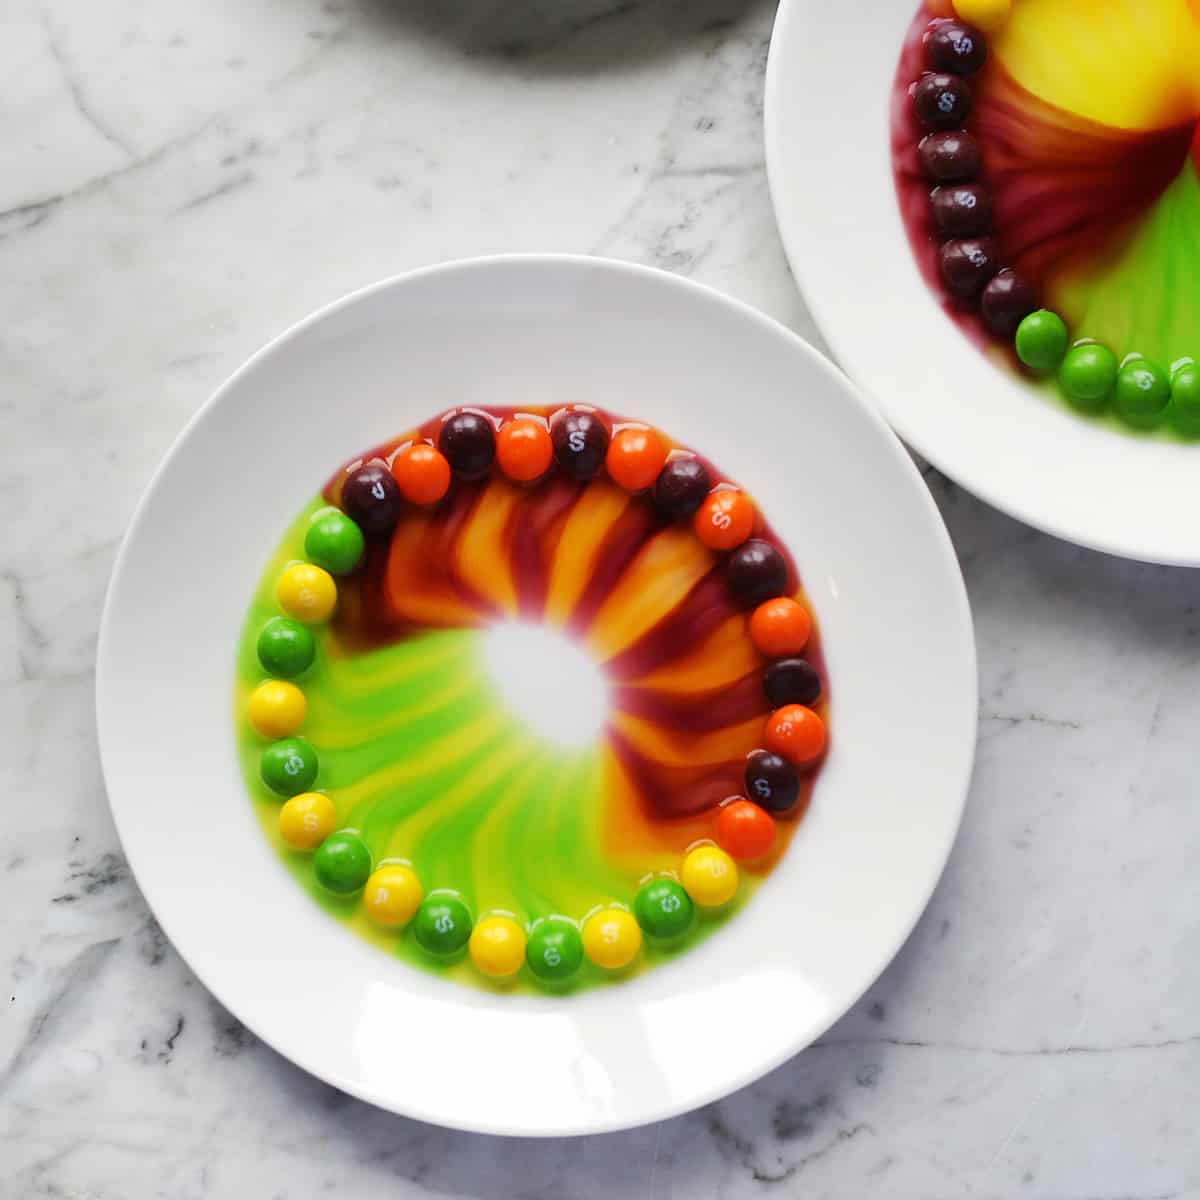
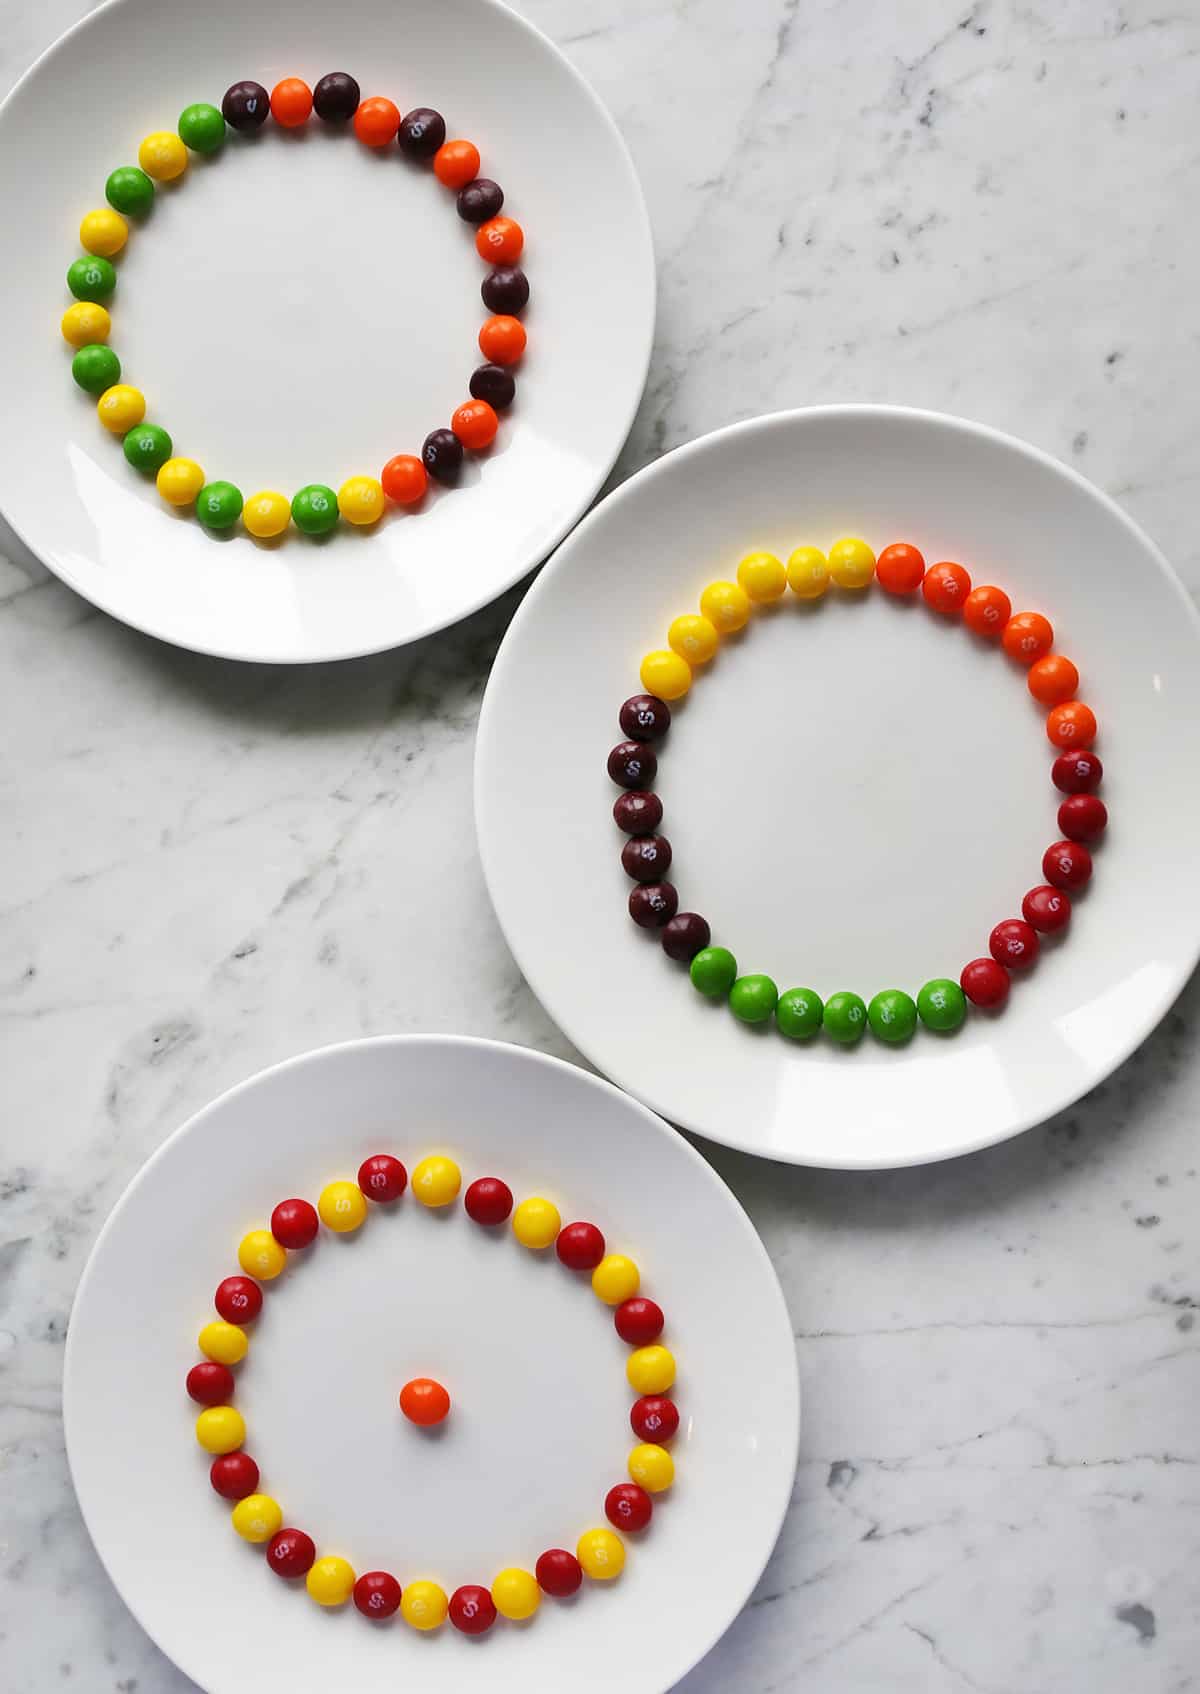
Skittles Experiment Design Ideas:
- Rainbow-arrange Skittles in small clusters of the same color
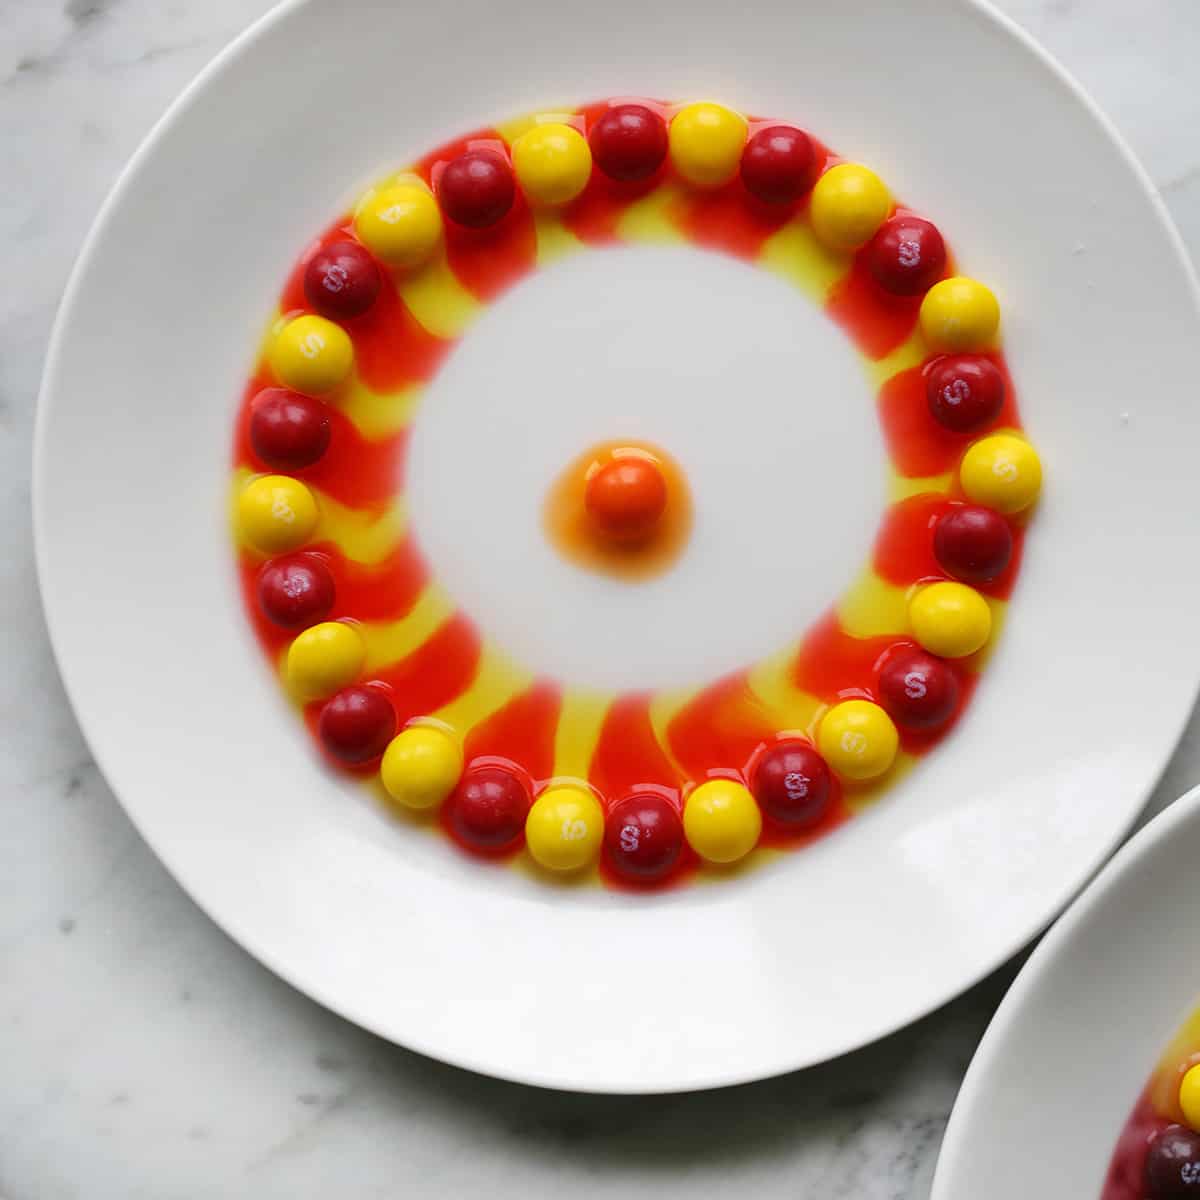
- Use all primary colors (red and yellow, if using classic Skittles)
- Use all secondary colors (orange, green, and purple)
- Use complimentary colors (ex., yellow and purple, or green and red)
- Leave holes along the perimeter or try adding a Skittle or two to the center of the plate.
Skittles Experiment Instructions:
- Form a hypothesis.
- Arrange Skittles on a white plate.
- Add warm water to the center of the plate using a turkey baster. Add enough water so it covers the Skittles almost halfway up their sides.
- Observe what happens and record your findings.
- Repeat steps 2-4 with other liquids IF your hypothesis includes this.
Additional Ideas & Activities:
- Once the colors have spread, have your child remove the Skittles carefully. Then, gently press a thick piece of paper over the top to capture the color design. Thicker paper like watercolor paper will work best, but any paper can do, if needed.
- Try different types of liquid to see how they react with the Skittles—you can even try cold water.
- Have children draw and color in what they think will happen before pouring the water, then see if their illustrated hypothesis was correct or different.
Frequently Asked Questions
What does the Skittles experiment teach?
The Skittles experiment demonstrates the chemical concept of concentration gradient. This experiment also provides the opportunity to create a hypothesis as well as observe and record data from an experiment.
Why do the colors not mix in the Skittles experiment?
Each color creates a slightly different solution with different densities, so water stratification keeps the colors from mixing unless the plate is disturbed in some way (pushing the water together by force).
Do you use hot or cold water for the Skittles experiment?
Warm water should be used; however, you may want to let your little scientist try both and record their results to discover which will work faster.
Get creative ideas for recipes, crafts, decor, and more in your inbox!
 Get the How-To
Supplies
- Skittles
- water (warm)
- turkey baster (optional, but recommended)
Instructions
- Form a hypothesis.
- Arrange Skittles on a white plate.
- Add warm water to the center of the plate using a turkey baster. Add enough water so it covers the Skittles almost halfway up their sides.
- Observe what happens and record your findings.
- Repeat steps 2-4 with other liquids IF your hypothesis includes this.
Notes
- Rainbow-arrange Skittles in small clusters of the same color
- Use all primary colors (red and yellow, if using classic skittles)
- Use all secondary colors (orange, green, and purple)
- Use complimentary colors (ex., yellow and purple, or green and red)
- Leave holes along the perimeter or try adding a Skittle or two to the center of the plate.

