The Lantern Festival comes at the end of the Chinese New Year celebration throughout China and other parts of Asia, and kids get in on the fun by carrying paper lanterns of their own with riddles attached to them.
We’ll show you how to make your own easy paper lantern at home so you can celebrate wherever you are! It’s the perfect kids craft to bring in the new year with a fun Chinese New Year activity.
Chinese New Year is also called Lunar New Year and they are the same holiday. People are more often saying “Lunar New Year” now since many other Asian countries (and people groups throughout the world) celebrate, and it is not an exclusively Chinese holiday.
Lunar New Year is a spring festival with origins thousands of years old. It is celebrated with traditions, rest, and a home cooked feast enjoyed with family.
Looking for more Lunar New Year activities? Check out:
- Lunar New Year Bingo – Free Printable Game
- Play Dough Mooncakes (A Lunar New Year Activity!)
- Lunar New Year Books and Activity ideas
- Mooncakes Crayon Craft

Why kids love paper lantern crafts:
- Paper lanterns are a great project for kids to practice beginning scissor skills since it’s all straight lines for the cuts.
- Making decorations for holidays is the perfect way to include kids and get them in on the holiday spirit, and they can decorate each one their own way to make them unique!
- Making a craft is an opportunity to teach kids more about their holiday (or expose kids to a new holiday that others celebrate) and how others have made similar projects over the years.
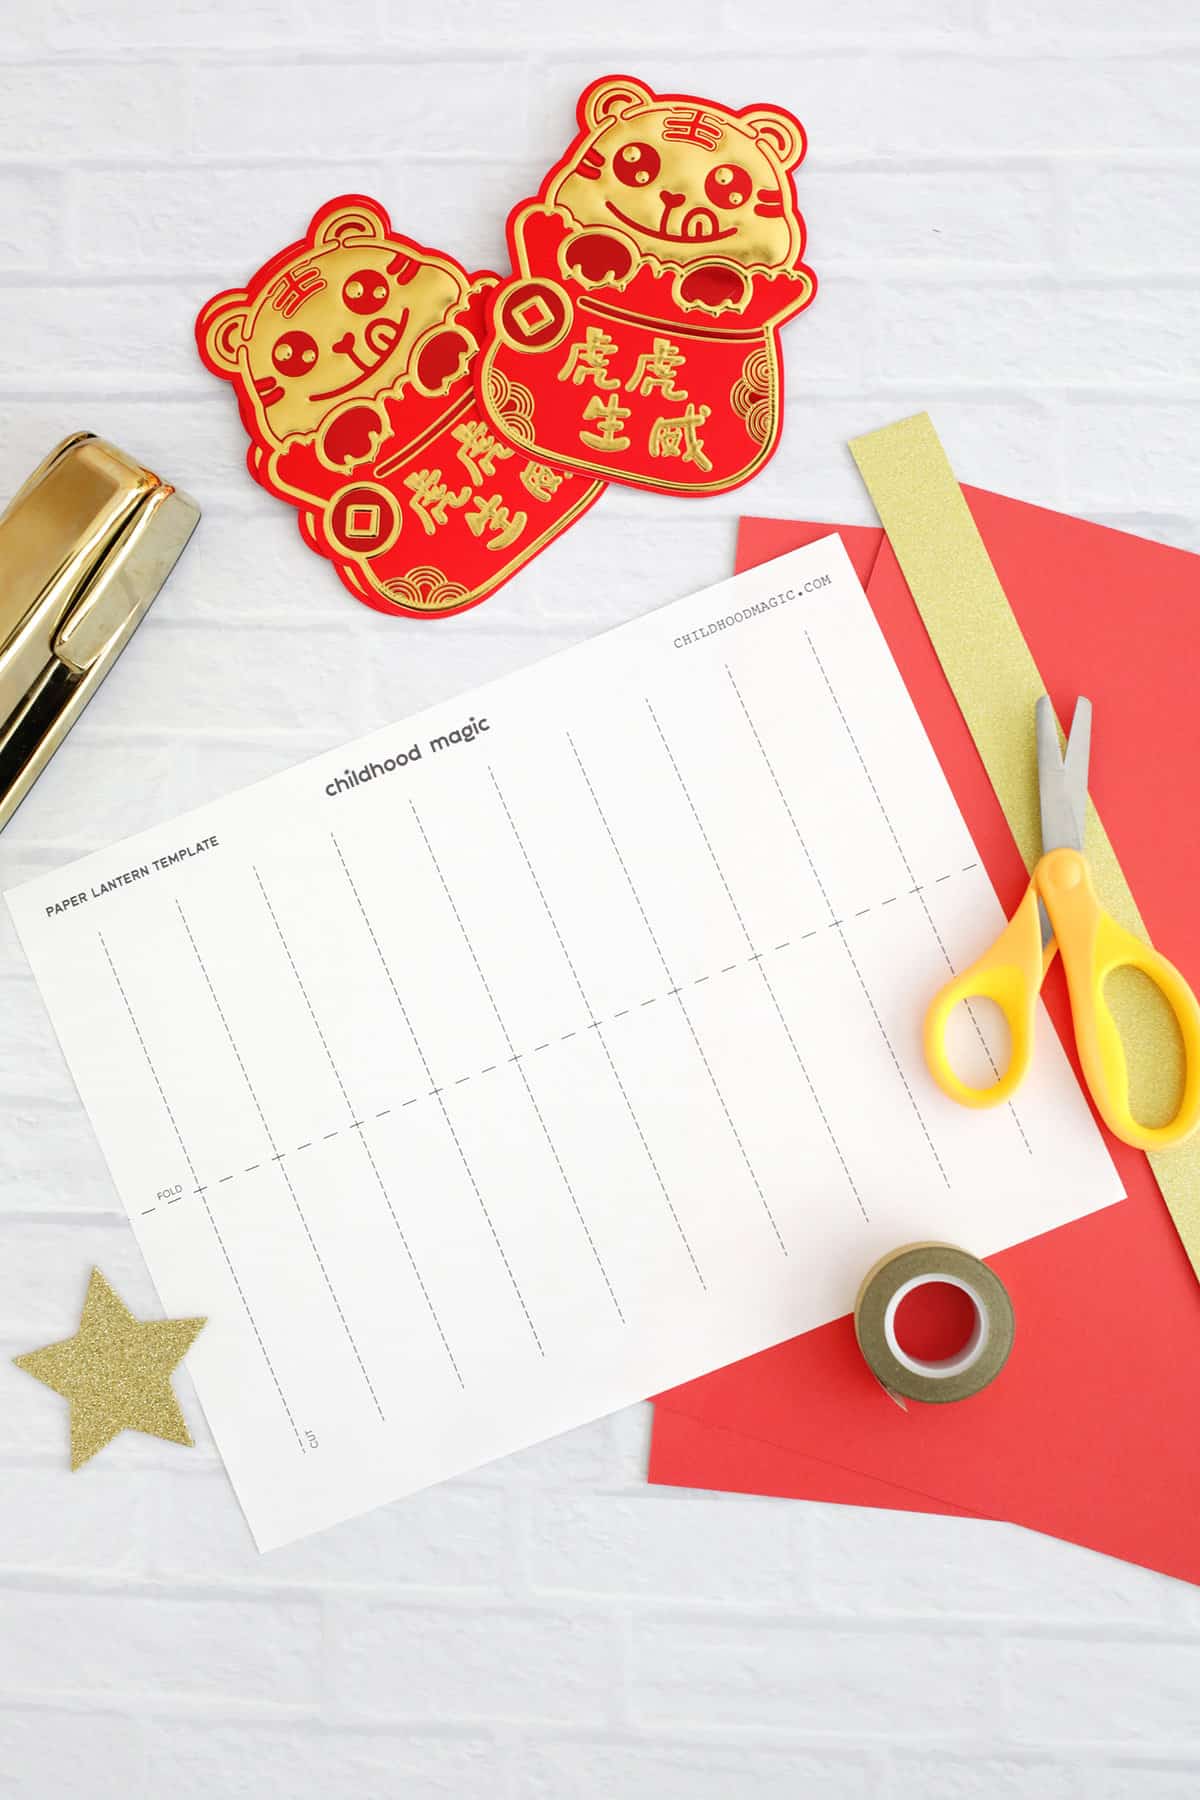
What you’ll need to make it:
- Cardstock or construction paper (red and gold are the traditional colors for Lunar New Year)
- Washi or colored masking tape for decoration (optional)
- Streamers for bottom of lantern (optional)
- Glue stick
- Stapler
- Scissors
- Chinese New Year lantern template
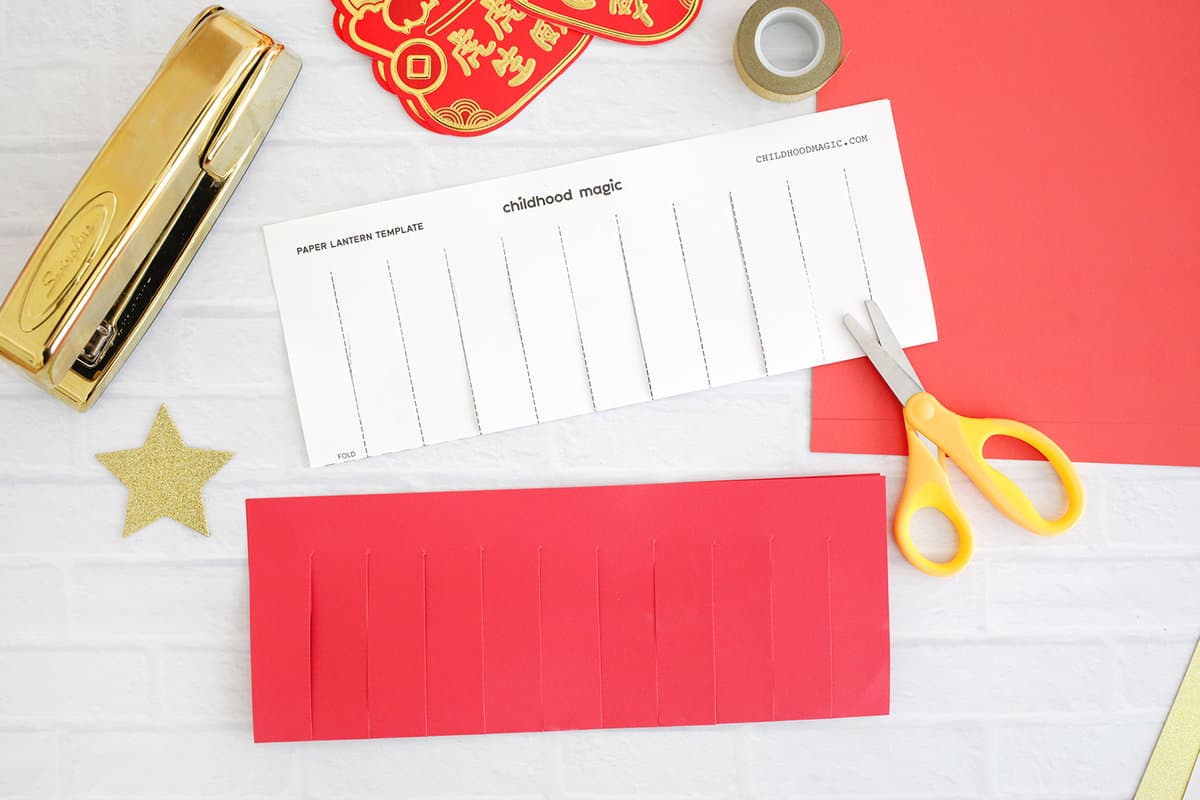
How to make a paper lantern:
- Print out your paper lantern template onto white copy paper or print directly onto a sheet of 8.5 x 11 construction or cardstock paper. You can turn the template writing to be on the inside of the lantern if you choose to print onto your colored paper so you won’t see it later.
- If using the copy paper, fold in half where indicated and place it on top of your colored 8.5″ x 11″ paper that’s also folded in half.
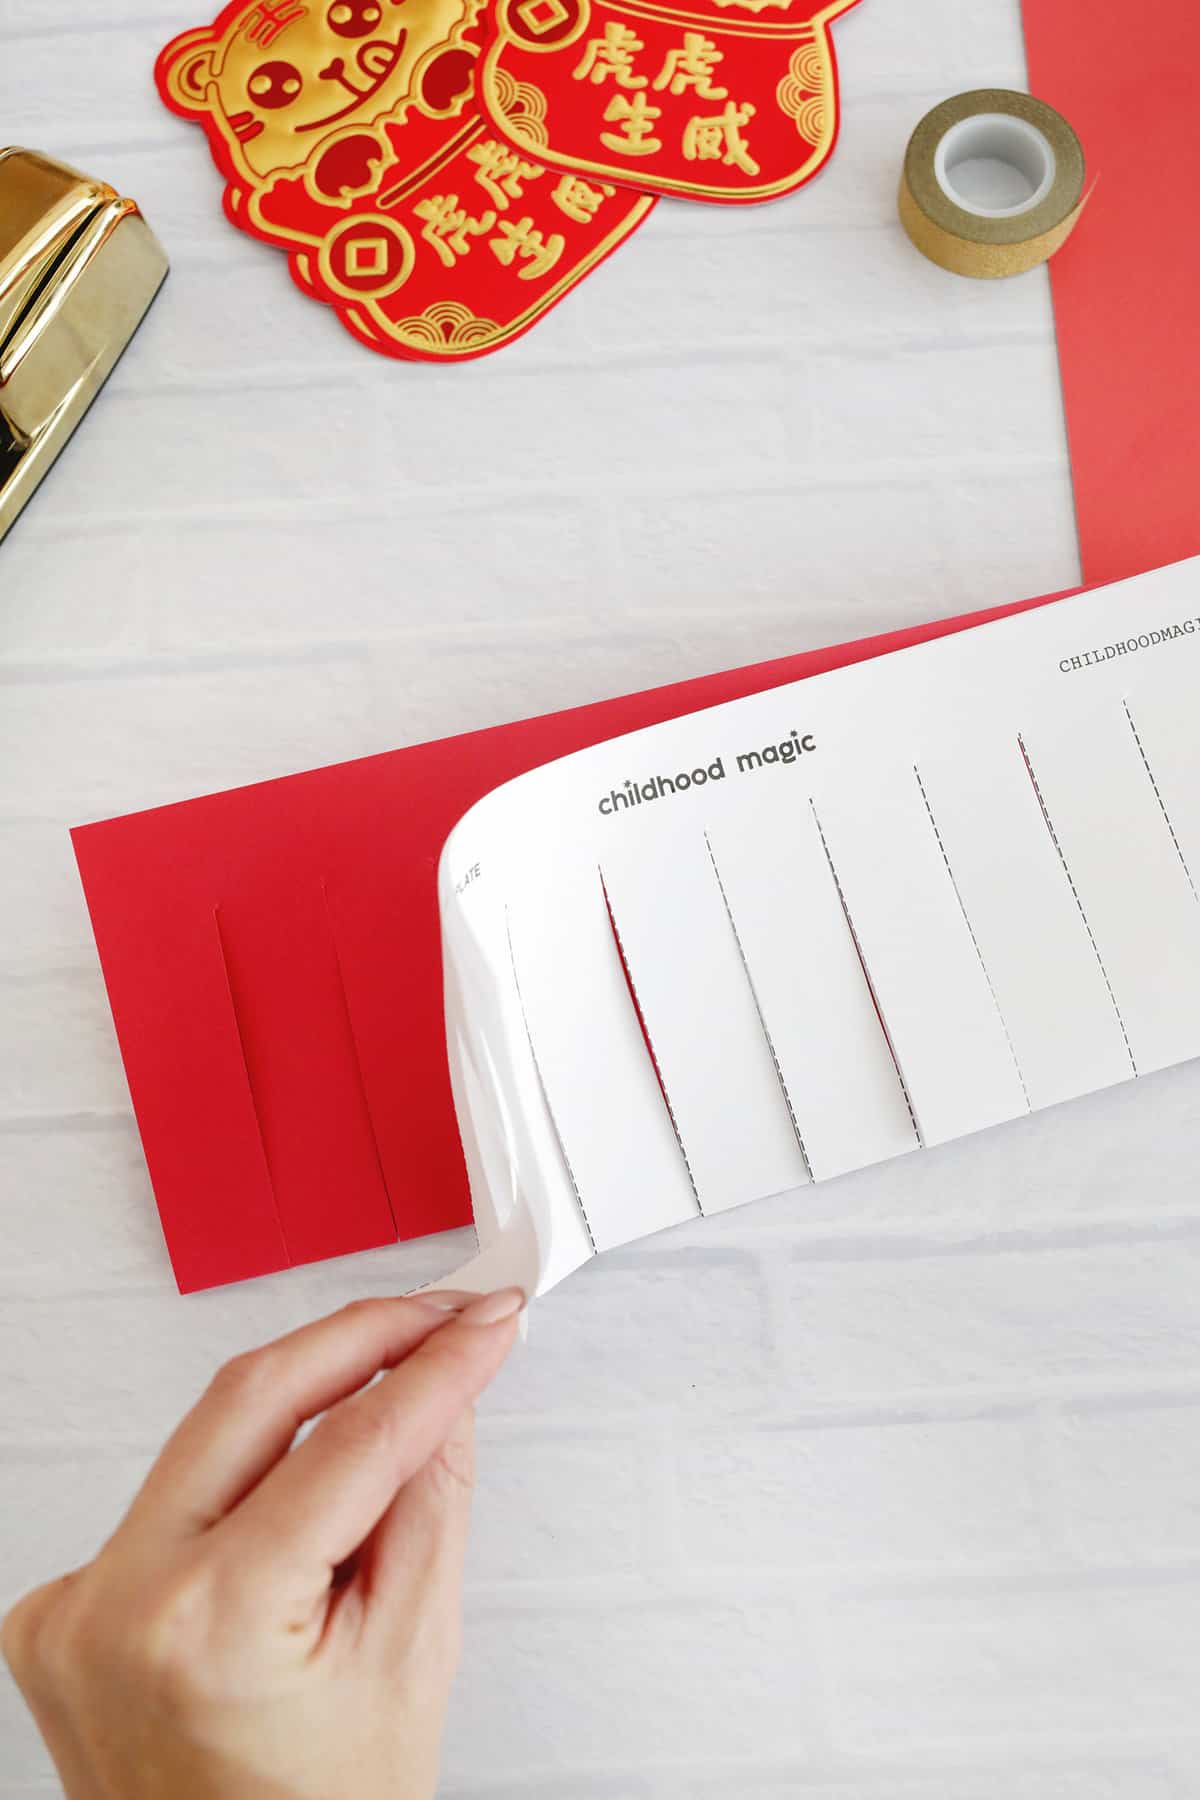
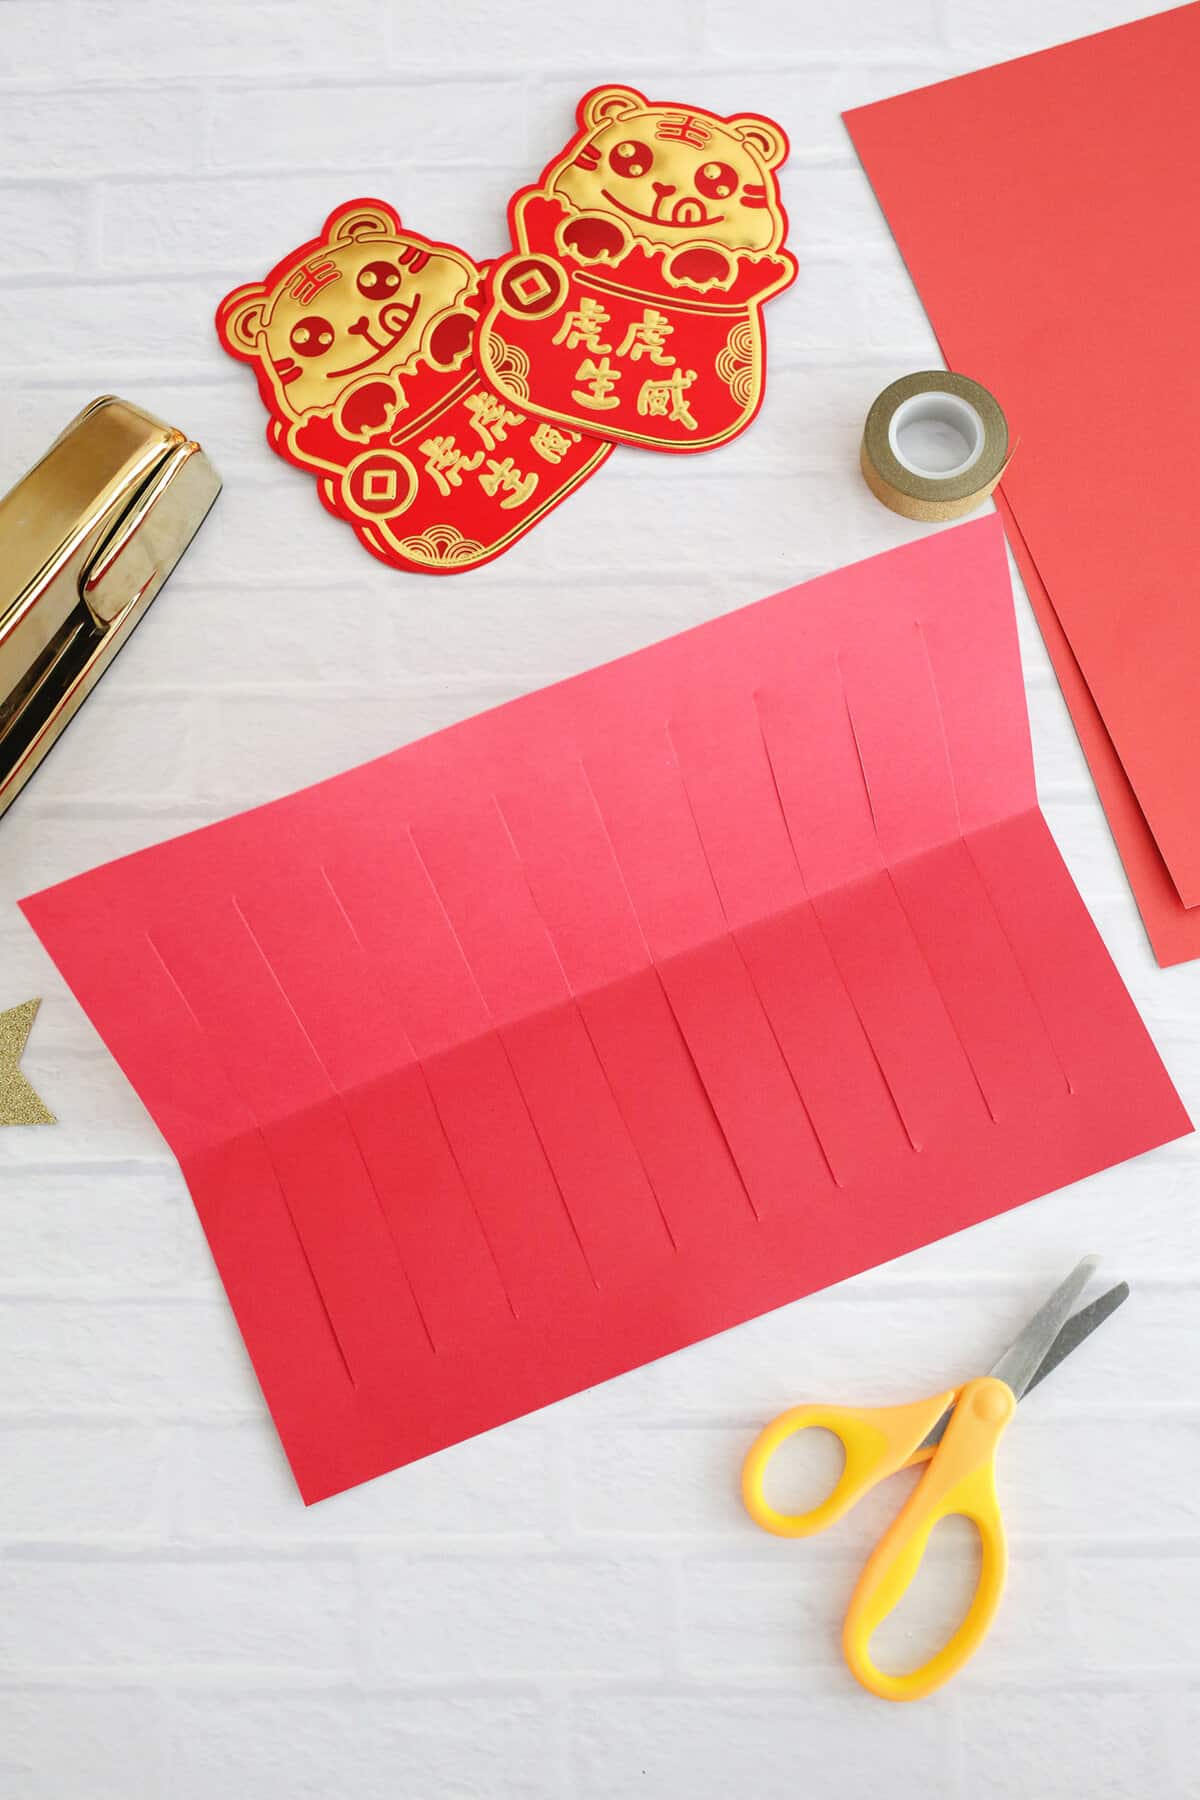
- Holding the two pieces together, cut the lines as the template shows.
Would you like to save this?

- Unfold the paper and overlap the two ends that are uncut to make a circle, and staple in place on the top and the bottom.

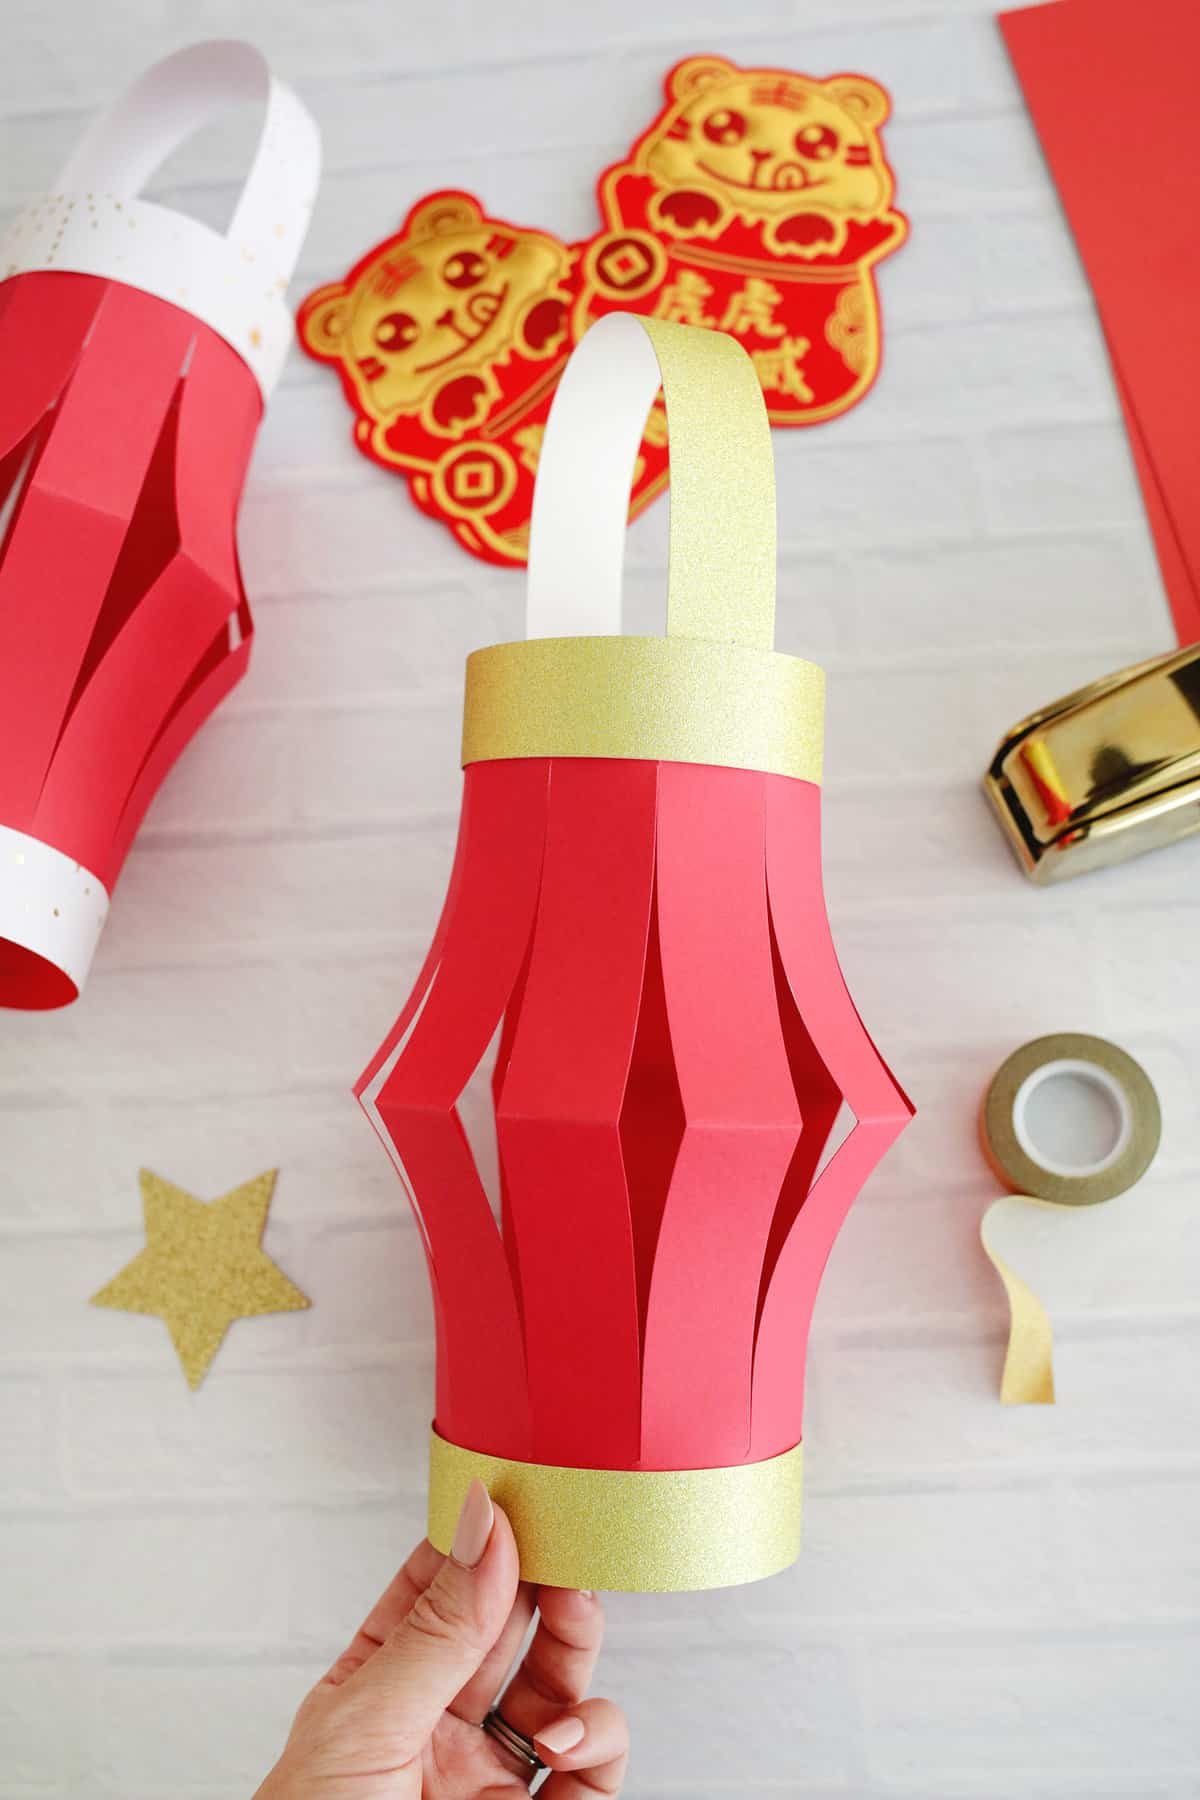
- Cut a strip of paper about 1″ wide to glue or staple along the top and bottom of your lantern. This is optional, but makes it look a little fancier, and you can use your washi or masking tape to do this.
- Add another 1″ wide strip to the top (staple or glue in place) to be the handle of your lantern.
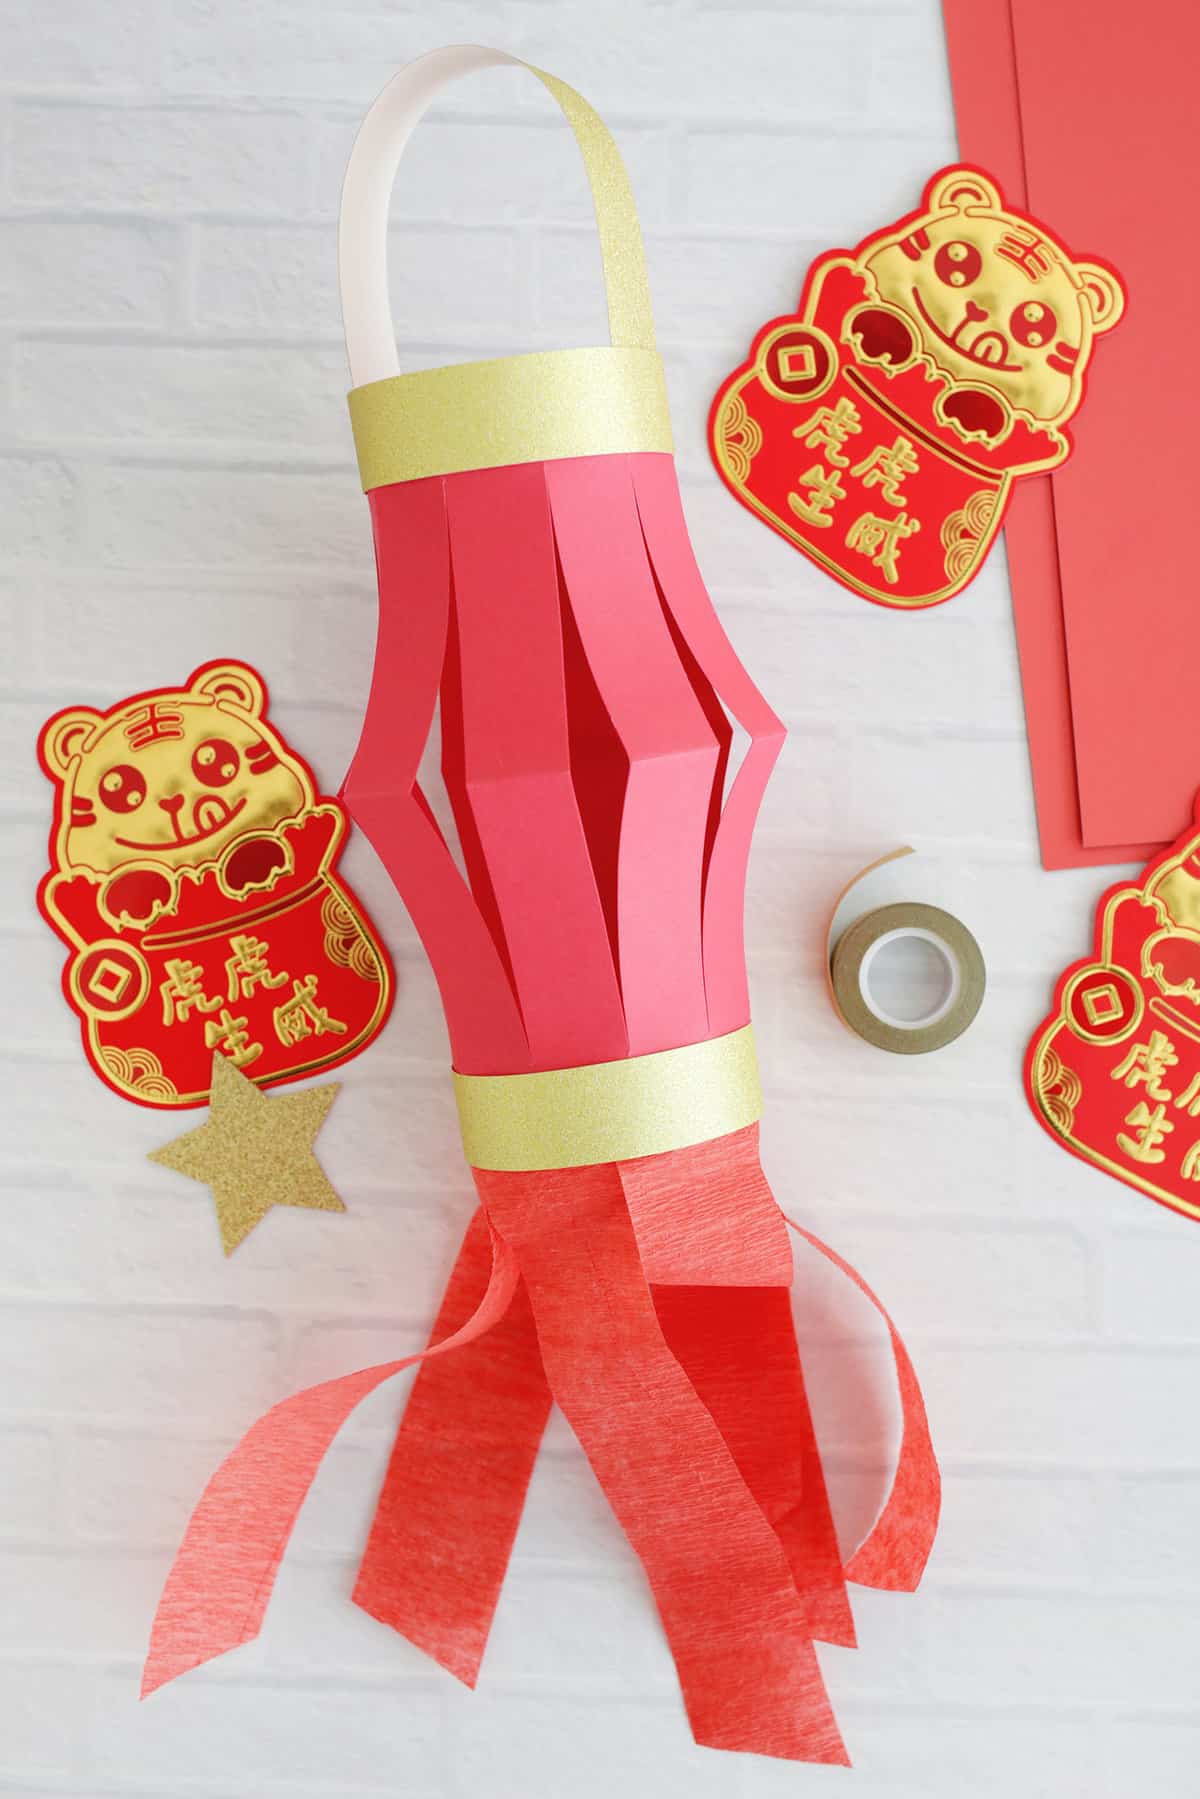
- You can either leave your lantern as-is or you can tape or glue streamers coming out of the bottom for some extra flair!


Tips for making paper lanterns:
- You can also use washi tape or masking tape to decorate the top and bottom edges of your lantern instead of extra strips of contrasting paper.
- It’s easier and faster to use a stapler for assembly where possible since that will fasten the pieces right away, and you won’t have to wait for dry time.
FAQ
Frequently Asked Questions
Can I add a candle to a paper lantern?
To add some light to your paper lantern we suggest using a battery-operated tea light or candle that you can set your lantern over on a table or flat surface.
If you’re hanging your lantern, you could also try tying a battery-operated tea light or candle from a string or fishing line hanging down from your lantern handle inside the lantern to get a glow from within while hanging.
How do I store a paper lantern?
This style of paper lantern is a little more difficult to store in its assembled state, but you could use a minimal amount of staples to assemble and then remove the staples so that it will be a flat piece of paper again for easier storage.
Get creative ideas for recipes, crafts, decor, and more in your inbox!
 Get the How-To
Supplies
- 1 piece of cardstock (or construction paper)
- 1 glue stick (or stapler)
- washi or colored masking tape (optional)
- streamers (optional for bottom of lantern)
- paper lantern template
Instructions
- Print out your paper lantern template onto white copy paper or print directly onto a sheet of 8.5 x 11 construction or cardstock paper (you can turn the template writing to be on the inside of the lantern if you choose to print right on to your colored paper so you won’t see it later).
- If using the copy paper, fold in half where indicated and place it on top of your colored 8.5″ x 11″ paper that’s also folded in half.
- Holding the two pieces together, cut the lines as the template shows.
- Unfold the paper and overlap the two ends that are uncut to make a circle and staple in place on the top and the bottom.
- Cut a strip of paper about 1″ wide to glue or staple along the top and bottom of your lantern (optional but makes it look a little fancier).
- Add another 1″ wide strip to the top (staple or glue in place) to be the handle of your lantern.
- You can either leave your lantern as-is or you can tape or glue streamers coming out of the bottom for some extra flair!
Equipment
Notes
- TIP: You can also use washi tape or masking tape to decorate the top and bottom edges of your lantern instead of extra strips of contrasting paper.



awesome, thank you
Did this craft with my kids today, even the 3 year old could cut the lines! They loved decorating their lanterns with stickers and tape.
Great activity, thanks