Now that you can hear the jingle jangle of sleigh bells in the air, it’s the perfect time of the year for Christmas crafts!
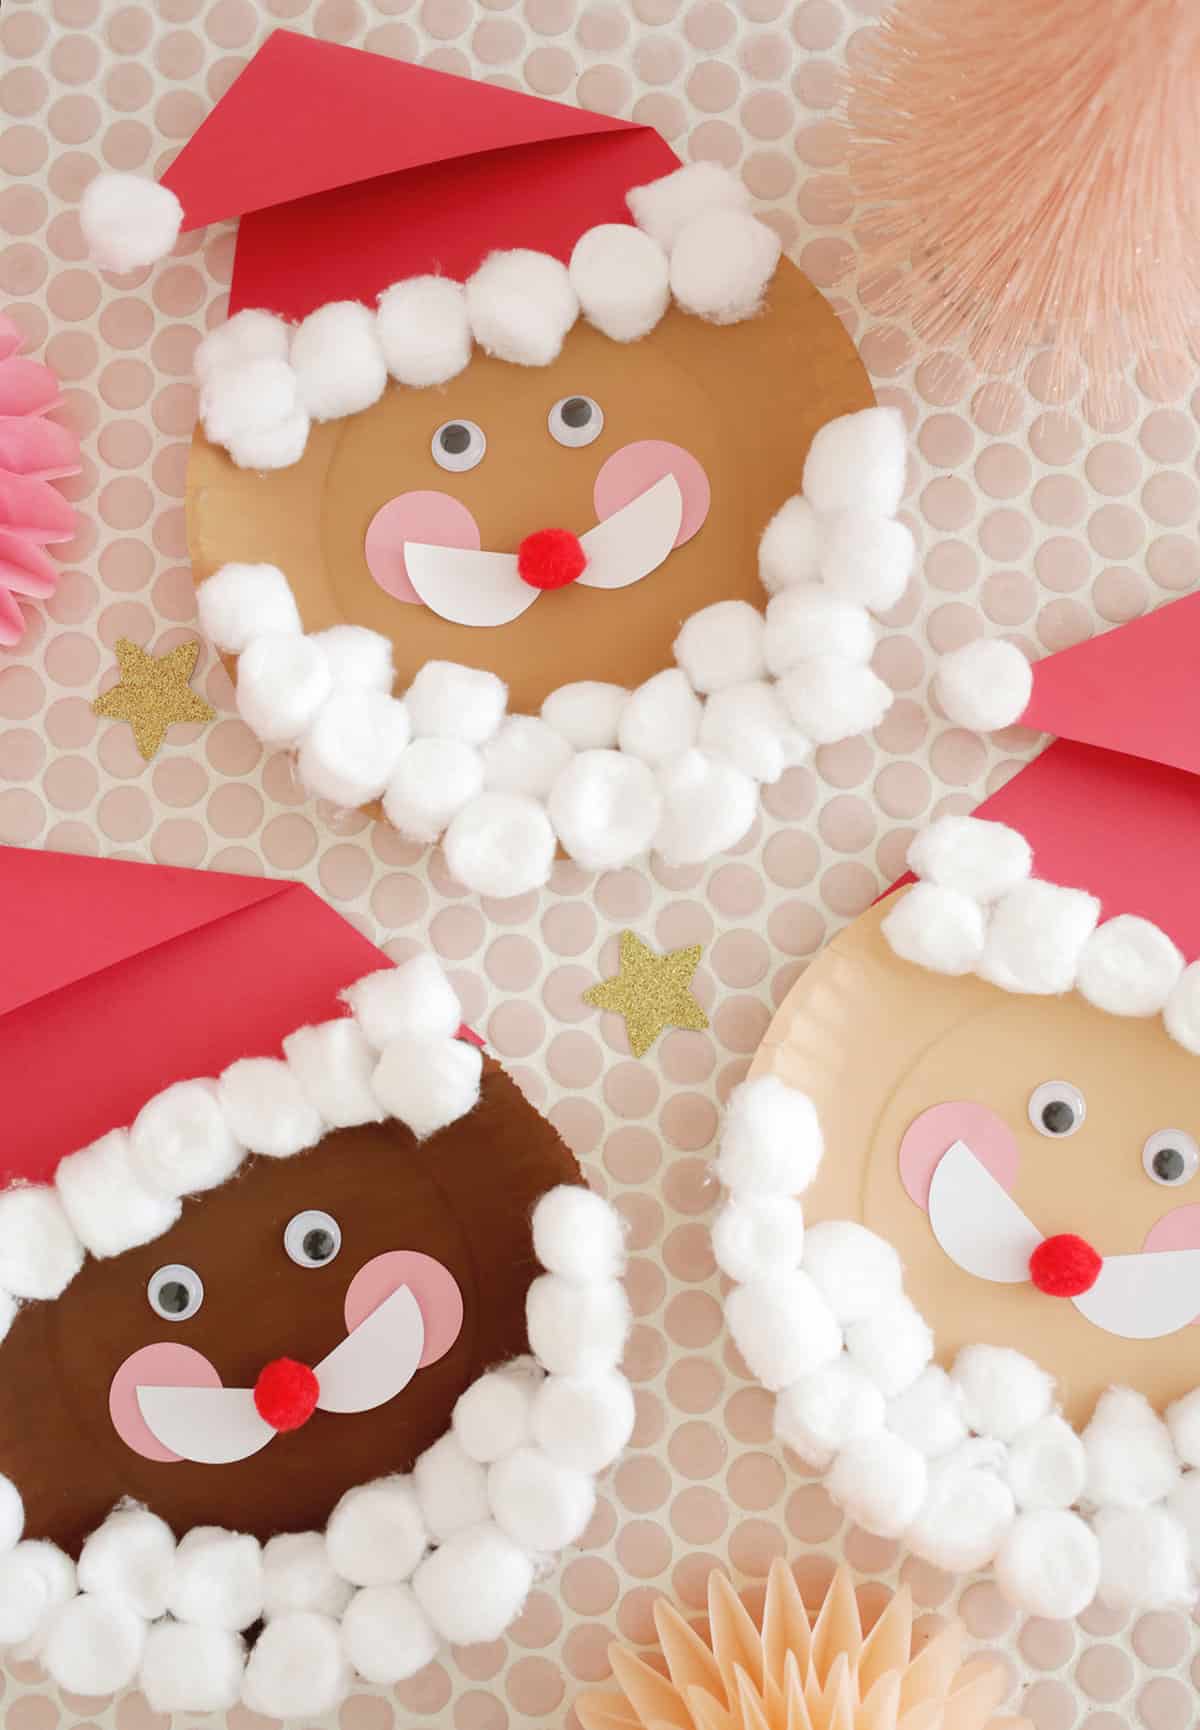
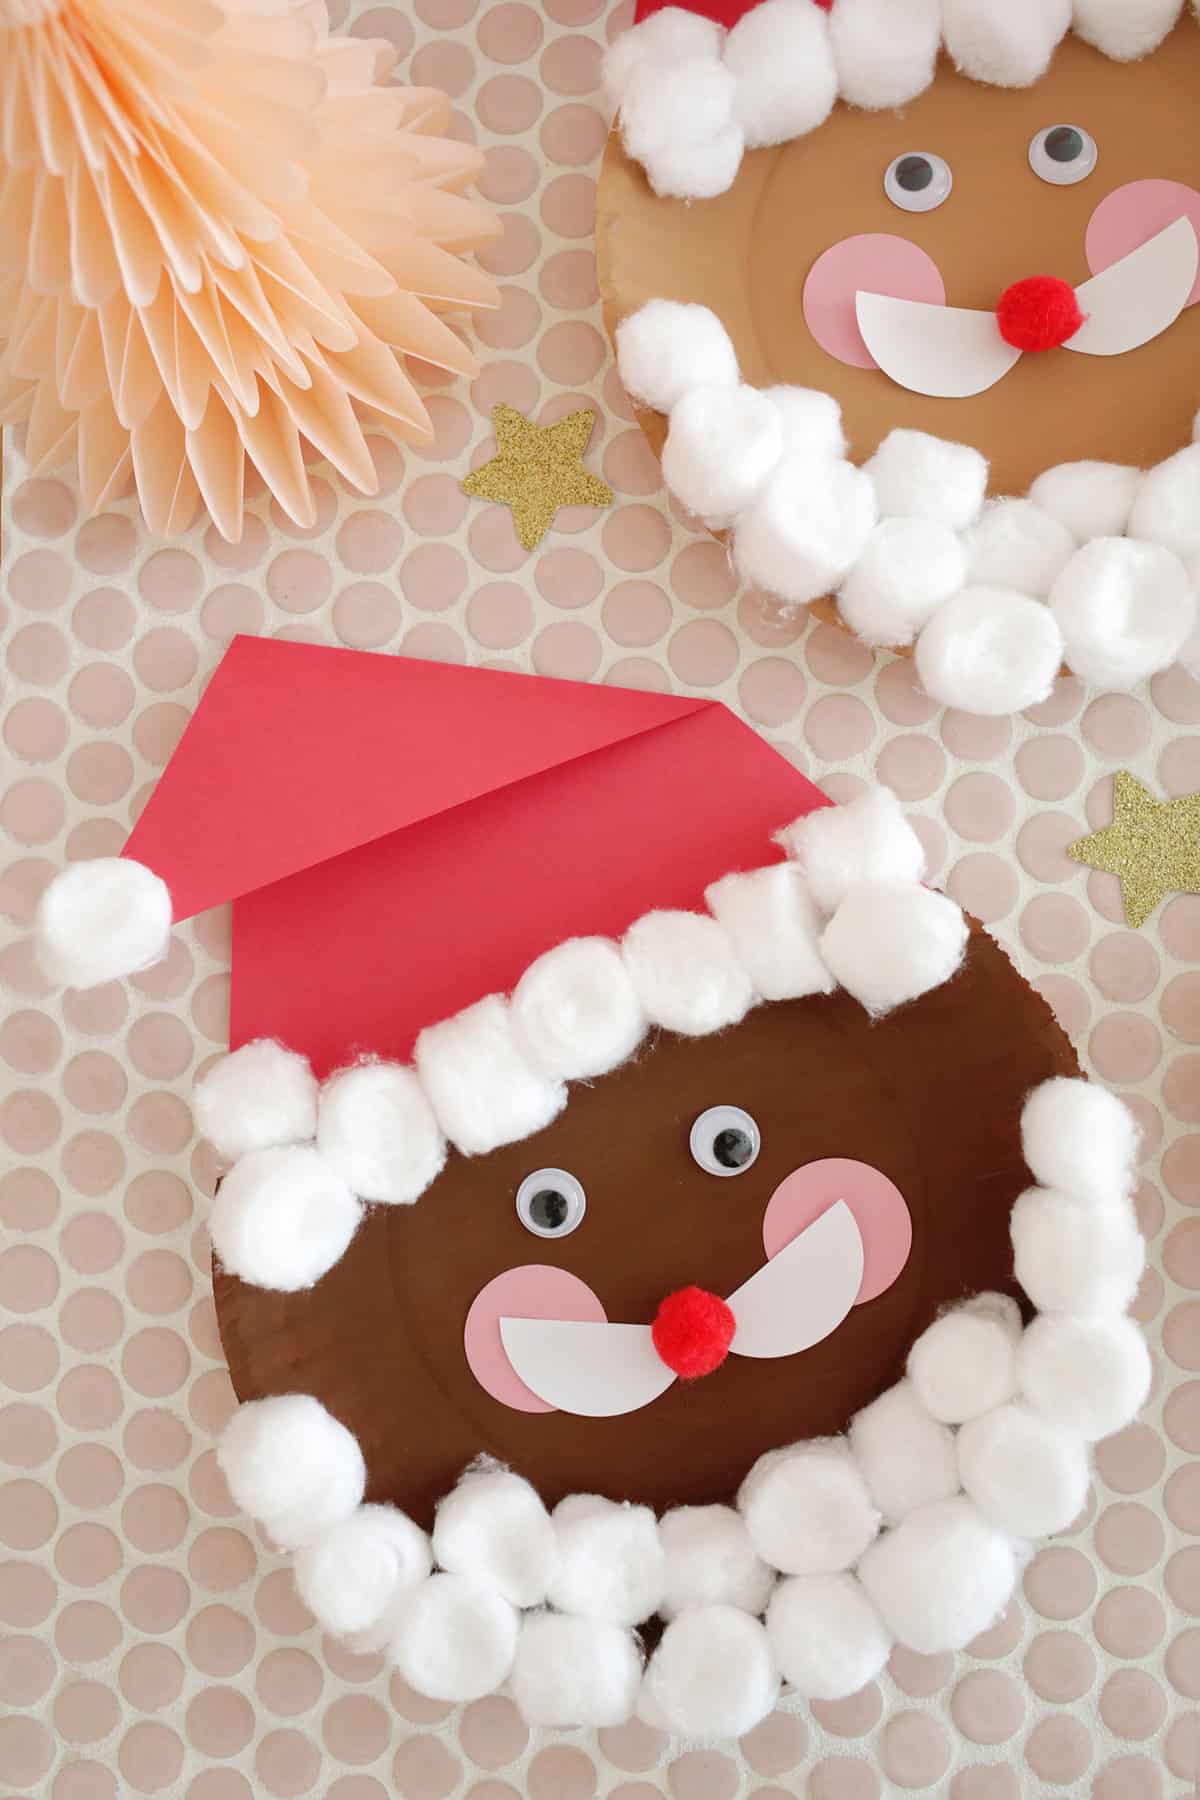
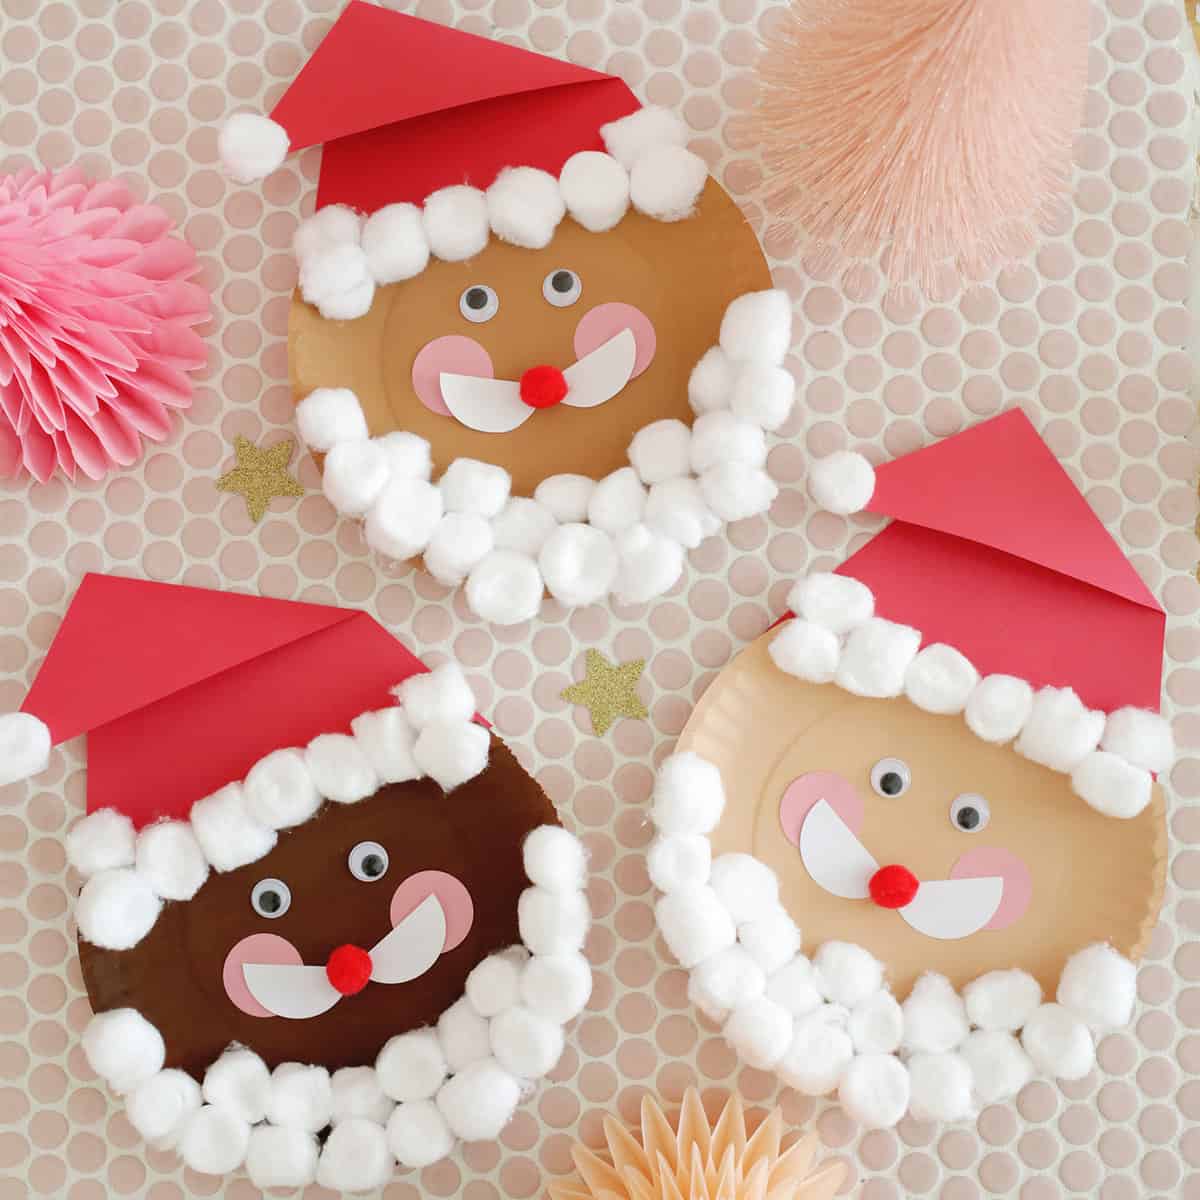
Making crafts from every day items like paper plates is a great way to get kids into the holiday spirit. This easy paper plate Santa craft is fun for older toddlers, preschoolers, and elementary-aged kids.
The fun thing about paper plate crafts is that kids can take a basic supply and use their imagination to turn it into something colorful and fun for the Christmas season. Each Santa can be unique and personalized for the child making it.
Looking for more Christmas crafts and ideas? Check out:
- Gingerbread Man Template – Free Printable
- Paper Plate Christmas Wreath Kids Craft
- Paper Plate Christmas Tree Craft with Fingerprint Ornaments!
- Snowman English Muffin Personal Pizza (A Winter Snack Idea!)
- Christmas Bingo – A Free Printable Game
Would you like to save this?
Why kids love paper plate Santas:
- Kids love seasonal holiday crafts because it get them more excited for the holidays, and you can display them with the rest of your holiday decorations!
- With this craft, kids can practice with scissor, paint, and glue, so they get to experience multiple things.
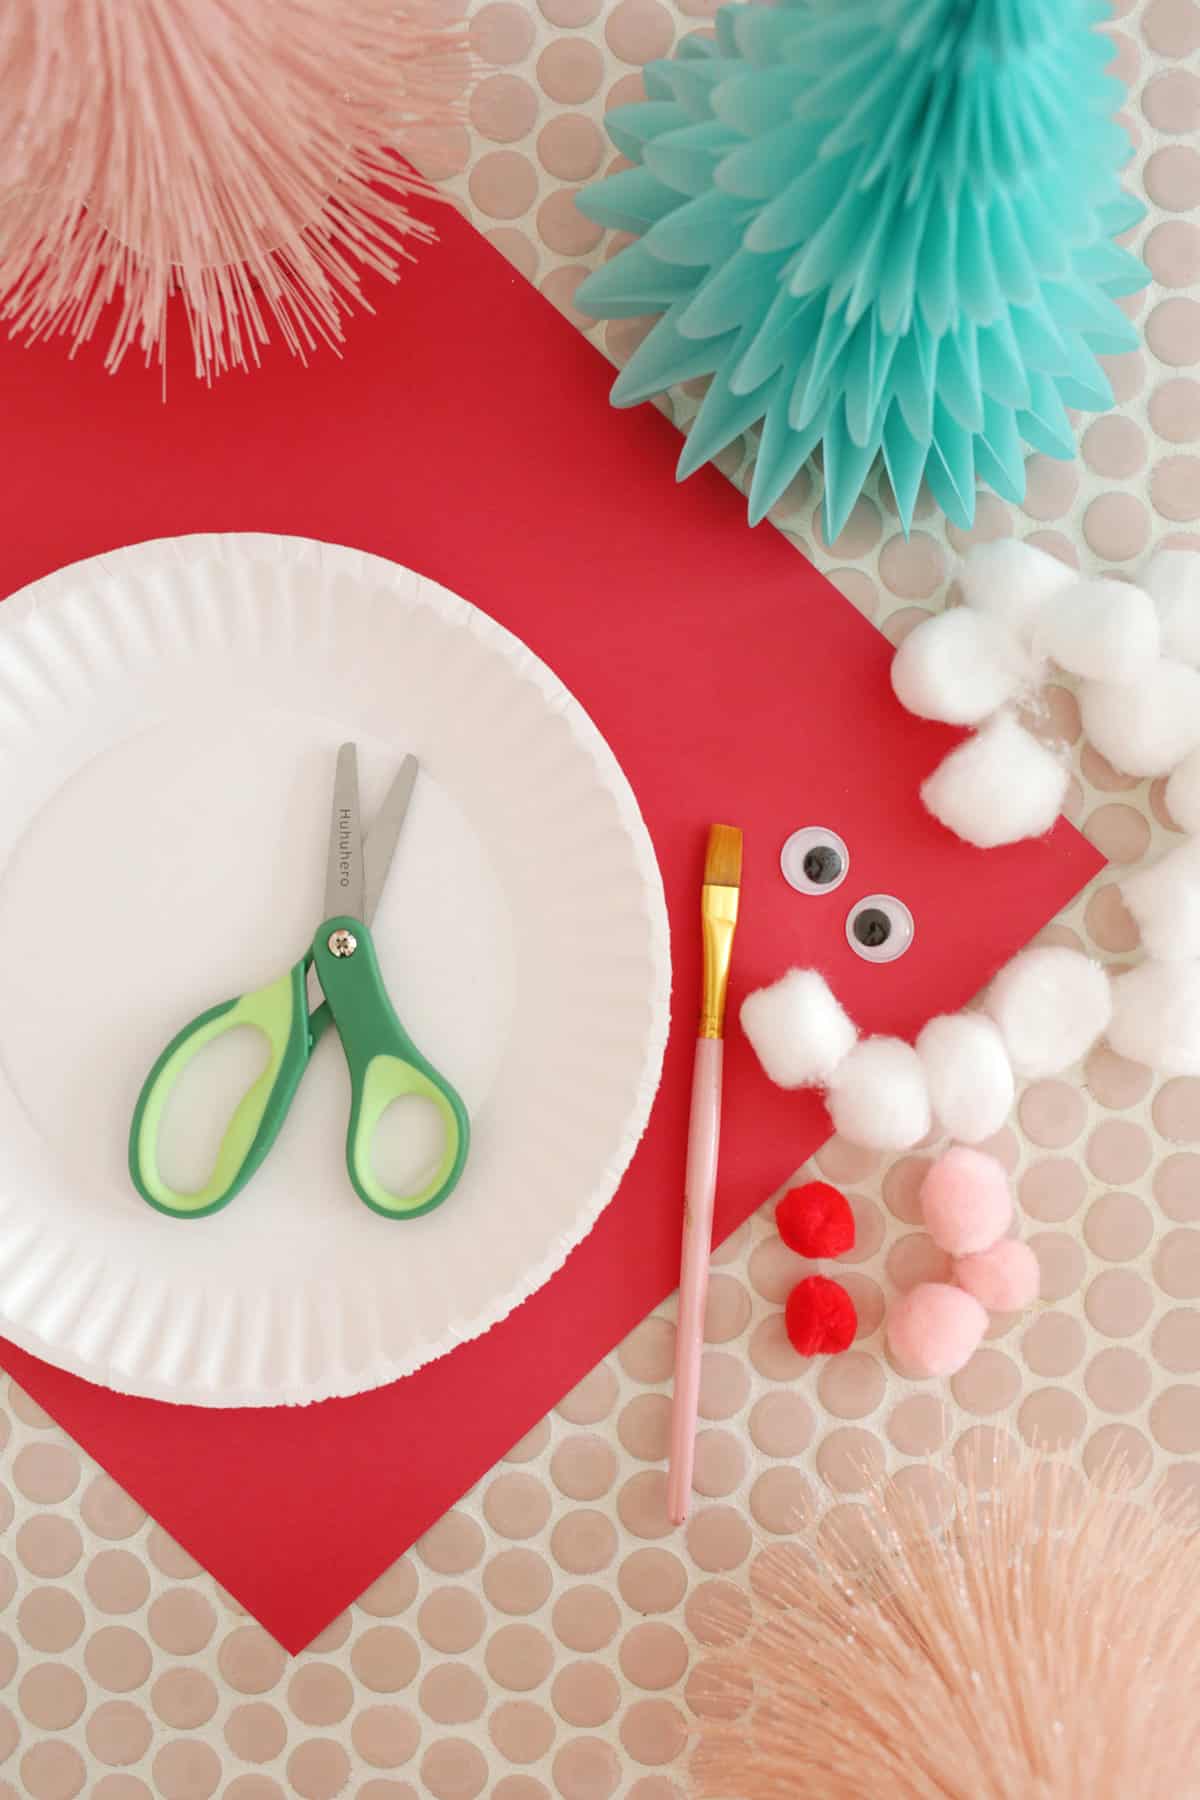
What you’ll need to make it:
- Paper plates
- Acrylic paint in your chosen skin tone and paintbrush
- Pink, red, and white construction paper or cardstock paper
- Scissors
- School glue or glue stick
- Cotton balls
- Google eyes
- Small red pom pom for nose (or can cut out a circle of red paper)
- Circle punch set (optional but helpful)
Tips for paper plate Santas:
- To use less cotton balls, you can also pull them apart to make them bigger/fluffier before adding to Santa’s face.
- If you want to do more painting, you can also paint on his cheeks, eyes, and mustache instead of using paper and google eyes.
- To apply the cotton ball beard, school glue will work better than a glue stick.
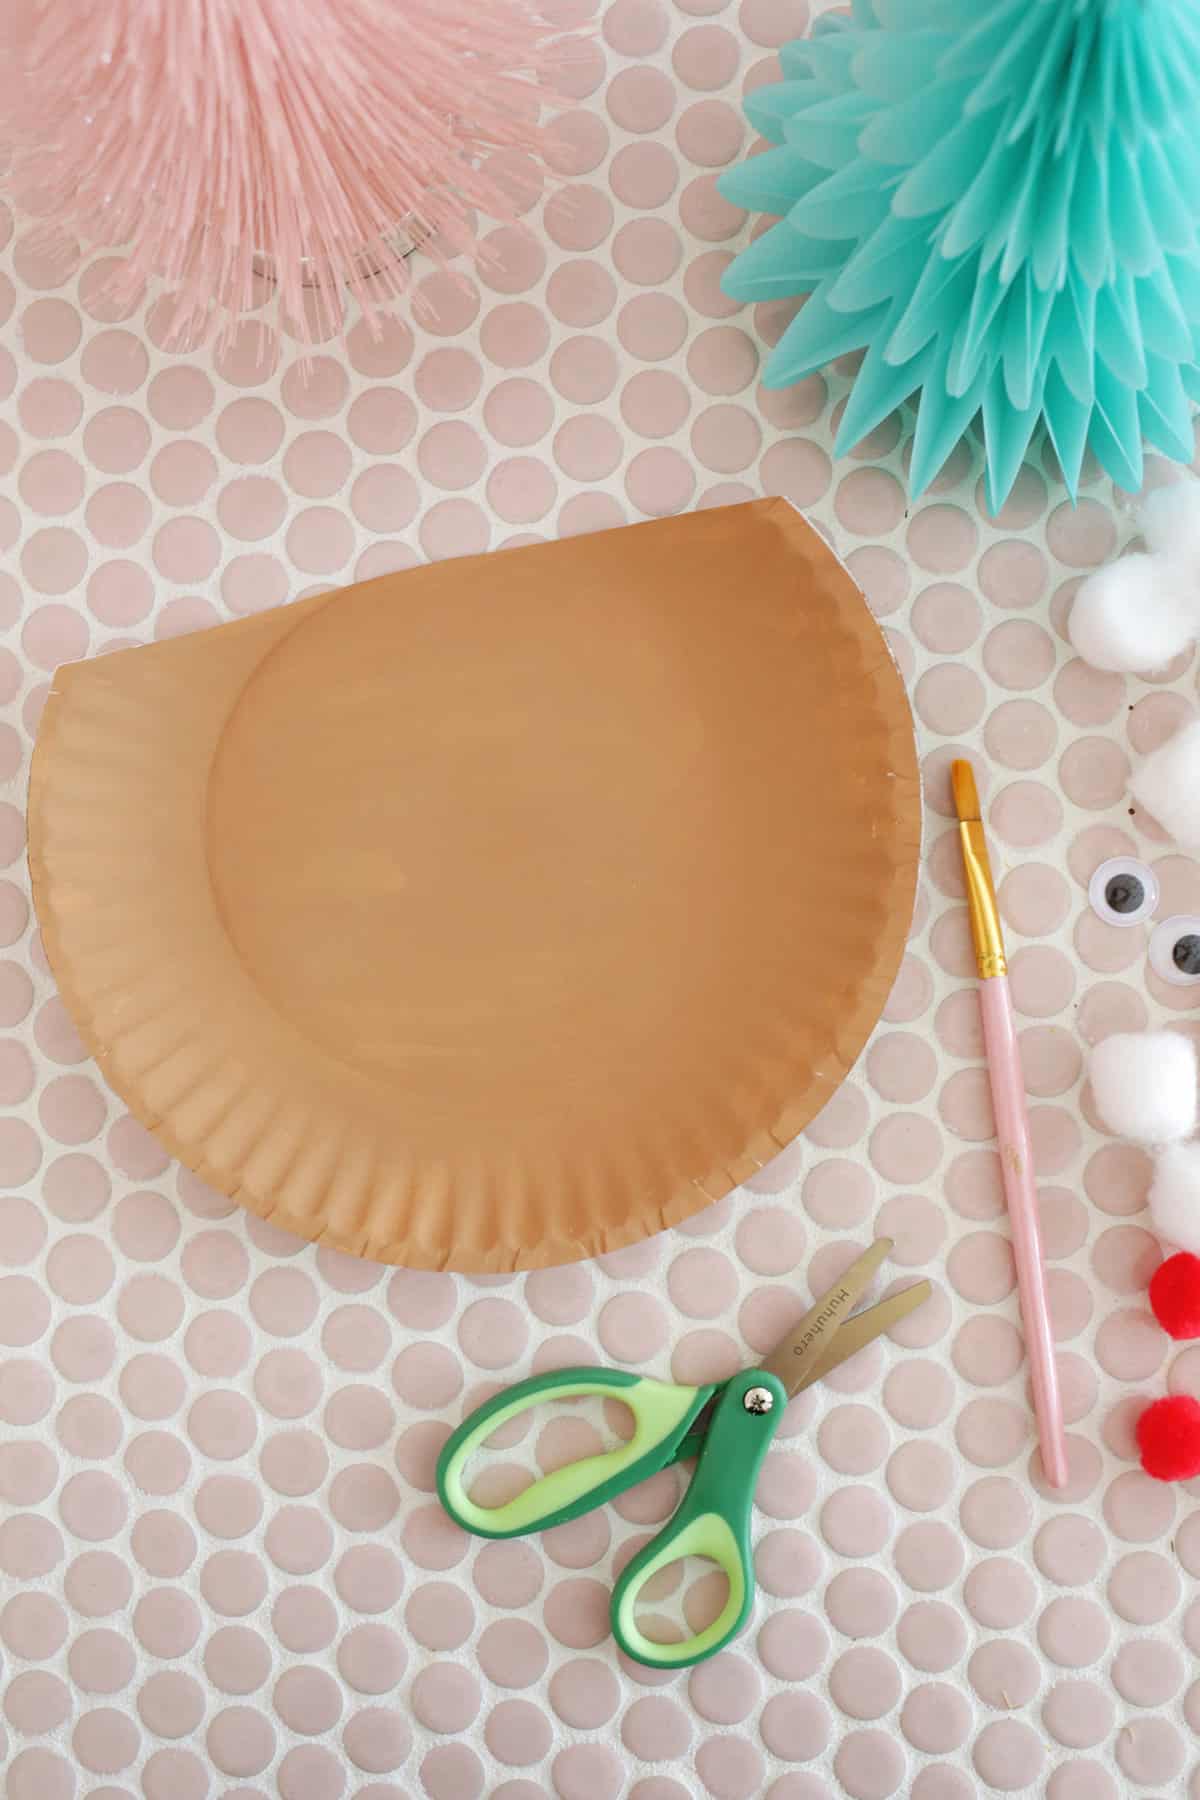
How to make a paper plate Santa:
- Start by painting your paper plate with a skin tone paint. Allow it to dry, and cut off the top section of your plate so you can attach your hat.
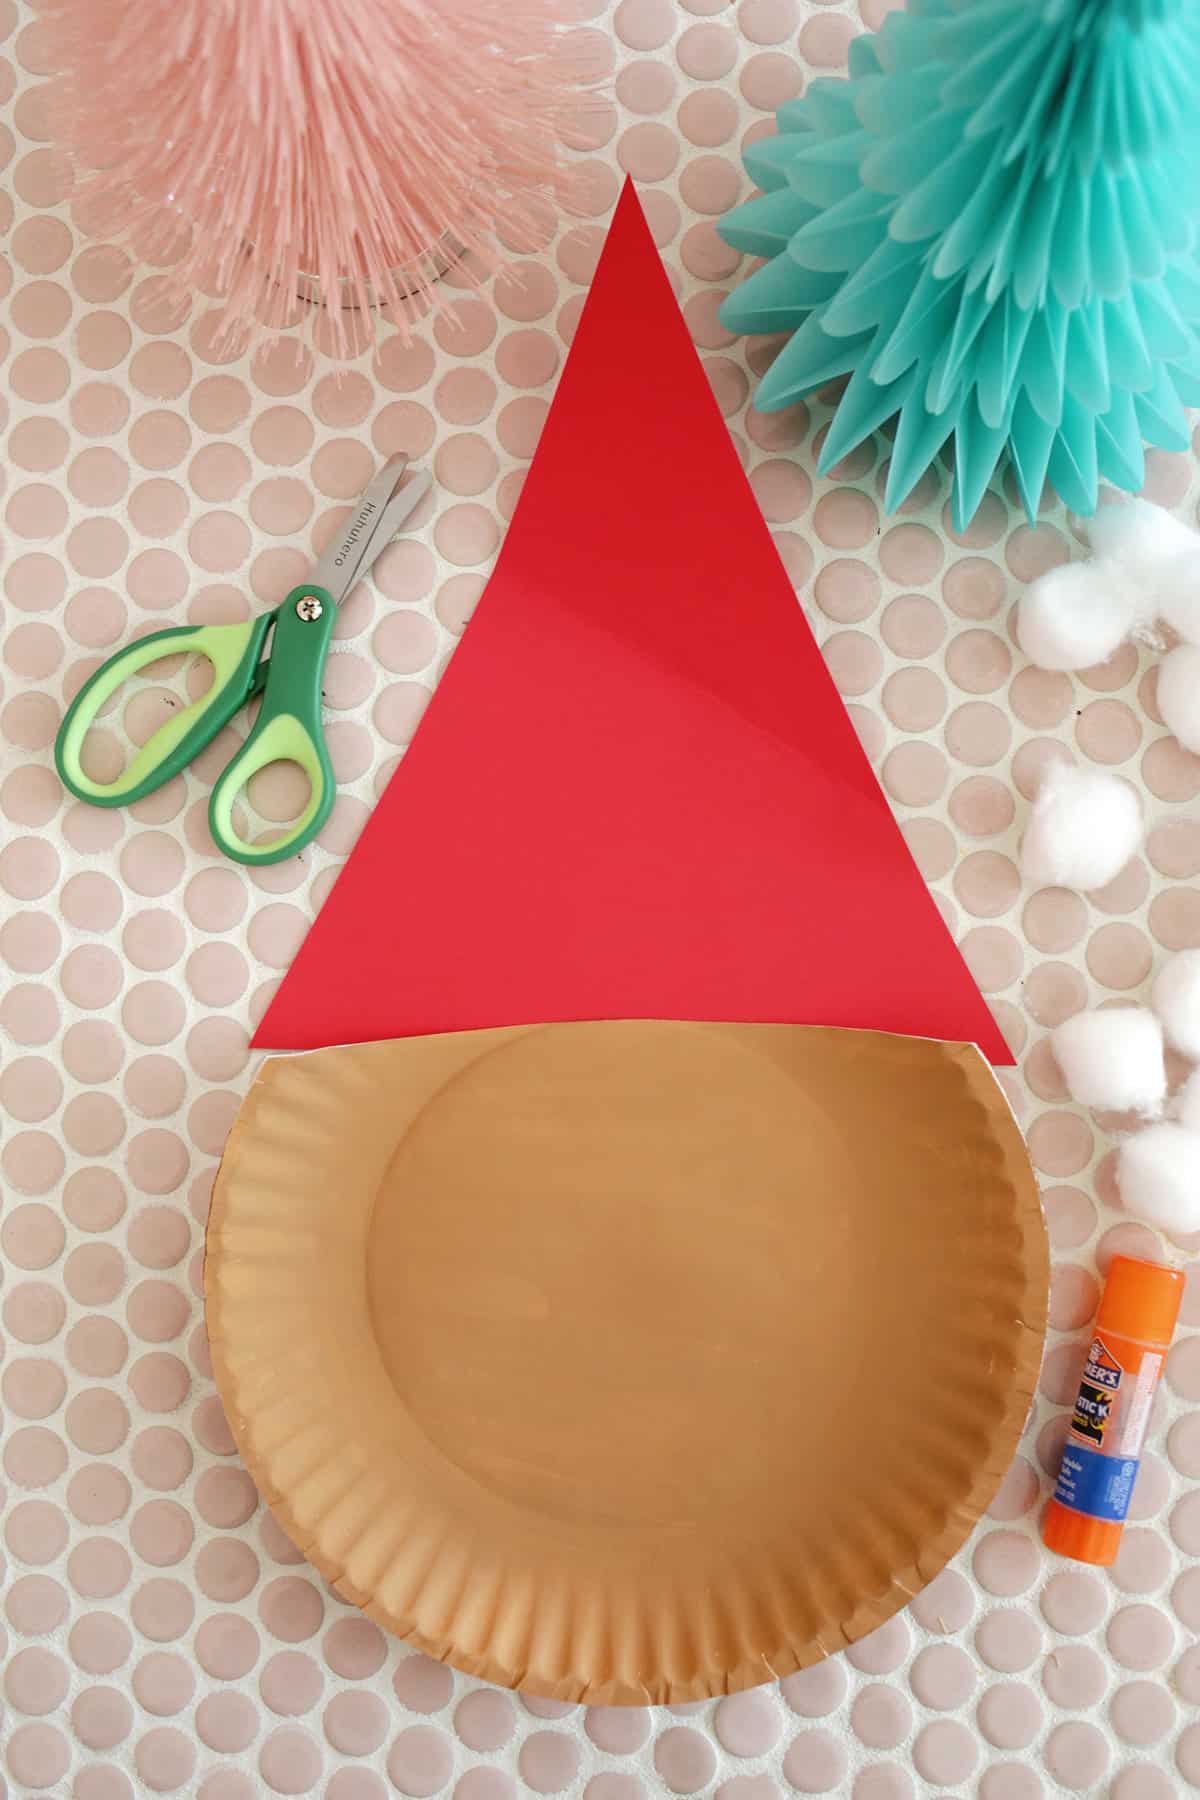
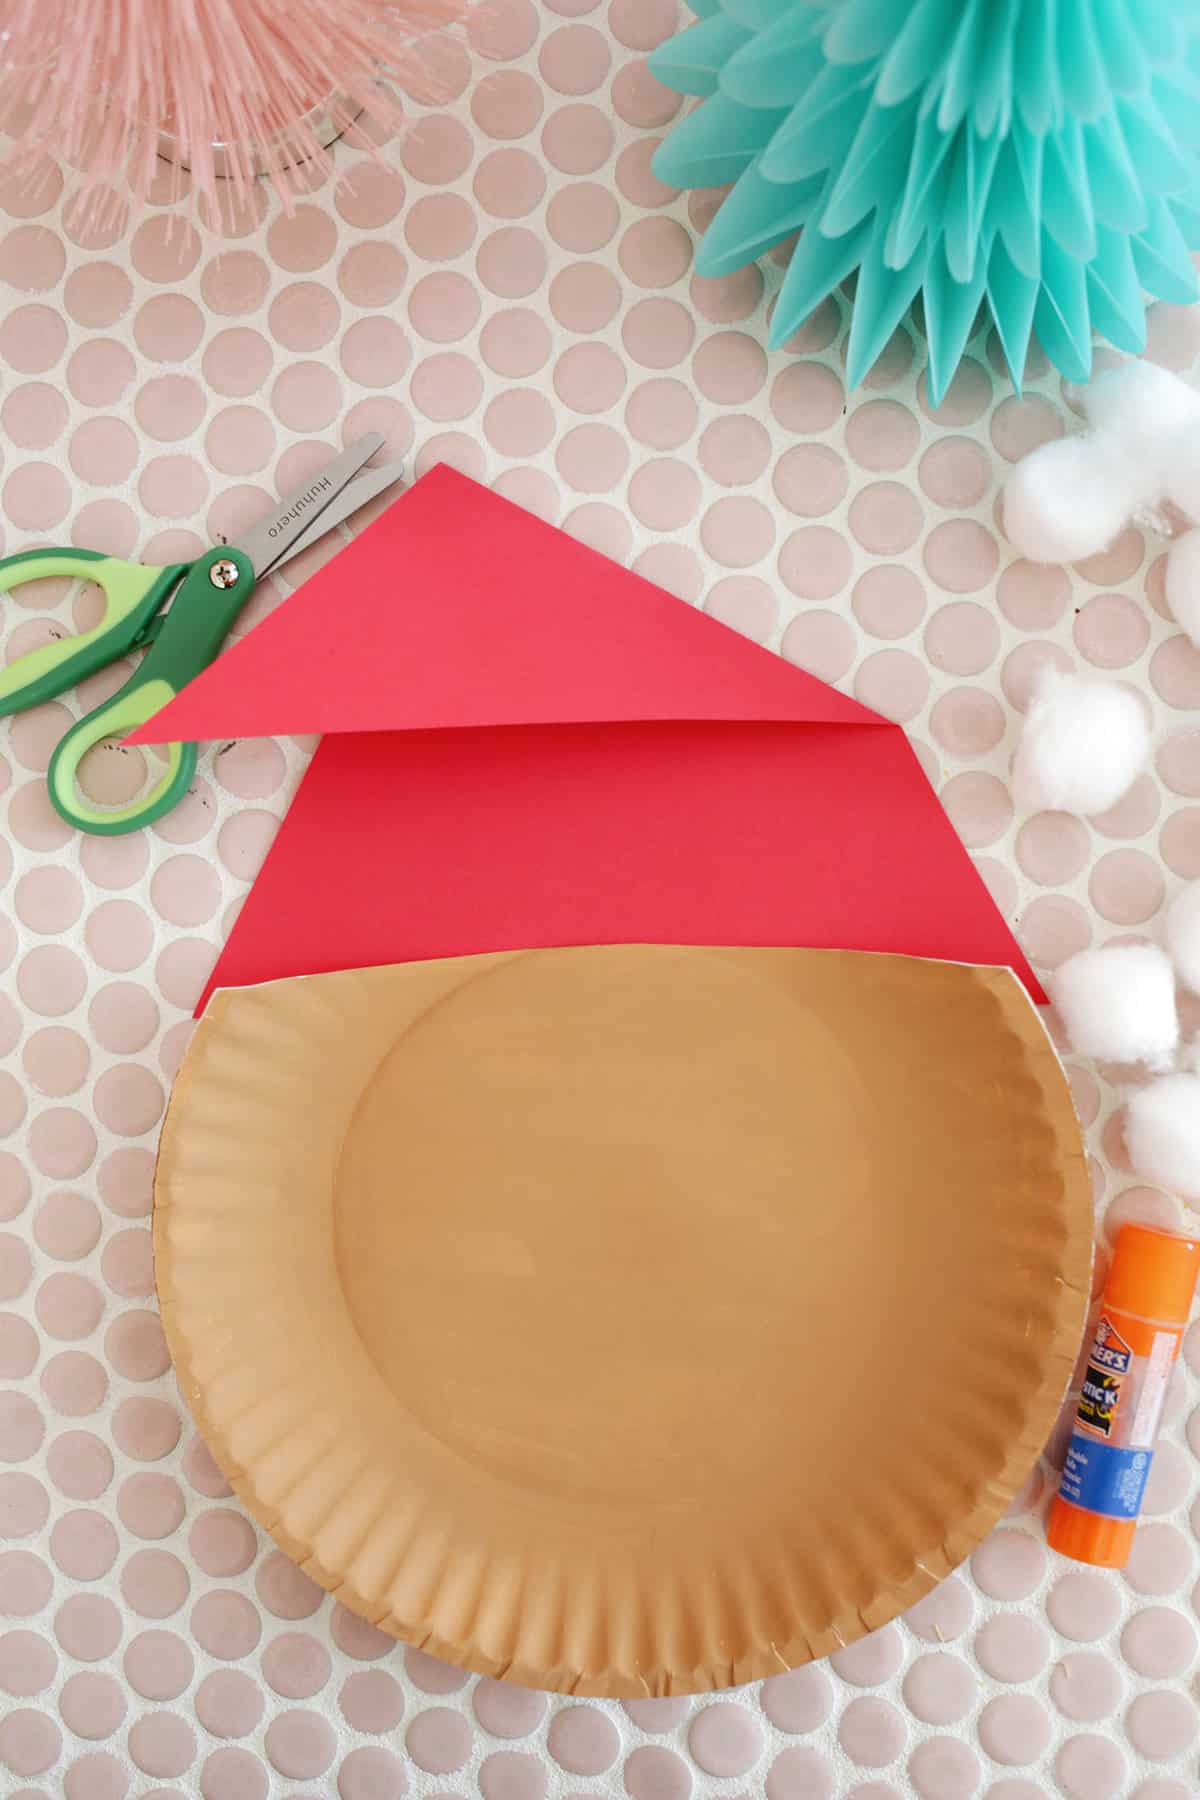
- Cut a tall triangle of paper that’s about the width of your plate section, and fold down the top of the triangle at an angle to create the hat. Use glue to glue the hat and plate together.
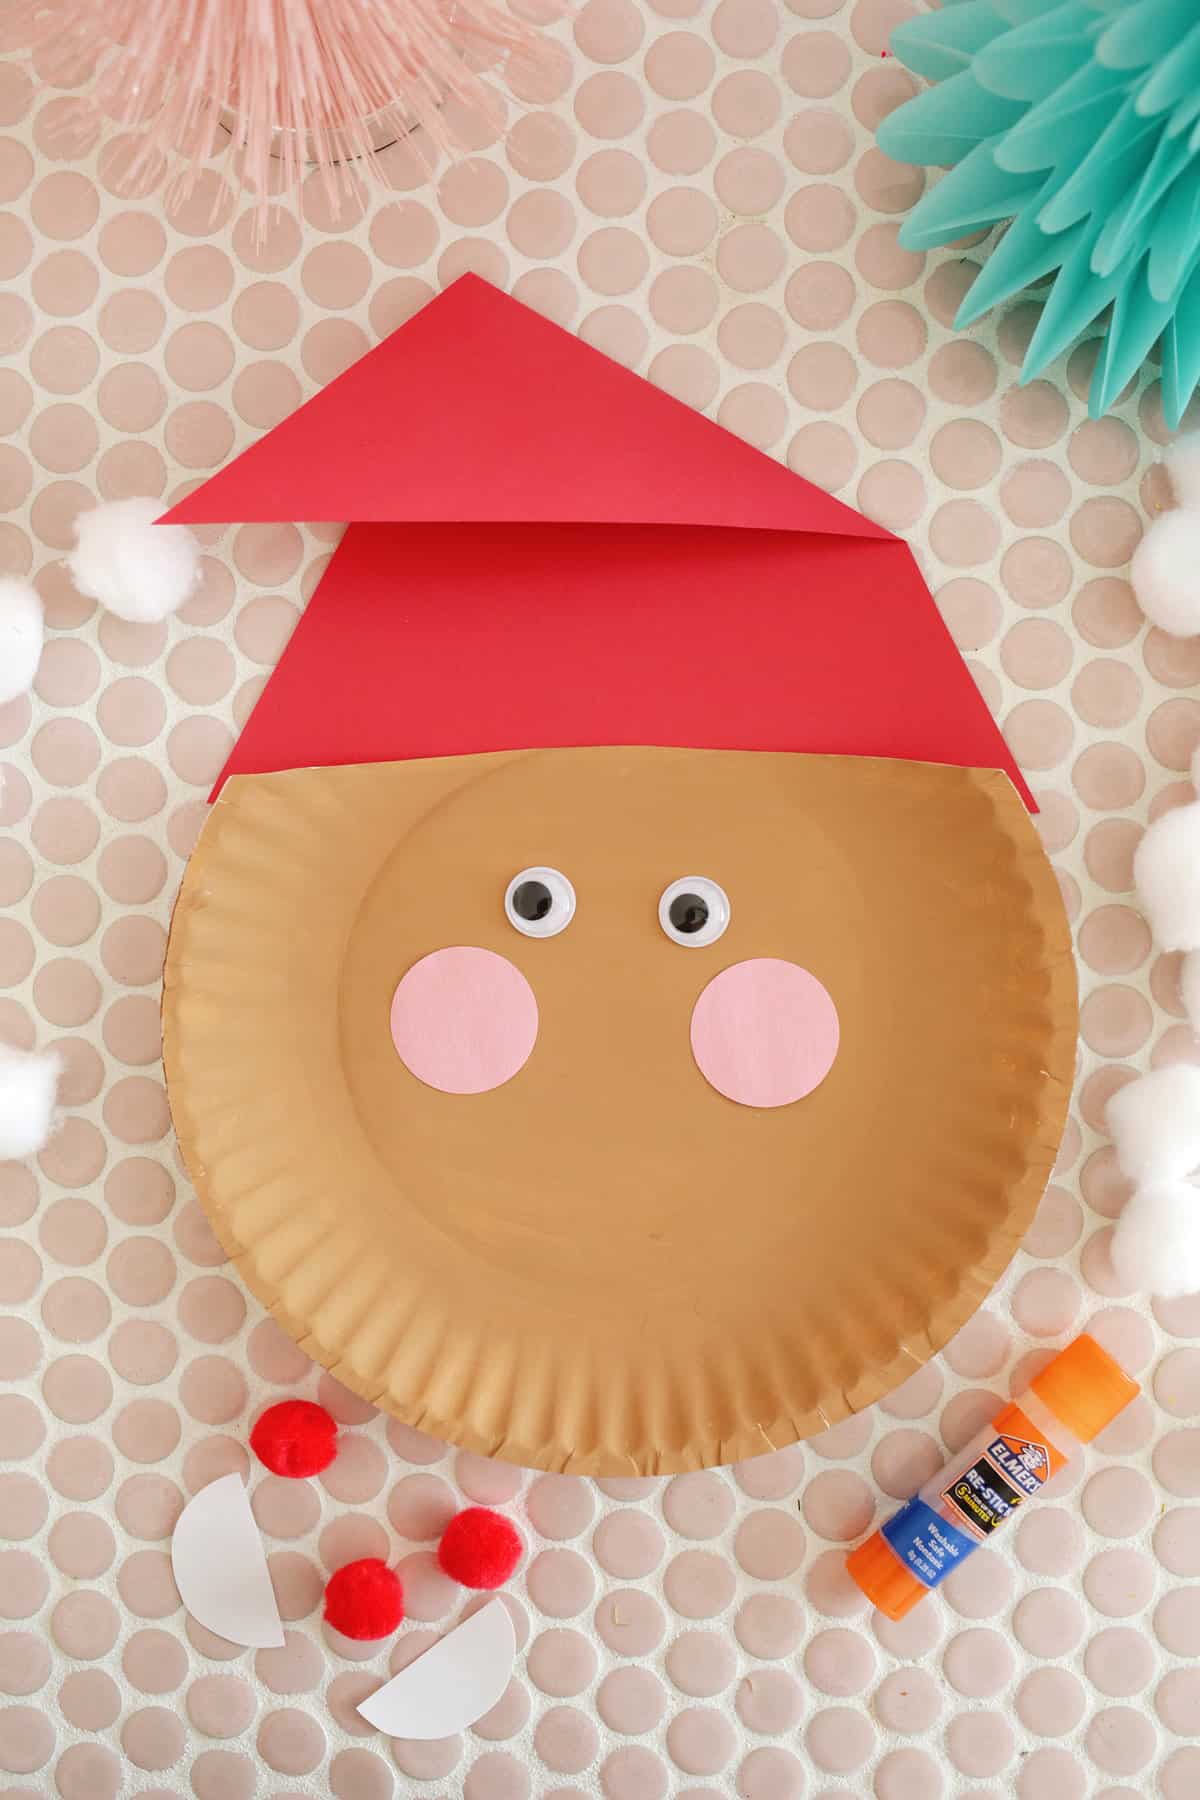
- Add some google eyes with glue to your paper plate, and cut out (or punch out with a circle punch) two pink circles to be his cheeks. You can also paint on the eyes and cheeks instead if you would like!
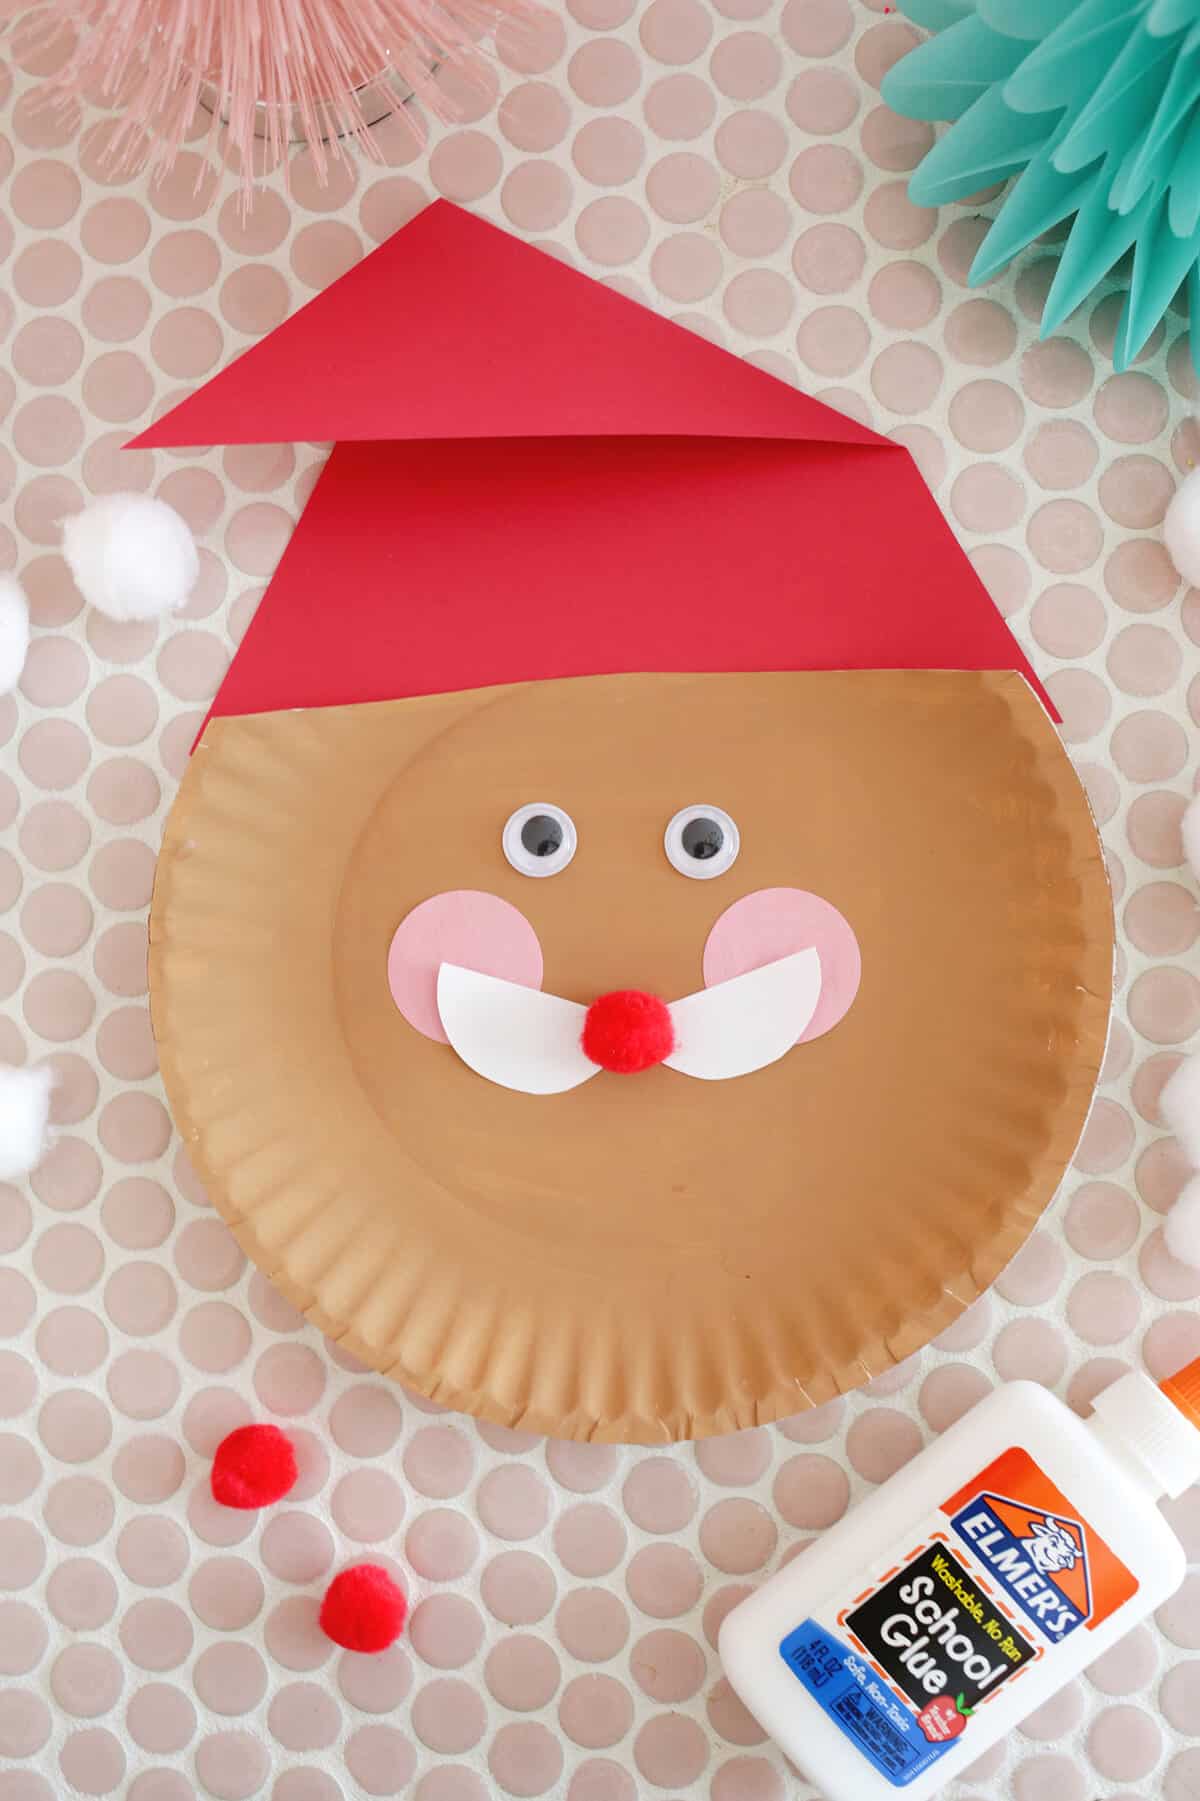
- Cut or punch out a white circle and cut it in half to be Santa’s beard mustache. Then, glue on the mustache to attach and add a red pom pom to be his nose.
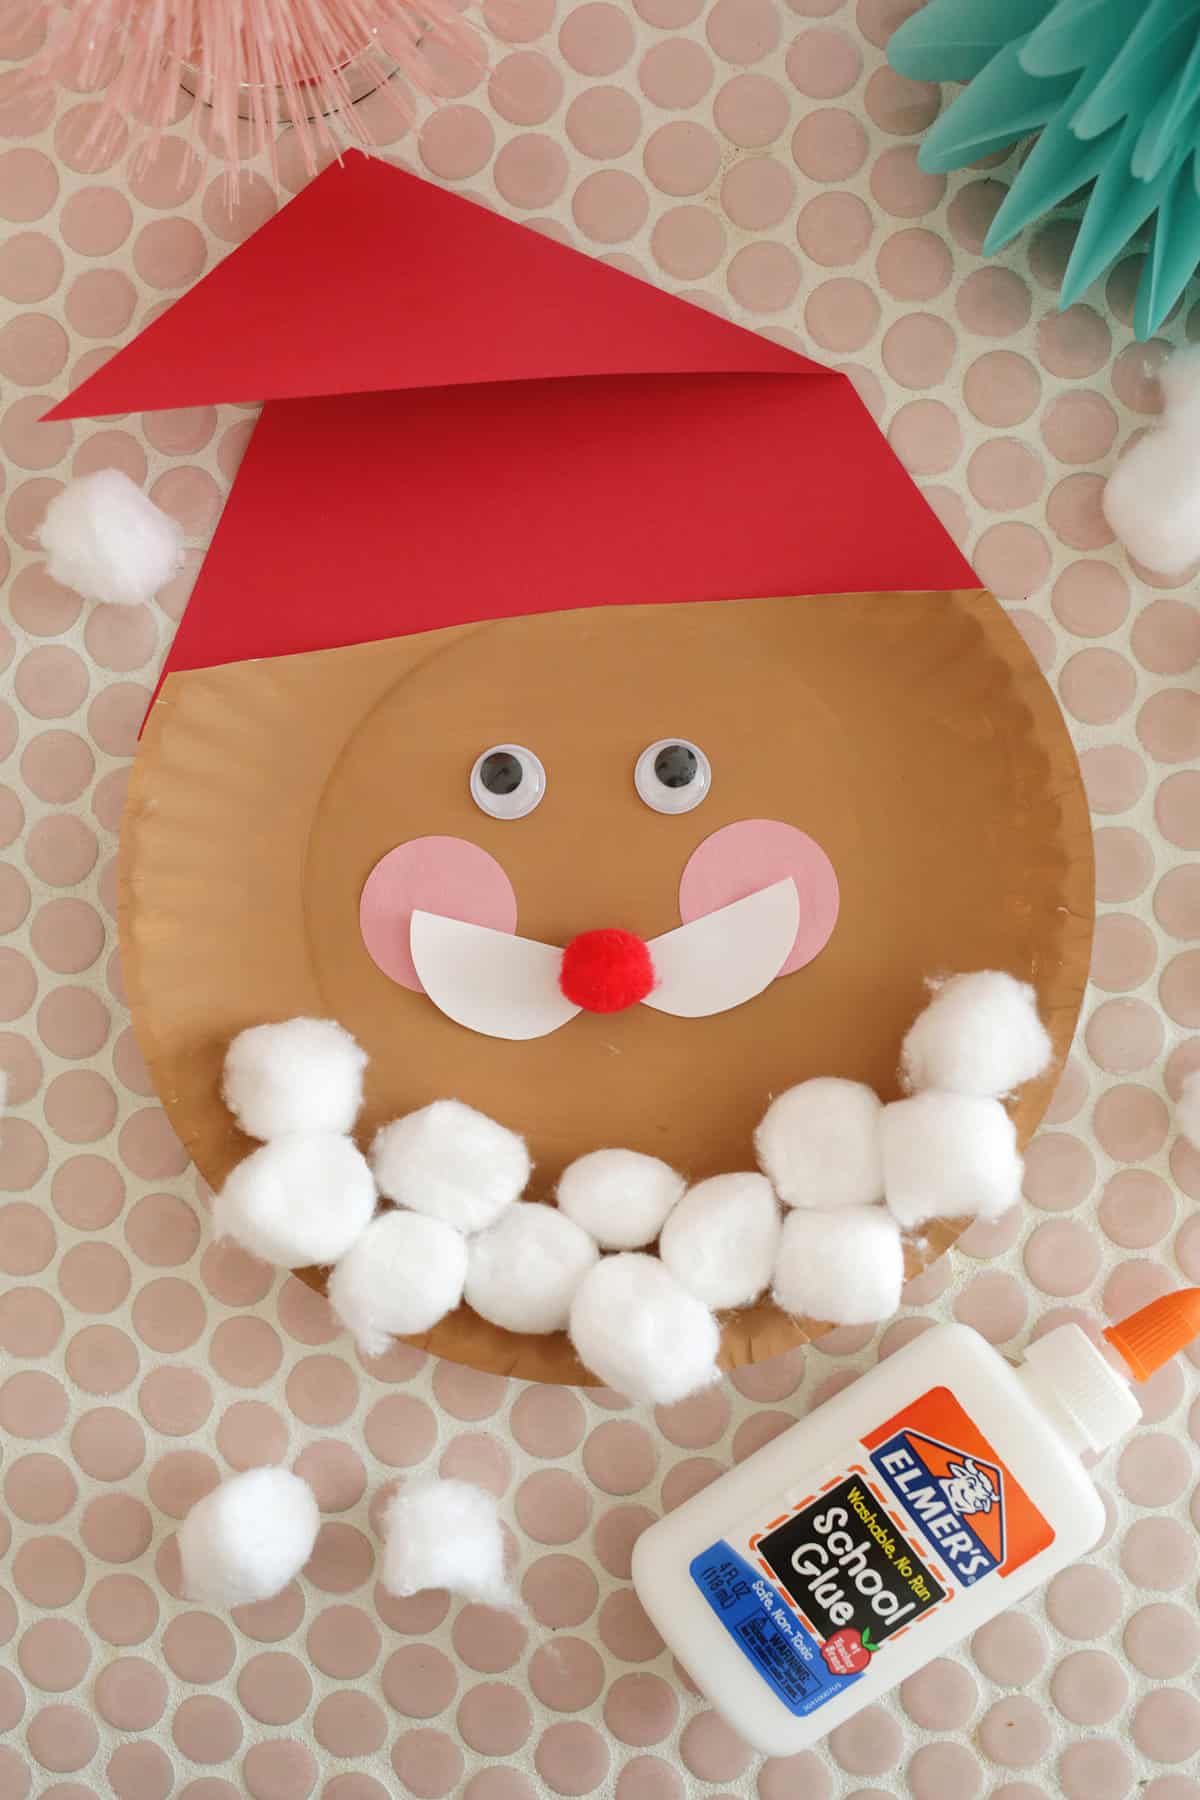
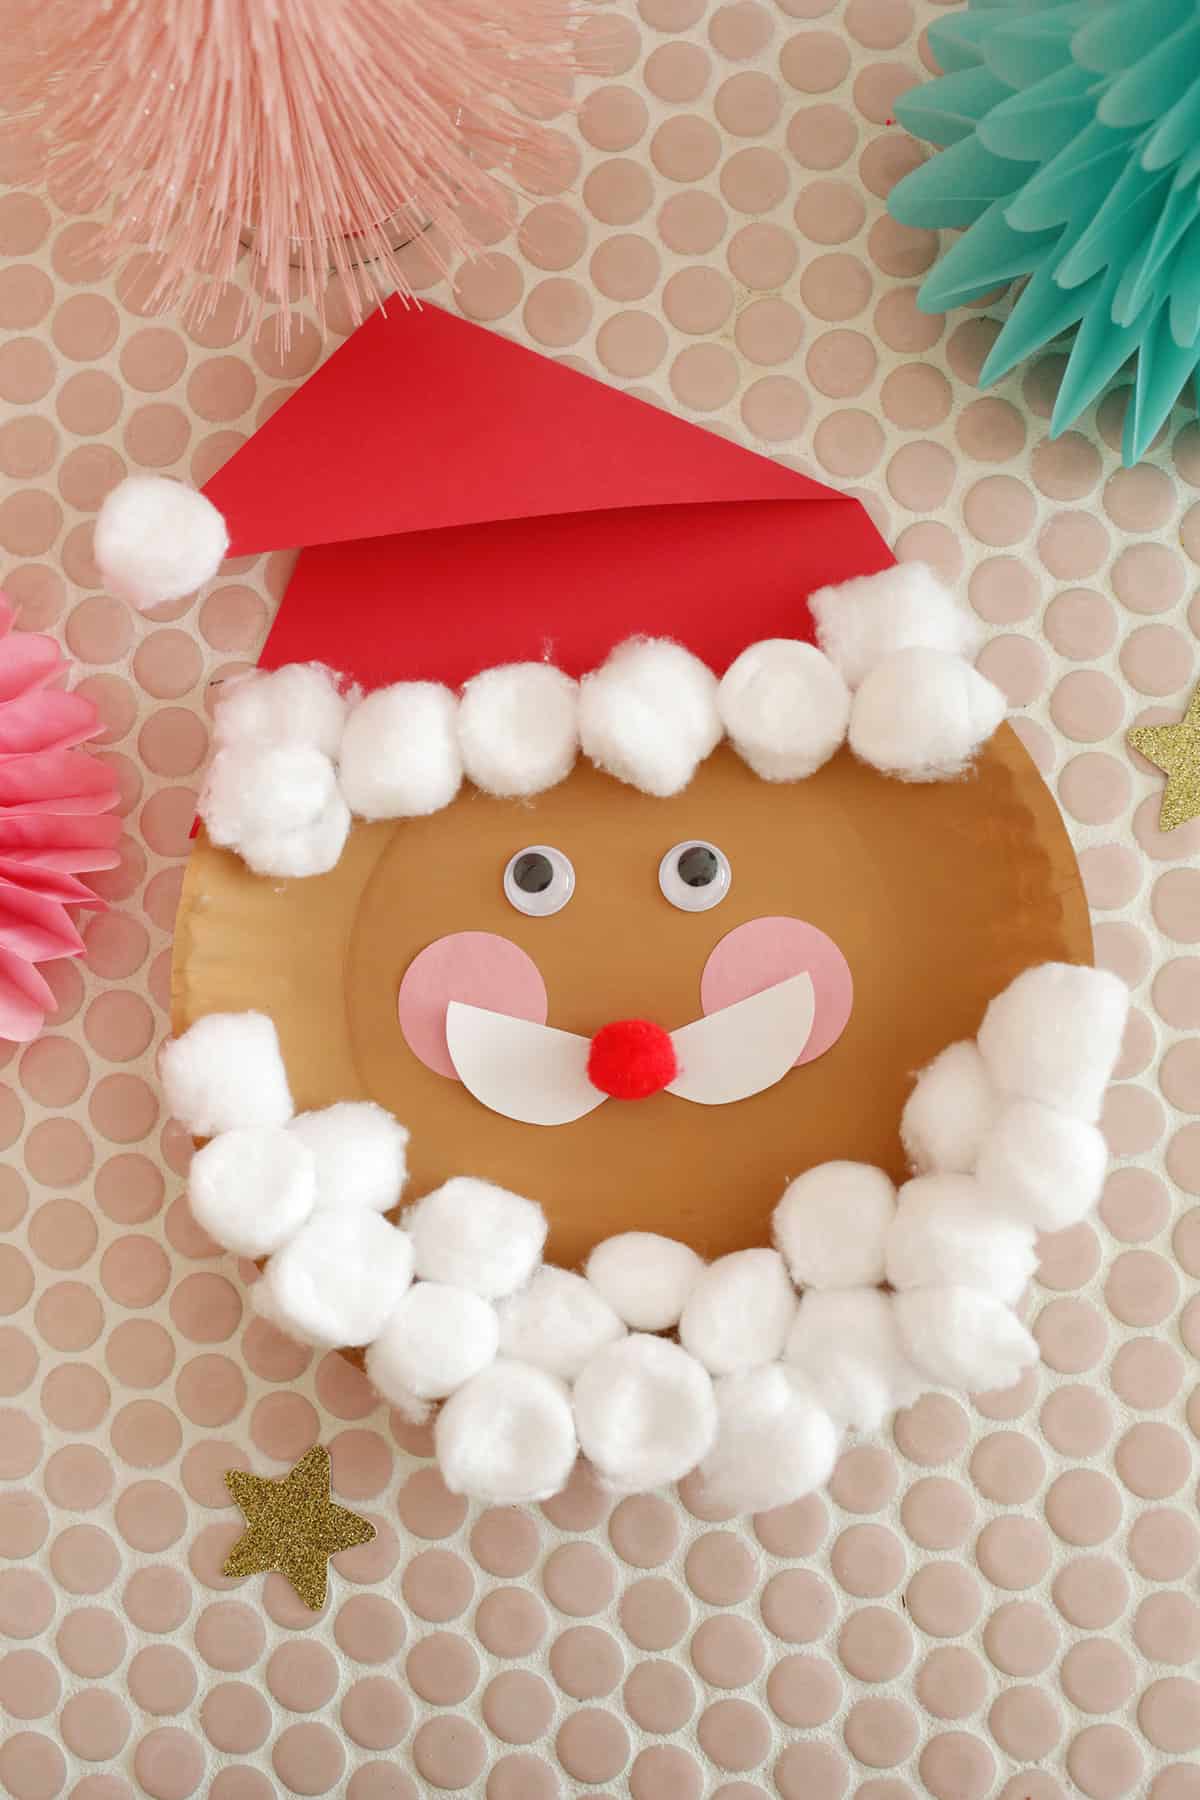
- Using school glue and cotton balls, create a beard on the bottom of the plate and add cotton balls to be the trim on his hat.
- Allow the glue to dry and your Santa is ready to display!
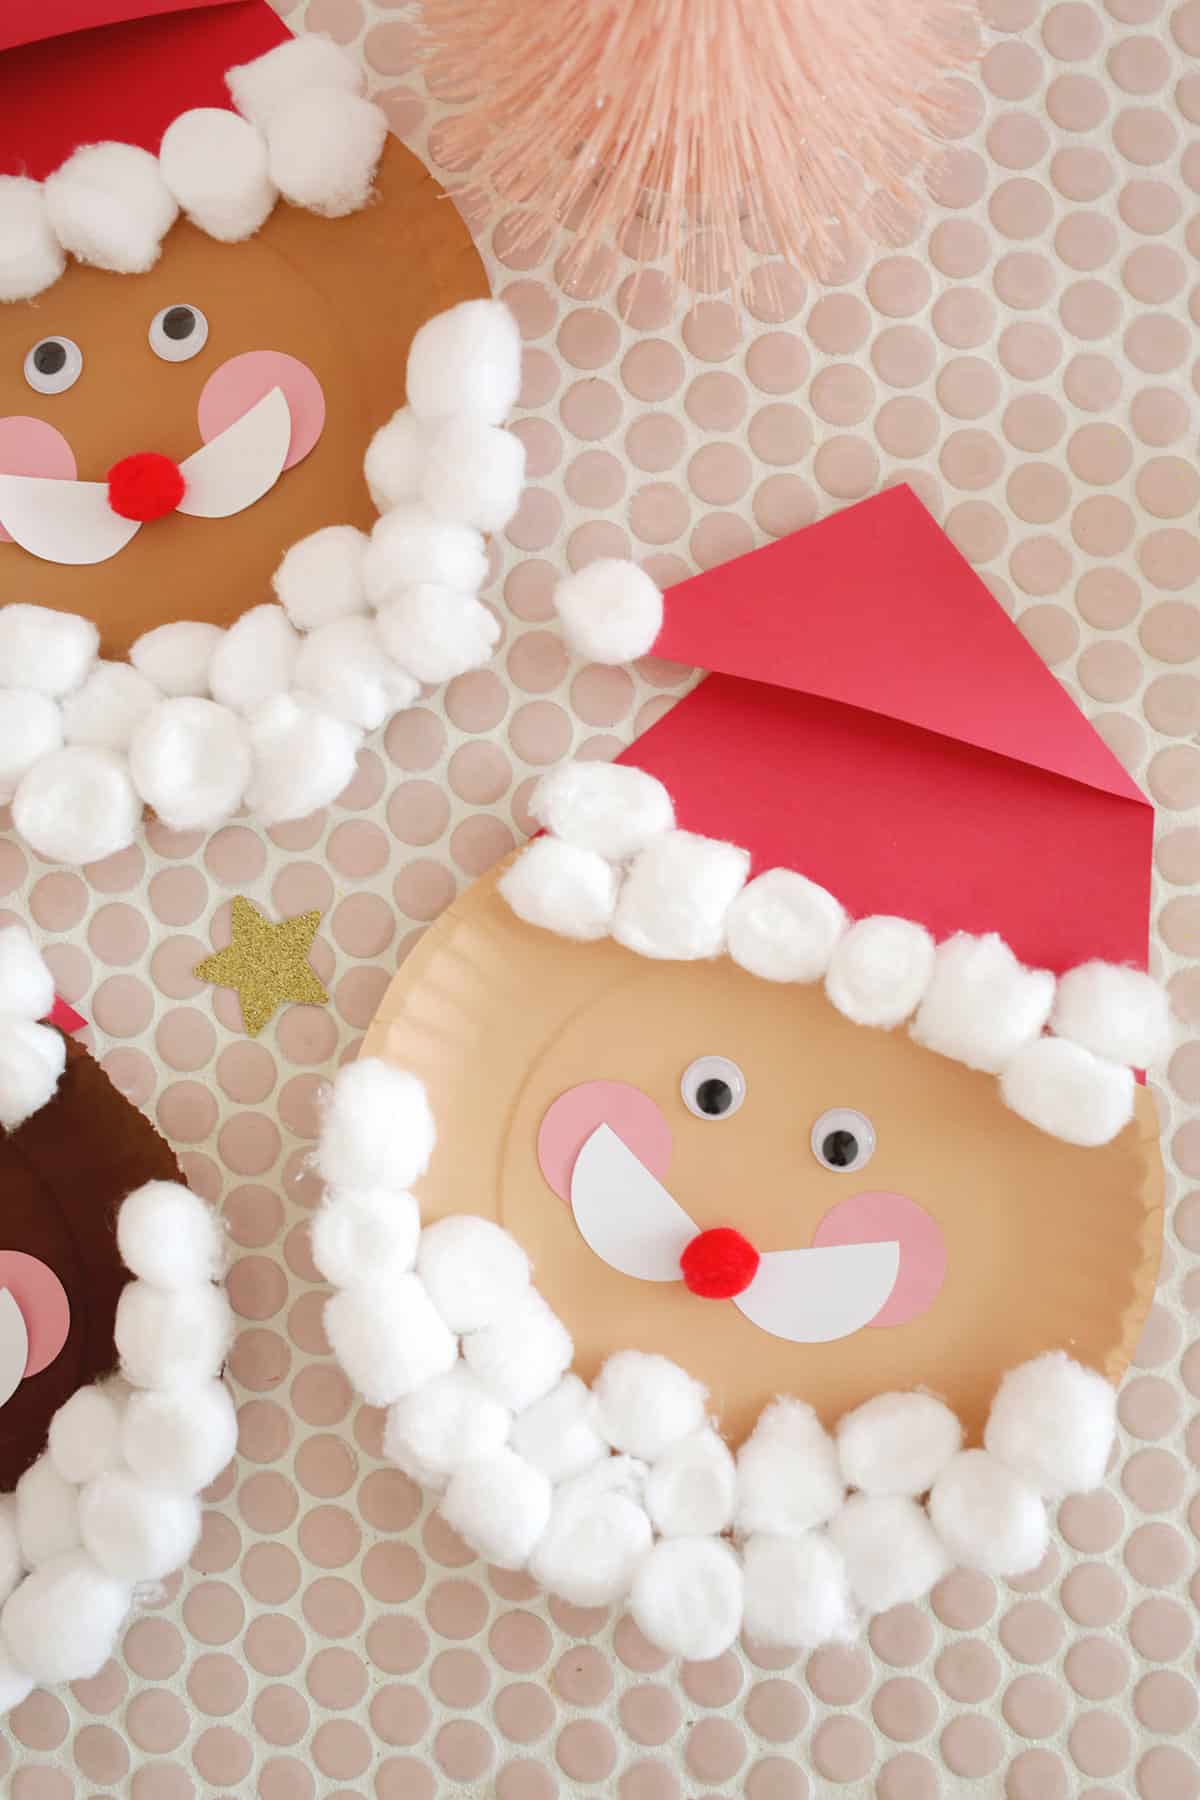
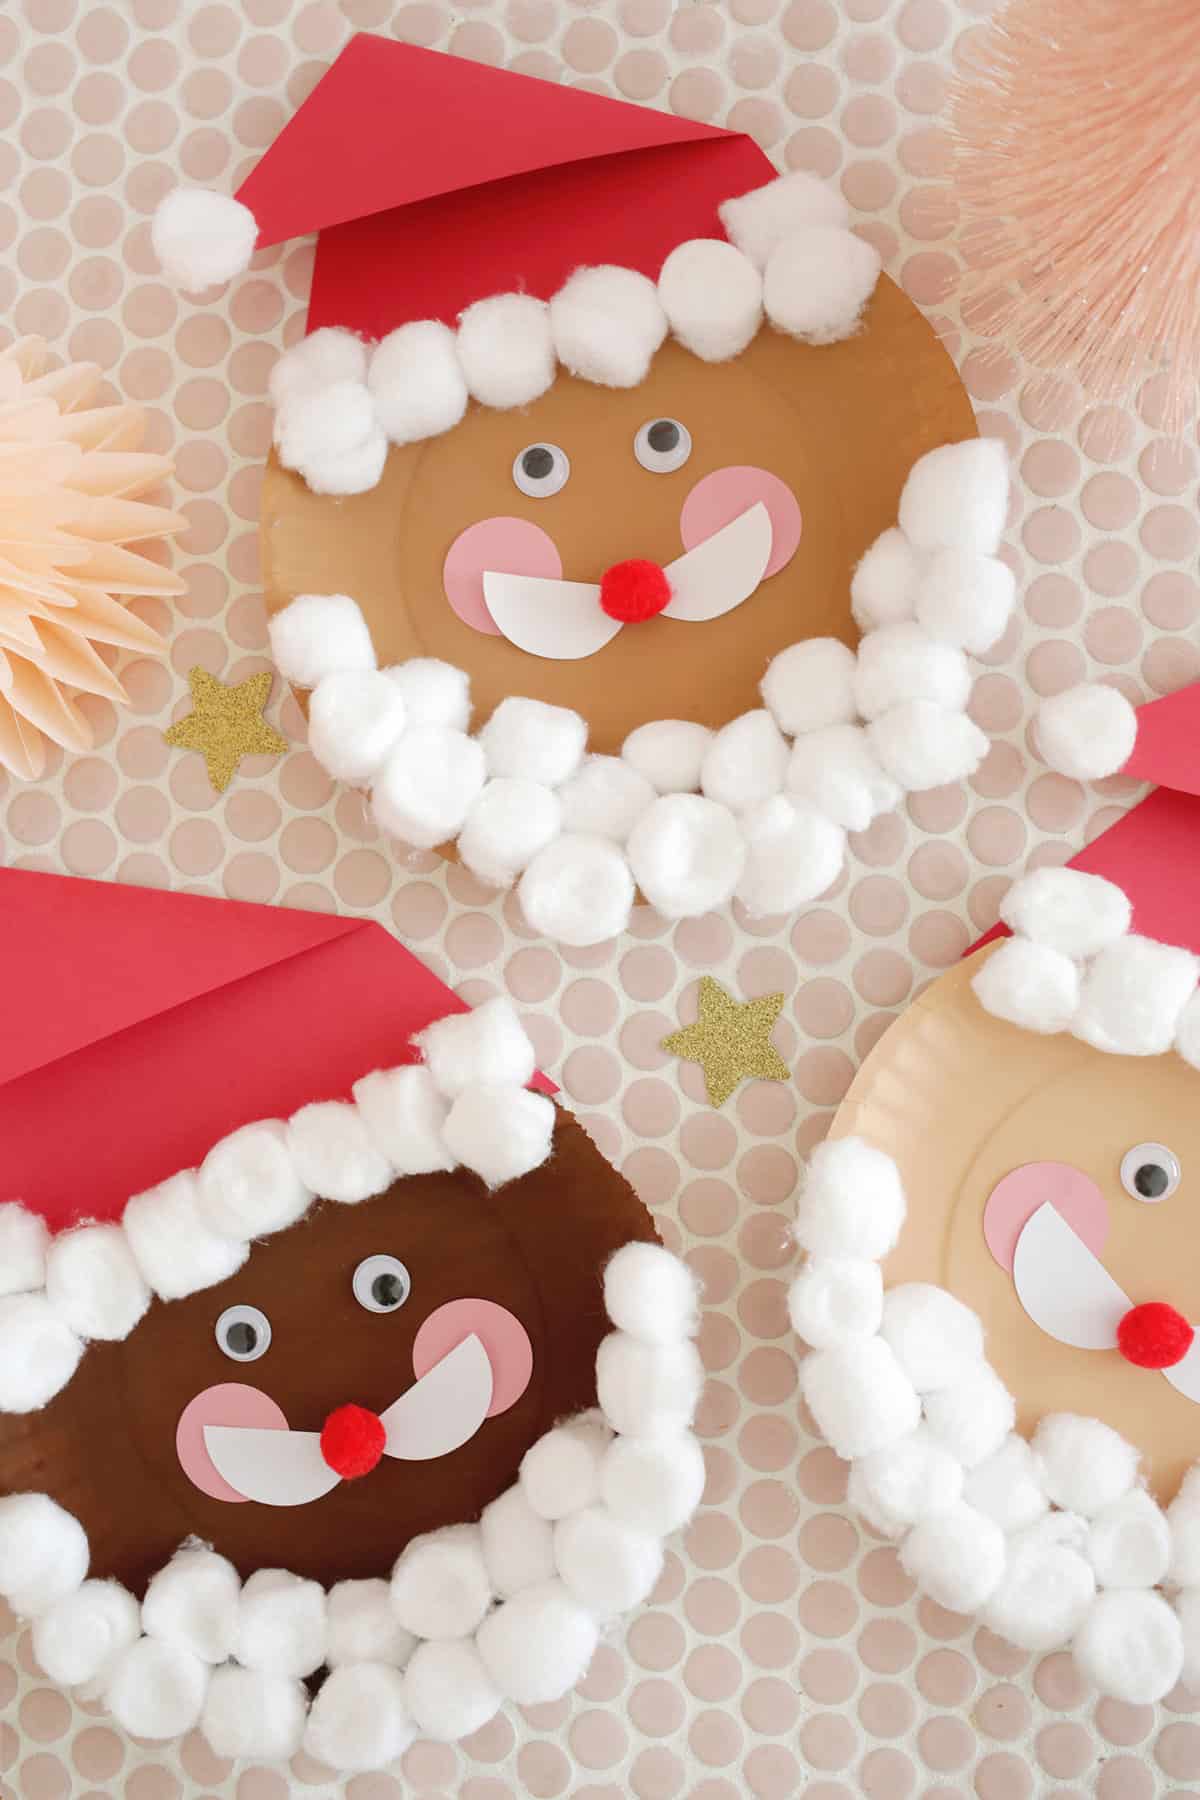
Check out our winter crafts and projects for more ideas!
Frequently Asked Questions
Can I reuse the cotton balls on a paper plate Santa?
Yes! They are just attached at the bottom of the paper plate, so you can either pull them off or cut them off after the holidays (as long as your child doesn’t mind!) and use the soft sides for makeup or nail polish removal.
Get creative ideas for recipes, crafts, decor, and more in your inbox!
 Get the How-To
Supplies
- 1 Paper plate
- 1 Acrylic paint in your chosen skin tone
- 1 Paintbrush
- Construction paper or card stock paper (pink, red, and white)
- 1 pair Scissors
- 1 School glue or glue stick
- Cotton balls
- 2 Google eyes (red)
- 1 Small pom pom for nose (or circle of red paper)
- Circle punch set (optional but helpful)
Instructions
- Start by painting your paper plate with a skin tone paint. Allow that to dry and cut off the top section of your plate so you can attach your hat.
- Cut a tall triangle of paper that’s about the width of your plate section and fold down the top of the triangle at an angle to create the hat. Use glue to glue the hat and plate together.
- Add some google eyes with glue to your paper plate and cut out (or punch out with a circle punch) two pink circles to be his cheeks. You can also paint on the eyes and cheeks instead if you would like!
- Cut or punch out a white circle and cut it in half to be Santa’s beard mustache. Glue on the mustache to attach and add a red pom pom to be his nose.
- Using school glue and cotton balls, create a beard on the bottom of the plate and add cotton balls to be the trim on his hat. Allow the glue to dry and your Santa is ready to display!
Notes
- To use less cotton balls, you can also pull them apart to make them bigger/fluffier before adding to Santa’s face
- If you want to do more painting, you can also paint on his cheeks, eyes, and mustache instead of using paper and google eyes.
- To apply the cotton ball beard, school glue will work better than a glue stick.


