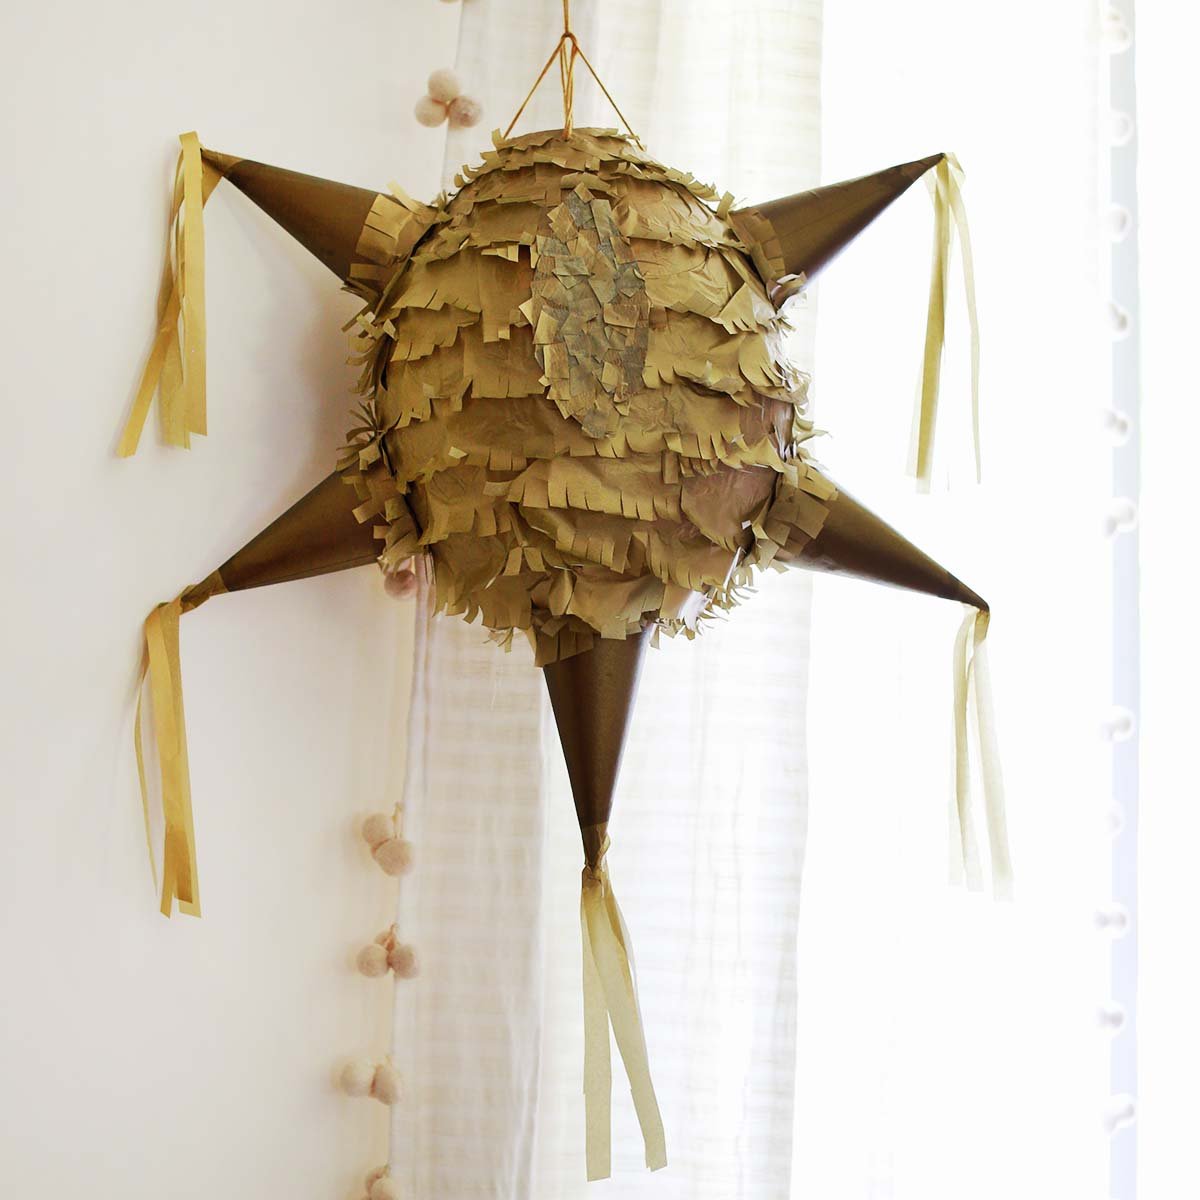
Piñatas are a fun and festive way to celebrate any occasion. As a kid, I loved taking turns swinging at the piñata at family birthday parties, all my cousins and I rushing forward to scoop up candy and small toys when it finally burst. In this post, I will show you how to make a homemade piñata from a balloon and basic paper mache. Not only can you customize this tutorial into all different colors or shapes for your party, it’s also super inexpensive and a fun craft project to do with older kids.
Piñatas are commonly associated with Mexico, but there is some debate over if their origins may actually be from China. The Spanish brought this European tradition to Mexico, and they were often used in religious or ceremonial events. Today, the piñata is still part of Mexican culture, the cultures of other countries across Latin America, as well as the United States, but it has mostly lost its religious character.
Would you like to save this?
Table of contents
Supplies
- Balloon
- Thin, scrap paper – like copy paper or newspaper
- Flour
- Water
- Paint
- Tissue paper
- Glue
- Yarn
- Other embellishments like cardboard cones
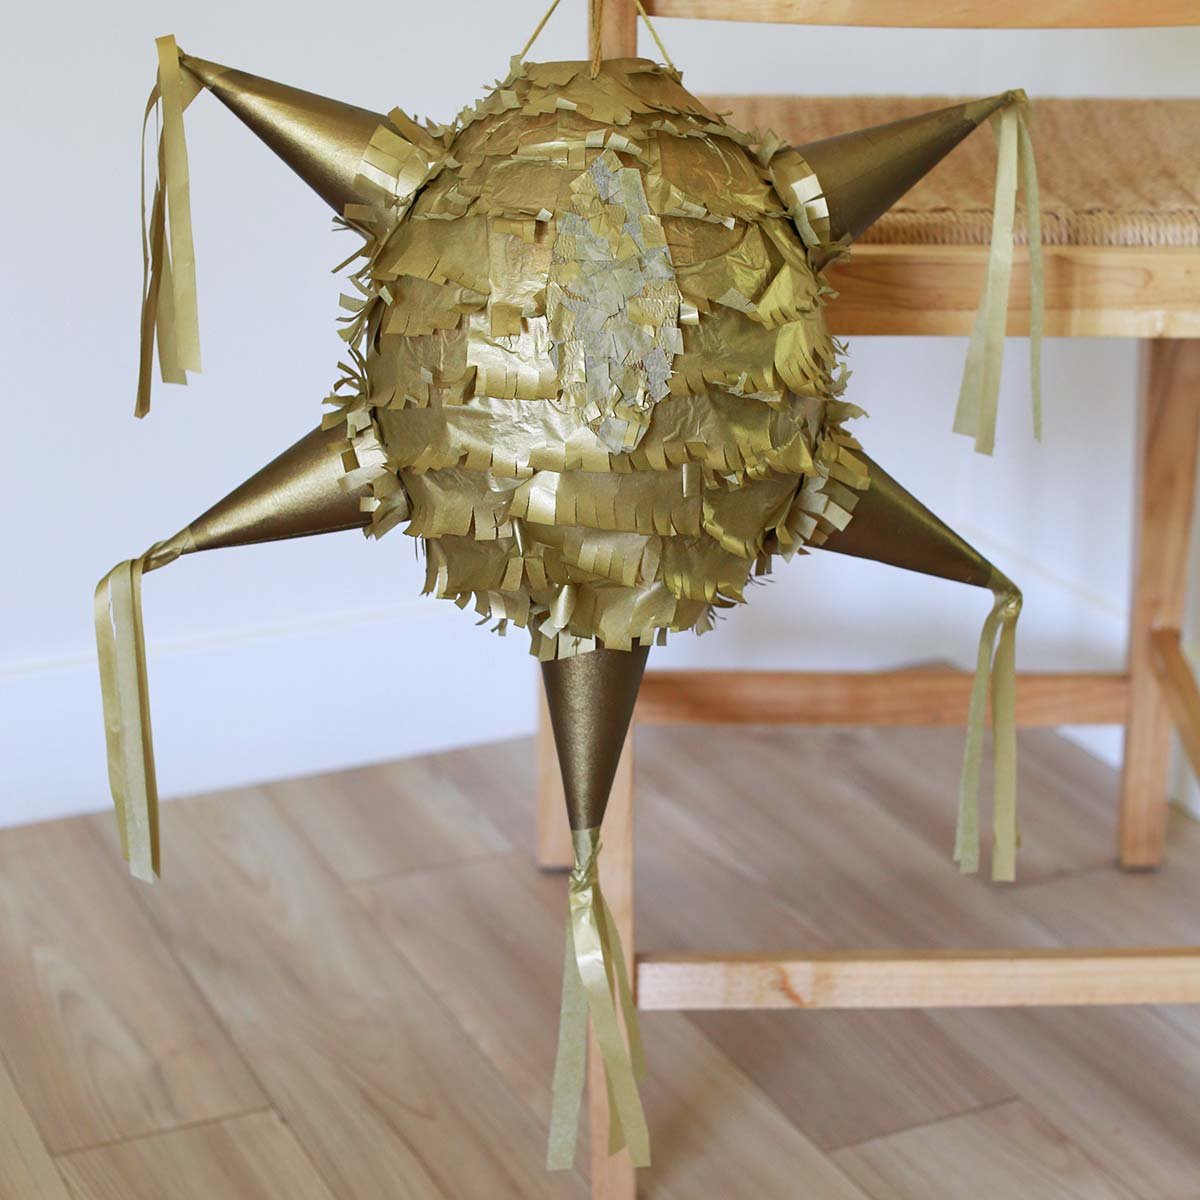
Steps to make a Piñata
- Blow up the balloon for the base.
- Make paper mache paste and cut up strips of thin paper.
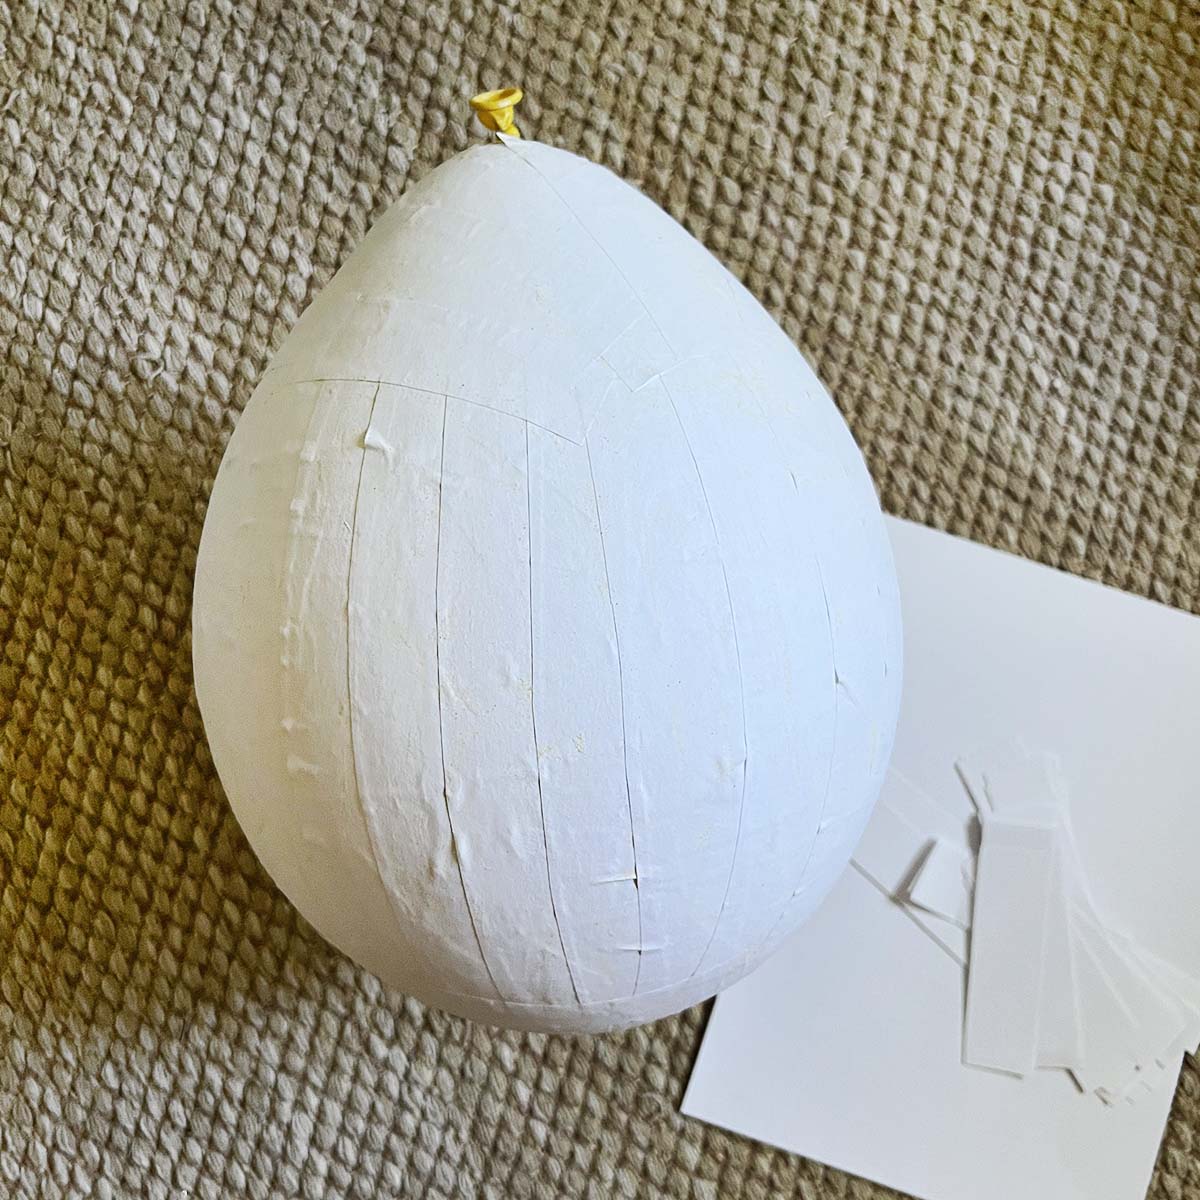
- Paper mache one layer of the piñata on the balloon. Allow to fully dry.
- Paper mache a second layer onto the balloon, going the opposite direction as the first. Allow to dry.
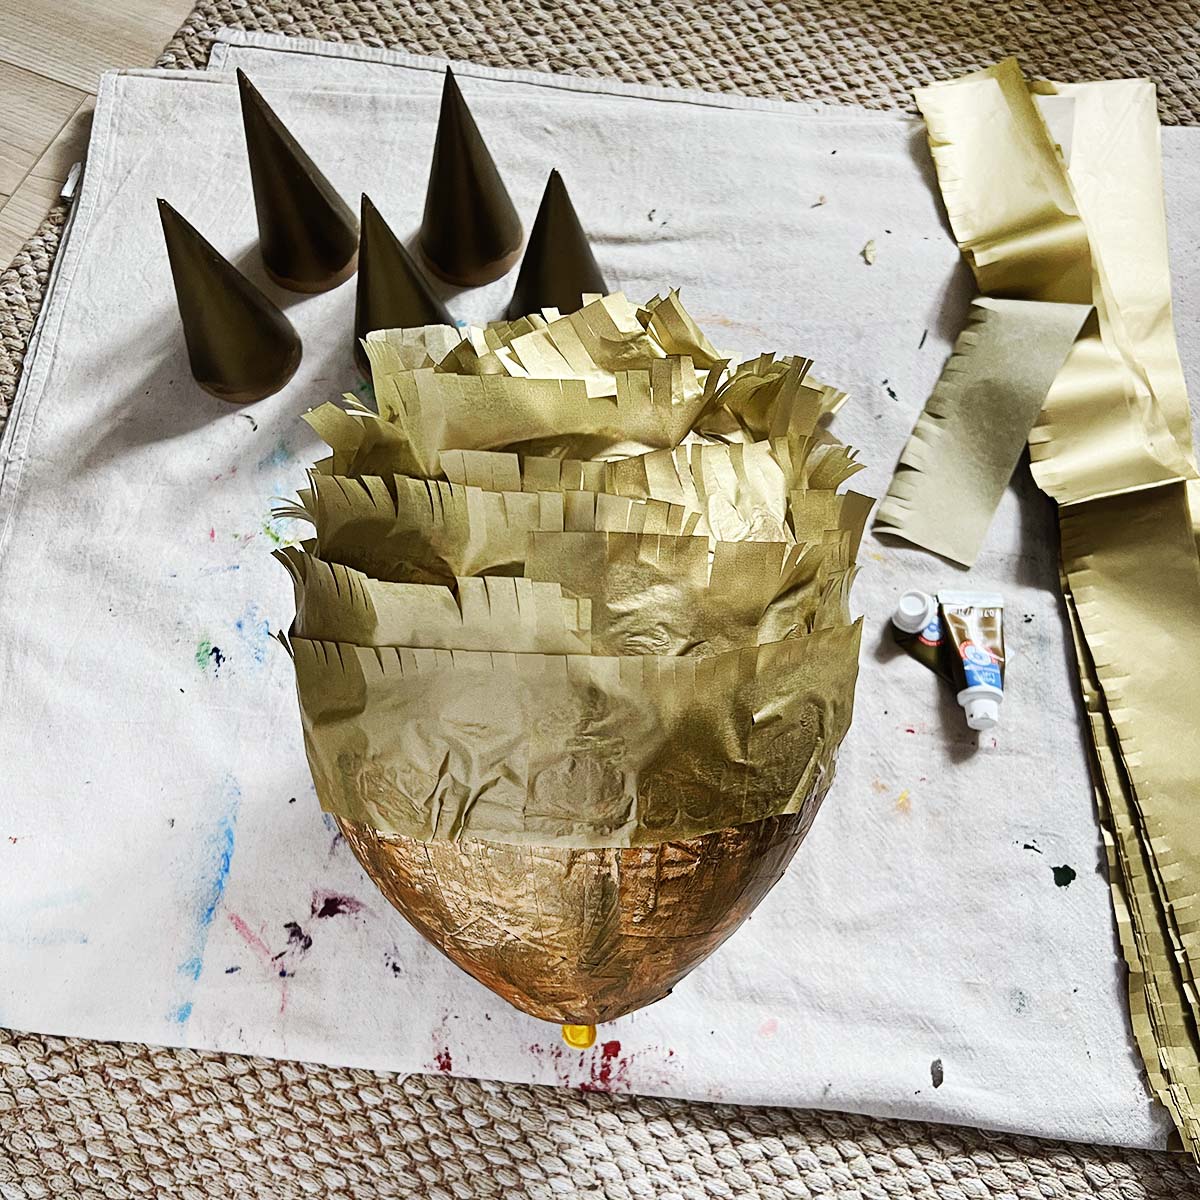
- Paint the dry paper.
- Add tissue paper and designs to decorate the piñata.
- Remove the balloon from the center of the piñata and, if needed, cut the opening a little bigger.
- Fill the cavity of the piñata with small candies or toys.
- Add yarn or string to hang the piñata for use.
Piñata Design Ideas – with a balloon base:
- Traditional piñata star – similar to the example in this post
- Earth, other planets or moons
- Faces – Disney characters or other popular characters like Elmo or Bluey
- Octopus or Jelly Fish
- Beach ball
- Hot air balloon
- Round Fruits – watermelon, orange, blueberry, etc.
- Sports Balls – soccer, baseball, tennis, etc.
- Bugs – Ladybug, honey bee, spider
- Emoji faces – smiley face, crying face, etc.
How to Use a Piñata at a Party
- Hang the piñata from a tree branch or other structure so there is room for children to swing at it with a bat. You want enough string/yarn that an adult can gently pull the piñata up or down, making the challenge more difficult for older children.
- Use a plastic or lightweight bat or pole for swinging. Make sure all children are far enough away during the action that no one gets hit with the bat.
- When it’s a child’s turn to swing at the piñata, blindfold them and gently spin them around a few times before allowing them to swing at the piñata. For younger children, you can modify this or even skip the blindfold so they can participate better.
- Once the piñata busts, kids can rush forward to grab or scoop up the prizes inside. You may want to distribute small paper bags ahead so they can store their piñata prizes in them during the chaos.
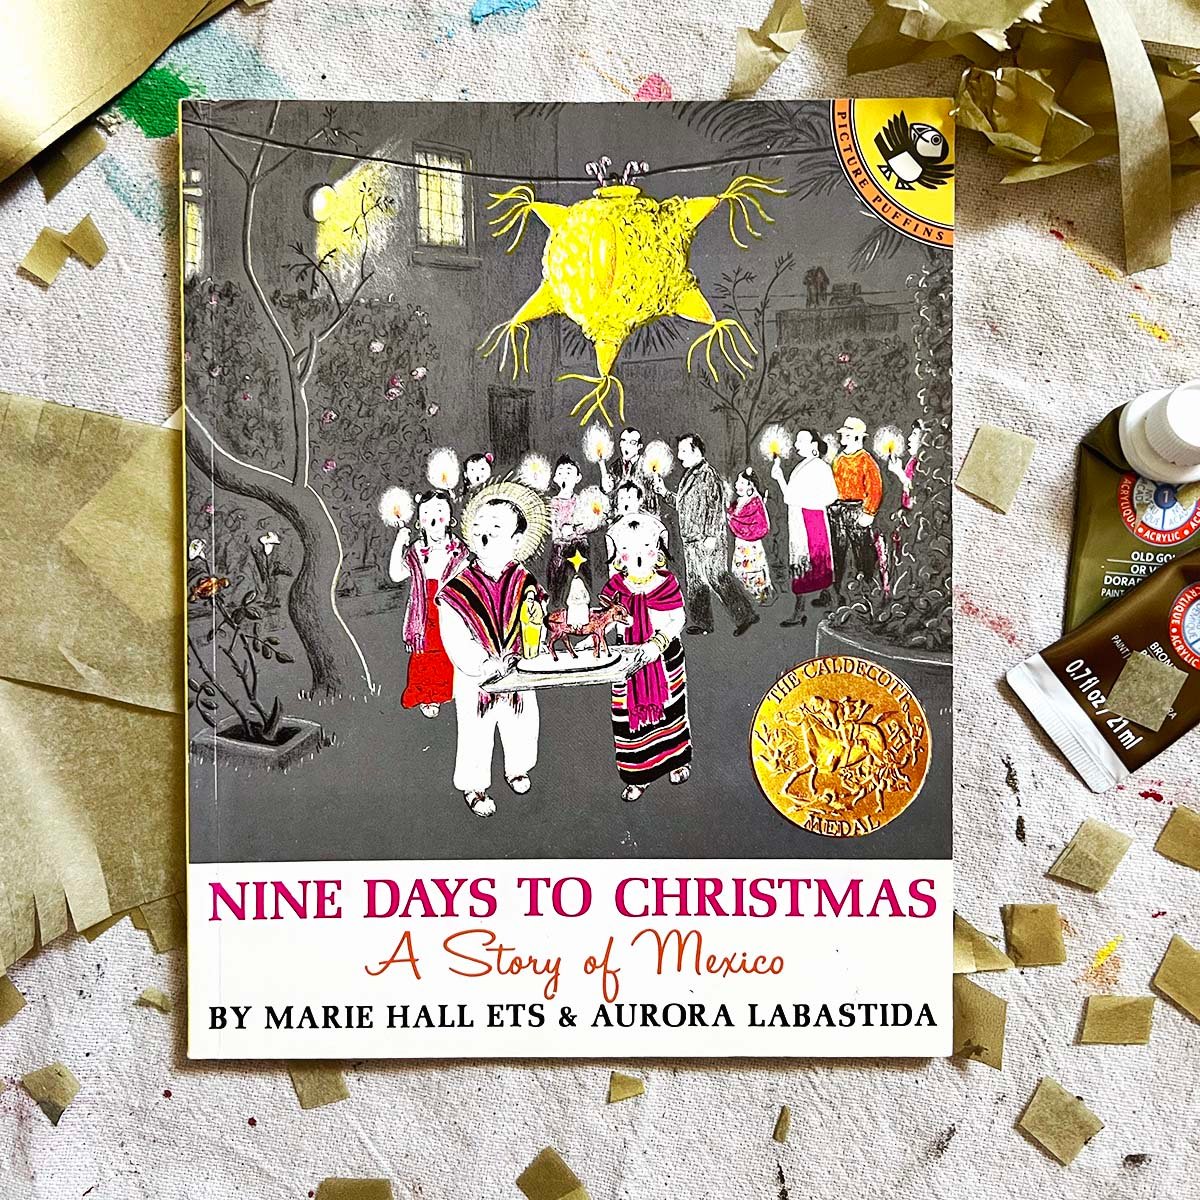
I based the design of my piñata in this post off of the book Nine Days to Christmas. This is a book our mother read to us a lot as kids and the story centers around a young girl who goes to pick out a piñata from the piñata store and helps as the piñata is prepared for a celebration. It’s a lovely book and full of piñata inspiration if you’re looking to introduce this tradition into your children’s lives.

What to fill a Piñata with
- Small, individually wrapped candies – just like Halloween 🙂
- Bouncy balls
- Crayons or small art supplies
- Glow sticks
- Toy cars – like Hot Wheels
- Erasers
- Temporary tattoos
- Stickers
- Costume jewelry
- Crazy straws
- Small, individually wrapped packages of snacks (trail mix, fruit snacks, etc.)
- Mini playdough containers
- Toy dinosaurs
Keep in mind, all items will land on the ground when the piñata first bursts. So, you don’t want anything edible or messy unless it’s individually wrapped.

Making your own homemade piñata is such a fun way to celebrate! I hope this tutorial gave more ideas and the confidence to tackle this project on your own or with kids who may want to help.
Get creative ideas for recipes, crafts, decor, and more in your inbox!
 Get the How-To
Supplies
- balloon
- thin paper – copy paper or newspaper
- all-purpose flour
- water
- paint
- tissue paper
- glue
- yarn or string
- embellishments like cardboard cones
Instructions
- Blow up the balloon for the base.
- Make paper mache paste and cut up strips of thin paper.
- Paper mache one layer of the piñata on the balloon. Allow to fully dry.
- Paper mache a second layer onto the balloon, going the opposite direction as the first. Allow to dry.
- Paint the dry paper.
- Add tissue paper and designs to decorate the piñata.
- Remove the balloon from the center of the piñata and, if needed, cut the opening a little bigger.
- Fill the cavity of the piñata with small candies or toys.
- Add yarn or string to hang the piñata for use.
Notes
- Traditional piñata star – similar to the example in this post
- Earth, other planets or moons
- Faces – Disney characters or other popular characters like Elmo or Bluey
- Octopus or Jelly Fish
- Beach ball
- Hot air balloon
- Round Fruits – watermelon, orange, blueberry, etc.
- Sports Balls – soccer, baseball, tennis, etc.
- Bugs – Ladybug, honey bee, spider
- Emoji faces – smiley face, crying face, etc.


This is so helpful! Thanks for sharing Emma!
This article on making a piñata is incredibly helpful! Clear instructions and creative ideas make it easy to follow and customize for any occasion. Can’t wait to try it out!