Paper mache is a crafting technique where you use paper and paste to create shapes or objects. Next learn how to make a piñata.
The words “paper mache” are French, and mean “chewed paper” since you can use very small bits of paper or pulp to create intricate objects. The paper forms a “shell” around the object you’re using as a mold, and it will retain that shape when it dries.
Paper mache can be a fun activity for all ages while some techniques or materials can be very advanced. We are going to focus on the basics of paper mache, including a no-cook paste for beginners or anyone who’s just getting started.
We recommend a project like this for a preschooler or elementary-aged child.
Looking for More Hands-On Crafts?
Hands-on crafts that are easy and affordable can be a great way to spend a rainy afternoon or the winter months. Here are a few of our favorites:

The 4 Basic Steps of Paper Mache:
- Gather supplies, including the papers you want to use. Prep your paper by tearing or cutting it into strips. Typically, we aim for 1-inch wide and 3-4 inches long depending on what shape you’re using as your base.
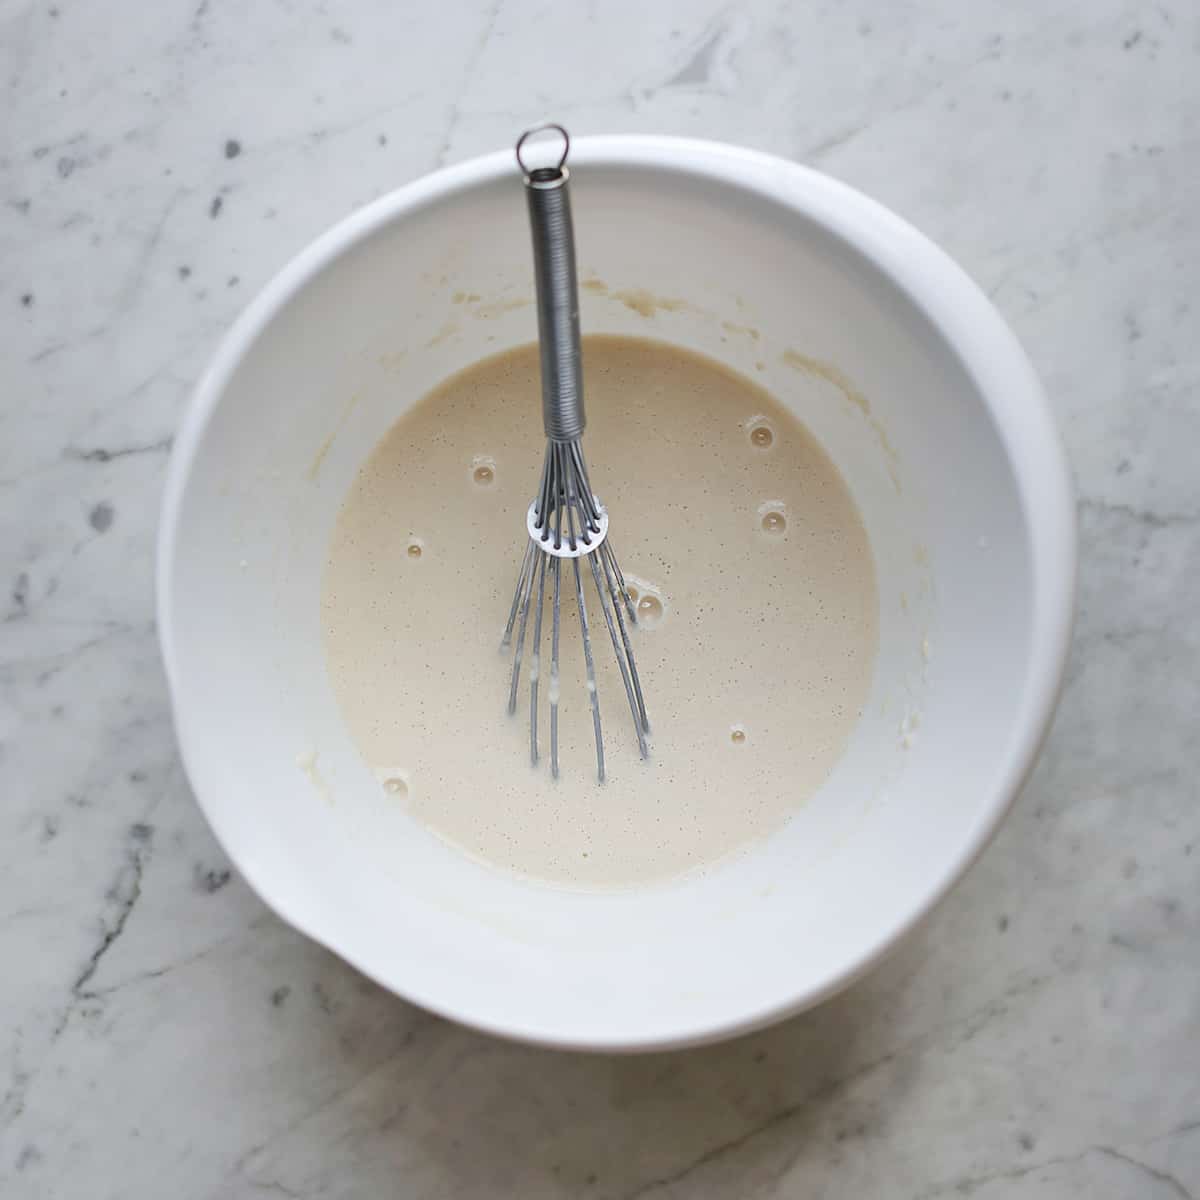
- Make the paste – see our 2 ingredient basic paper mache recipe.
- Start with one layer of paper mache, then allow to dry. Repeat so you have 3 layers and allow to dry completely.
- Paint or finish your project any way you can imagine!
It truly is that simple to paper mache, but there are so many little tips and tricks for success!
What Type of Paper Should I Use for Paper Mache?
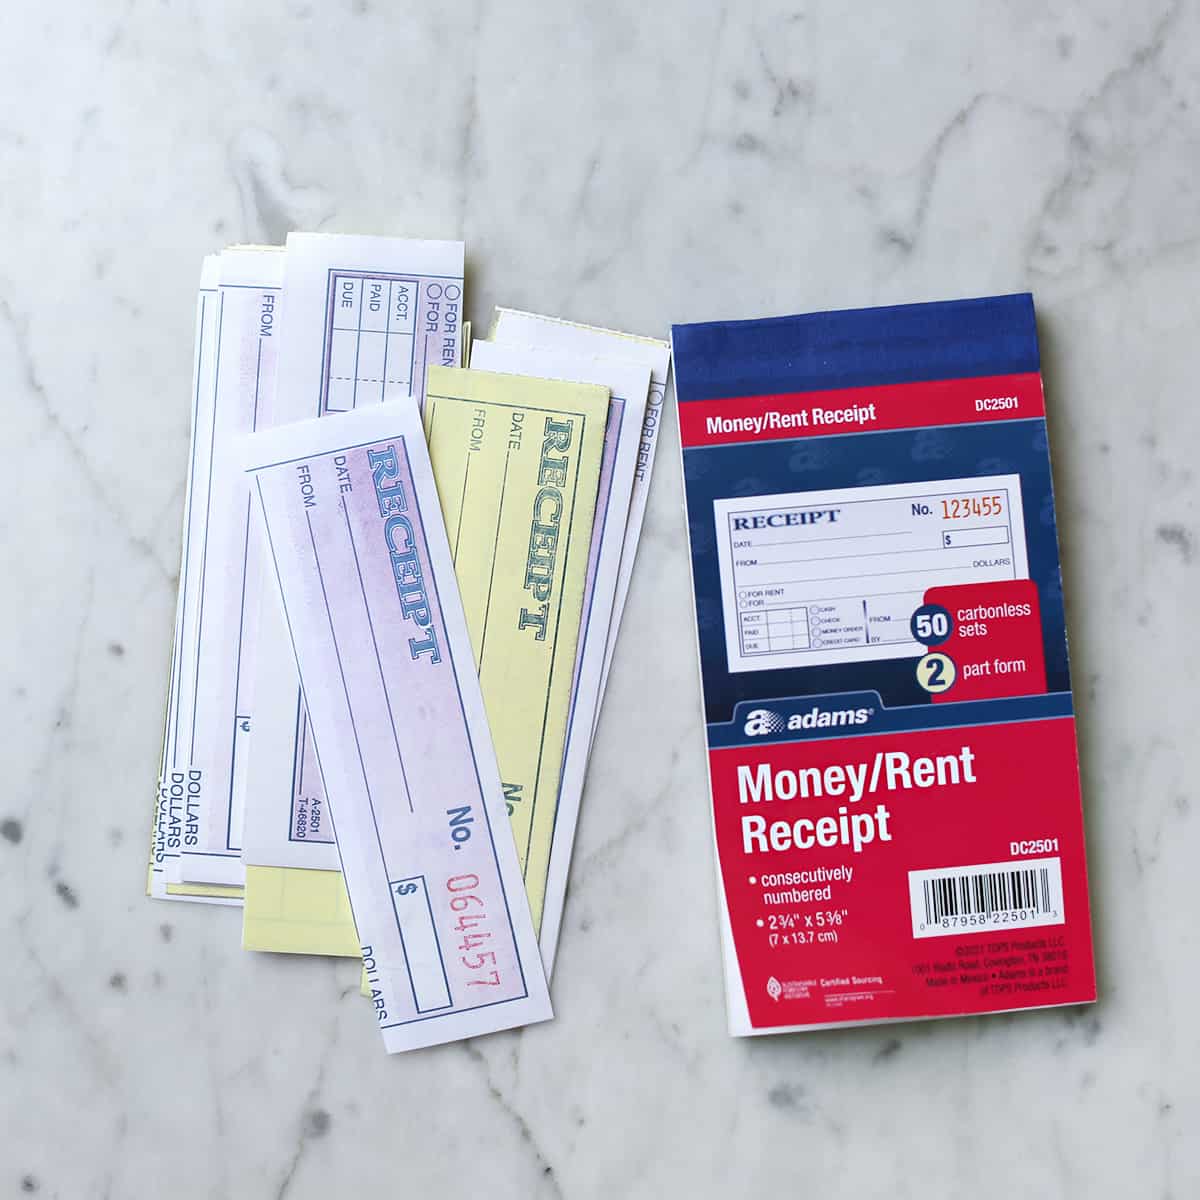
Newspaper or any thin paper that is like tissue paper (or close to this texture) can work well. And you don’t need to use new paper—save old newspapers or receipt books (or thrift them!) to use in your next paper mache project. You can even use computer paper.
Avoid thick papers like cardstock, greeting cards, watercolor paper, or other thick art papers.
What Type of Paste Works for Balloon Paper Mache?
Traditional paper mache paste involves boiling hot water and glue works great, but you can also use our no-cook paper mache paste recipe if you want to keep things simple.
A paper mache object created with this type of paste can still last a very long time—at least 2-3 months (or longer) if well cared for. To keep it as sturdy as possible, try to keep it away from moisture or high heat.
Tips for Making Paper Mache:
- Cut or tear your paper into small pieces (around 1-inch wide) of strips so you can bend and create shapes. Depending on your shape, if you tear the newspaper or other paper, it may be easier to layer with a torn edge.
- Completely mix up your paste.
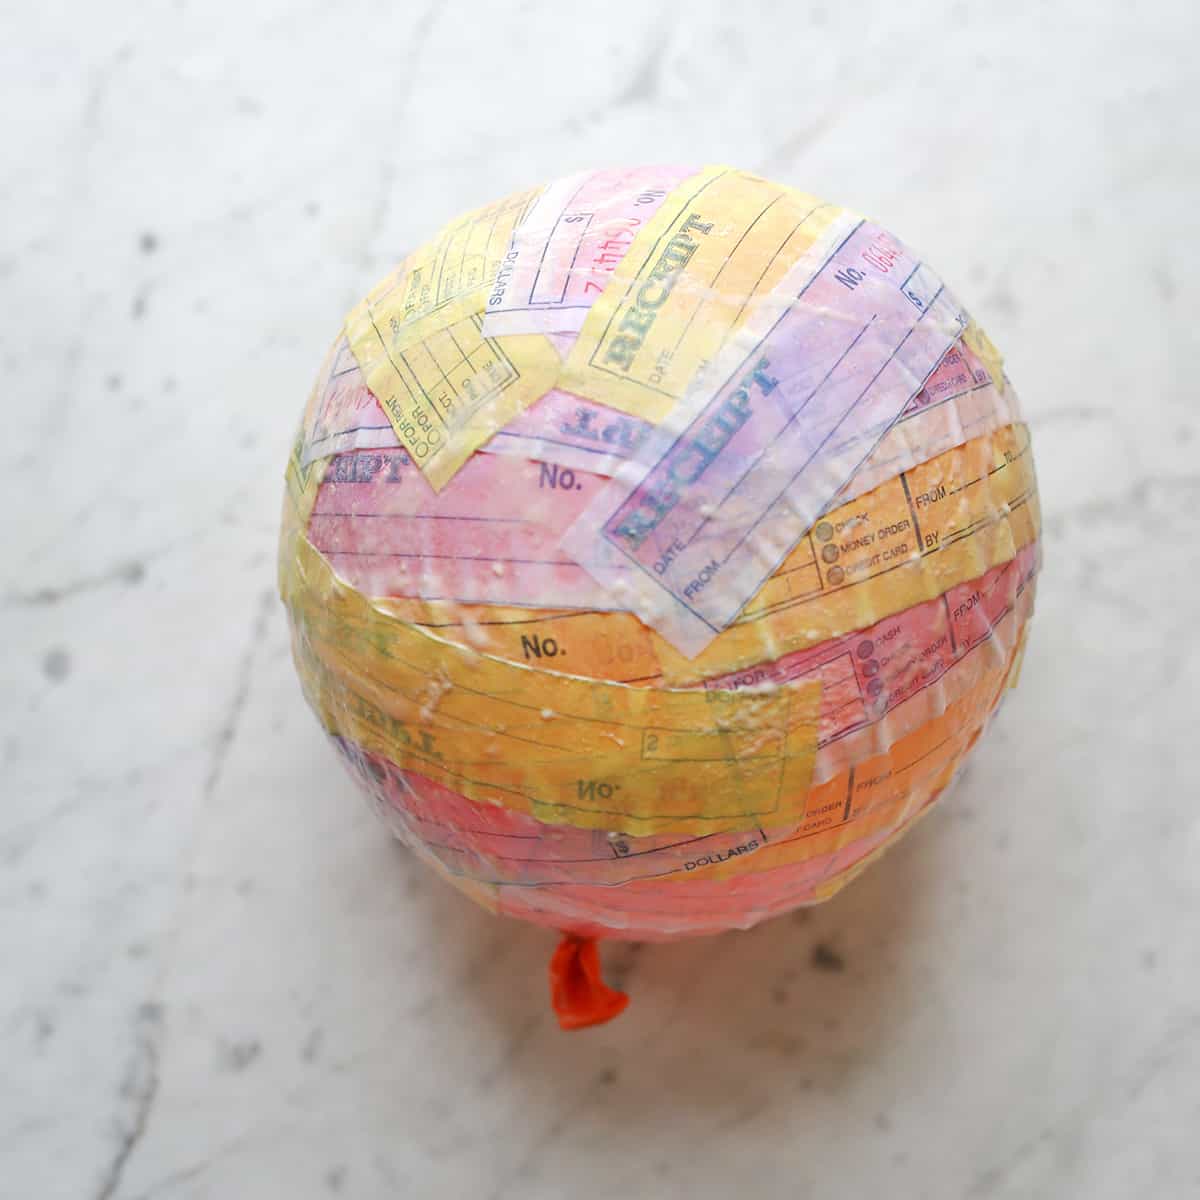
- If you’ve never paper mached before, try covering a blown up balloon. It can help to add a layer of cooking oil or Vaseline to the balloon. Once it has been covered in the paste and the paste hardens, it’s easier to remove.
- You can cover the entire balloon or just one half to create a bowl. Do this by dipping the papers in the paste and use your hands (or the side of the bowl) to remove excess paste before sticking to your object.
- You want the entire paper wet, but not dripping wet. You can remove excess paste with your fingers or a paintbrush once it’s on the object, too.
- This can be a messy process, so it’s best to work on a surface that can be wiped clean afterward, or you can prep your working station with a layer of newspaper.
- Avoid getting paper mache paste on your clothes or the carpet. If you do, it can be cleaned easily since it’s just flour and water. If you’re using a different paste recipe, you may need to follow alternate cleaning instructions.
Drying Tips:
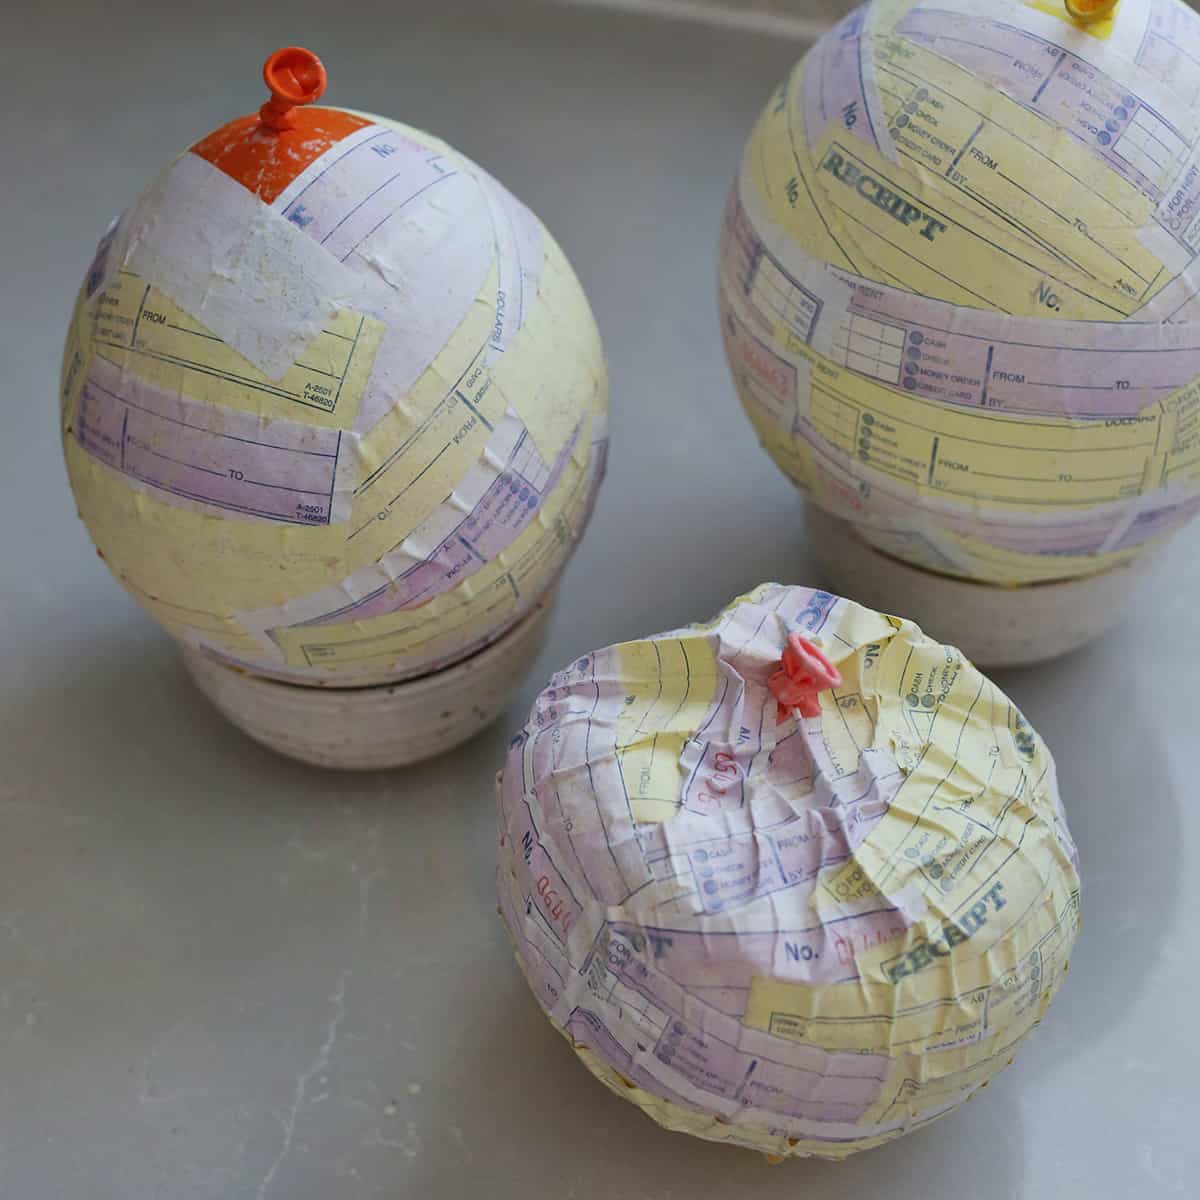
Once your object is covered in paper, allow to dry for at least 8 hours or overnight. You can tell it’s fully dry by touching the object to see if it still feels wet in any spots. As the object(s) are drying, try to set them somewhere so air can reach all parts, like on a cooling rack or in a bowl.
Above, you can see what can happen if you use excessive amount of paste on your paper strips—the heavy moisture can partially collapse your shape. This is why it’s important to saturate your paper, but not to let it be too goopy.
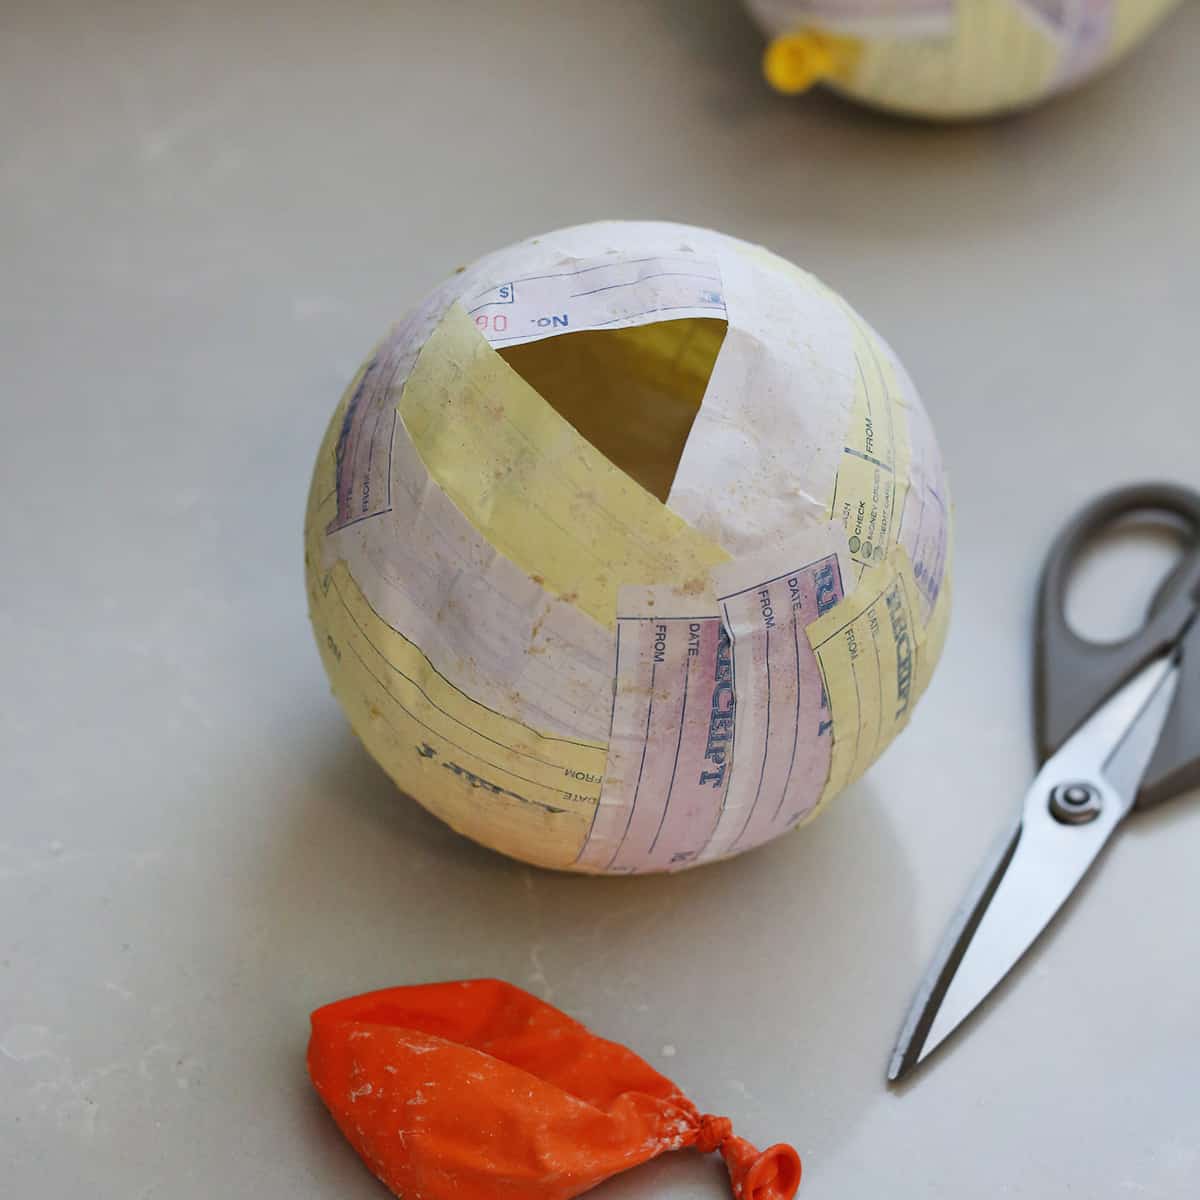
Once the paste is fully dry, you can remove the balloon from the center by cutting a small slit in the top. As it gently deflates, it will pull away from the sides or you can help gently pull it away. Then, remove the balloon.
Would you like to save this?
If you are planning to paint your shapes, you will want to leave the balloon inside until you are done painting to help the object hold its shape.
Ideas to Make with Paper Mache:
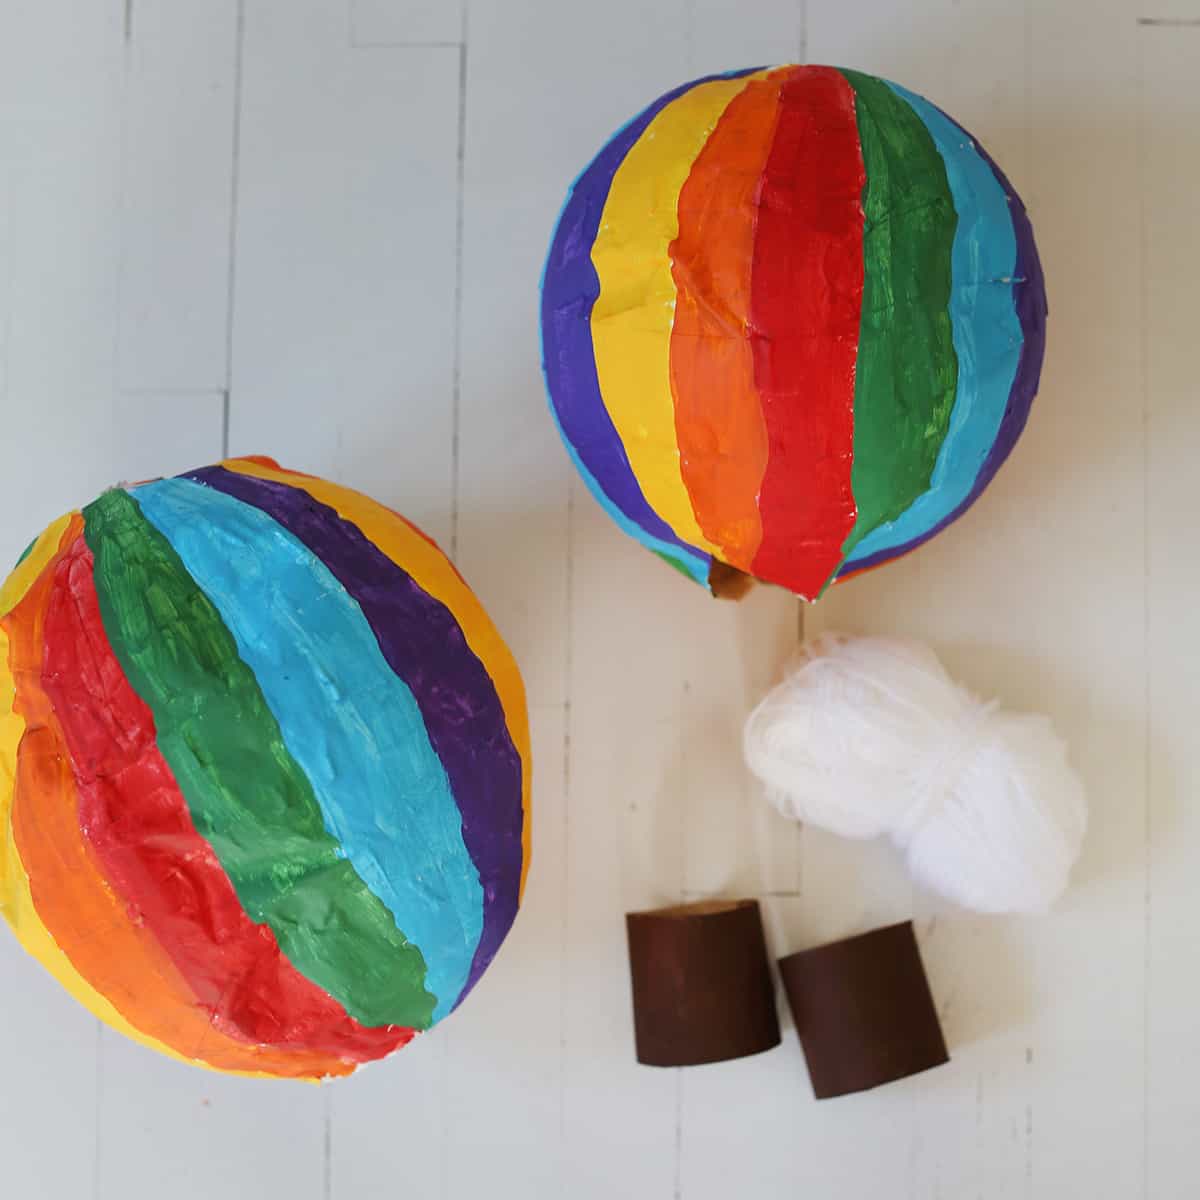
There are so many ways to customize your paper mache craft! I painted my balloons to look like hot air balloons, and then I added half a toilet paper roll with yarn to the bottoms to look like a hot air balloon basket.
You can paint all kinds of bright colors and patterns. This is a great project for kids to use their imaginations!
Other Things You Can Make (Using Balloons) to Paper Mache:
- Hot Air Balloons
- Volcanos
- Jellyfish – cut in half and add ribbon or pipe cleaners for the tentacles
- Bowls – cut in half
- Masks – cut in half longwise and
- Planets – make the whole solar system!
- Fruit – like watermelon or small balloons could be oranges or apples
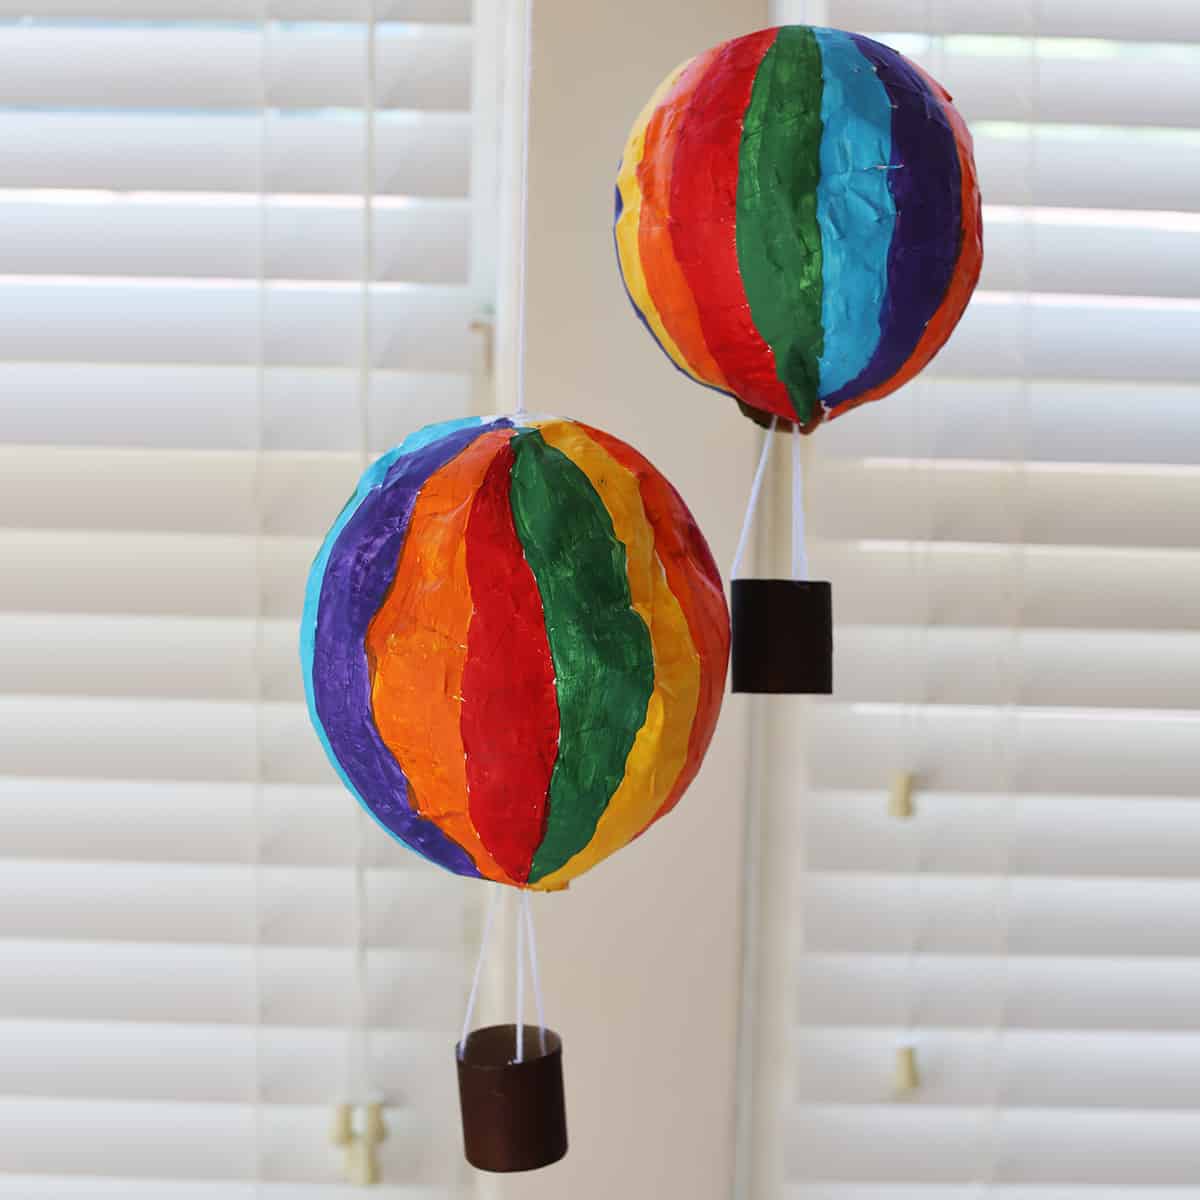
Once your paper mache project is complete, you can display it by hanging around your home or classroom. Hooray!
Be sure to Check out our Other Preschool and Elementary-age Projects!
And if you’re making paper mache with children, a big round of applause to you! It’s a lot of work to gather supplies, facilitate a project like this, and clean up after. You are making childhood magic!

Get creative ideas for recipes, crafts, decor, and more in your inbox!
 Get the How-To

Supplies
- paper
- paste (see notes for recipe)
- balloons
- paint (and other embellishments)
Instructions
- Cut your paper into small strips or pieces.
- Make paper mache paste (see notes).
- If you’ve never paper mached before, try covering a blown up balloon. Blow up and tie off the balloon.
- Dip the papers in the paste and use your hands or the side of the bowl to remove excess paste before sticking to your object. You want the entire paper wet, but not dripping wet.
- Add the wet paper to the balloon. Continue until you cover the entire balloon.
- Once your object is covered in paper, allow to dry for at least 8 hours or overnight. While drying, place the balloon somewhere so air can circulate all around it, like a bowl or a cooling rack.
- Once the paste is fully dry, you can remove the balloon from the center by cutting a small slit in the top and then as it gently deflates it will pull away from the sides or you can help gently pull it away from the sides. Then remove the balloon.
- If you are planning to paint your shapes first, you may want to leave the balloon inside until you are done painting to help the object hold its shape.
- Paint or add other embellishments to the outside of your balloon. Once dry, you're ready to display your paper mache project!
How and when do you attach the strings and what is best fr the baskets?
Hi! Emma used painted toilet paper rolls cut into smaller pieces for the basket, and it looks like just yarn for the strings! I would use tape or have an adult use a hot glue gun to attach them once everything is dry!
This is so nostalgic. Thank you for the recipe.
Oh my! I can’t wait for Charlotte to grow big enough for us to make these <3