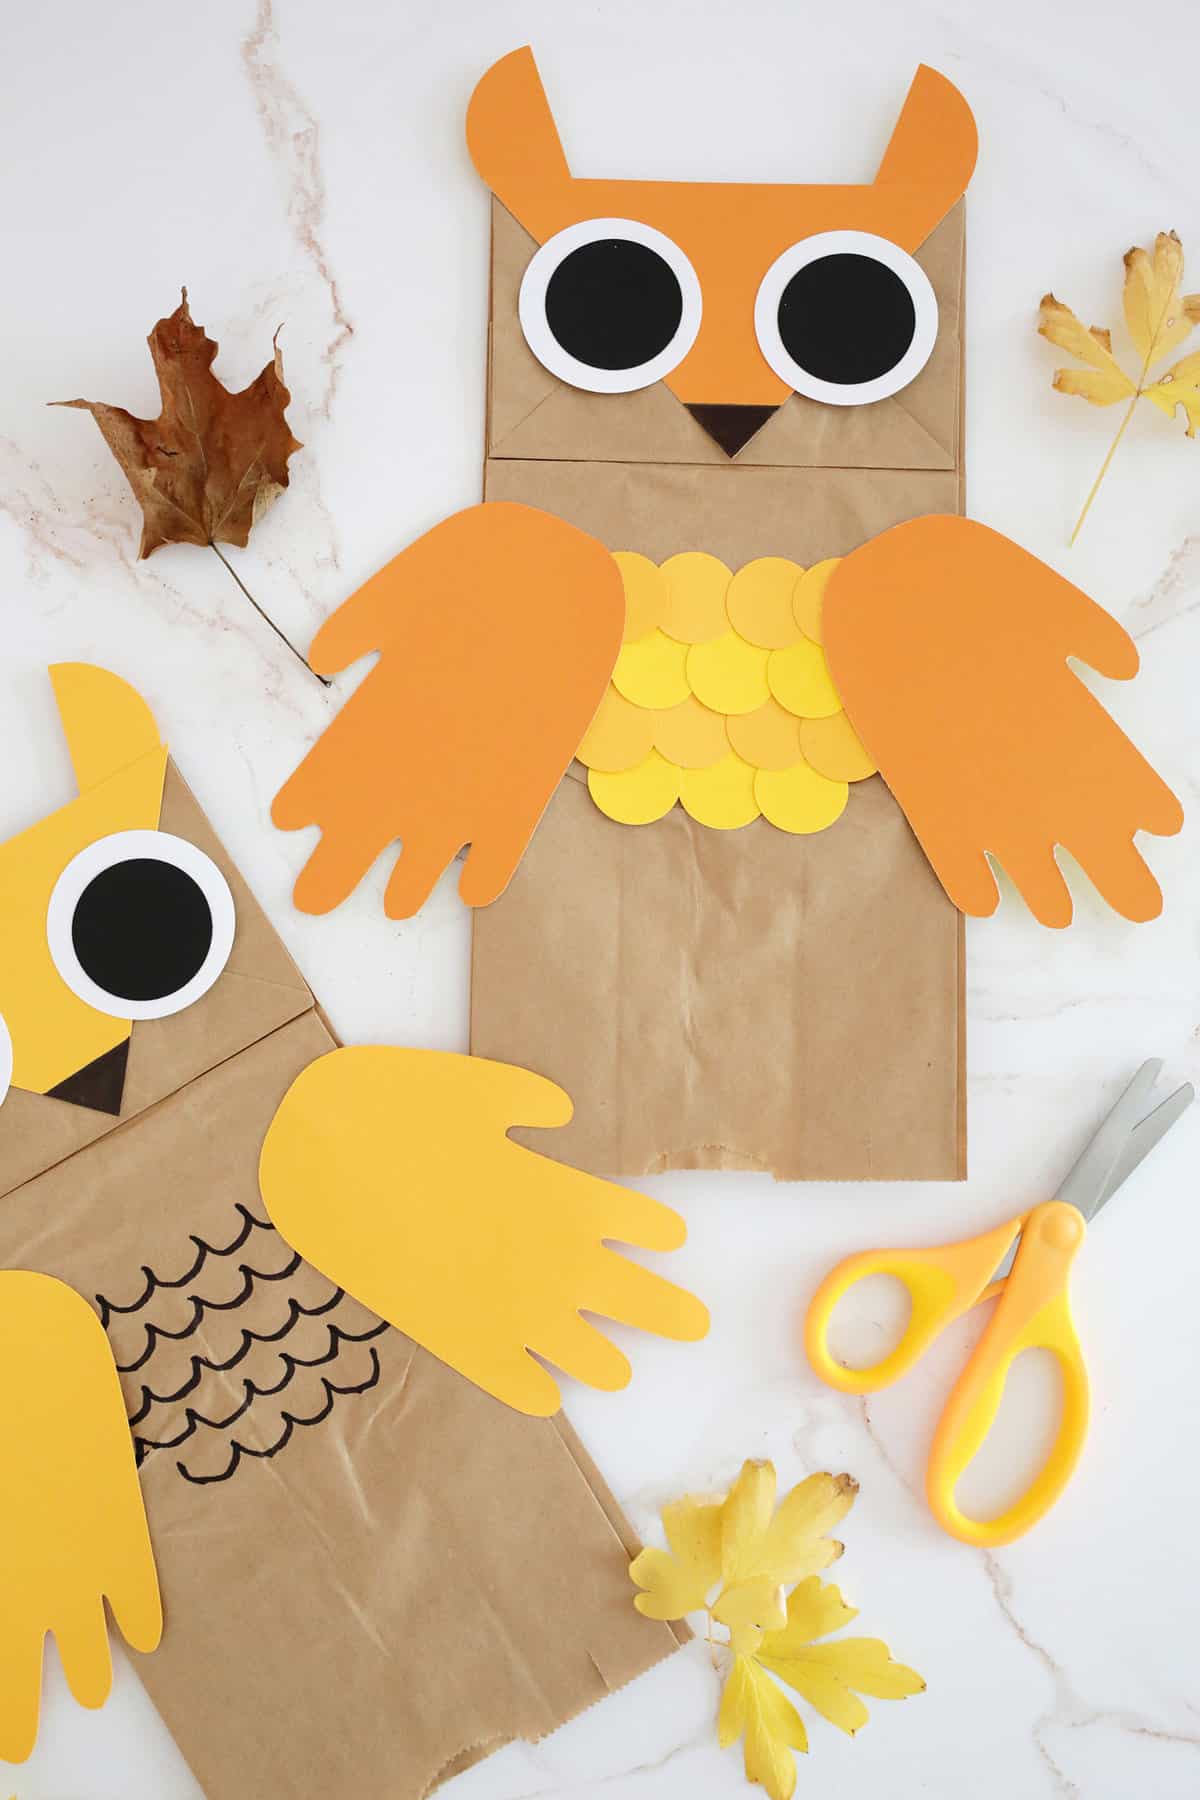
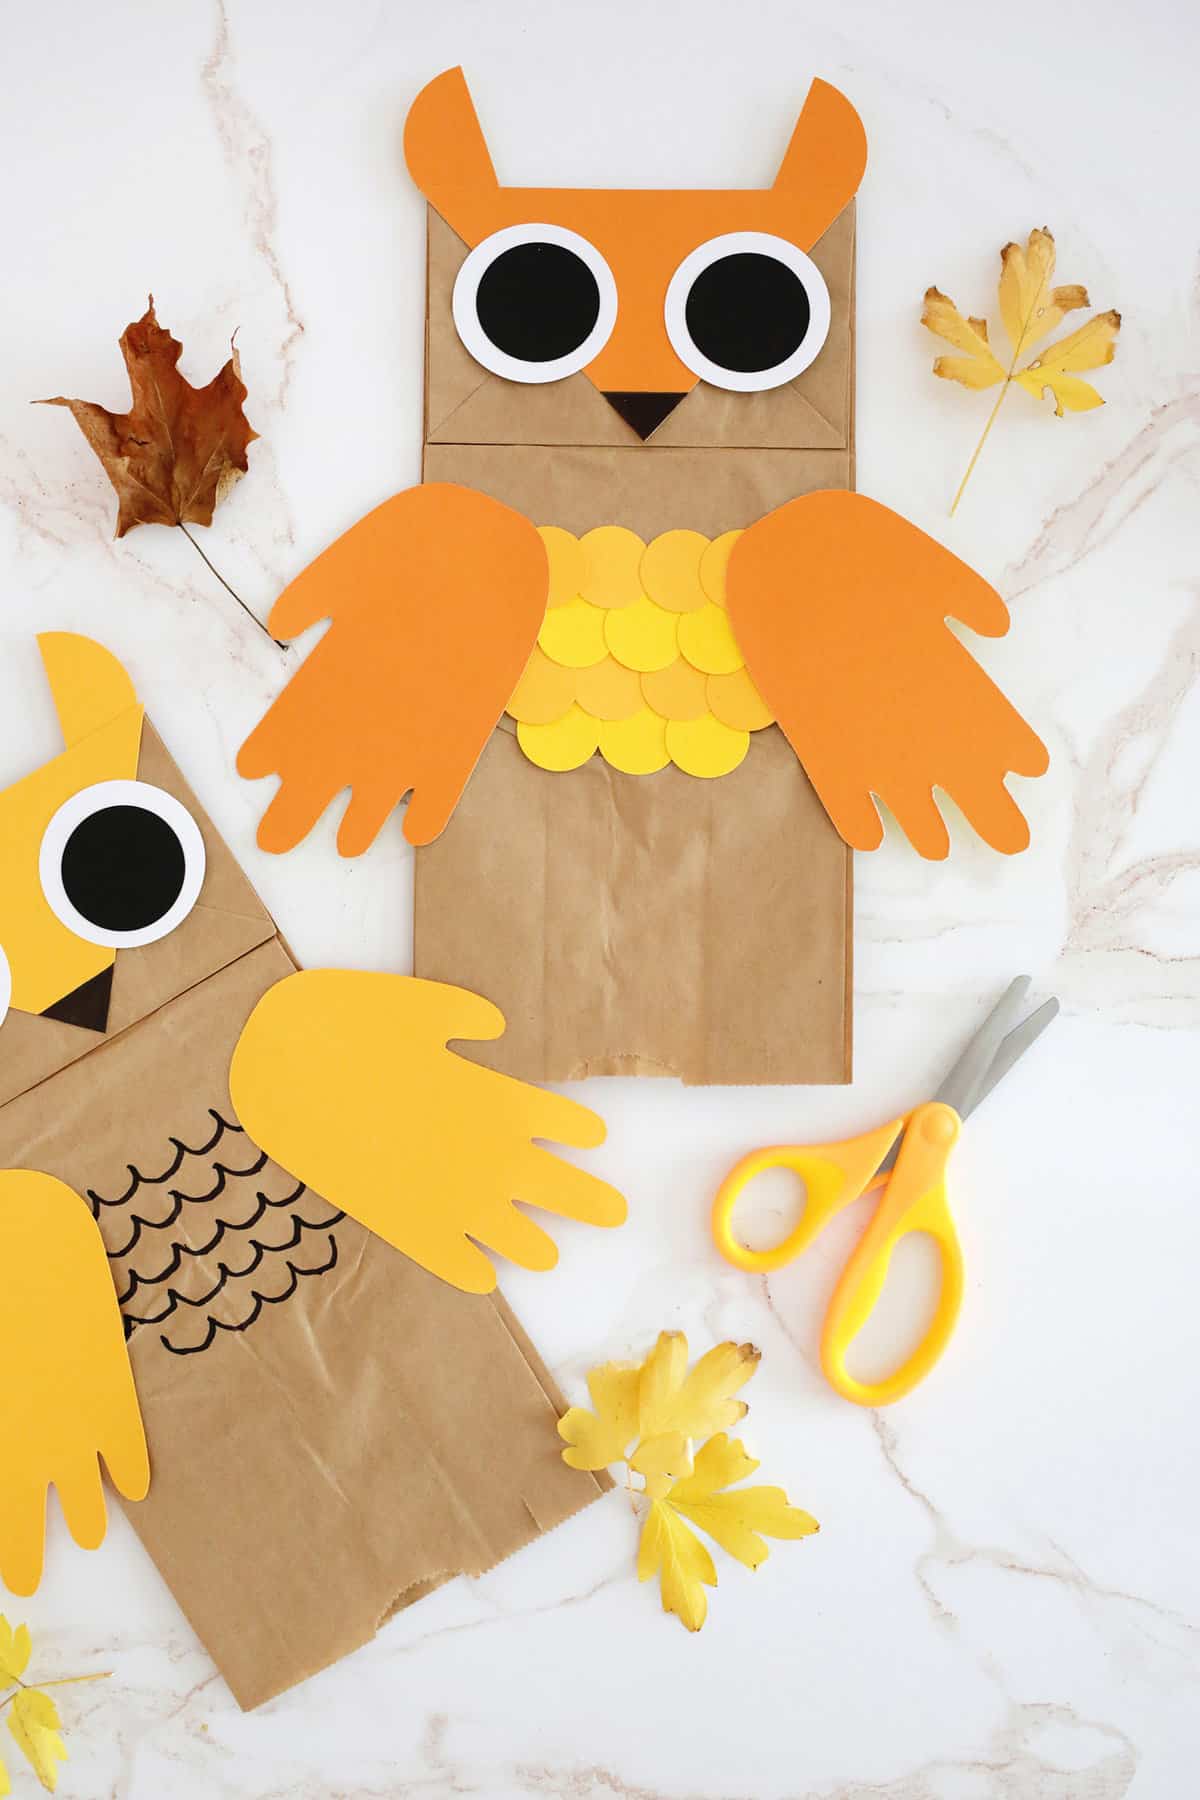
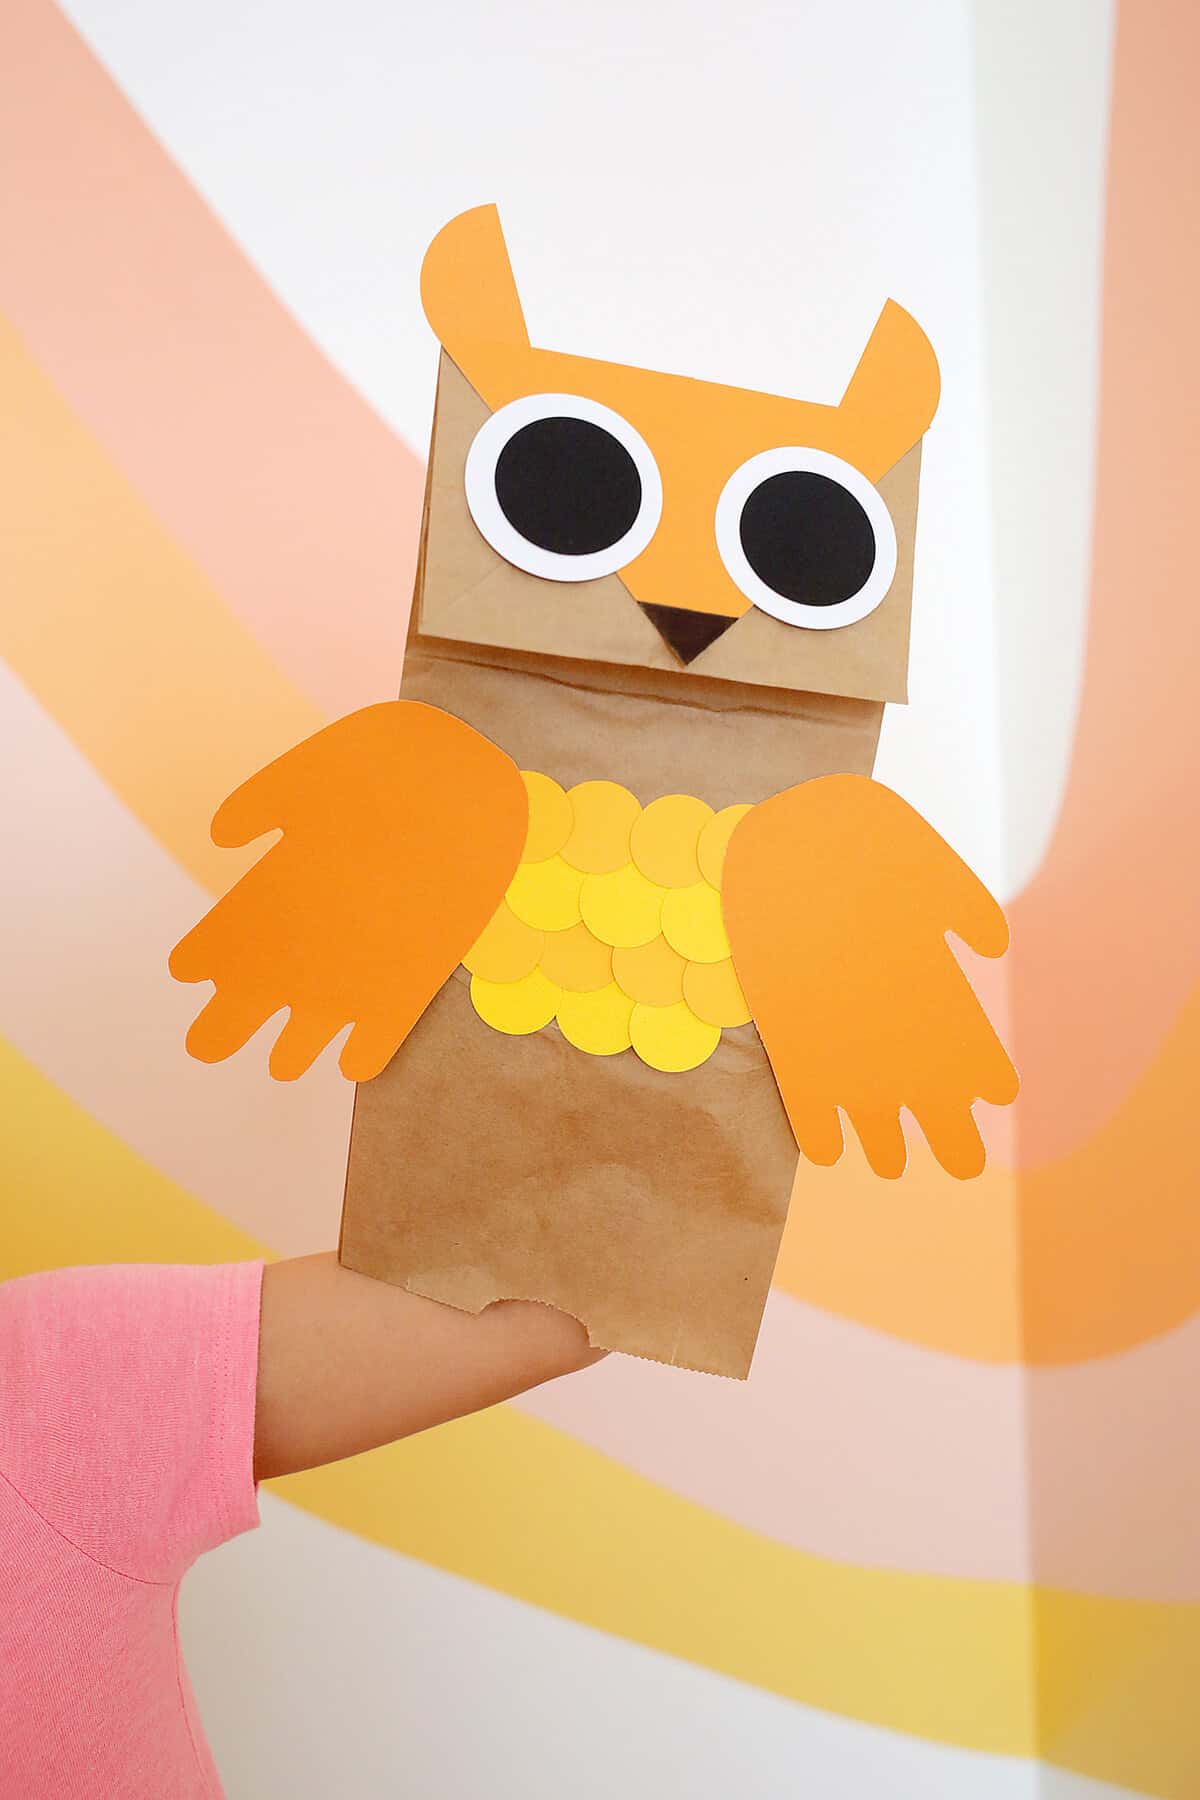
This owl craft is perfect for kiddos learning about seasons, shapes or owls. Making an owl puppet from a paper bag is a fun craft that kids can help with while encouraging their creativity.
And, these puppets are perfect for displaying or for making a puppet show, of course!
Using handprints for the owl wings is a really great way to allow them to personalize the craft and for them to be as involved in the making of it as possible.
Depending on the child’s age and skill level, they may be able to help with cutting out the shapes or glueing on the pieces, too.
This is a perfect indoor fall craft to learn about the changing seasons and would look great in a classroom too with all of the owls displayed—after the puppet show, of course!
Looking for More Handprint Crafts to Try?
- Strawberry Handprint Craft
- Witch Handprint Craft
- Cactus Handprint Craft
- Leprechaun Handprint Craft
- Handprint Butterfly Craft
Would you like to save this?
Why Make Paper Bag Puppets?
Making a paper bag puppet is such a fun way to get your kiddo to use their imagination. They can make the puppet and other characters to create a play, or just have fun with the crafting process itself. It’s a simple, common item to have in your pantry that can lead to hours of play.
Paper plates are another great supply to keep on hand. You can make everything from a lion to a watermelon with your imagination!
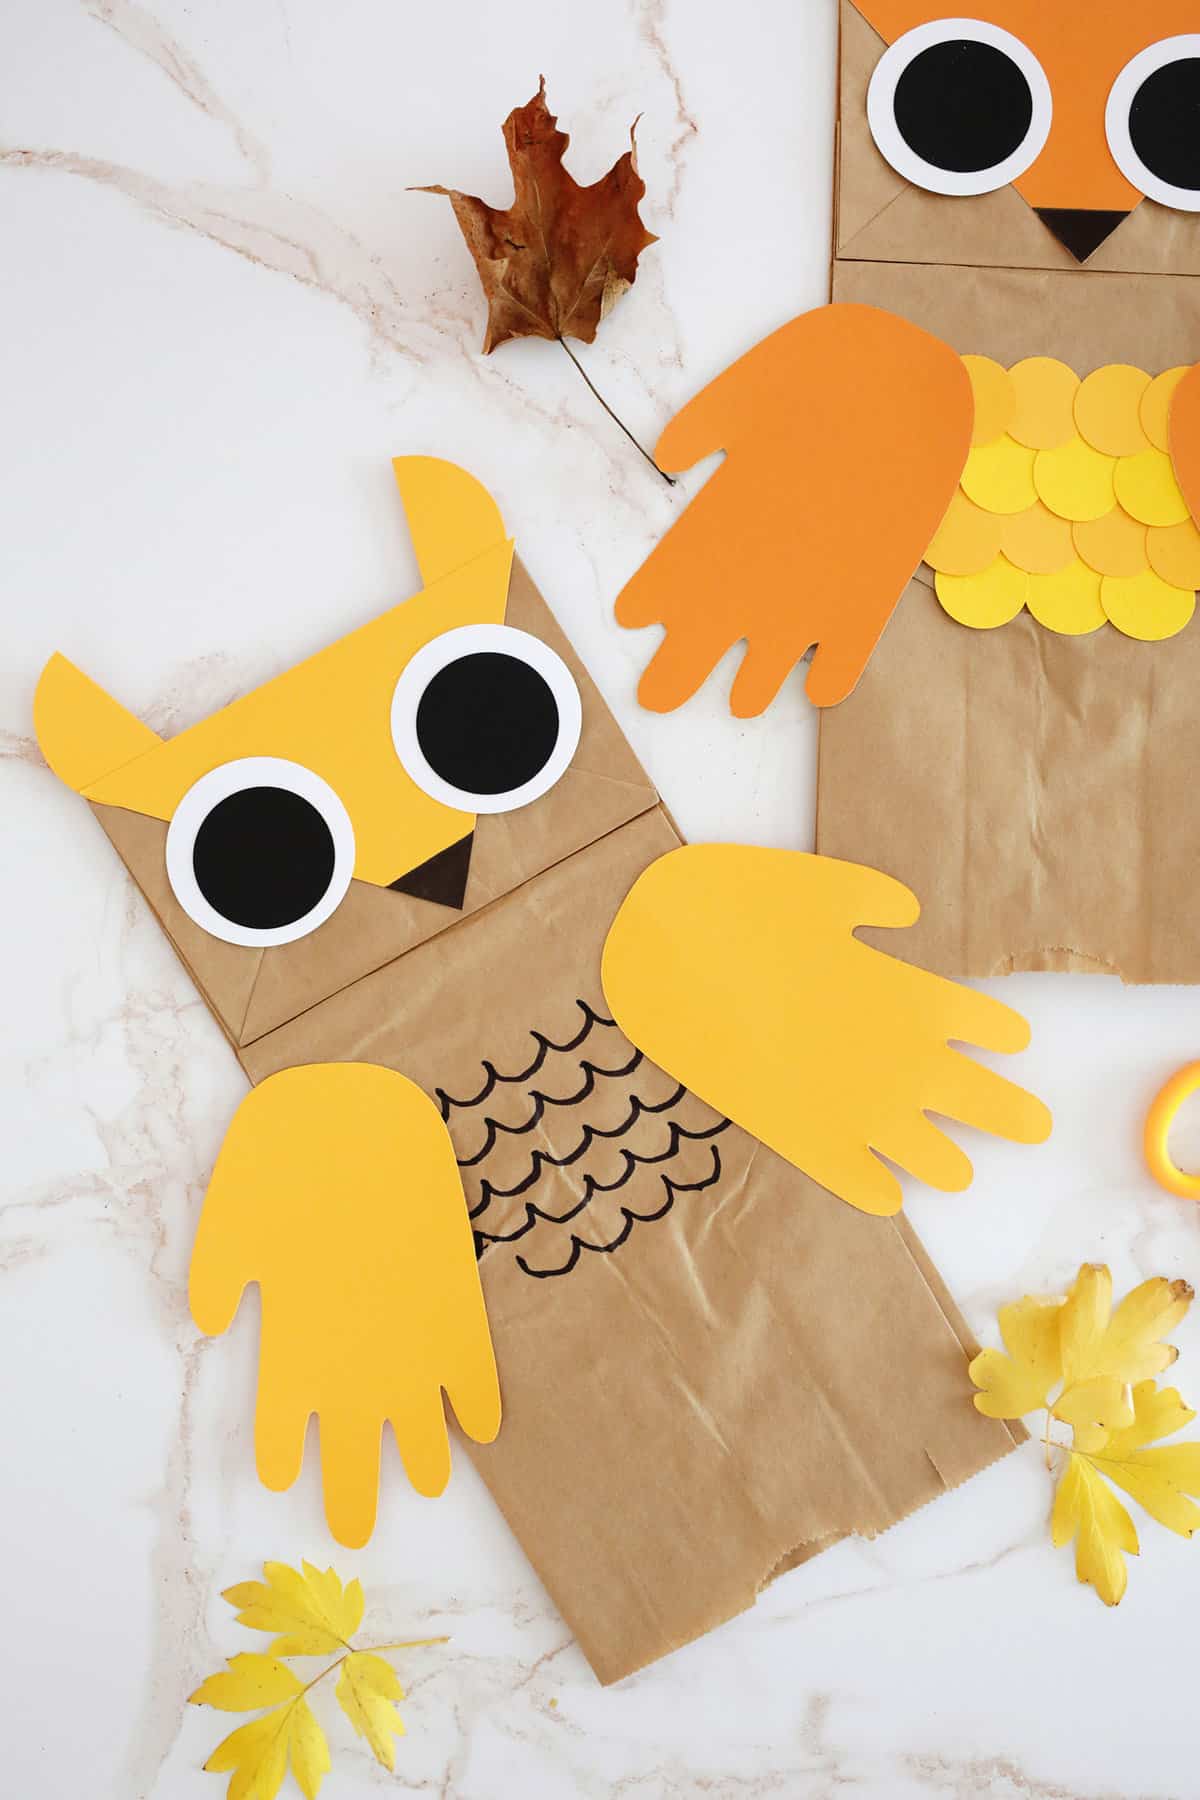
Tips for this Craft + How Kiddos Can Help:
- While you don’t have to use a circle punch for this activity, we love sets of circle punches like these that you can use over and over for lot of crafts. And kids love to press down and punch out the shapes themselves—it’s fun!)
- It’s fun for kids to get to use their own handprints when they make a craft. It’s another detail that makes it totally unique to them!
- If you have a preschooler, they may be able to help with the cutting and glueing parts, but little hands can be involved too! Use this craft to work on the basic shapes as you glue them onto the puppet.
- You can look up what owls live closest to you and make this craft in the same colors!
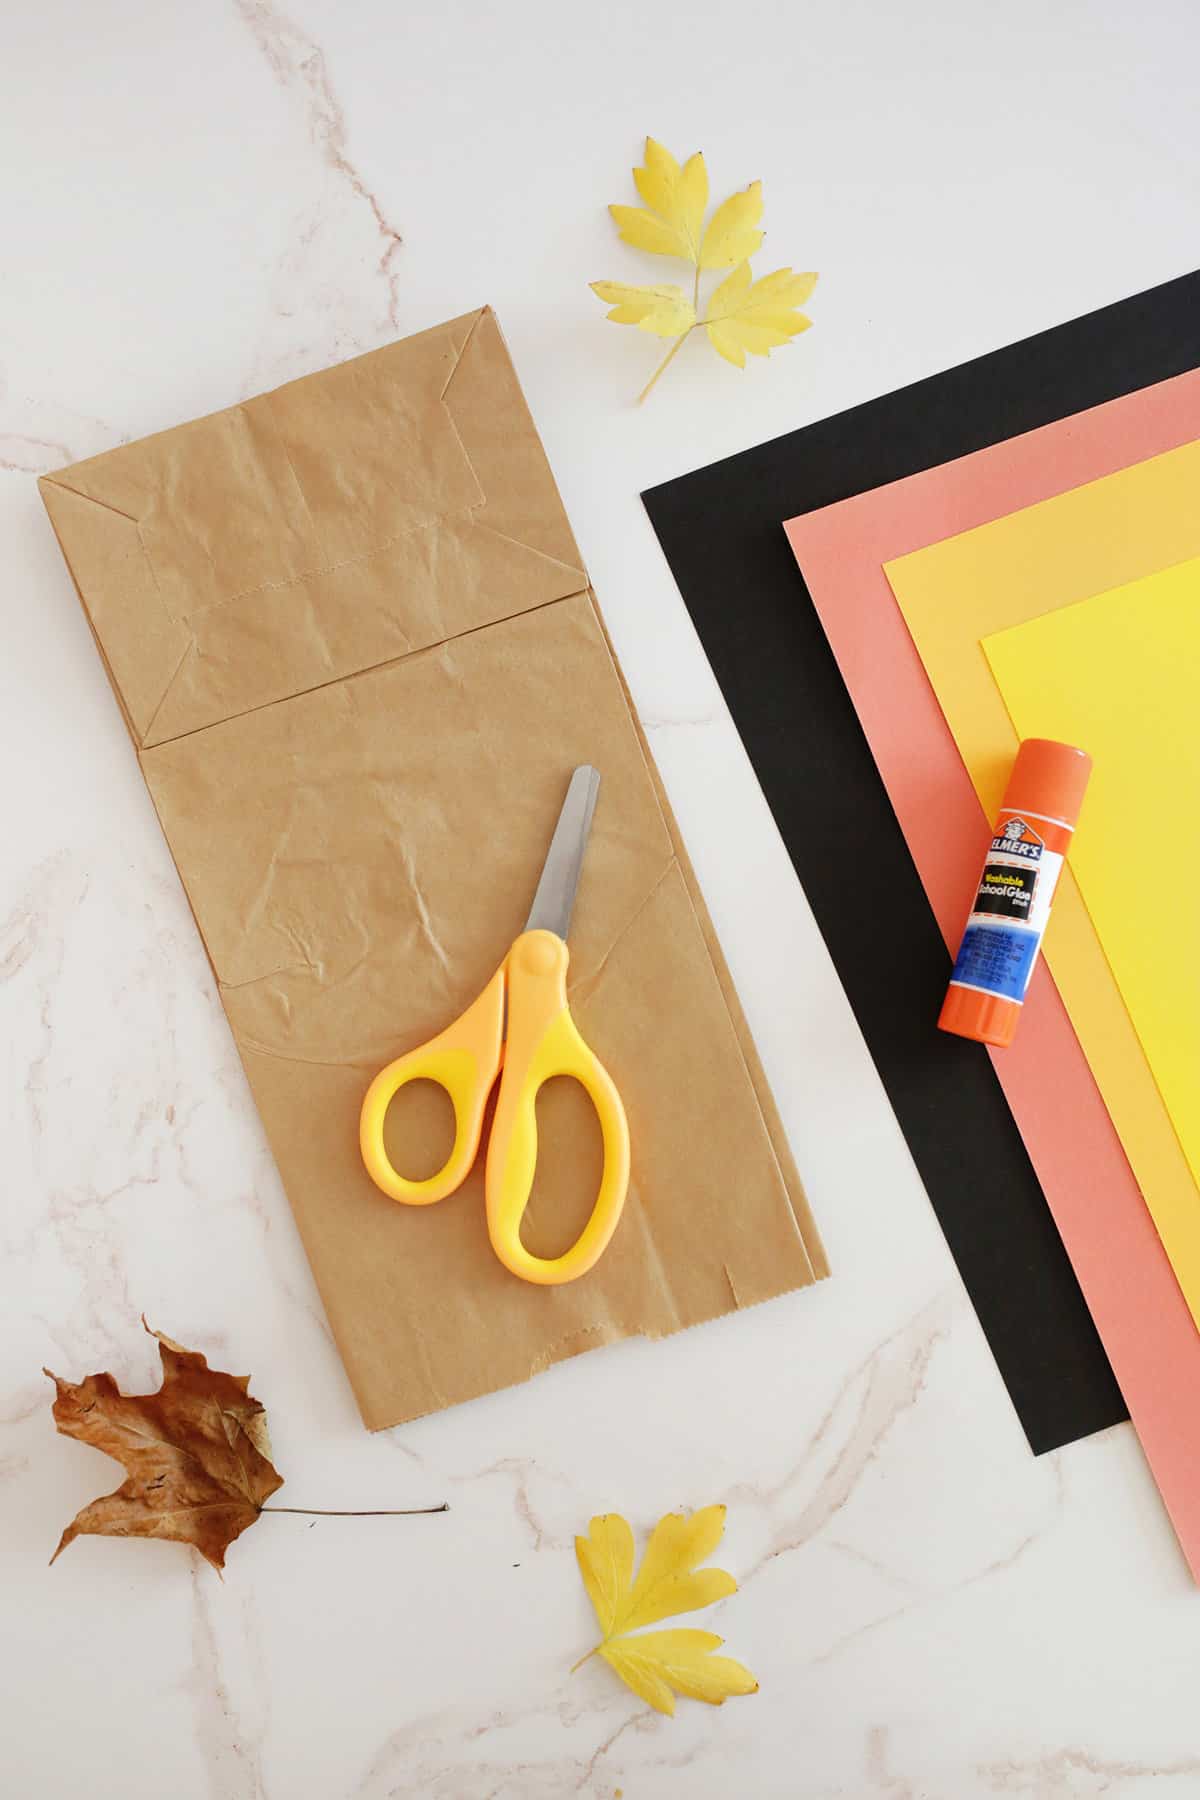
Supplies to Make Your Puppet:
- circle punch set (or you can just cut out circles with scissors and a circle template is helpful for that)
- brown paper lunch bag
- scissors
- card stock paper or construction paper in fall colors
- black or brown marker
- glue stick or school glue
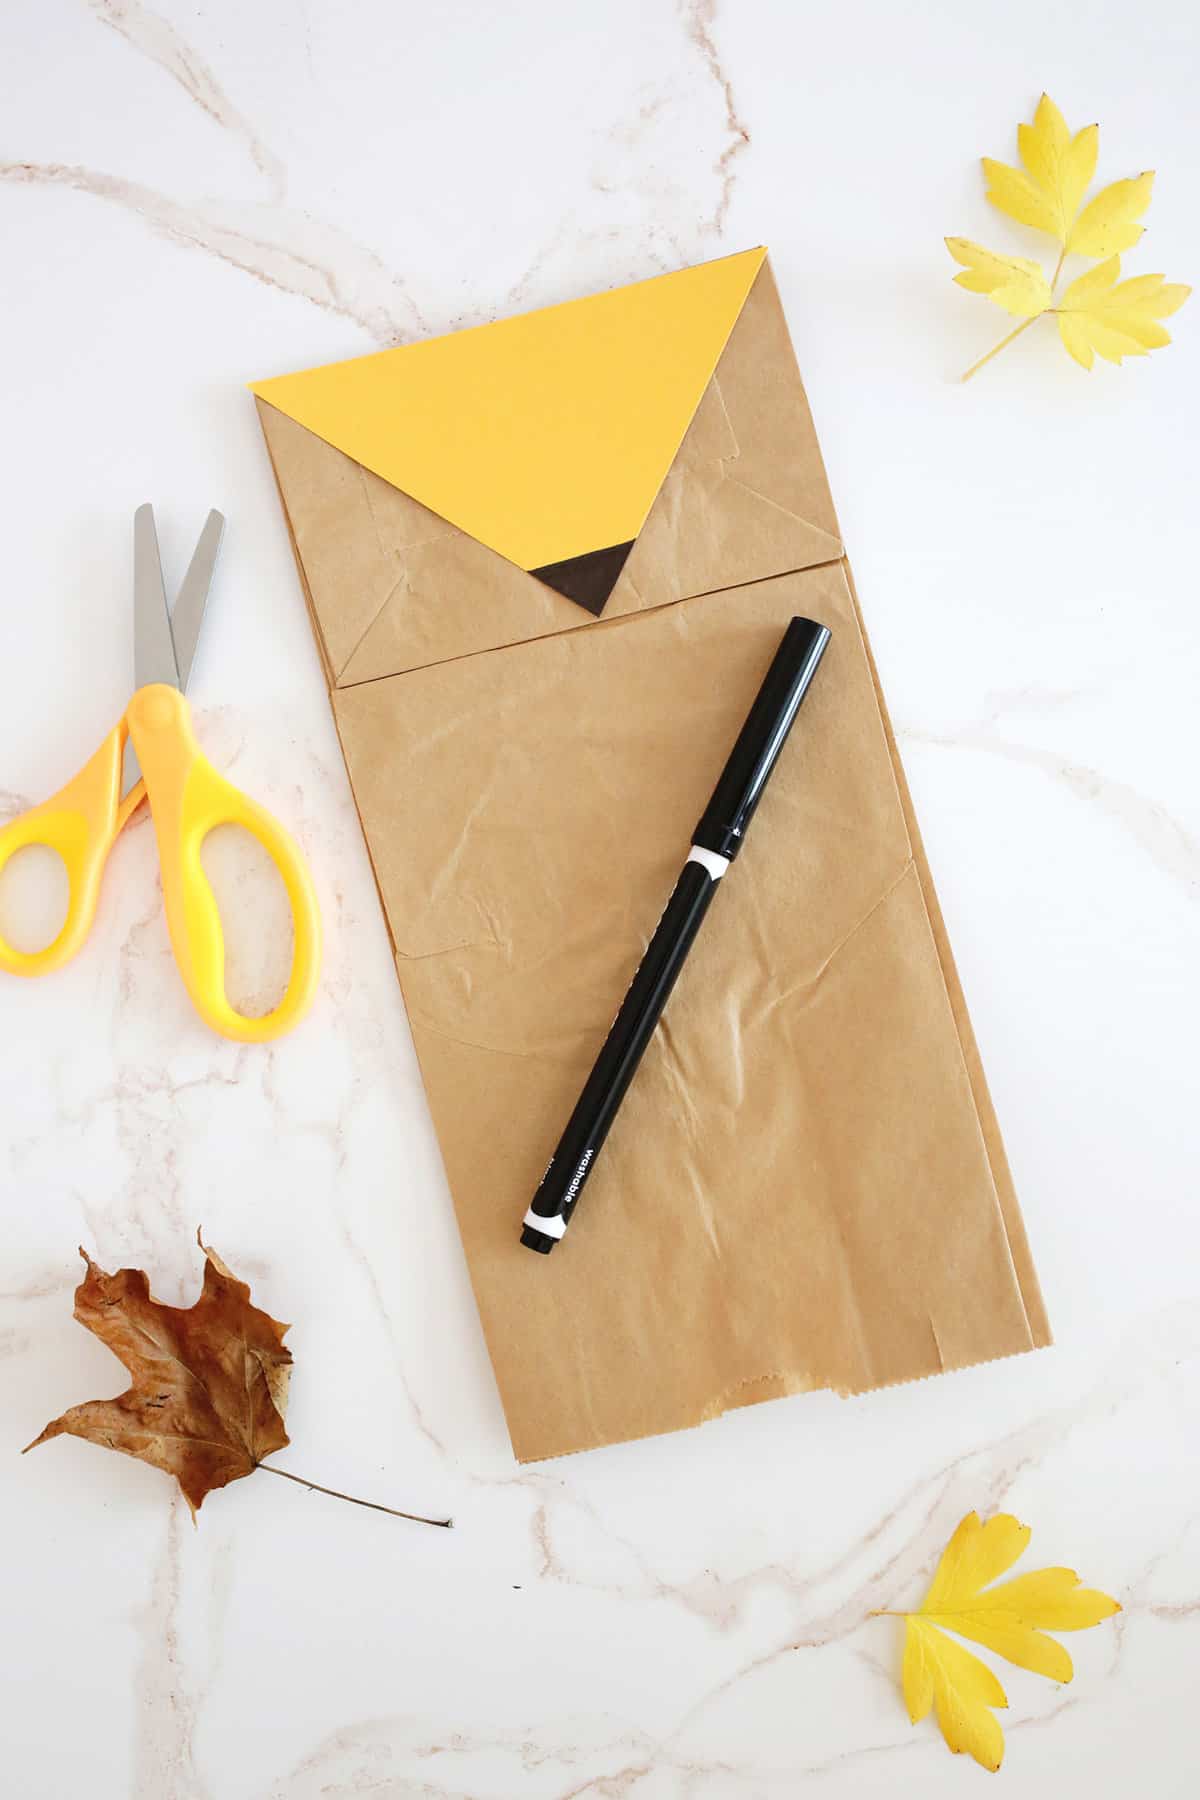
How to Make Your Paper Bag Owl Puppet:
- Place your flat brown paper lunch bag so the folded bottom flap is facing up. For the face, cut a triangle of paper that fits the width and height of the folded bottom flap. Then, color the tip of the triangle to be the nose with a black or brown marker.
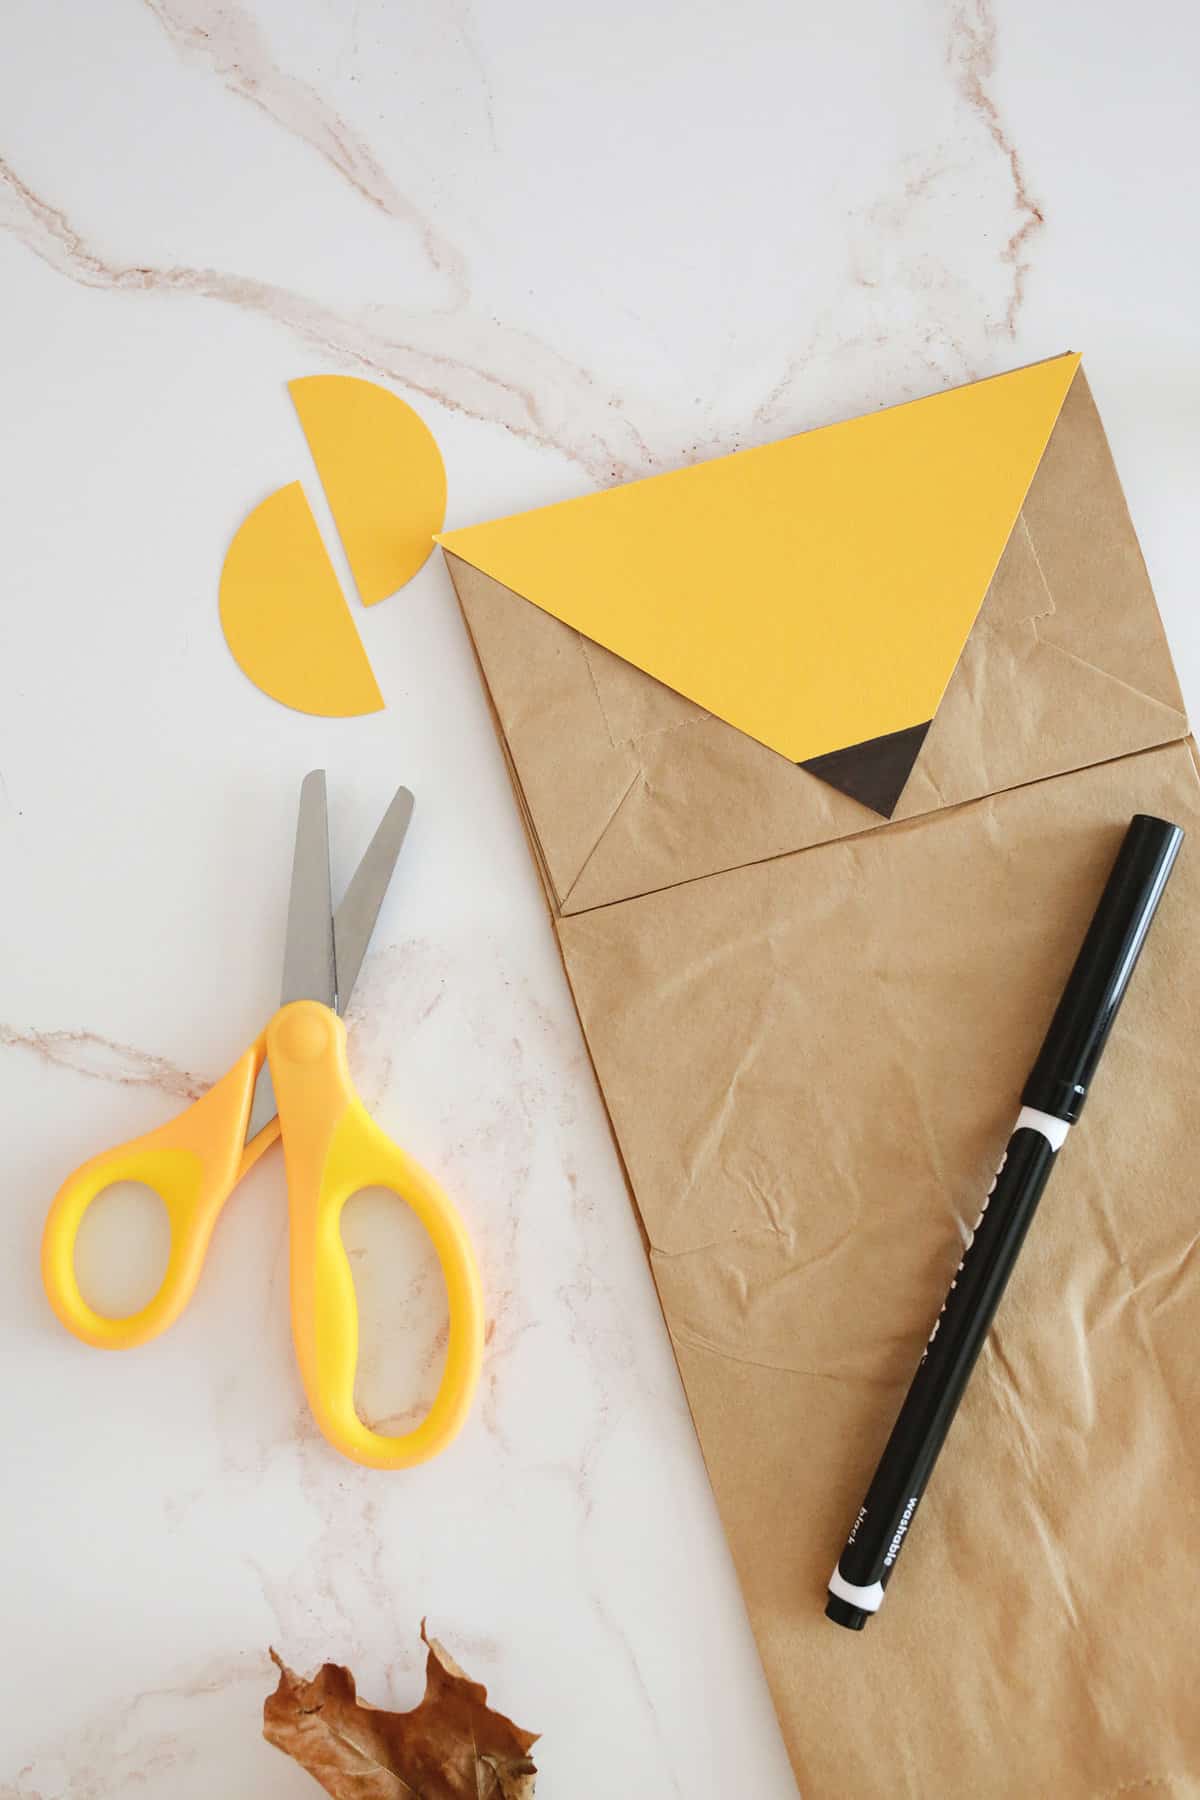
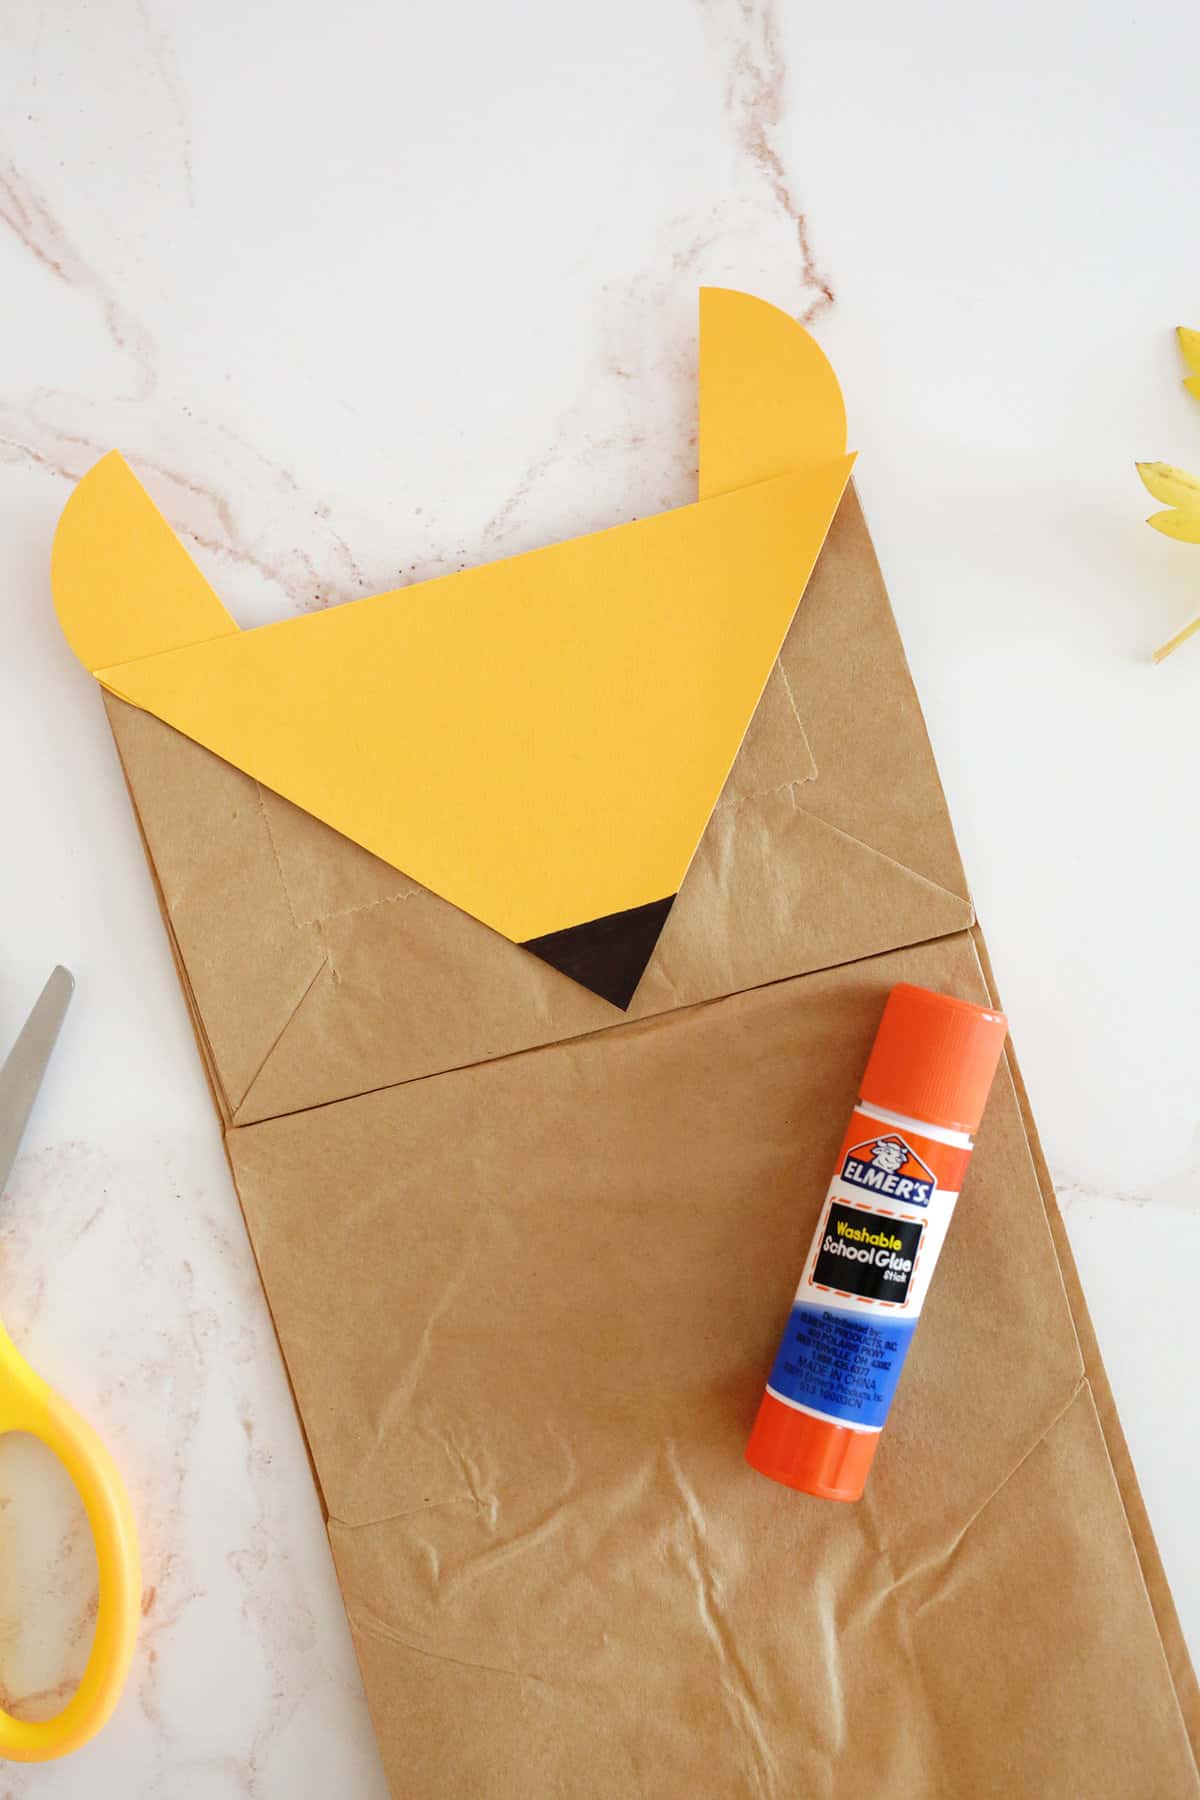
- Punch a 2″ circle of the same color (or just cut a circle about 2″ wide) and then cut that circle in half for the ears. Tuck the half circles under the wide end of the triangle and glue the ears and face in place.
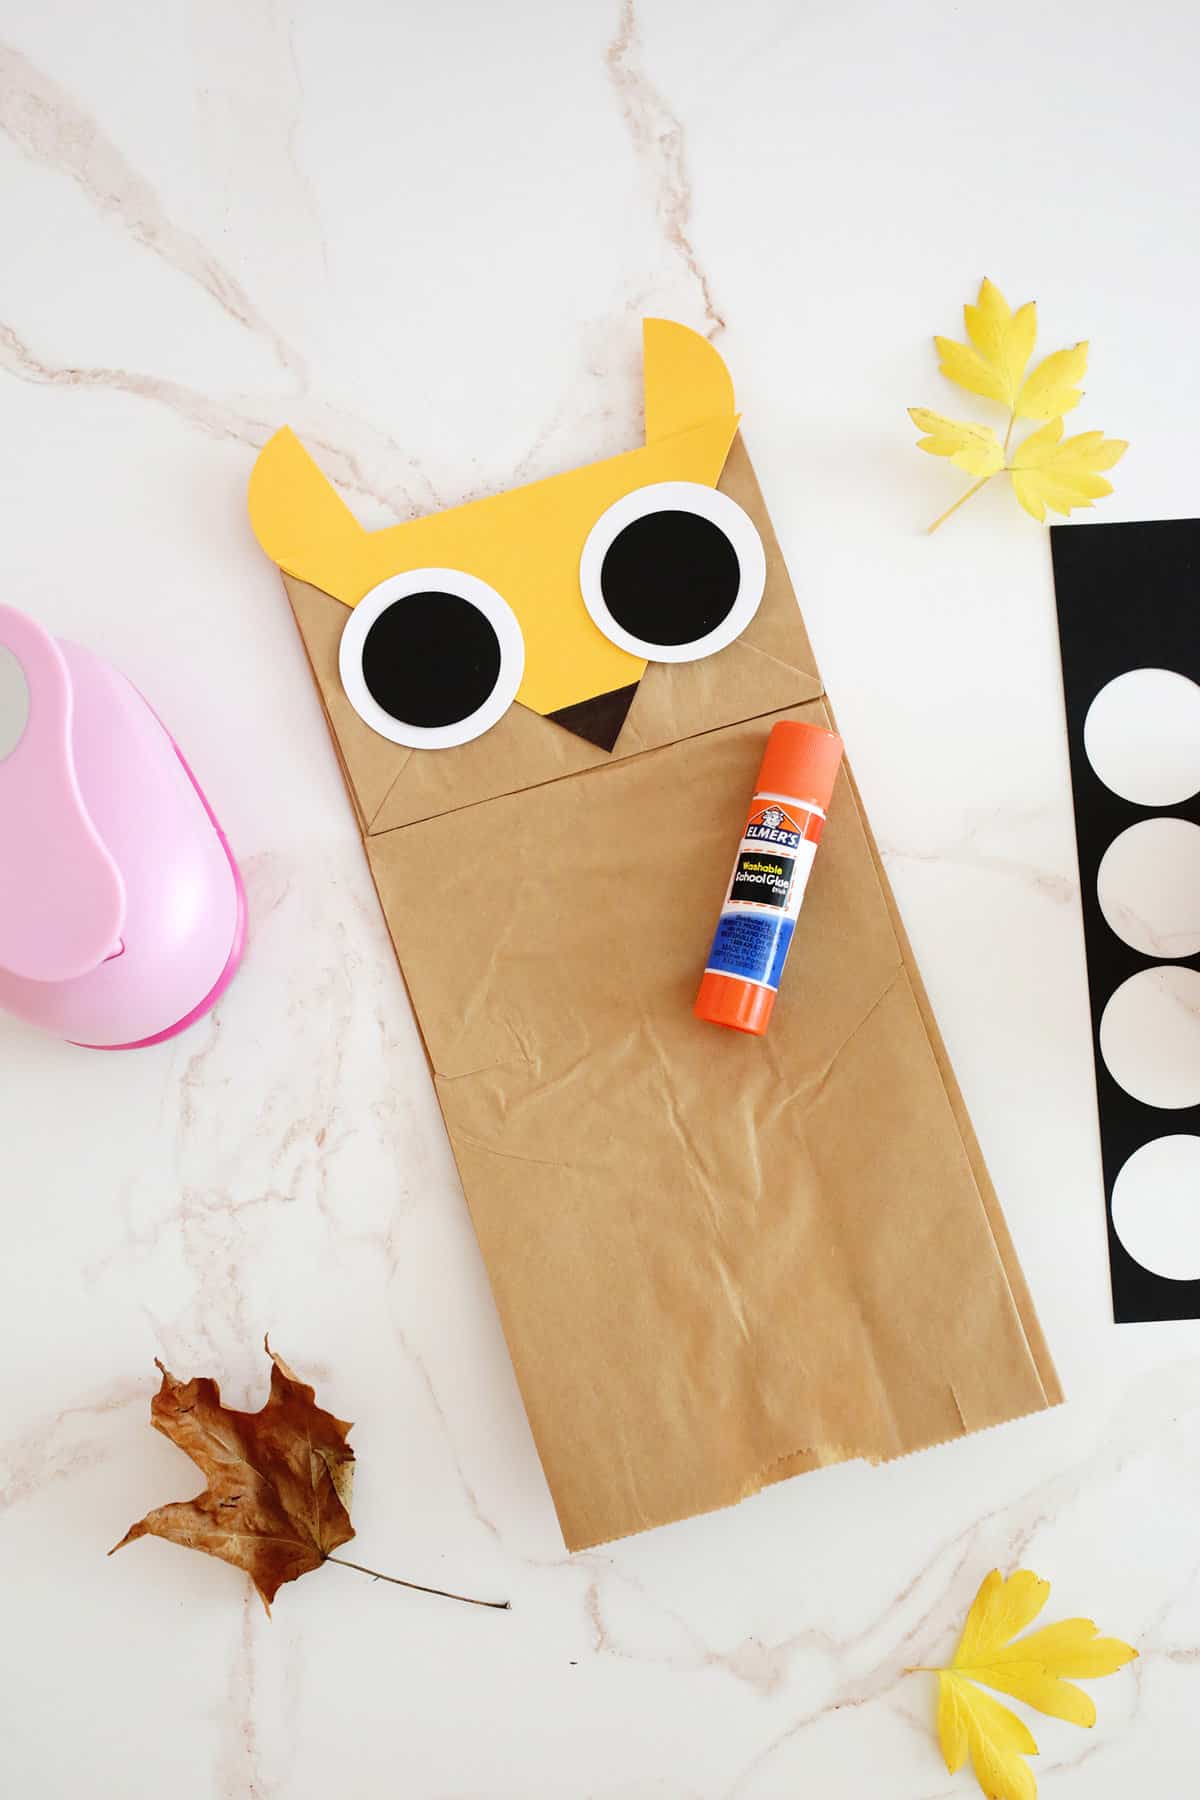
- Punch or cut two white 2″ circles to be the eyes (or you can use yellow paper for yellow owl eyes) and then smaller 1.5″ black circles for the pupils. Glue on the white circle and then the black on top.
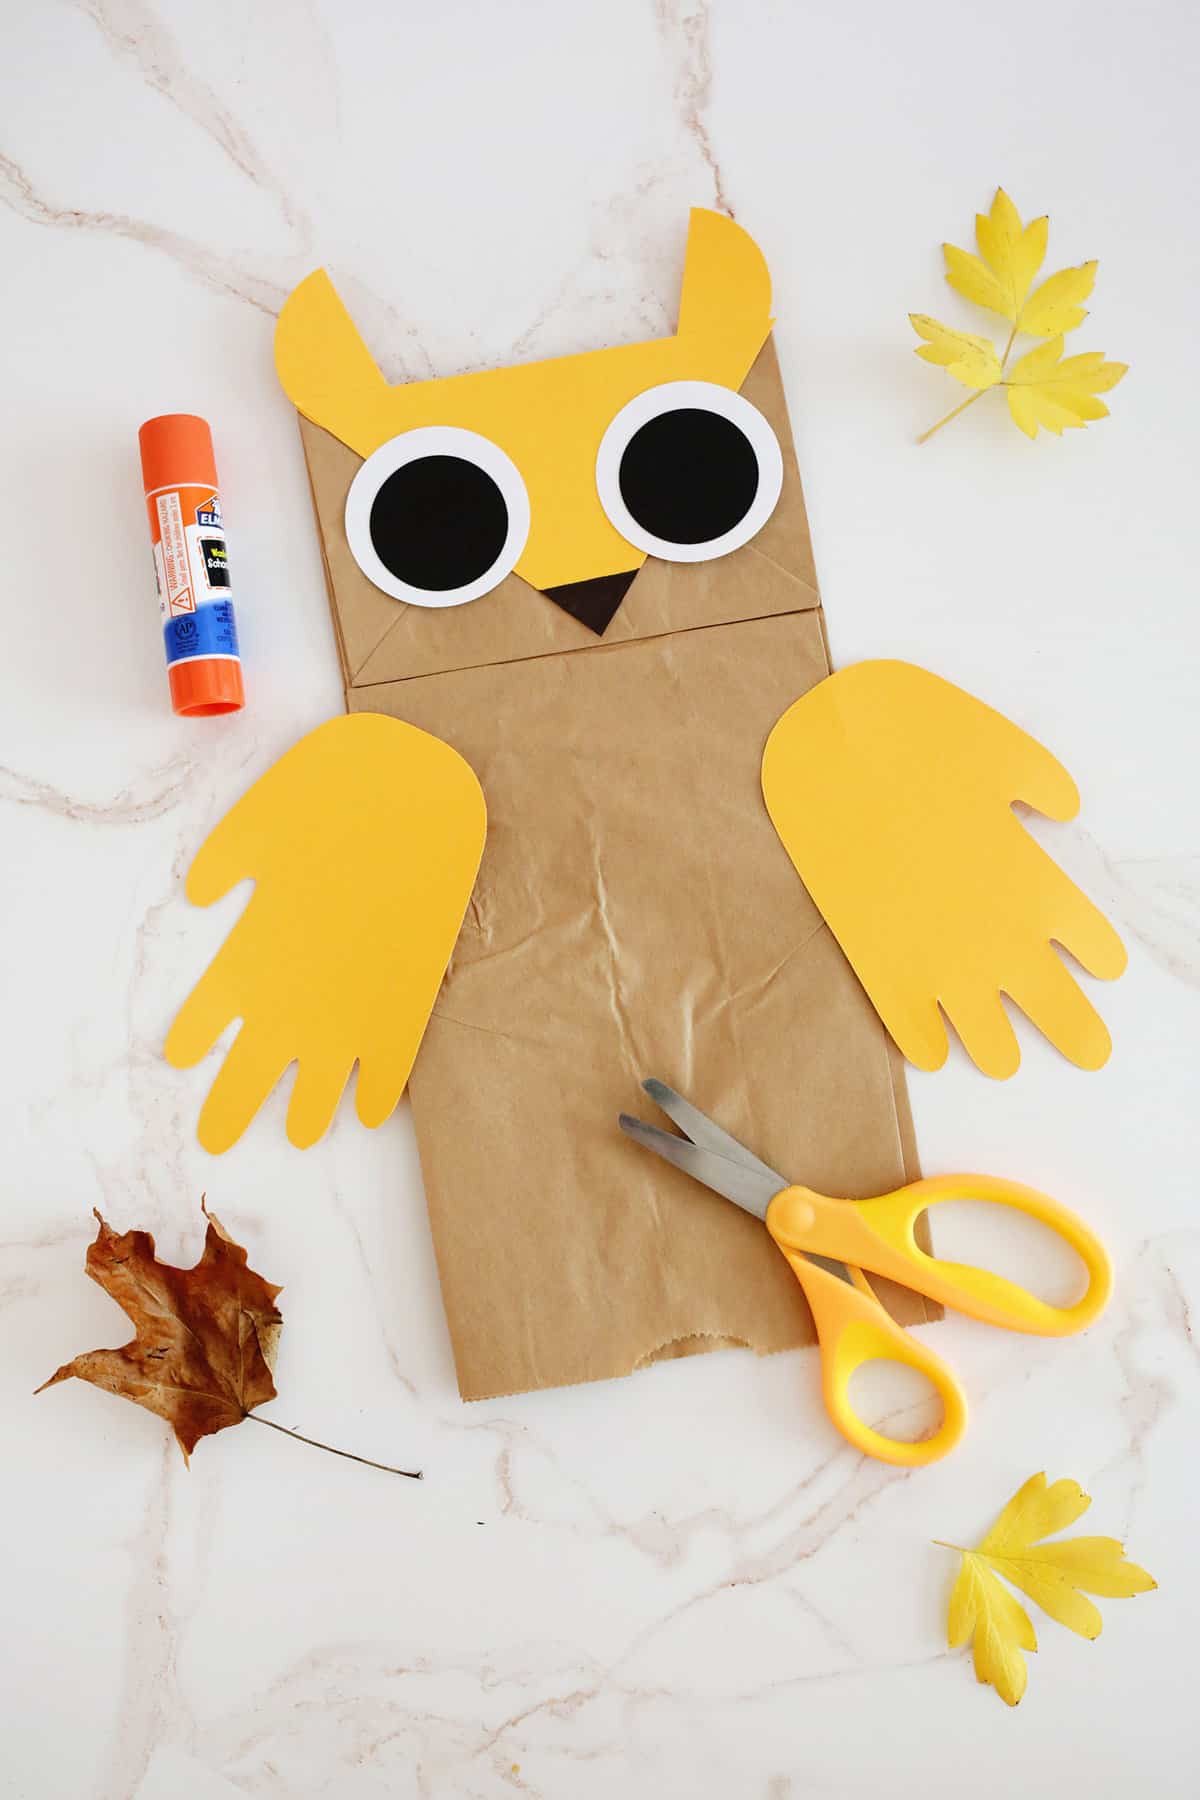
- Trace your kid’s closed-finger handprint onto a folded piece of wing paper and cut out the handprint so you have two handprints. Set aside.
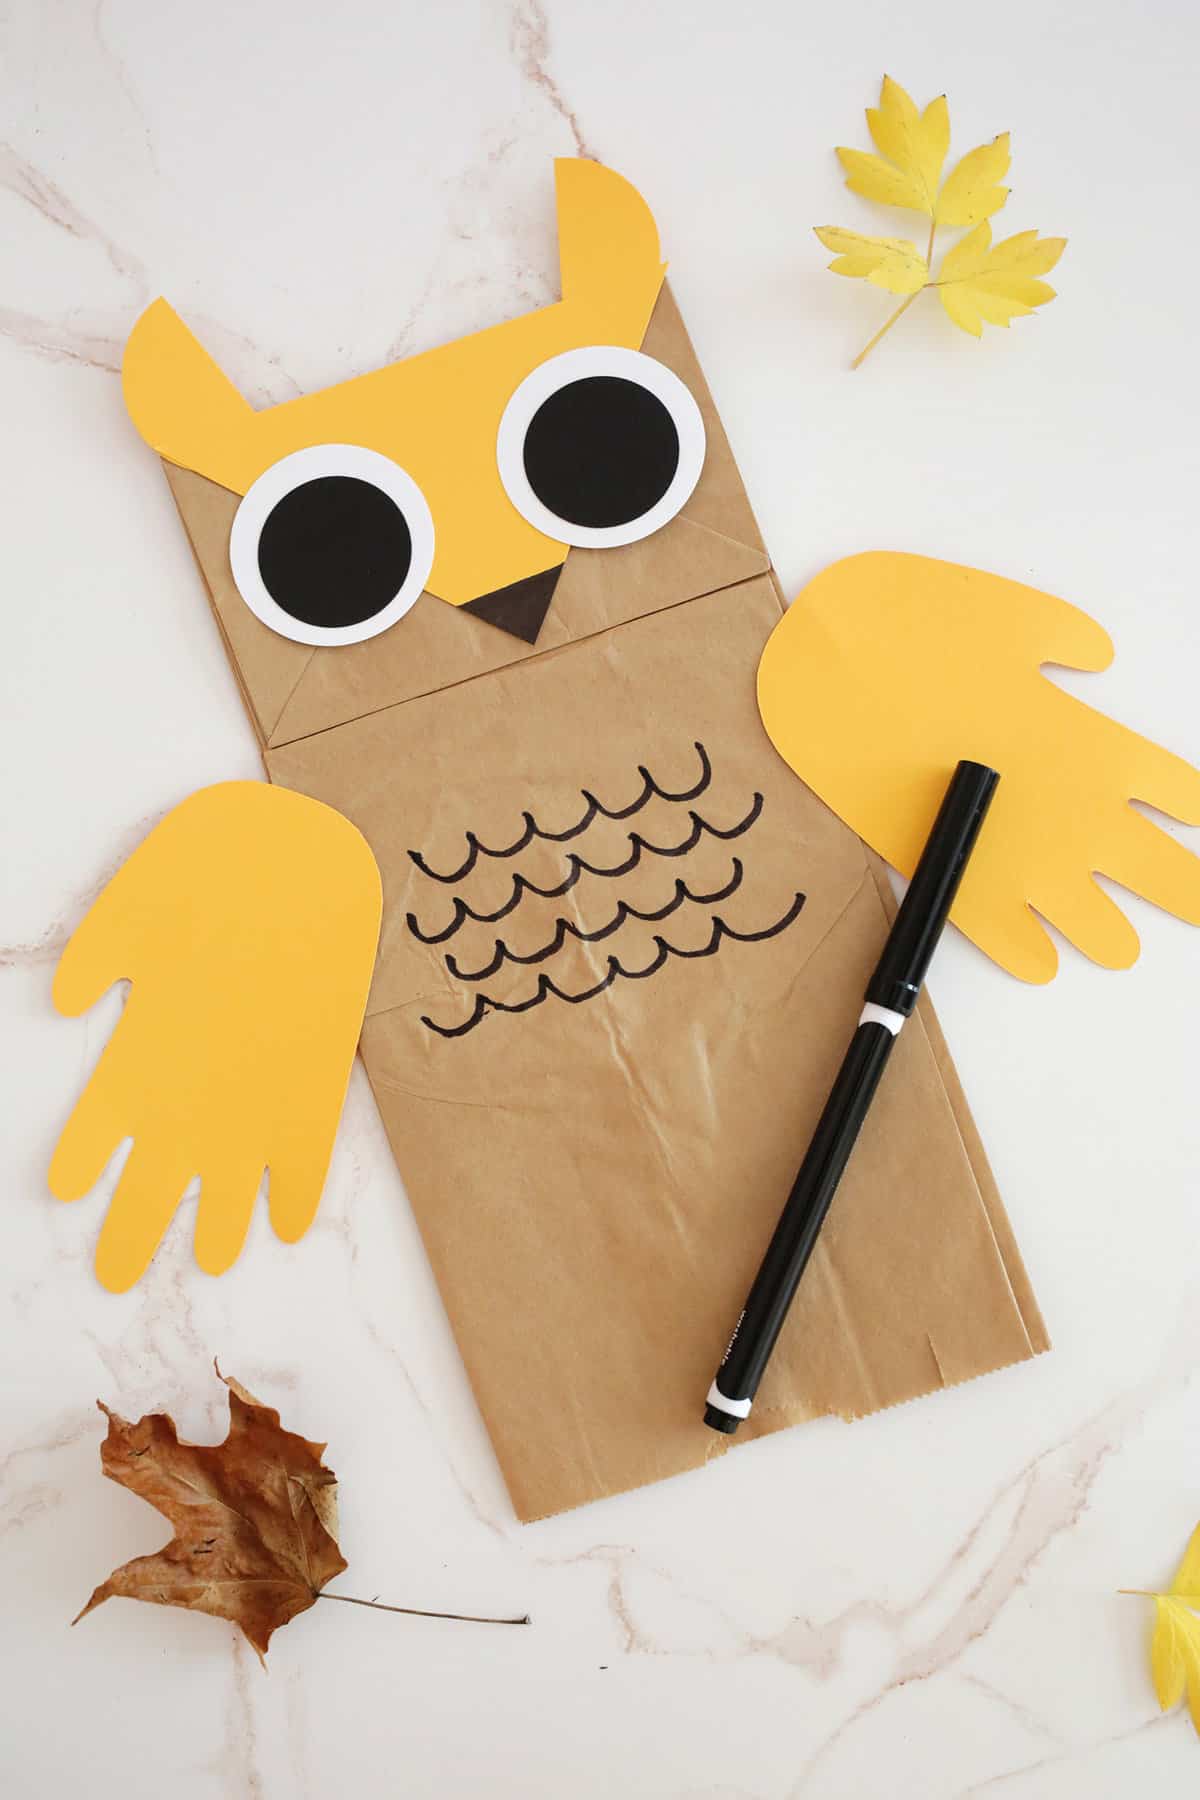
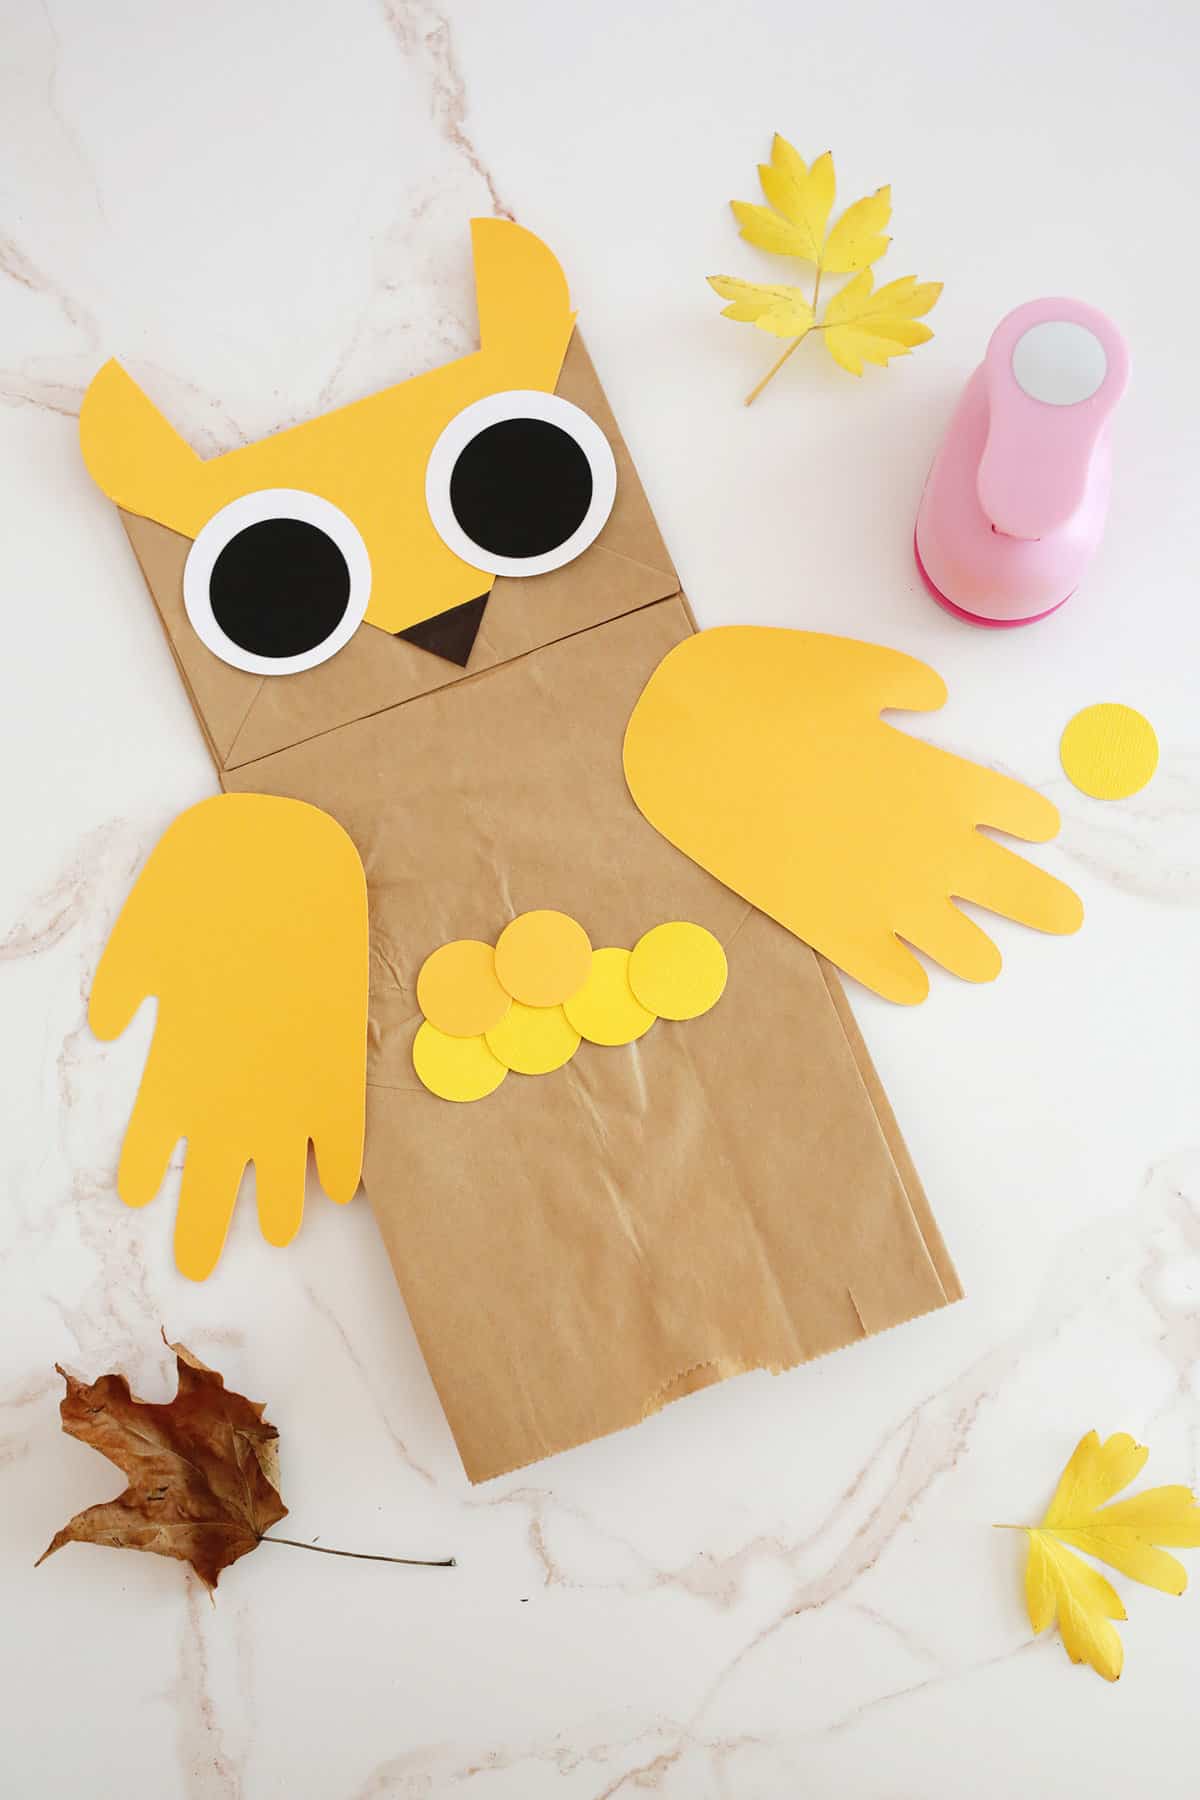
- To make the feathers, you can either draw them on with a marker by drawing lines of scalloped waves. Or, you can punch or cut 1″ circles and glue them on one line at a time (starting with the bottom row) and overlapping the rows so they look like feathers.
- Now, you can glue on your handprint wings and when the glue is set your puppet is ready to use!
Get creative ideas for recipes, crafts, decor, and more in your inbox!
 Get the How-To
Supplies
Instructions
- Place your flat brown paper lunch bag so the folded bottom flap is facing up. For the face, cut a triangle of paper that fits the width and height of the folded bottom flap. Color the tip of the triangle to be the nose with a black or brown marker.
- Punch a 2" circle of the same color (or just cut a circle about 2" wide) and then cut that circle in half for the ears. Tuck the half circles under the wide end of the triangle and glue the ears and face in place.
- Punch or cut two white 2" circles to be the eyes (or you can use yellow paper for yellow owl eyes) and then smaller 1.5" black circles for the pupils. Glue on the white circle and then the black on top.
- Trace the child's closed-finger handprint onto a folded piece of wing paper and cut out the handprint so you have two handprints. Set aside.
- To make the feathers you can either draw them on with a marker by drawing lines of scalloped waves, or you can punch or cut 1" circles and glue them on one line at a time (starting with the bottom row) and overlapping the rows so they look like feathers.
- Now you can glue on your handprint wings and when the glue is set your puppet is ready to use!


super cute! we are making these in a functional academics classroom. we have a student who loves paper bag puppets.