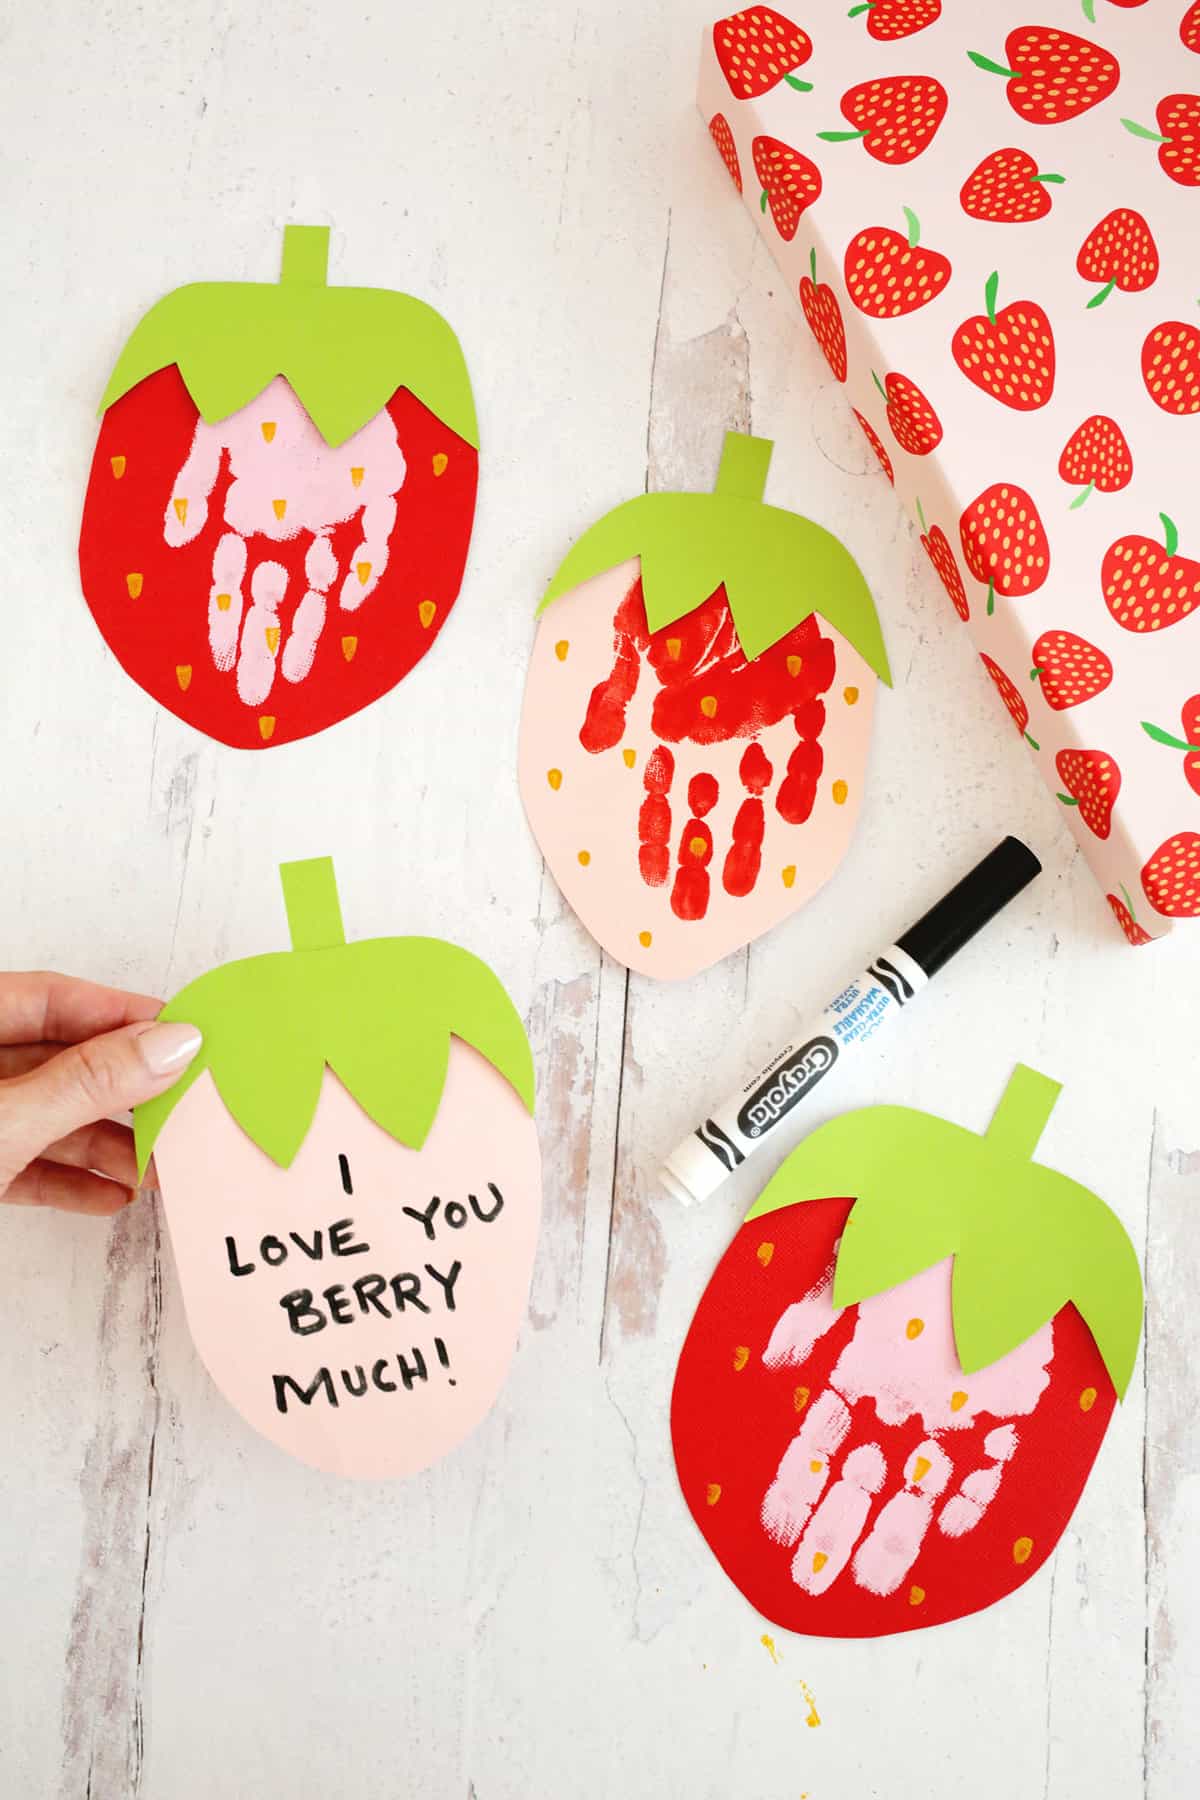
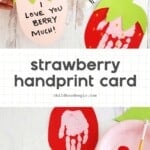
Making a strawberry handprint is such an easy craft that can work perfectly as a card for a loved one. It also makes a great summertime craft.
Kids will love snacking on strawberries while making these, and it’s a “berry sweet” gift idea for Mother’s Day, Valentine’s Day, (similar to our cactus handprint art or handprint flower bouquet!) or even as a thank you card.
This would be a really fun activity after visiting a strawberry patch, too. It’s fun to connect activities with a theme and it can help kids retain what they’ve seen and what they’ve learned.
Another fun handprint craft is using thumbprints as seeds like we did in our watermelon paper plate craft. These are just a few ways to teach kids about planting, seeds, and growth that they get to have fun with.
Would you like to save this?
Why Kids Love Handprint Cards:
- Handprint crafts are fun because kids can be involved when making them.
- Handprint crafts are cute to frame or give as a gift.
- Handprint art is fun and accessible for all ages of children. Kids up to elementary age enjoy these projects, and they are great for babies and toddlers as well.
- Handprint cards are perfect for holidays like Mother’s Day, Father’s Day, or as a teacher gift.
Looking for More Craft Ideas?
- Watermelon Paper Plate
- Paper Plate Lion with Rainbow Mane
- Butterfly Handprint Craft
- Easy Painted Macaroni Necklace
- Cactus Handprint Craft
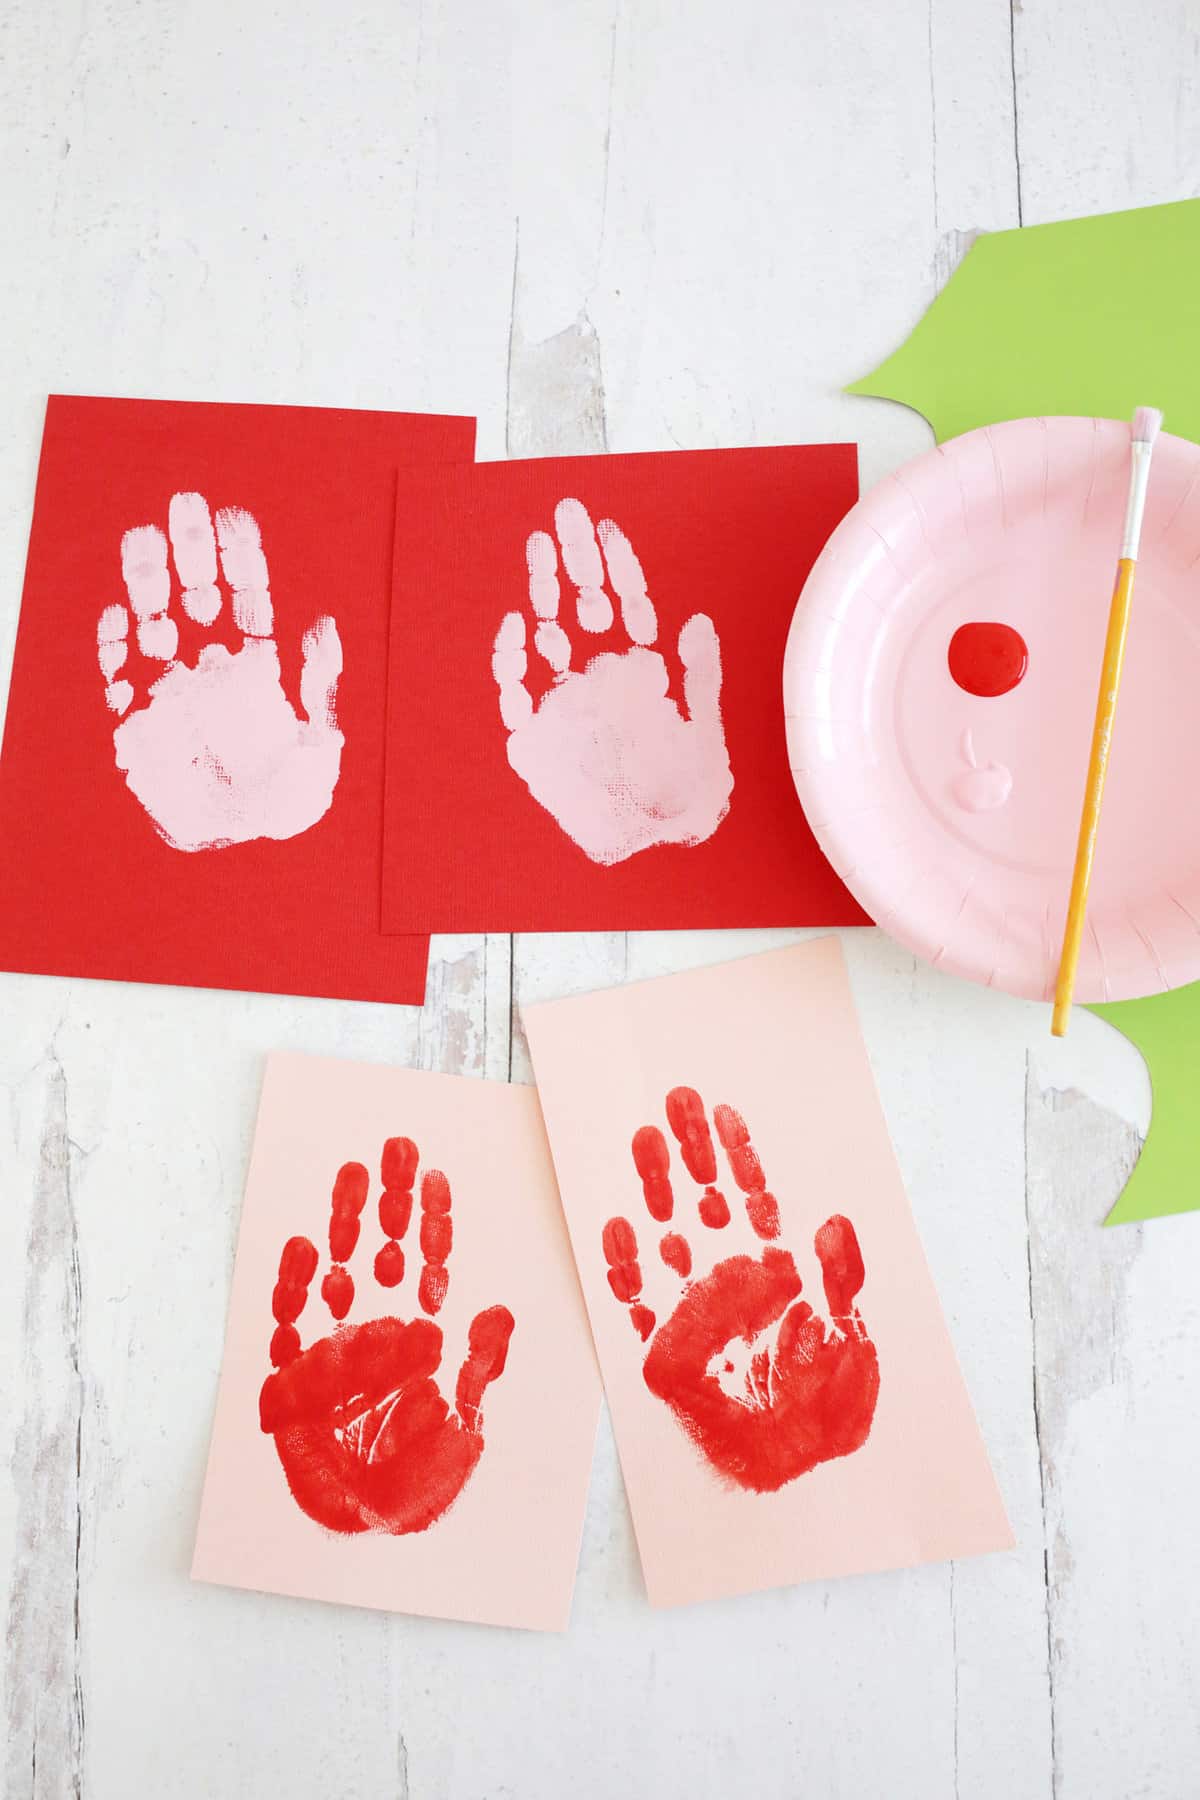
Supplies:
- Cardstock or construction paper in red/pink and green colors
- Acrylic paint in either red or pink and brown or gold
- Small paintbrush
- Scissors
- Marker
- Glue stick
How to Make a Strawberry Handprint Card:
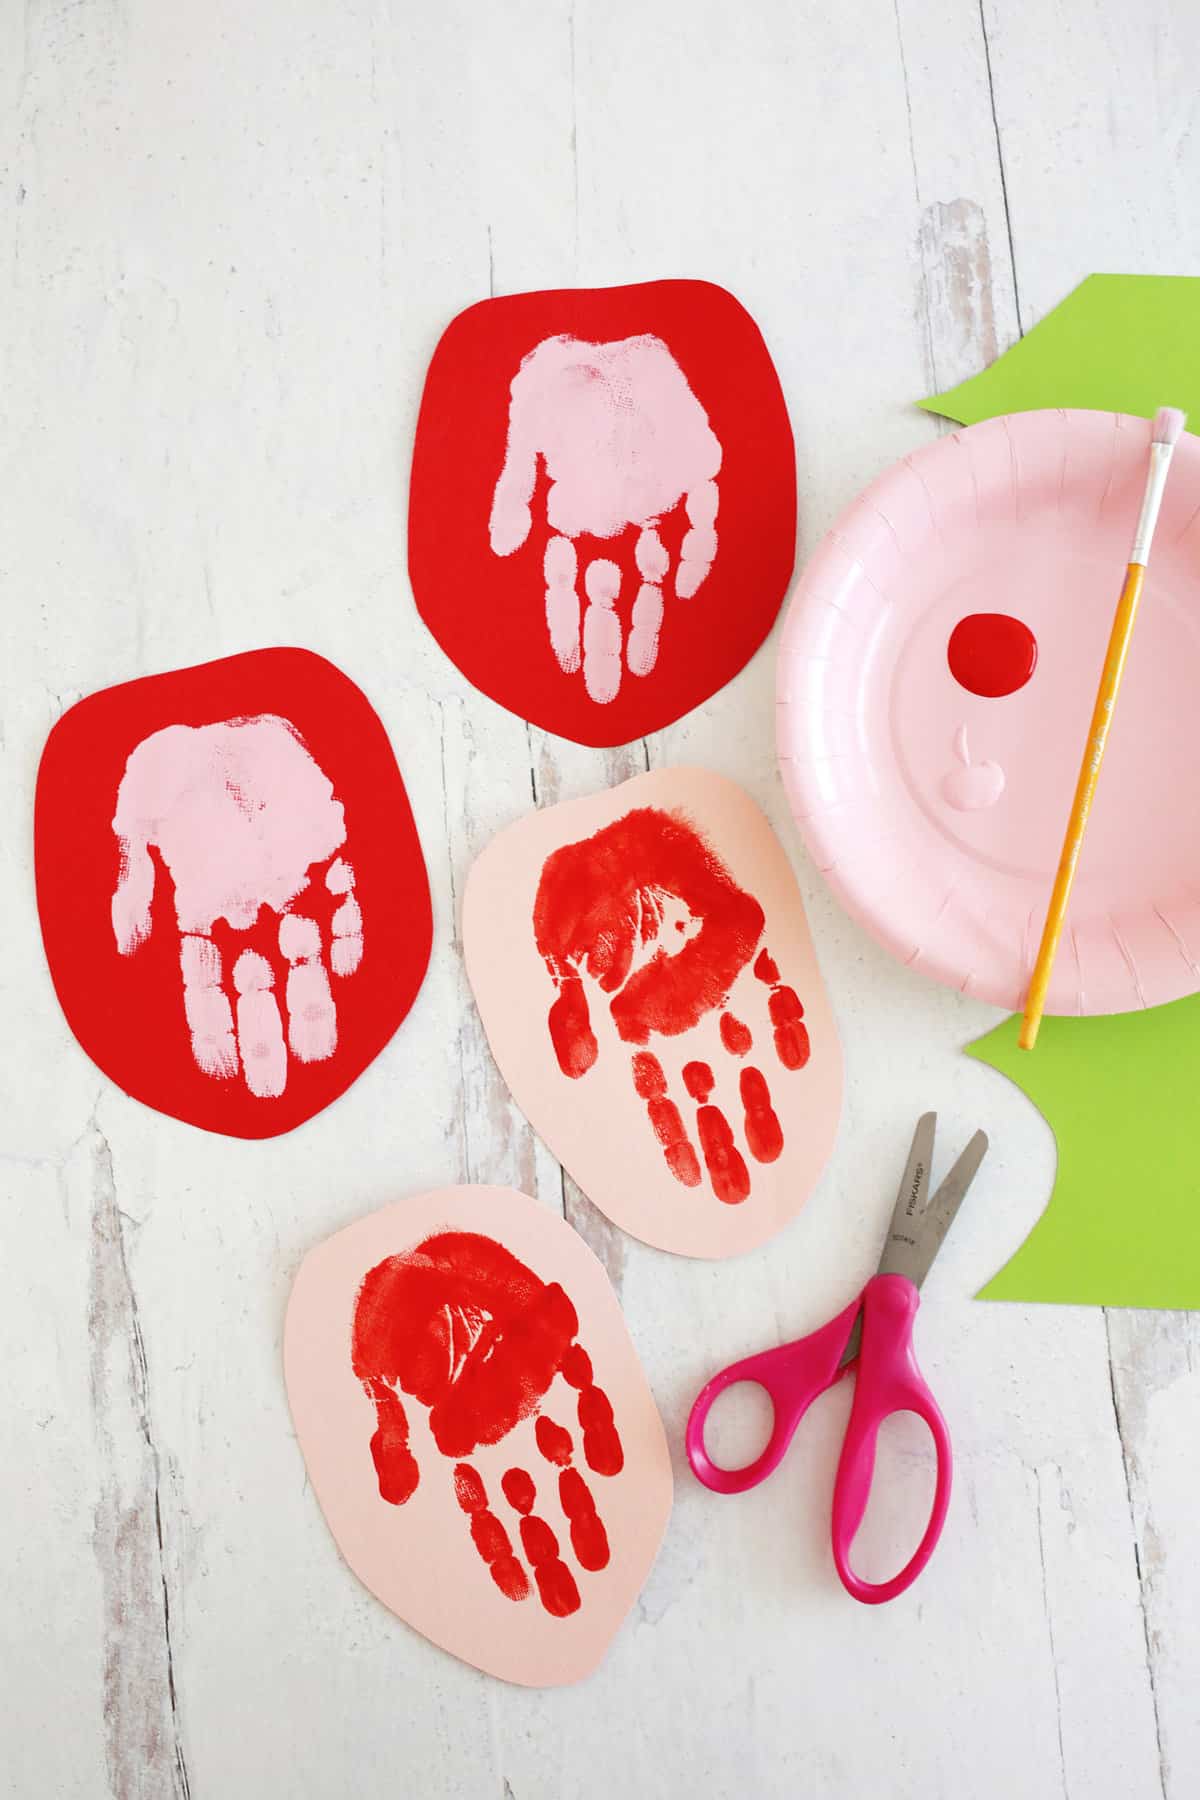
- Paint the child’s hand with paint and make a handprint on red/pink paper.
- Cut around the handprint to make the body of the strawberry.
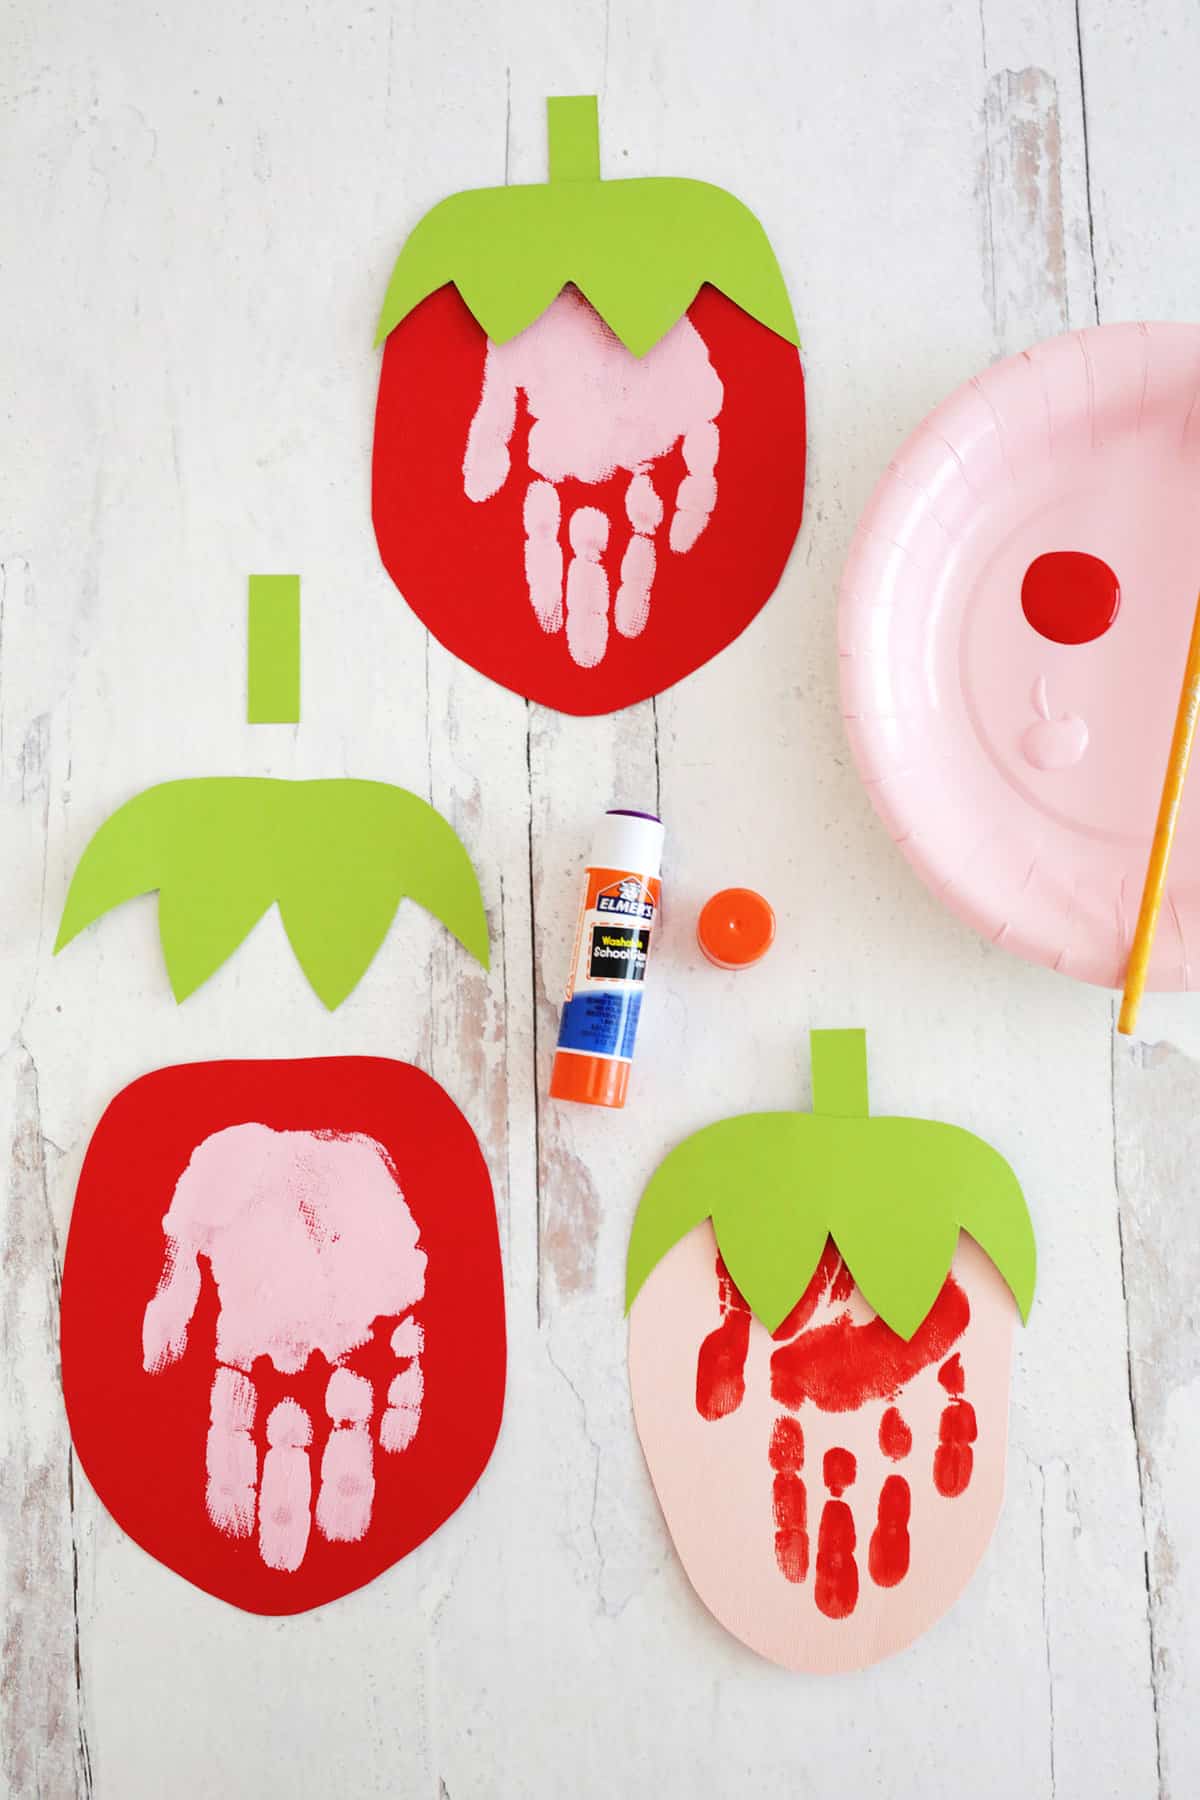
- Cut the top of the strawberry out of the green paper and make a rectangle stem. Glue the stem to the green top and then glue both to your strawberry body.
TIP: If you want a green top for the back of your strawberry, you can cut your top at a folded edge so it makes a mirror image for the back of the card.
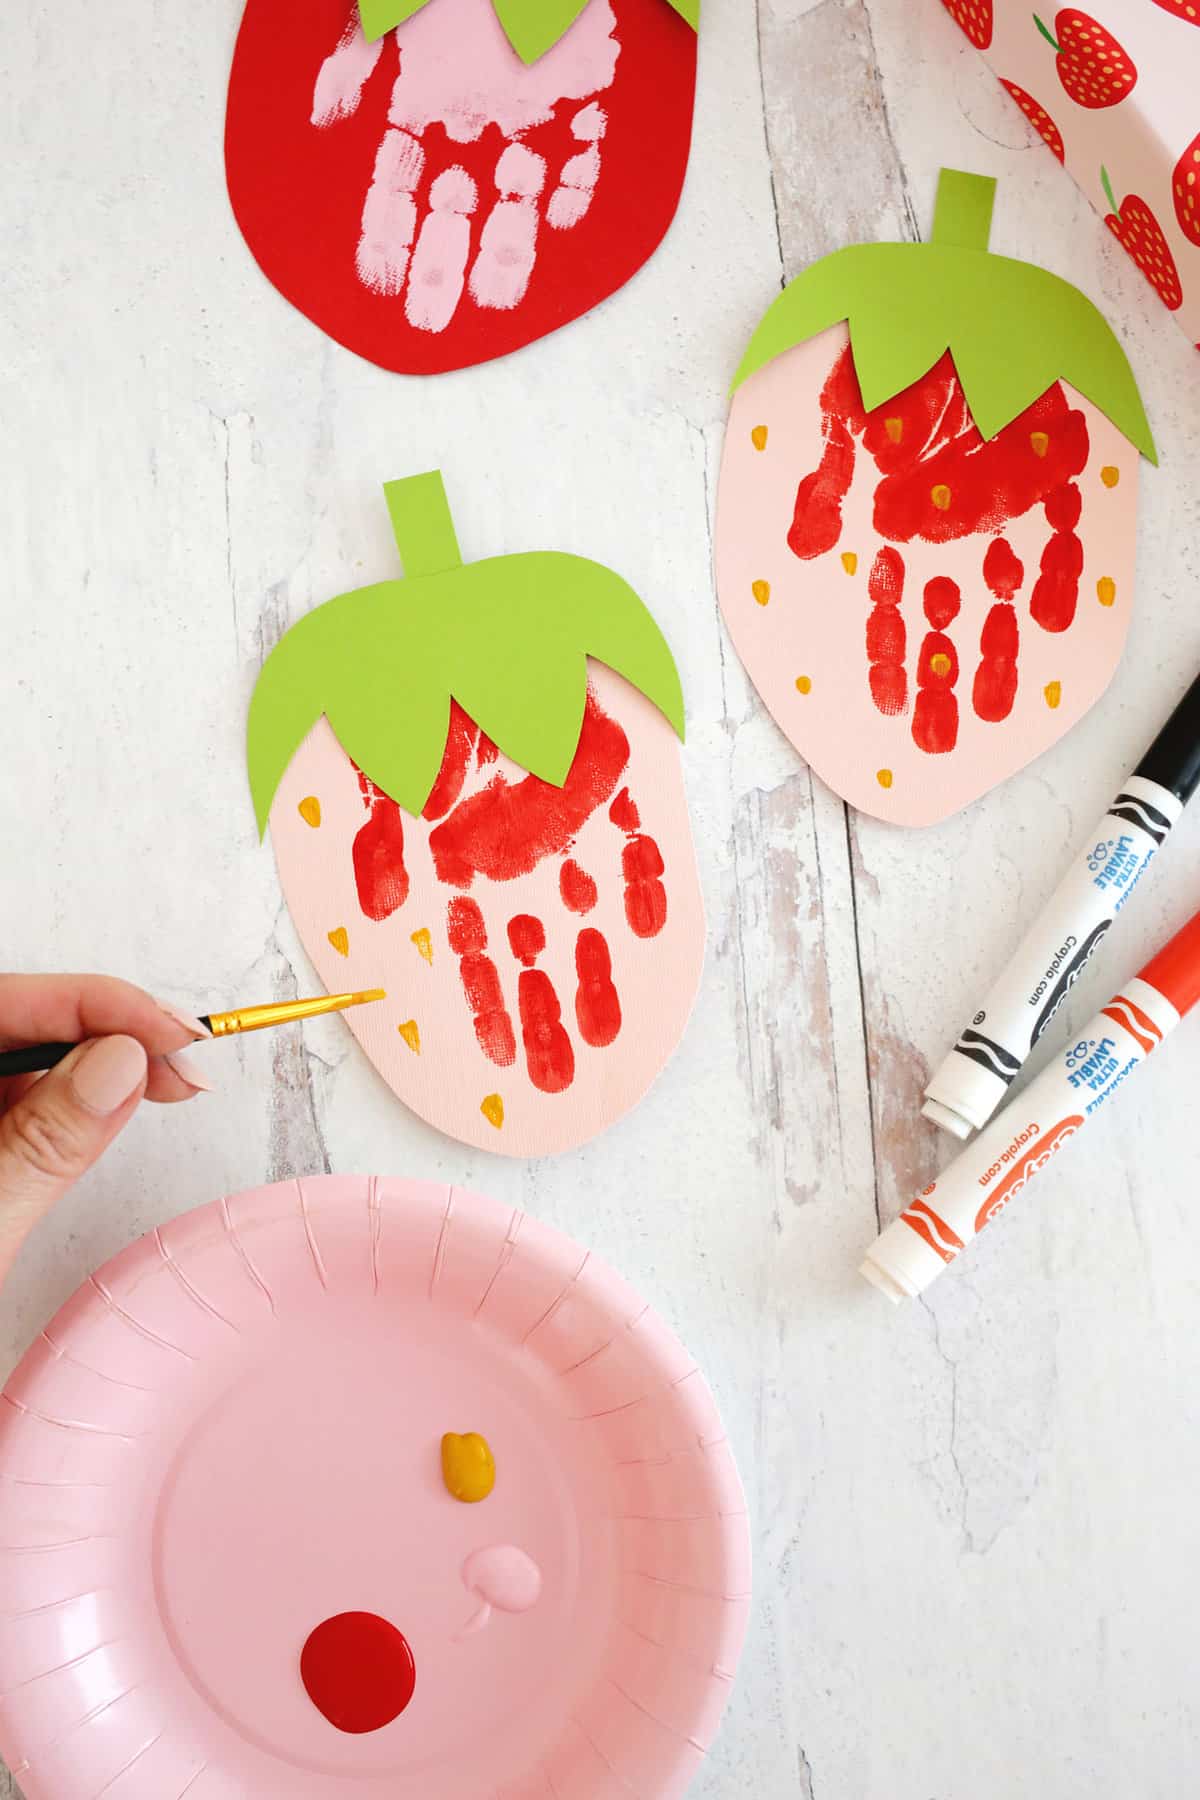
- Add brown or gold dots of paint to the strawberry to be the strawberry seeds.
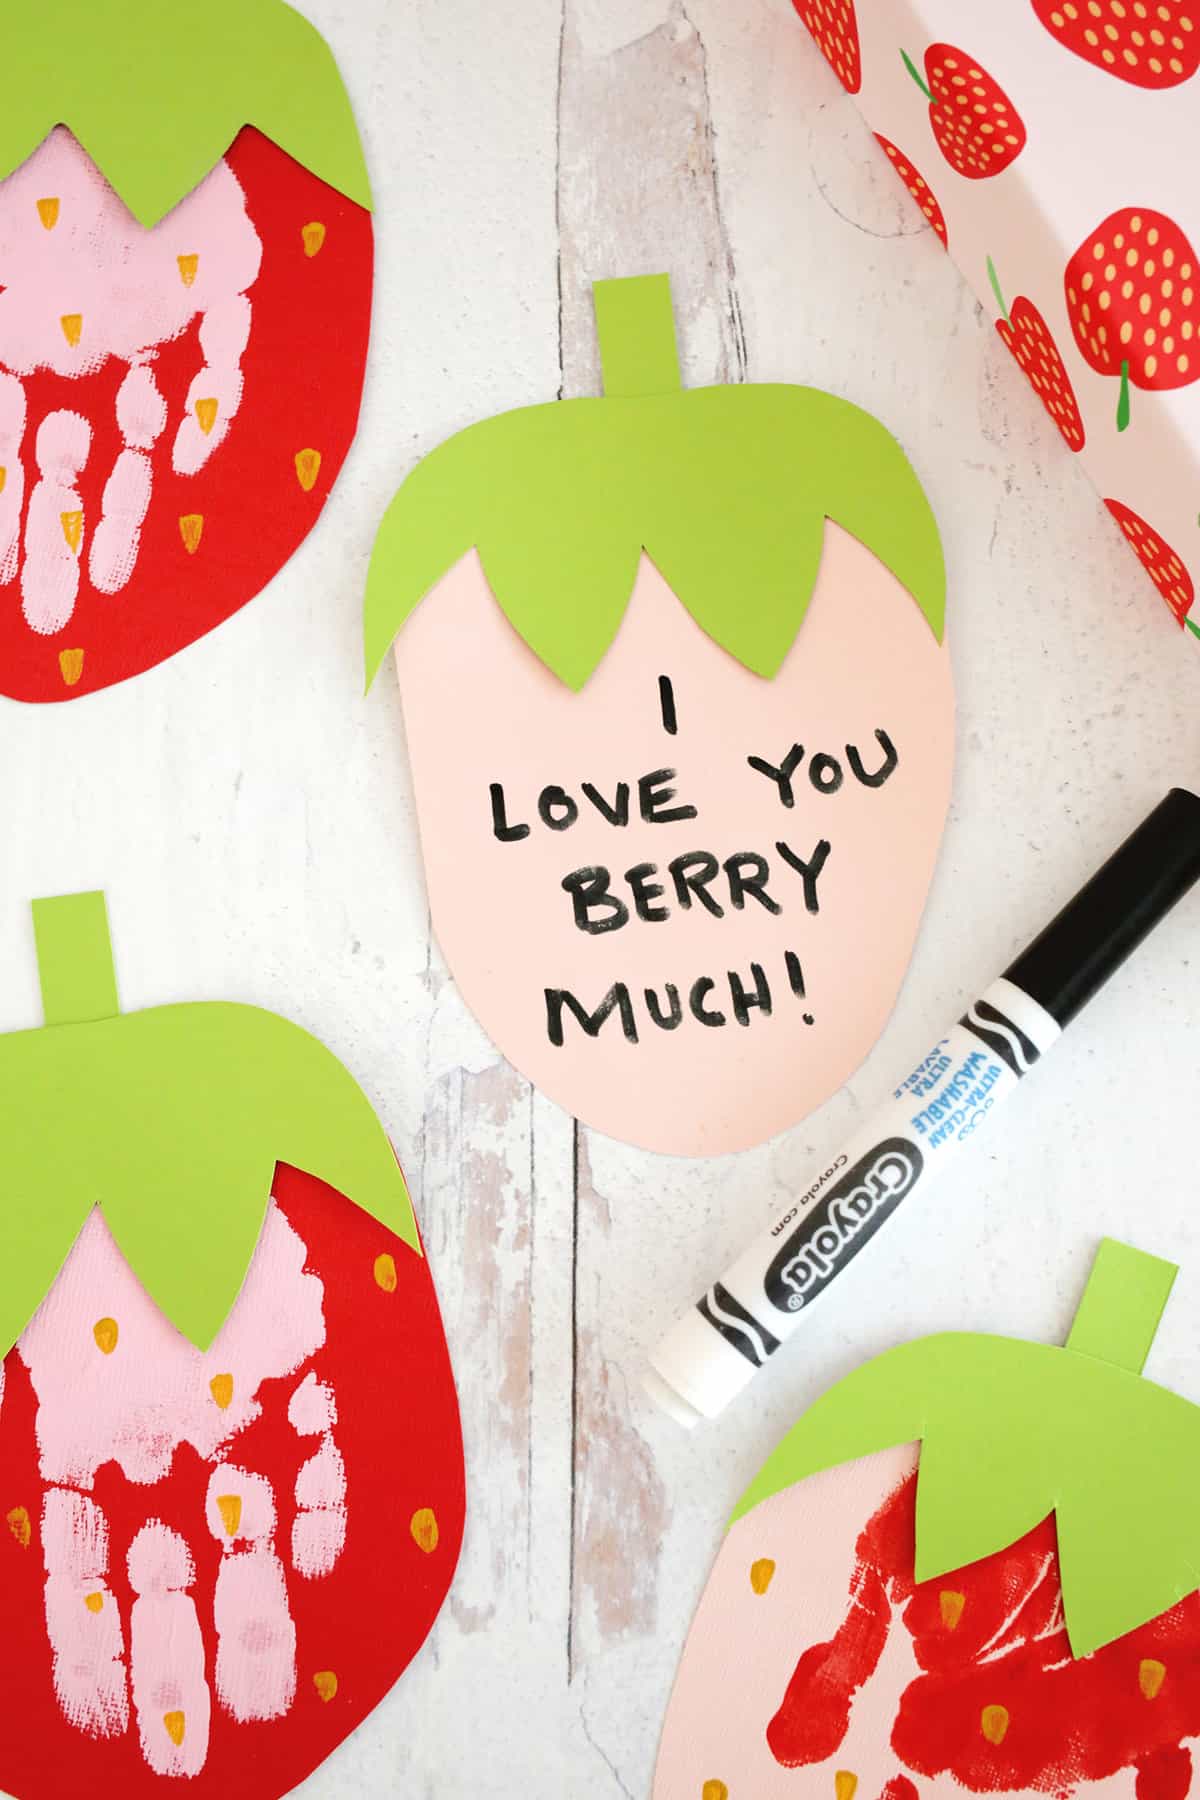
- Use a marker to write “I love you BERRY much!” on the back of the card.
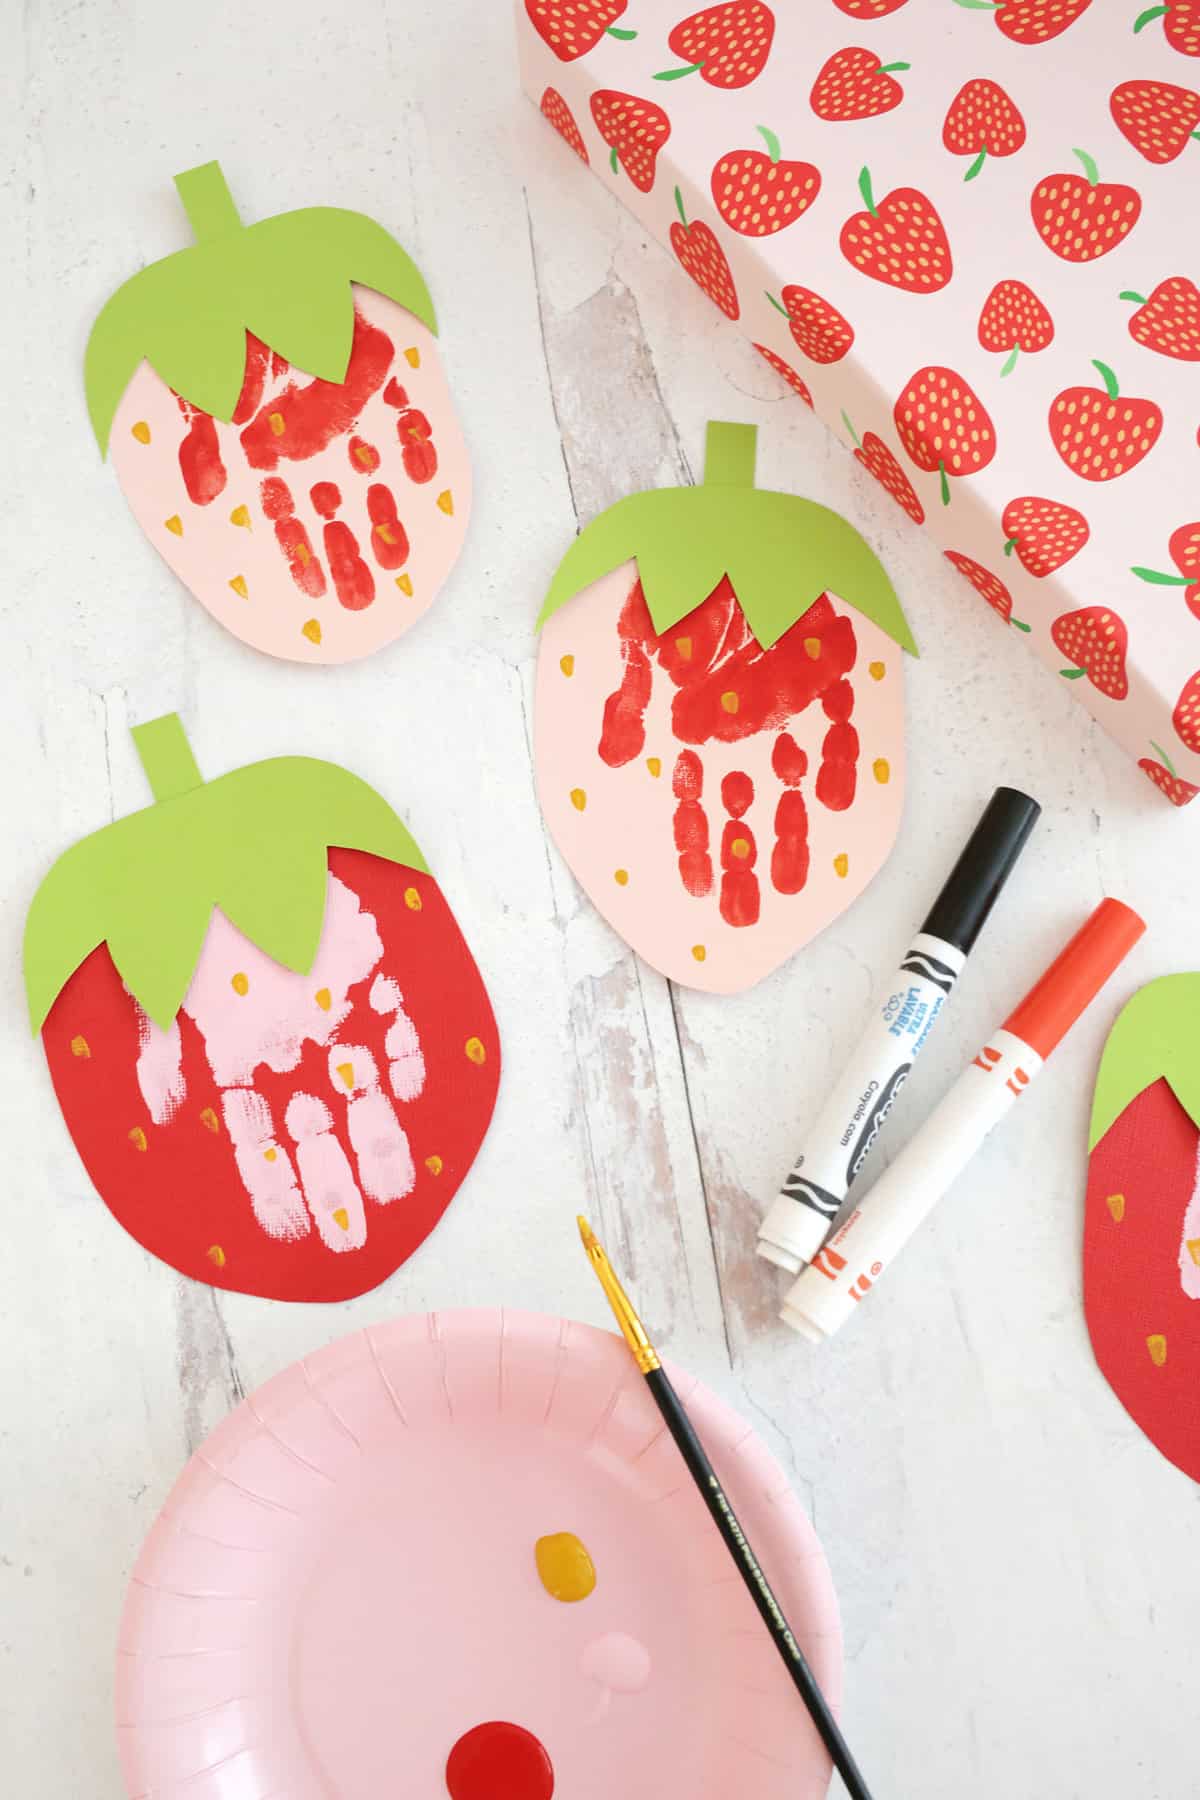
Tips for Making Your Card:
- Add your child’s age and the date to the back of the card if you’re keeping it. That way you can reference how old they were when they made these strawberry handprints.
- You can have the kiddos use their fingerprints to make seeds, or have them glue on paper seeds too for another method.
FAQ
Frequently Asked Questions
What type of paint is best to use to make handprints?
Either washable paint or acrylic craft paint is best for the handprints. Use the washable for easy clean up, but the craft acrylic can be washed off easily when done right away.
How long do these take to dry?
If you apply the paint thin enough to just fully coat the hand, it should be dry in about 15 minutes. If there are thick globs of paint, it can take up to a few hours to dry, so try to apply it on the thinner side.
What’s the best way to store handprint crafts?
Store cards flat and you can enjoy them for years to come!
Get creative ideas for recipes, crafts, decor, and more in your inbox!
 Get the How-To
Supplies
- 1 piece cardstock or construction paper (pink or red)
- 1 piece cardstock or construction paper (green)
- acrylic paint (pink or red)
- brown, gold, or black acrylic paint (for the seeds)
- marker (black)
- glue stick
Instructions
- Paint on hand and press onto paper to make a handprint. Cut around the handprint to make a strawberry shape.
- Cut out a green top that covers the top of the strawberry (can cut out a second one for the back of the strawberry if you want).
- Cut small green rectangle out from the green craft paper for the stem.
- Glue on the top and the stem.
- Paint on seeds with a small brush or use fingertips to dot with. Write “I love you berry much” on the back of the card.


Ok– new Mom and I’ve caught on, painted handprints are a great foundation! Thank you Childhood Magic! So at Christmas, C and me made upside down green handprints on ornament-shaped wood hangers, then glued 3 red pompoms at the top to symbolize Holly with Berries!
But funny story, we also did red handprints on white ornaments shapes… and it totally looked like bloooood hahaha, didn’t give them out– but Halloween?