
If you’ve ever wanted to have an Easter or Spring party, this bunny cake is a delightful addition. This bunny cake is not only adorable but it’s also the most simple cake to make. Any novice baker can do this, all you need is a cake round to get started. In this guide I’ll take you through the process of making a bunny cake out of two cake rounds.
Easter is a fun and special season whether you’re planning an egg hunt or practicing Lent it can be a chance to welcome in Spring and this cake is the perfect way to make any celebration extra special! You can decorate with your child’s favorite colors or use our piping tips below.
Looking for more Easter inspiration?
Bunny Cake Supplies
- 2 cake rounds- 8 or 9 inch is fine, I used 8-inch pans.
- Buttercream frosting
- Food coloring
- Edible sprinkles
- Piping bags
- Offset spatula (optional)
- Piping tip 32
- Cake board
Directions
Make 2 round cakes using your favorite cake recipe or a box mix. Bake and set aside to cool. Once they are cool, cut one of the cakes as shown. I used the pan as a guide on both sides. The edges will be the ears and the middle part will be the bowtie.


Place cake on cake board or surface you’d like to display the cake on, or you can leave it on the wire cooling rack too.
Decorating Your Bunny Cake
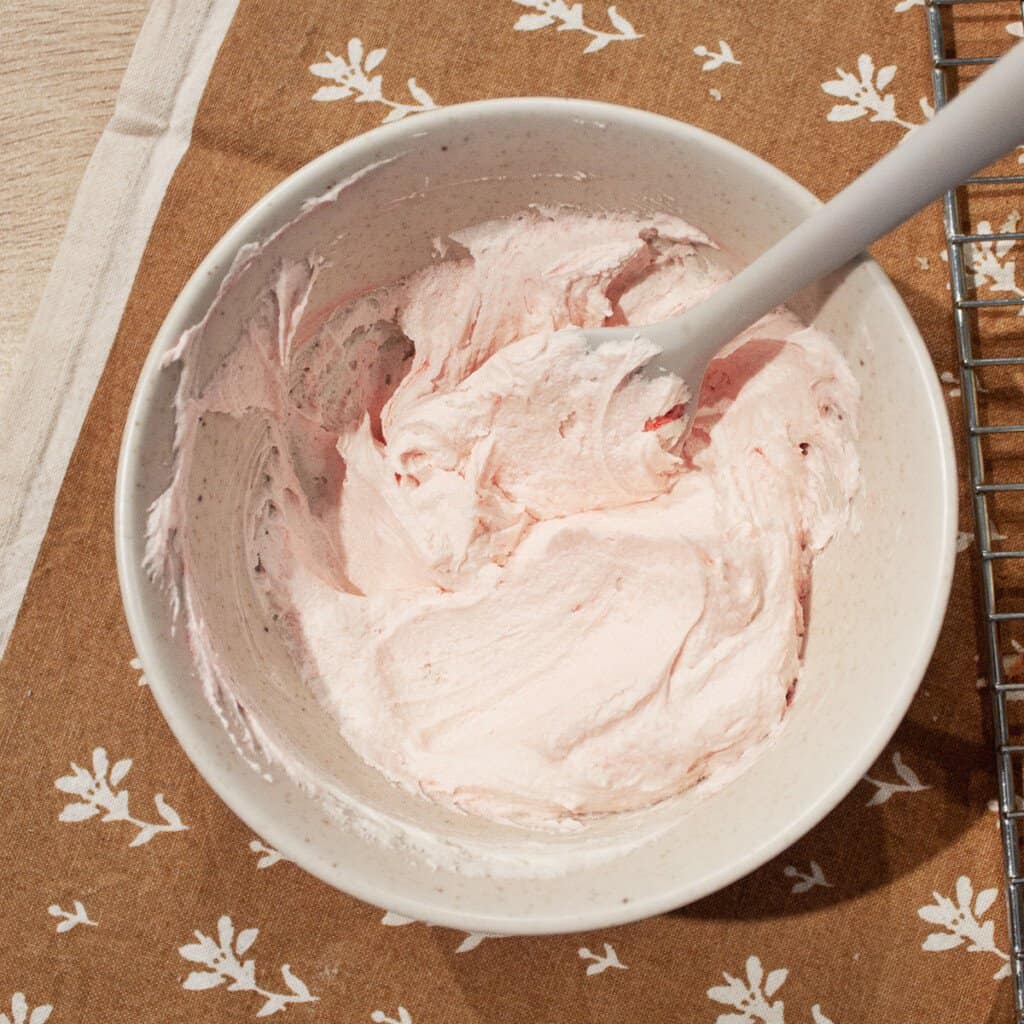
Next, pick the food coloring colors you’d like to use. Separate about a cup of buttercream frosting for the blue color and another cup for the pink. You can always add more from your bowl of white but this is a good starting point. You’ll use the teal for the bowtie and the pink for the ears and a few of the face details. You don’t need to use much food coloring at all, just a drop or so will work.

Insert your tip into your piping bag, cut the tip of the bag just enough so that the piping prongs on the tip are not covered. Place buttercream into the piping bag and apply pressure moving it towards the tip. Add your frosting to the piping bag. One tip for this step is to add your bag to a cup and fill that way.
Would you like to save this?

You can practice on paper too! It can take a few times to get used to using a tip. Using the pastry tip at a 90 degree angle apply pressure to the piping bag and release. This creates a pretty flower tip shape with the frosting. The tip I used was a #32. Alternatively, you can also do a flat cake if that’s easier by spreading the buttercream frosting on with an offset spatula.

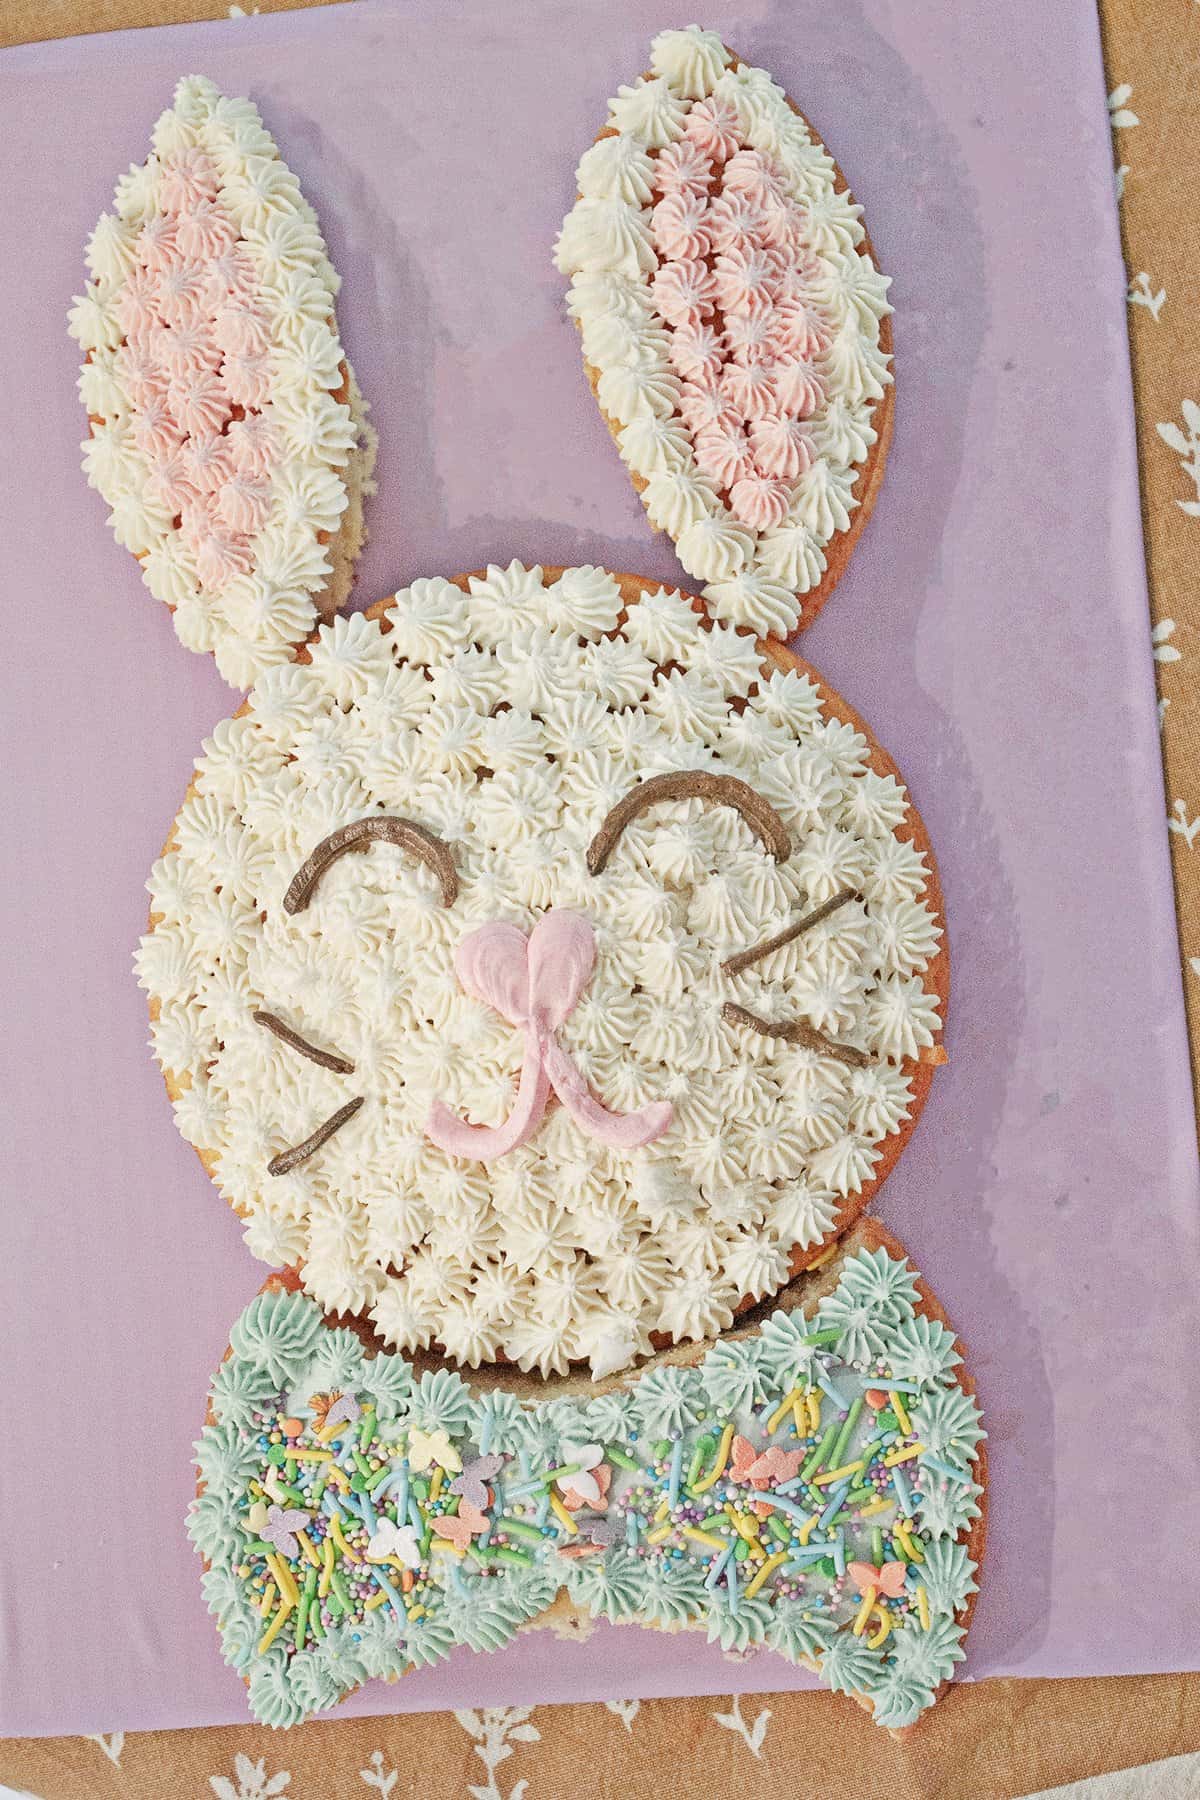
Pipe buttercream onto the bunny’s face, ears, and bowtie. I worked around the face and filled in the middle as I went. For the ears, do an outline with white and then fill in with pink.


With a spoon or offset spatula spread buttercream to the bowtie and add sprinkles to the bowtie.

The last step is to add the face details. Take a piping bag and snip the end. With the piping bag draw the bunny face.
This cake will be best the day it’s frosted. If you’d like to store in the refrigerator make sure you add buttercream all over the cake (not just the tops) so that the crumb does not dry out. Happy bunny cake decorating!
Get creative ideas for recipes, crafts, decor, and more in your inbox!
 Get the Recipe

Ingredients
Equipment
Instructions
- Make 2 round cakes using your favorite cake recipe or a box mix. Bake and set aside to cool.
- Once they are cool, cut one of the cakes into thirds, using the cake pan as a guide to make two ear shapes an a bowtie shape. The edges will be the ears and the middle part will be the bowtie.
- Place cake on cake board or surface you'd like to display the cake on, or you can leave it on the wire cooling rack too.
- Next, pick the food coloring colors you'd like to use. Separate about a cup of buttercream frosting for the blue color and another cup for the pink. You can always add more from your bowl of white but this is a good starting point. You'll use the teal for the bowtie and the pink for the ears and a few of the face details. You don't need to use much food coloring at all, just a drop or two so will work. Pastel colors are lighter and perfect for Easter!
- Insert your tip into your piping bag, cut the tip of the bag just enough so that the piping prongs on the tip are not covered. Place buttercream into the piping bag and apply pressure moving it towards the tip. Add your frosting to the piping bag. One tip for this step is to add your bag to a cup and fill that way.
- You can practice on paper too! It can take a few times to get used to using a tip. Using the pastry tip at a 90 degree angle apply pressure to the piping bag and release. This creates a pretty flower tip shape with the frosting. The tip I used was a #32. You can also do a flat cake if that's easier by spreading the buttercream frosting on with an offset spatula.
- Pipe buttercream onto the bunny's face, ears, and bowtie. I worked around the face and filled in the middle as I went. For the ears, do an outline with white and then fill in with pink.
- With a spoon or offset spatula spread buttercream to the bowtie and add sprinkles to the bowtie.
- The last step is to add the face details. Take a piping bag and snip the end. With the piping bag draw the bunny face.