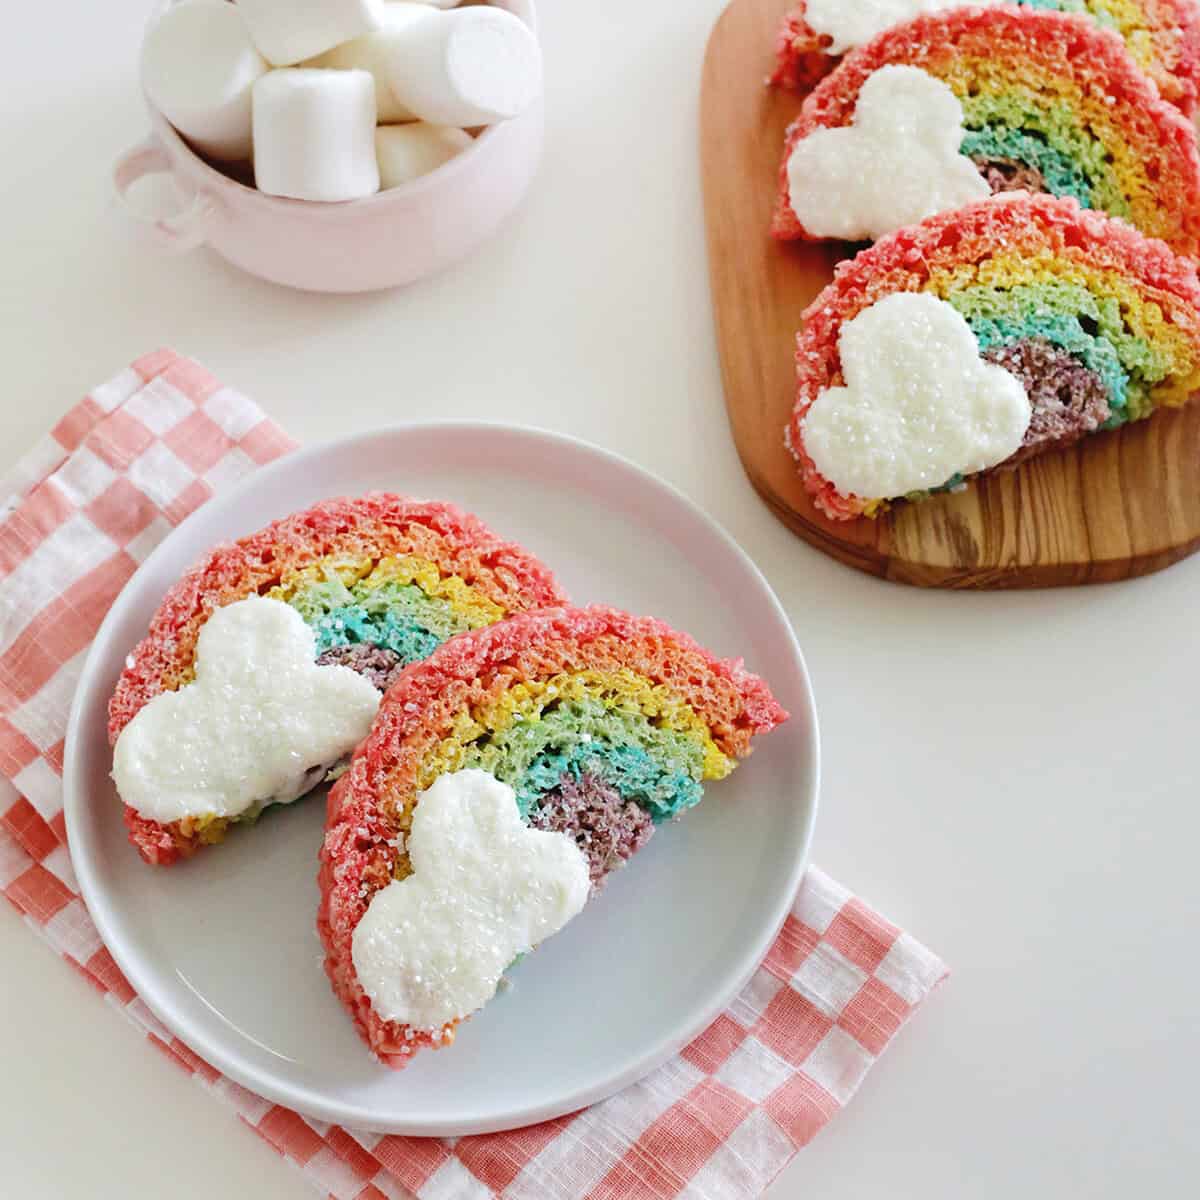
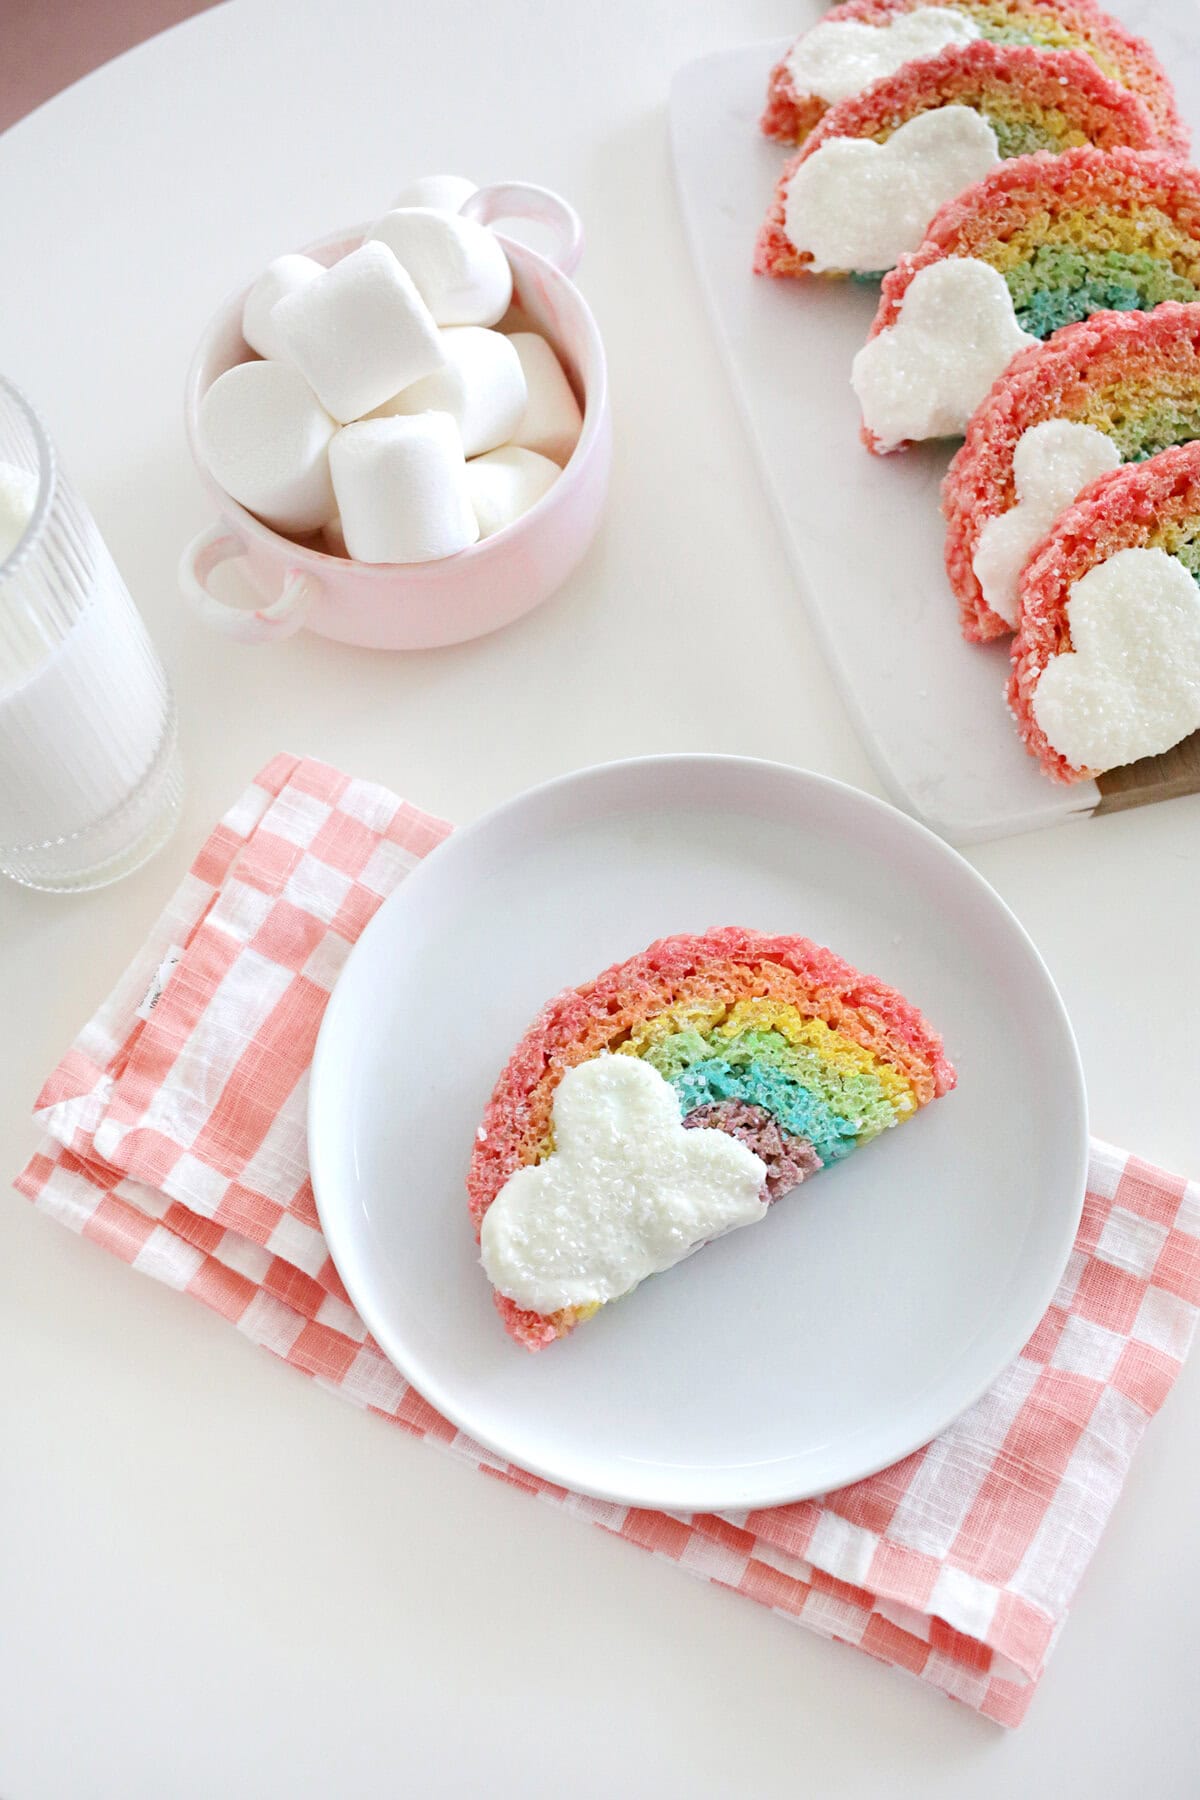
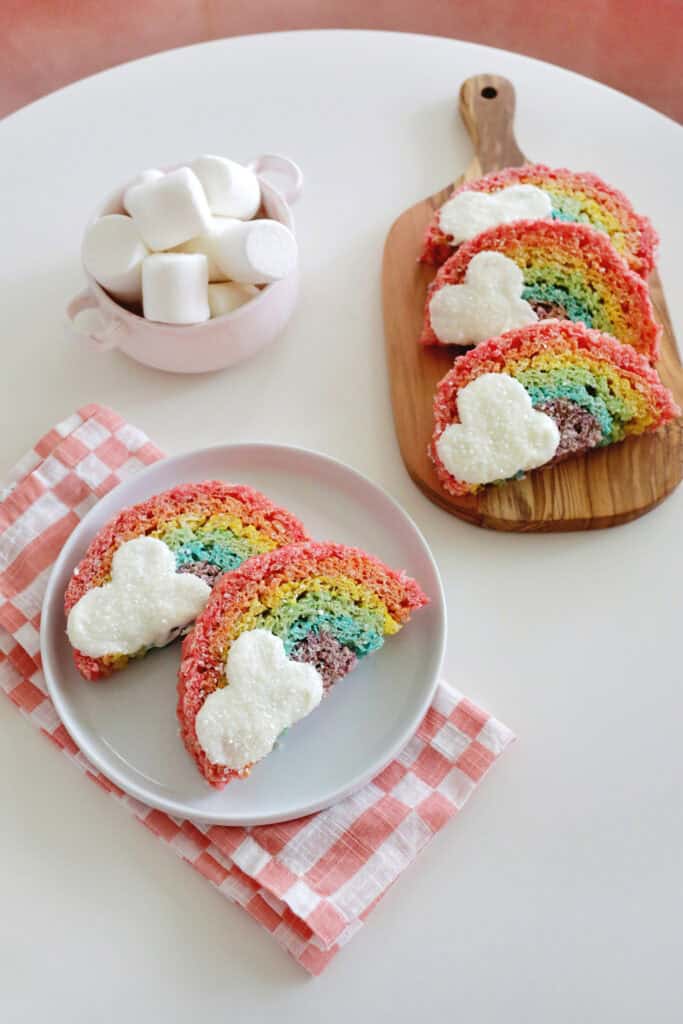
When it comes to edible nostalgia, it’s hard to beat a Rice Krispies Treat. They are sweet and crunchy, easy to make, and always a crowd-pleaser for kids. While we love the classic Rice Krispies Treat recipe, a rainbow-shaped version will bring a smile to everyone’s face! Plus, it’s a really fun way to celebrate St. Patricks Day!
While it may look complicated, this recipe has the same “heat, stir, shape” format as the original treat, but we break it up into each color group so you are making smaller batches for each layer of the rainbow. We also added an optional white chocolate and sprinkle cloud for an extra cute look!
Would you like to save this?
Why You’ll Love Rainbow Rice Krispies Treats:
They are delicious! All the classic taste of a traditional Rice Krispies Treat is still in this rainbow colored classic…sweet, soft, and chewy!
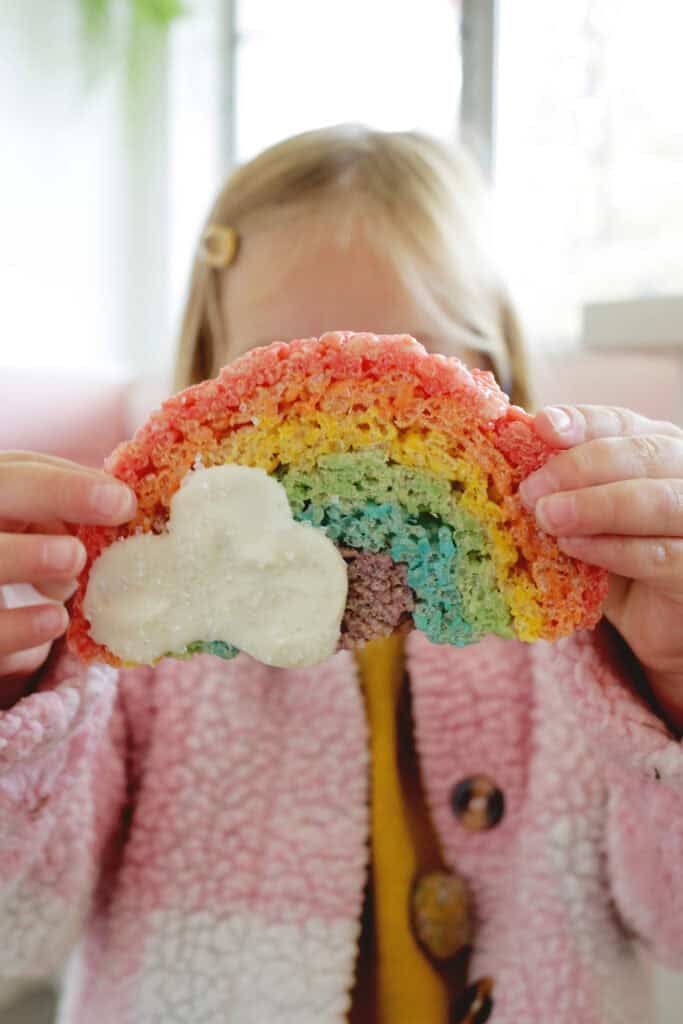
They are fun! Kid’s love when an ordinary item is presented in a fun new, way. Even if they’ve had a Rice Krispies Treat before, you can bet this will wow them!
They are festive! Perfect for Rainbow themed parties and birthdays, it’s also just right for a St. Patrick’s Day party.
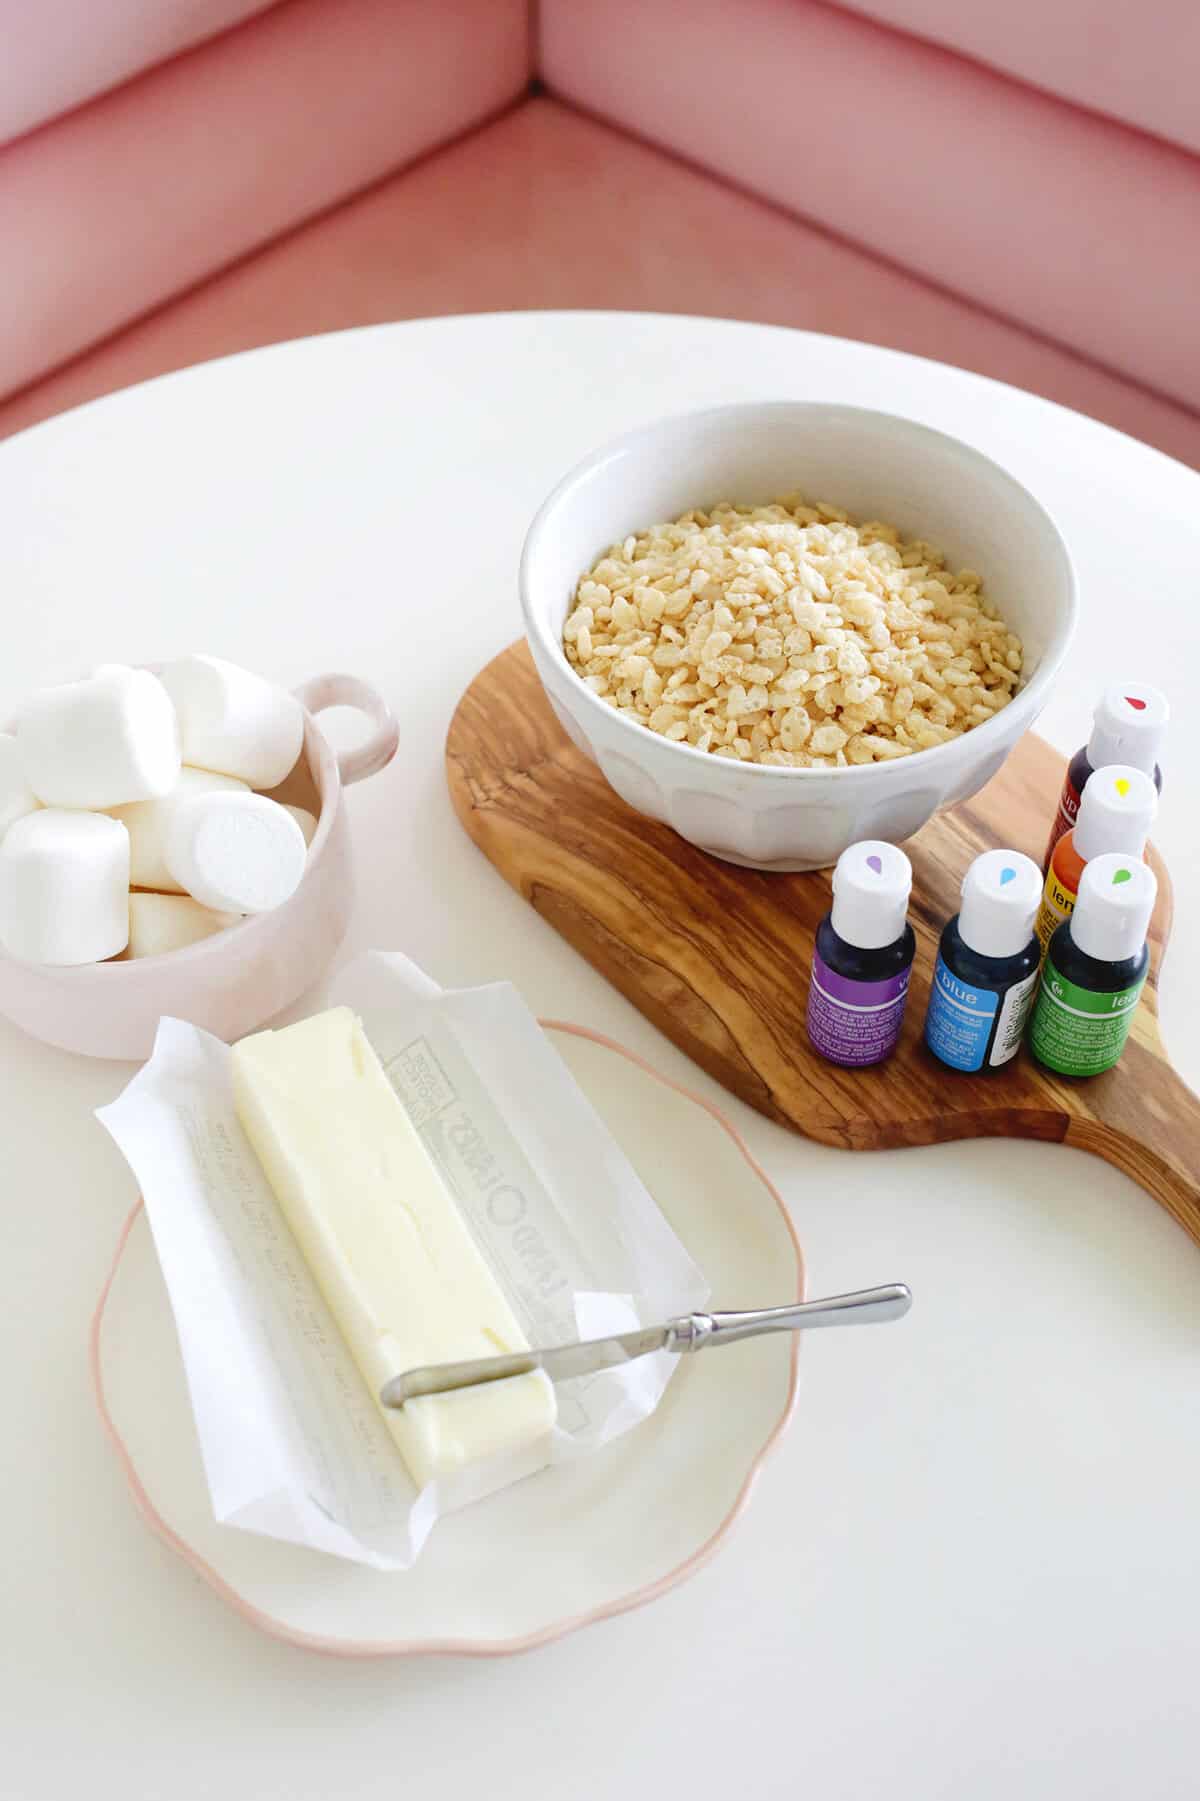
Supplies for Rainbow Rice Krispies Treats:
- Marshmallows: This recipe uses standard size marshmallows, but you can substitute mini marshmallows if that’s all you have (see note below to measure mini marshmallows).
- Rice Krispies cereal: You can use the brand name of Rice Krispies cereal, or a similar off-brand label cereal of crispy puffed rice.
- Butter: Unsalted and salted butter will both work for this but I feel like the salt brings out the flavor a bit more and contrasts the sweetness, so maybe use a pinch of salt if you use unsalted butter.
- Food coloring: Gel food coloring will give you a brighter color if you want a bold rainbow but the food coloring drops will work just fine as well. If you’re not a fan of artificial food dye, try a naturally derived food color instead!
- Parchment paper or wax paper: This is what you will form your rainbow treat on, but you can also use a silicone baking mat if you have one of those.
- Non-stick cooking spray (or more butter): You’ll want to coat your hands in some of either for each layer so the warm treat doesn’t stick to your hands.
- White chocolate melting chips and white sprinkles (optional): This is an easy way to add some clouds and a bit of white chocolate flavor.
Mini Marshmallow to Regular Marshmallow Conversion:
You’ll need about 14 mini marshmallows to equal one regular marshmallow. One cup of mini marshmallows is about 8 regular marshmallows.
TIP: For best results, use fresh marshmallows as stale ones will be more difficult to melt smoothly.
How to make Rainbow Rice Krispies Treats:
- Start with your smallest purple layer as that will be in the inner core of your rainbow. Have either a piece of parchment paper, wax paper, or a silicon mat ready as a work station so you can shape your rainbow on a surface it won’t stick to.
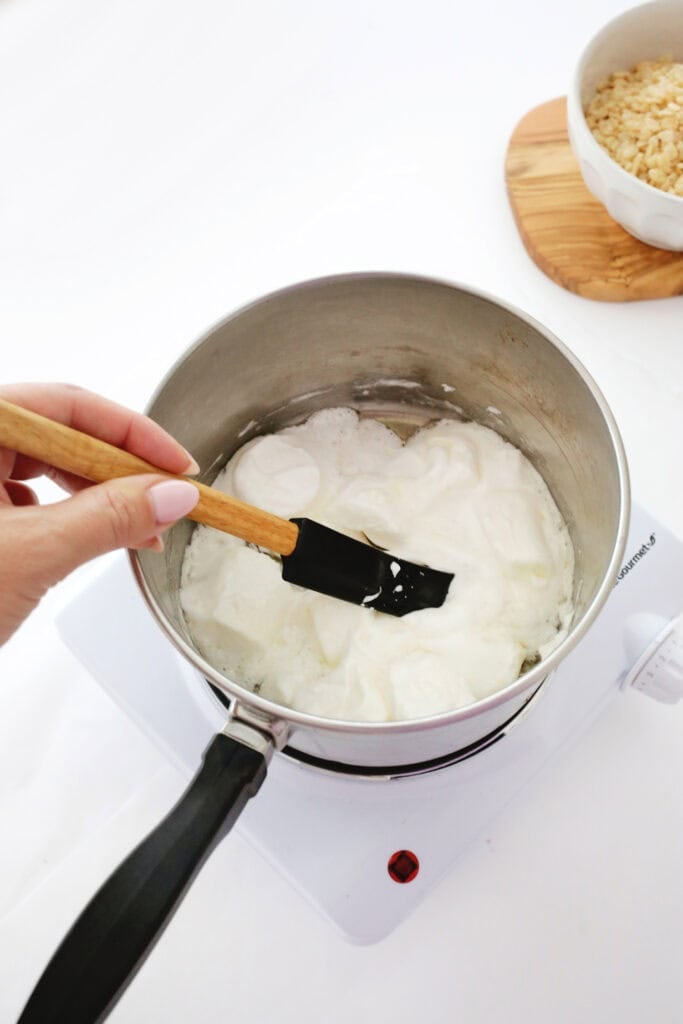
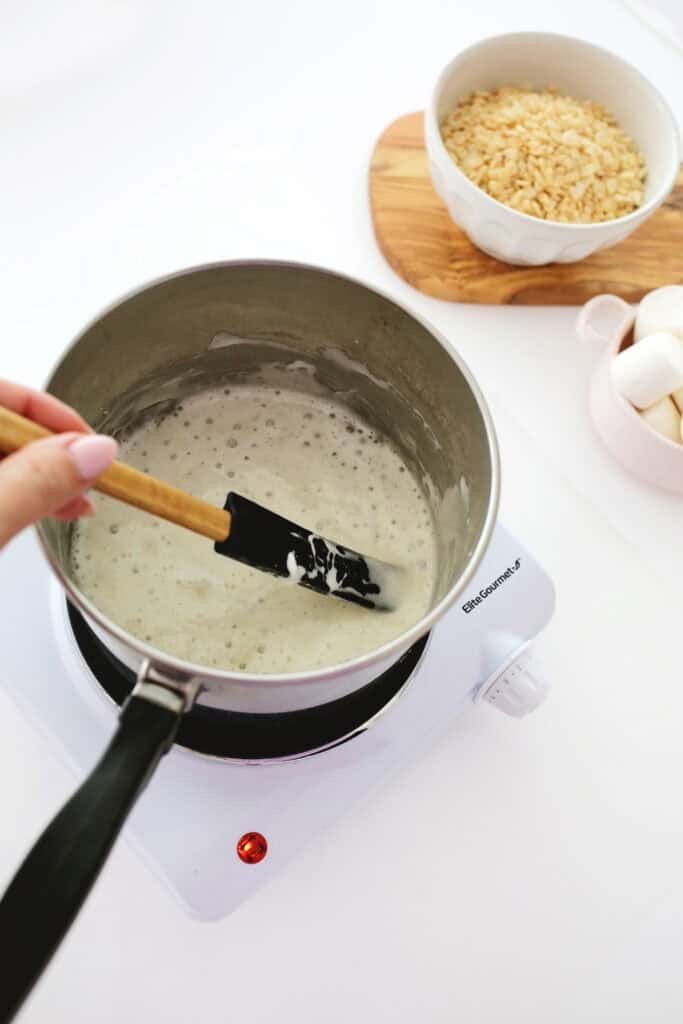
- Put your purple layer butter amount into a saucepan, and warm until the butter has melted over low heat.
- Add your marshmallows into the warm butter. Stir with a spatula or spoon until the marshmallows have melted into the butter.
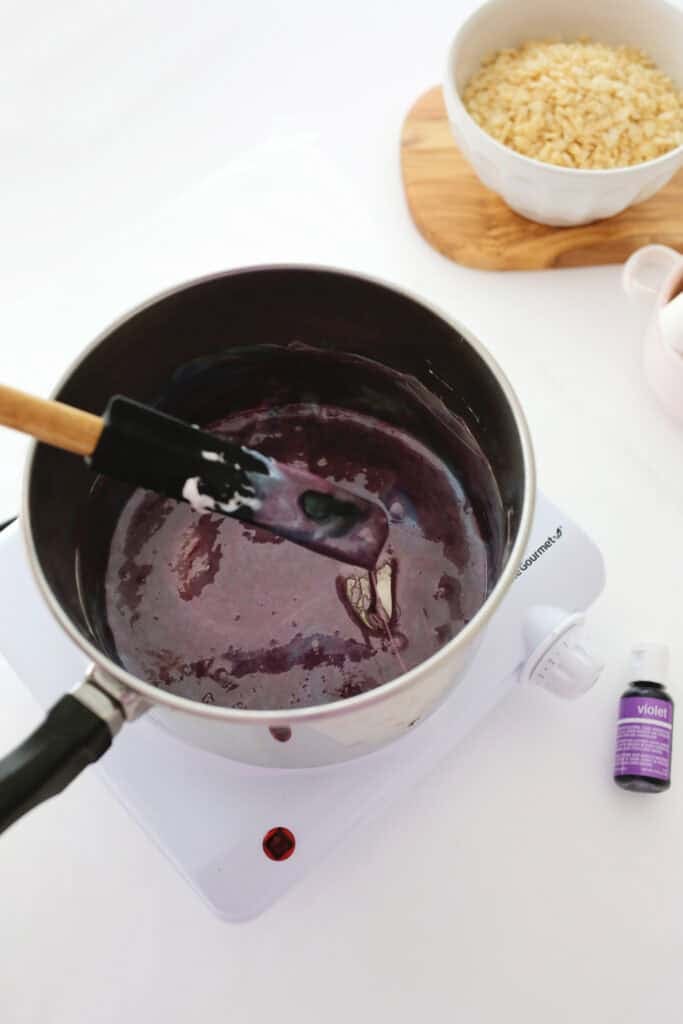
- Add your food coloring to get the desired hue, stirring until color is even.
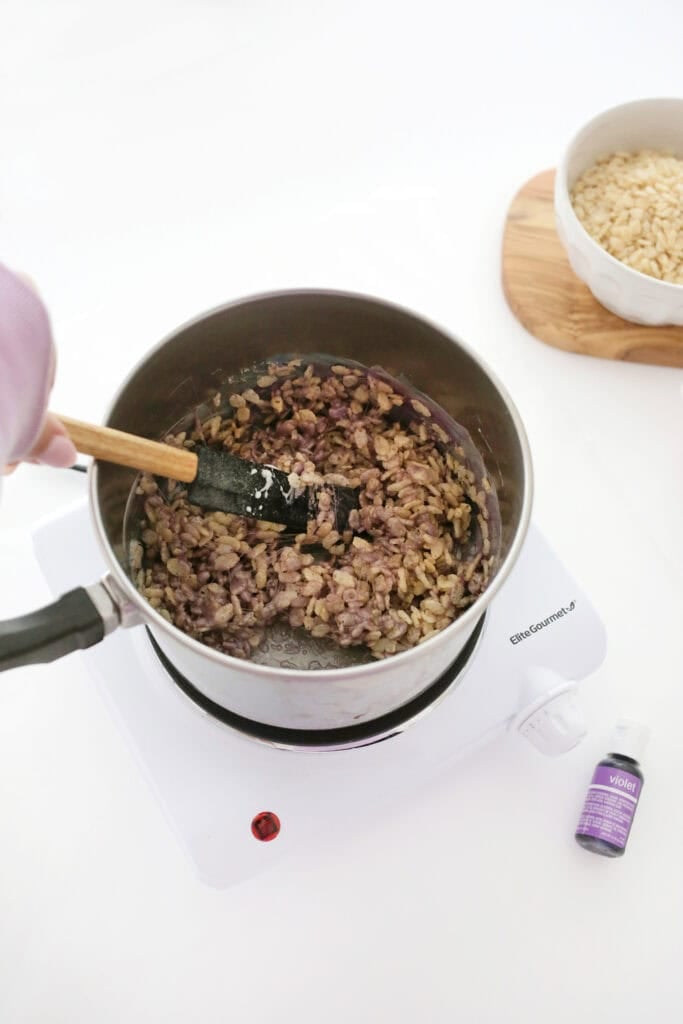
- Add your Rice Krispies to the pan and stir to coat quickly and evenly.
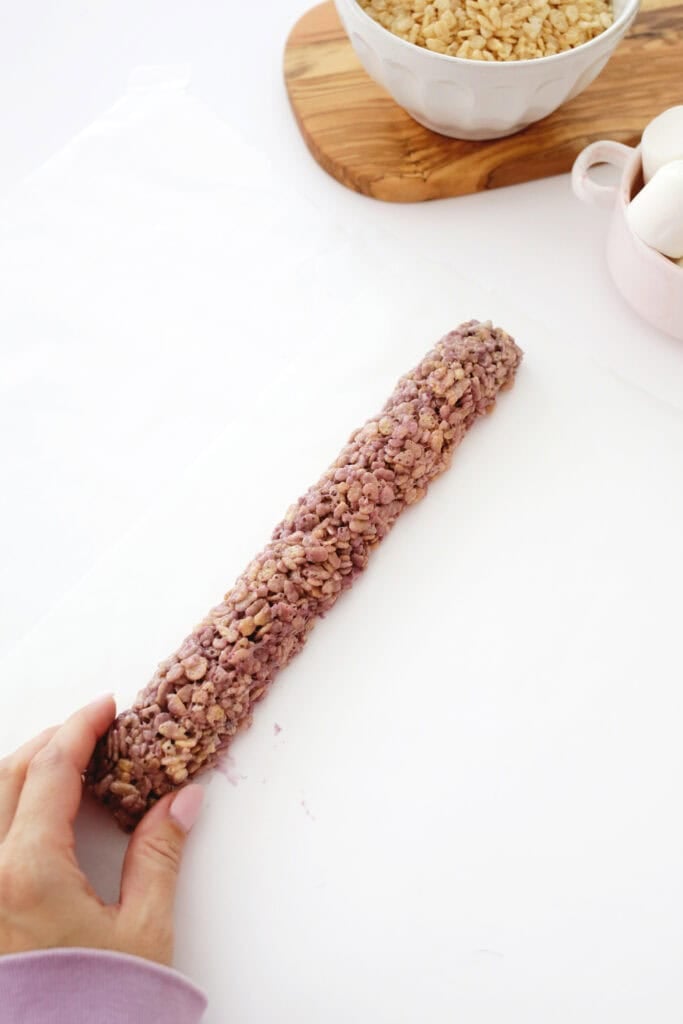
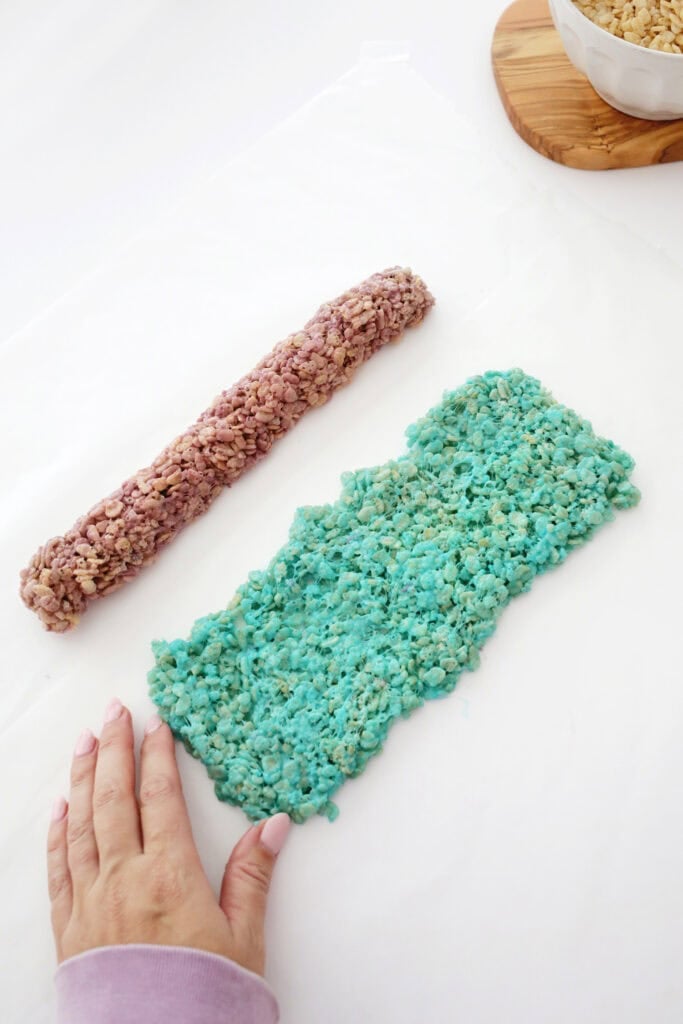
- Add butter or cooking oil to your hands. Roll out a purple log shape that’s about 12″ long on your work station. Press down gently to flatten out the bottom of the log just a bit. You can use a spoon or silicon spatula to shape if it’s too hot to handle, and then switch to your hands once it’s cooled down a bit.
- Repeat the process of making your next color, blue, (washing out the pan or using a new one as needed) but instead of a log, shape a 12″ long rectangle so you can drape the blue over the purple.
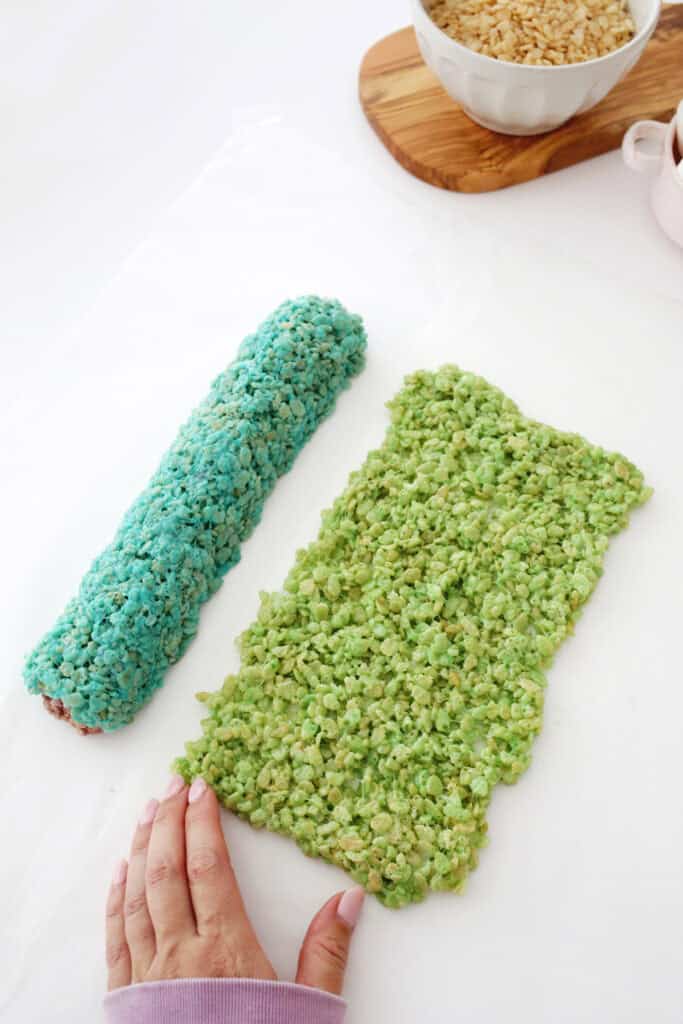
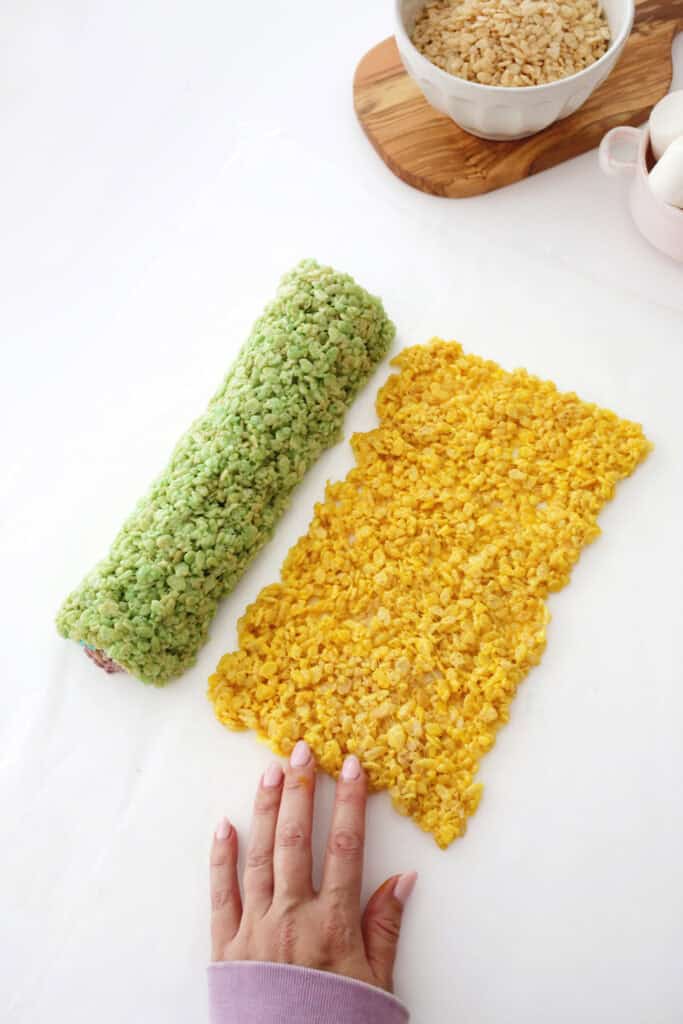

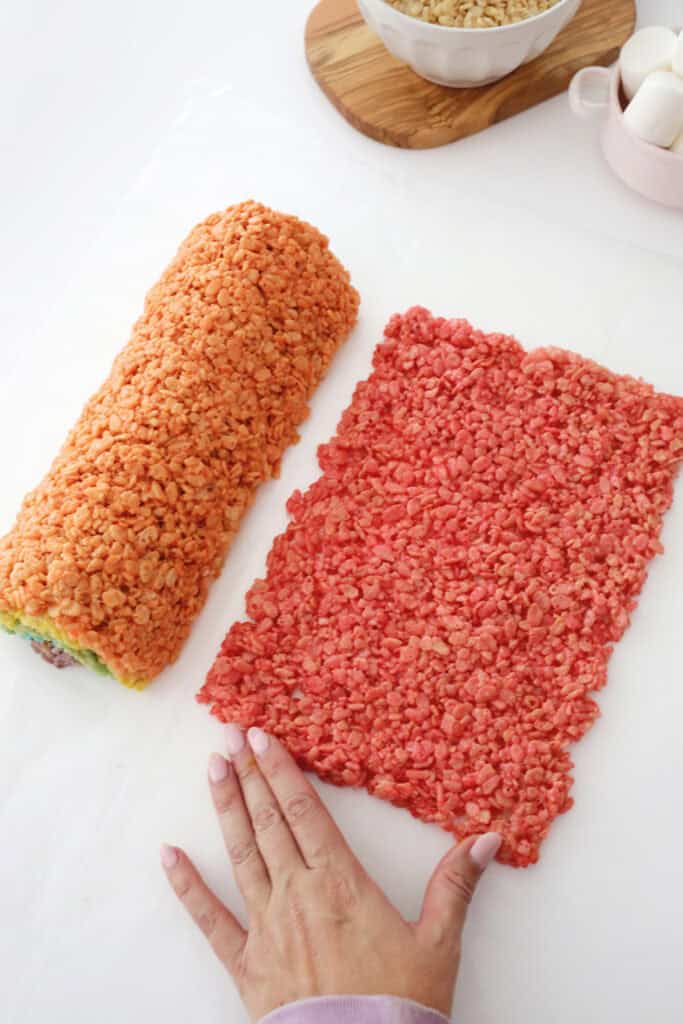
- Keep repeating with green, yellow, orange, and red (or pink). This will make a 12″ long rectangle each time to cover the previous color. Your rectangle will get a little wider as the colors continue because you’ll have a wider area to cover. Use a spatula if you need help moving the last few wider colors up and onto the rainbow!
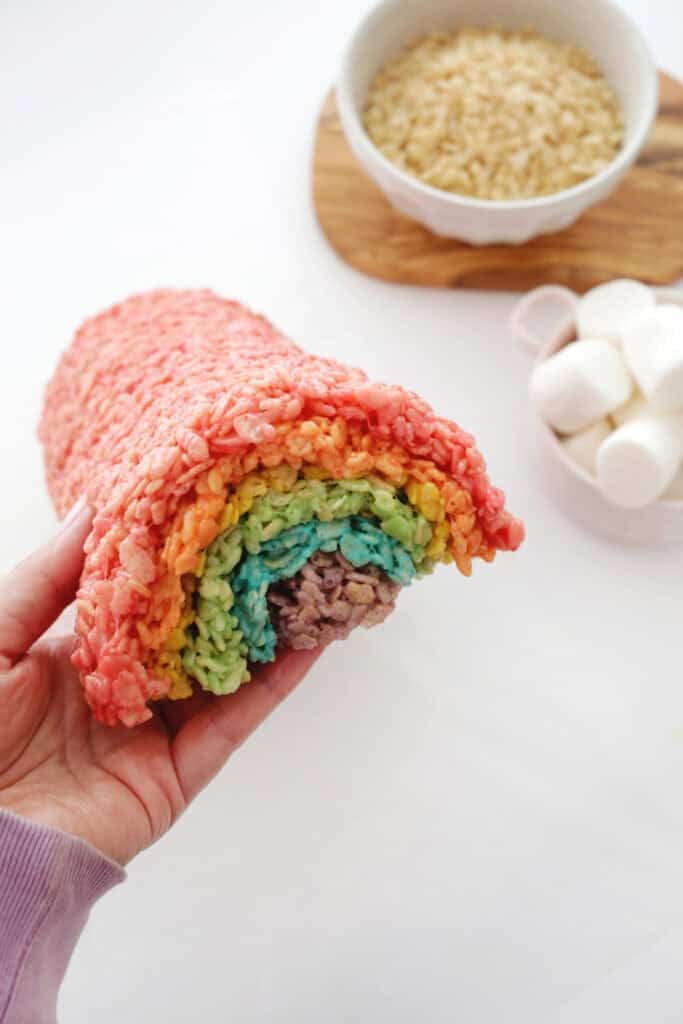

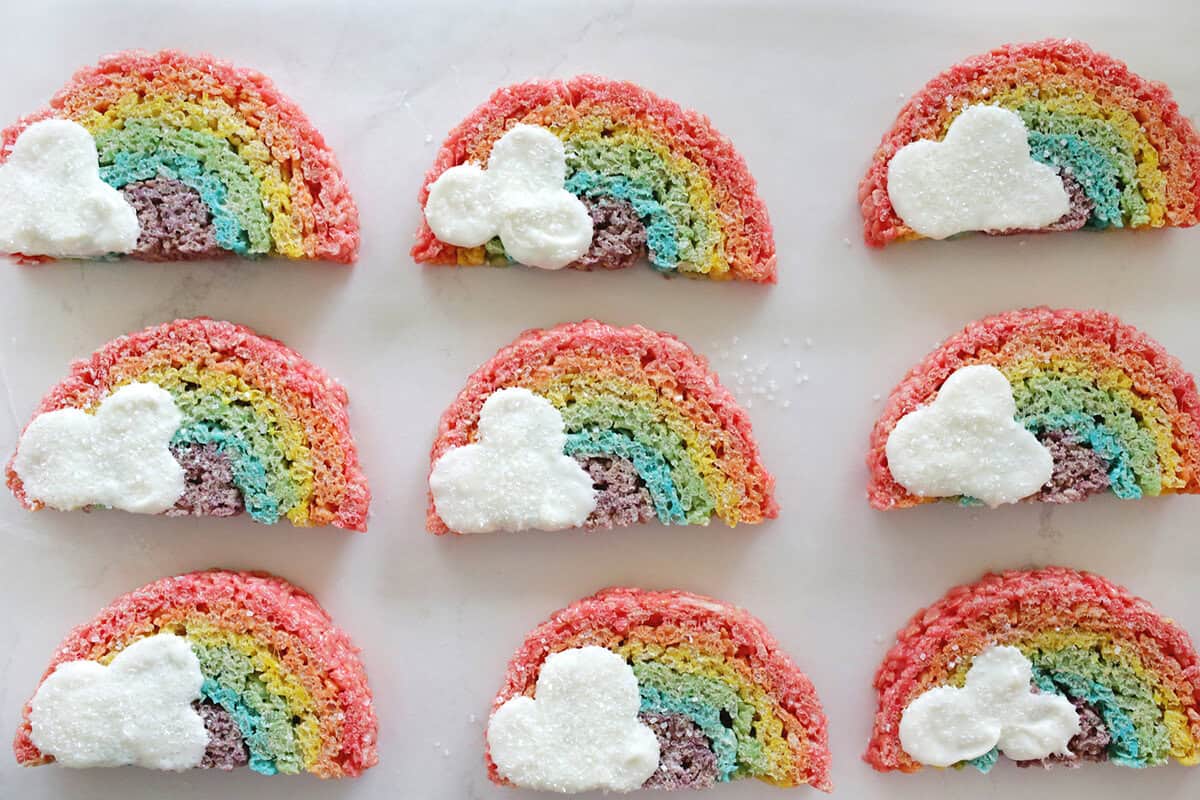
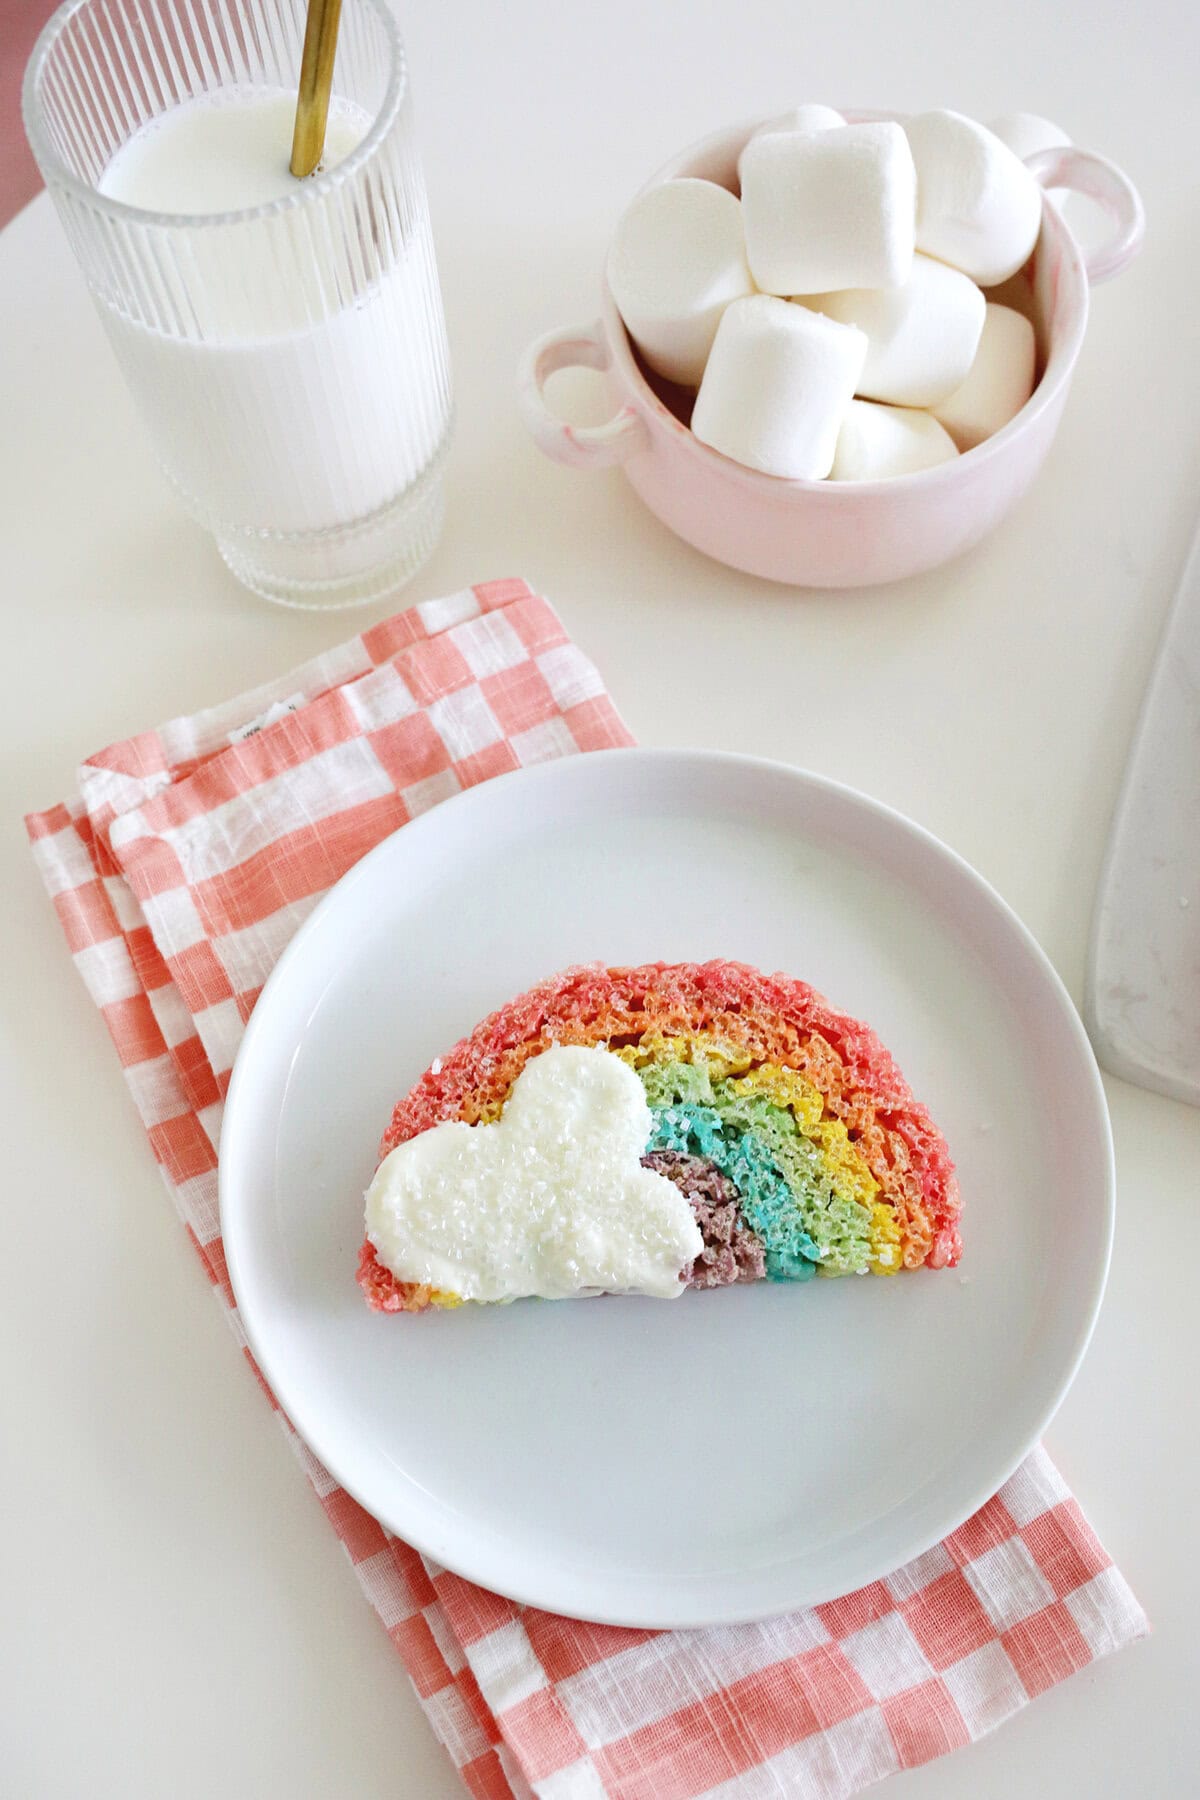
- Once all your colors are added, allow your treat to cool completely and slice into rainbow slices!
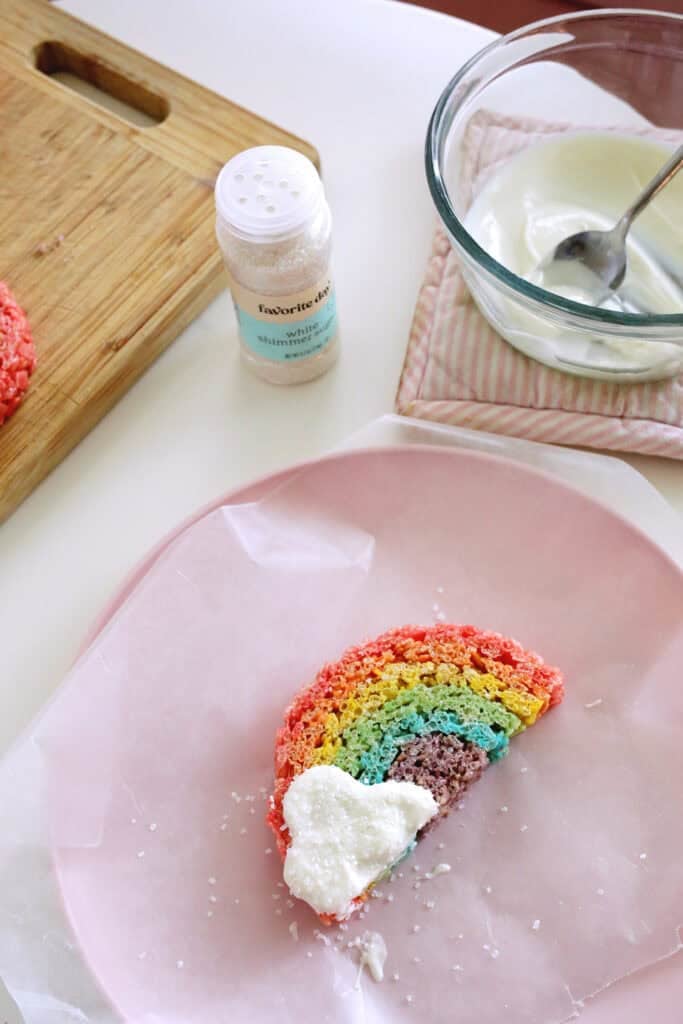
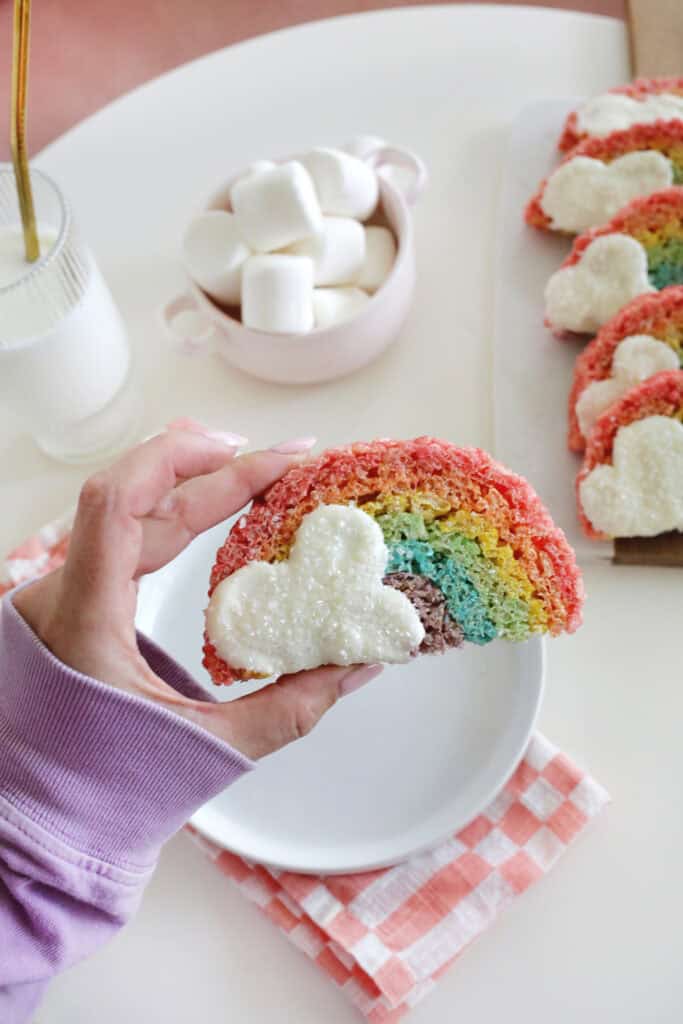
- Optionally, you can add some “clouds” at the bottom of your rainbows with some melted white chocolate. Dip or spoon some melted white chocolate onto the bottom edge of your rainbow slices. Just add three connecting dollops with a spoon on one side and add some white sprinkles if desired before the chocolate cools. Allow chocolate to set before serving or stacking to store your treats.
How to store Rainbow Rice Krispies Treats:
- On the counter: You can keep your treats in an air-proof container on the counter for up to 2 days. You can also wrap the long rainbow in plastic wrap if you want to wait to cut before serving to keep them from drying out.
- Refrigerator: You can also place them in an airtight container in the fridge for 4-5 days, but the cold will hard them up a bit so keeping them on the counter is the best way to maintain the softness of the treats.
Can I make these in a pan instead of a rainbow shape?
Yes! If you’d rather make these in an 8×8 pan, you’ll want to make each layer the same amount so you get an even rainbow of color.
For each color, do 1 cup of cereal, 1 tablespoon of butter, a little over 1 1/2 oz of marshmallows (6-7 regular marshmallows and a rounded 1/2 cup of mini marshmallows), and your food coloring for that layer. Follow the instructions of melting the butter, adding the marshmallows and food dye, and then stirring in your Rice Krispies before pushing that color flat into a greased 8×8 pan.
Repeat with each color layer until your pan rainbow is complete.
Frequently Asked Questions
Can I make this in the microwave instead of on the stove?
Yes! You can melt your butter in the microwave first. Then add in your marshmallows and stir until combined into the warm butter. Continue to add food coloring, Rice Krispies, and then form your shape from there.
Tips for Making Rainbow Rice Krispies Treats:
- Going overboard on the food coloring can make your treat taste like…well, food coloring! So use as little as you need to get the hue you want.
- Make sure you have your work station ready to go so the treat doesn’t harden in the saucepan before you get your shaping station set up.
- For your “clouds”, try marshmallow slices, white cotton candy puffs, or white melting chocolate and white sprinkles!
- Try adding a small dash of vanilla to your butter for a hint of warm vanilla notes.
For more rainbow fun check out these posts:
- Rainbow Cake
- Paper Plate Rainbow Craft
- Froot Loops Rainbow Craft
- Rainbow Template- Free Printable Coloring Page
Get creative ideas for recipes, crafts, decor, and more in your inbox!
 Get the Recipe

Ingredients
Total Ingredients
- 7¾ cups Rice Krispie cereal
- 4¼ tbsp butter
- 62 regular sized marshmallows
- food coloring in red, orange, yellow, green, blue and purple
- non-stick cooking spray or butter (for hands to mold rainbow shape)
- white melting chocolate to add clouds (optional)
Ingredients Per Color Layer
Purple Layer
- ½ tbsp butter
- 8 regular marshmallows
- 1 cup rice krispie cereal
- drops purple food coloring
Blue Layer
- ½ tbsp butter
- 8 regular marshmallows
- blue food coloring
- 1 cup rice krispie cereal
Green Layer
- ¾ tbsp butter
- 10 regular marshmallows
- green food coloring
- 1¼ cup rice krispie cereal
Yellow Layer
- ¾ tbsp butter
- 10 regular marshmallows
- yellow food coloring
- 1¼ cup rice krispie cereal
Orange Layer
- 1 tbsp butter
- 12 regular marshmallows
- orange food coloring
- 1½ cup rice krispie cereal
Red Layer
- 1¼ tbsp butter
- 14 regular marshmallows
- red food coloring
- 1¾ cup rice krispie cereal
Equipment
Instructions
- Start with your smallest purple layer as that will be in the inner core of your rainbow. Have either a piece of parchment paper, wax paper, or a silicon mat ready as a work station so you can shape your rainbow on a surface it won't stick to.
- Put your purple layer butter amount into a saucepan, and warm until the butter has melted over low heat.
- Add your marshmallows into the warm butter and stir with a spatula or spoon until the marshmallows have melted into the butter.
- Add your food coloring to get the desired hue, stirring until color is even.
- Add your Rice Krispies to the pan and stir to coat quickly and evenly.
- Add butter or cooking oil to your hands, and roll out a purple log shape that's about 12" long on your work station. Press down gently to flatten out the bottom of the log just a bit. You can use a spoon or silicon spatula to shape if it's too hot to handle, and then switch to your hands once it's cooled down a bit.
- Repeat the process of making your next color, blue, (washing out the pan or using a new one as needed) but instead of a log, shape a 12" long rectangle so you can drape the blue over the purple.
- Keep repeating with green, yellow, orange, and red (or pink), making a 12" long rectangle each time to cover the previous color. Your rectangle will get a little wider as the colors continue because you'll have a wider area to cover. Use a spatula if you need help moving the last few wider colors up and onto the rainbow!
- Once all your colors are added, allow your treat to cool completely and slice into rainbow slices!
- Optionally, you can add some "clouds" at the bottom of your rainbows with some melted white chocolate by dipping or spooning some melted white chocolate onto the bottom edge of your rainbow slices. Just add three connecting dollops with a spoon on one side and add some white sprinkles if desired before the chocolate cools. Allow chocolate to set before serving or stacking to store your treats.
Notes
- Going overboard on the food coloring can make your treat taste like…well, food coloring! So use as little as you need to get the hue you want.
- Make sure you have your work station ready to go so the treat doesn’t harden in the saucepan before you get your shaping station set up.
- For your “clouds”, try marshmallow slices, white cotton candy puffs, or white melting chocolate and white sprinkles!
- Try adding a small dash of vanilla to your butter for a hint of warm vanilla notes.