When it comes to Easter, one of our favorite parts (besides the candy, of course) is decorating!
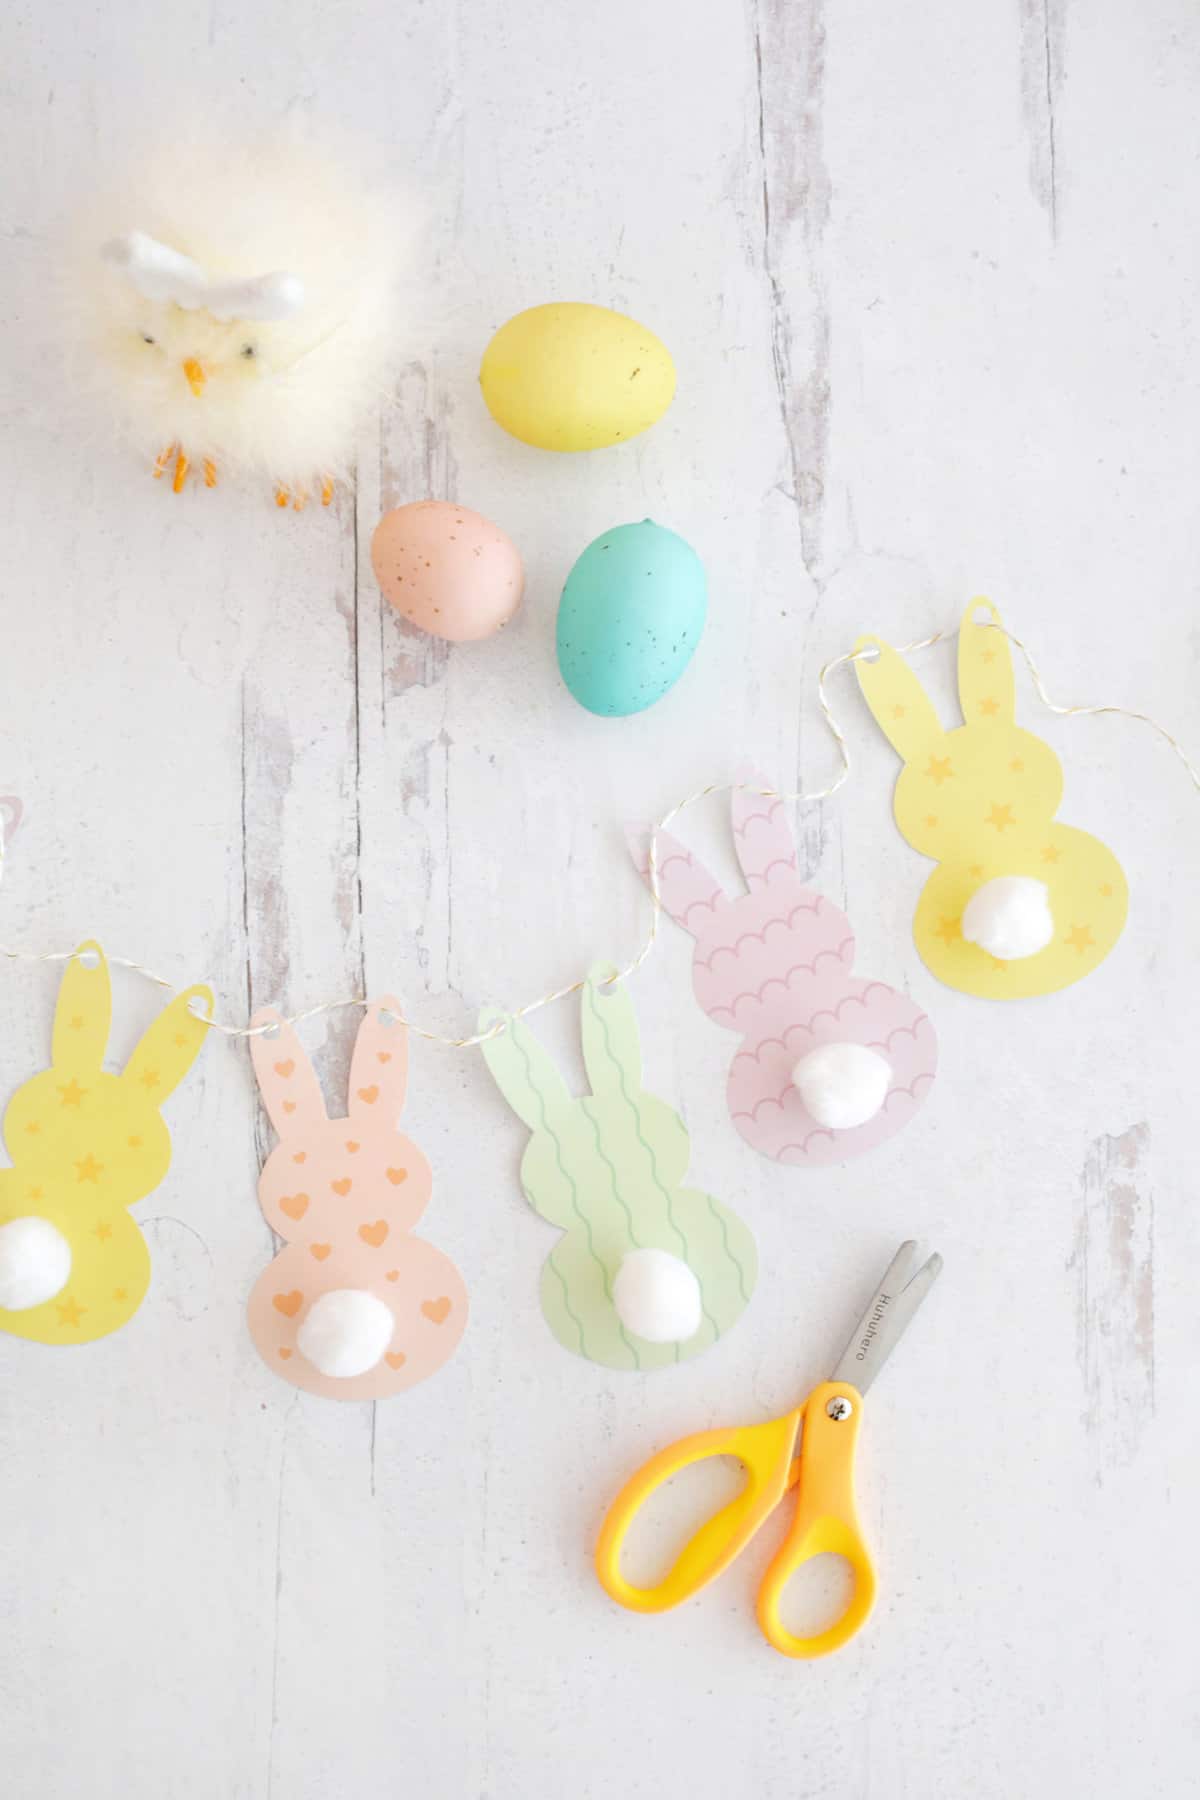
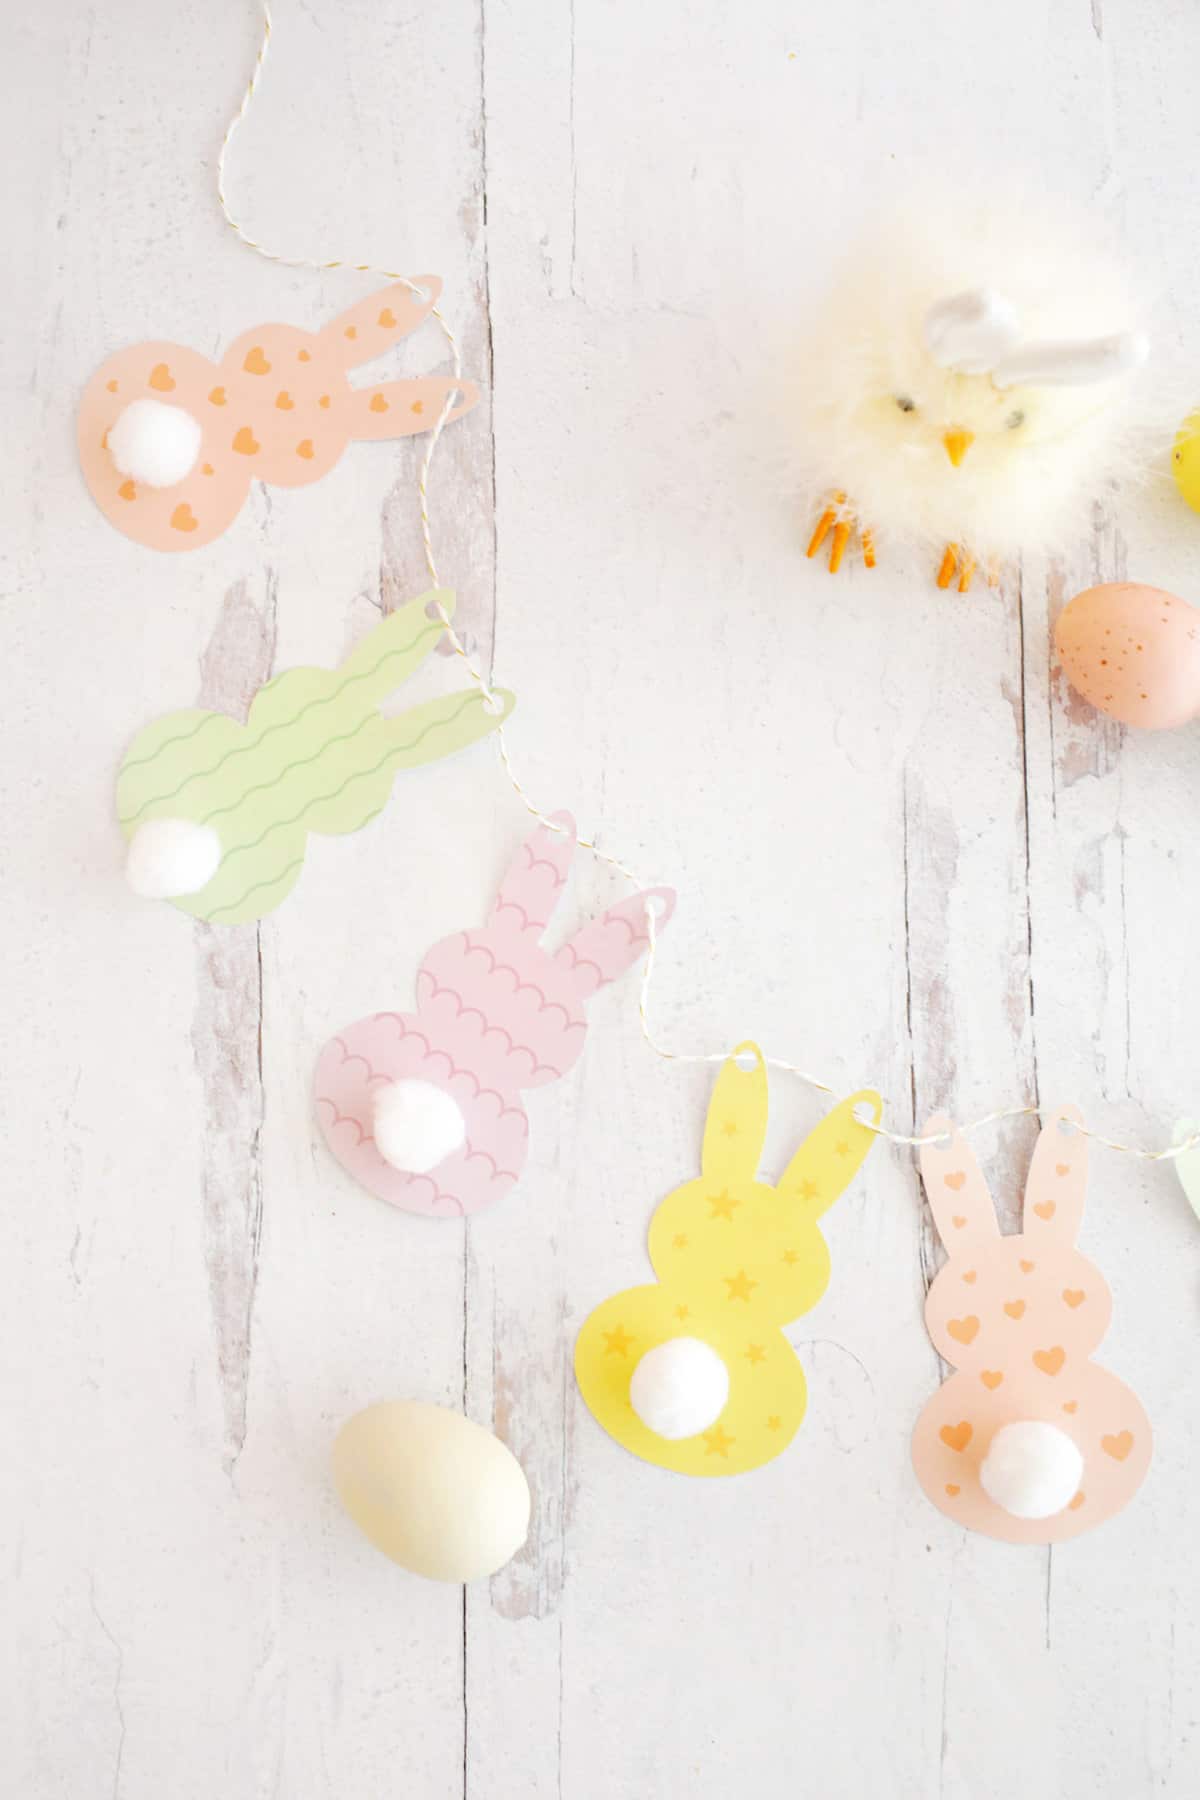
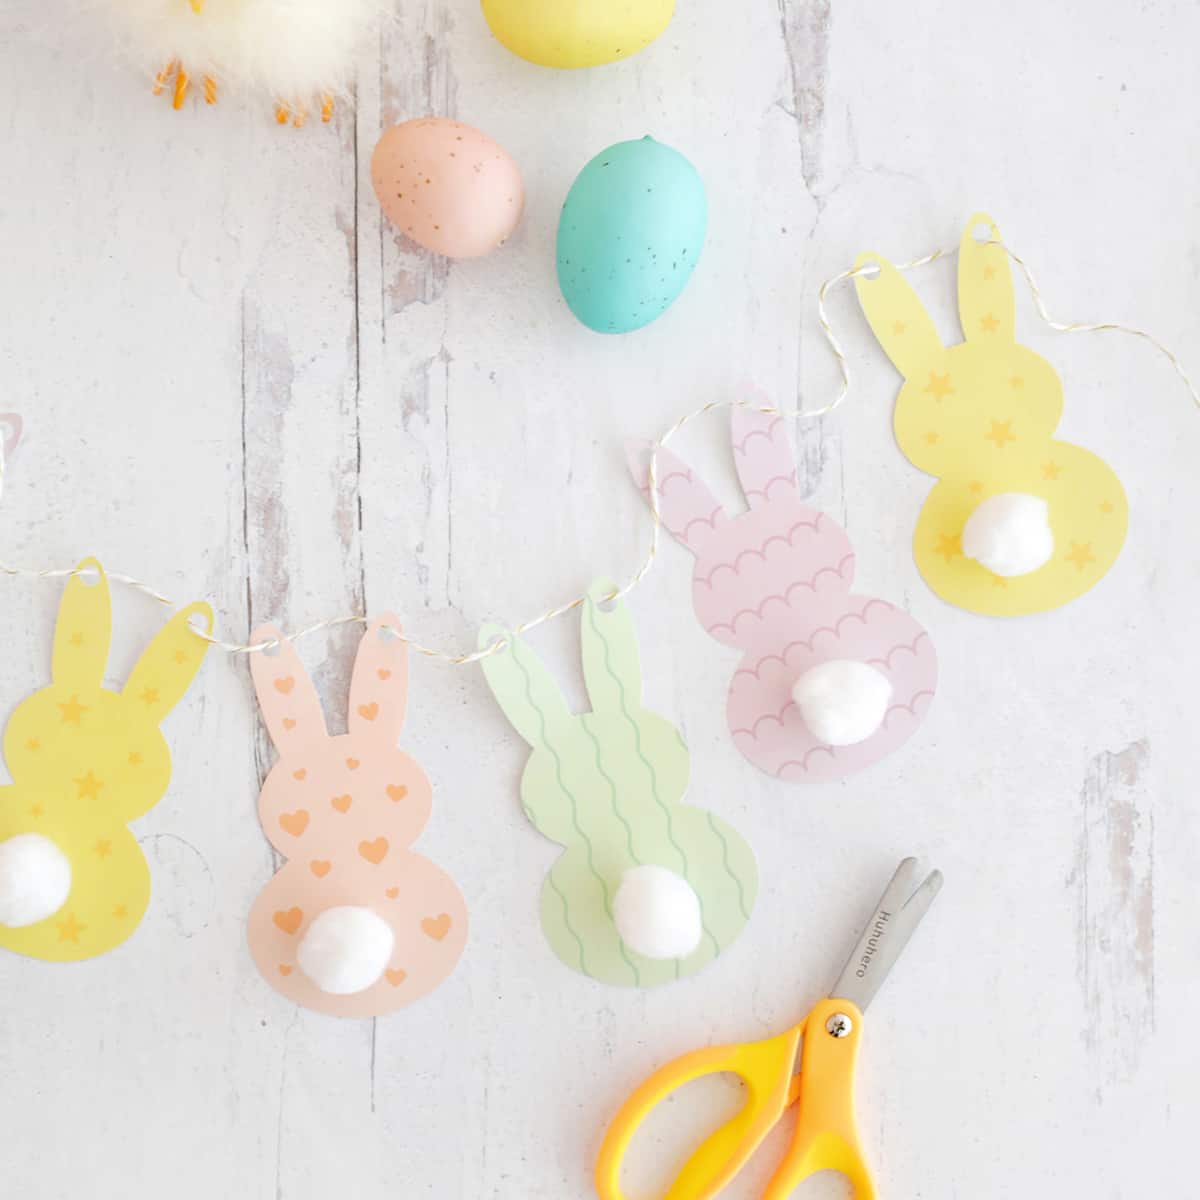
Kids love to decorate for holidays, and we’ve got an easy Easter bunny garland craft idea you can create in a short amount of time … and you can use it again next year, too!
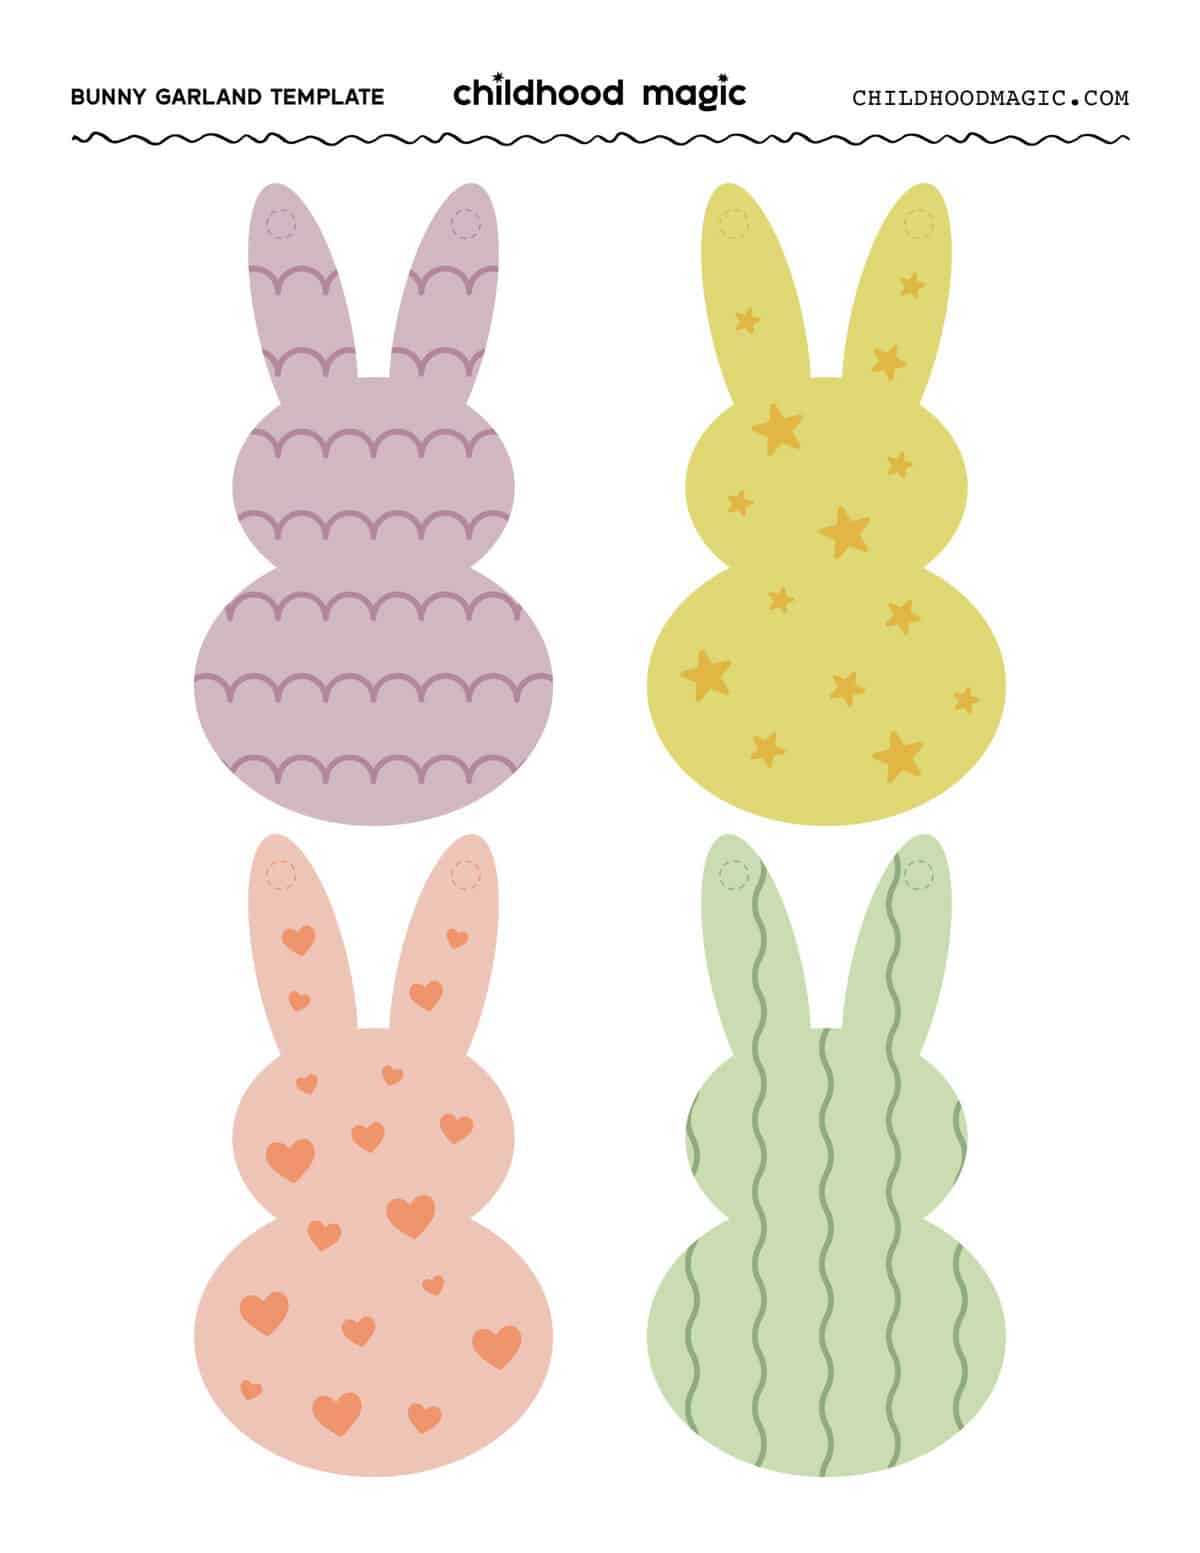
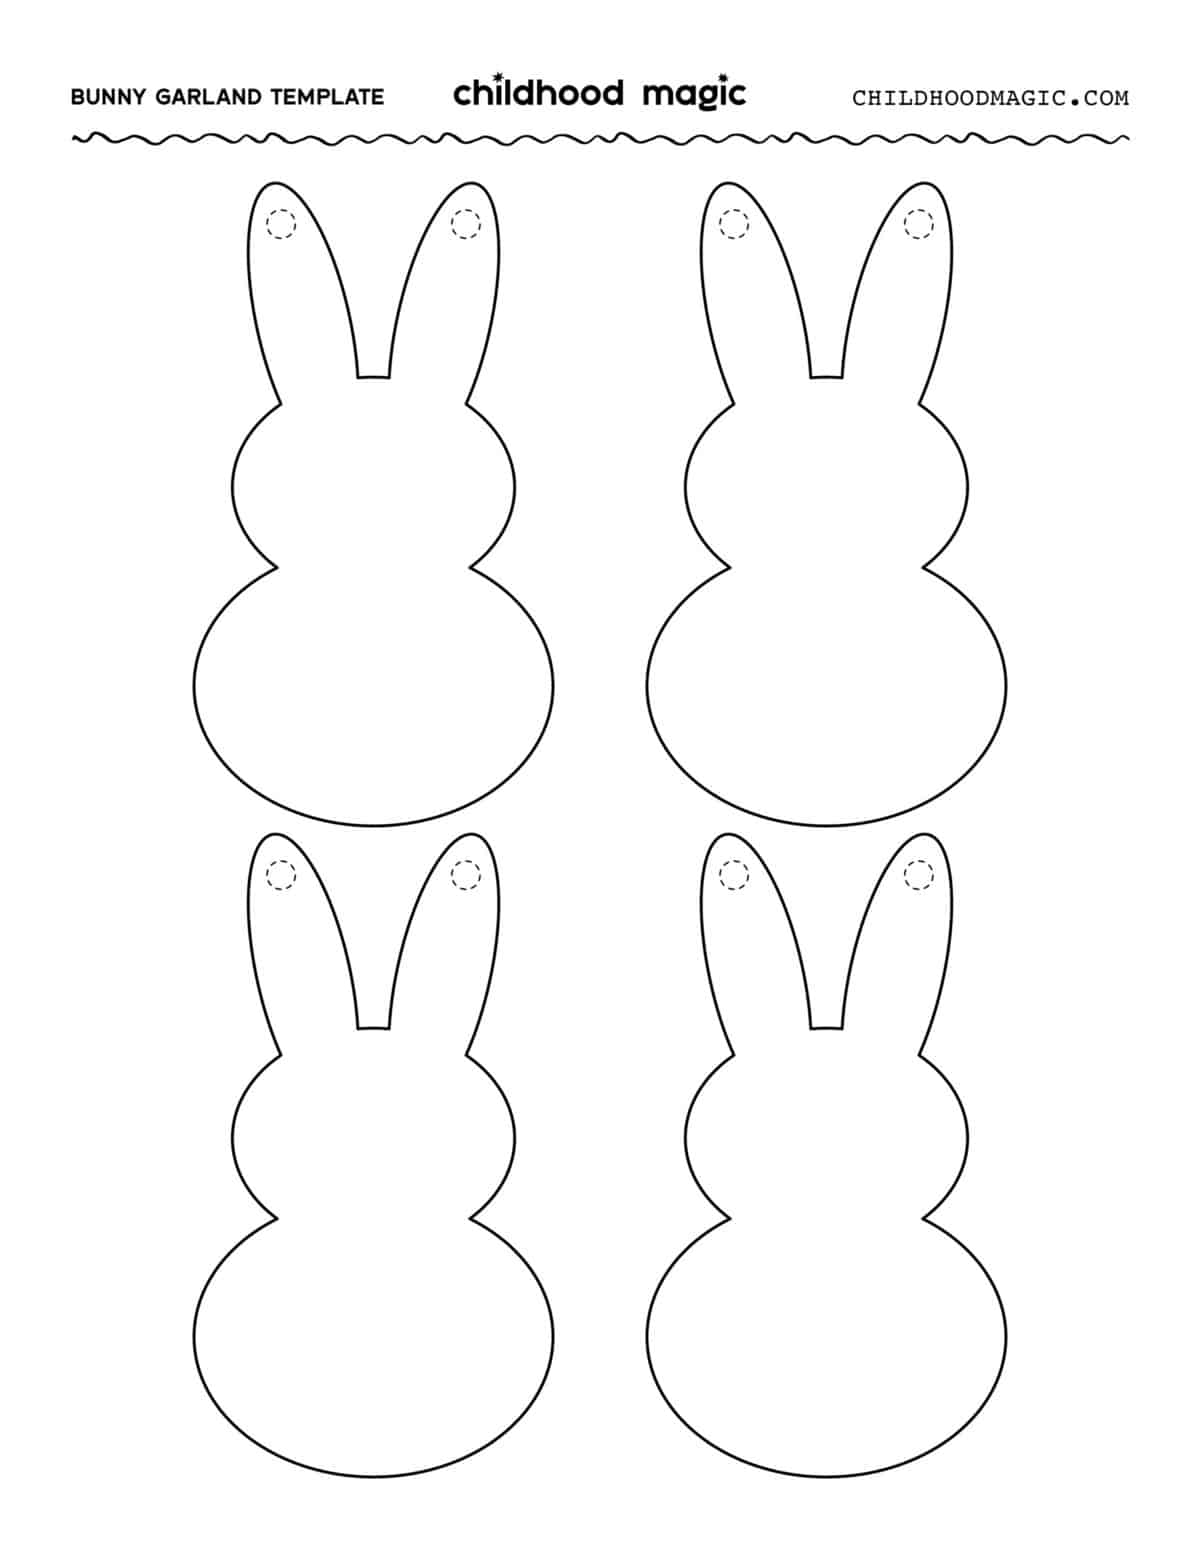
This craft is great for preschoolers and elementary kids and helps them practice their scissor skills. You can print out the template that is already decorated or print a blank bunny shape so you can decorate your own!
Looking for Easter Activities? Try These!
- How to Dye Easter Eggs
- Easter Bingo
- Bunny English Muffin (An Easy Easter Breakfast Idea!)
- Easter Books and Activity Ideas
- Easter Tic-Tac-Toe
Would you like to save this?
Why kids love Easter Bunny Garlands:
- Kids love to feel included in holiday preparation to get them excited for the season, and decorating is a fun and easy way to get them involved!
- Besides getting to practice scissor skills, kids also like using a hole punch (although it’s optional if you don’t have one) and threading the string through the holes for hanging.
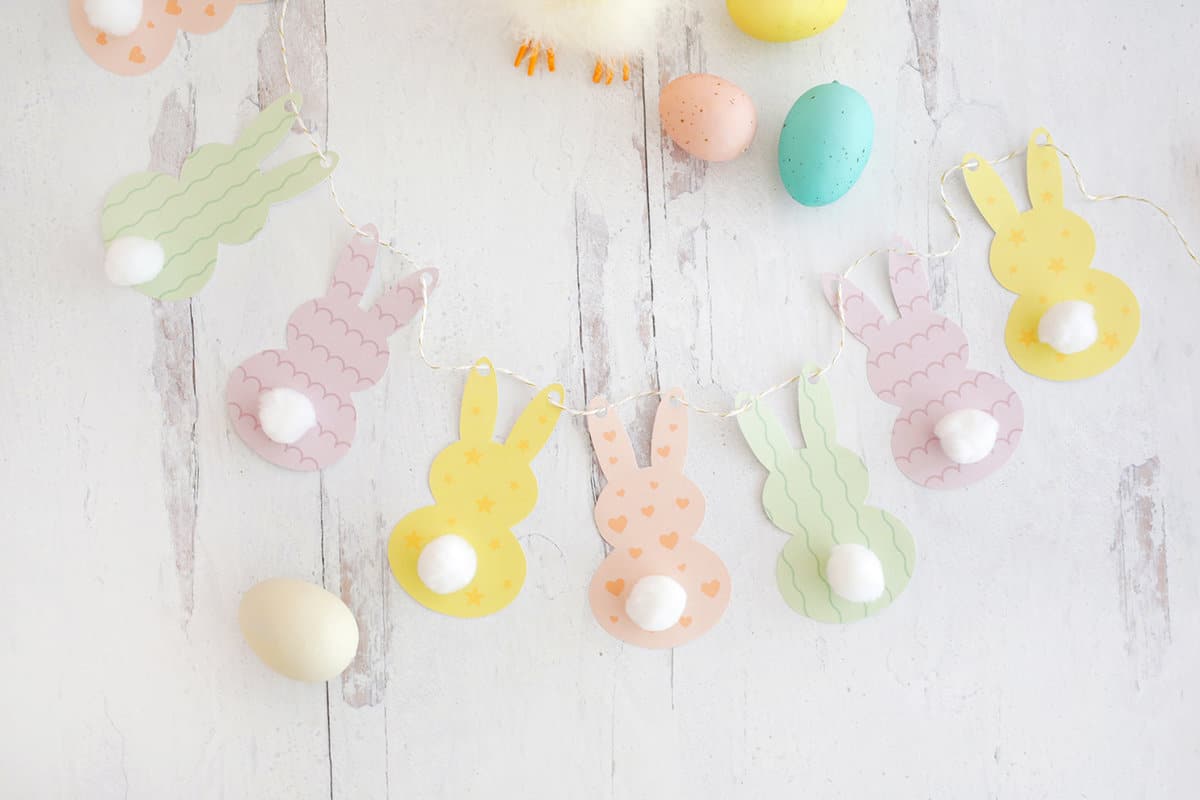
- Kids can get creative and add google eyes and pink noses to the fronts of the bunnies for a cute face, or glue on cotton balls or pom poms so it’s the back of the bunny to show his tail!
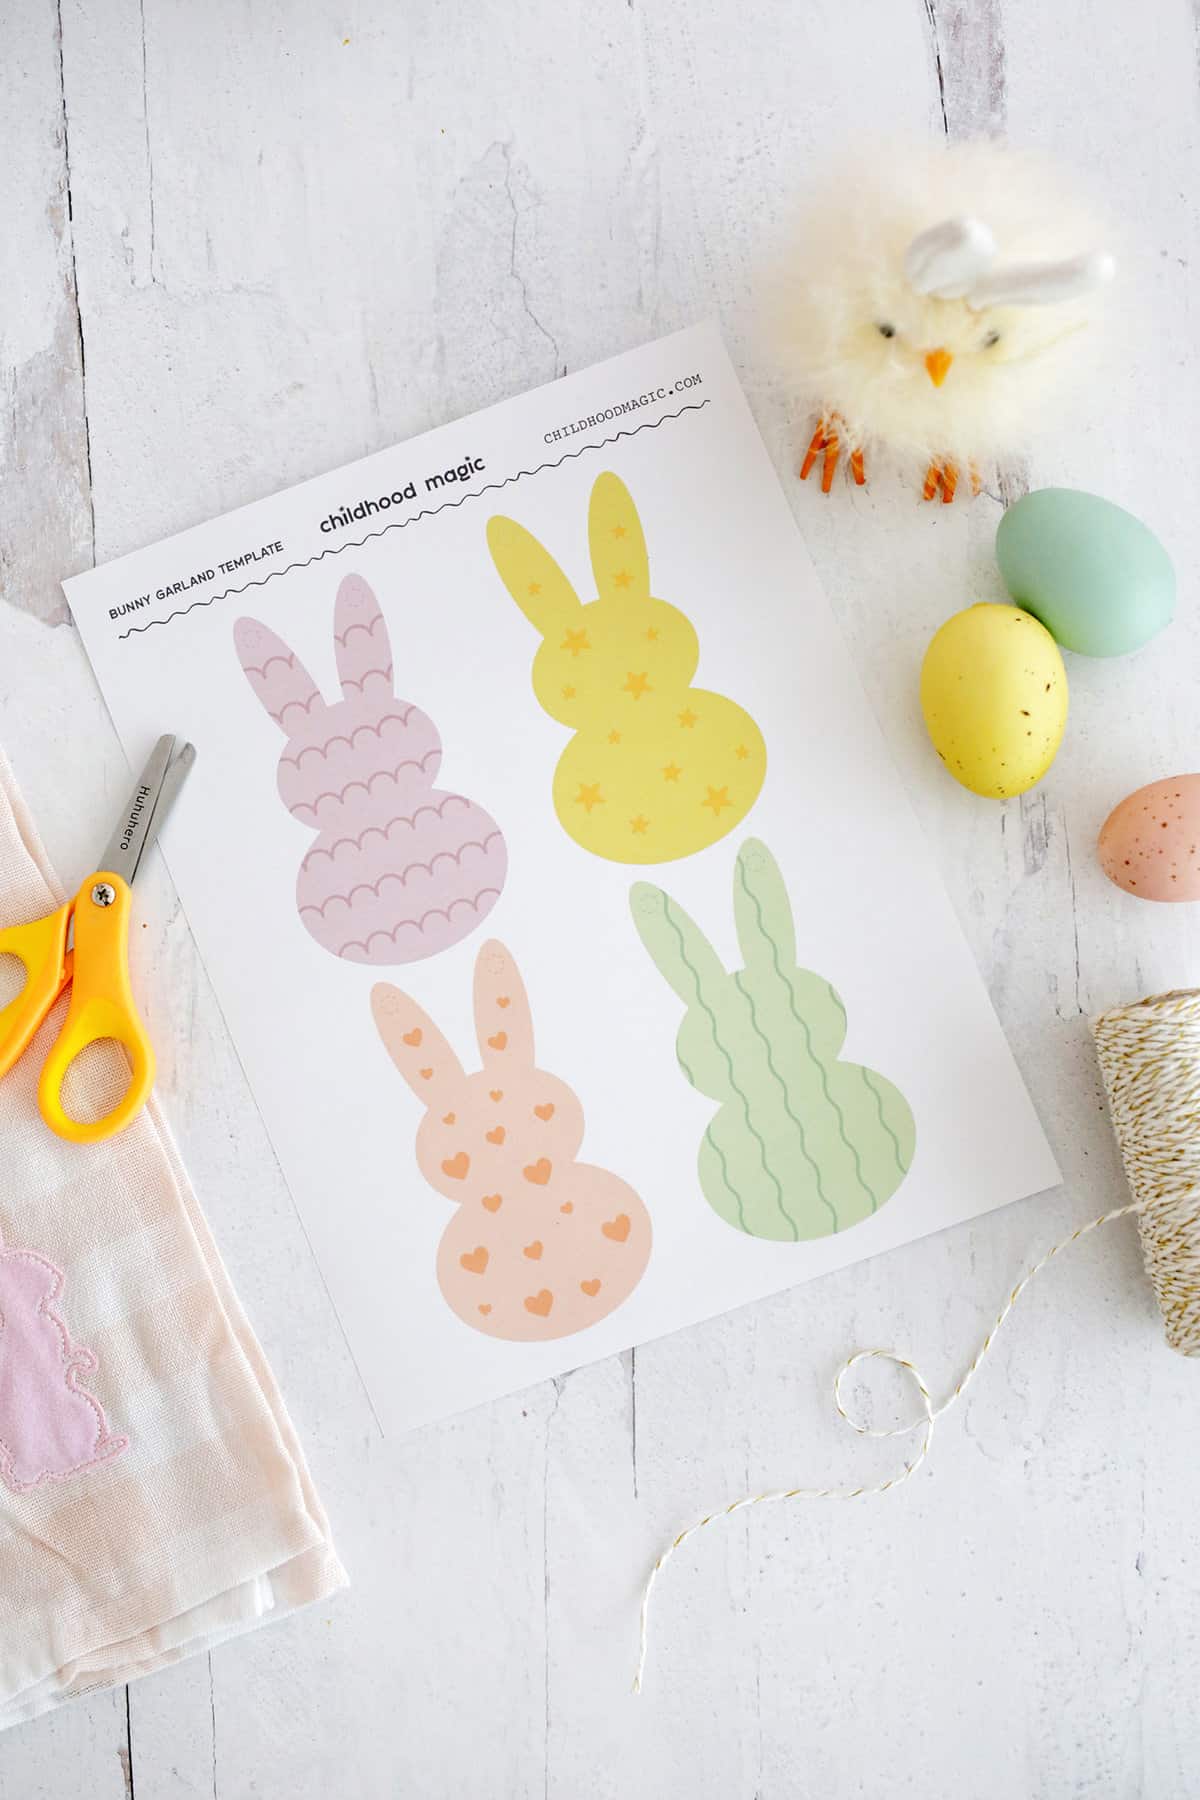
What you’ll need to make an Easter Bunny Garland:
- Printer paper
- Scissors
- Twine for hanging (you can also use yarn!)
- Hole punch (optional) or tape
- Pom poms/cotton balls and school glue if adding tails
- Google eyes if adding a face
- Free Easter Bunny garland template
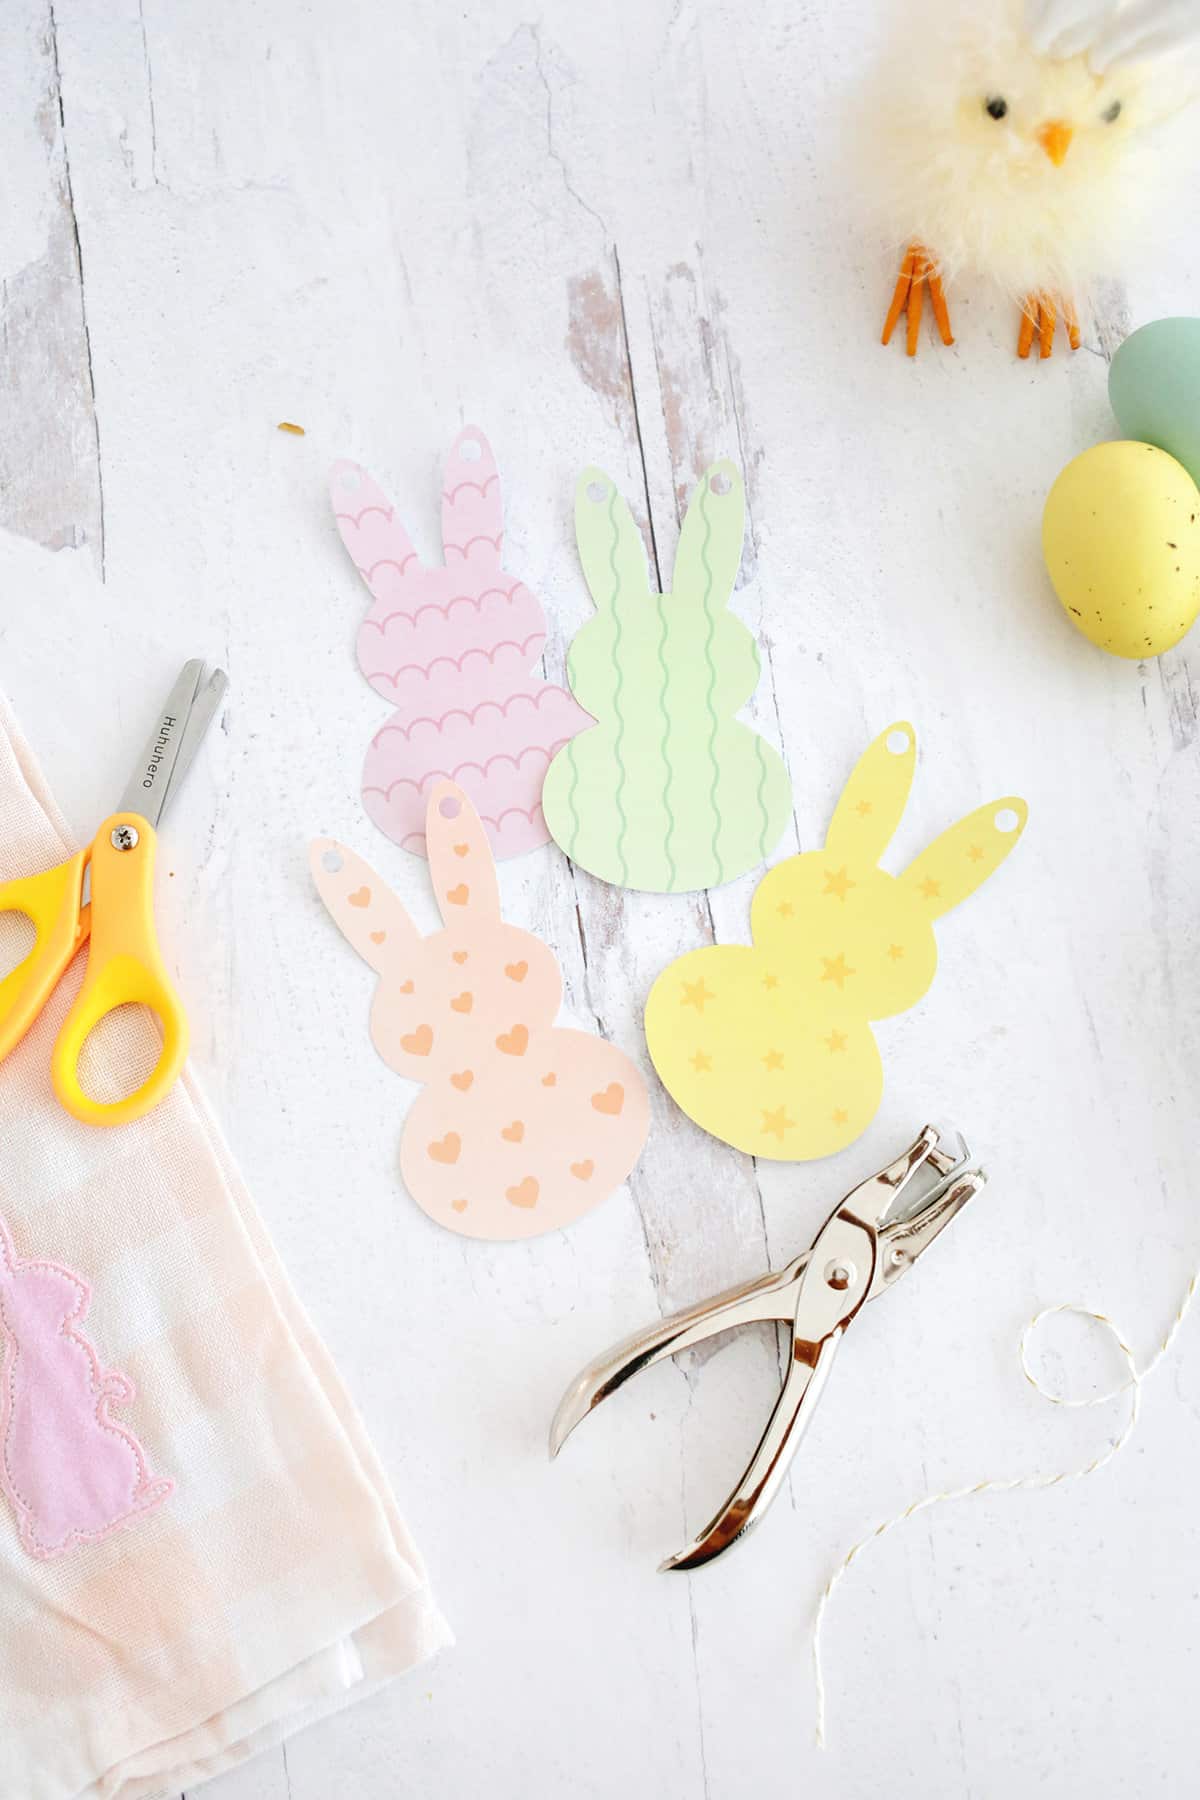
How to Make It:
- Print your templates onto printer paper (or a thicker cardstock paper).
- Cut out your bunny shapes. If using the blank template, decorate your bunny shapes with crayons, paints, or markers.
- If you want to add tails, glue on pom poms or cotton balls to bunny butts or draw faces or add google eyes on the heads.
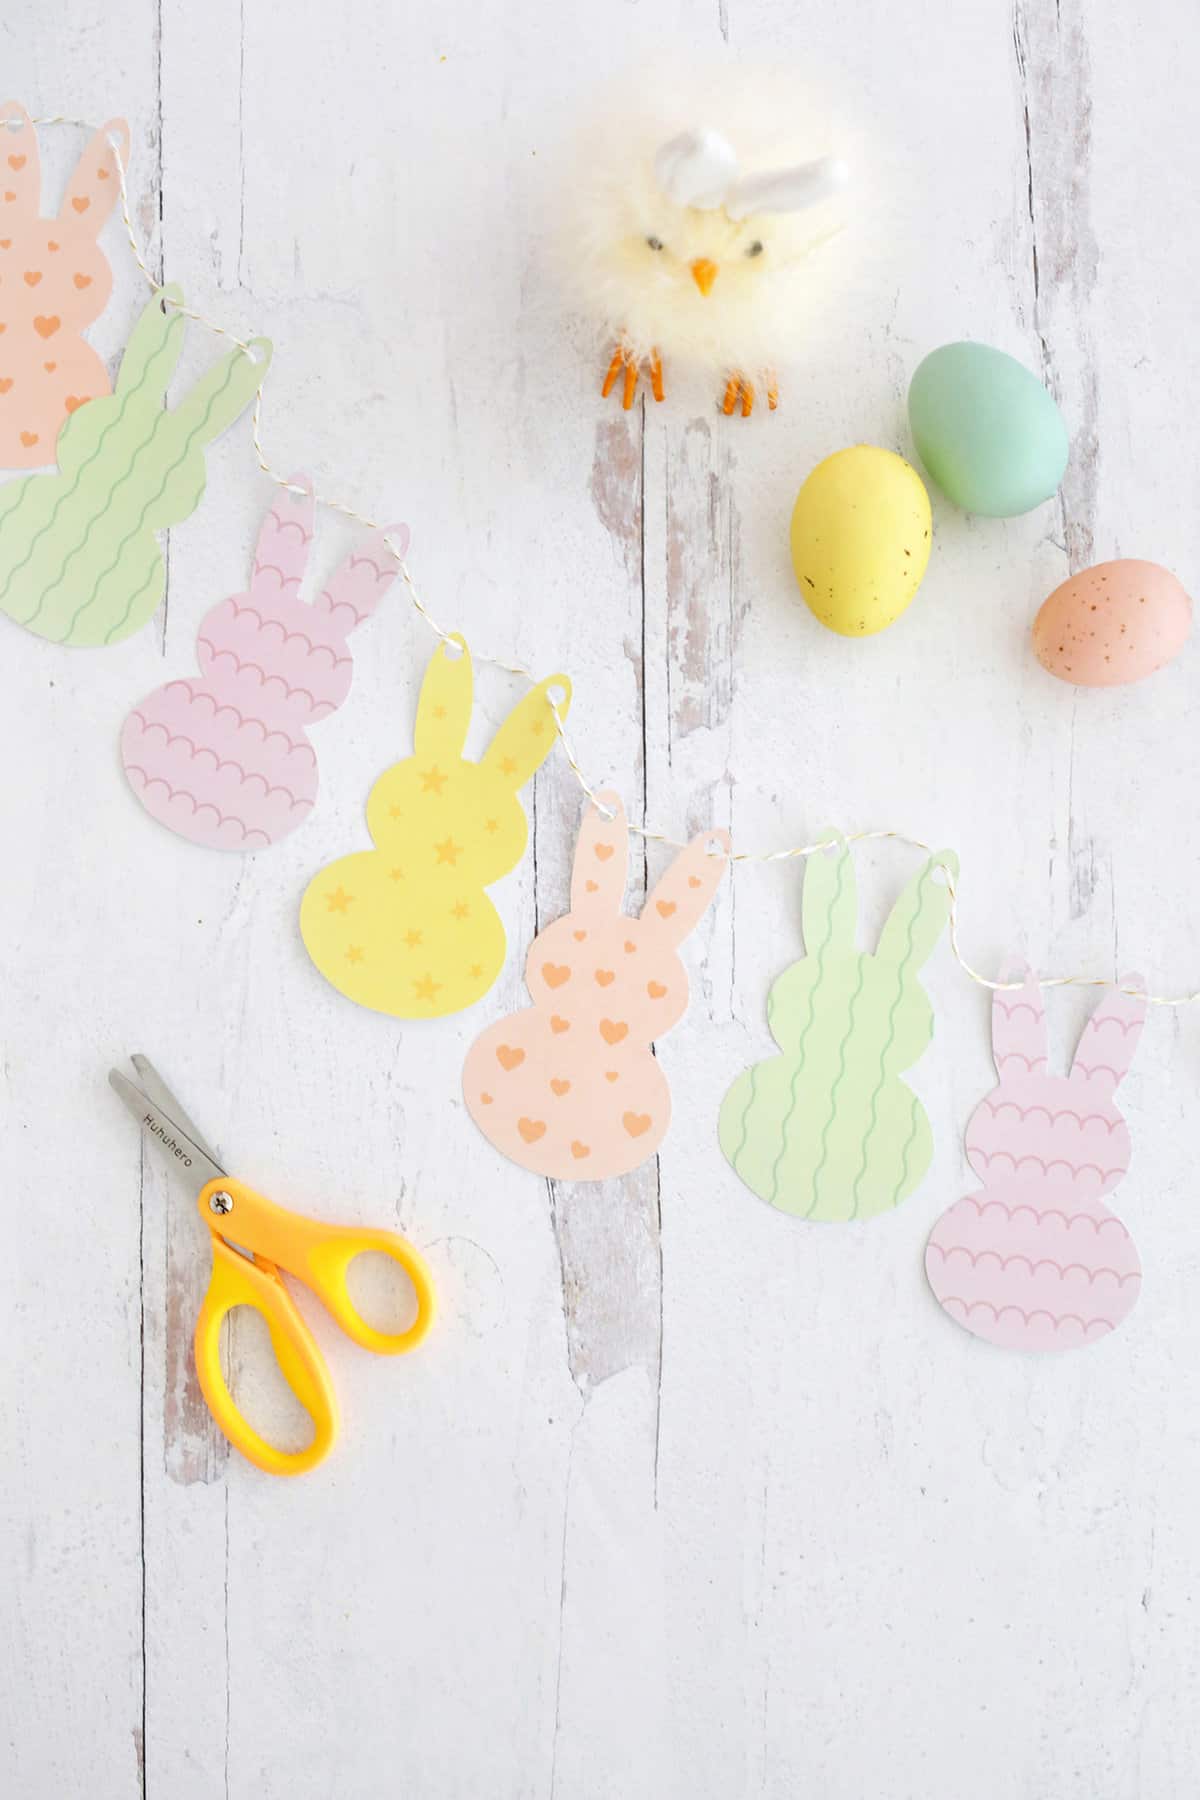
- Hole punch the holes and thread your twine through the holes (or just tape the back of the ears onto the twine to attach).
- Hang your bunny garland and you’re ready to celebrate!
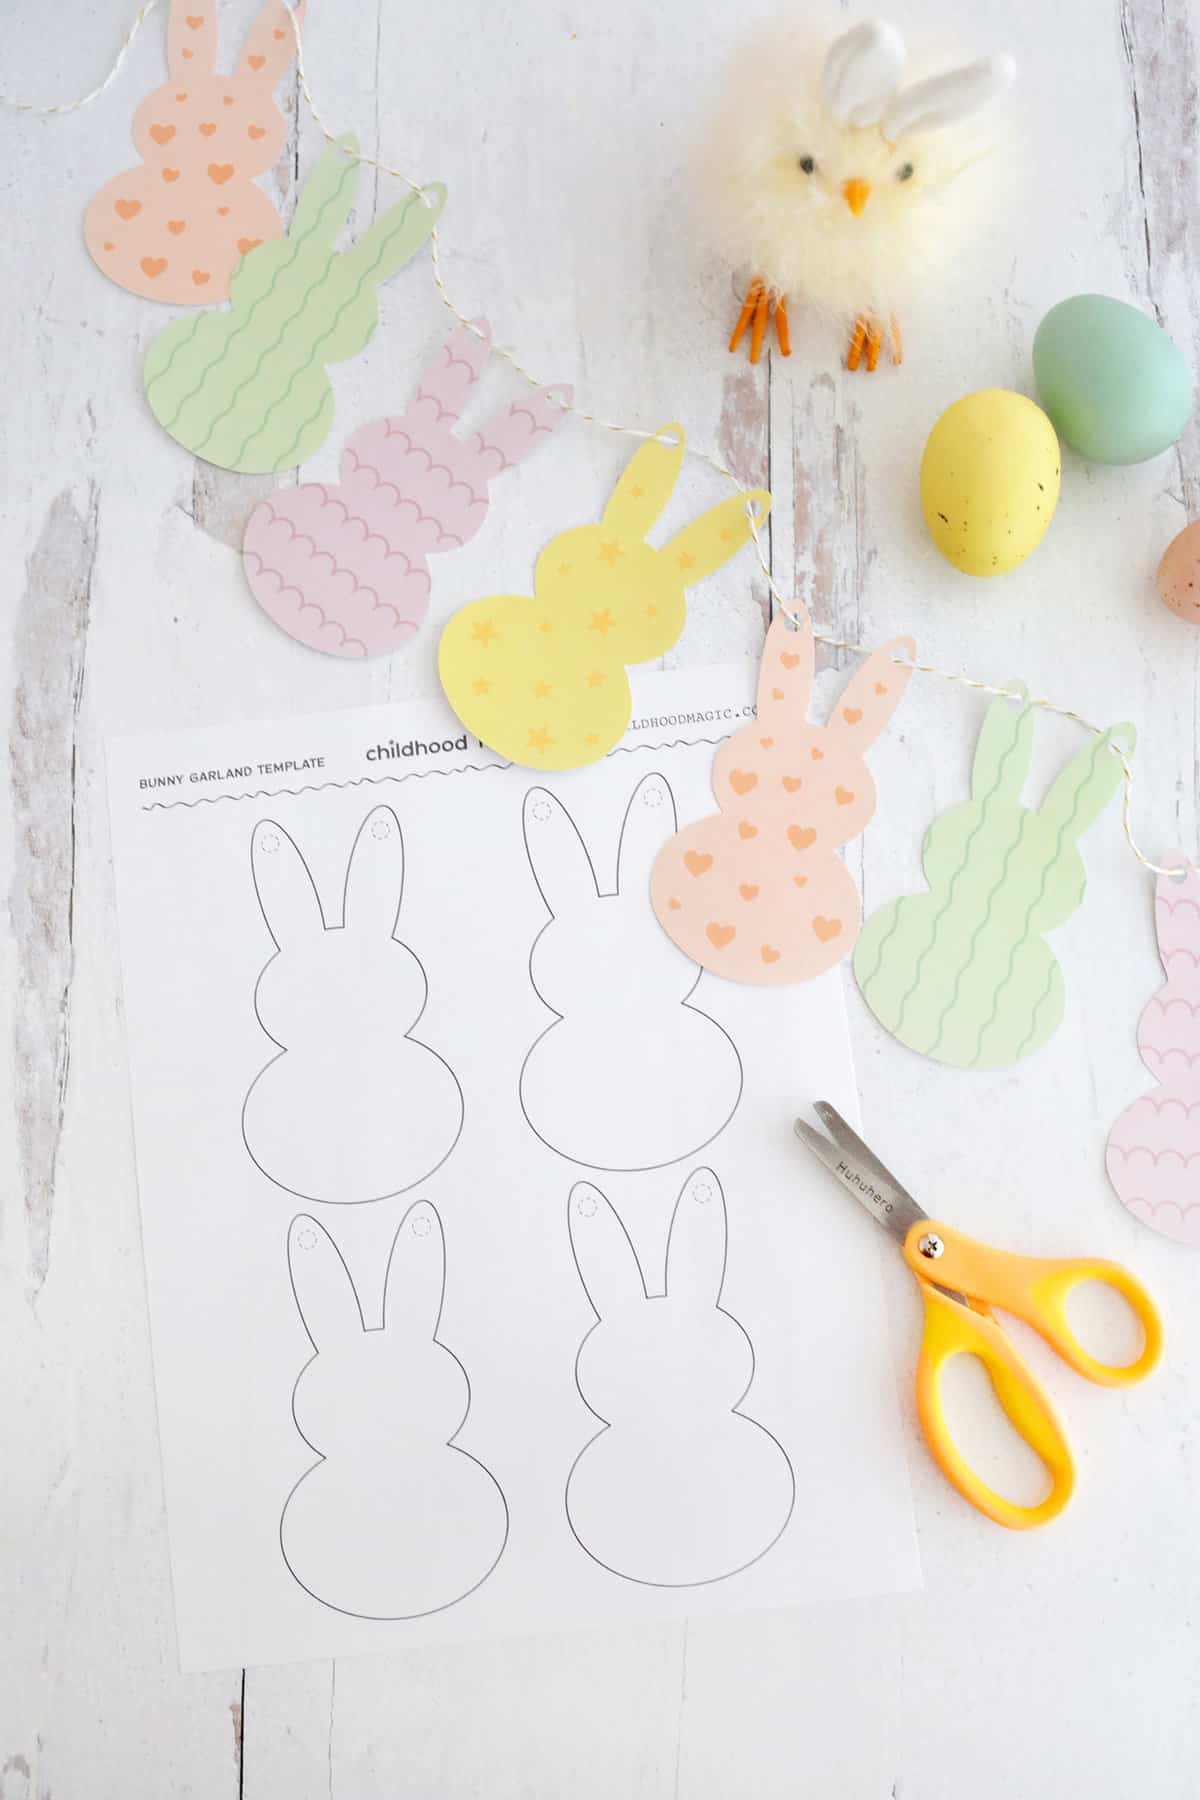
Tips for Making an Easter Bunny Garland:
- If you don’t have a hole punch, you can also just tape the twine to the back side of the ears to attach your bunny for hanging.
- Smaller kids might need help cutting out the shapes and focus more on decorating the bunnies or threading the twine through the holes, while older kids can show off their scissor skills and help with more of the cutting steps.
Frequently Asked Questions
How do I store this Easter Bunny garland?
You can store this garland by putting it in a small box or in a bag laying flat with your Easter decorations. As long as it can lay flat it should be usable year after year!
Get creative ideas for recipes, crafts, decor, and more in your inbox!
 Get the How-To
Supplies
- Printer paper
- Scissors
- Twine for hanging (you can also use yarn!)
- Hole punch ((optional) or tape)
- Pom poms/cotton balls and school glue ( if adding tails)
- Google eyes (if adding a face)
- Free Easter Bunny garland template
Instructions
- Print your templates onto printer paper (or a thicker card stock paper).
- Cut out your bunny shapes. If using the blank template, decorate your bunny shapes with crayons, paints, or markers.
- If you want to add tails, glue on pom poms or cotton balls to bunny butts or draw faces or add google eyes on the heads.
- Hole punch the holes and thread your twine through the holes (or just tape the back of the ears onto the twine to attach).
- Hang your bunny garland and you’re ready to celebrate!
Notes
- If you don’t have a hole punch, you can also just tape the twine to the back side of the ears to attach your bunny for hanging.
- Smaller kids might need help cutting out the shapes and focus more on decorating the bunnies or threading the twine through the holes while older kids can show off their scissor skills and help with more of the cutting steps.


The bunnies was just what I wanted and printing them easy. Thank you so much ♥️