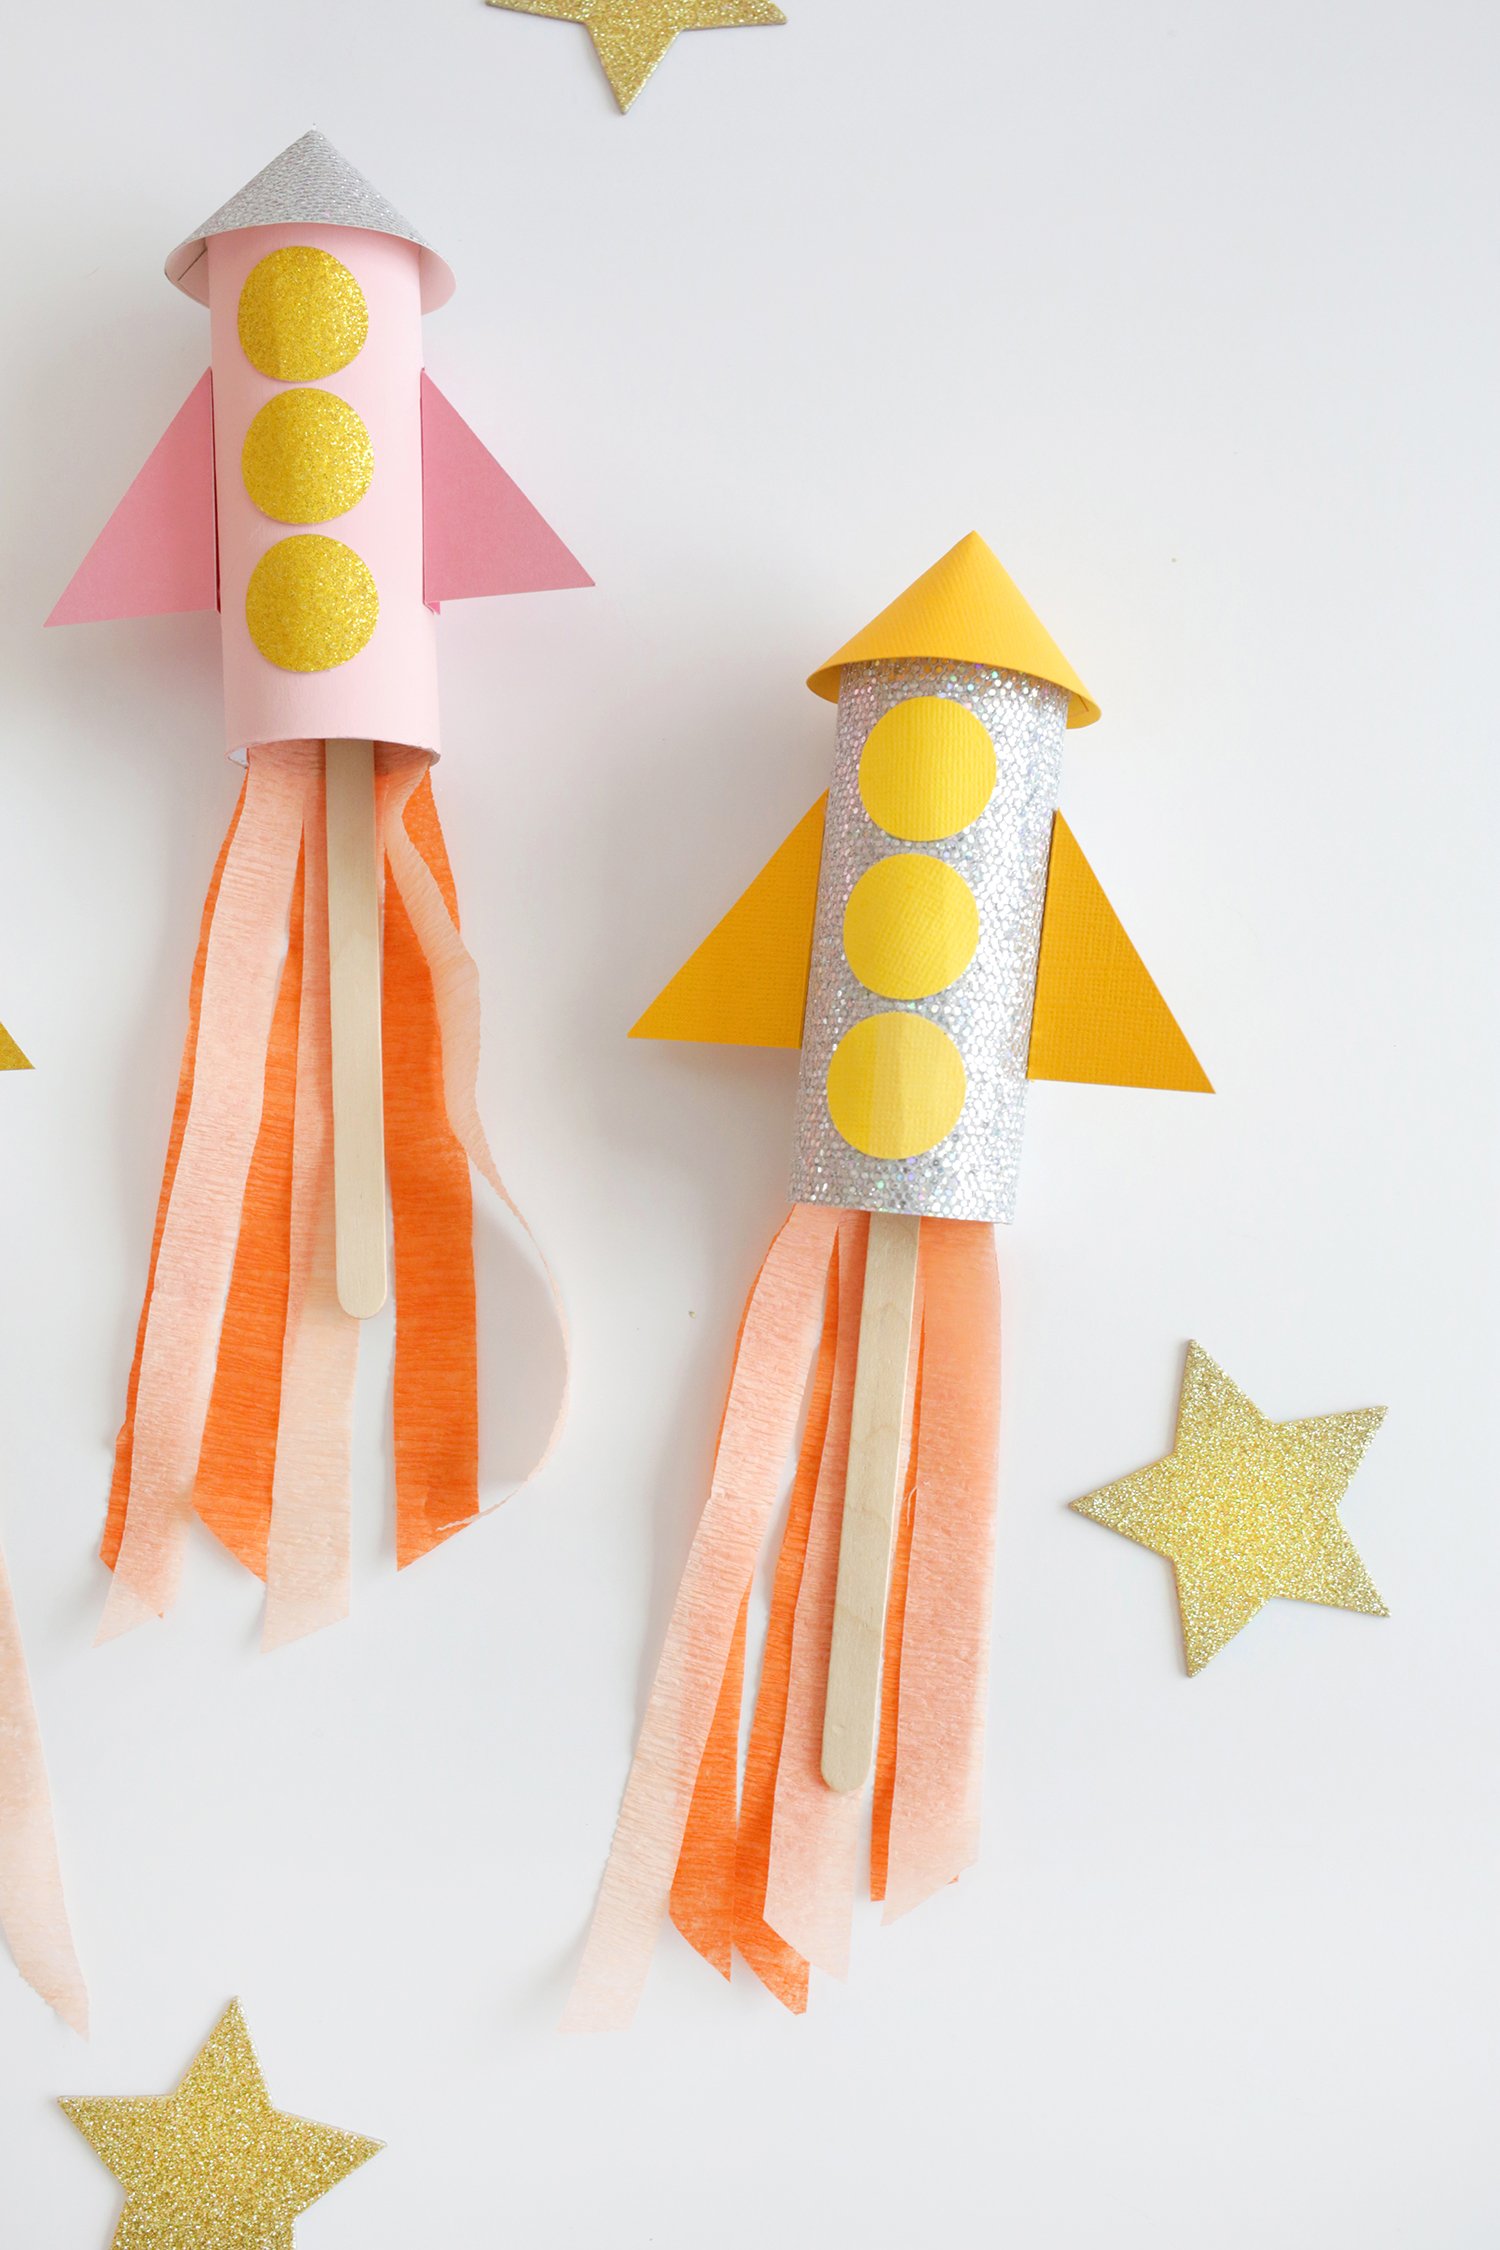
Learning about space and rockets is a great way to encourage kids to explore their world and use their imagination. Making a paper rocket ship with a toilet paper roll is a fun activity for preschoolers, elementary students and older toddlers.
Kids can work on skills like cutting and glueing while learning about planets and stars. Then, their rocket ship blasts off to explore the galaxies! This is also a fun craft to make for the 4th of July.
Using a toilet paper roll is a great way to teach kids about reusing and recycling. We love keeping a stash of craft supplies around like paper plates and pipe cleaners—it’s nice to keep everything in one spot for craft time.
If you have a paper towel roll instead of a toilet paper roll, you can still use it for this craft. Simply cut it in half or make a larger rocket ship.
Looking for More Craft Ideas?
- Galaxy Slime
- Easy Moon Sand DIY
- Watermelon Paper Plate Craft
- Easy Painted Macaroni Necklace
- Easy Ribbon Garland – DIY 4th of July Decoration

Rocket Ship Activities:
Another reason this is a great craft for children is that it promotes “pretend play.” You can have them explore all the planets or talk about the atmosphere and how a rocket gets into outer space.

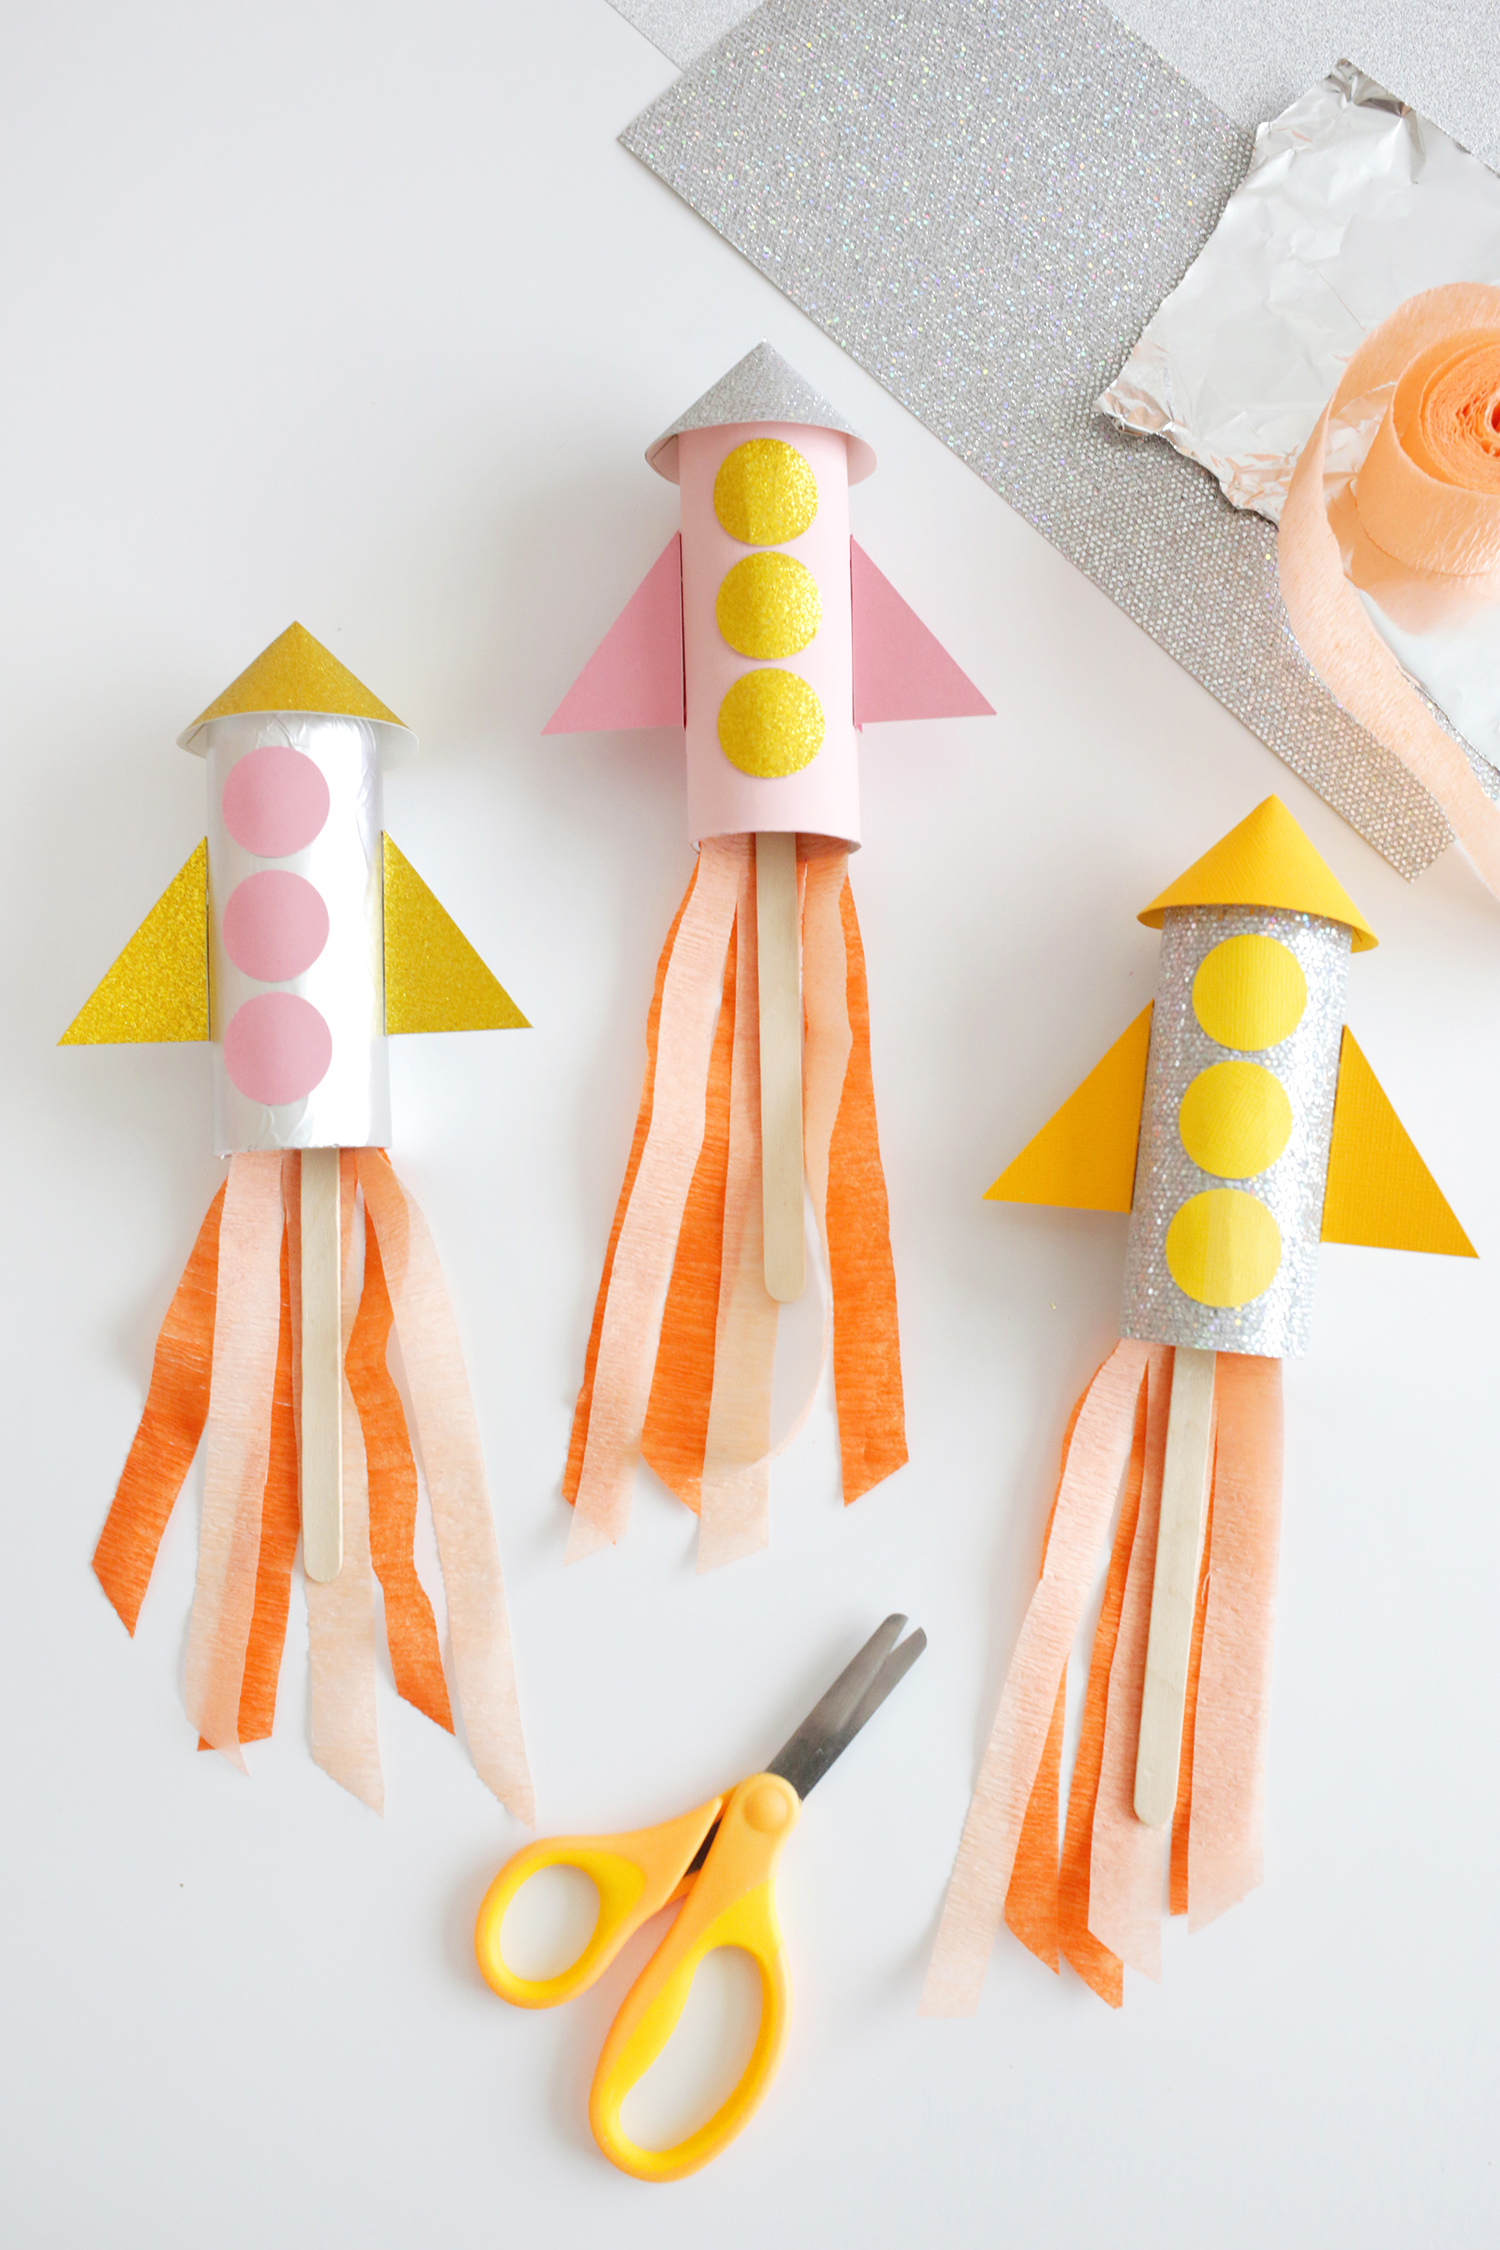
Supplies for the Rocket Ship Craft:
- Toilet paper tube
- Acrylic paint
- Small paintbrush
- Aluminum foil
- Cardstock or construction paper
- Glue stick or low temp glue gun
- 1″ hole punch
- Scissors
- Popsicle stick or craft stick
- Crepe paper or streamers for rocket flames
- Drinking glass or coaster to trace a circle with
- Pen or pencil

Directions:
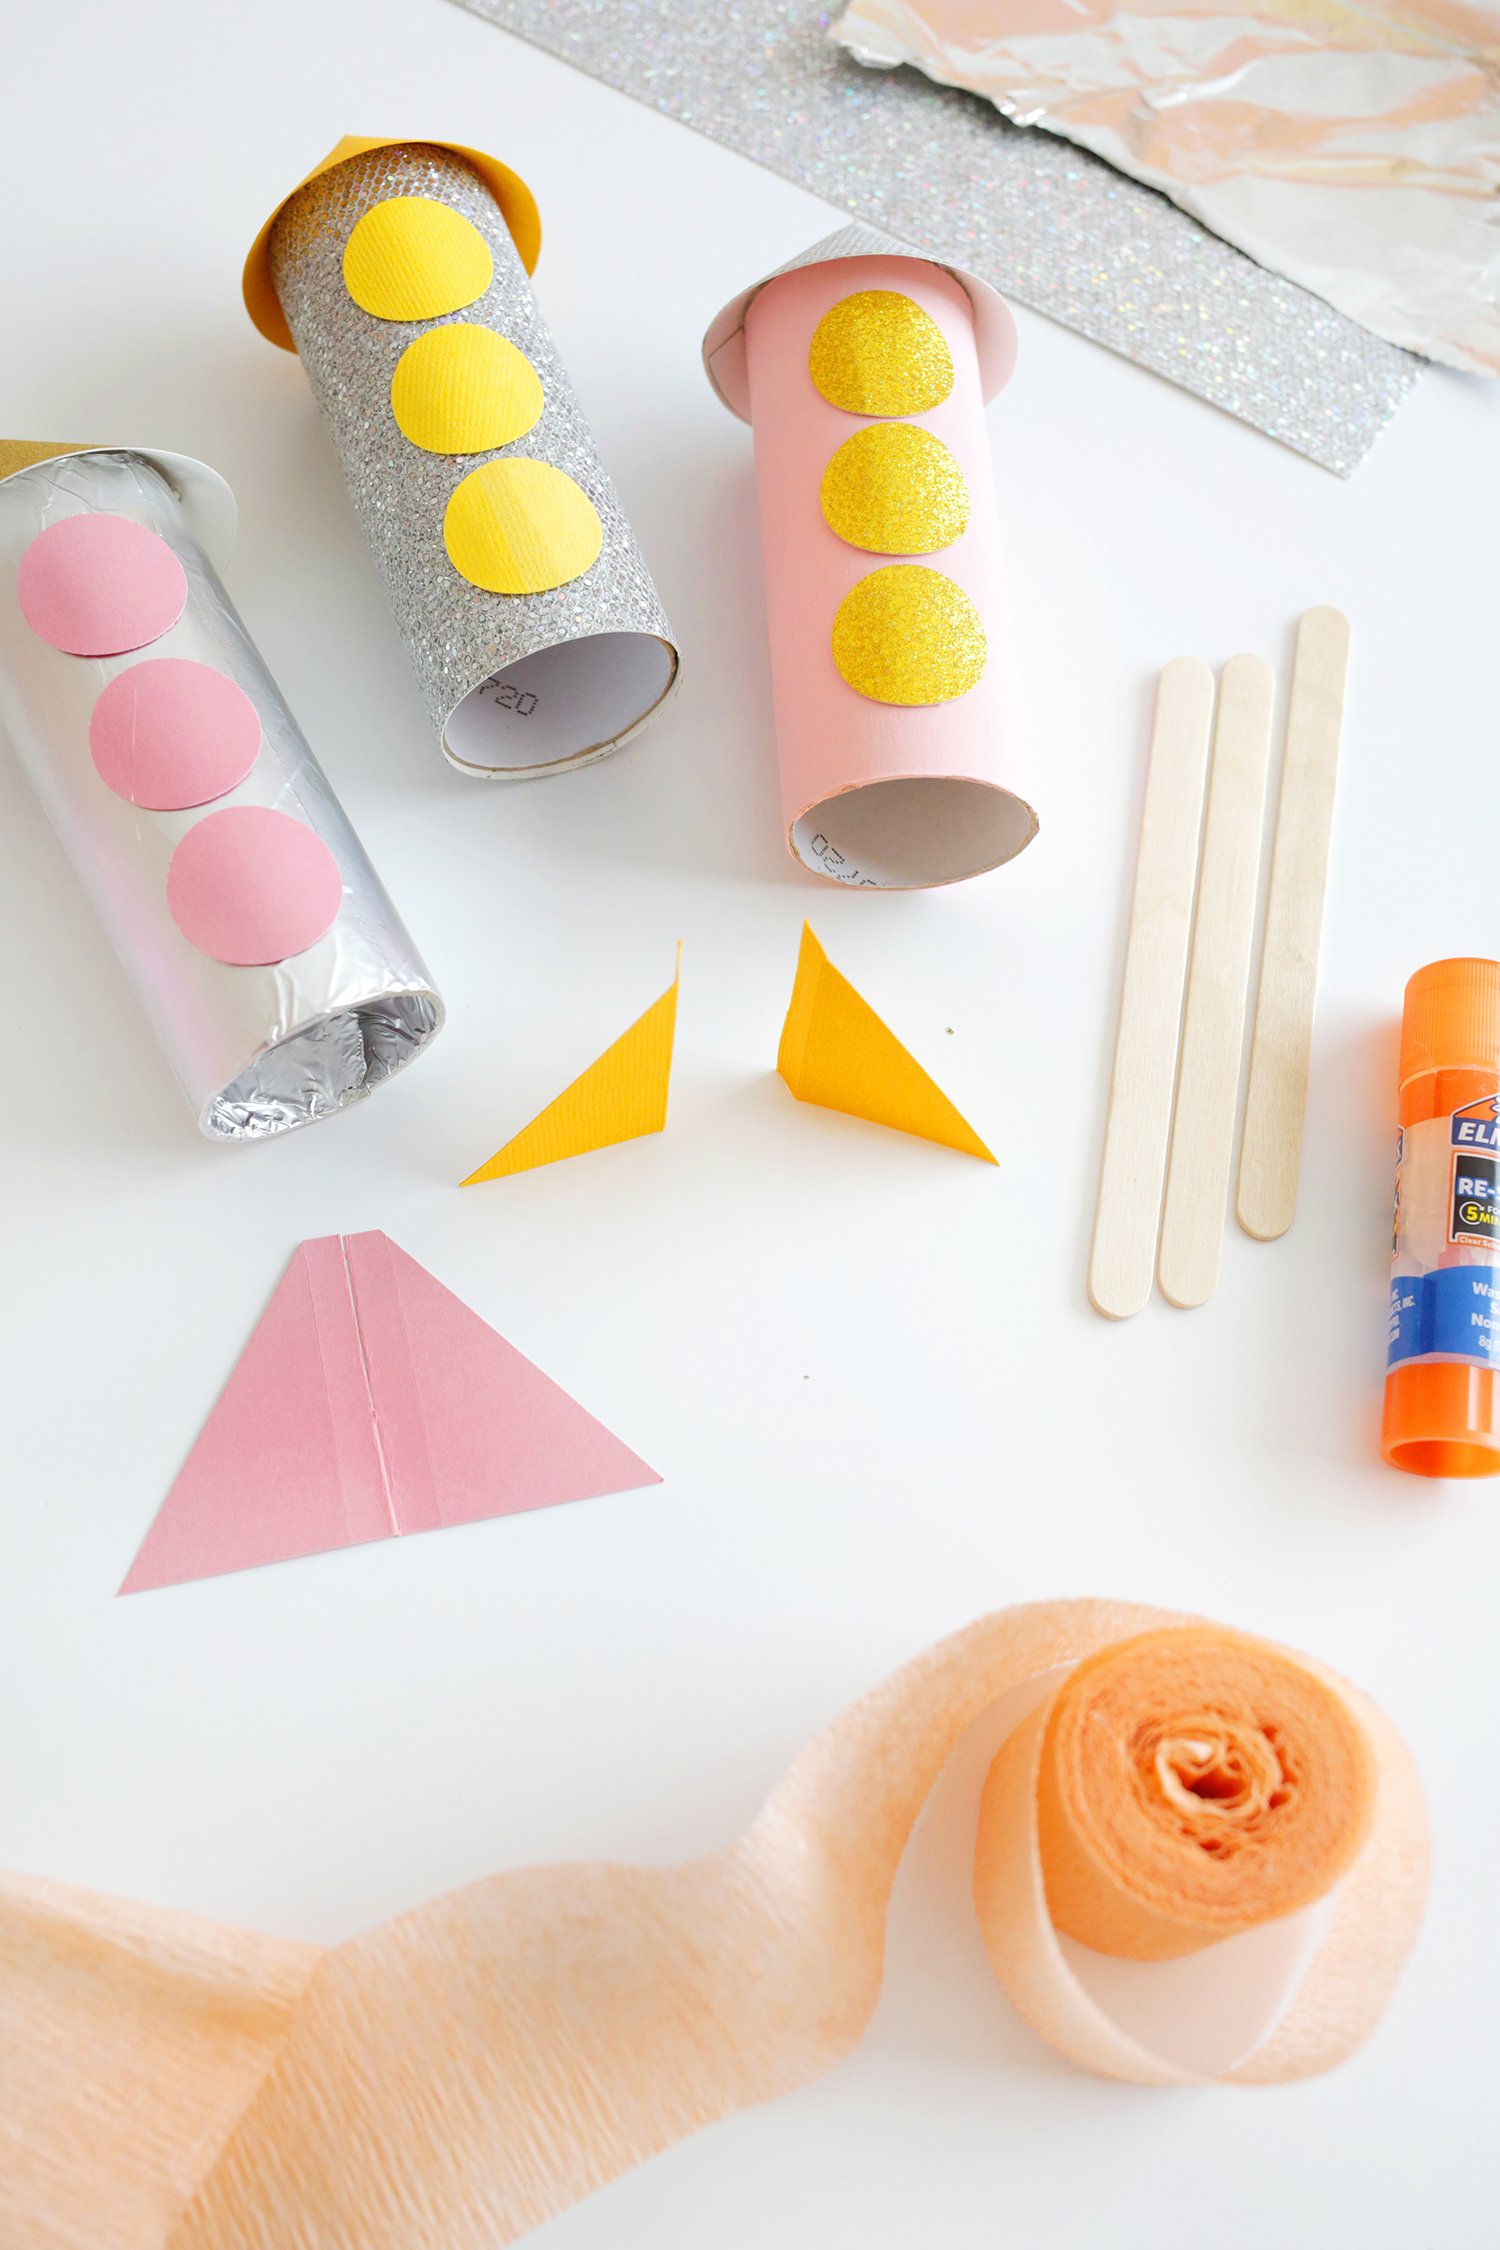
- Cover the toilet paper tube by either painting it with a small brush, or covering it with aluminum foil and tucking the top and bottom edges into the tube. You can also cut a rectangle of paper the height of the tube and glue it onto the tube.
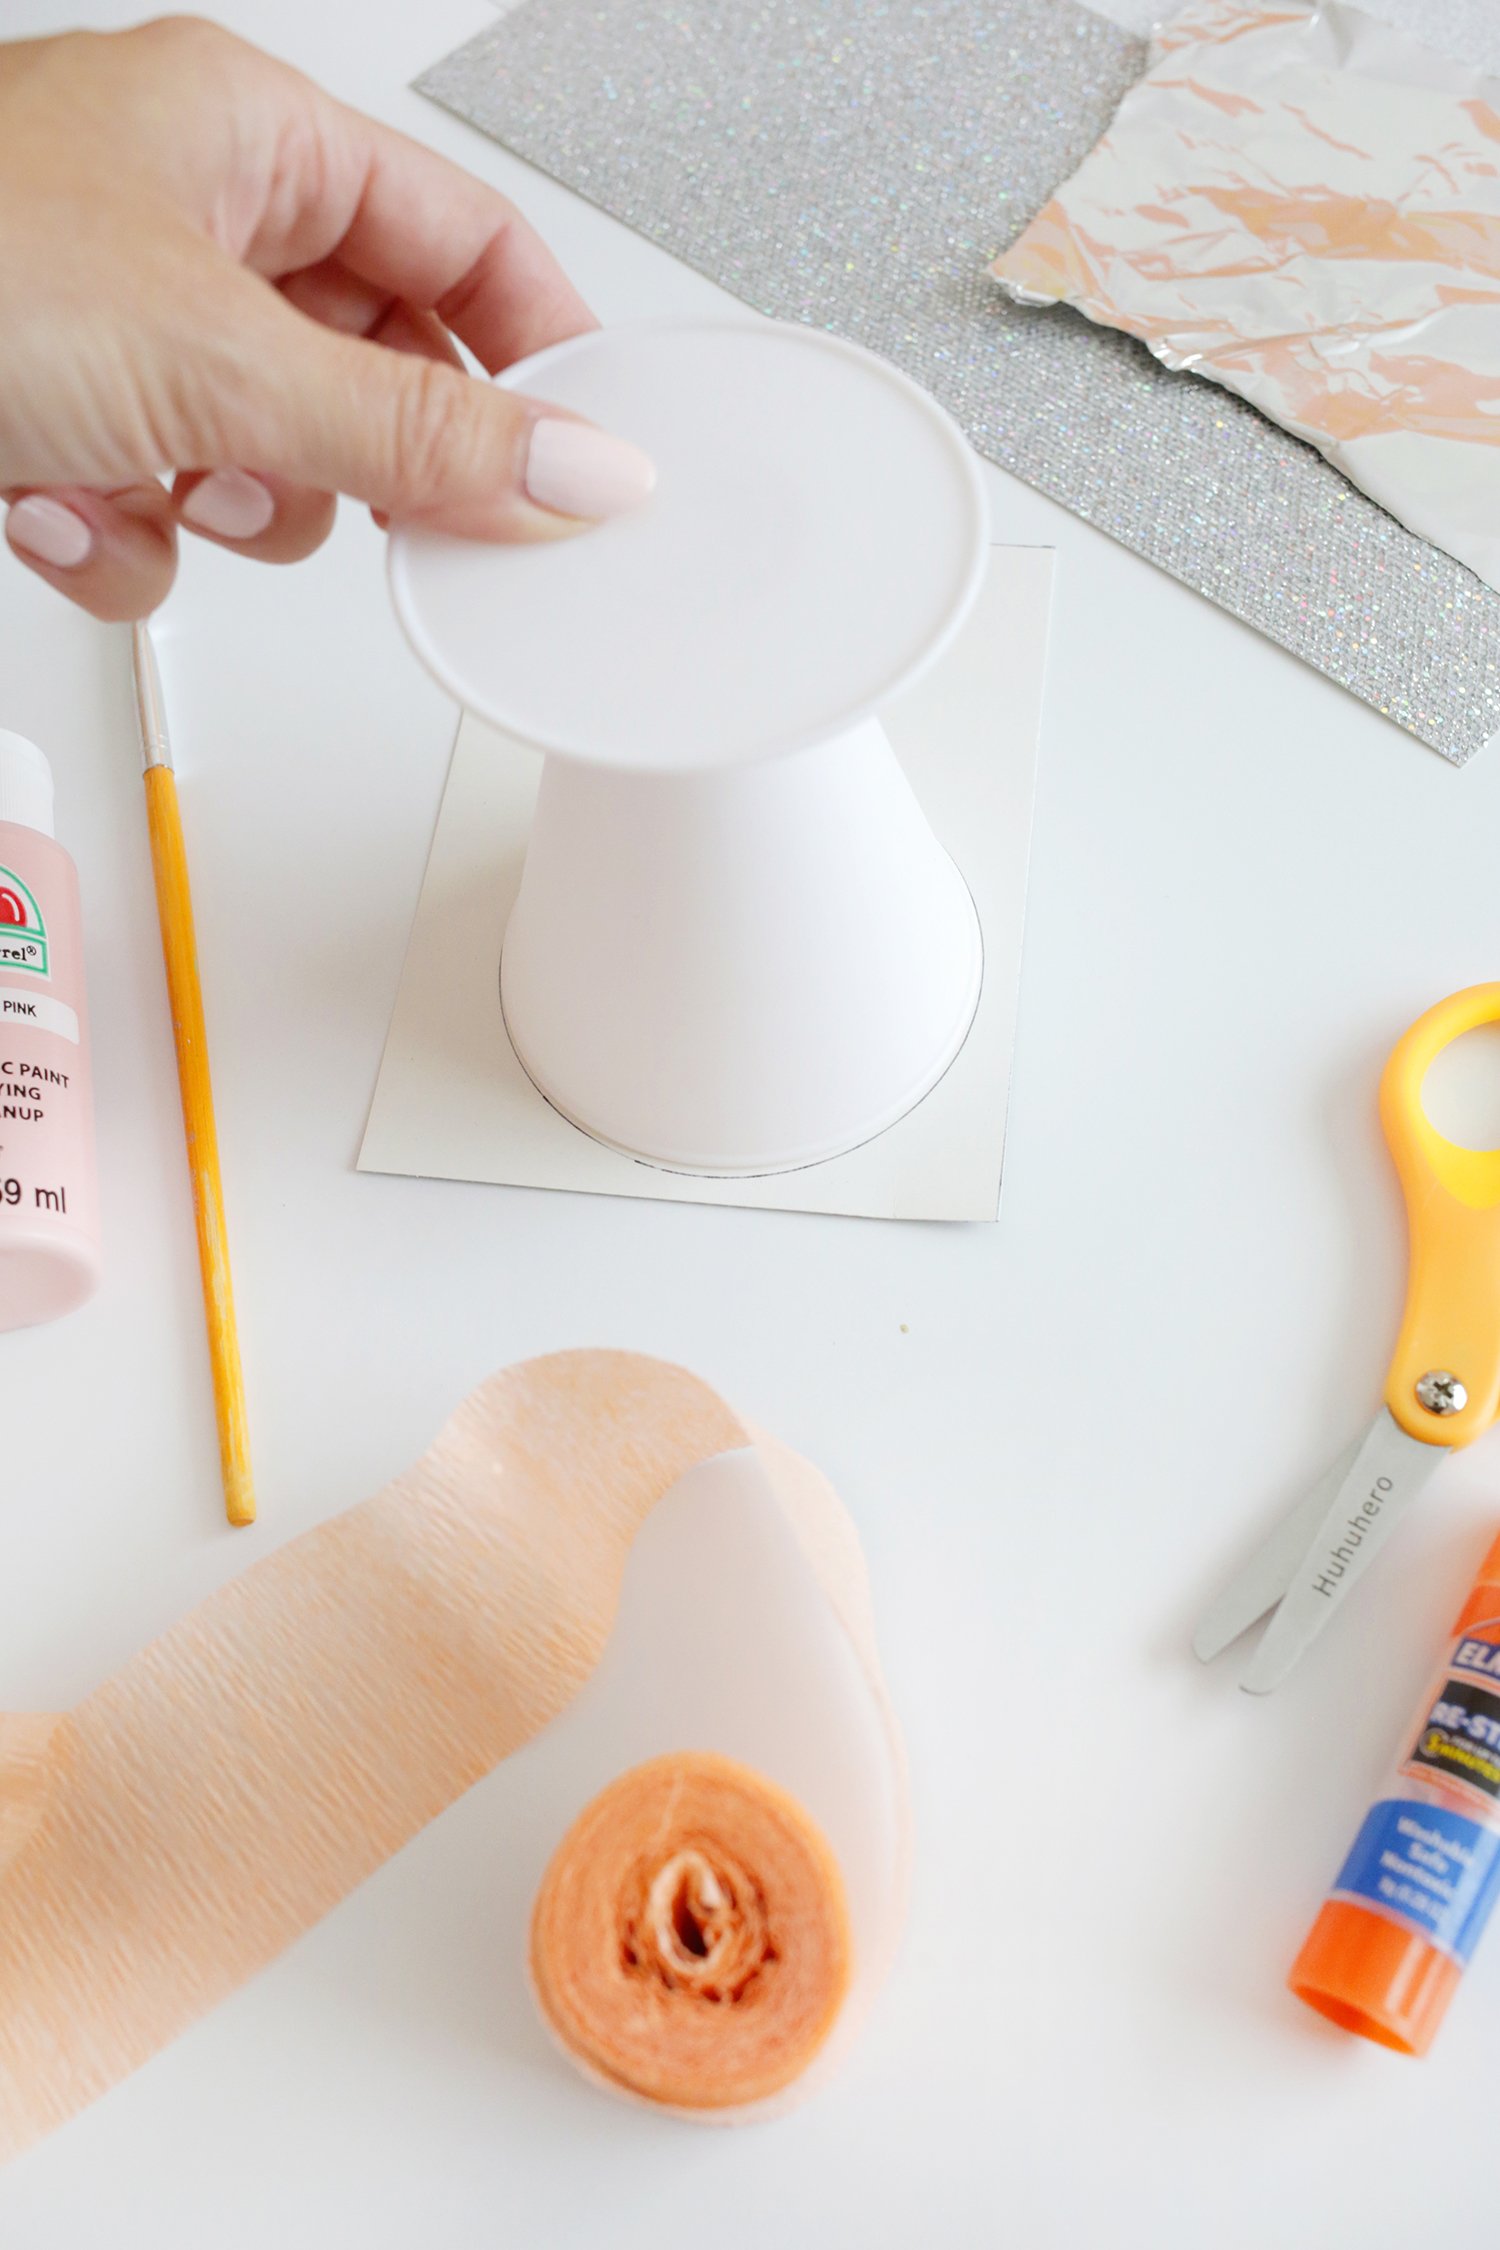
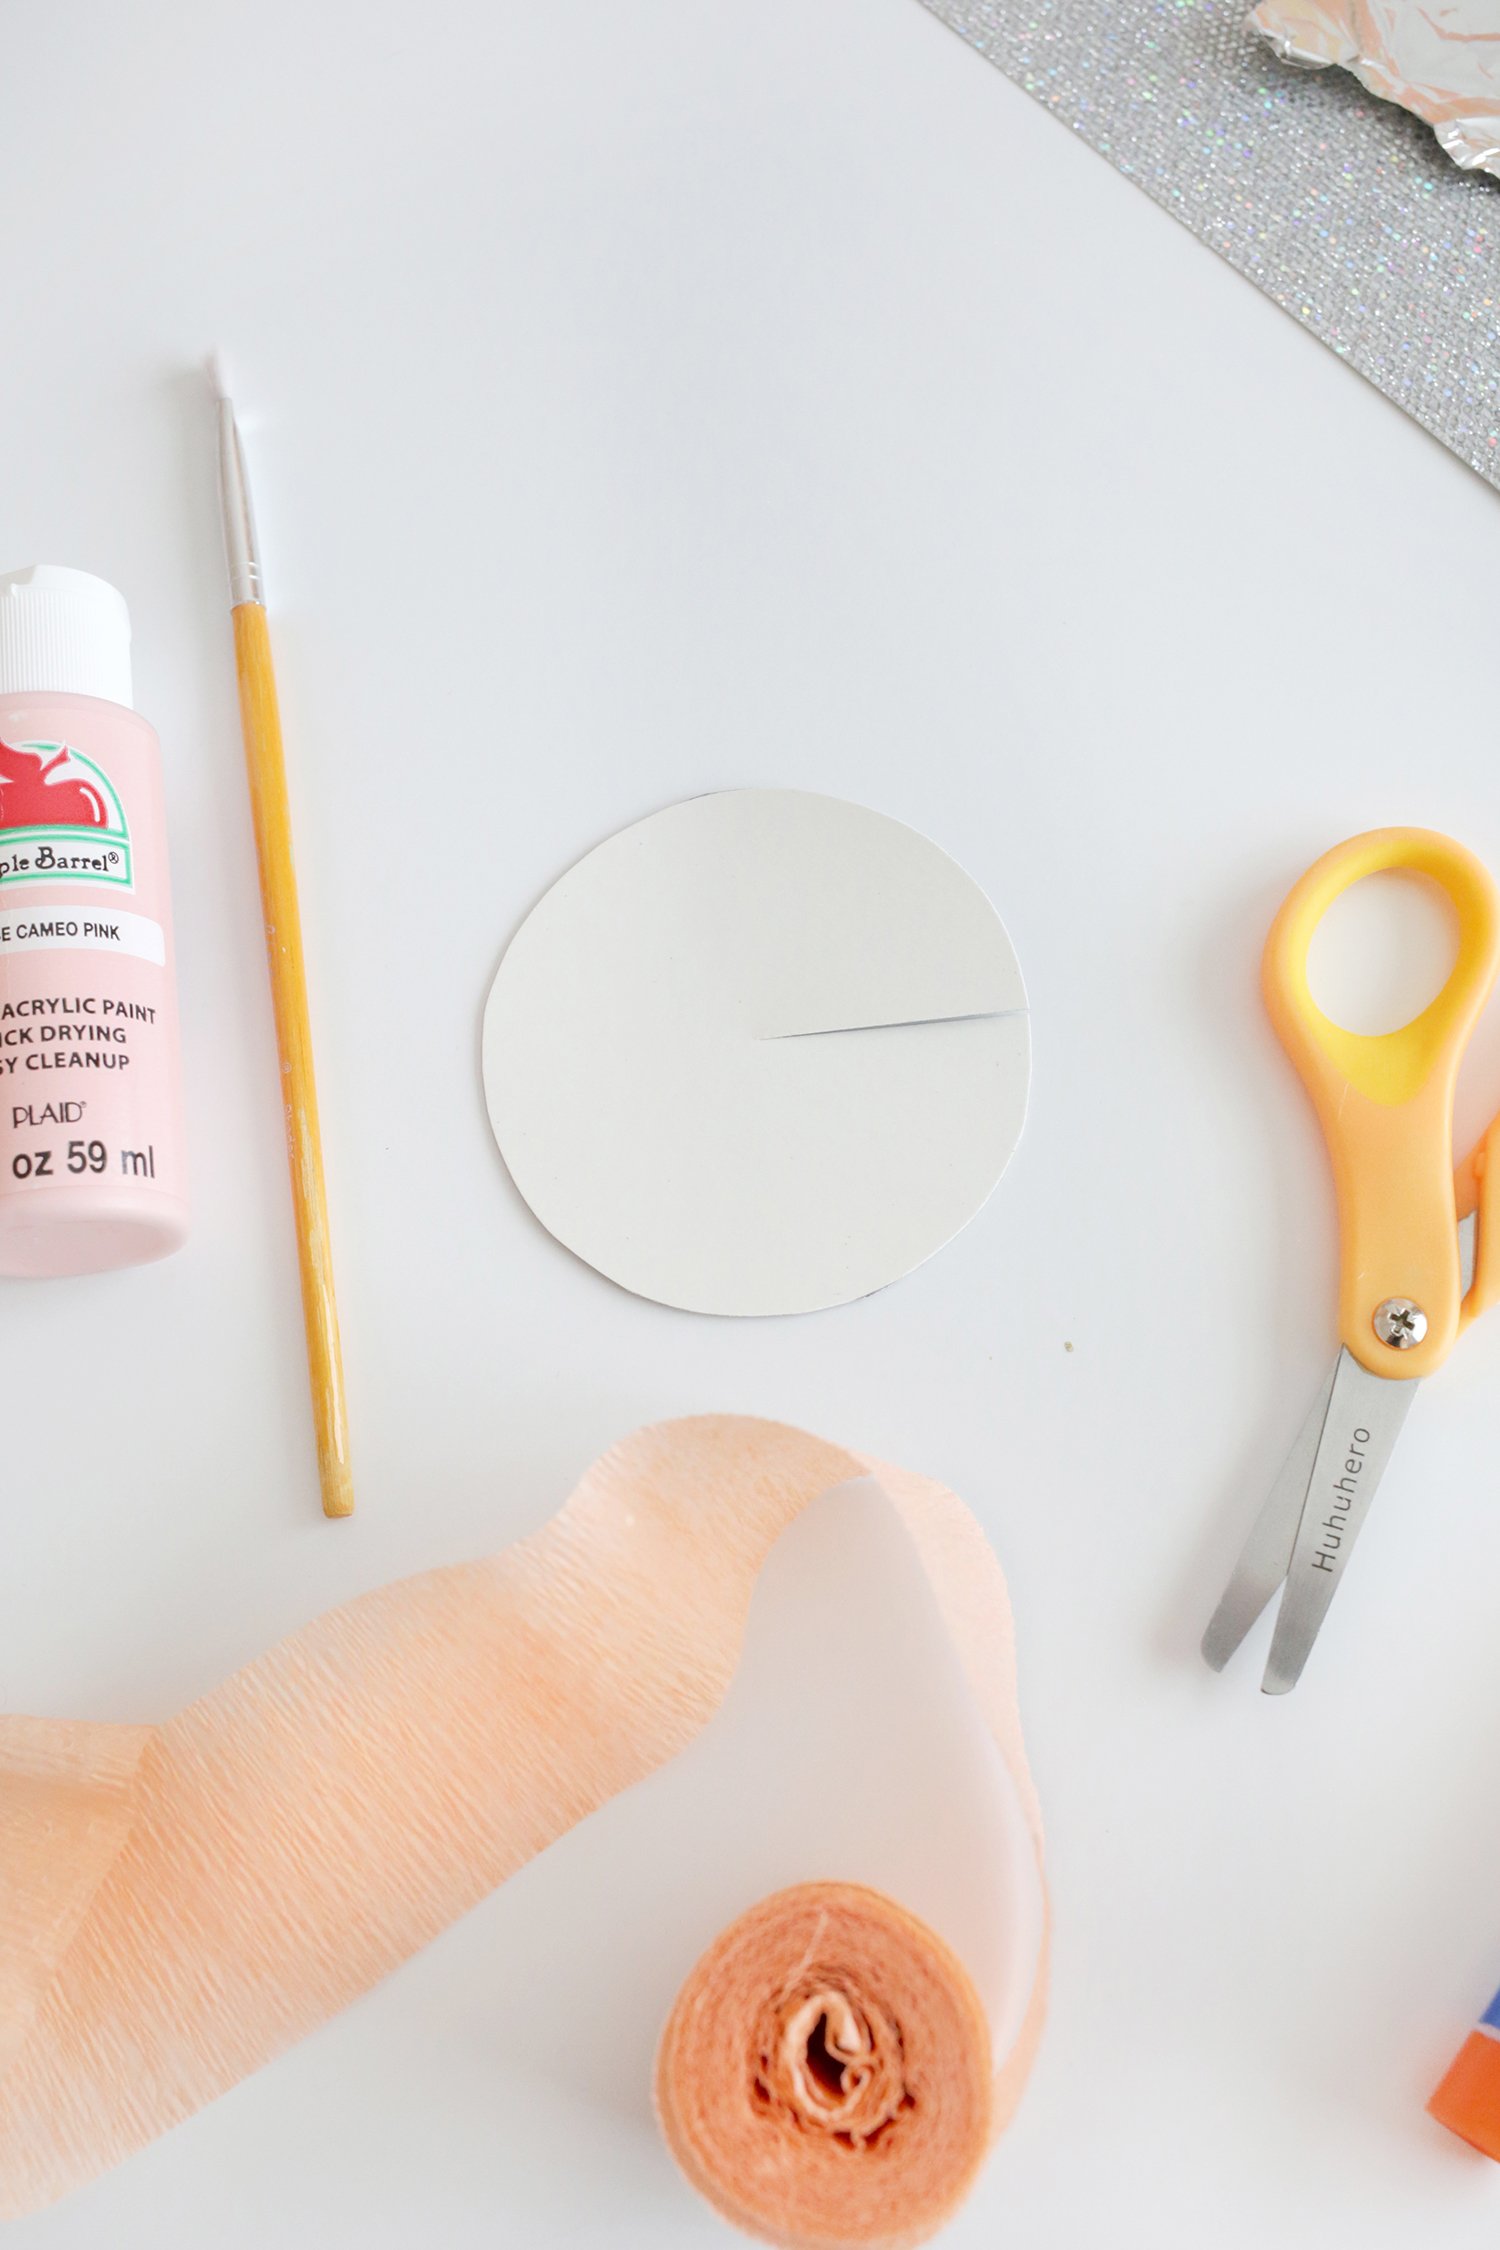
- To make the cone, use a drinking glass or coaster to trace a circle onto the back of your cardstock or construction paper and cut the circle out with scissors. Cut a slice into the circle halfway to the center.
Would you like to save this?
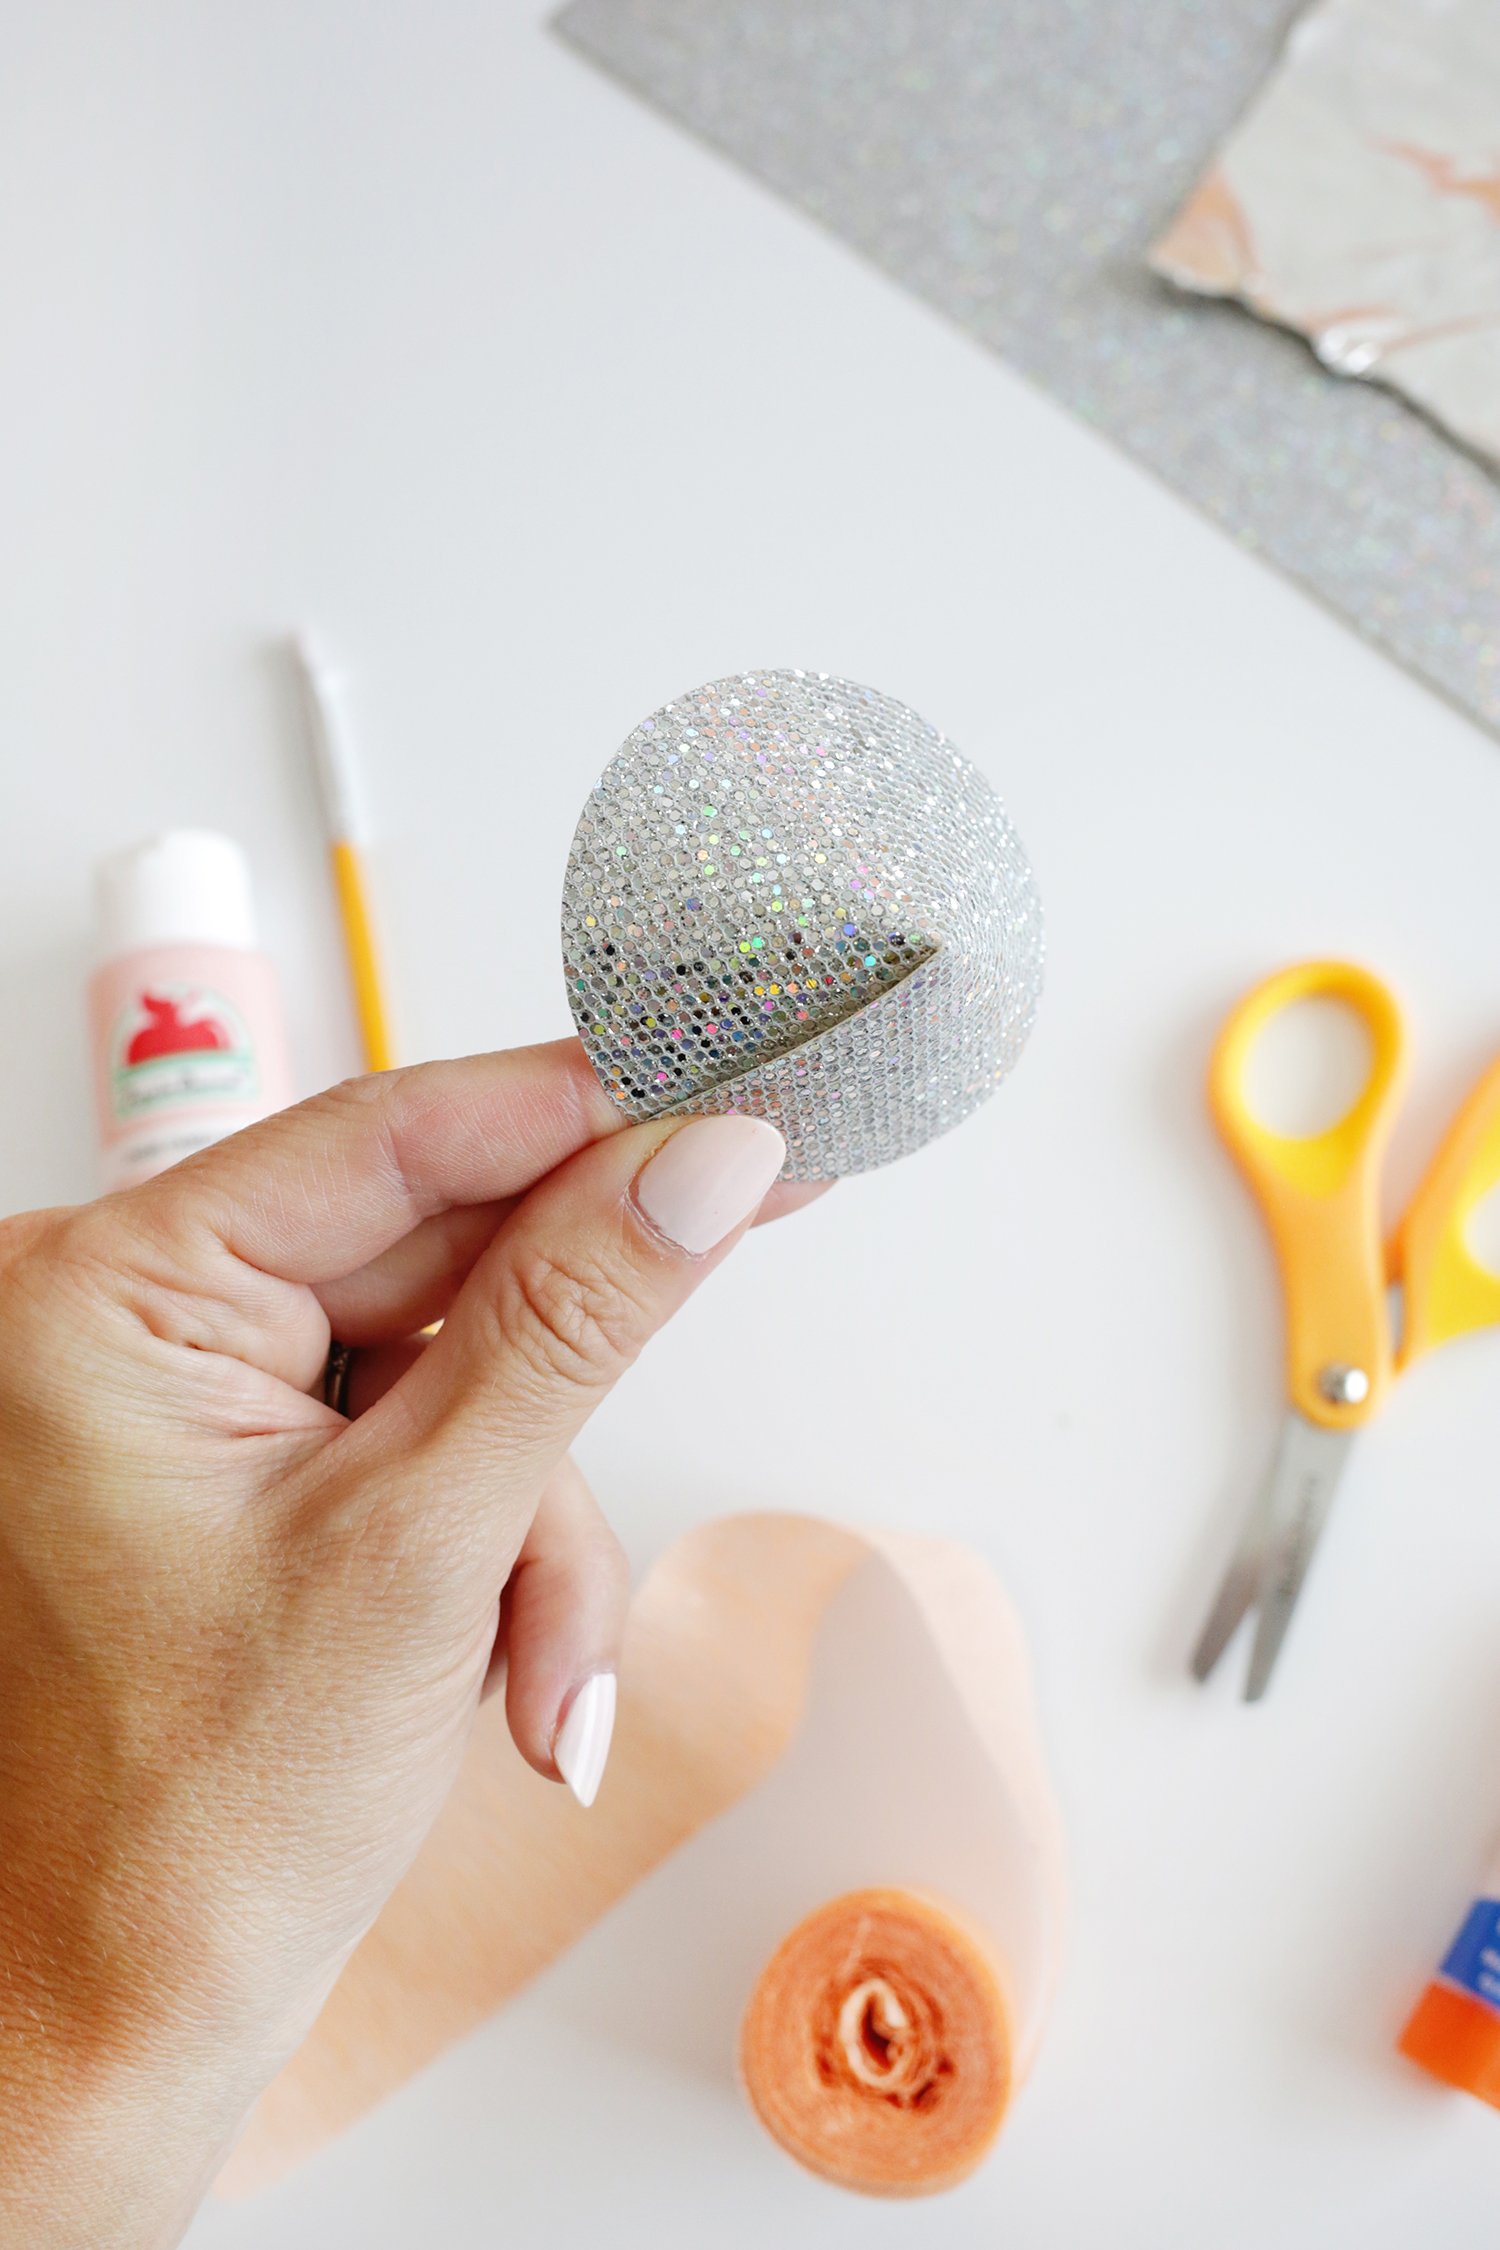
- Flip your paper circle right side up and overlap the cut edges of the slice you made into the circle so that it creates a cone shape. Glue the overlap in place and glue the cone to the top of the rocket body.
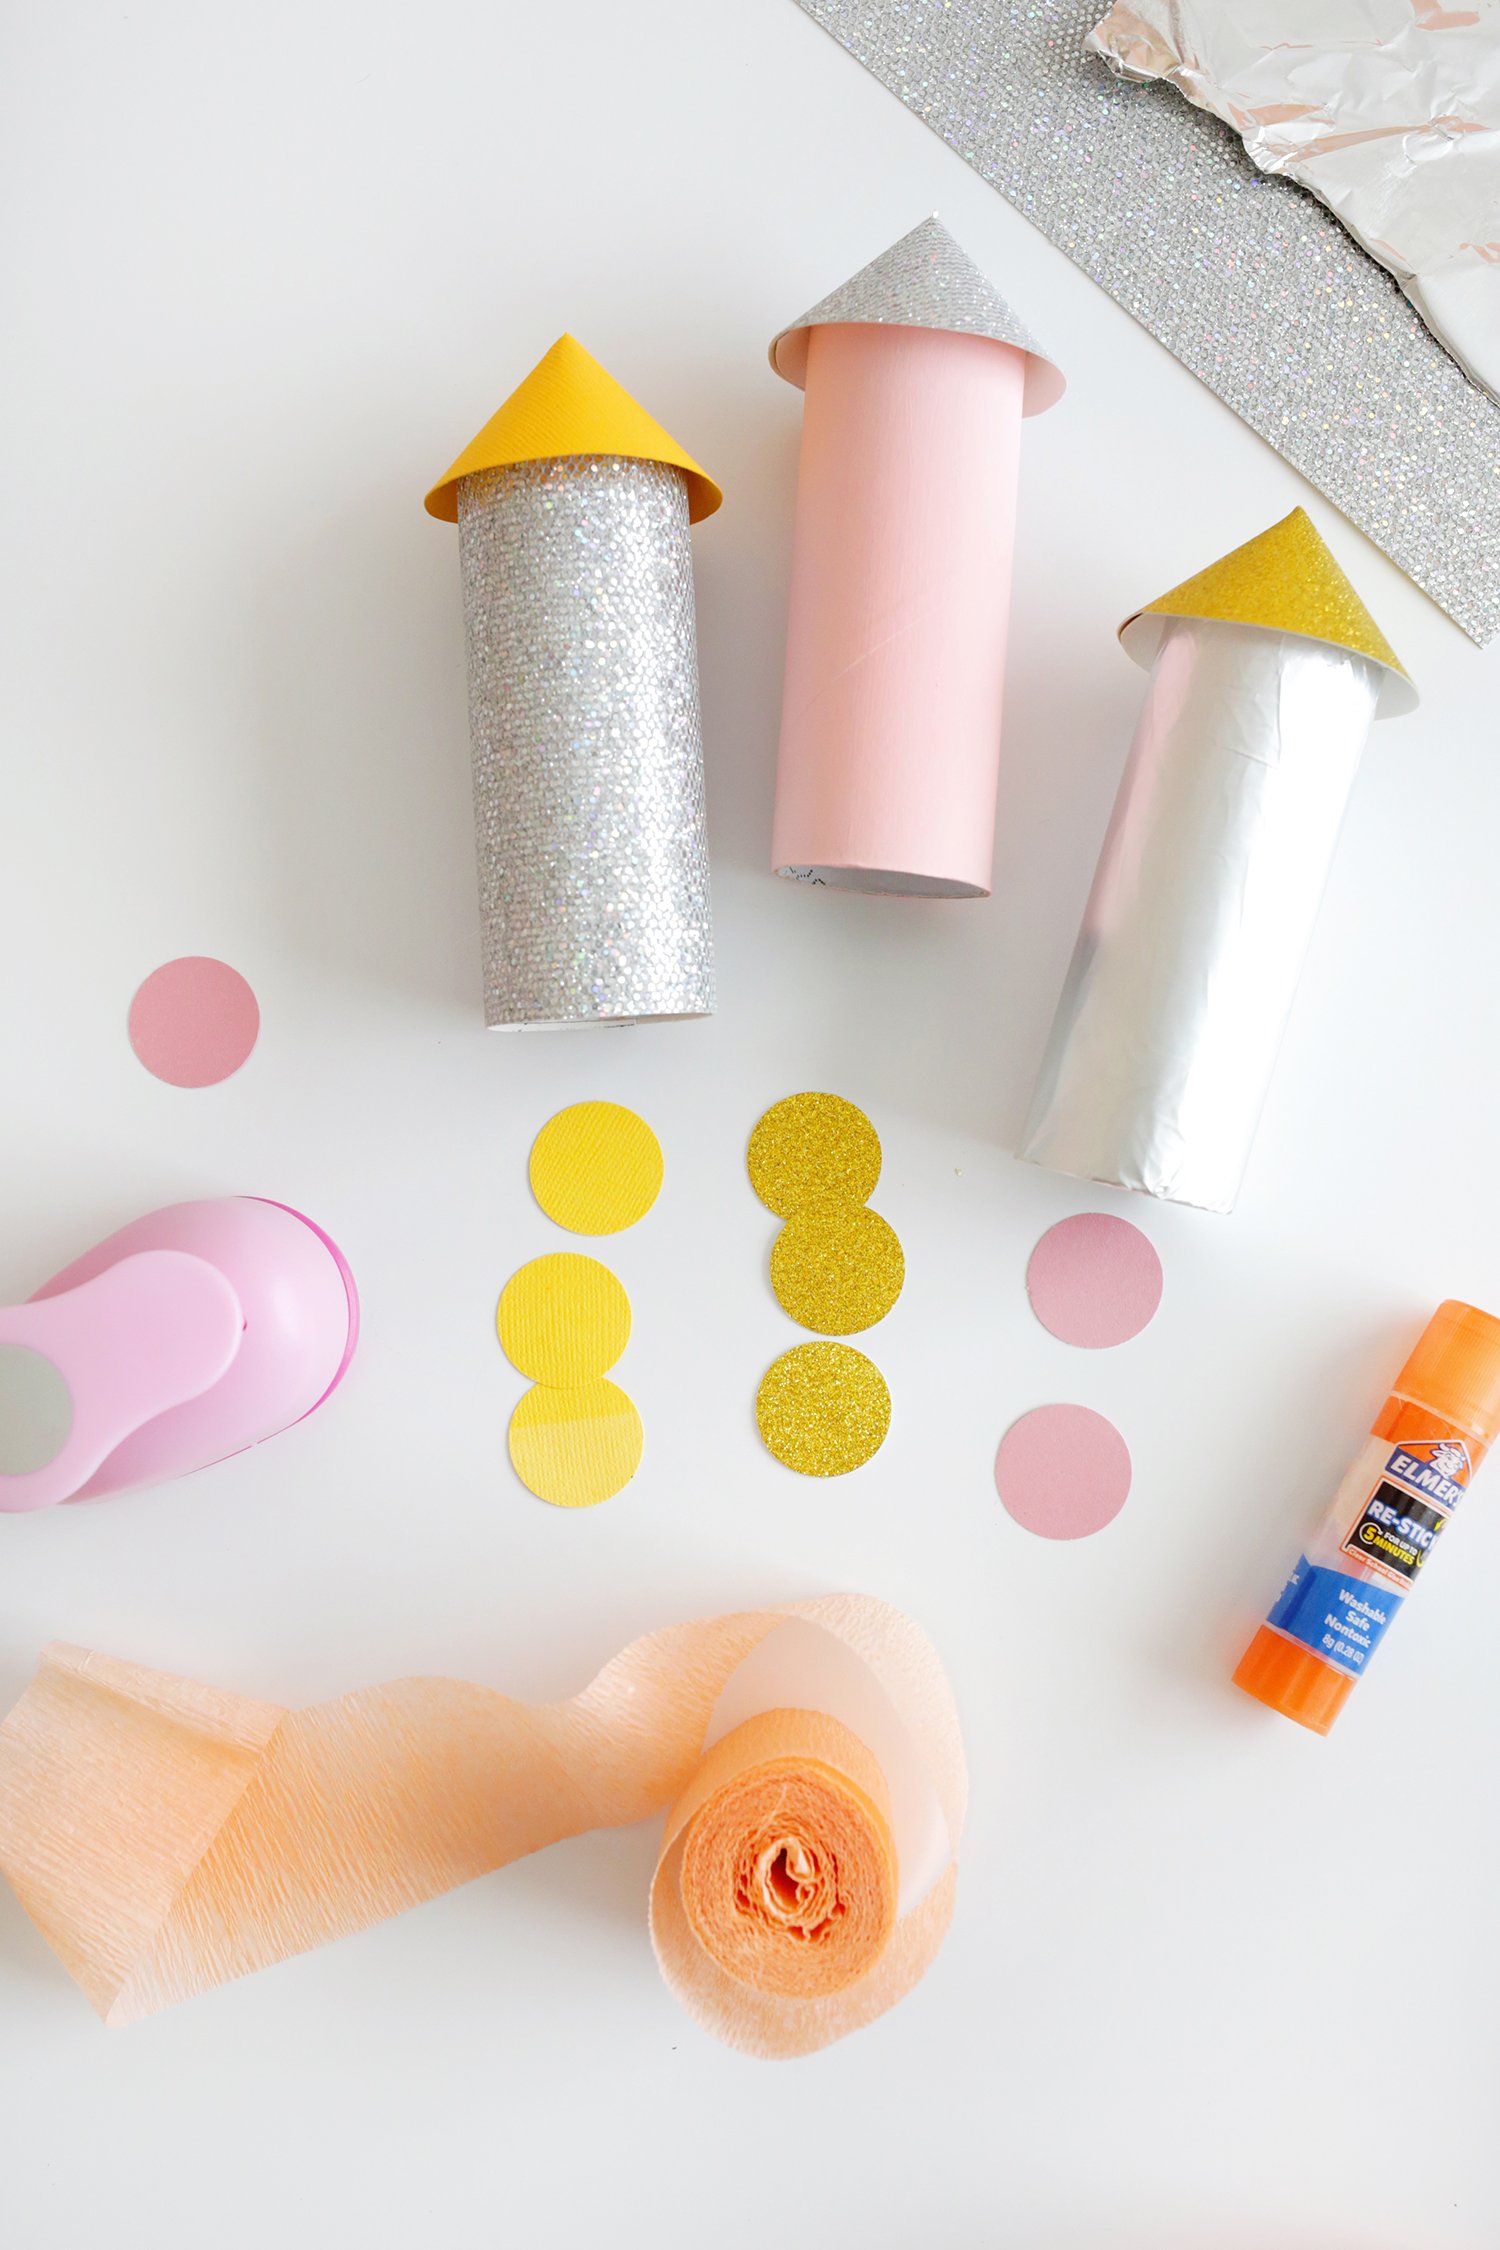
- To create the windows, punch some 1″ holes out of the cardstock or construction paper with a hole punch (or just cut circles if you don’t have a punch) and glue your windows onto the front of your rocket.
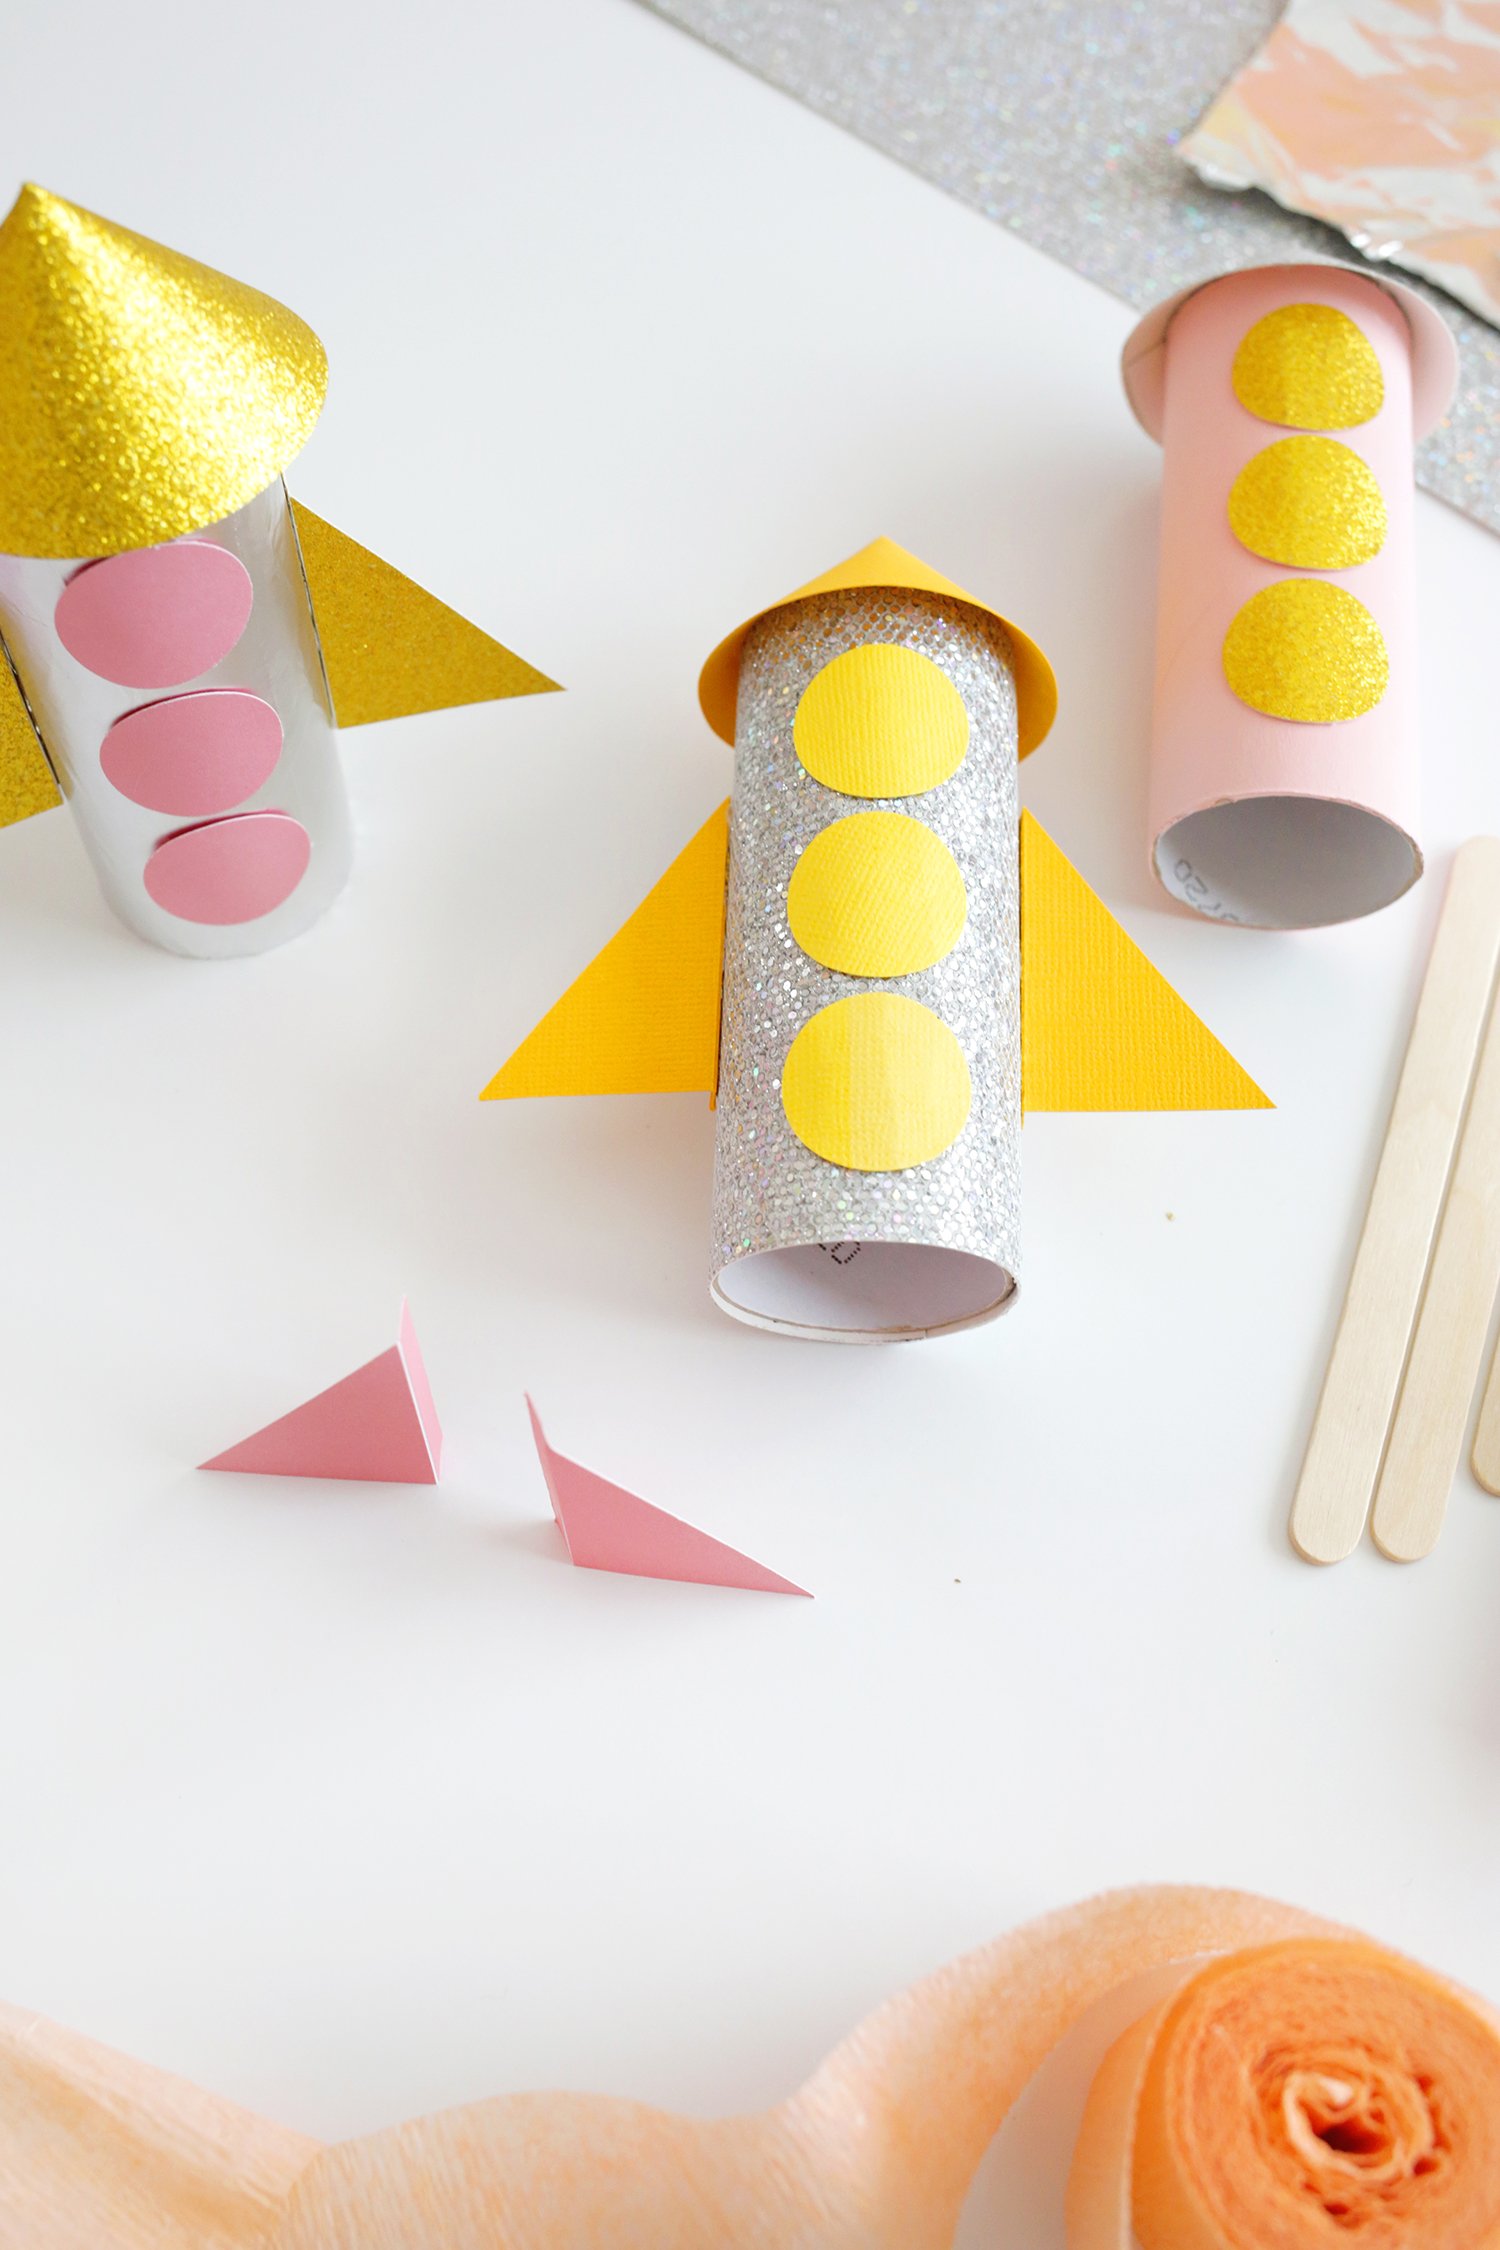
- To create wings, cut a triangle shape out of your cardstock or construction paper and cut the tip off so it has a flat top instead of a point. Fold it in half and cut down the middle crease so you have two halves.
- Fold the wing a little along the line you just cut so you have a flap to glue the wing on and glue in place on the sides of the rocket.
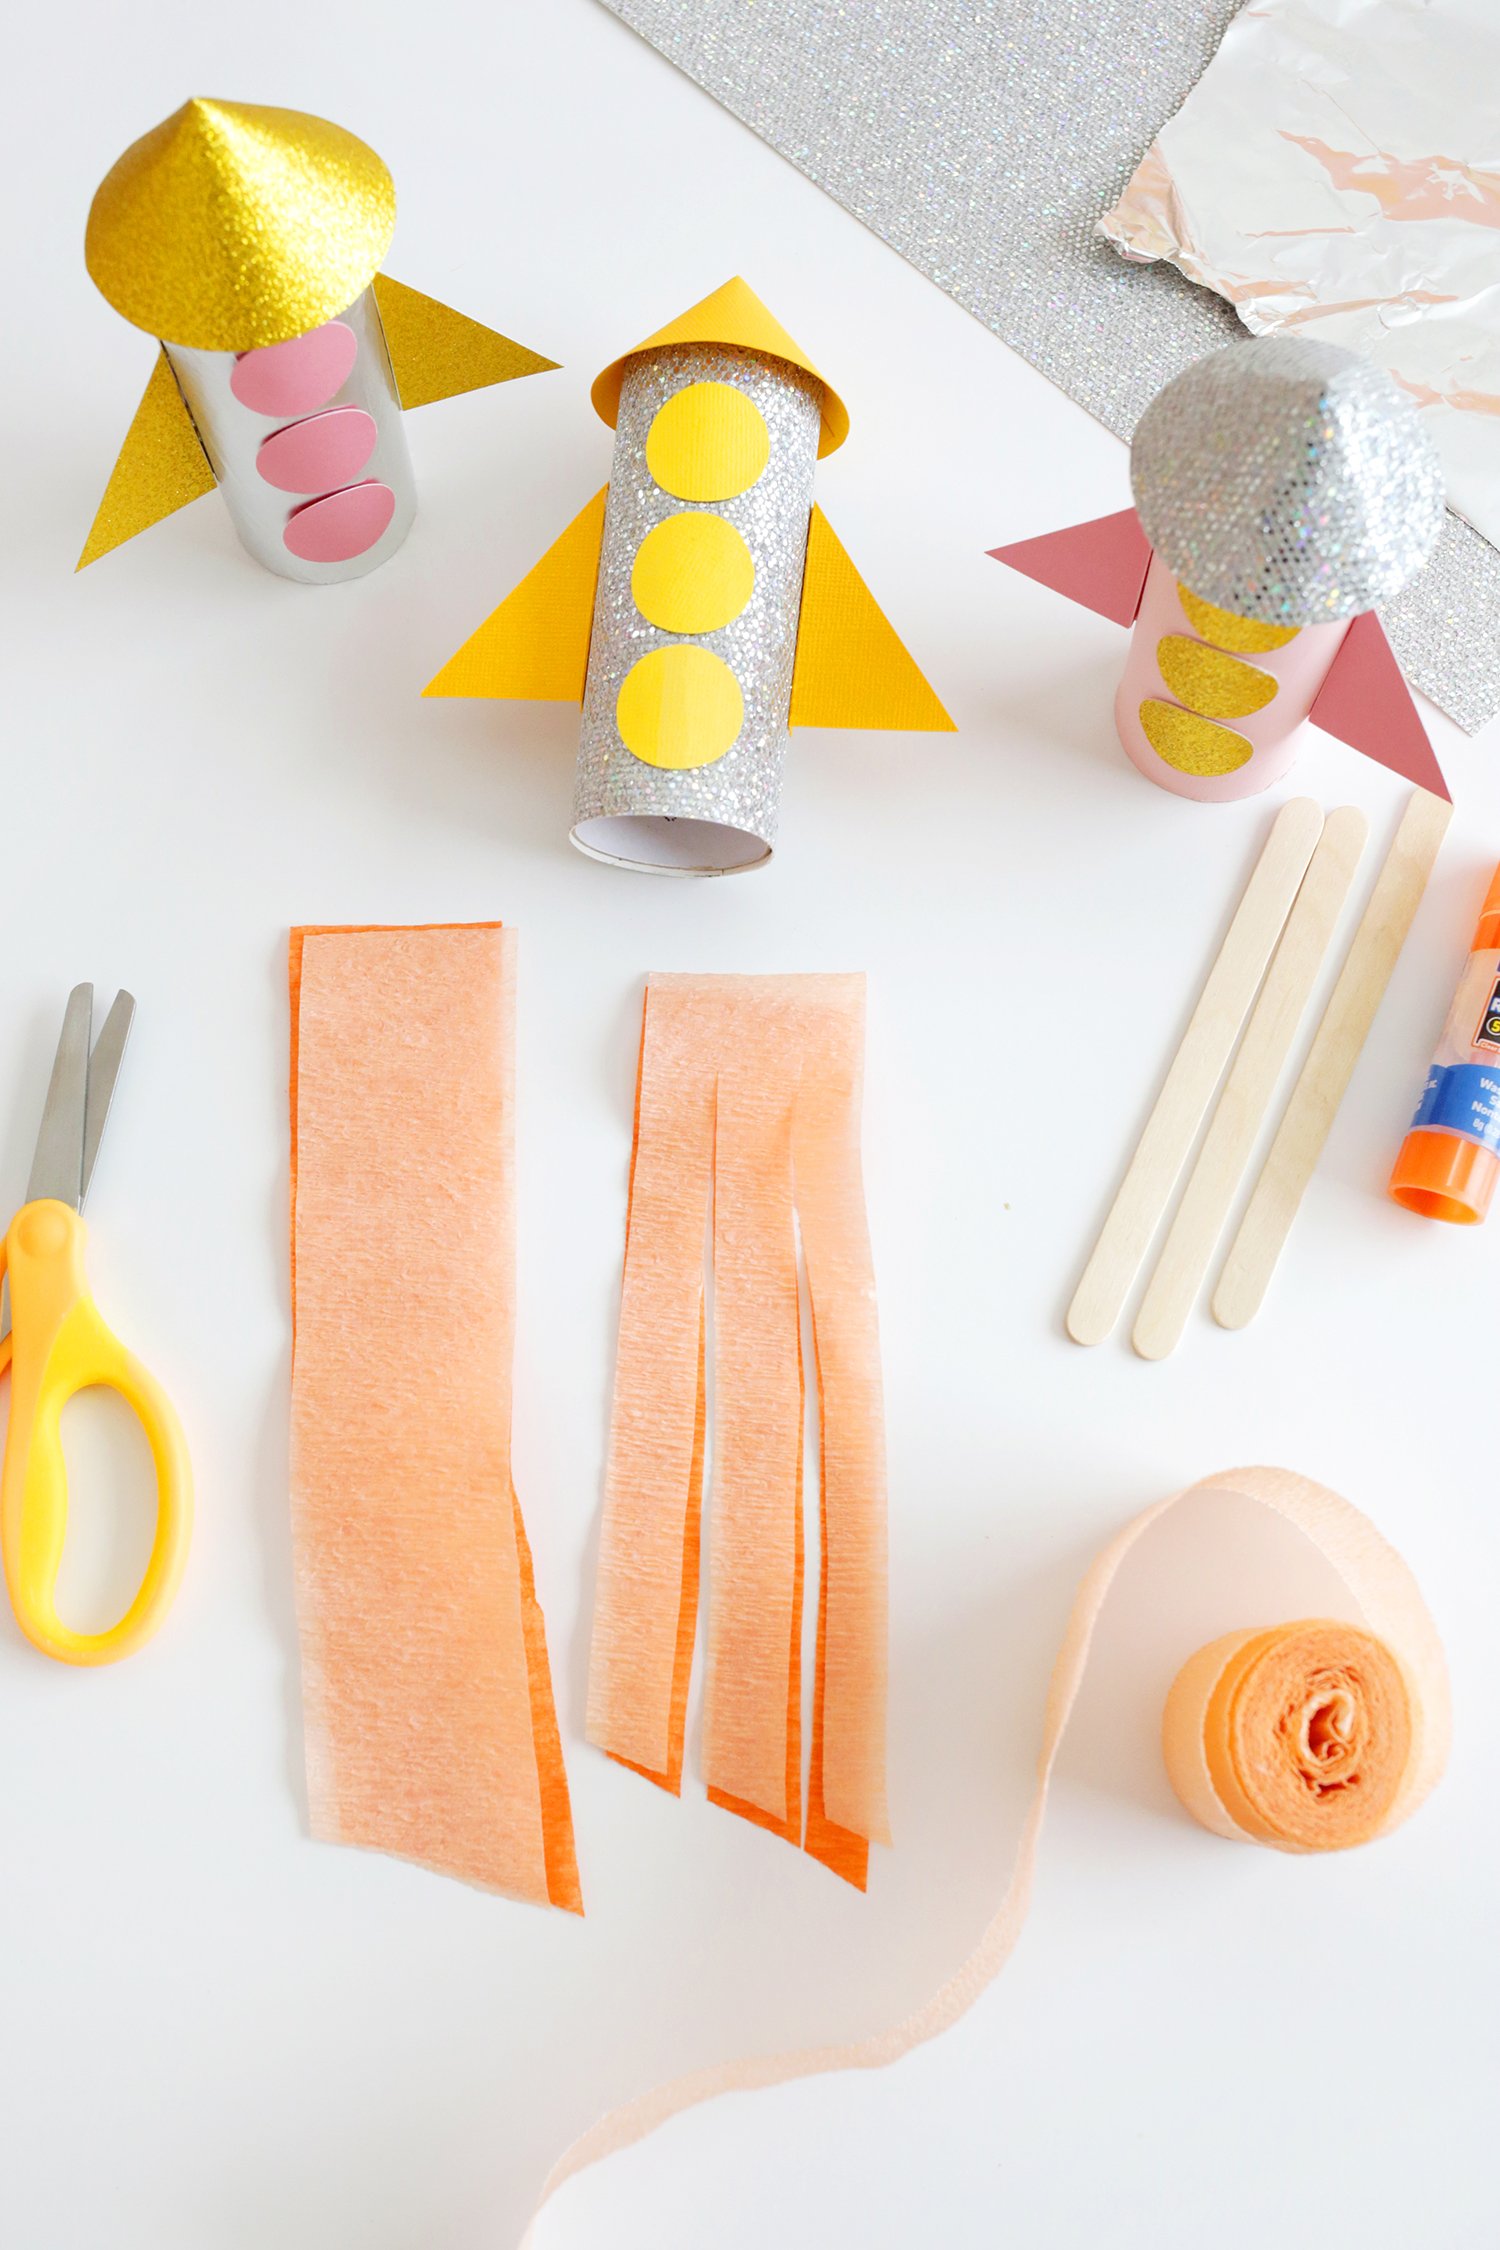
- To create flames, cut an 8″ long piece of streamer (or two if you’re using two colors as shown) and cut the streamers into three long sections, leaving the very top part attached.
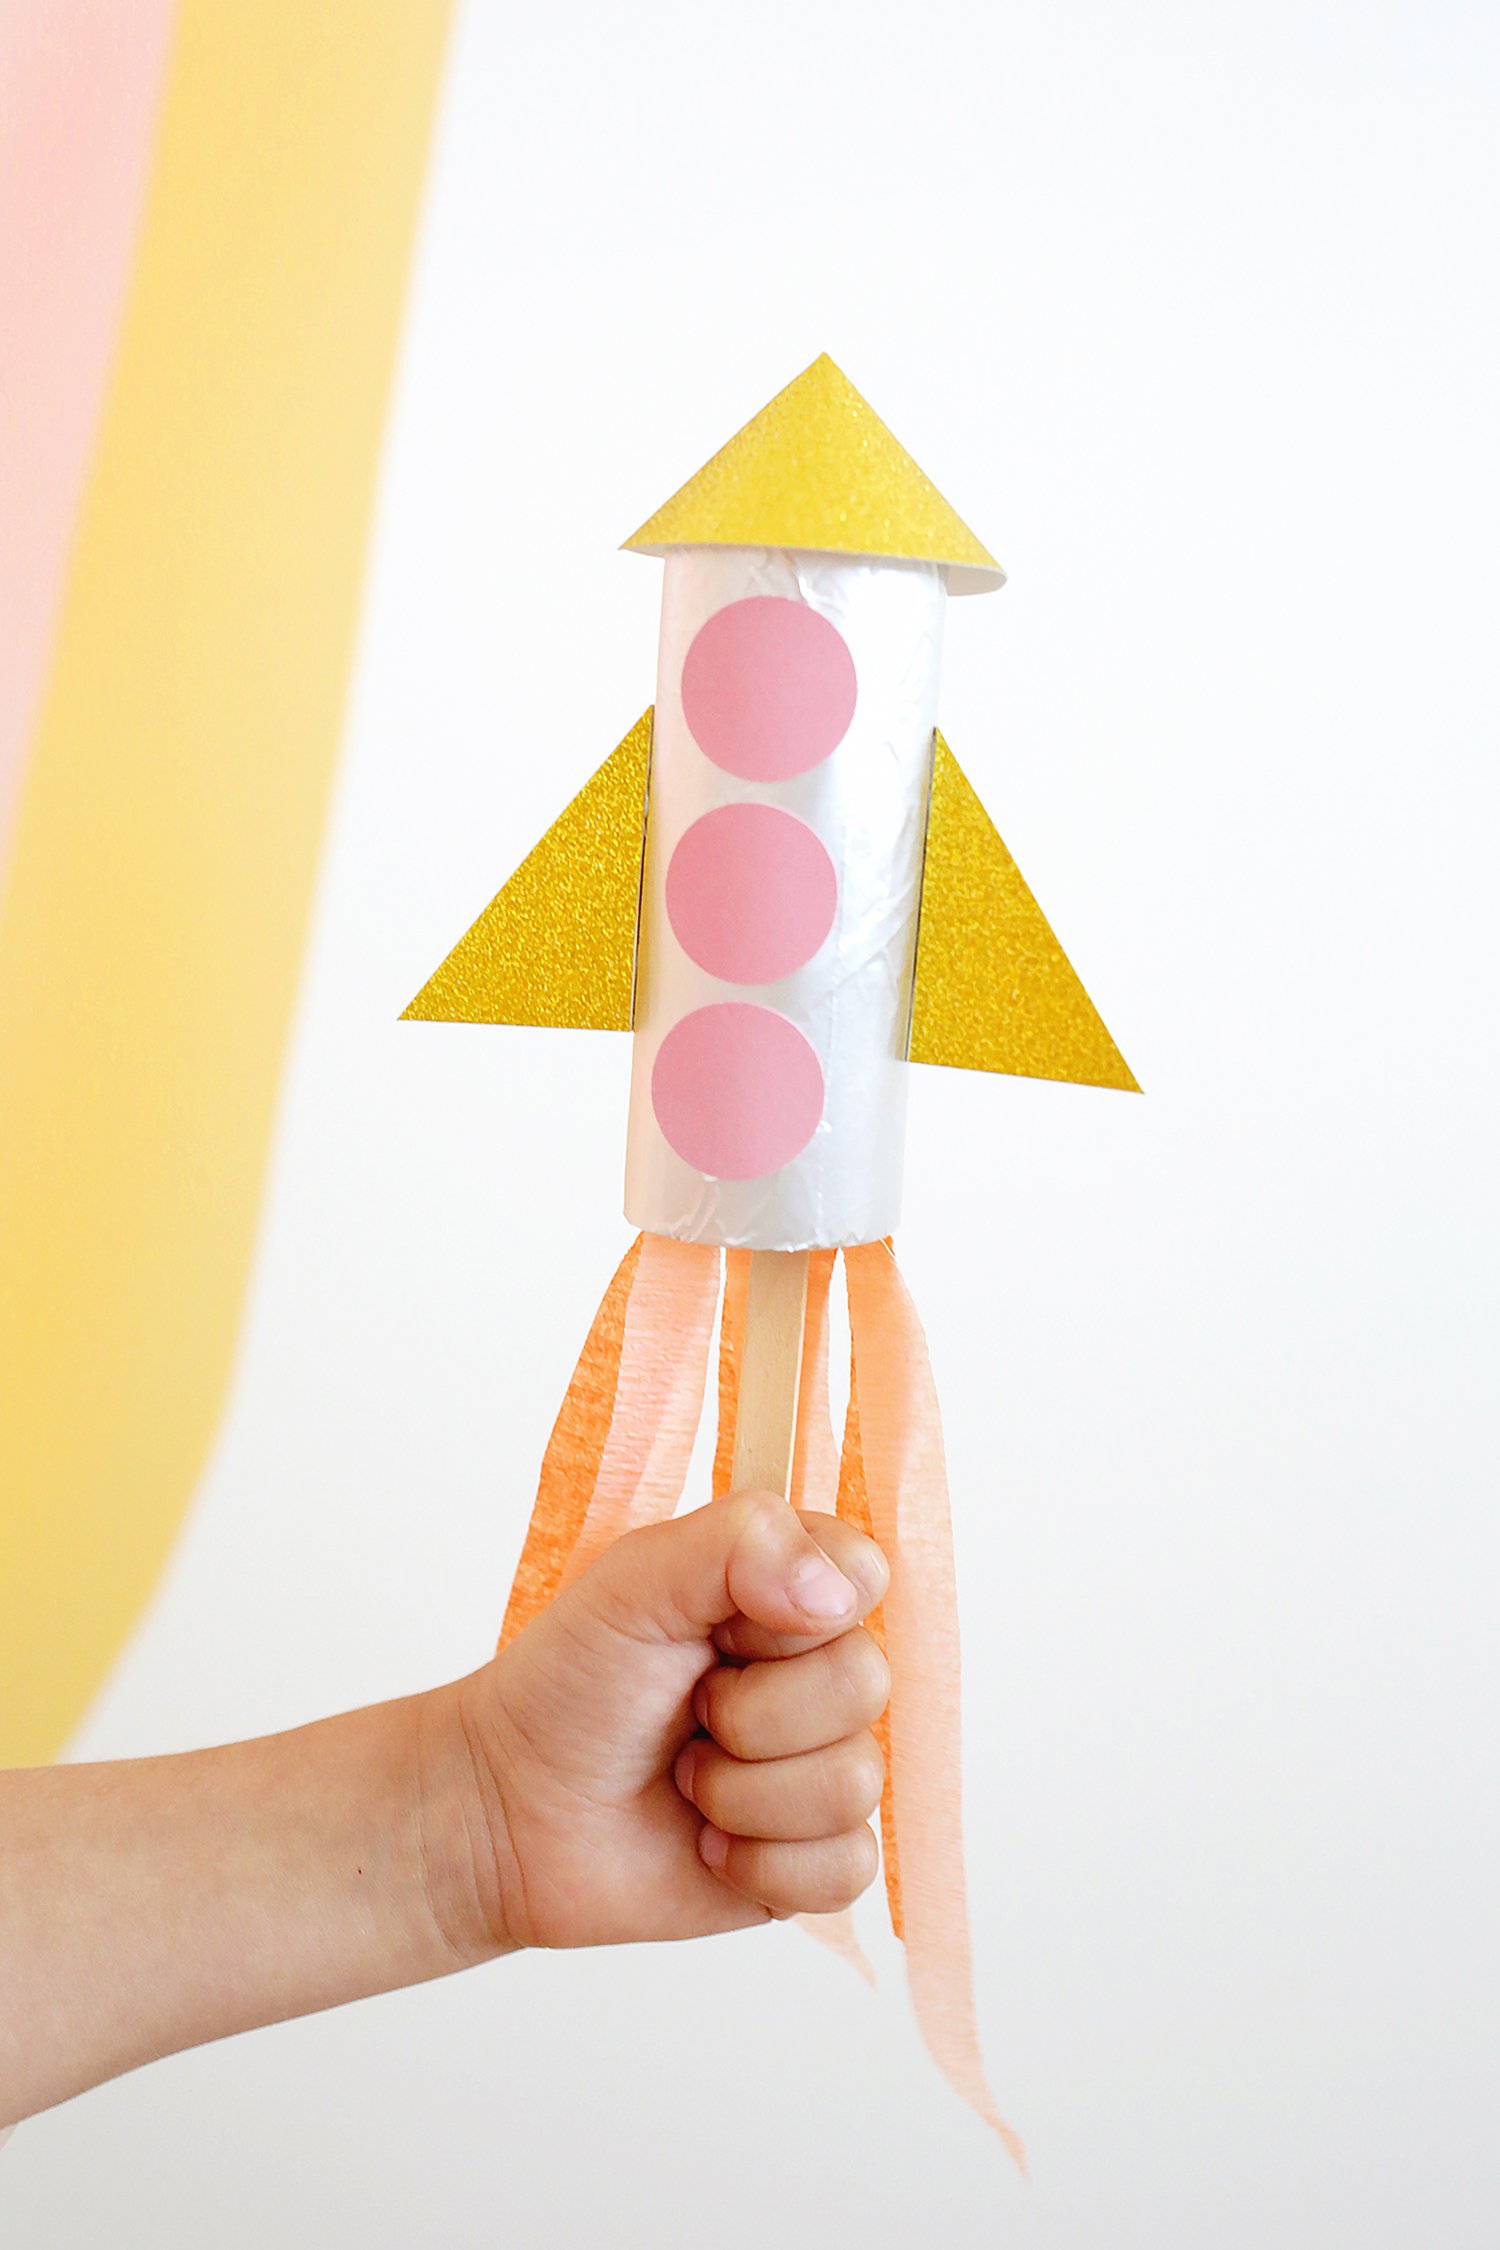
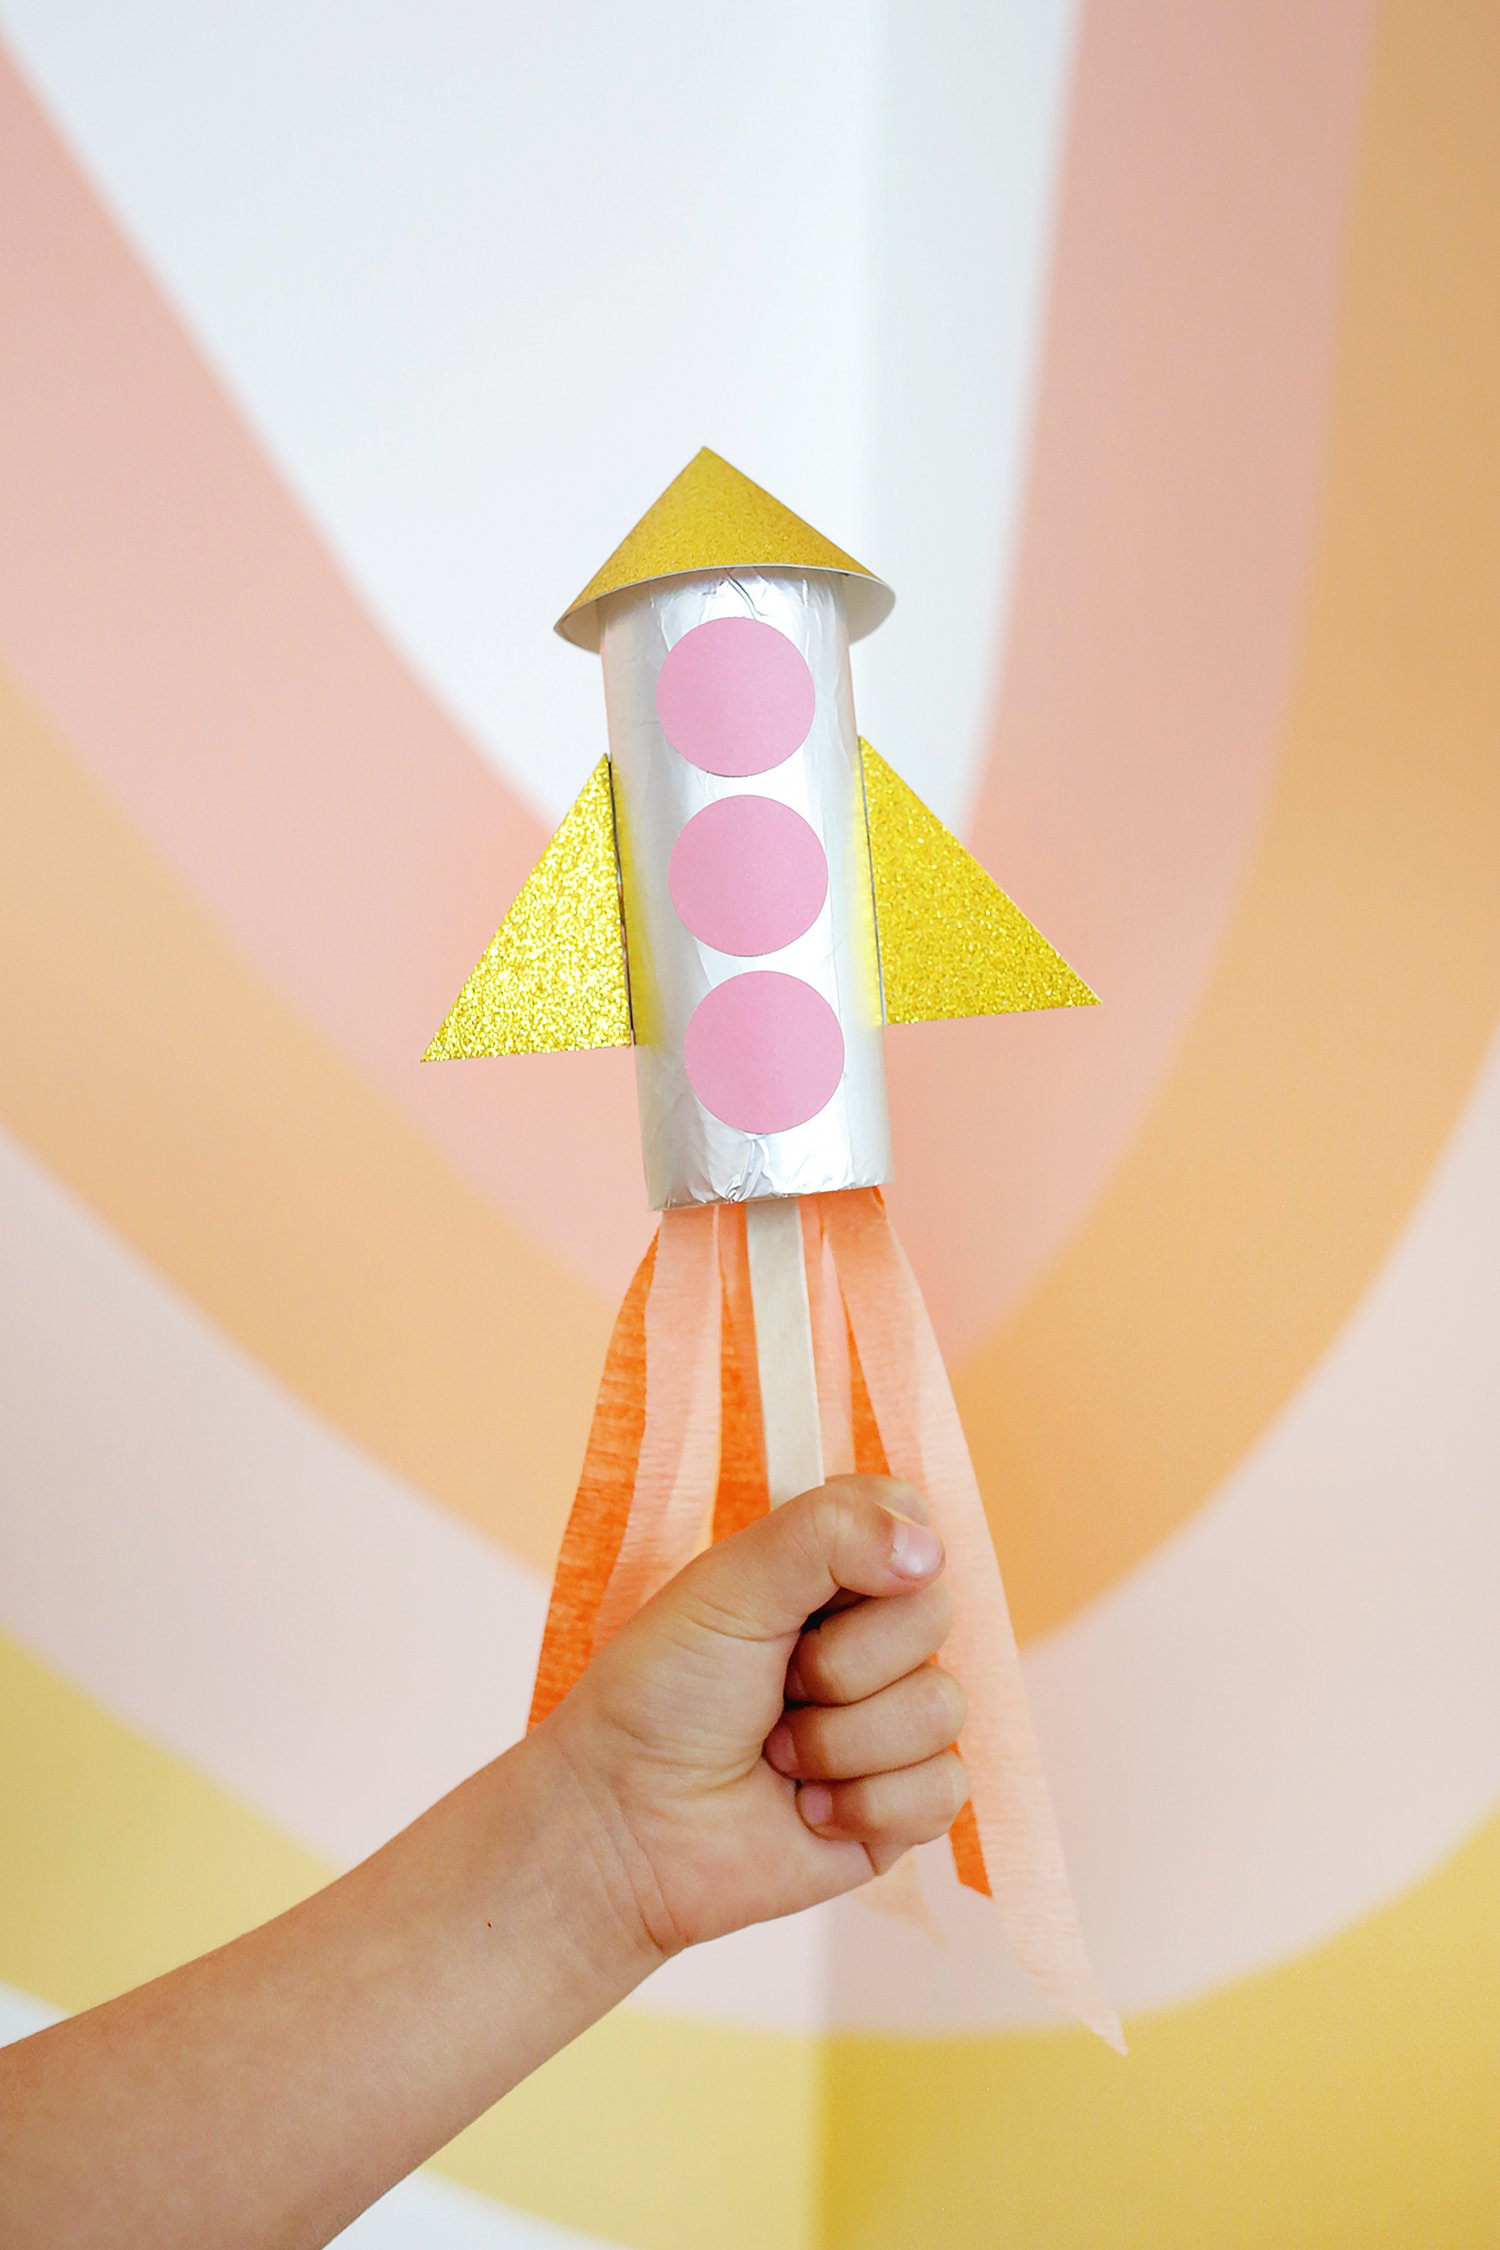
- Glue your streamers to the inside back of your toilet paper tube and glue a popsicle stick on top so your rocket has a handle. Now you’re ready to play!
Tips:
- Don’t have crepe paper or streamers for flames? Try using strips of paper or ribbons!
- You can use a glue stick for this project, but you’ll get a sturdier rocket using a low temp glue gun to assemble it.
- A way for kids to personalize the rocket is by letting them decorate it. They could also add people in the “windows” with markers or using stickers.
- Use a paper towel roll instead of a toilet paper roll by cutting it in half or simply making a larger rocket ship.

Get creative ideas for recipes, crafts, decor, and more in your inbox!
 Get the How-To

Supplies
- 1 toilet paper tube
- acrylic paint
- 1 piece aluminum foil, cardstock or construction paper (to wrap around the roll)
- cardstock or construction paper (for windows, cone, and wings of rocket)
- glue stick or low temp glue gun
- crepe paper or streamers (for rocket flames)
- popsicle sticks (or craft sticks)
Instructions
- Cover the toilet paper tube by either painting it with a small brush, or covering it with aluminum foil and tucking the top and bottom edges into the tube, or by cutting a rectangle of paper the height of the tube and gluing it onto the tube.
- To make the cone, use a drinking glass or coaster to trace a circle onto the back of your card stock/paper and cut the circle out with scissors. Cut a slice into the circle halfway to the center.
- Flip your paper circle right side up and overlap the cut edges of the slice you made into the circle so that it creates a cone shape. Glue the overlap in place and glue the cone to the top of the rocket body.
- To create the windows, punch some 1" holes out of paper with a hole punch (or just cut circles if you don't have a punch) and glue your windows onto the front of your rocket.
- To create wings, cut a triangle shape out of paper and just cut the tip off so it has a flat top instead of a point. Fold it in half and cut down the middle crease so you have two halves. Fold the wing a little along the line you just cut so you have a flap to glue the wing on and glue in place on the sides of the rocket.
- To create flames, cut an 8" long piece of streamer (or two if you're using two colors as shown) and cut the streamers into three long sections, leaving the very top part attached. Glue your streamers to the inside back of your toilet paper tube and glue a popsicle stick on top so your rocket has a handle. Now you're ready to play!