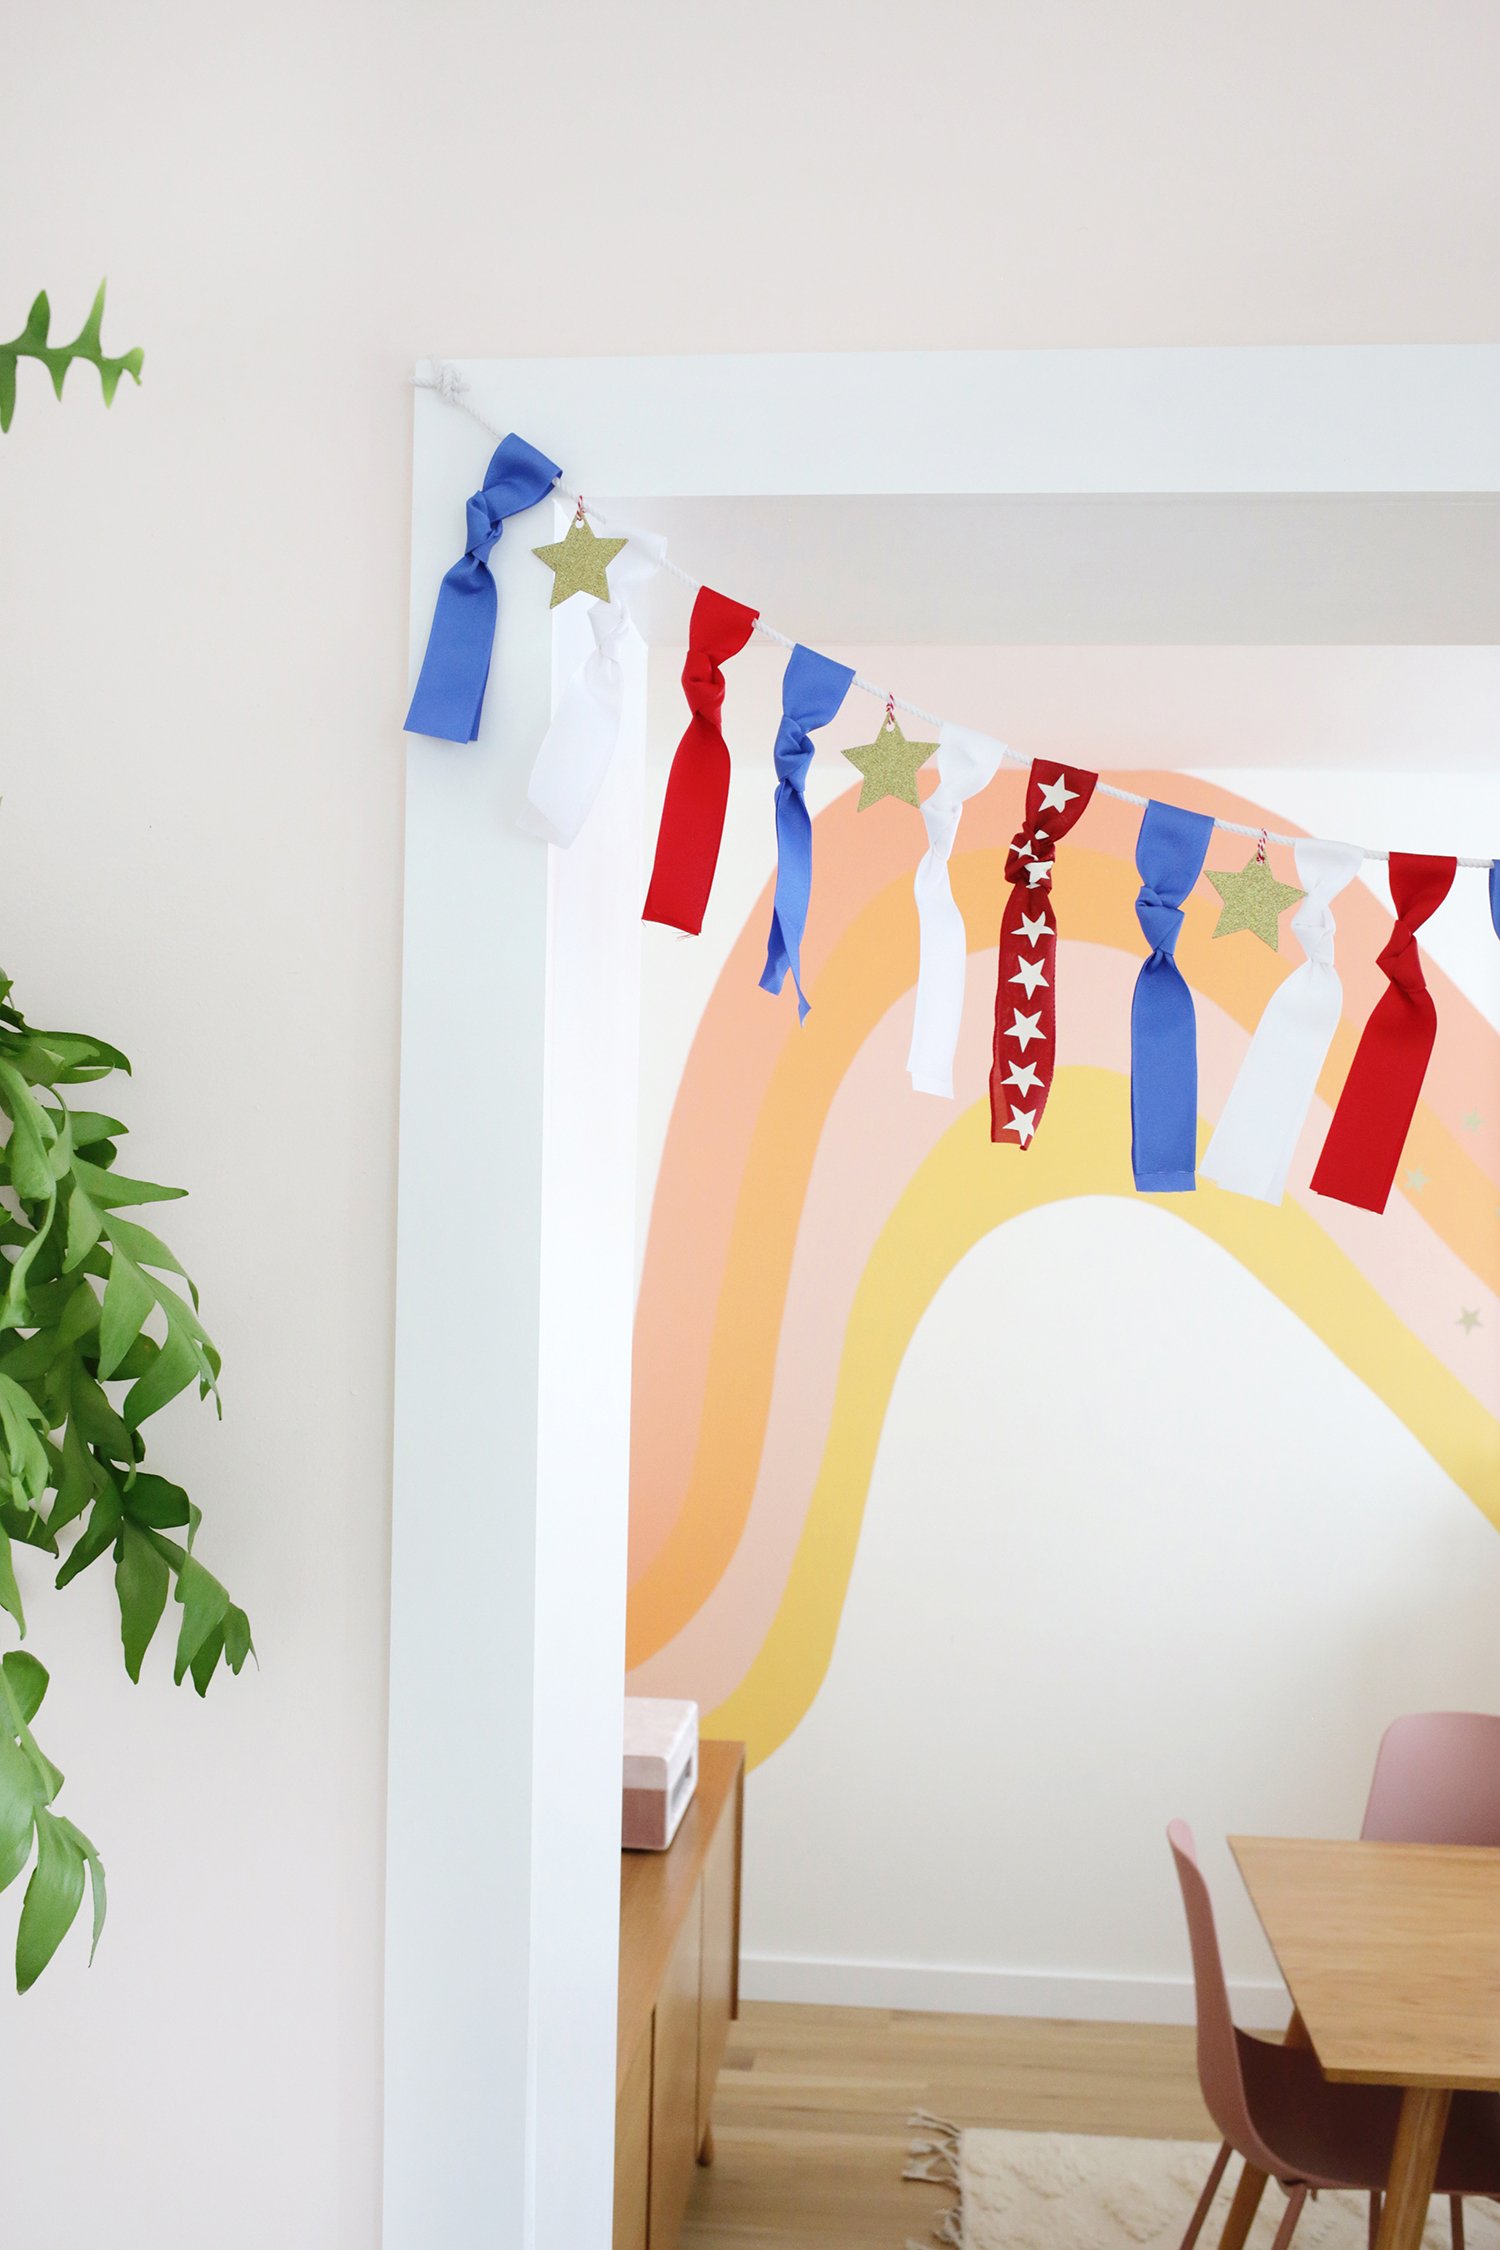
Making a ribbon garland to decorate for the 4th of July is an easy and fun activity that kids will enjoy helping with. This tutorial is for a festive DIY 4th of July decoration, and only takes 25-30 minutes.
One of the best ways children can help with this project is by swapping the chipboard stars and using paper stars and have them help decorate the stars.
This is a great activity for counting and scissor work if your child is old enough to help with those parts of the craft.
Looking for More 4th of July or Summer-Themed Projects?
- American Flag Fingerprint Craft
- Easy DIY Moon Sand
- 4th of July Tic-Tac-Toe and Bingo
- Painting Seashells
- Watermelon Paper Plate Craft
Would you like to save this?
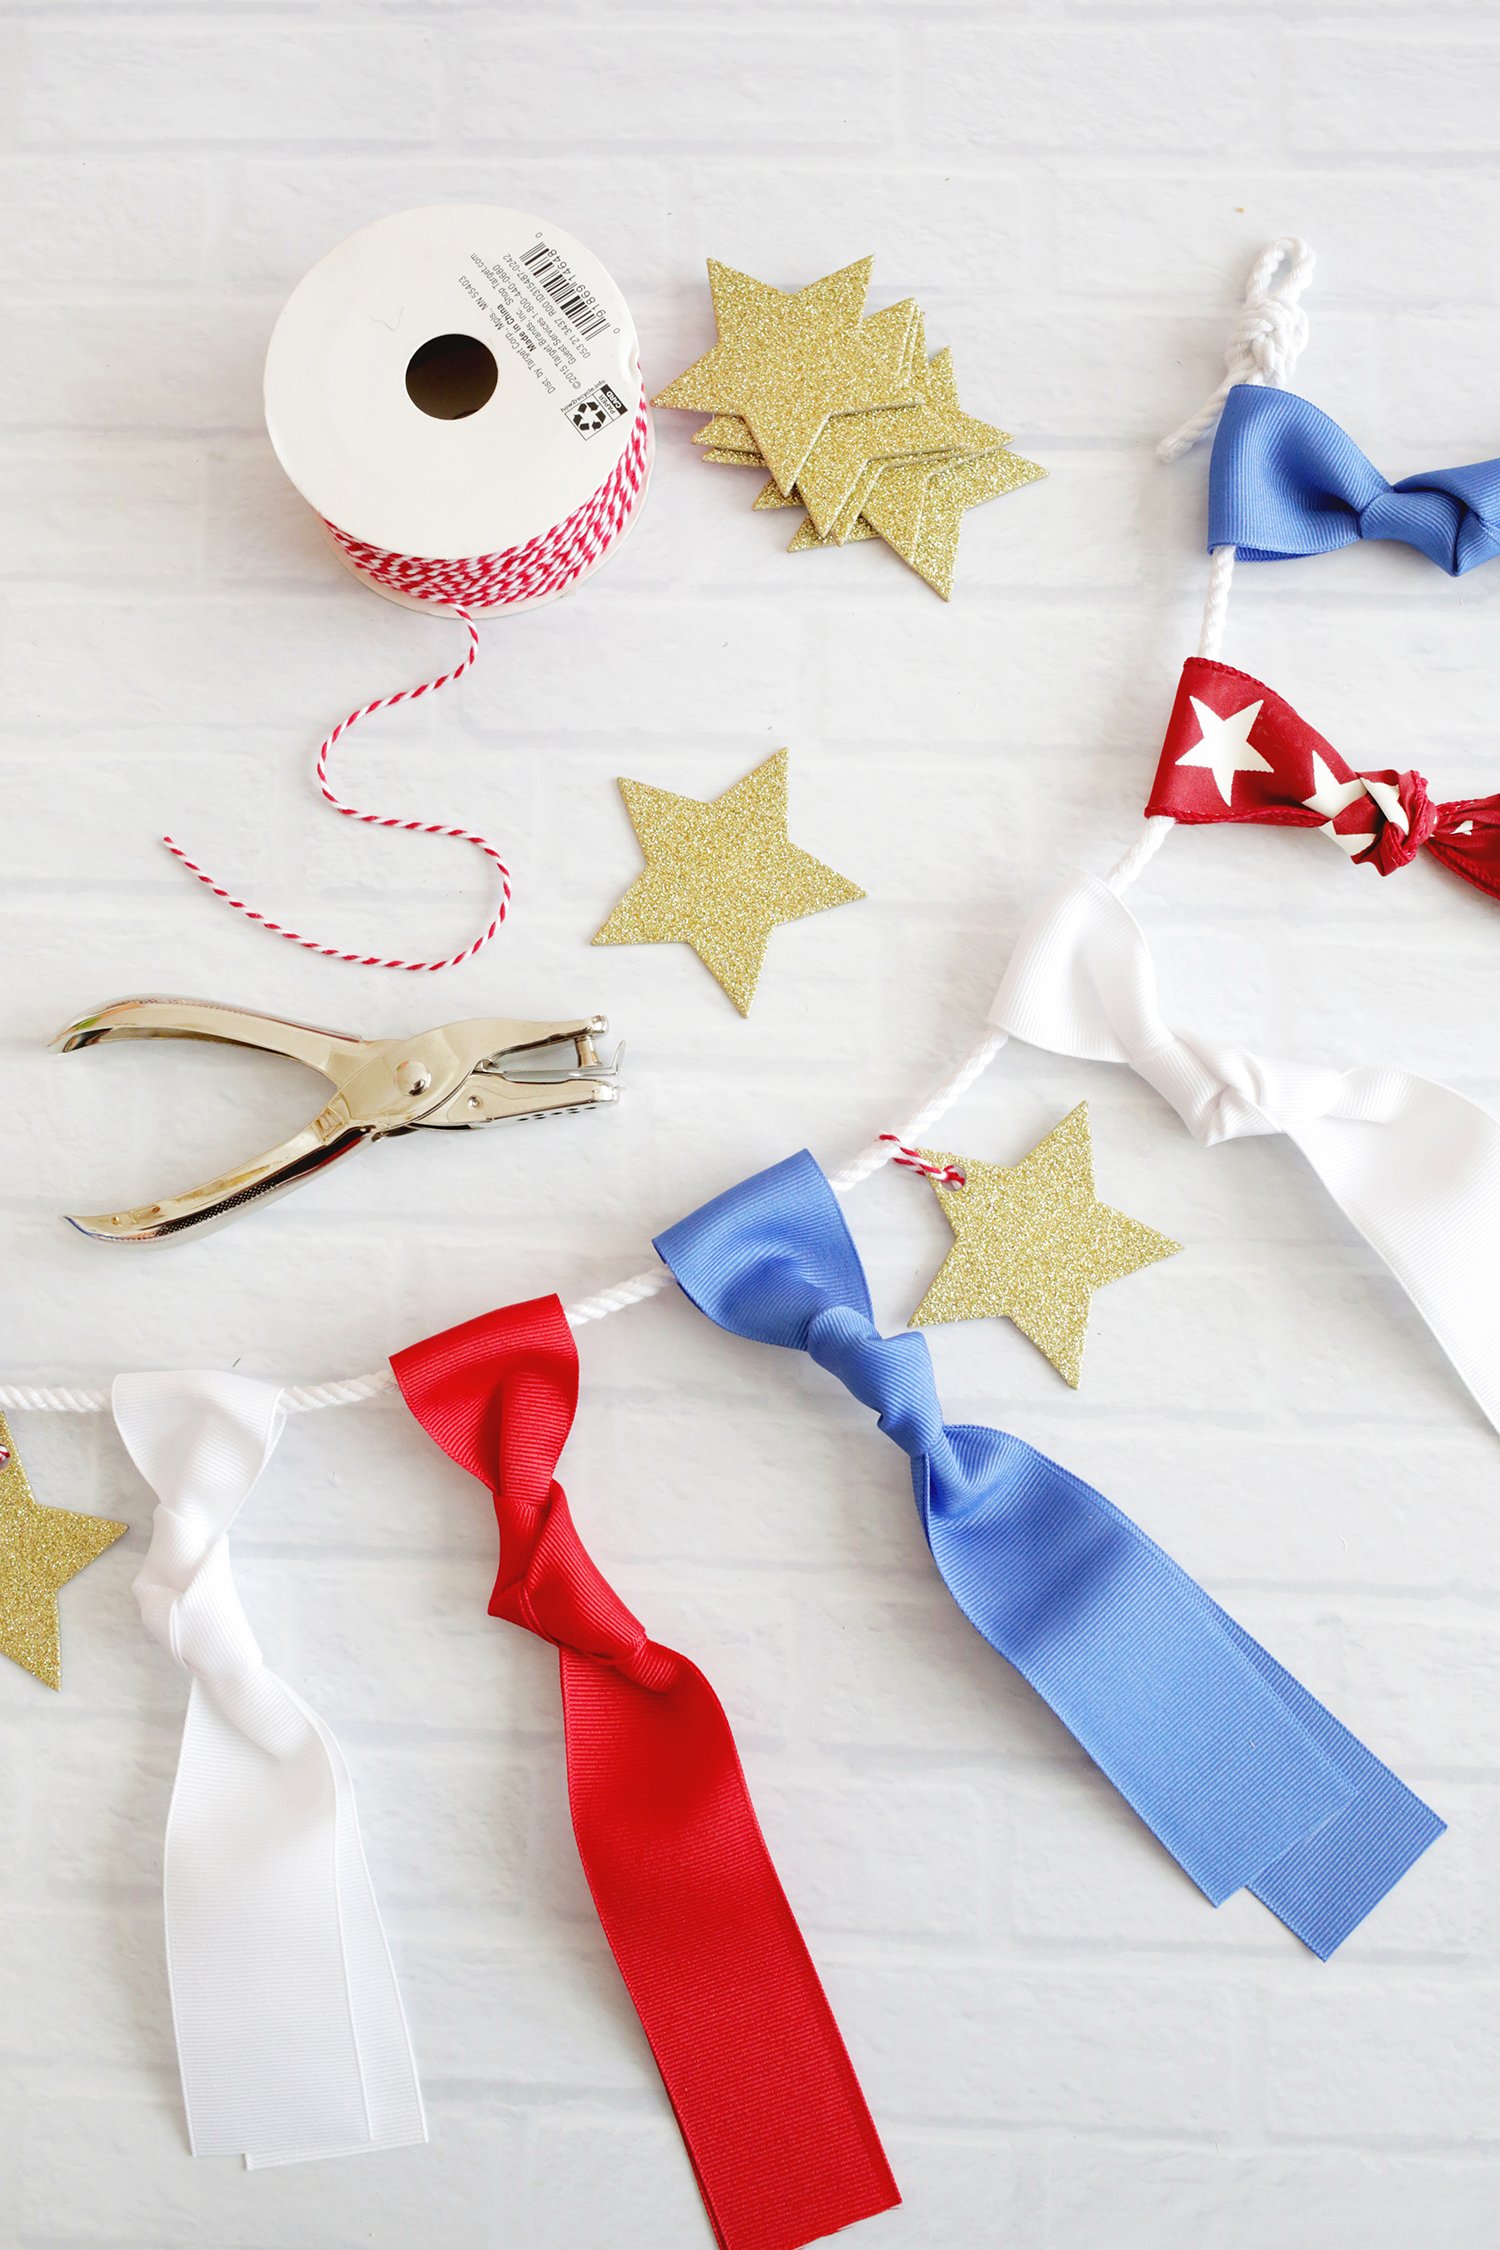
What Supplies You’ll Need:
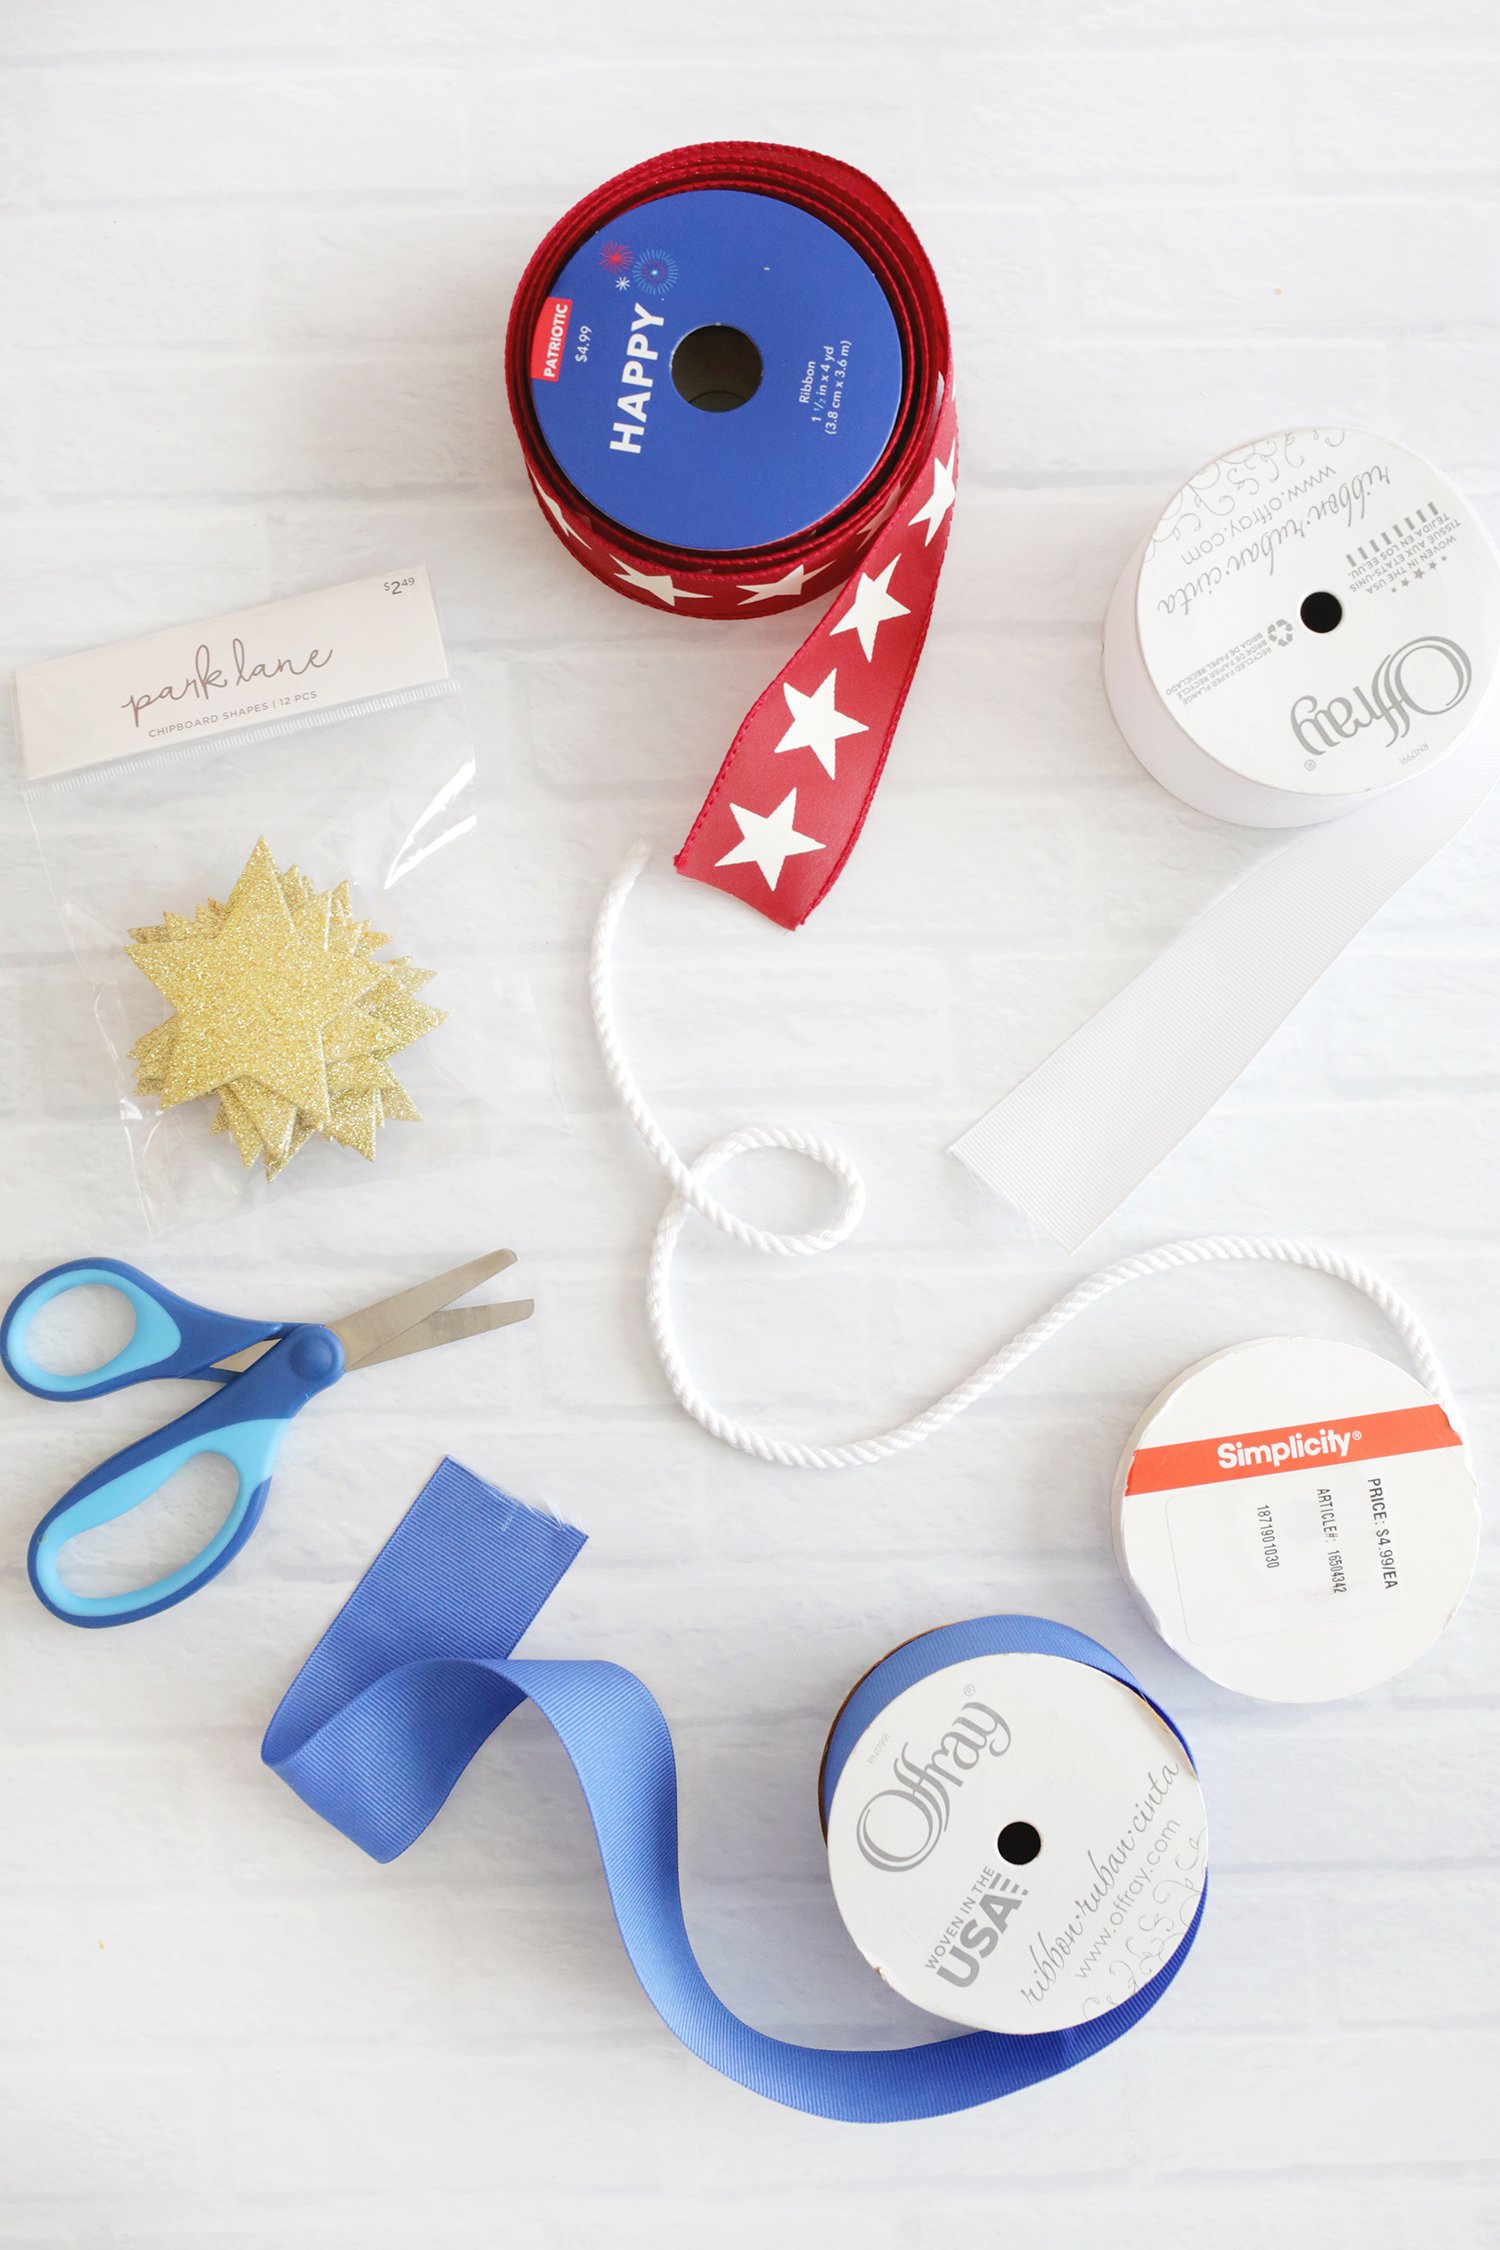
- Ribbon in red, white, and blue colors (ribbon shown is 1.5″ wide) Check your local craft store for ribbon sales!
- Scissors
- White rope or yarn/thin ribbon in your desired length (my garland is 6′ long)
- Gold chipboard stars (or you can cut paper stars)
- Hole punch
- Twine or string to tie stars
- Small Command hooks for hanging (optional)
How Can Kids Help With This Craft?
- If your child is old enough to use scissors, they can help with that portion of the project by cutting and preparing the ribbons.
- If you’re using paper to decorate, you can also have them cut out or color stars for the garland.
- If they’re smaller, they can paint or decorate plain ribbons with red and blue paint or stamps. Markers tend to bleed, so sticking to paint may be the best way to go.
- Kids can also help hang the garland by holding one end of the string while an adult secures the other side.
- Projects like this are a good opportunity to talk about patterns and how the colors repeat!
How to Make It:
- Measure and cut a rope, depending on where you want to use your garland. Add about a foot of length so you have plenty of room to tie, tape or tack it to where you’re using it.
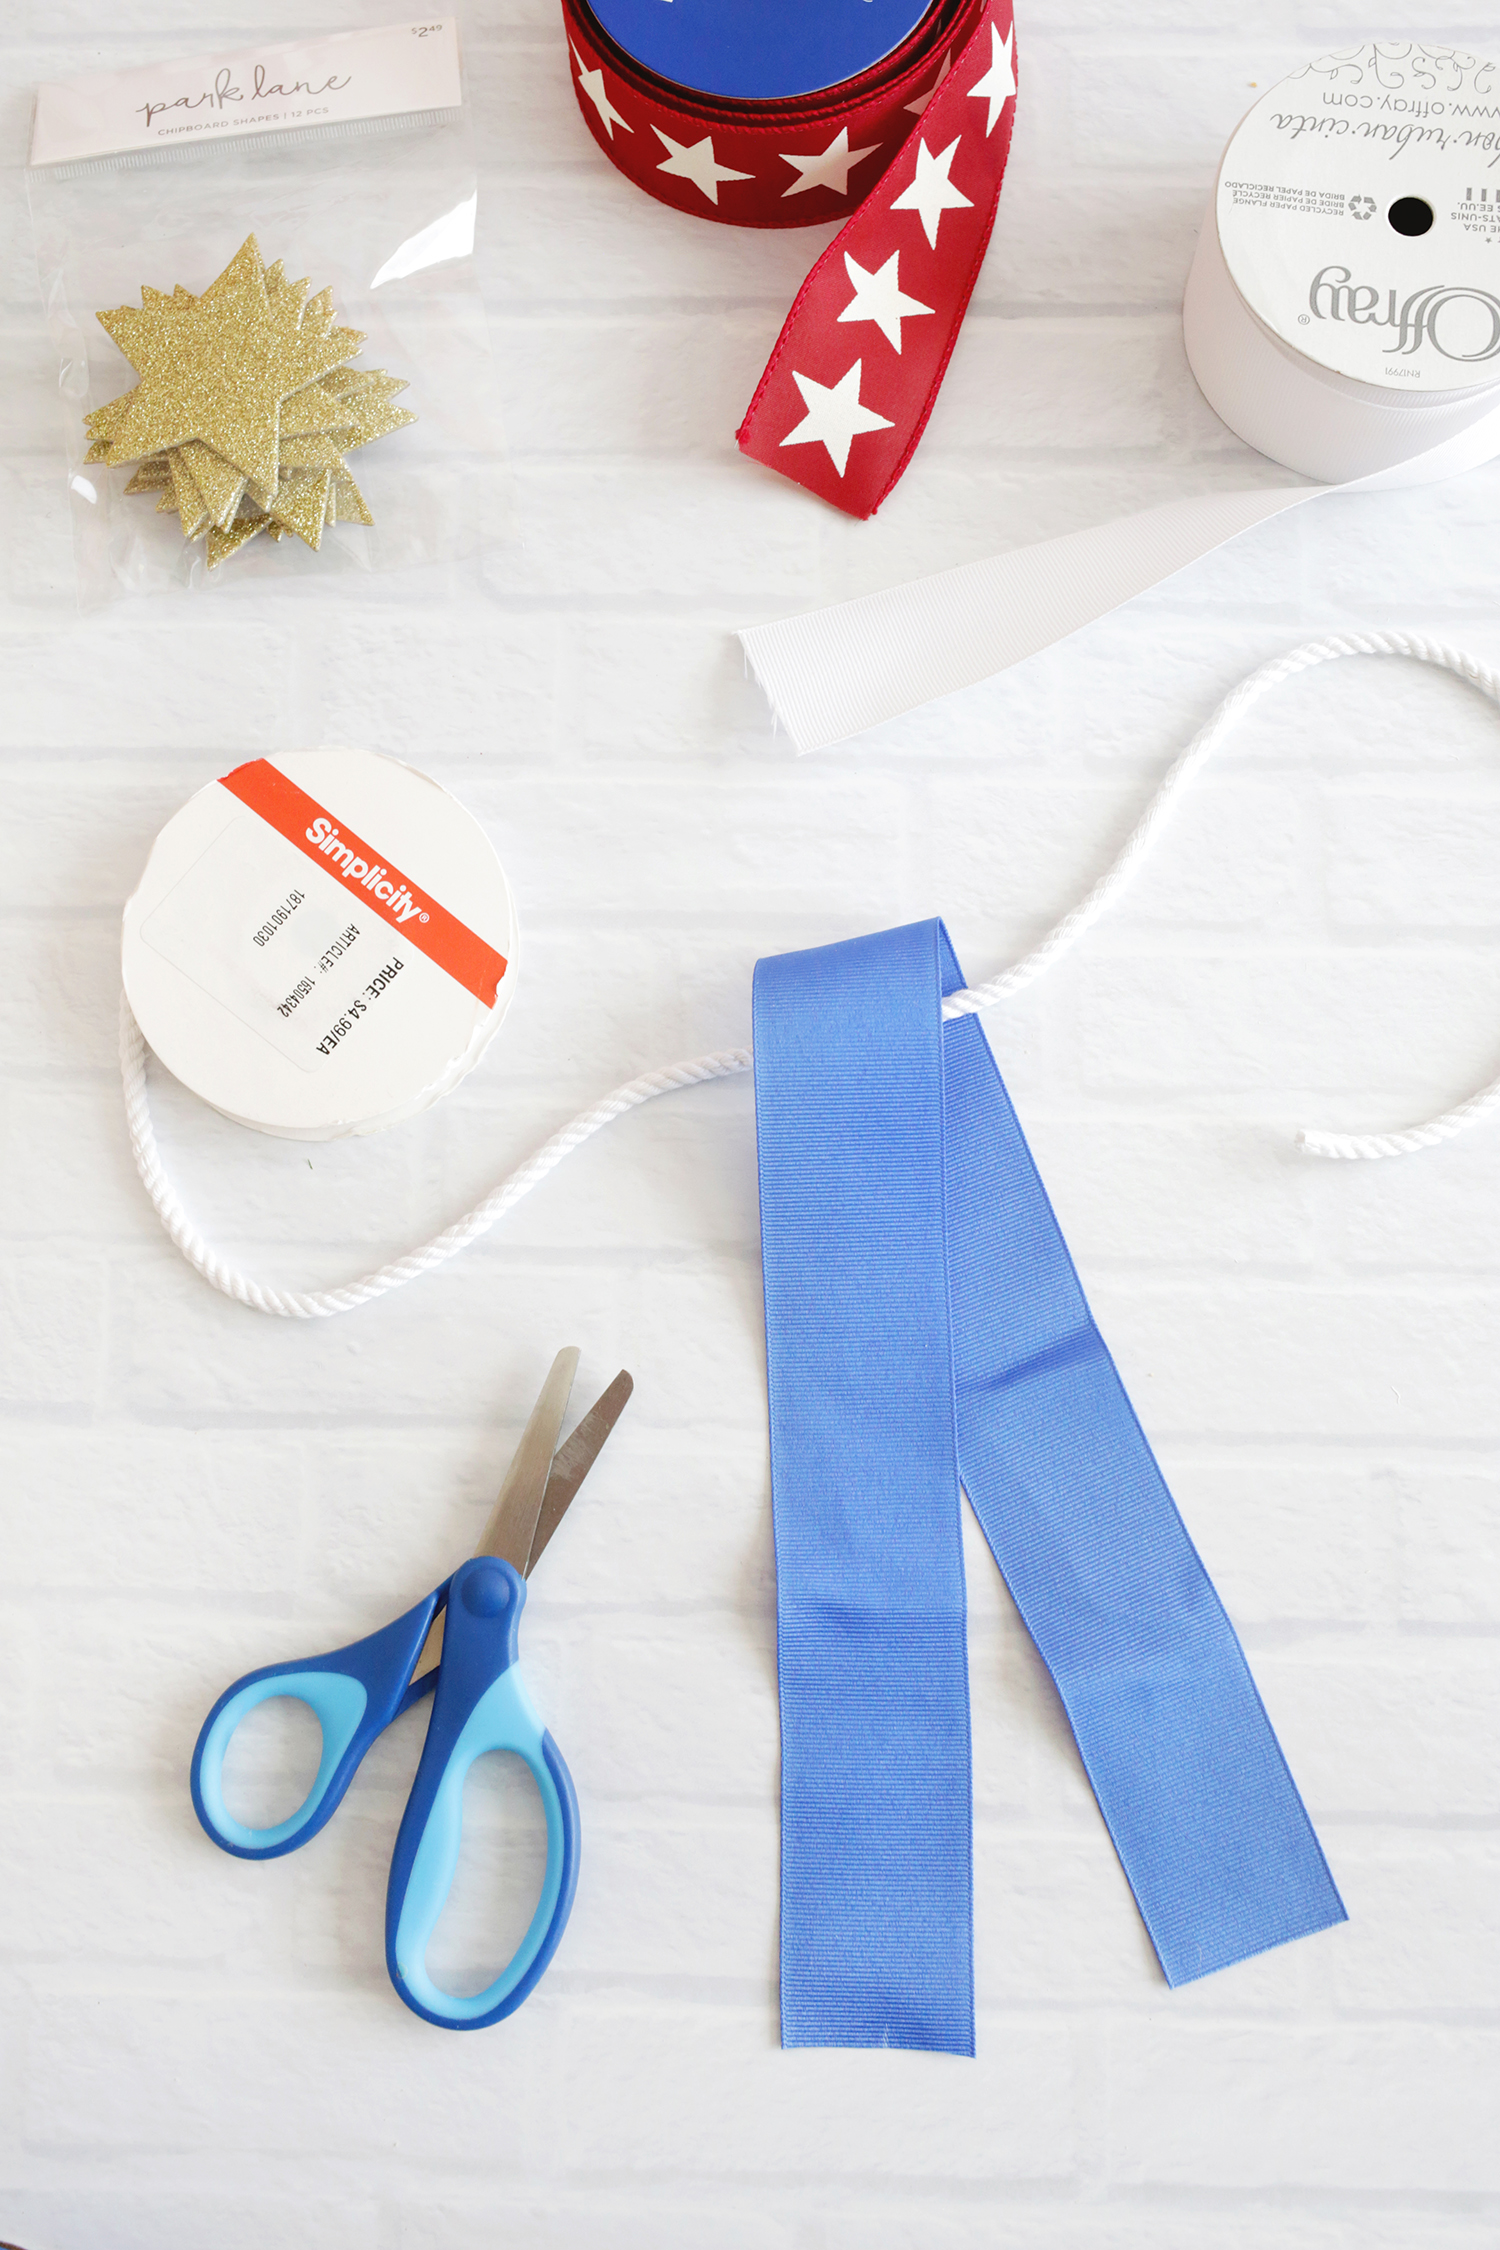
- Cut a ribbon strand about 12″ long and drape the ribbon halfway over your rope (make it longer or shorter if you’d like).
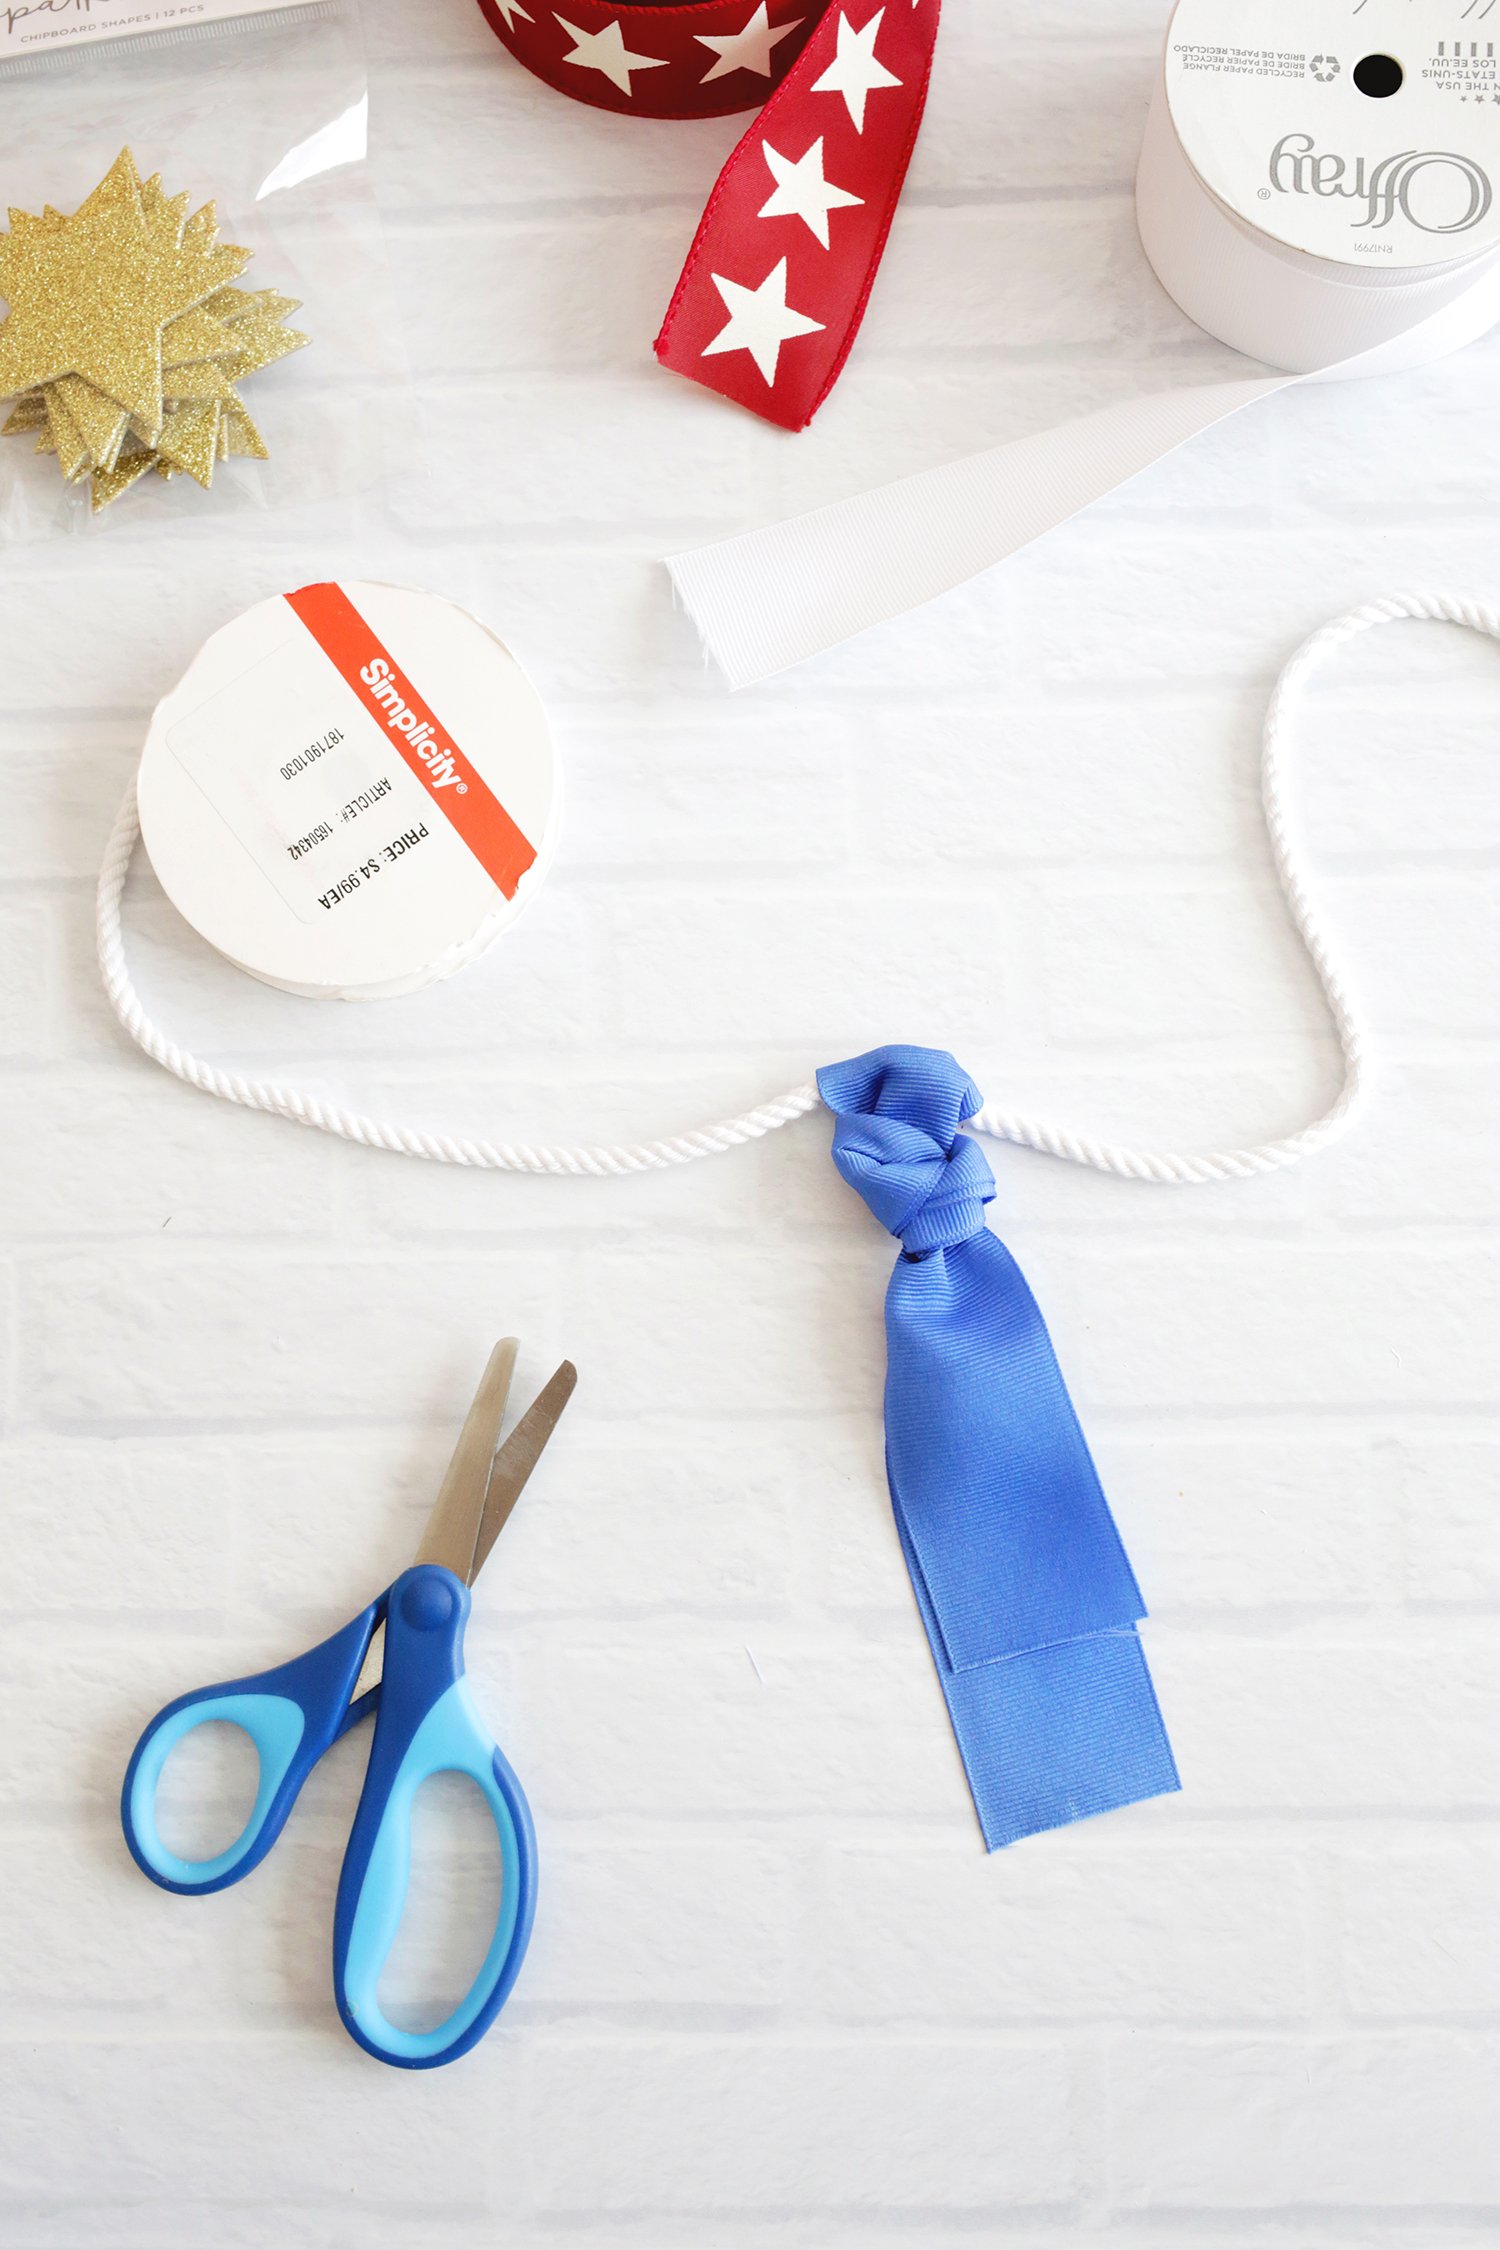
- Take both strands of the ribbon together and tie your ribbon in a knot close to the rope.
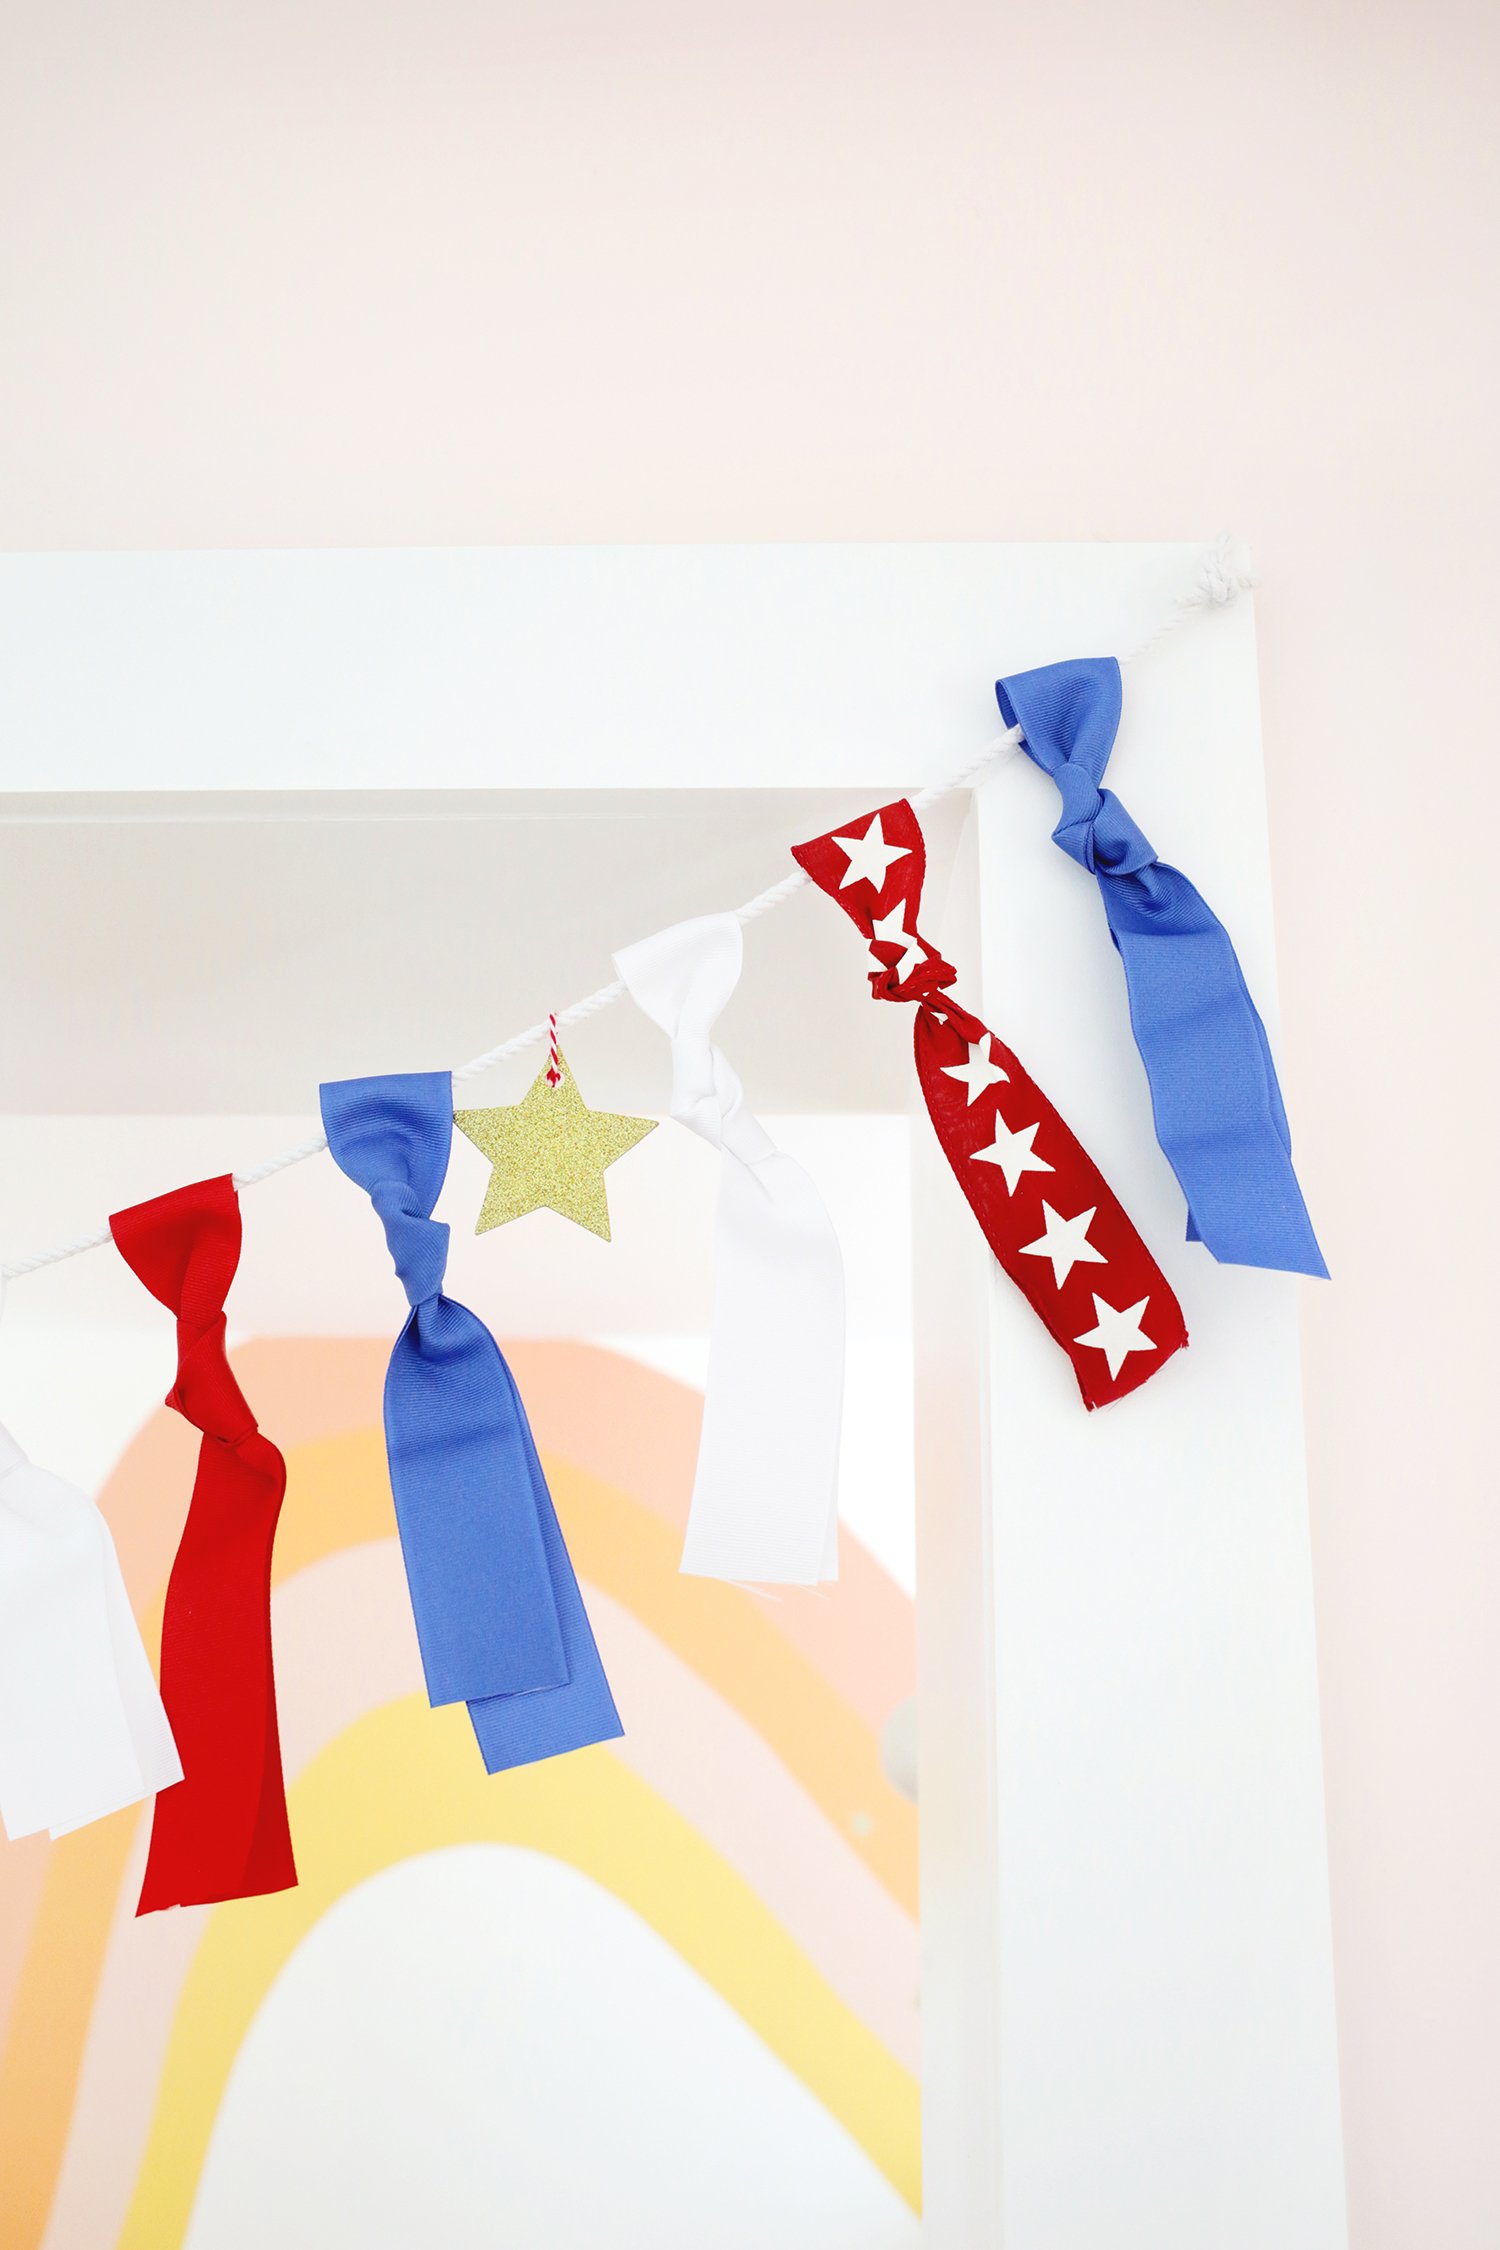
- Repeat with each color in a pattern until your length of rope is as full as you would like, spacing the ribbons evenly.
- To add the stars, use a hole punch to punch a hole, and then thread some twine or string though the hole so you can tie it and attach it to the rope in an even spacing.
- Tie loops into the ends of your garland rope and your garland is ready to hang!
Tips for Making a Ribbon Garland:
- If you can’t find gold chipboard stars, you can use gold or yellow paper and make the stars.
- If you don’t have ribbon, you can also use several strands of yarn to create a similar look.
- If you’re wanting to reuse the garland for other holidays, simply untie the ribbons and swap out the colors for whatever event you’re celebrating.
FAQ
Frequently Asked Questions
Do you have to use string to make your garland?
No, you can use yarn or thread if you don’t have a string to use. Add about a foot to the total length so you have plenty of room to hang or secure your garland.
What type of ribbon should you use?
Use ribbons that make a fun pattern or colors that compliment each other. They don’t have to be the same length or width. Grosgrain ribbons are pretty sturdy, so they are definitely one that can be used year after year.
How do you hang a garland over a mantle?
You can secure it with tape, thumbtacks, nails or Command Strips/hooks. Add two small Command Hooks on either side of the mantle (or top of the doorway) where you can’t see them and loop the yarn or string around them.
Where and How to Hang a Ribbon Garland:
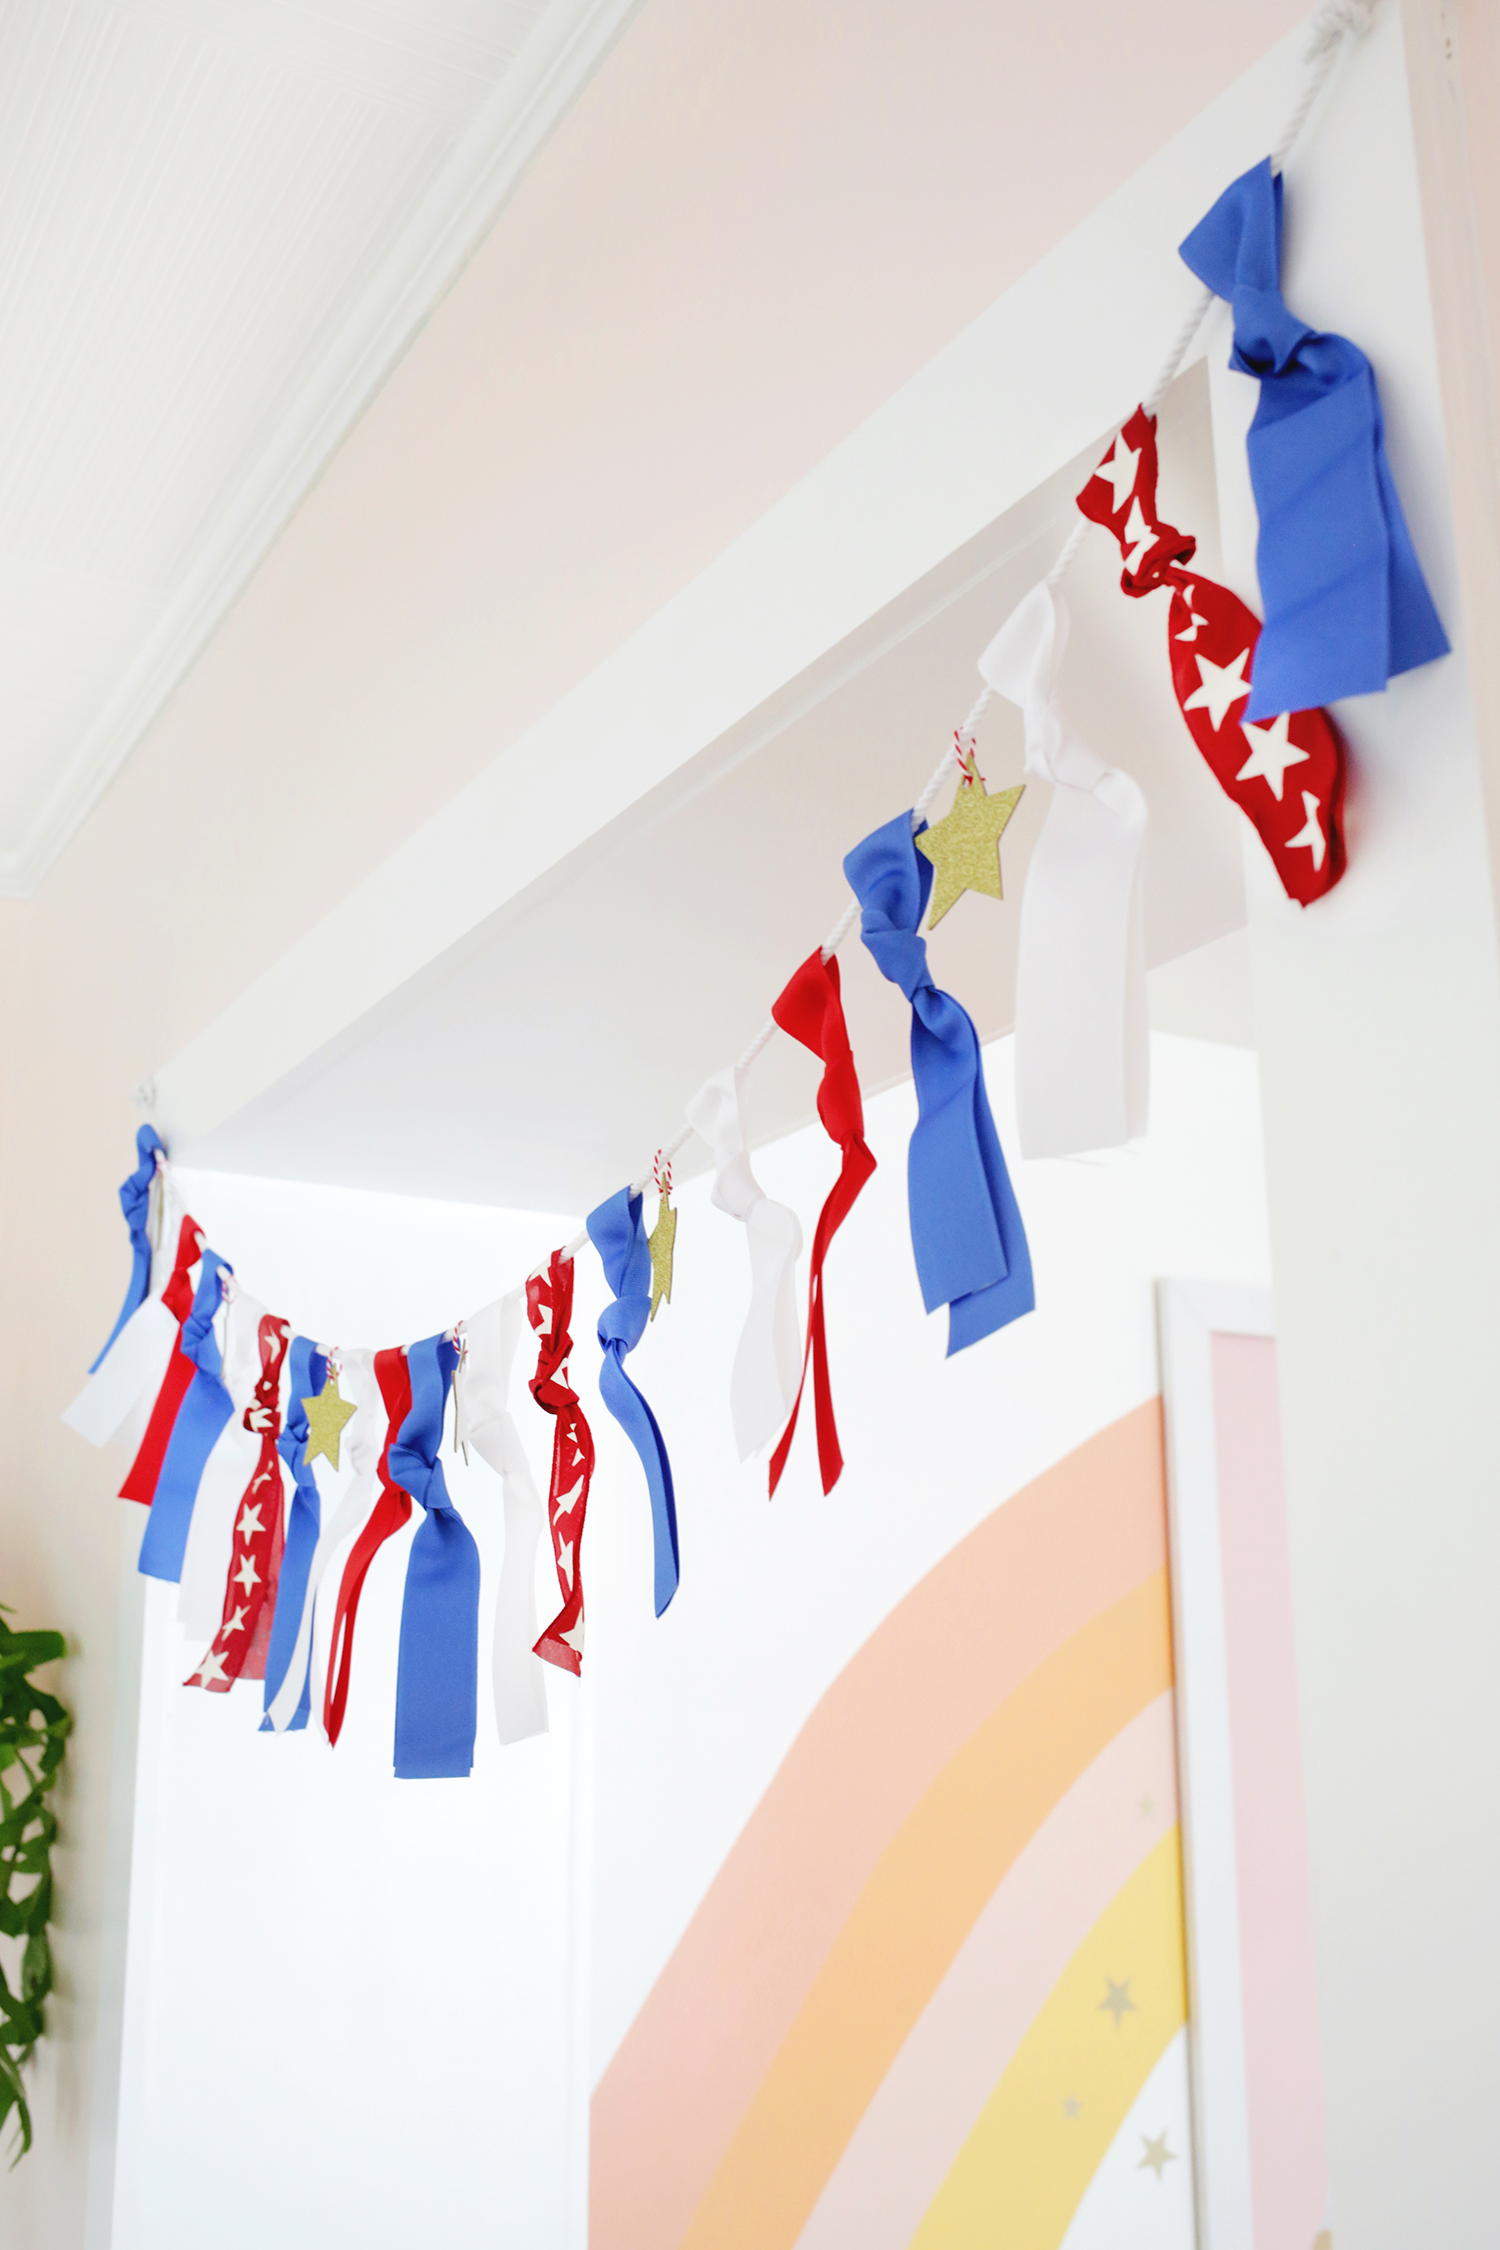
Whether it’s for the 4th of July or if you’re making a ribbon garland for another holiday, here are a few tips to hang and display it.
- Use small Command Strips/hooks at both ends of the underside of your mantle and hang garland from hooks.
- Use pushpins or thumbtacks at the top sides of a doorway and hang garland from pushpins.
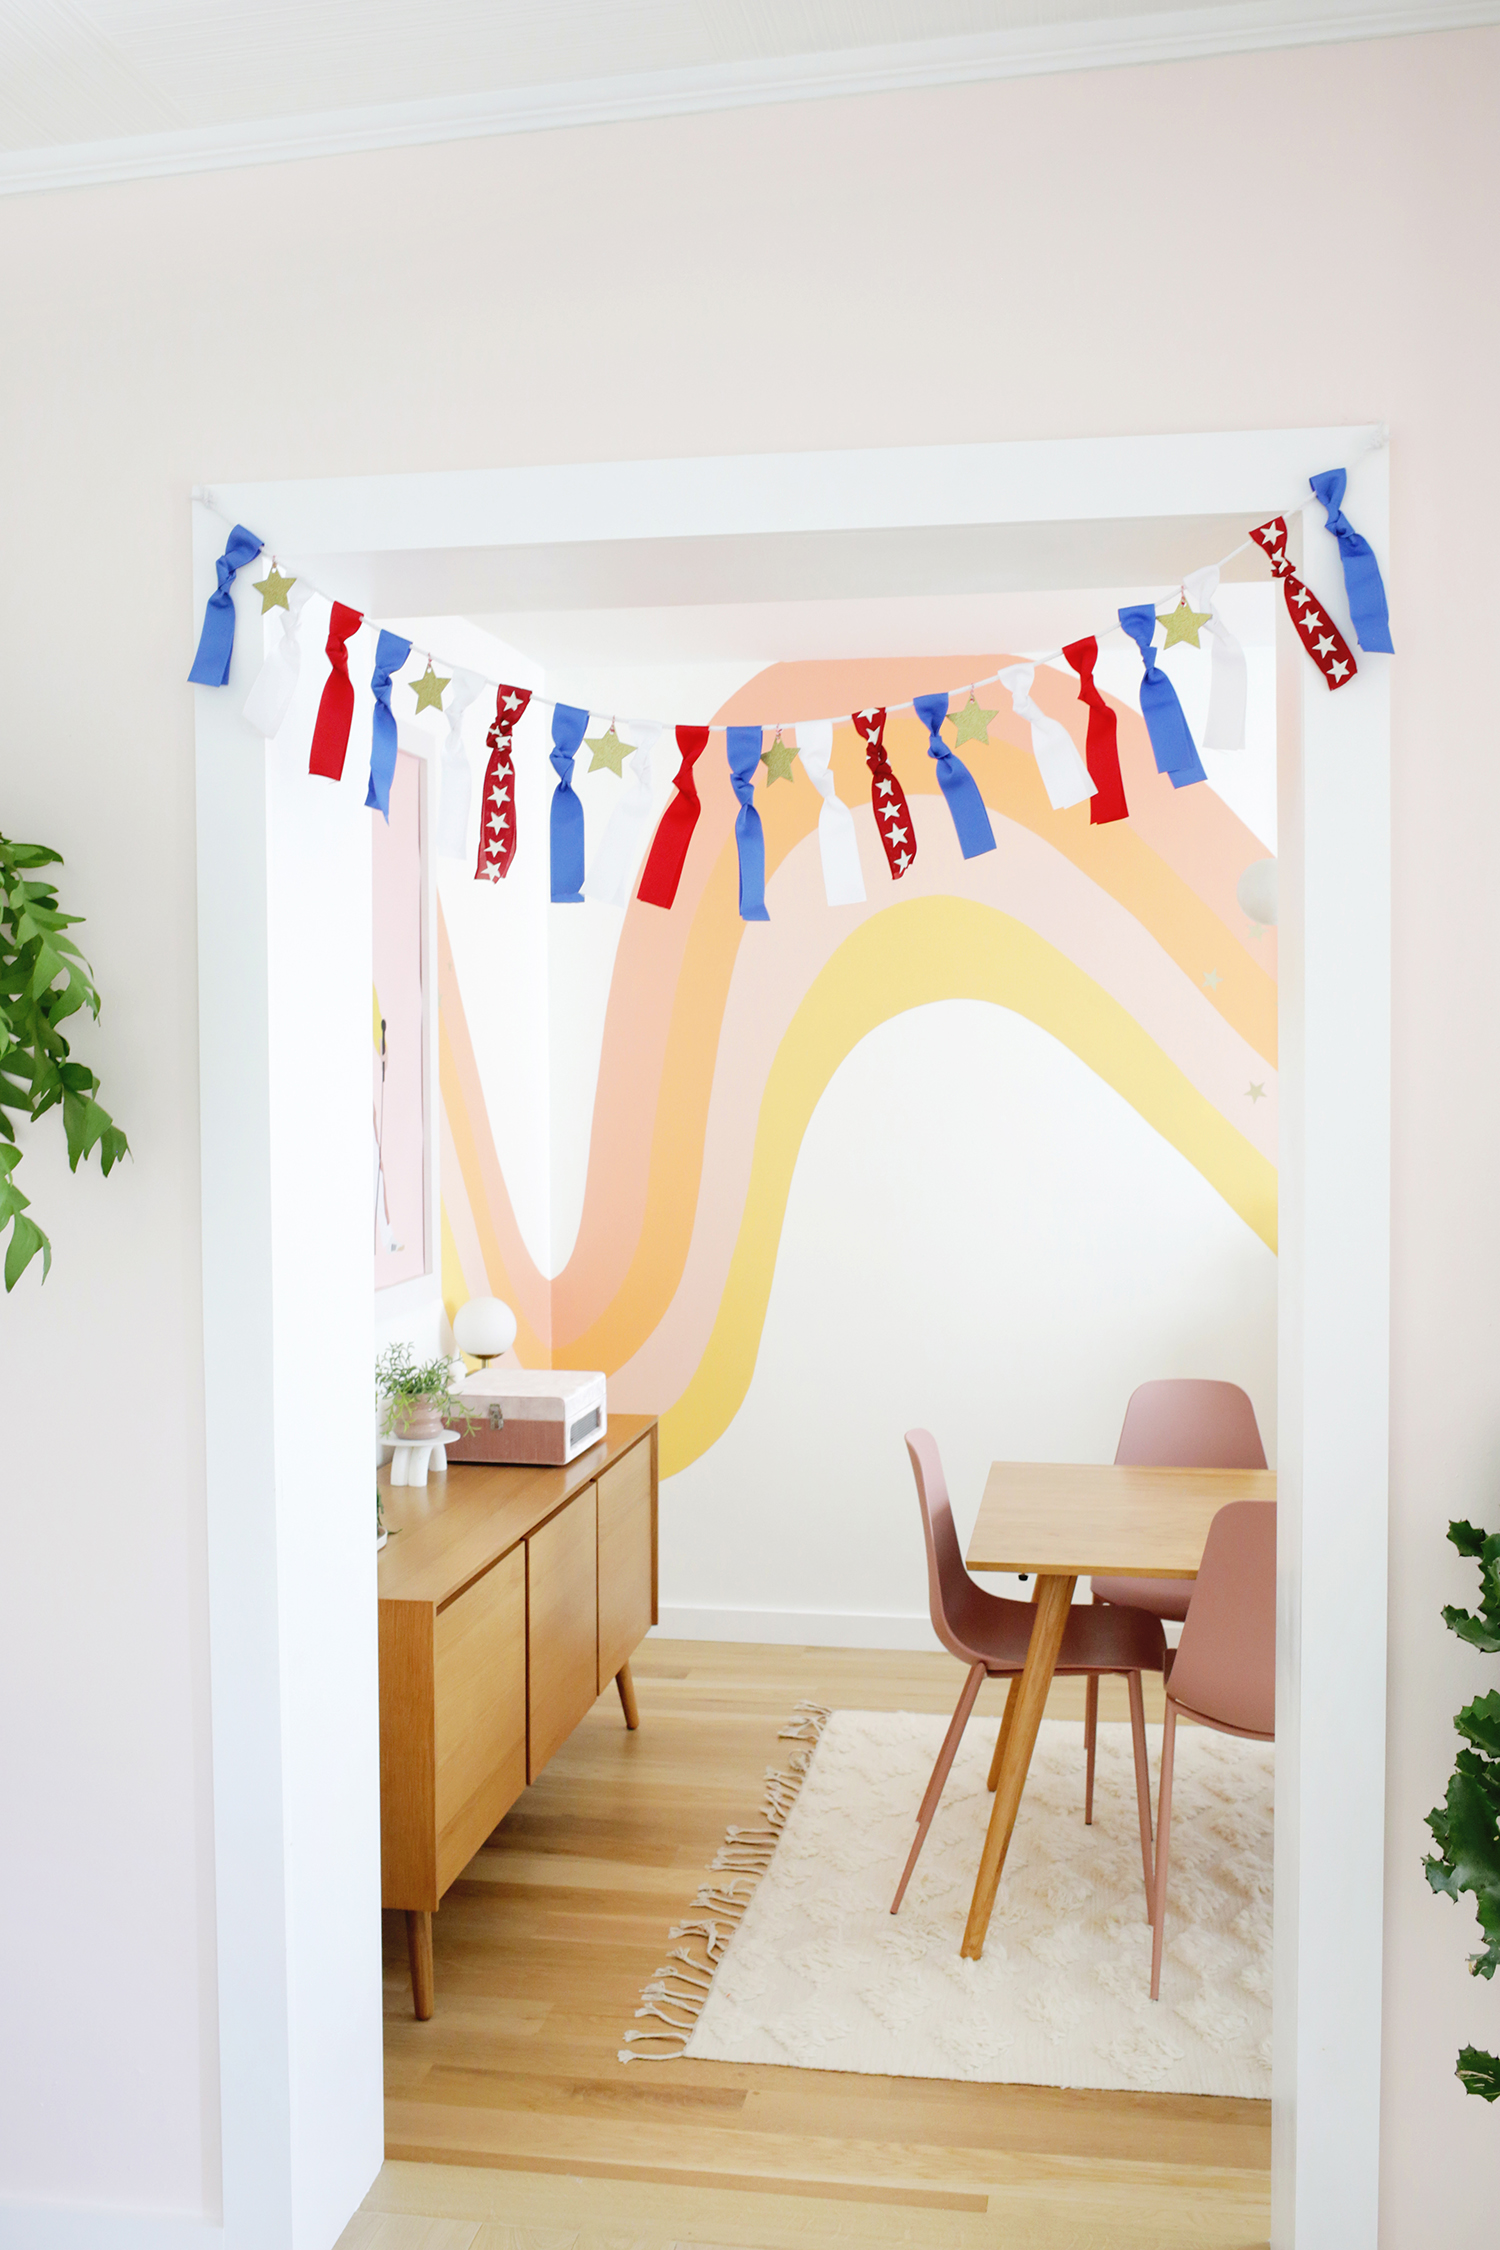
- Use tape or small nails above the front door to suspend garland over it. Pull garland straight across the top and let the sides hang down lower (so the door can still open and not hit the garland).
Get creative ideas for recipes, crafts, decor, and more in your inbox!
 Get the How-To
Supplies
- 1 piece rope in desired length
- 3 rolls ribbon, in desired colors (you can customize as much as you want)
- 1 pack chipboard stars (or you can cut out paper stars)
- 1 roll twine (to tie stars with)
- 1 pack small Command Strips (optional)
Instructions
- Measure and cut a rope depending on where you want to use your garland. Add about a foot of length so you have plenty of room to tie, tape or tack it to where you're using it.
- Cut a ribbon strand about 12" long and drape the ribbon halfway over your rope (make it longer or shorter if you'd like).
- Take both strands of the ribbon together and tie your ribbon in a knot close to the rope.
- Repeat with each color in a pattern until your length of rope is as full as you would like, spacing the ribbons evenly.
- To add the stars, use a hole punch to punch a hole and then thread some twine or string though the hole so you can tie it and attach it to the rope in an even spacing.
- Tie loops into the ends of your garland rope and your garland is ready to hang!


Such an easy and cute decoration idea!