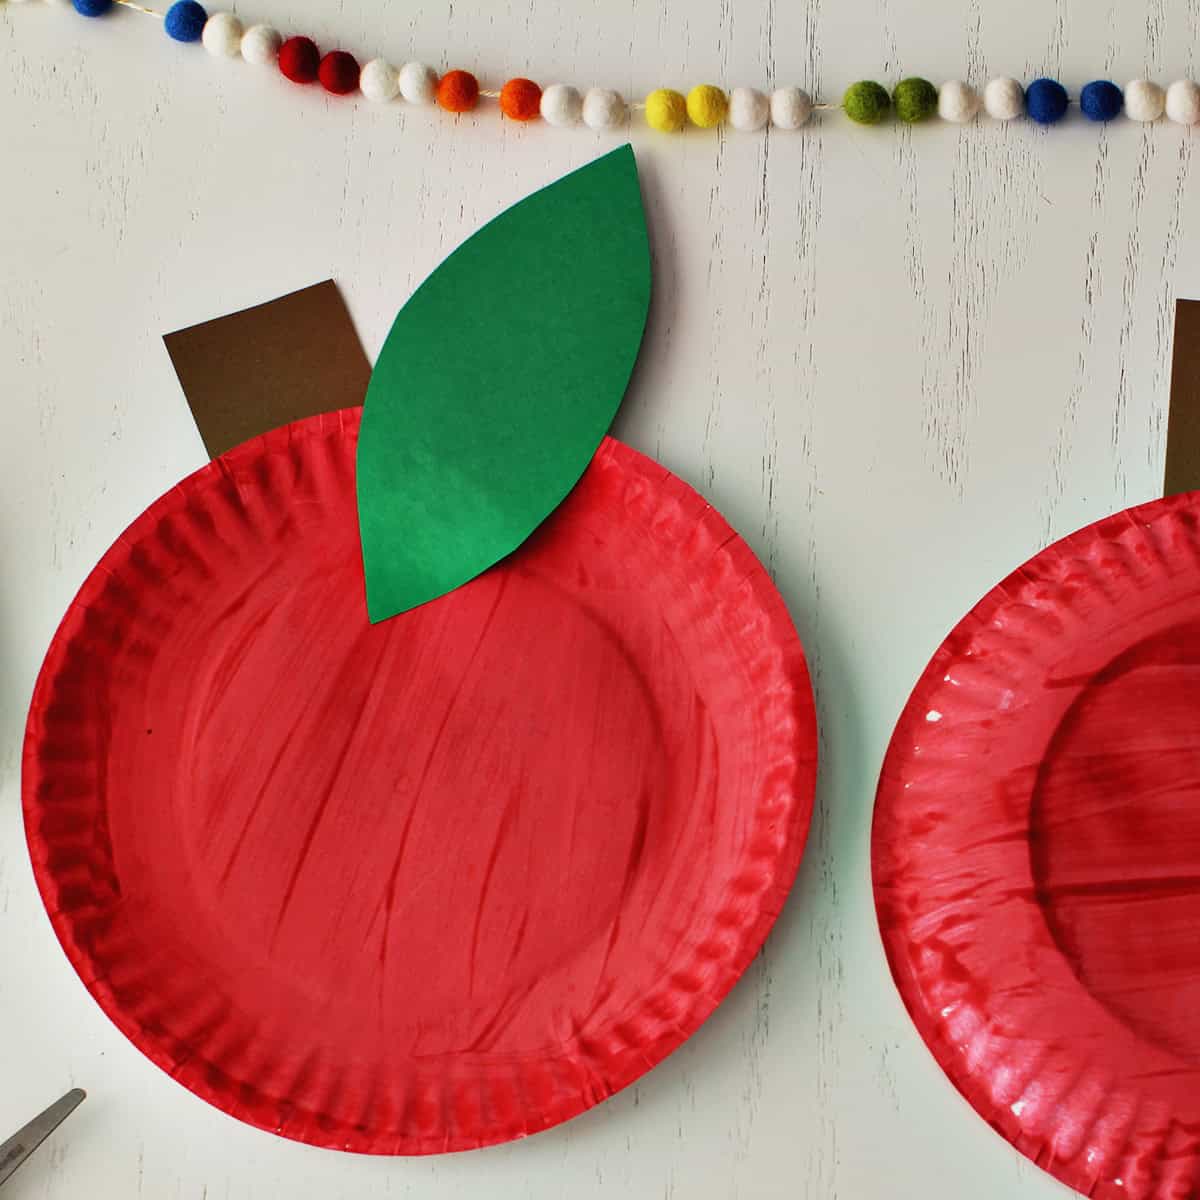
Whether it’s fall and you’re heading to the orchard, you’re gearing up for back to school, or even if you’re just learning about the letter ‘A’, this paper plate apple craft is a fun and easy activity for kids! It’s not just for preschool, though. You can make this really with any child by adjusting the steps and helping as needed.
I love how versatile paper plate crafts for kids can be. This project only needs paper and a paper plate. You can use paint or markers and it can be customized with other colors. This would look adorable on a bulletin board filled with an apple for each kid in class. Tie it into an apple-themed week with our free printable apple template too!

Would you like to save this?
Why kids love paper plate crafts
I love projects with classic, easy-to-find supplies like popsicle sticks, toilet paper rolls, and paper plates. There is something nostalgic and timeless about them. Kids can get creative and love seeing what they can turn into too!
- Easy to find supplies are everything! Easy to find, easy to make, easy on parents and easy for kids.
- The best kind of kids projects are things you already have in your home, or can easily grab on your next grocery store trip.
- If you mess up it’s very easy and possible to start over.
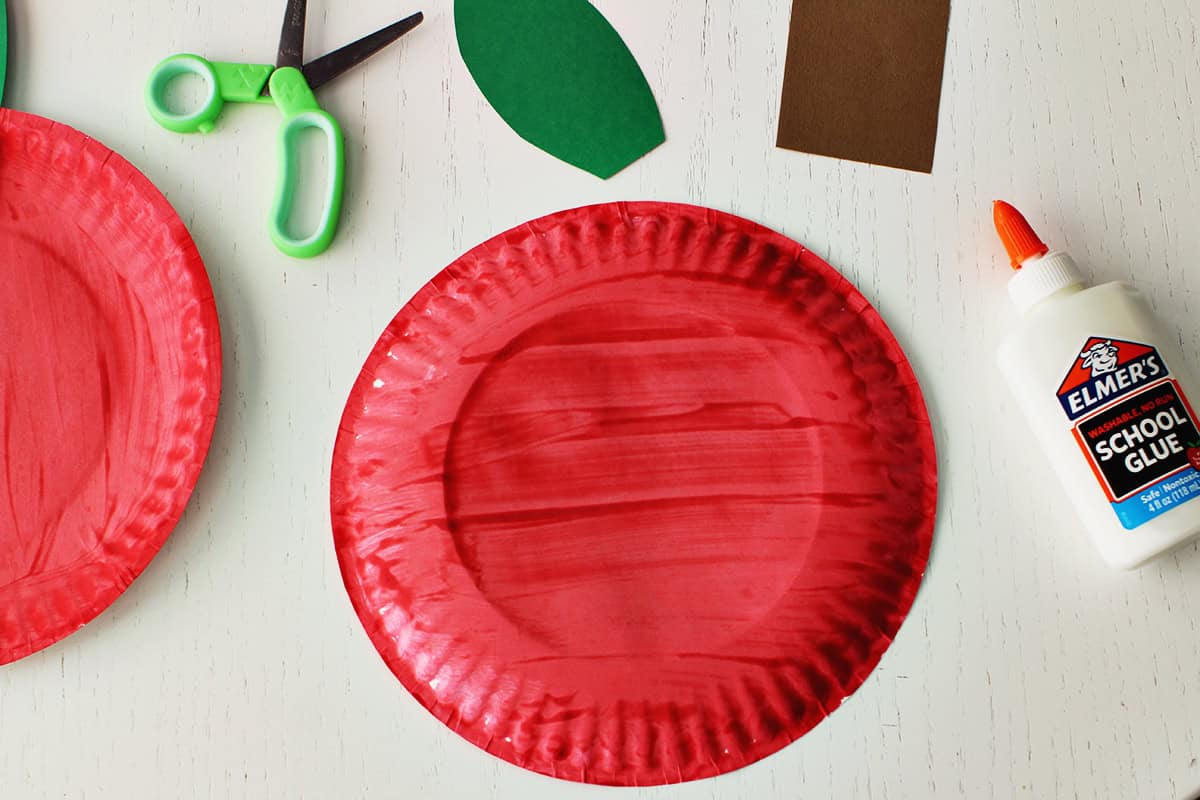
Supplies for your Paper Plate Apple
- Paper plates
- Scissors (remember to do the cutting if your child isn’t ready to yet.)
- Construction paper scraps or cardstock
- Markers, crayons or paint
- School glue
Steps for Your Apple Craft

Begin by painting or coloring your plate red. If you’re wanting this to be a faster craft you can use markers, crayons or colored pencils. You could also pre-paint plates too and have them ready for the kid to pick from or create their stems and leaves.

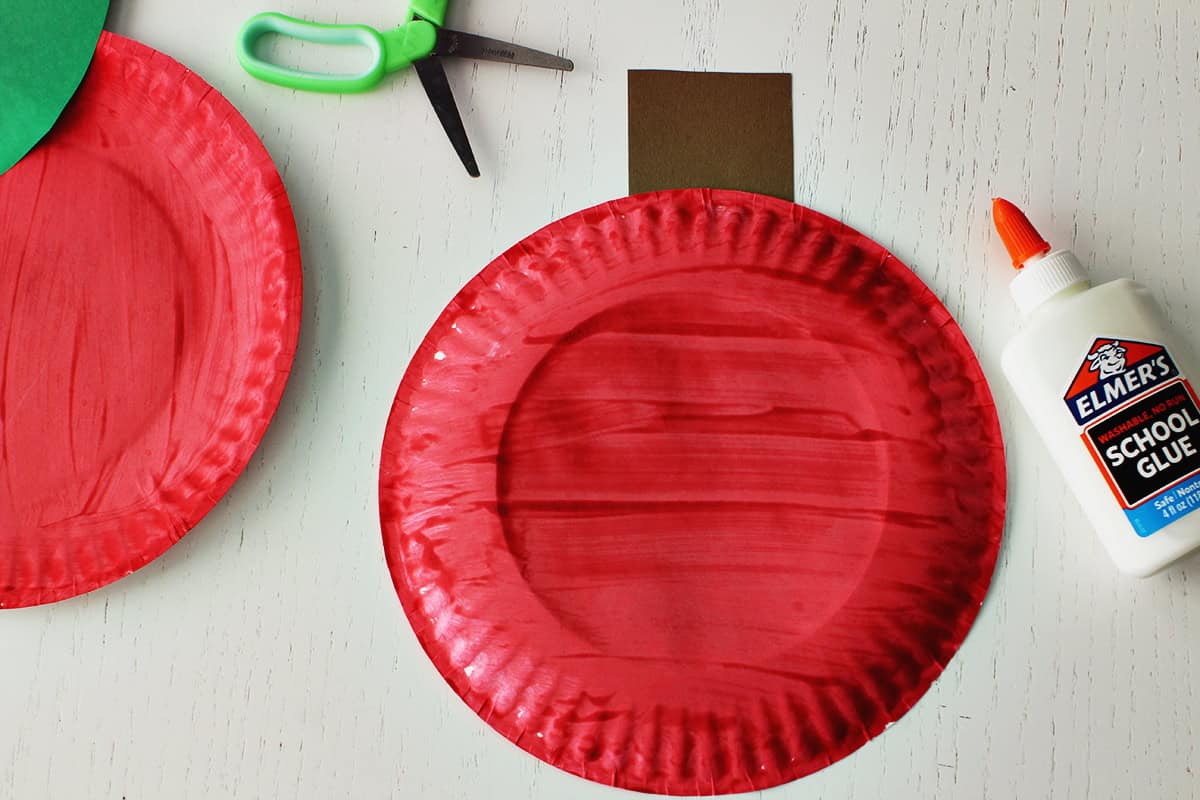
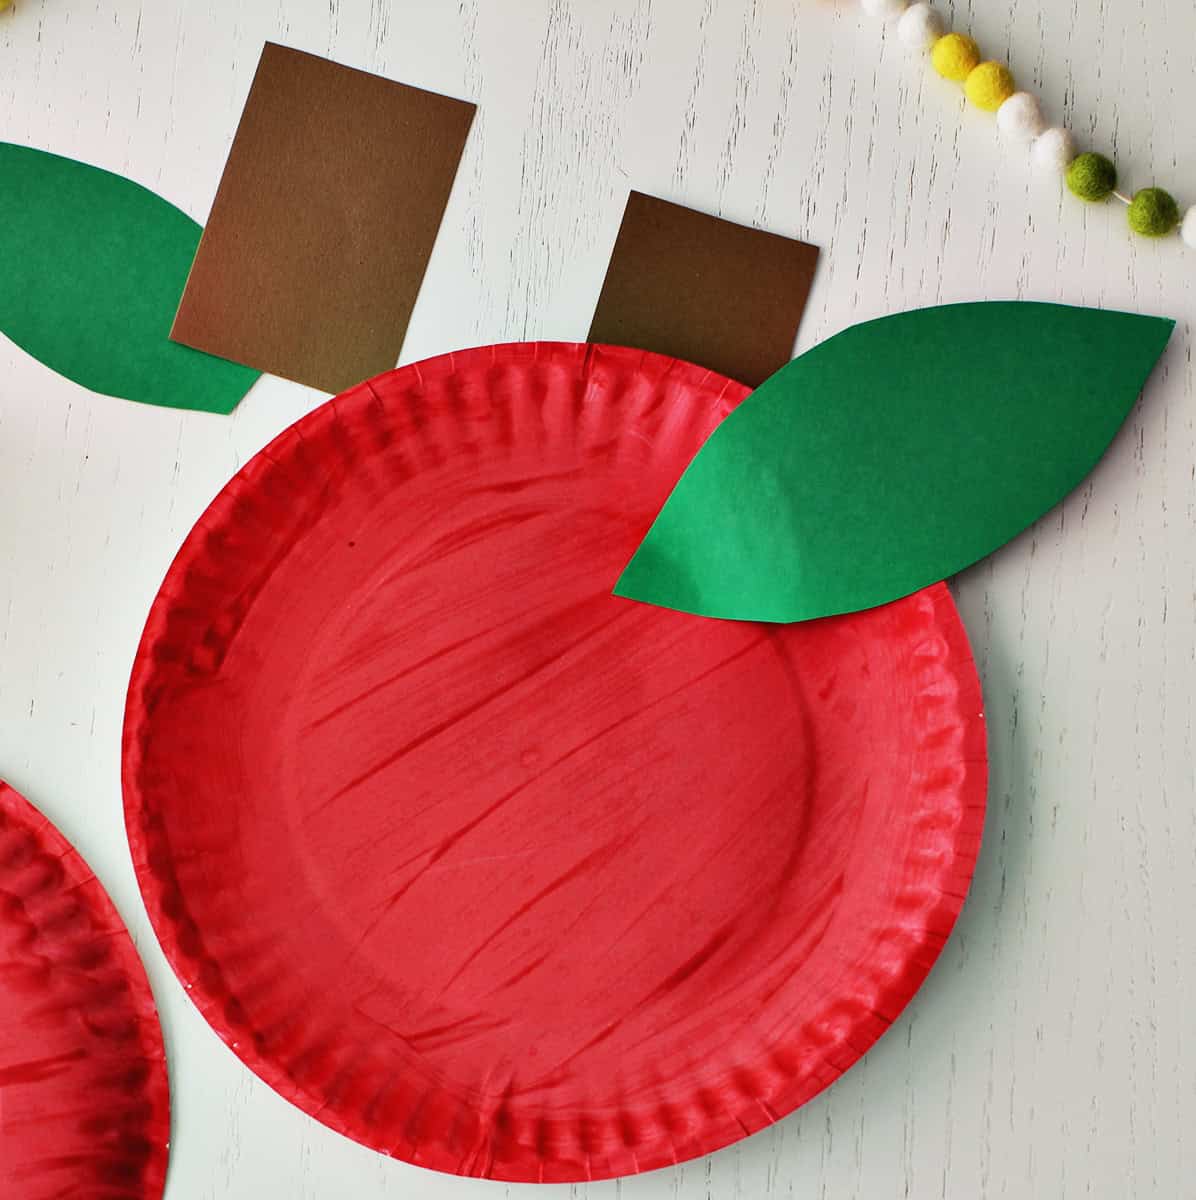
After you paint the plate, all you need to do is cut out your stem, leaves and glue them to the back or front of the plate. You can use school glue, a glue stick, or even tape!
Tips for Making a Paper Plate Apple:
- Use leftover scraps of paper from other projects.
- Add a catepillar made from paper if you’re reading The Very Hungry Caterpillar, or you could cut into the apple to make it look like it’s had a bite taken out of it.
- If you’re making this with a younger child who can’t cut with scissors yet, it may be helpful to prep the paper pieces for the stem and leaf in advance.
- If you have a kiddo who will want to craft right away, you can even pre-paint the plate so that they can start assembling without having to wait for the paint to dry.

Looking for more Back to School Ideas?
Get creative ideas for recipes, crafts, decor, and more in your inbox!
 Get the How-To
Supplies
- 1 bottle glue (or can use gluestick or tape)
- 2 pieces construction paper or cardstock (in brown and green)
- 1 single paper plate
- 2 tbsp red paint (or use markers)
Instructions
- Begin by painting or coloring your plate red. If you're wanting this to be a faster craft you can use markers, crayons or colored pencils. You could also pre-paint plates too and have them ready for the kid to pick from or create their stems and leaves.
- Allow paint to dry.
- After you paint the plate, all you need to do is cut out your stem, leaves and glue them to the back or front of the plate. You can use school glue, a glue stick, or even tape!

