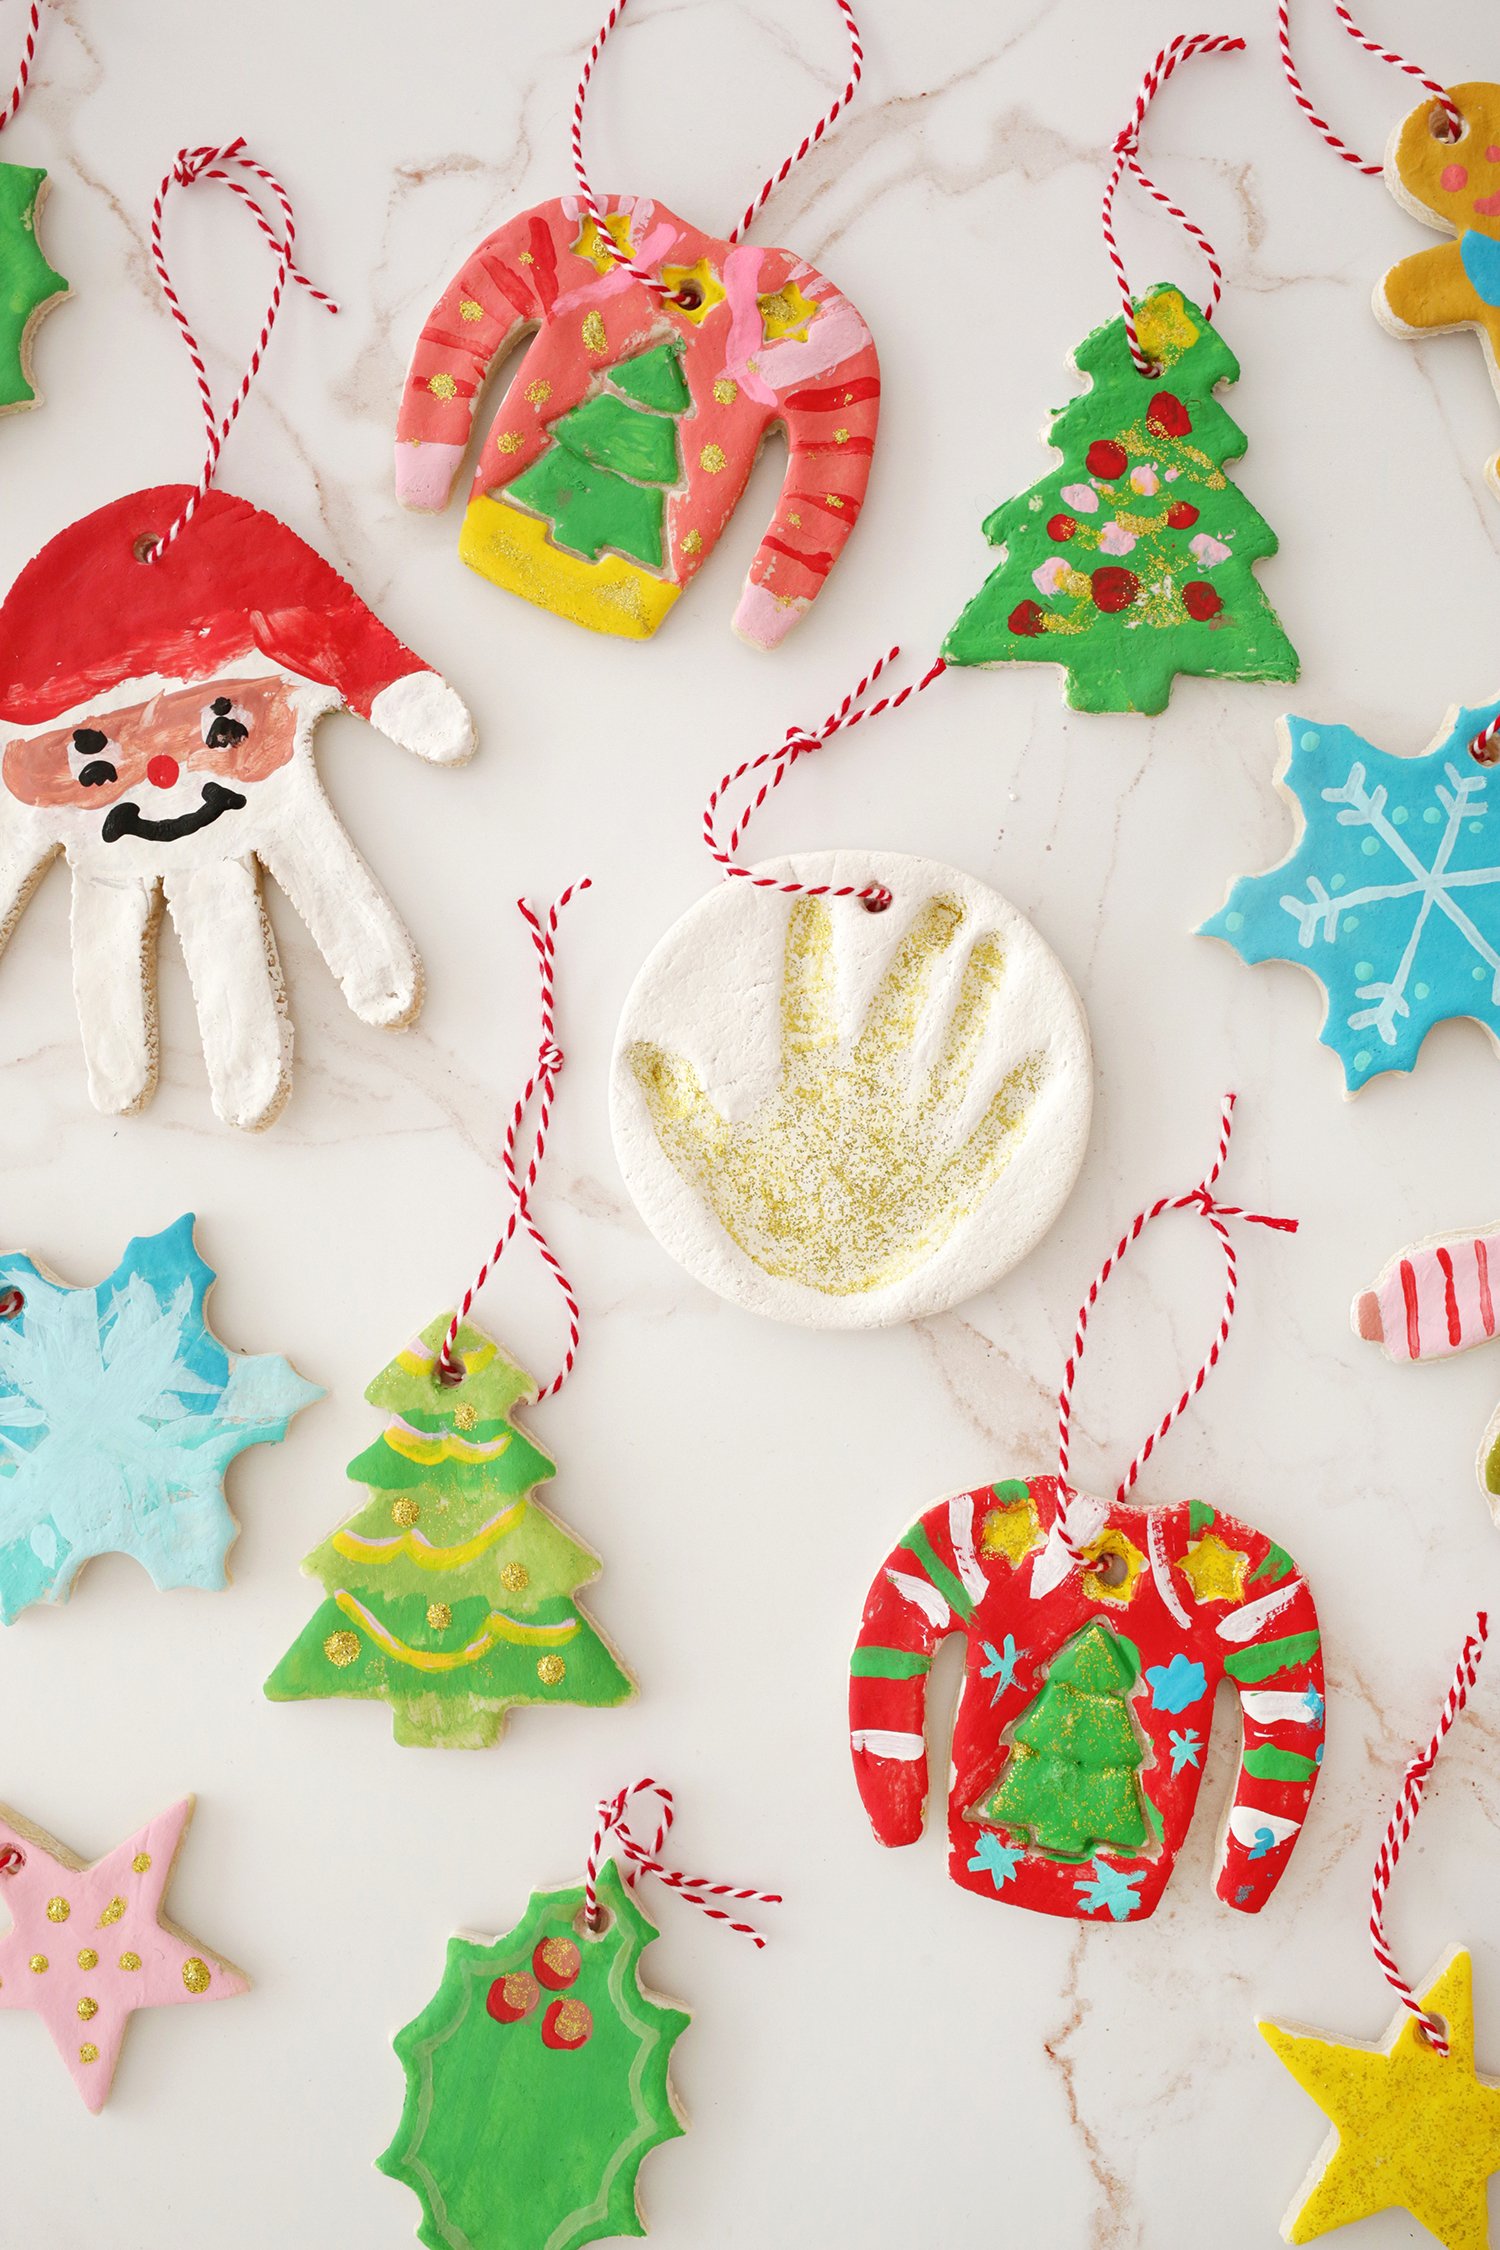
Salt dough ornaments are an easy and fun way to get kids involved in making and decorating holiday ornaments. You only need three simple ingredients to make these, and if cared for properly, they can last for years!
Salt dough ornaments also make great gifts and you can personalize them with your child’s handprint to make something really special that will show how they’ve grown over the years.
Looking for other Christmas projects? Check out:
- Christmas Tree Template – Free Printable
- Christmas Handprint Art Ideas
- Christmas Bingo – A Free Printable Game
- Paper Plate Christmas Tree Craft with Fingerprint Ornaments!
- Christmas Tic-Tac-Toe
- Christmas Books and Activity Ideas
Would you like to save this?
What is salt dough?
Salt dough is a simple dough that’s made with only flour, salt, and water. The high salt content of the dough is a natural preservative to keep the dough from getting moldy, so that’s why salt dough creations can last for years (or even decades!).
Why kids love salt dough ornaments:
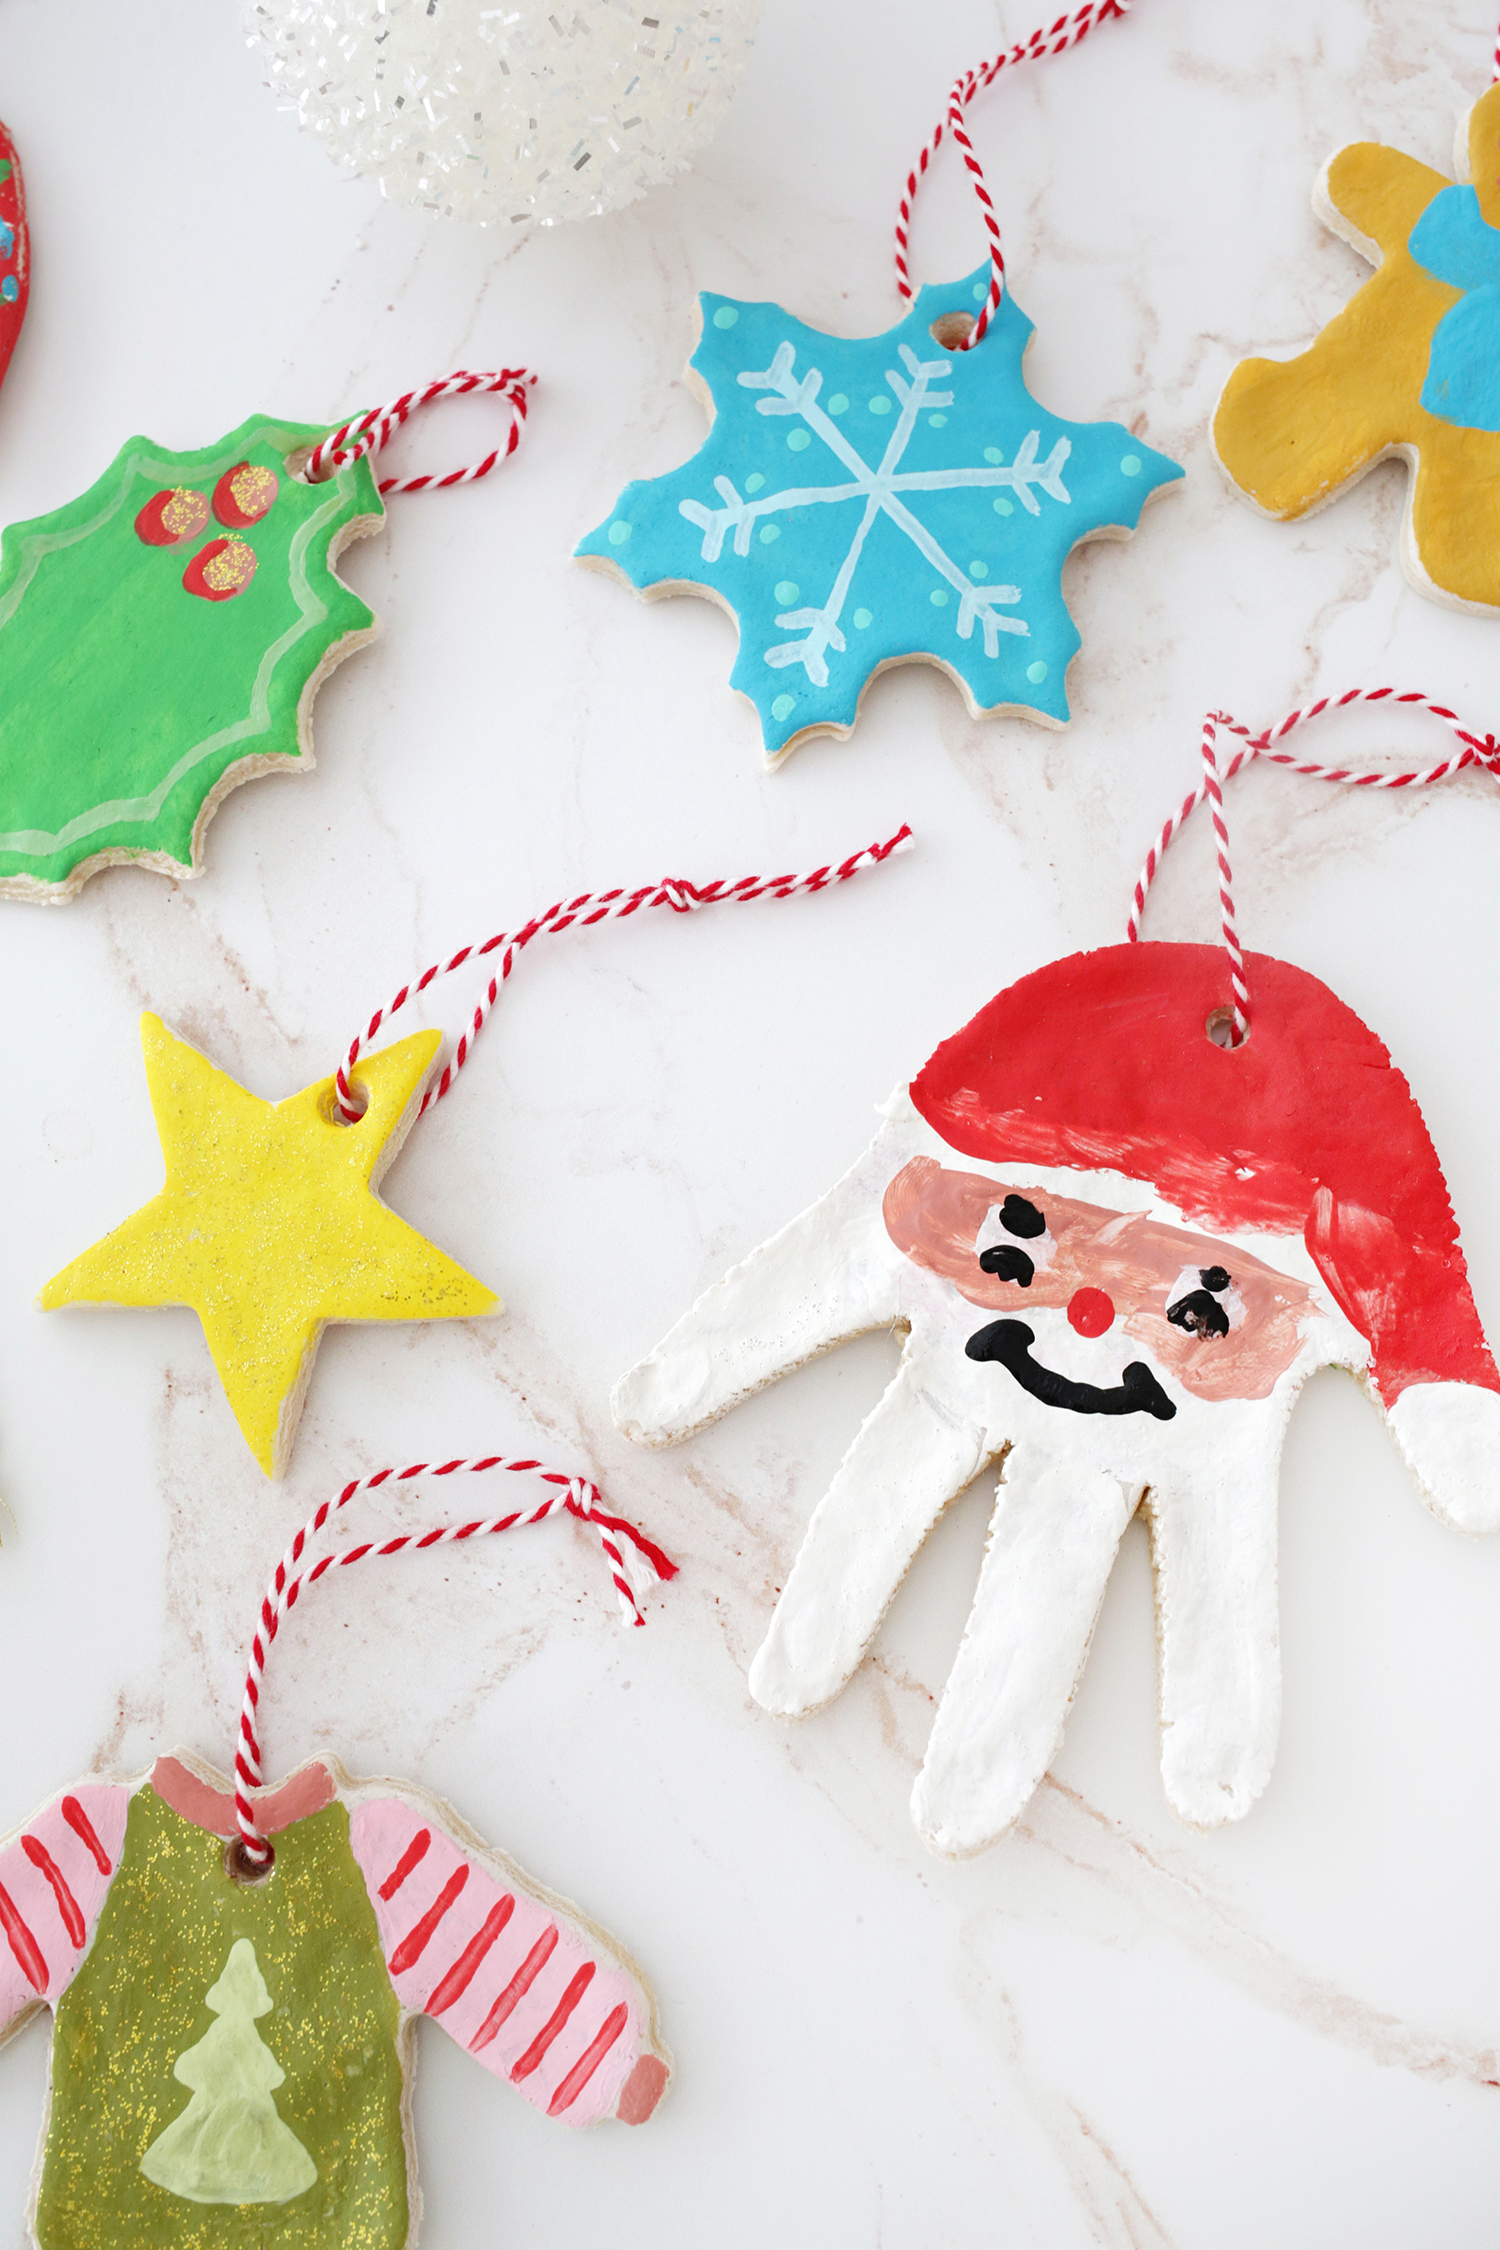
- They can personalize the ornaments by adding their handprint.
- Kids love to use cookie cutters and help roll out the dough—just like they would when making cookies!
- When the ornaments are cooled, they will love getting to decorate them with paint and glitter.
- They can give these out as gifts and they’ll be so proud to give something that they made themselves!

What you’ll need to make salt dough ornaments:
- All-purpose flour: You can buy the cheap stuff for this craft and make sure it’s not a self-rising flour or your ornaments will puff up when baked.
- Salt: The salt content is high in this dough, so even though it’s technically edible, it will taste awful! Make sure to keep these away from pets as well.
- Water: Just plain ol’ tap water will do!
Tools needed:
- Parchment paper: Optional, but rolling the dough between two layers of parchment paper will help it roll out easier and not stick to the rolling pin.
- Rolling pin: Kids love to help roll out the dough so get them involved in this step if you can.
- Cookie cutters: Any shapes will do but holiday-themed ones or letters are extra fun.

How to make salt dough ornaments:
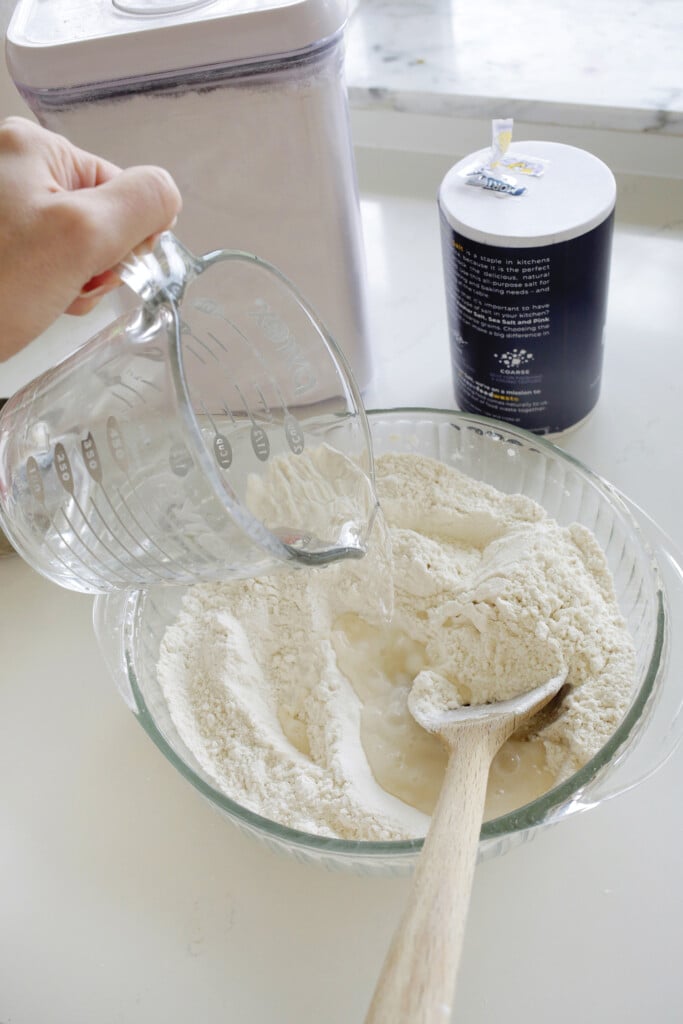
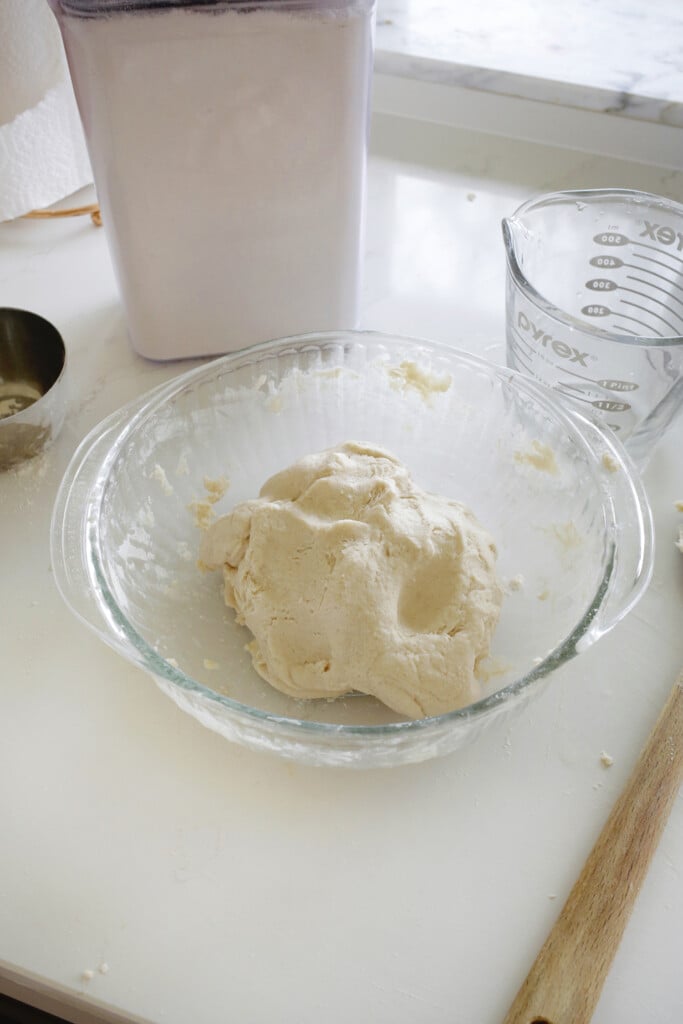
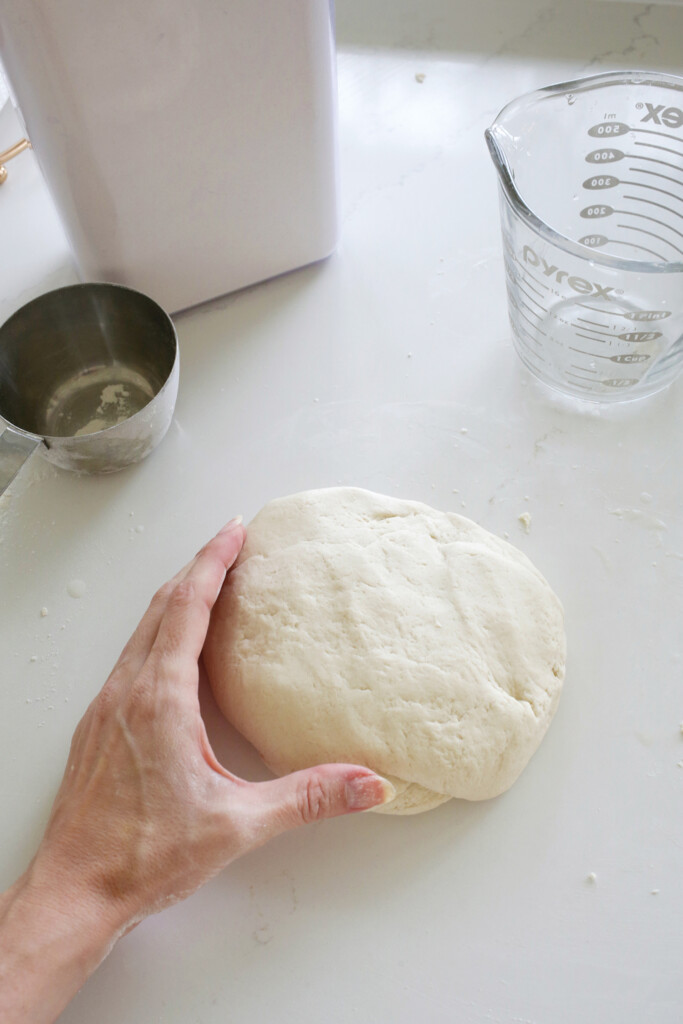
Mix your dough: In a mixing bowl, add the flour, salt, and water. Mix with a spoon or your hands until a dense dough forms. If dough is too dry, add small amounts of water; if it’s too wet and sticky, add small amounts of flour. Knead until fully mixed and soft.


Cut out your shapes: Roll out your dough until 1/4″ thick and use your cookie cutters to cut out the shapes. Use a straw or skewer to poke a hanging hole for your ornaments. Place on a parchment lined baking sheet.
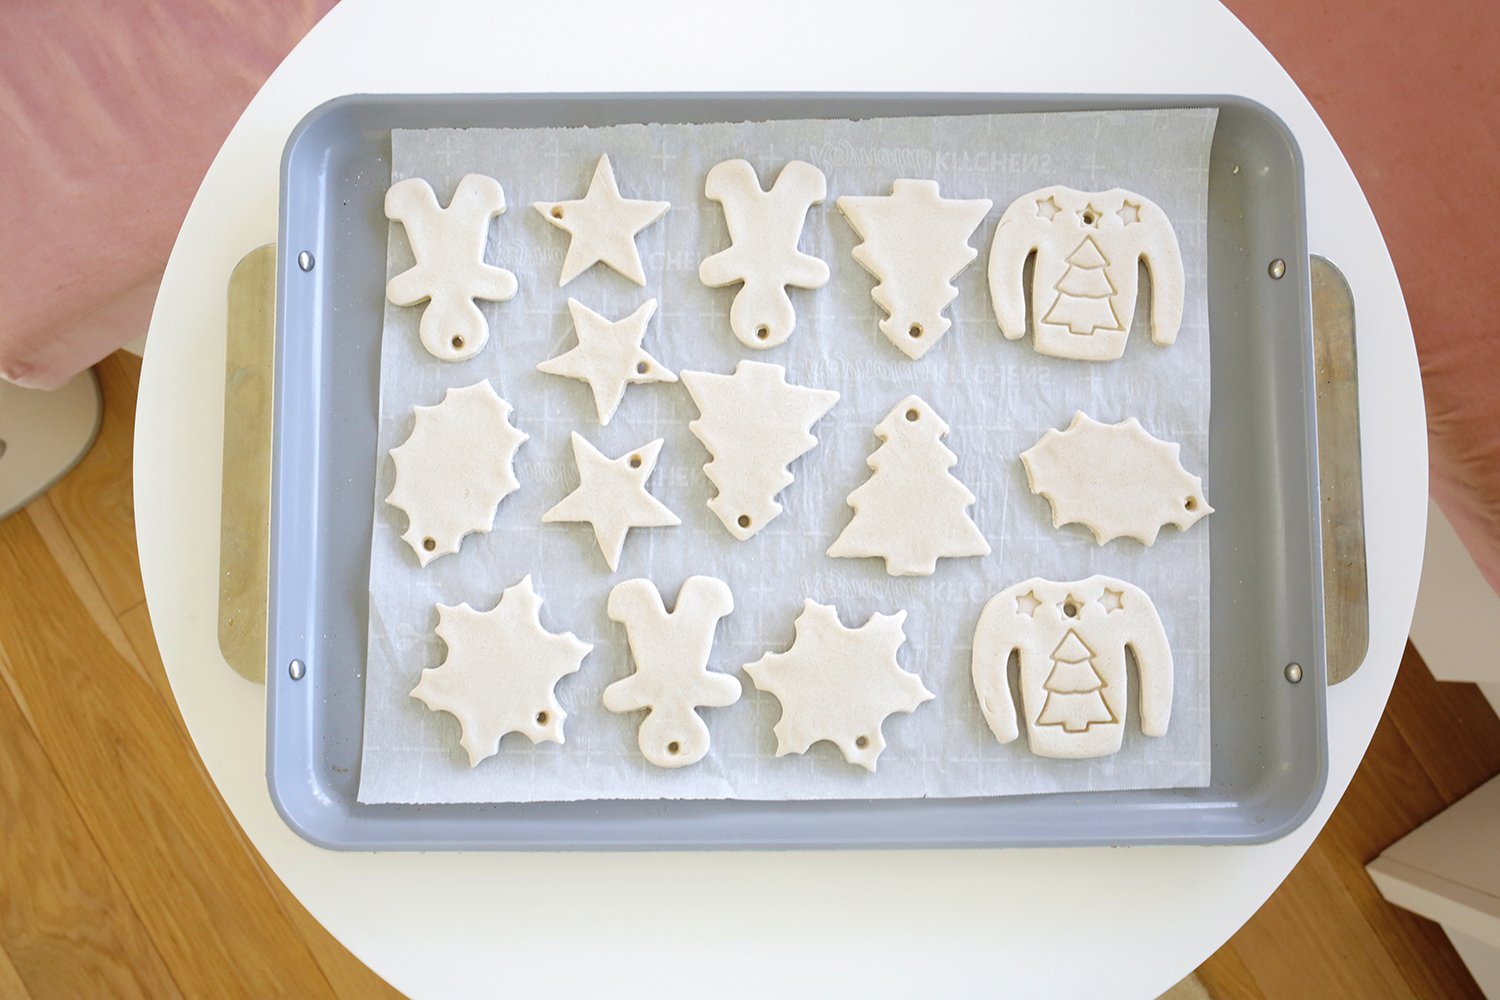
Bake and cool: Bake at 200°F for 2-3 hours, until very dry and flip them over after a few hours so the other side gets fully baked as well. If ornaments still feel soft to the touch, let them bake longer until hard. Allow to fully dry out on a cooling rack.
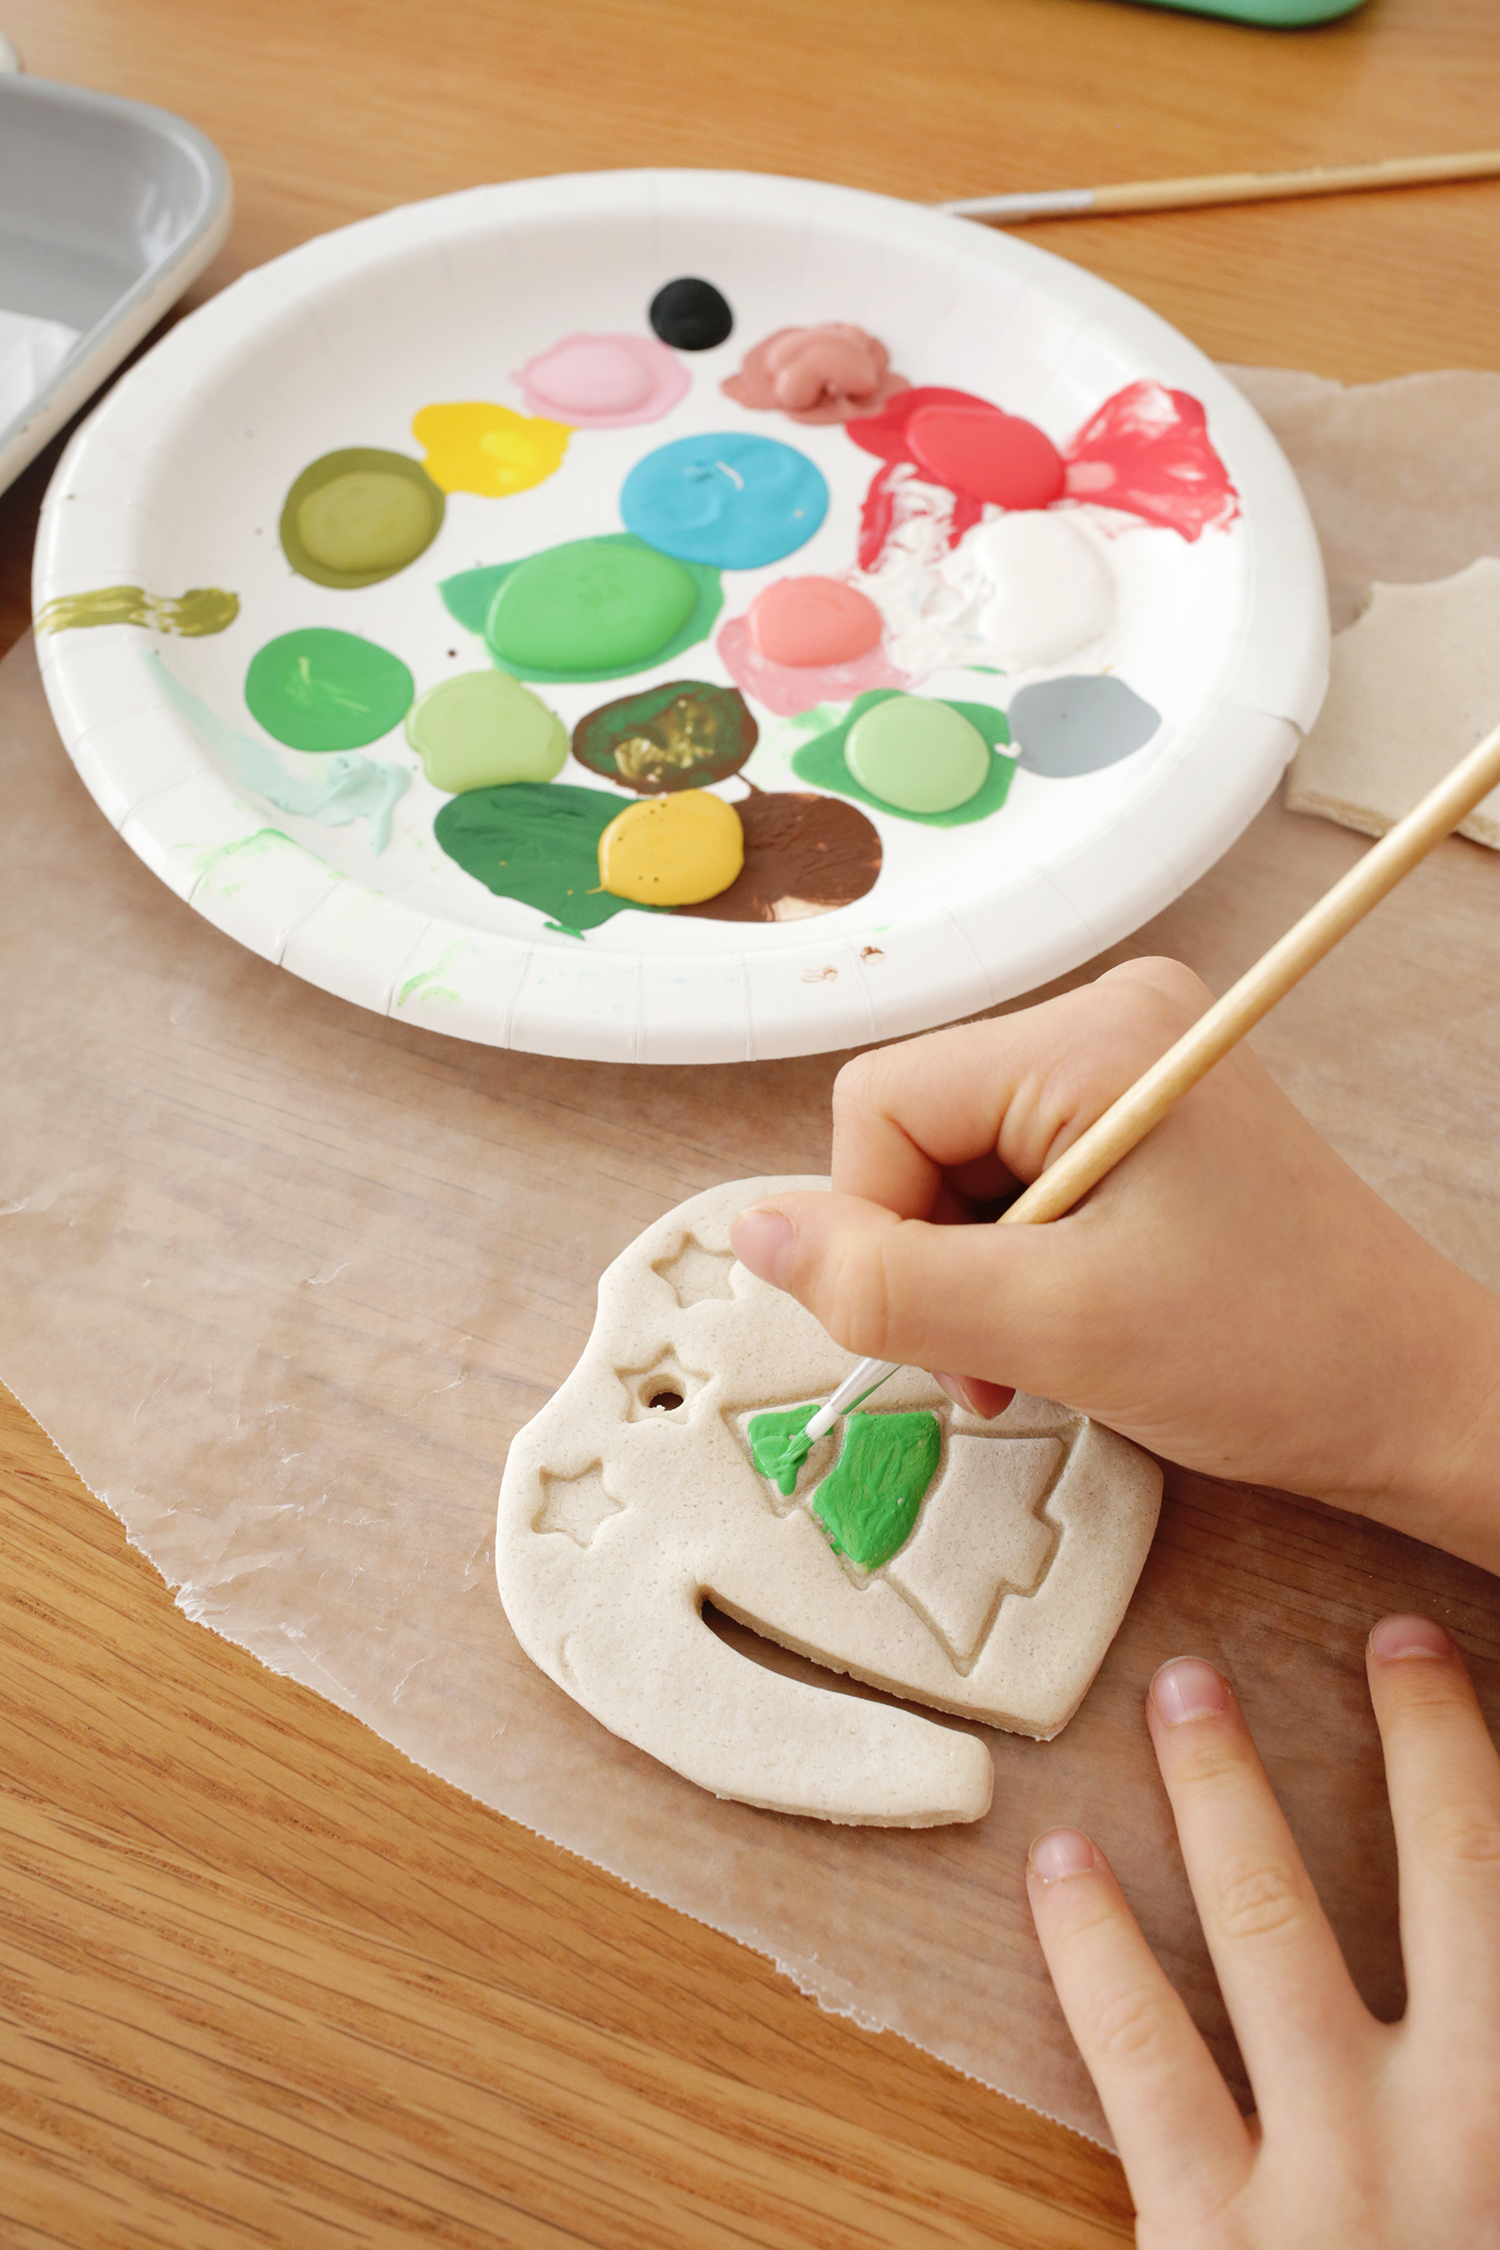
Decorate: Once your ornaments are cool, you can paint them with acrylic paint (or you can use washable paint for small kids). Once the paint is dry, brush on some ModPodge and then shake some loose glitter on the ornament or use glitter paint or puffy paint to add more details. Just put a bowl or plate under your loose glitter to catch the excess for easier cleanup!


How to make a handprint ornament
To make your ornament with a handprint, you can do either method based on the kiddo’s age:
- Baby hands: Roll out your dough and press your baby’s hand into the dough to make an imprint. Then, use a circle cutter that’s bigger than the hand and poke a hanging hole before baking.
- Big kid hands: Roll out your dough and use a knife to carefully trace your kid’s hand (you’ll want your child to be old enough to stay still for this). Poke a hanging hole before baking.

How do I seal my ornaments to preserve them?
To make your ornaments last for years, simply give the finished ornament a few coats of ModPodge with a small brush to seal the dough. Make sure to do both sides, so do the front and then seal the back as well once the front is dry enough to flip over.
How do I store salt dough ornaments?
While they are hard once dried, salt dough is breakable, so you’ll want to wrap your ornaments in bubble wrap or tissue paper and store in a box in a dry location to keep them from being broken while stored.


Tips for making salt dough ornaments:
- Roll out your dough between two layers of parchment paper for an easier rolling process.
- Add a tablespoon of cinnamon to your dough for a holiday scented ornament!
- Use a rolling pin with rolling guides for perfectly even 1/4″ thick dough.
Frequently Asked Questions
Why are my ornaments puffy in the oven?
If you mistakenly bought self-rising flour, that can lead to puffy ornaments. It may also be that your dough was rolled out too thick, so you can let them air dry for a few days (flipping it over every so often for even drying) and then try baking again.

Join the magic—follow us on Instagram, Pinterest and sign up for the newsletter
Want more winter fun ideas? Check out:
- Fake Snow
- How to Make a Paper Snowflake – 10 Free Designs
- Popsicle Stick Snowflake Ornament Craft (Winter Craft Idea!)
- Winter Word Search – FREE Printable Game
- Snowman English Muffin Personal Pizza (A Winter Snack Idea!)
Get creative ideas for recipes, crafts, decor, and more in your inbox!
 Get the Recipe
Ingredients
- 2 cups all-purpose flour
- ½ cup salt
- ¾ cup water
Equipment
Instructions
- Mix your dough: In a mixing bowl, add the flour, salt, and water. Mix with a spoon or your hands until a dense dough forms. If dough is too dry, add small amounts of water; if it’s too wet and sticky, add small amounts of flour. Knead until fully mixed and soft.
- Cut out your shapes: Roll out your dough until 1/4″ thick and use your cookie cutters to cut out the shapes. Use a straw or skewer to poke a hanging hole for your ornaments. Place on a parchment lined baking sheet.
- Bake and cool: Bake at 200°F for 2-3 hours, until very dry and flip them over after a few hours so the other side gets fully baked as well. If ornaments still feel soft to the touch, let them bake longer until hard. Allow to fully dry out on a cooling rack.
- Decorate: Once your ornaments are cool, you can paint them with acrylic paint (or you can use washable paint for small kids) and/or brush on some ModPodge and then shake some loose glitter on the ornament. Just put a bowl or plate under your glitter to catch the excess for easier cleanup!
Notes
How to make a handprint ornament
To make your ornament with a handprint, you can do either method based on the kiddo’s age:- Baby hands: Roll out your dough and press your baby’s hand into the dough to make an imprint. Then, use a circle cutter that’s bigger than the hand and poke a hanging hole before baking.
- Big kid hands: Roll out your dough and use a knife to carefully trace your kid’s hand (you’ll want your child to be old enough to stay still for this). Poke a hanging hole before baking.
Tips for making salt dough ornaments:
- Roll out your dough between two layers of parchment paper for an easier rolling process.
- Add a tablespoon of cinnamon to your dough for a holiday scented ornament!
- Use a rolling pin with rolling guides for perfectly even 1/4″ thick dough.
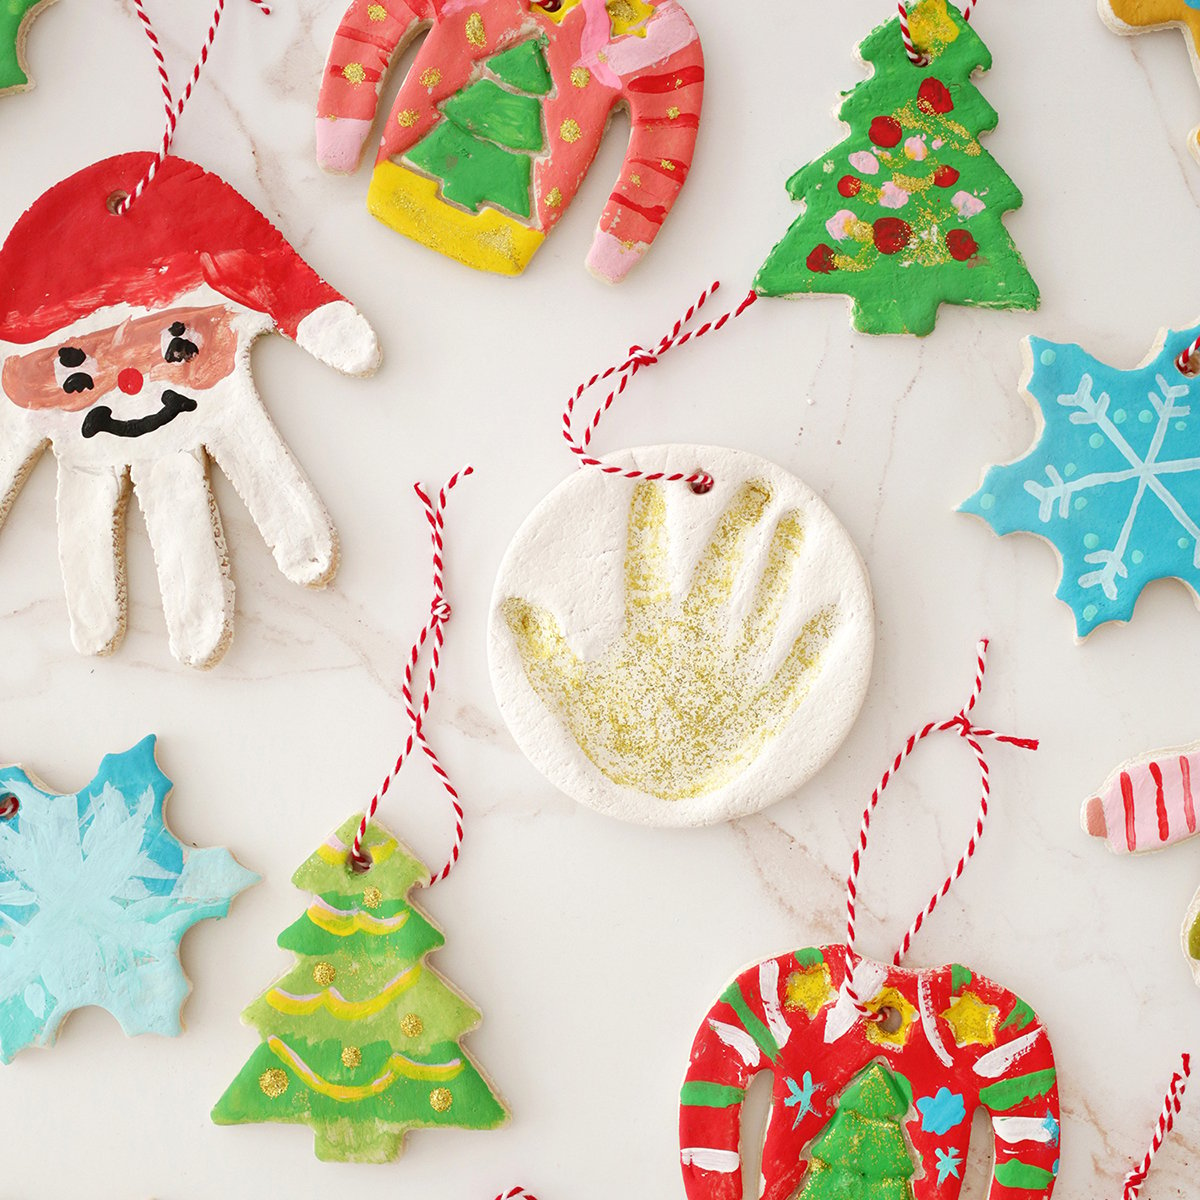

My daughter loved making these!
Most clear and comprehensive instructions I’ve found! Super special craft with kids.