This salt dough recipe is easy to make with only three ingredients and can provide hours of play while also helping kids practice fine motor skills and explore their creativity.
Salt dough can be played with and stored, much like playdough. You can color this salt dough recipe or leave it white. You can also create shapes or small ceramics and either bake or allow the dough to fully air dry for a fun at-home ceramics project.
Related: Next up, learn to make slime, fluffy cloud slime, fake snow, kinetic sand, moon sand, or Oobleck.

Would you like to save this?
What is salt dough?
Salt dough is a simple dough that is made with all-purpose flour, salt, and water. The high salt content is a natural preservative to keep the dough from getting moldy. This is why salt dough creations can last for years (and even decades!).

Ingredients
- All-purpose flour
- Salt
- Water
While salt dough is non-toxic and will likely not cause harm if small amounts are consumed, it is not edible. Uncooked all-purpose flour is not safe to eat, plus this dough will not taste good at all! As with pretty much all activities done with younger children, make sure to supervise so the dough does not get eaten.

How to make salt dough
In a mixing bowl, add the flour, salt, and water. Mix with a spoon or your hands until a dense dough forms. Knead until fully mixed and soft. Salt dough will be a similar consistency to playdough and bread dough mixed together.
If dough is too dry, add small amounts of water; if it’s too wet and sticky, add small amounts of flour. Salt dough is very easy to “fix” if you find your ratios to be off.

Baking & Drying Salt Dough
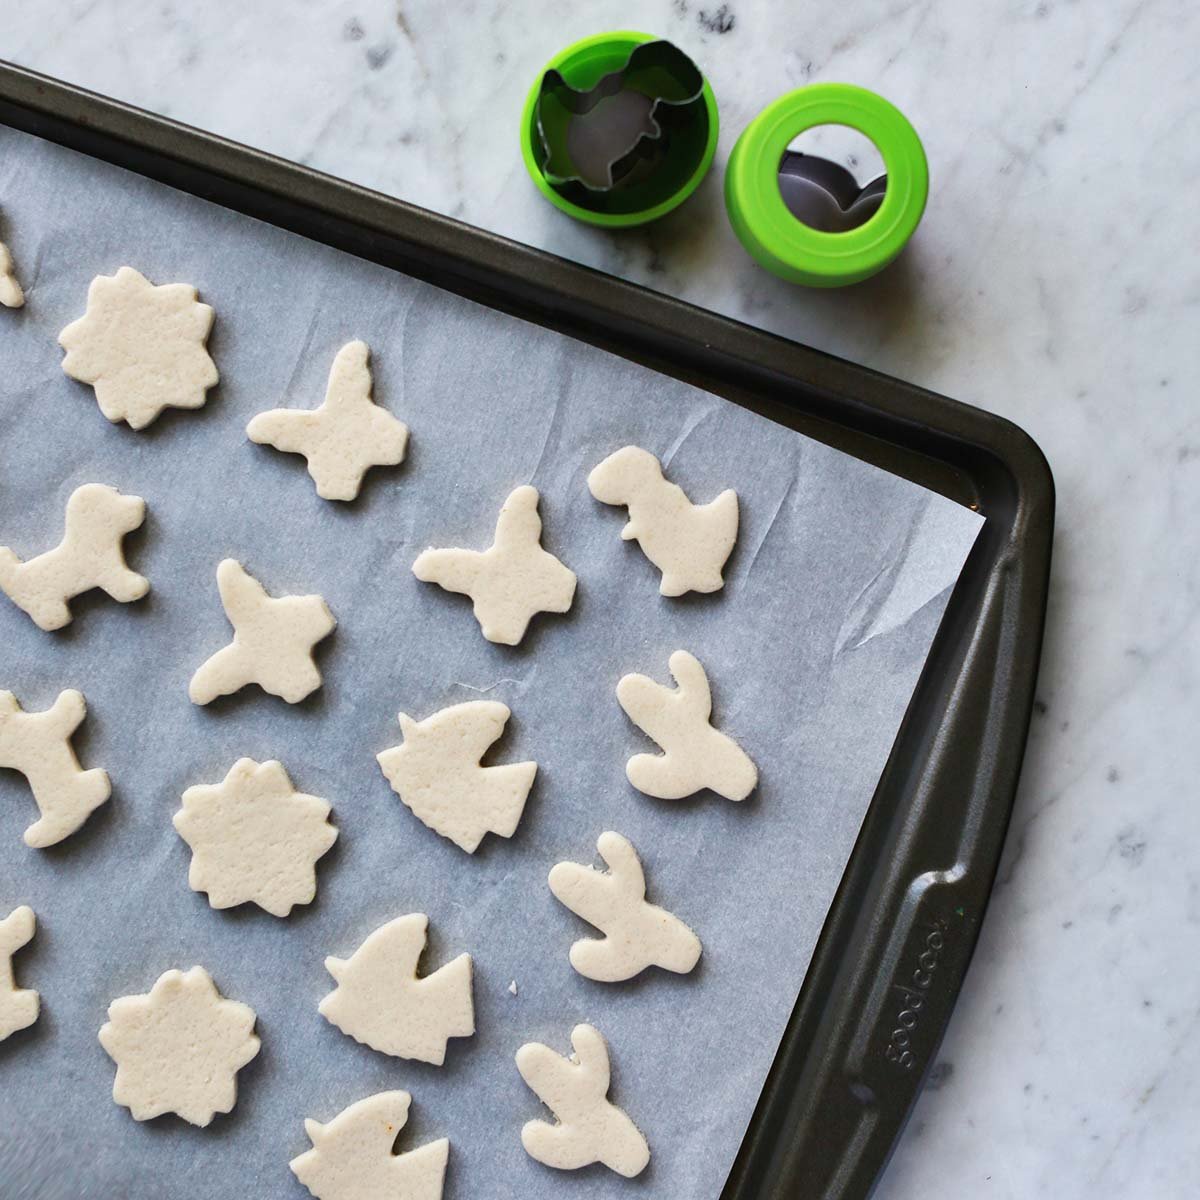
If you want to dry out your salt dough creations, the best method is to do this by baking in the oven. Flat designs that are roughly 1/4-inch in thickness should be placed on a baking sheet lined with parchment paper. Bake at 200°F for 2-3 hours.
You can also let salt dough air dry. If you go this route, place your creations on a cooling rack or other surface so air can circulate all around the project. Depending how thick your creation is this will usually take 1-2 days to dry.
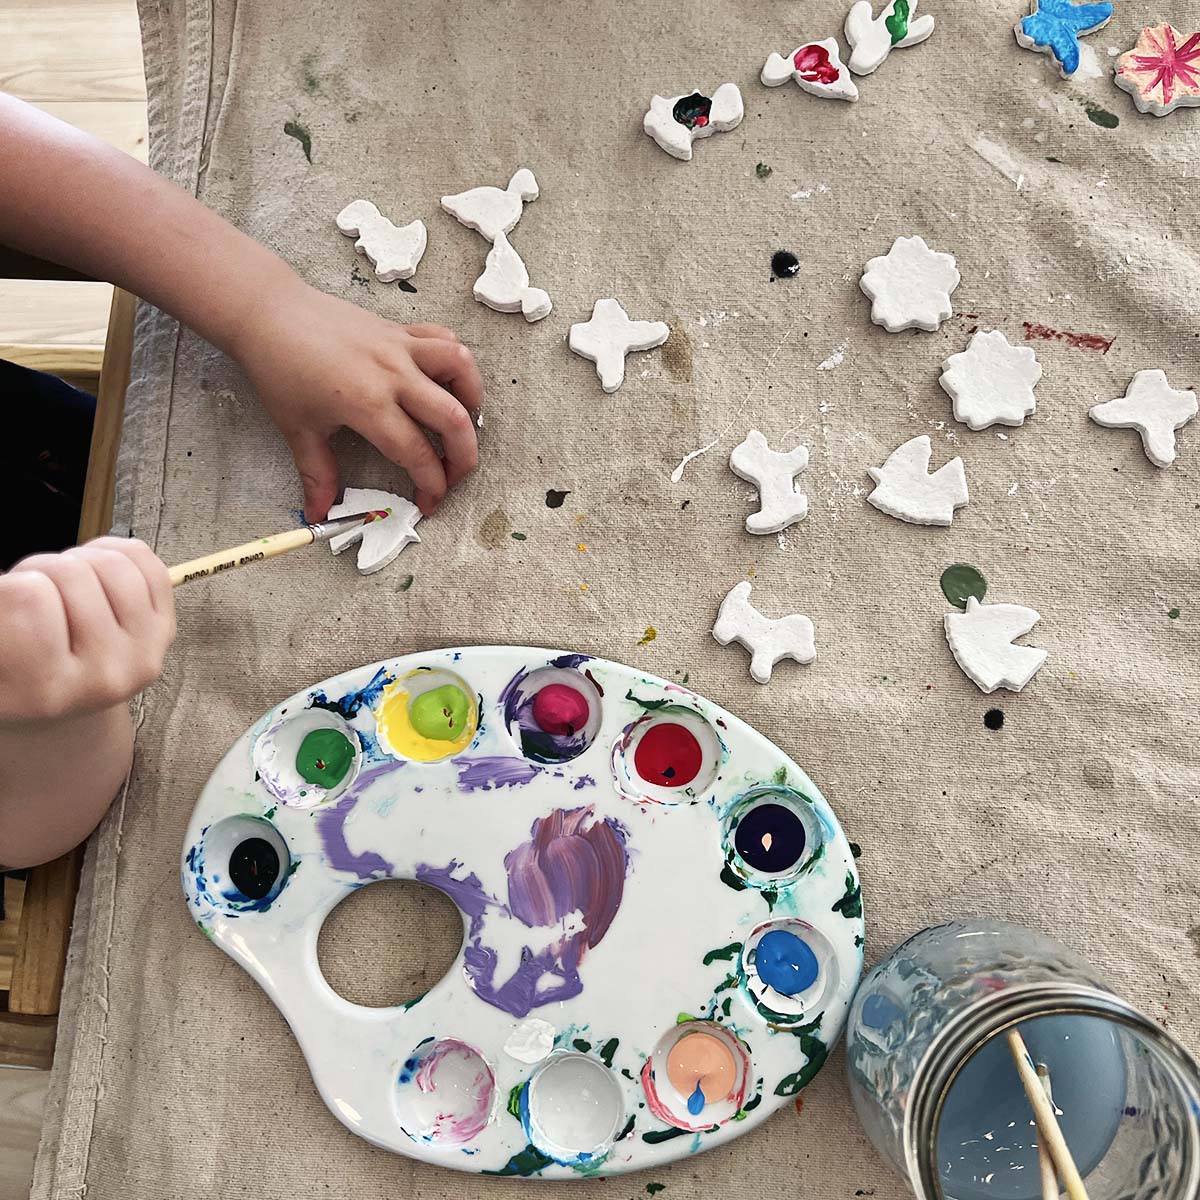
Salt dough projects should be fully dry before painting or using for other art projects, like jewelry or ornaments. They should feel fully stiff and uniform in color. If you notice any darker, damp areas on your salt dough creations, they need to bake or dry more.

Salt Dough Project ideas
- Holiday ornaments
- Small charms or beads for jewelry making
- Magnets for refrigerator or other surface – simply glue a magnet to dry designs
- Coasters for under drinks
- Wind catchers or a mobile
- Pinch pots
- Small trays or holding jewelry or other items like house keys
- Animals or other shapes for play – could be used in a dollhouse
- Handprint or footprint art for infants
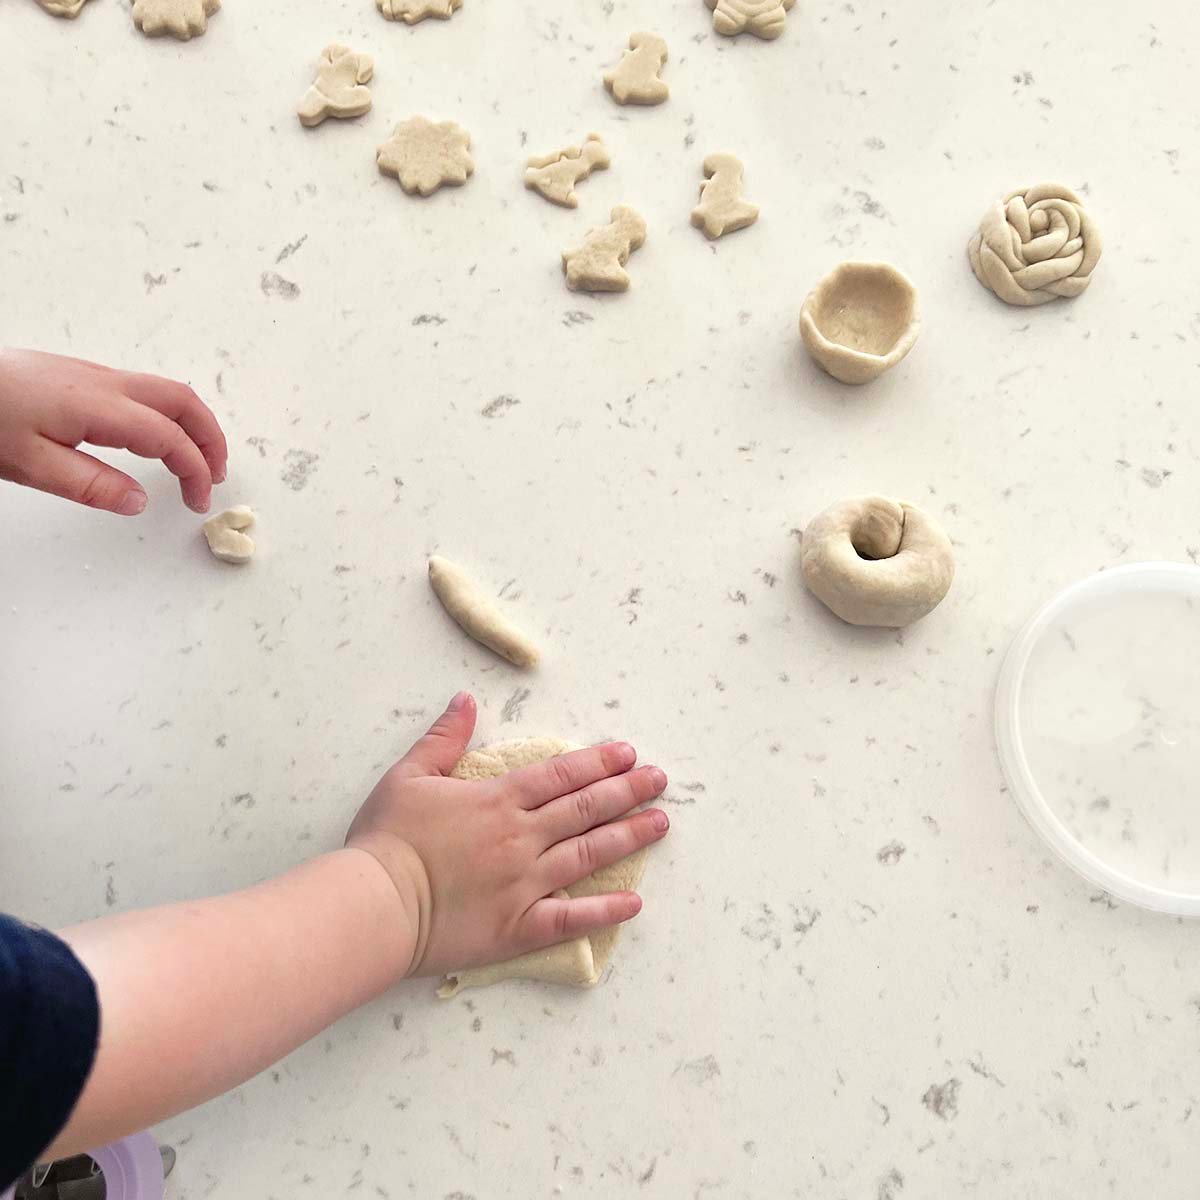
You can shape salt dough by hand or use cookie cutters or ceramic tools to make whatever designs you want!

Why kids love salt dough projects
- They can personalize creations into so many shapes, projects or colors.
- Kids can participate in making the dough, like an easy kitchen project.
- Kids love to use cookie cutters and help roll out the dough—just like they would when making cookies!
- Sensory dough projects like this promote creativity and fine motor skills.
- They can give their creations out as gifts and they’ll be so proud to give something that they made themselves!
- You likely already have all the ingredients you need to make this, so it’s a great project for anytime.

How to Store & Clean
Salt dough should be stored in an airtight container, like a reusable Tupperware or ziplock bag, if you want to reuse it for multiple times of play. Properly stored salt dough can last at least five days and likely longer.
Use salt dough on any nonporous surface like kitchen countertops or tables. It’s similar to bread dough in that it may leave a slight residue on surfaces or hands but can easily be cleaned with soap and water. If you get salt dough stuck on clothing or in other fabrics like carpet, simply allow it to fully dry and then you can crack it into fine pieces and vacuum or wash away in the washing machine. Salt dough can also be shampooed out of hair in the event that happens. 🙂

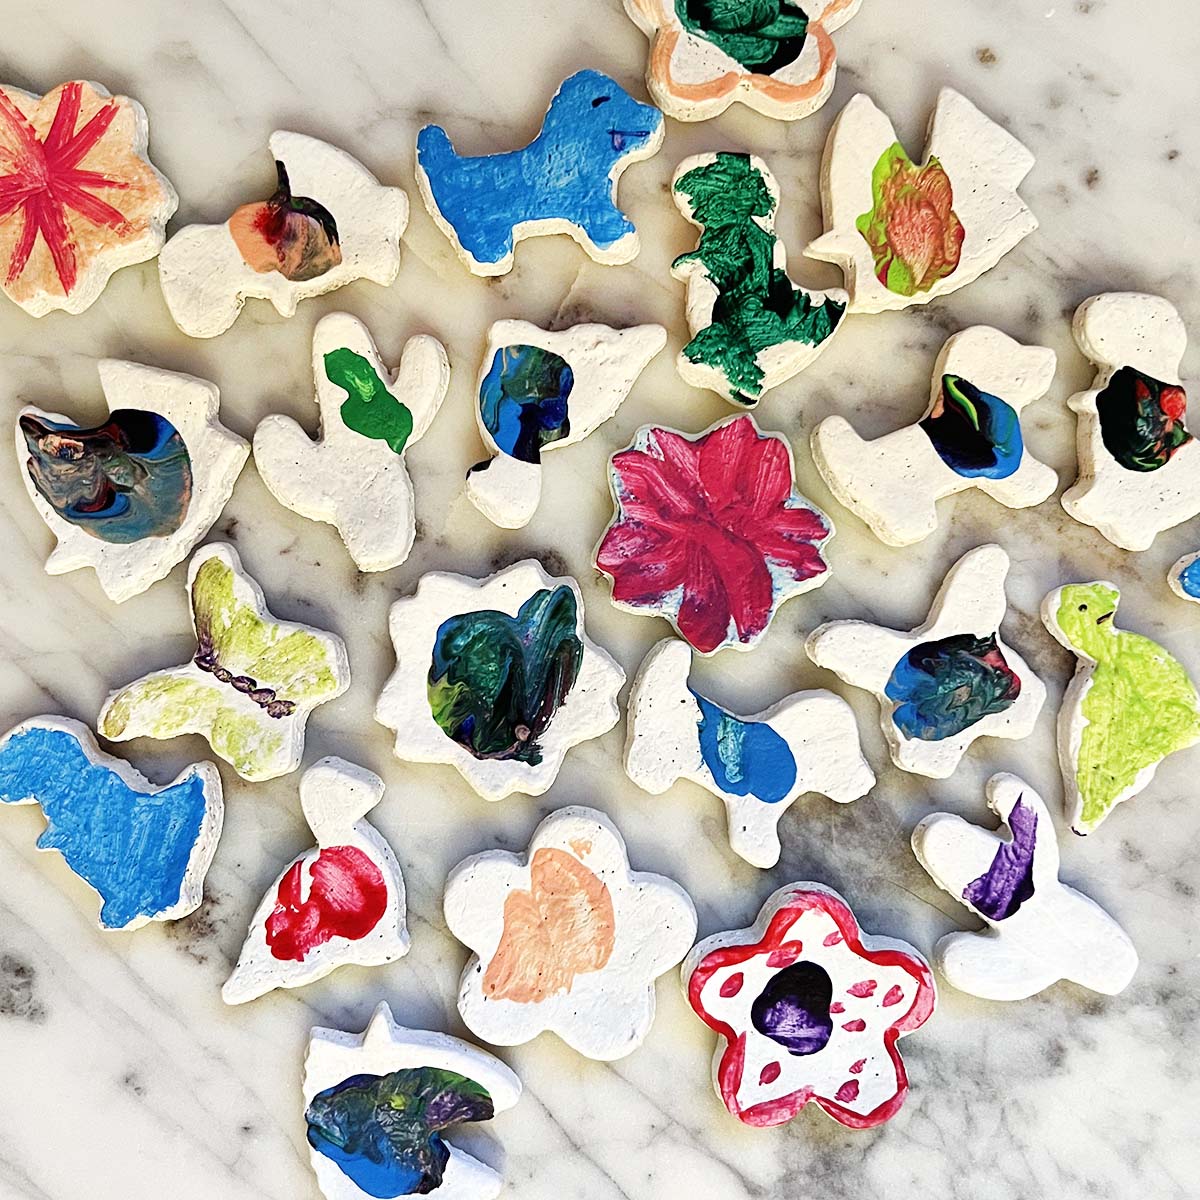
Above you can see what salt dough looks like once fully dry (on the right). It has a slight tan color to it and looks slightly course, from the salt grains. I will usually paint items white before letting our kids paint their colorful designs over them as it helps the colors stand out more. Have fun with this homemade salt dough recipe!
Get creative ideas for recipes, crafts, decor, and more in your inbox!
 Get the How-To
Supplies
- 2 cups all-purpose flour
- ½ cup salt
- ¾ cup water
Instructions
- In a mixing bowl, add the flour, salt, and water.
- Mix with a spoon or your hands until a dense dough forms.
- Knead until fully mixed and soft. Salt dough will be a similar consistency to playdough and bread dough mixed together.
- If dough is too dry, add small amounts of water; if it’s too wet and sticky, add small amounts of flour. Salt dough is very easy to "fix" if you find your ratios to be off.


Great recipe!
Trying this recipe today!!