It’s the most wonderful time of the year. We’re getting into Christmas crafting today with an easy snow globe craft that’s a handprint activity.
This craft is perfect for babies, toddlers and elementary school age levels. My children love snowmen and this project was very popular in our home.
Handprints are such a fun activity because kids are excited about how they’re custom (and made special) just from their hands.
They also love decorating the snowmen and giving them their own personalities! I’ll share a few tips on making the handprinting process as easy as possible, too.
Looking for more handprint craft ideas?
- Make a Paper Bag Owl Puppet
- Salt Dough Handprint Ornaments
- Witch Handprint Craft
- 10 Animal Handprint Crafts
- Strawberry Handprint Craft – Easy Homemade Card
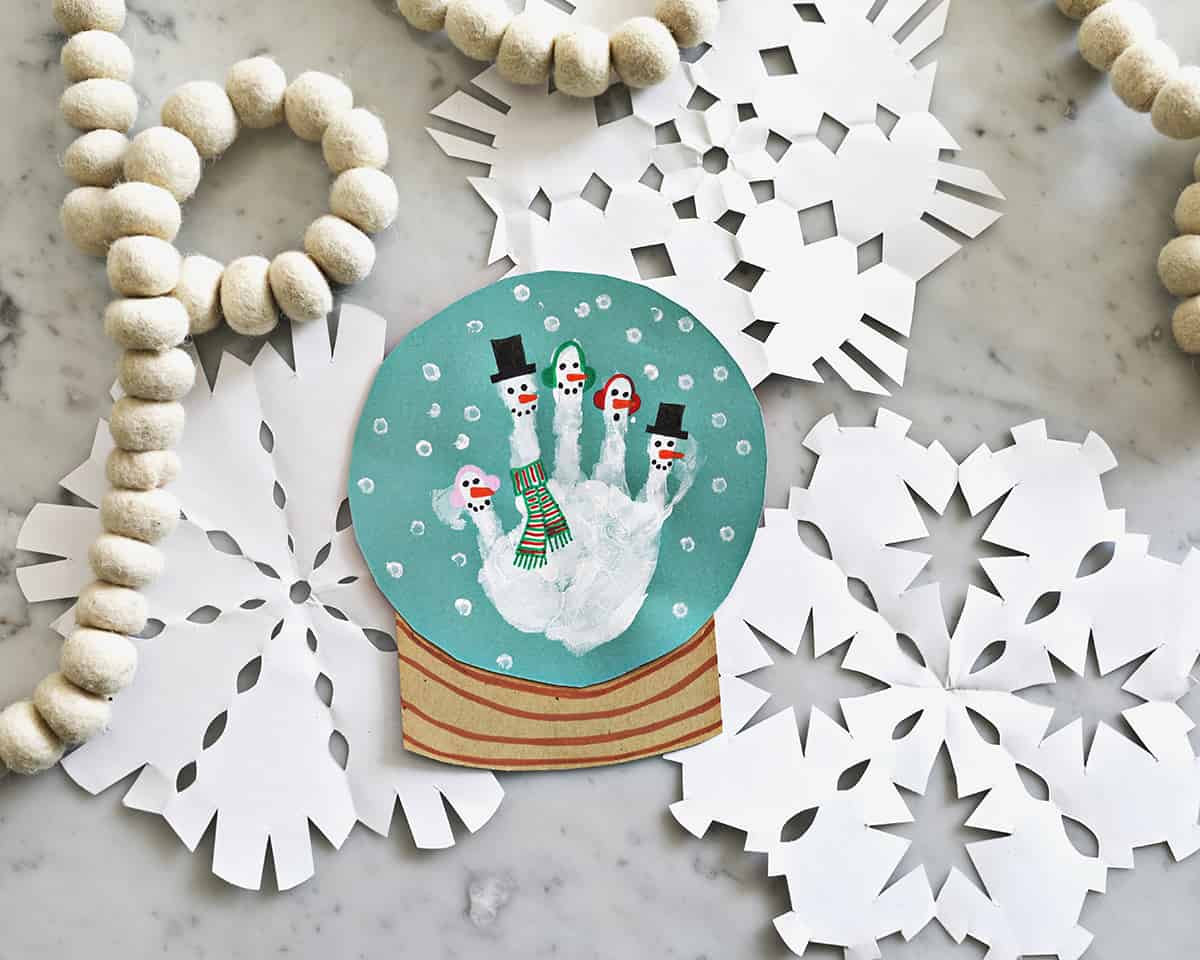
When to Make a Snow Globe Craft:
This project is perfect to make when learning about winter and the different seasons. You can also tie it into the holidays or make it into a greeting card.
If you live in a climate that has snow, it’s a really fun craft on a snow day. Or you can pretend to have a snow day. Hot chocolate would be an optional, but fun addition!
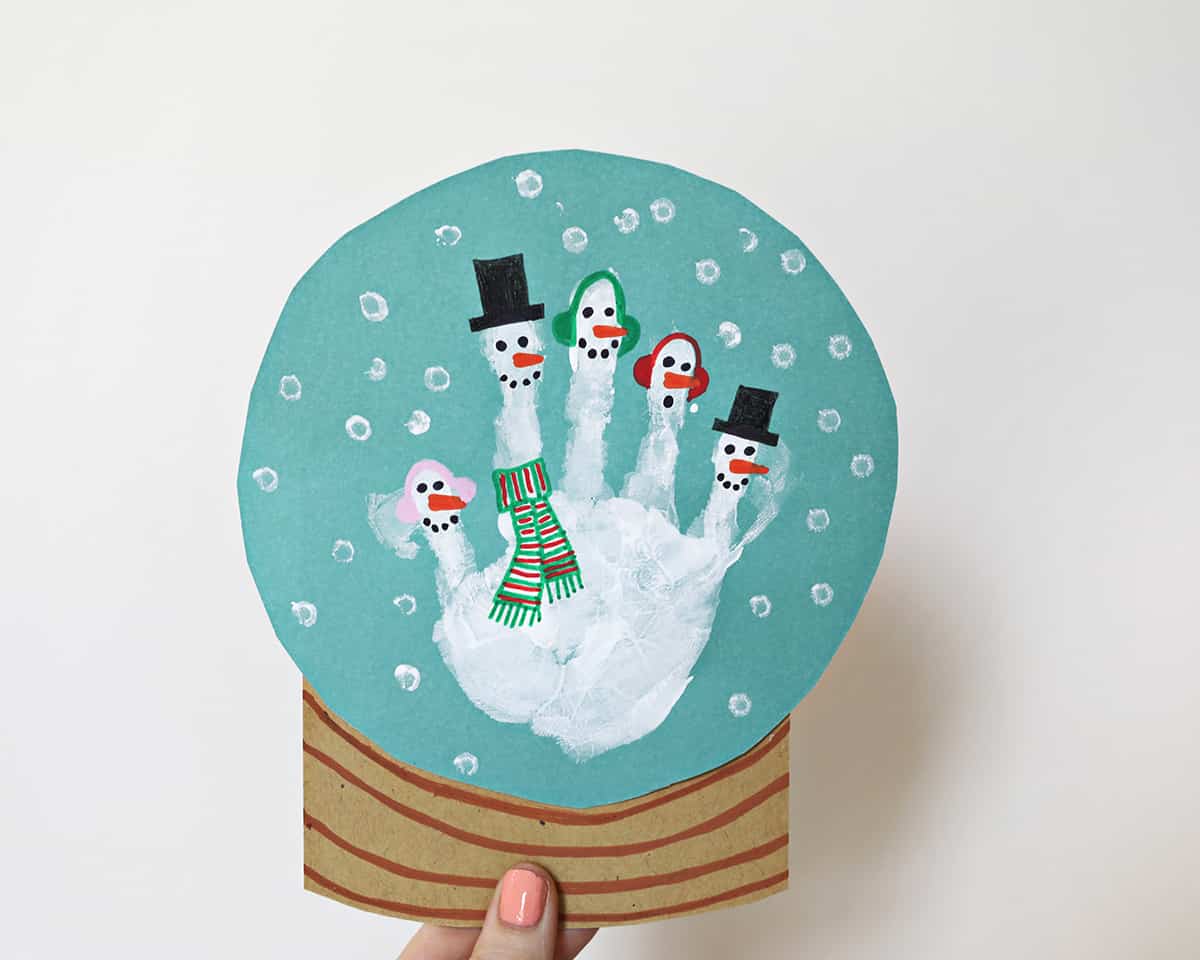
Supplies Needed:
- small paper plate to trace circle for snow globe (we’ll have a snow globe template soon!)
- teal (or blue) and brown cardstock or construction paper
- white acrylic paint
- one Q-tip
- markers or paint pens (I used black, red, orange, green, brown and pink paint pens).
- glue stick (to attach the two paper pieces).
Would you like to save this?
Making a Strong Handprint Impression:
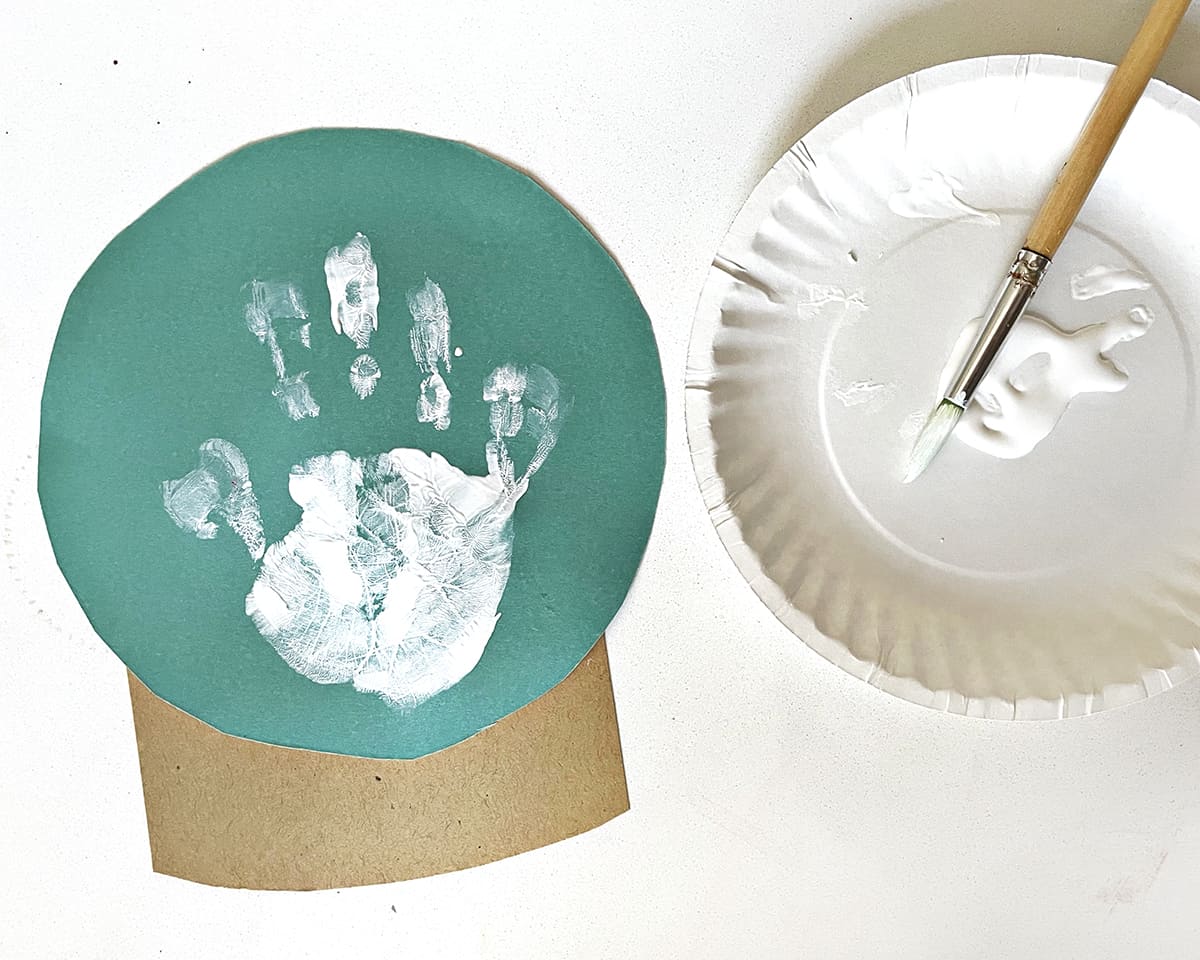
- Paint your child’s hand with a thick coat of white paint.
- Press the hand down. Apply gentle pressure to the base of the hand as well as each finger before pulling up.
- Always wash your child’s hands fully and immediately after getting paint on the skin.
How to Make Your Snow Globe:
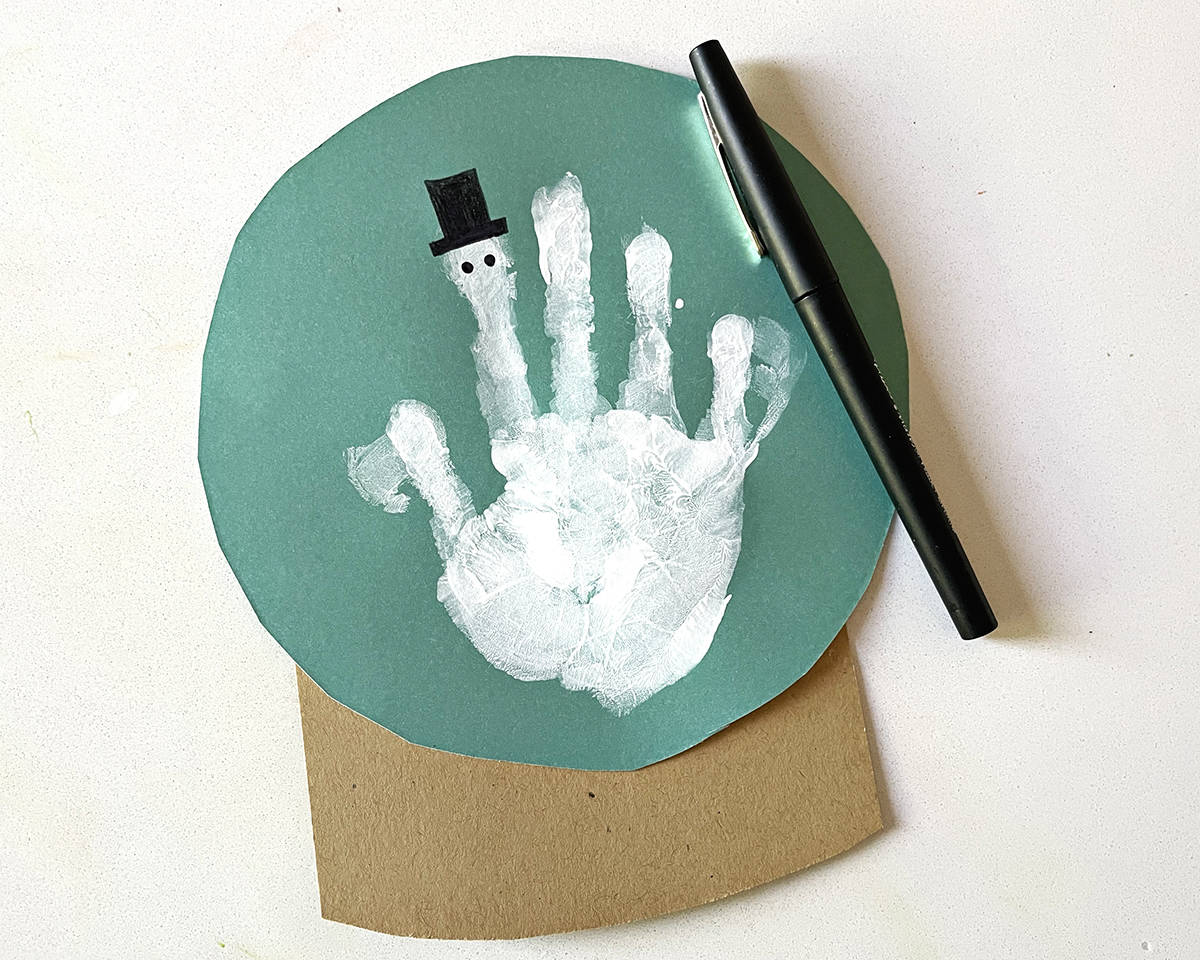
- After the handprint has fully dried, it’s time to illustrate the snowmen characters.
- Feel free to copy my illustration ideas or add your own. I did a combination of top hats and cute earmuffs with one scarf for added detail.
- After your illustrations are fully added, it’s time to add the final step—the snowflakes.
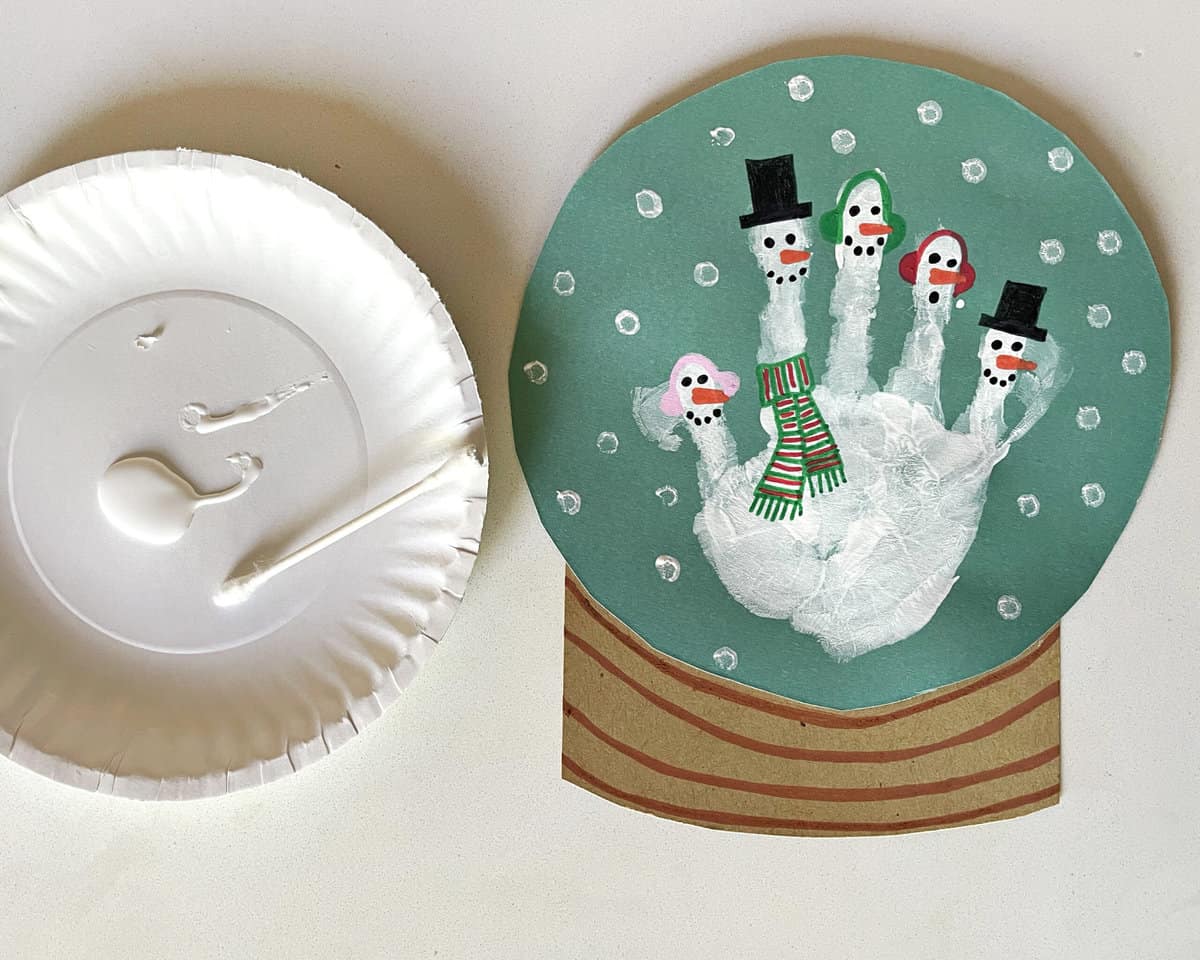
Use a Q-tip to add snowflakes to the background of the snow globe. You can also do this step immediately after the handprint if you’d like to save a bit of dry time.
This project takes about 30 minutes to complete, plus dry time for the paint.
Get creative ideas for recipes, crafts, decor, and more in your inbox!
 Get the How-To
Supplies
- 1 piece construction paper or cardstock (teal (or blue) and brown)
- acrylic paint (white)
- 1 Q-tip
- 1 small paper plate (or template to trace for snow globe)
- 1 piece construction paper or cardstock
- markers or paint pens (in black, red, orange, green, brown and pink)
- 1 glue stick (or school glue)
Instructions
- Paint your child's hand with a thick coat of white paint.
- Press the hand down. Apply gentle pressure to the base of the hand as well as each finger before pulling up. Always wash your child's hands fully and immediately after getting paint on the skin.
- After the handprint has fully dried, it's time to illustrate the snowmen characters. Feel free to copy my illustration ideas or add your own. I did a combination of top hats and cute earmuffs with one scarf for added detail.
- After your illustrations are fully added, it's time to add the final step—the snowflakes. Use your Q-tip and dip into white paint to make dots that look like snowflakes.
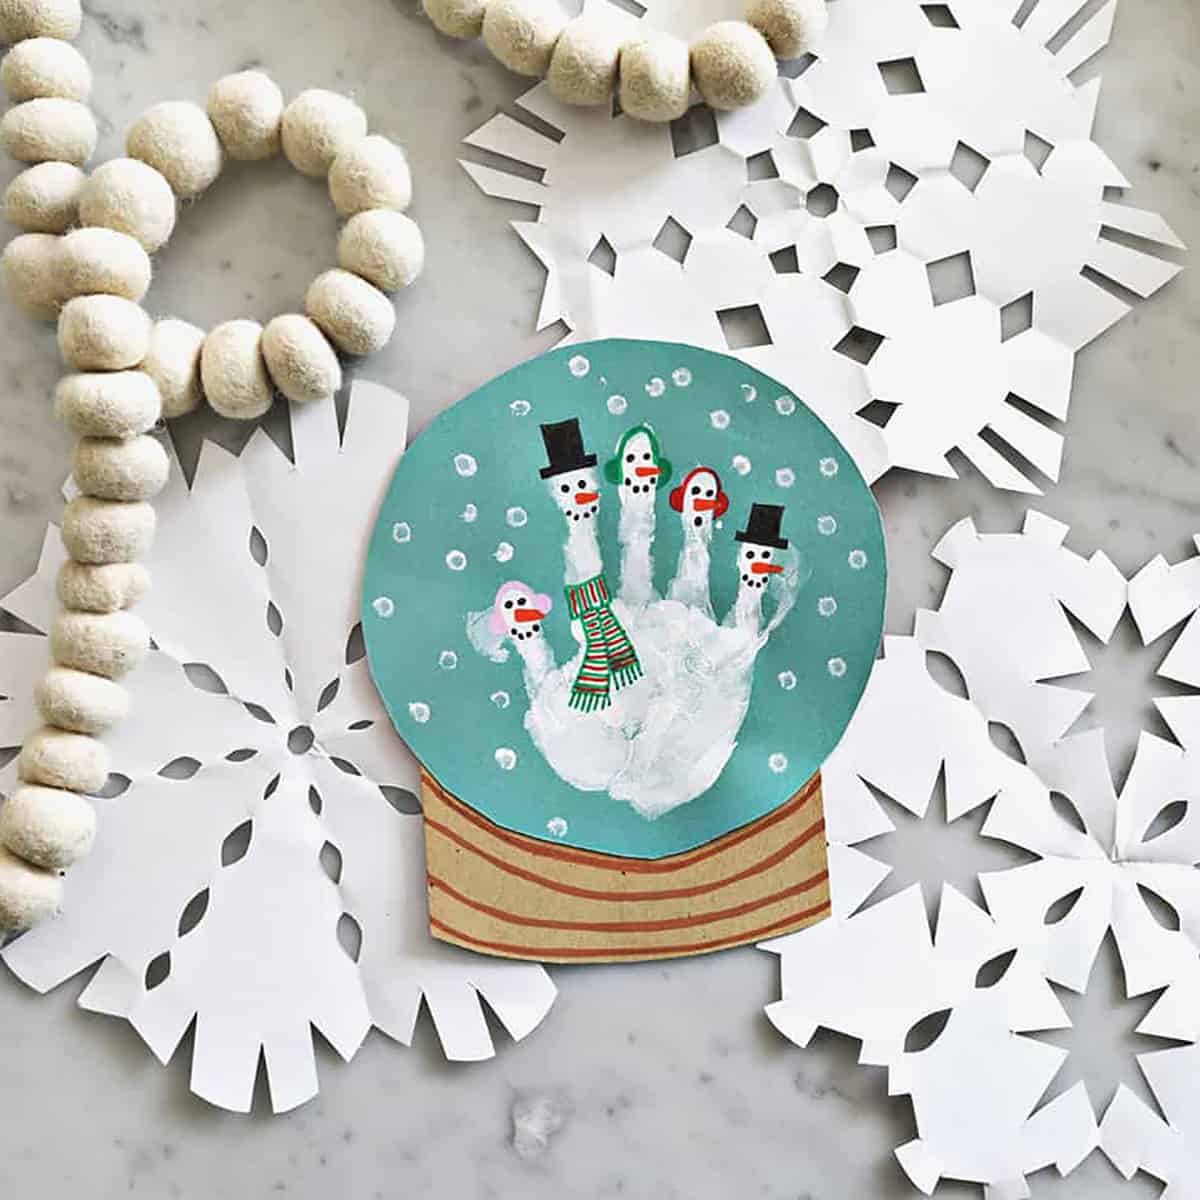


So cute 🙂