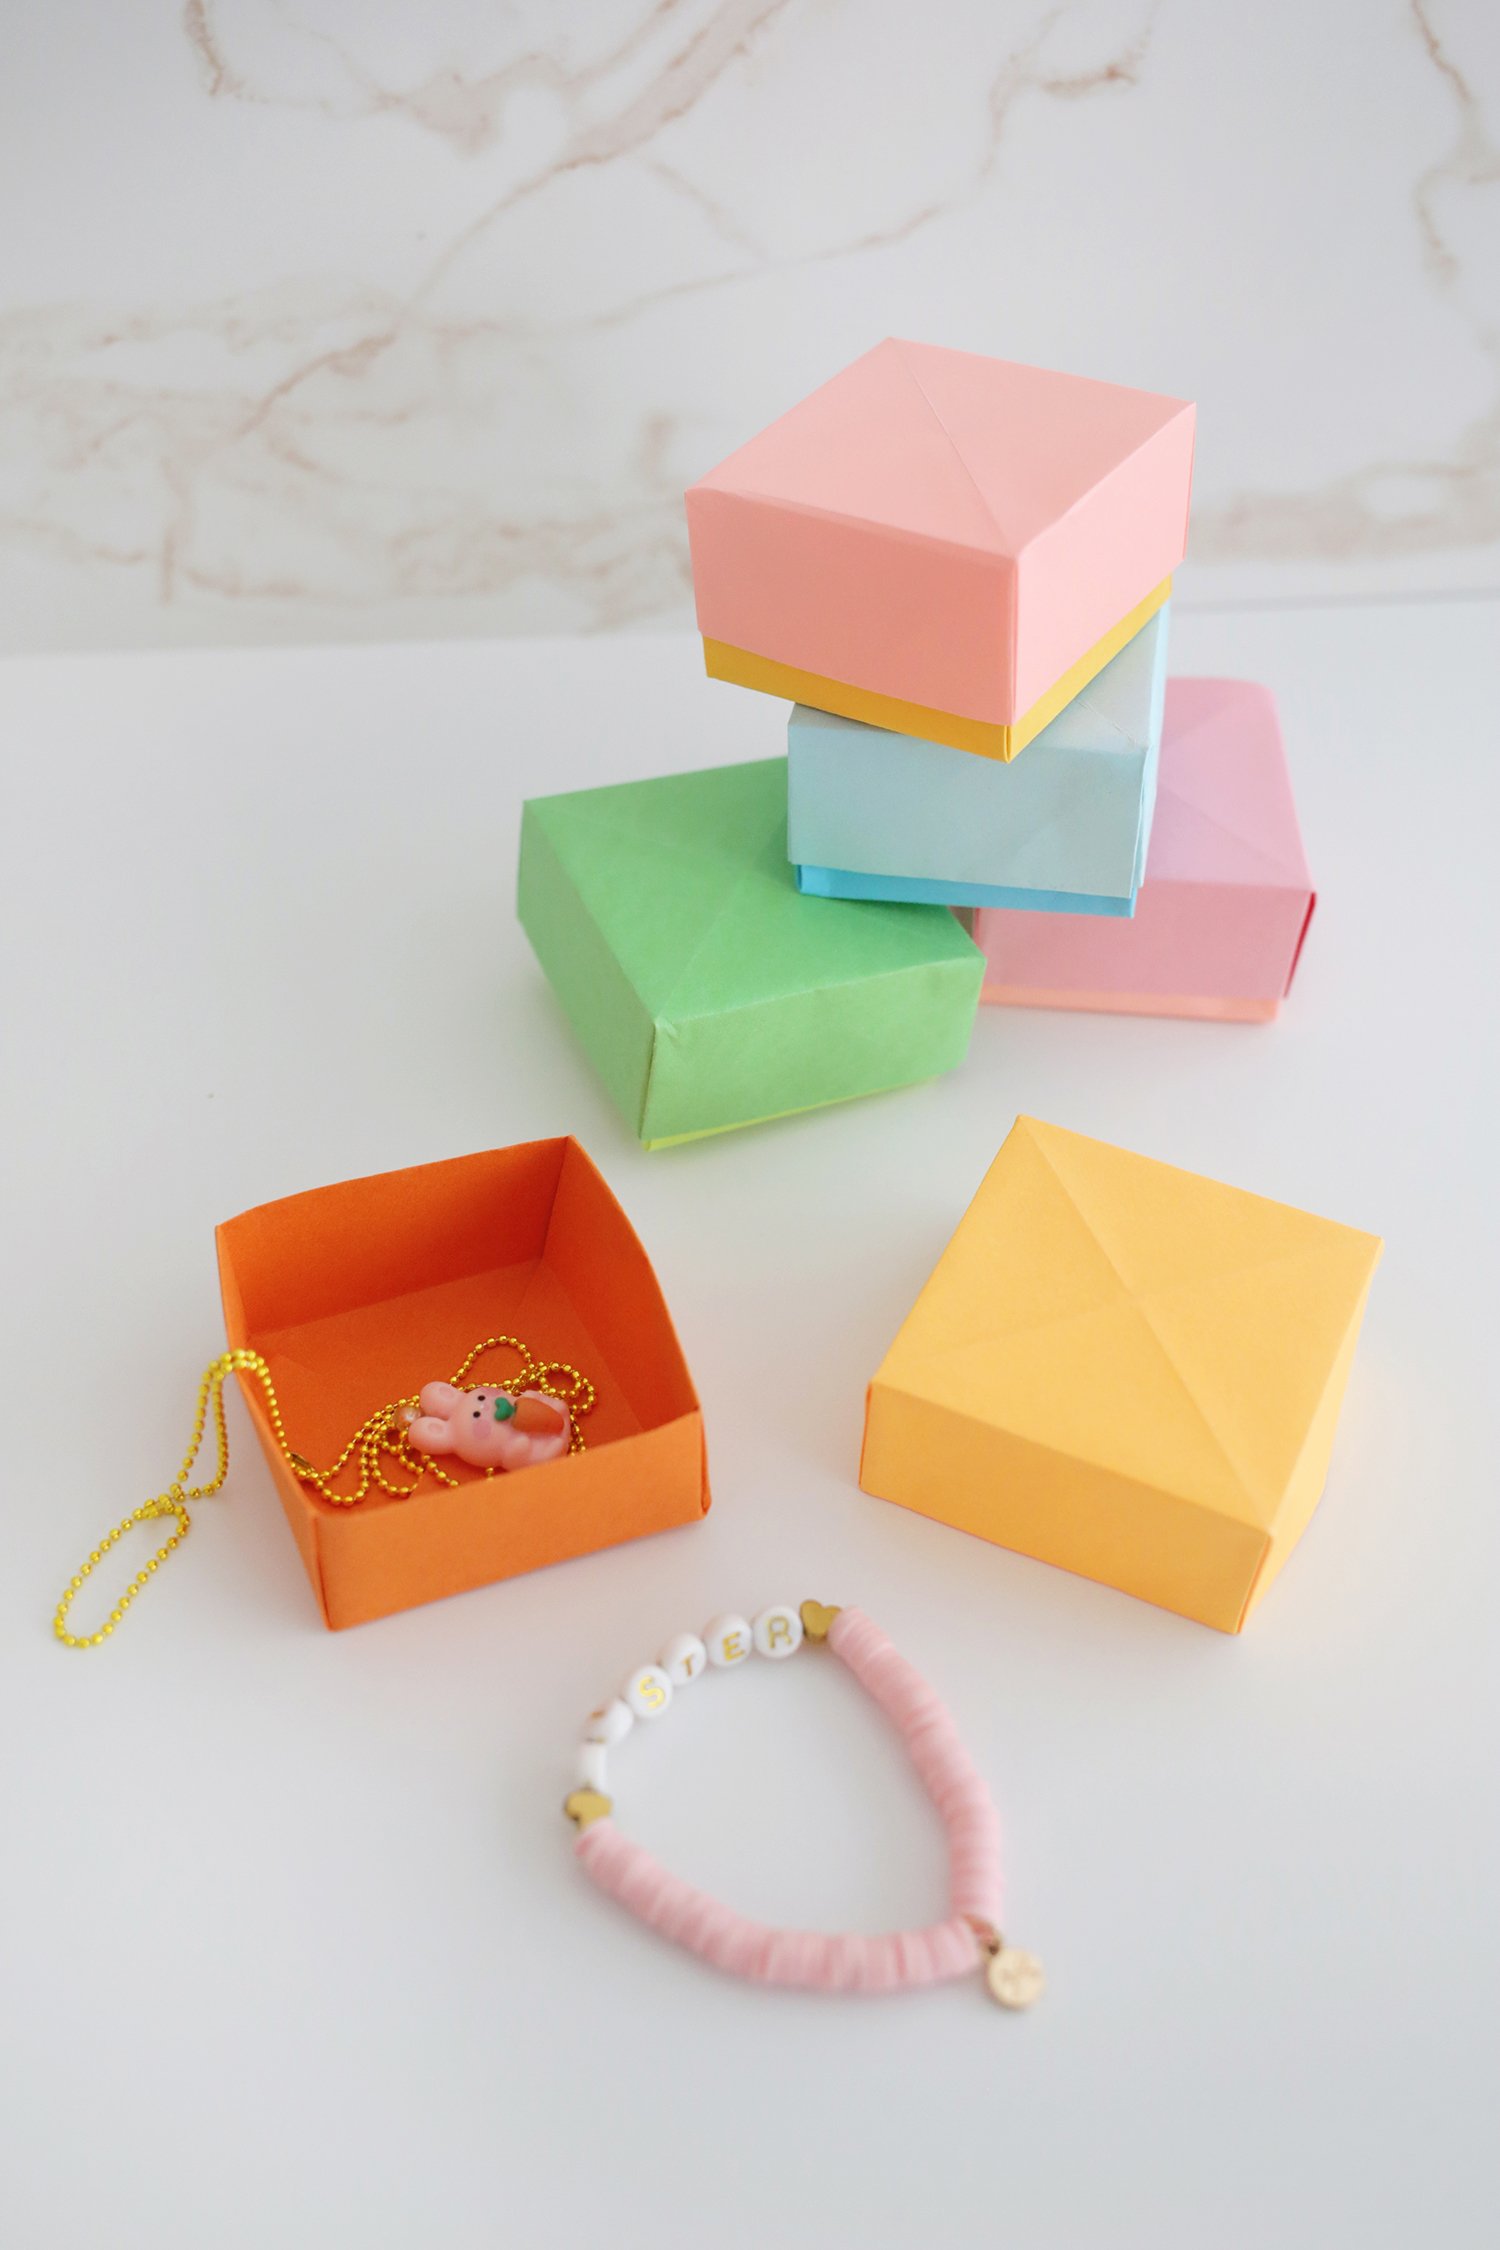
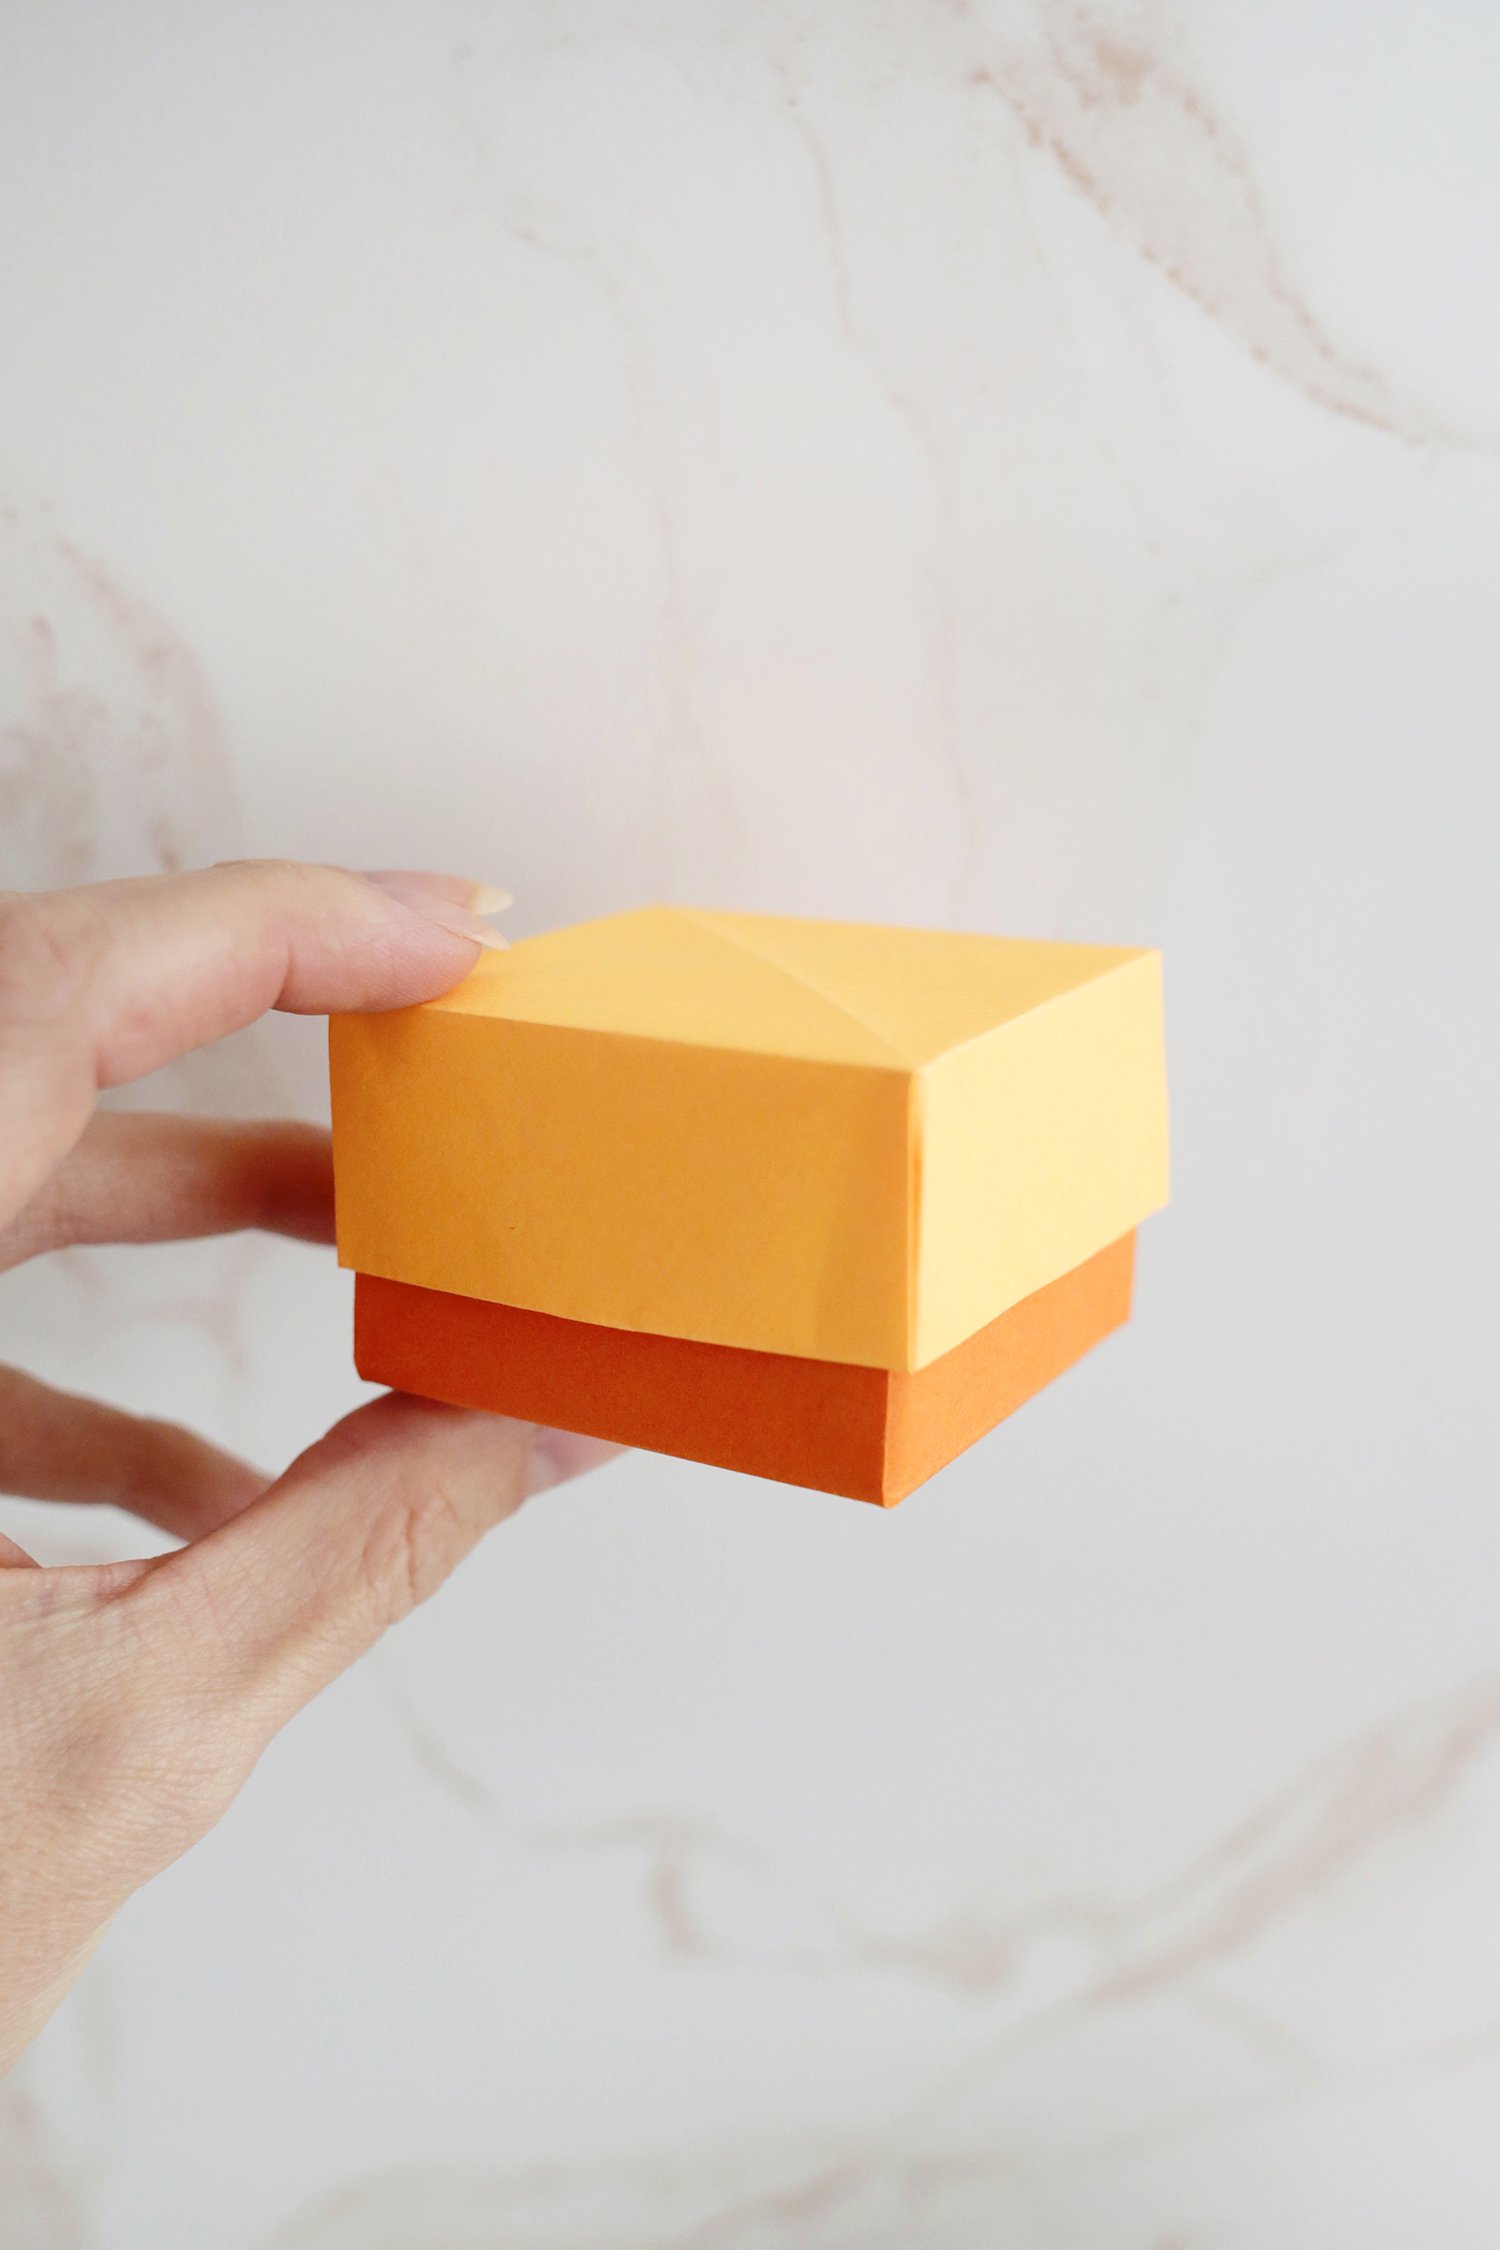
This is a simple step-by-step guide to making an origami box (also called a Masu, which is Japanese for “square wooden box”). Little boxes like these are perfect to use for little containers or to make your own small gift box for presents.
We also have a video for you so you can follow along that way if you like! Kids love to make their own origami creations and, with a little help, this origami box can be done by elementary aged kids.
This post will show you how to make the box bottom, and this post will show you how to make the lid! The lid is almost exactly the same steps but with a few minor tweaks.
Looking for more origami projects? Try:
- Easy Origami Heart (with video!)
- Origami Crane
- Origami Flower
- Easy Origami Butterfly
- 3 Easy Paper Airplanes (with videos!)
What you’ll need to make it
- Origami paper (or paper cut into a square)
How to make an origami box:

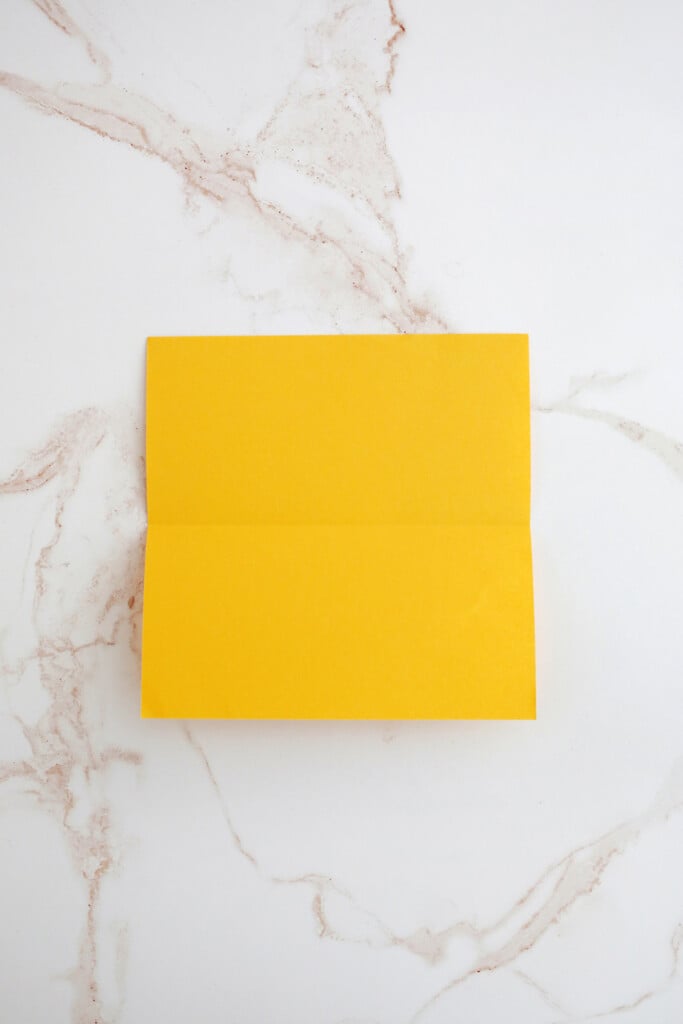
Step 1: Lay your square on the table in front of you.
Step 2: Fold your paper in half top to bottom edge and then unfold.
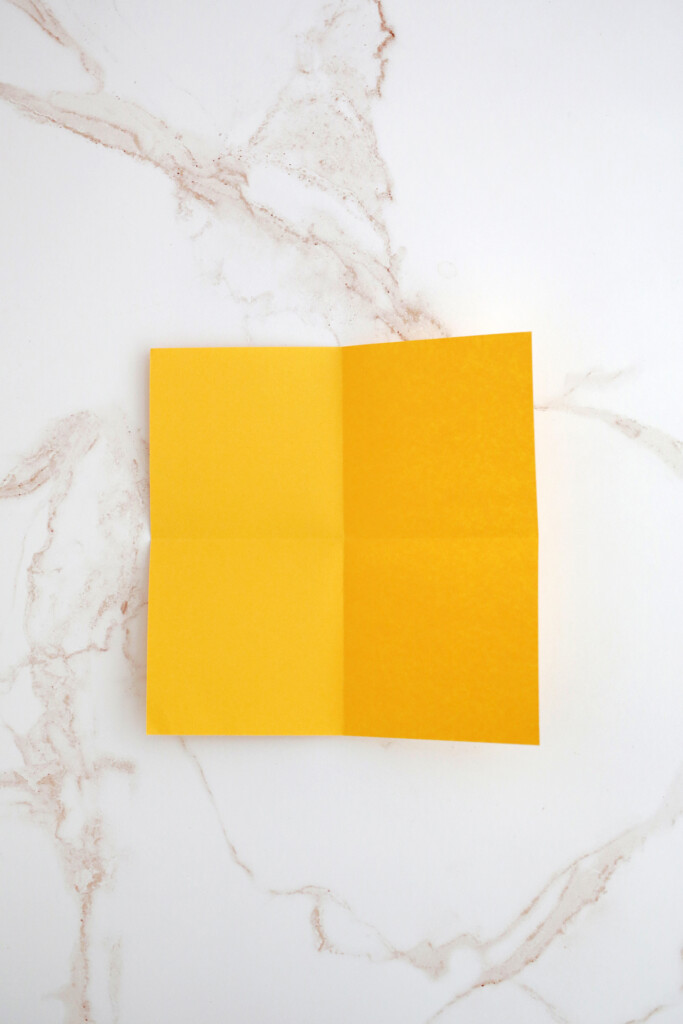
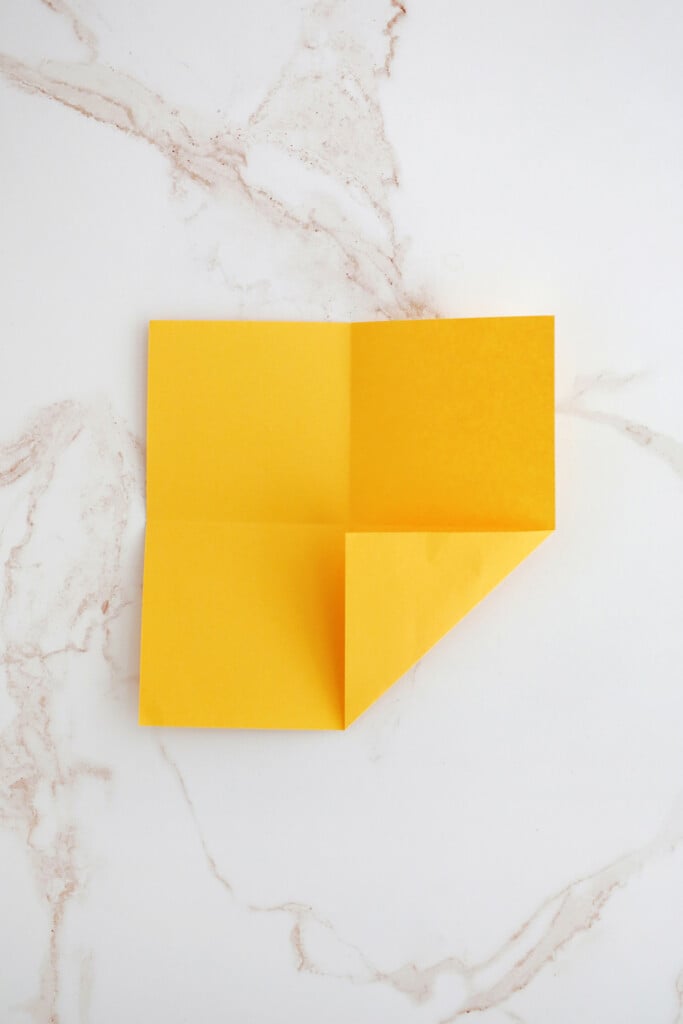
Step 3: Fold the left edge to the right edge and then unfold.
Step 4: Fold the bottom right corner into the middle to meet the center of the paper.
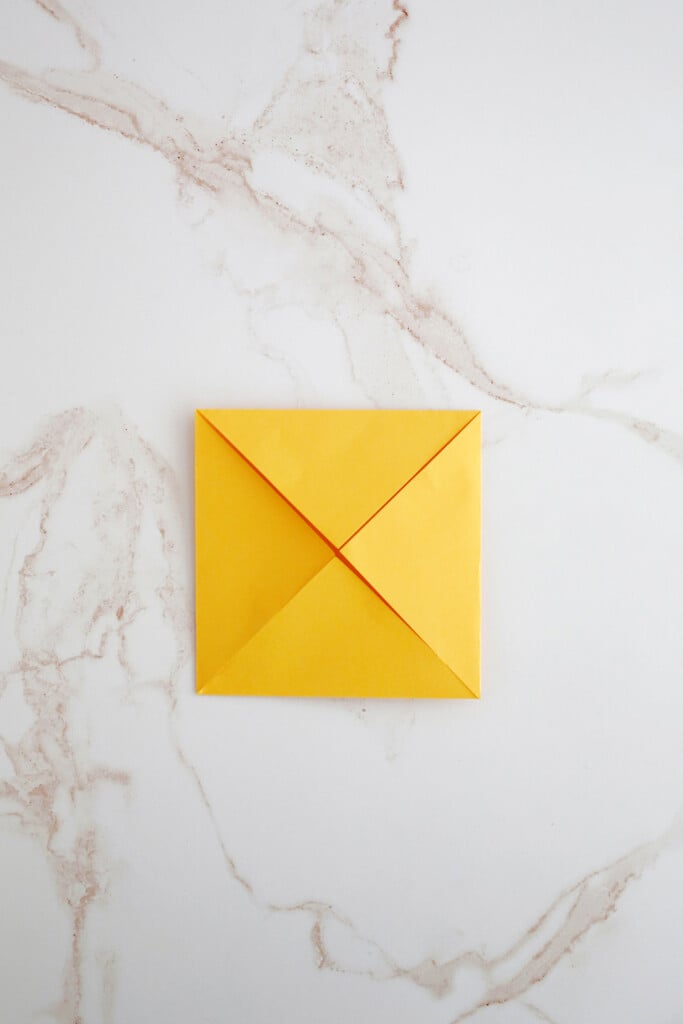
Step 5: Fold all corners into the center point.
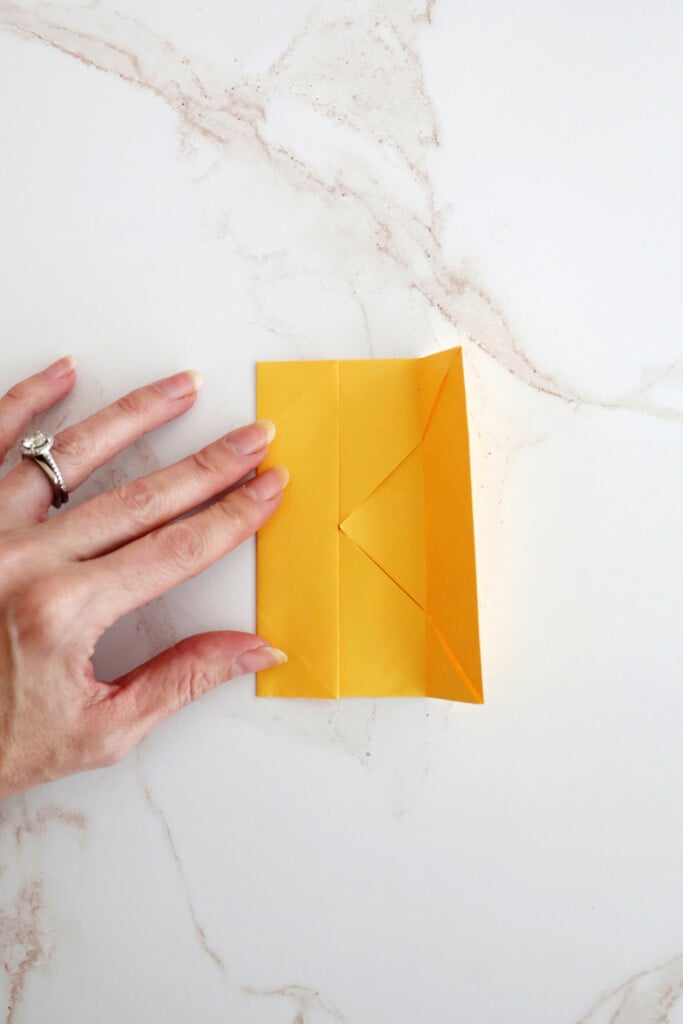
Step 6: Fold the left edge in to meet the center point of your paper.
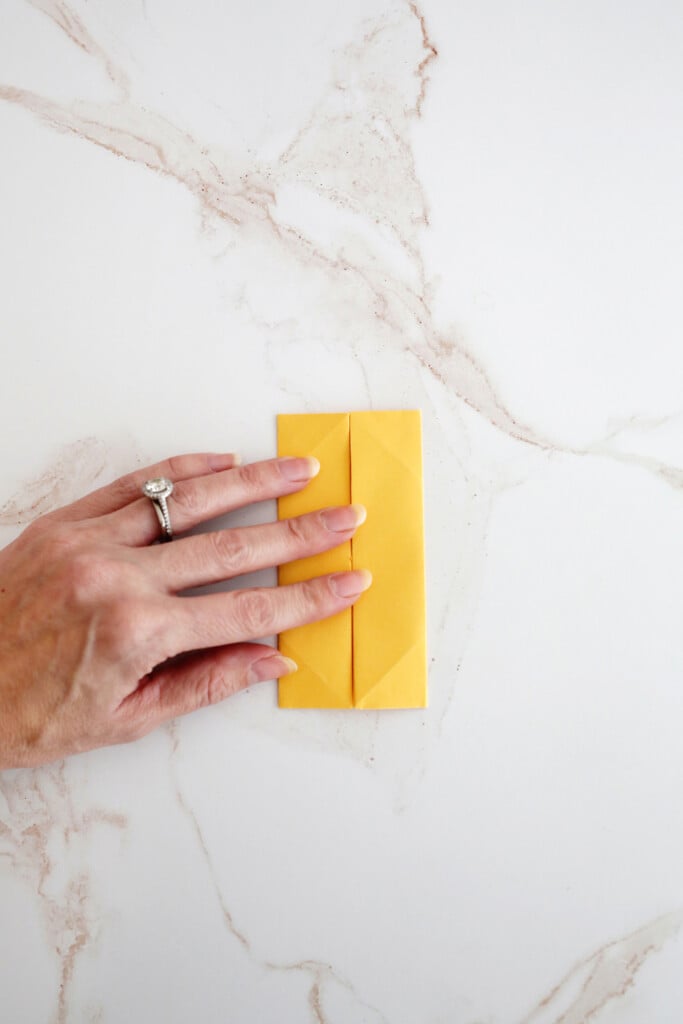
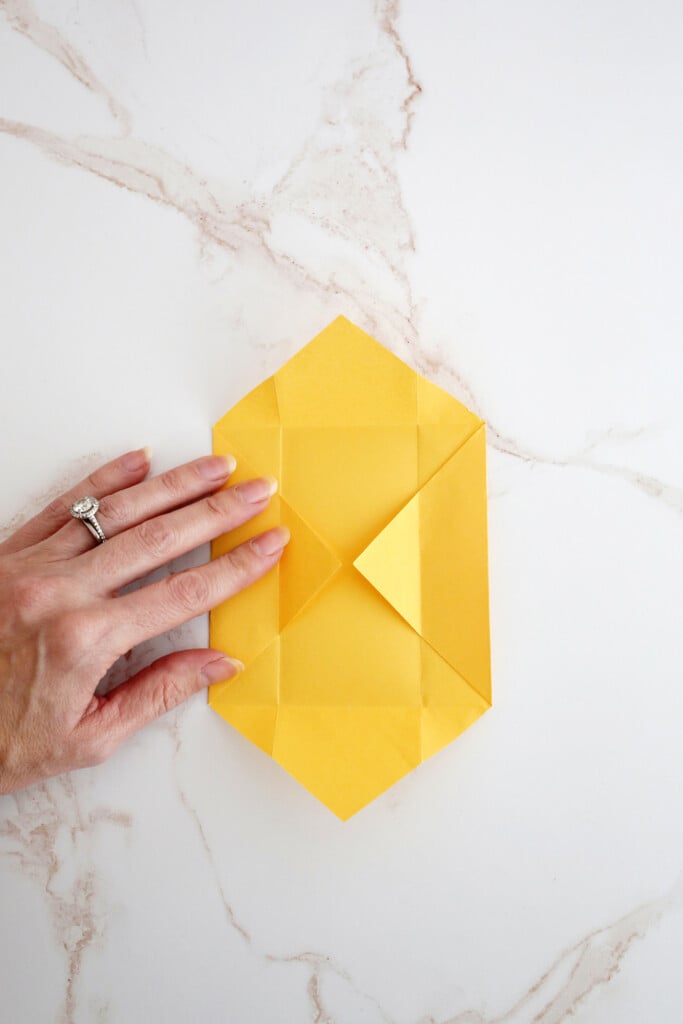
Step 7: Fold the right side into meet the middle.
Step 8: Unfold the sides, rotate the paper and unfold the top and bottom flaps.
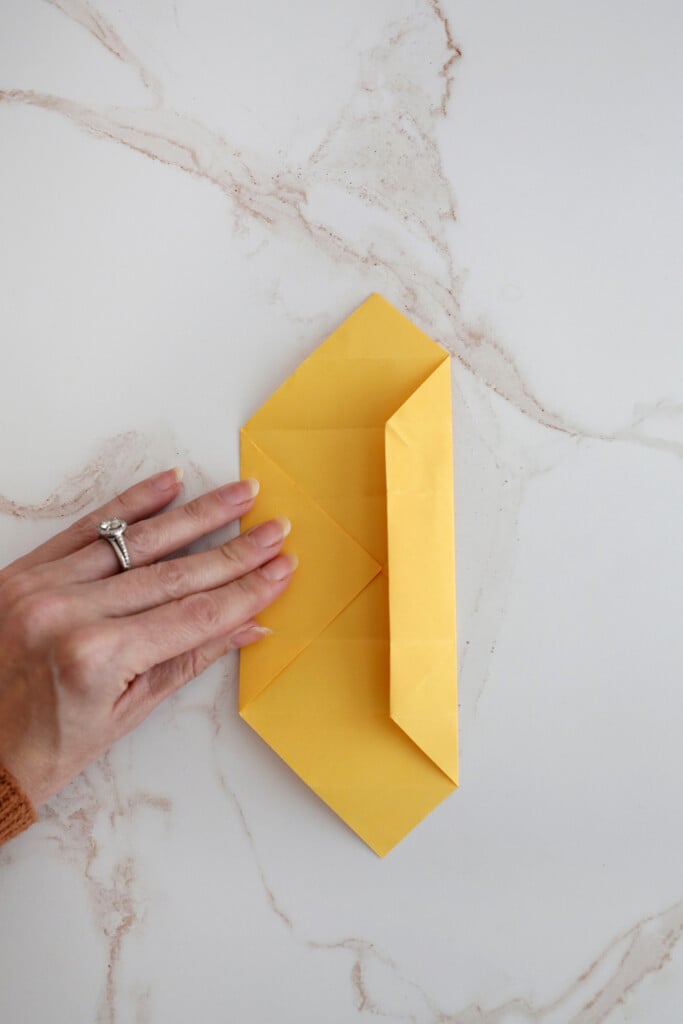
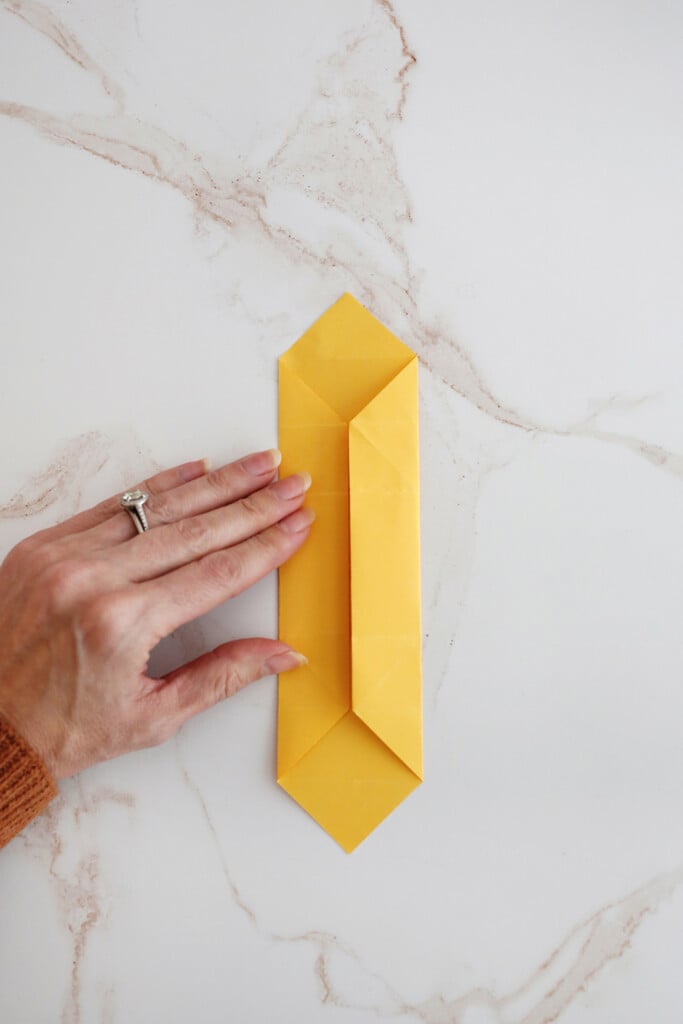
Step 9: Fold the right side of your paper over to meet the middle point.
Step 10: Repeat with the left side of your paper.

Step 11: Lift the top part up at the crease to make it stand up.
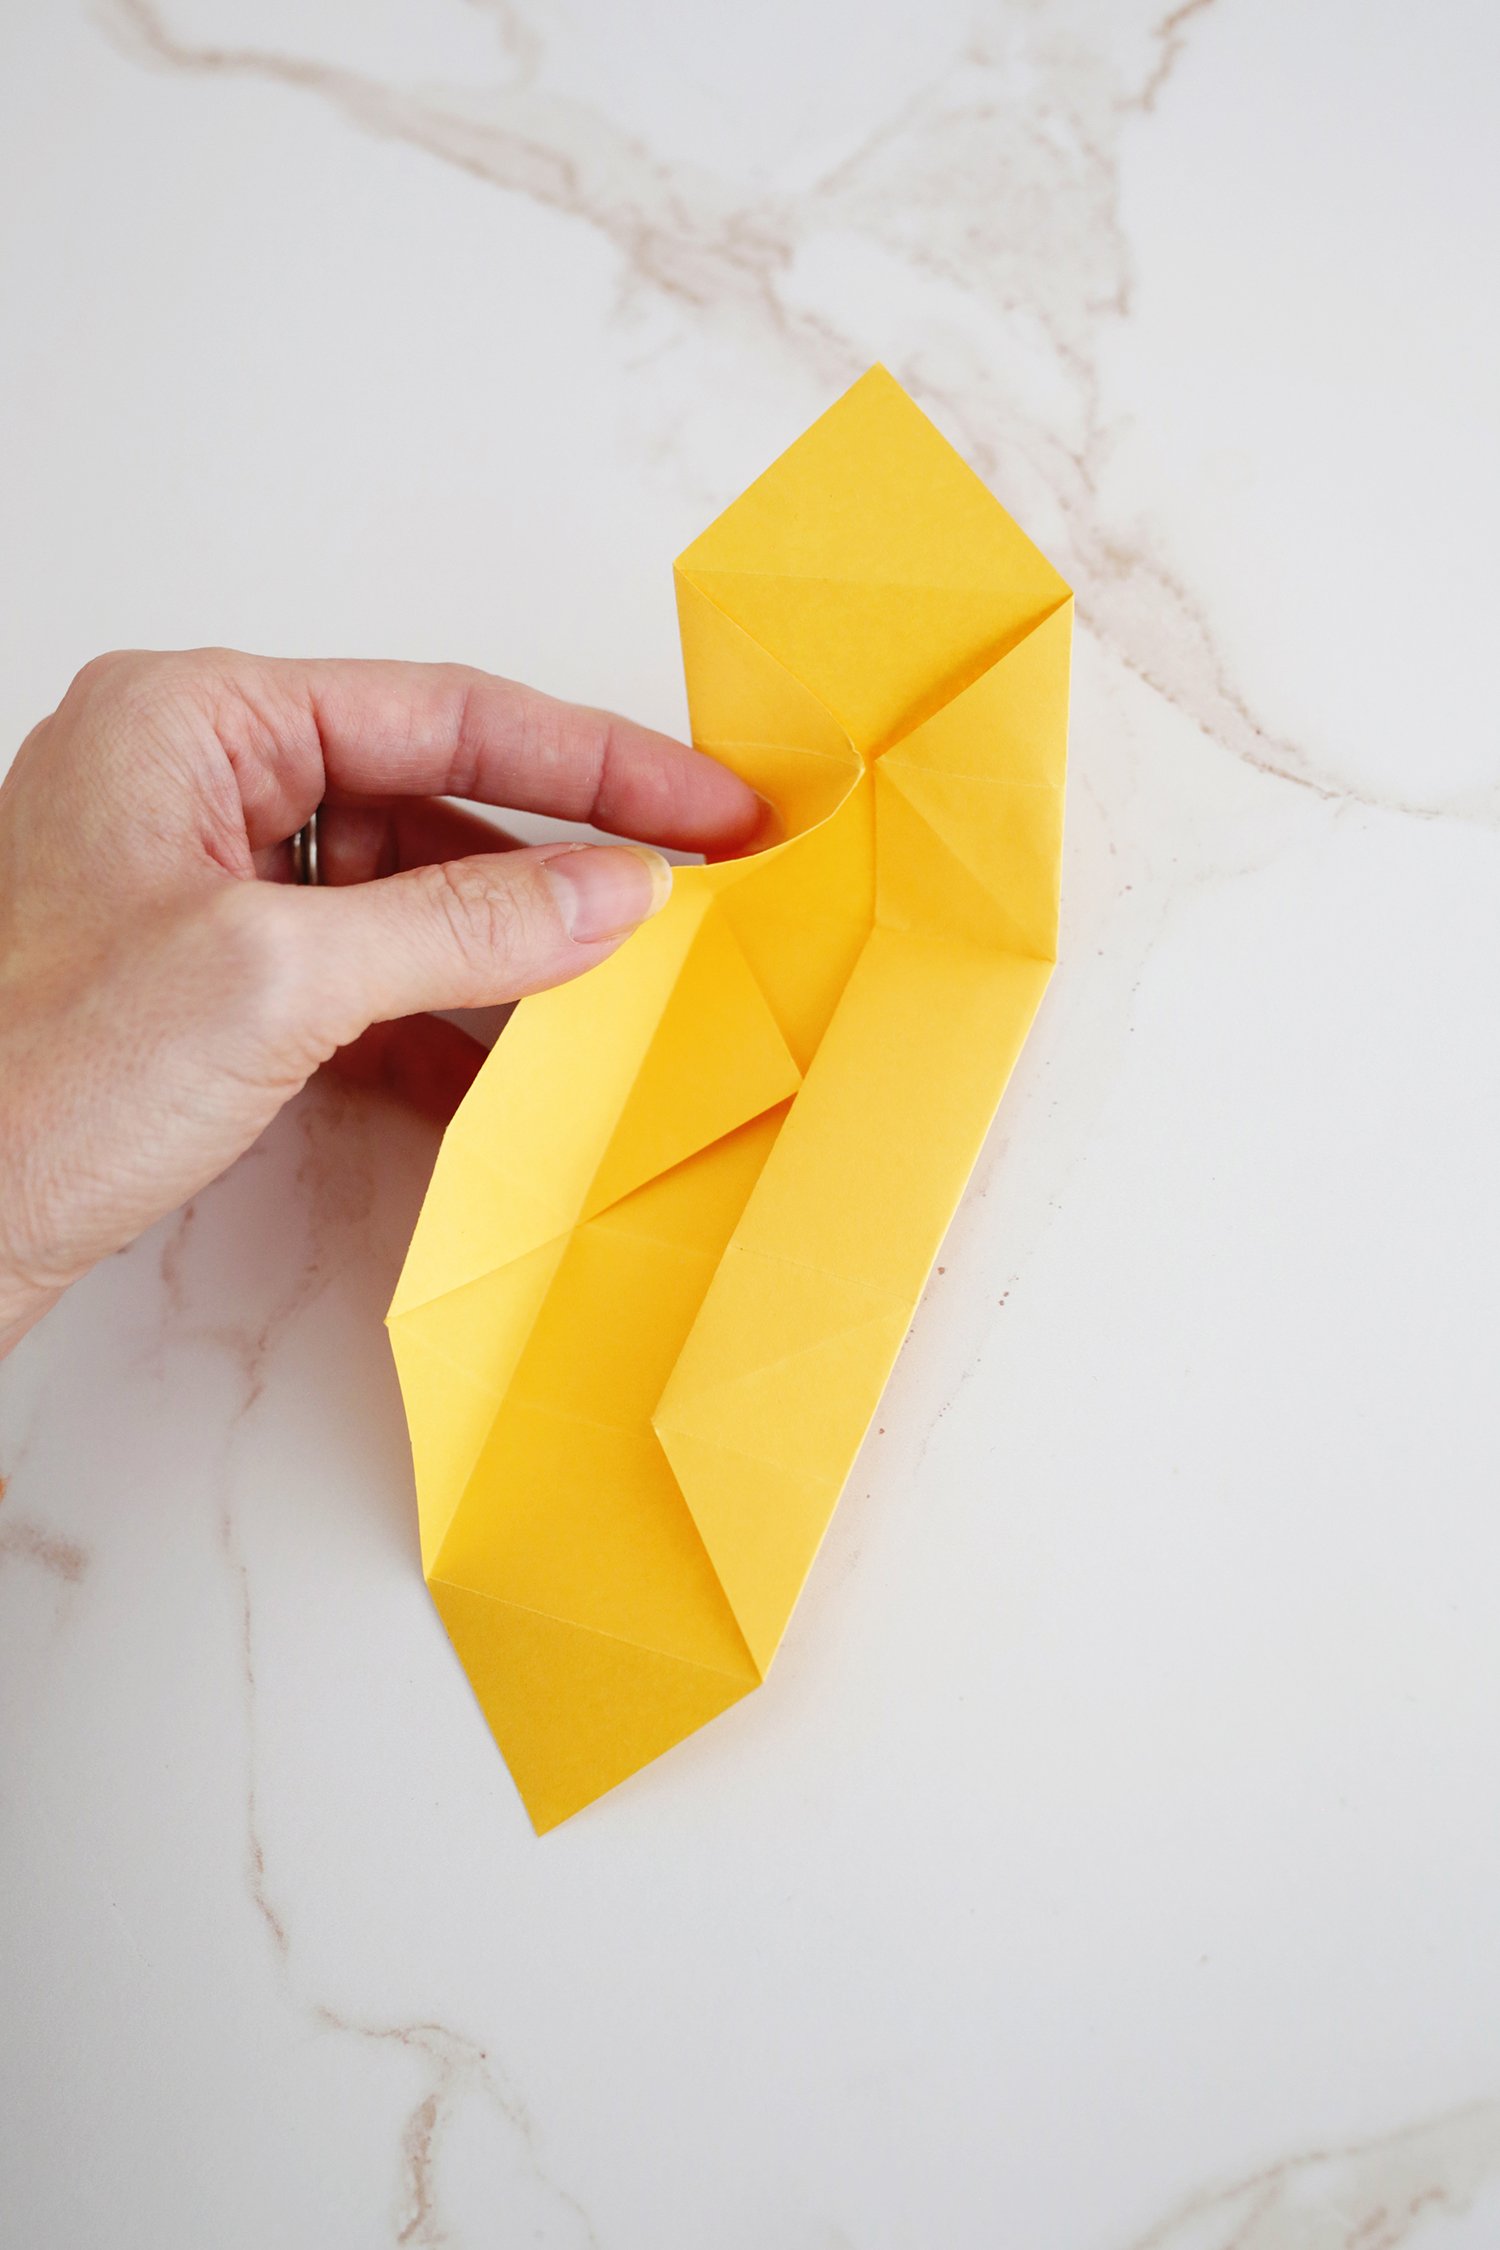
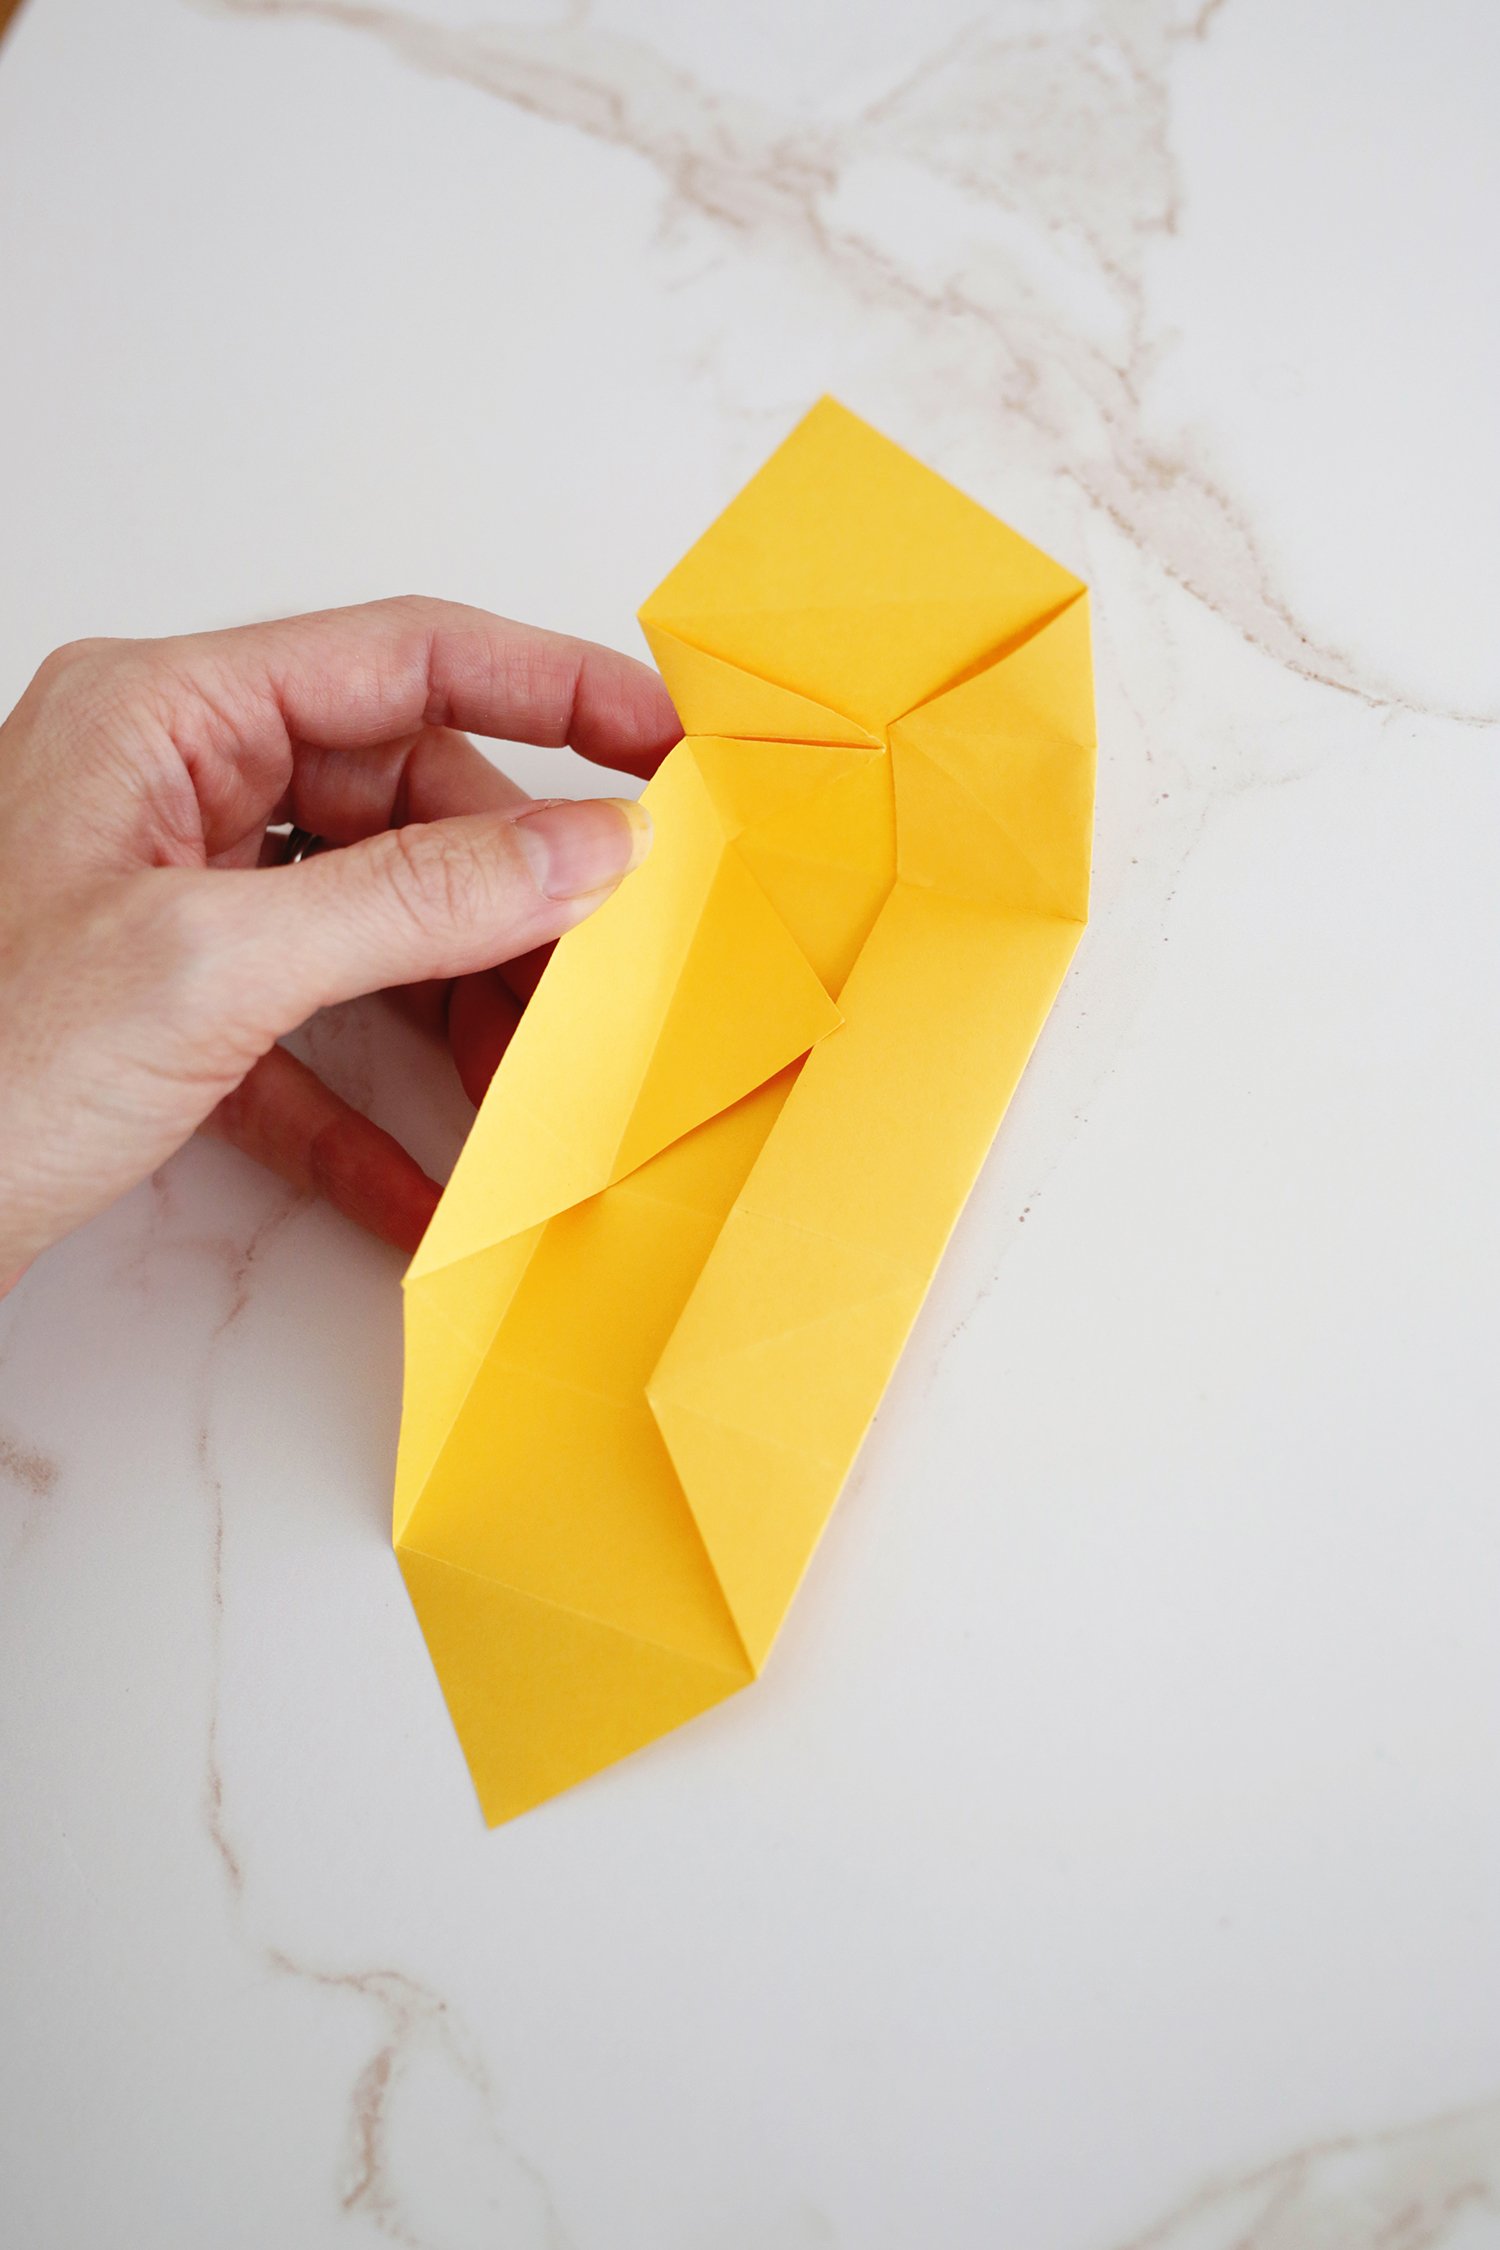
Step 12: Open the left side to form one corner of the box.
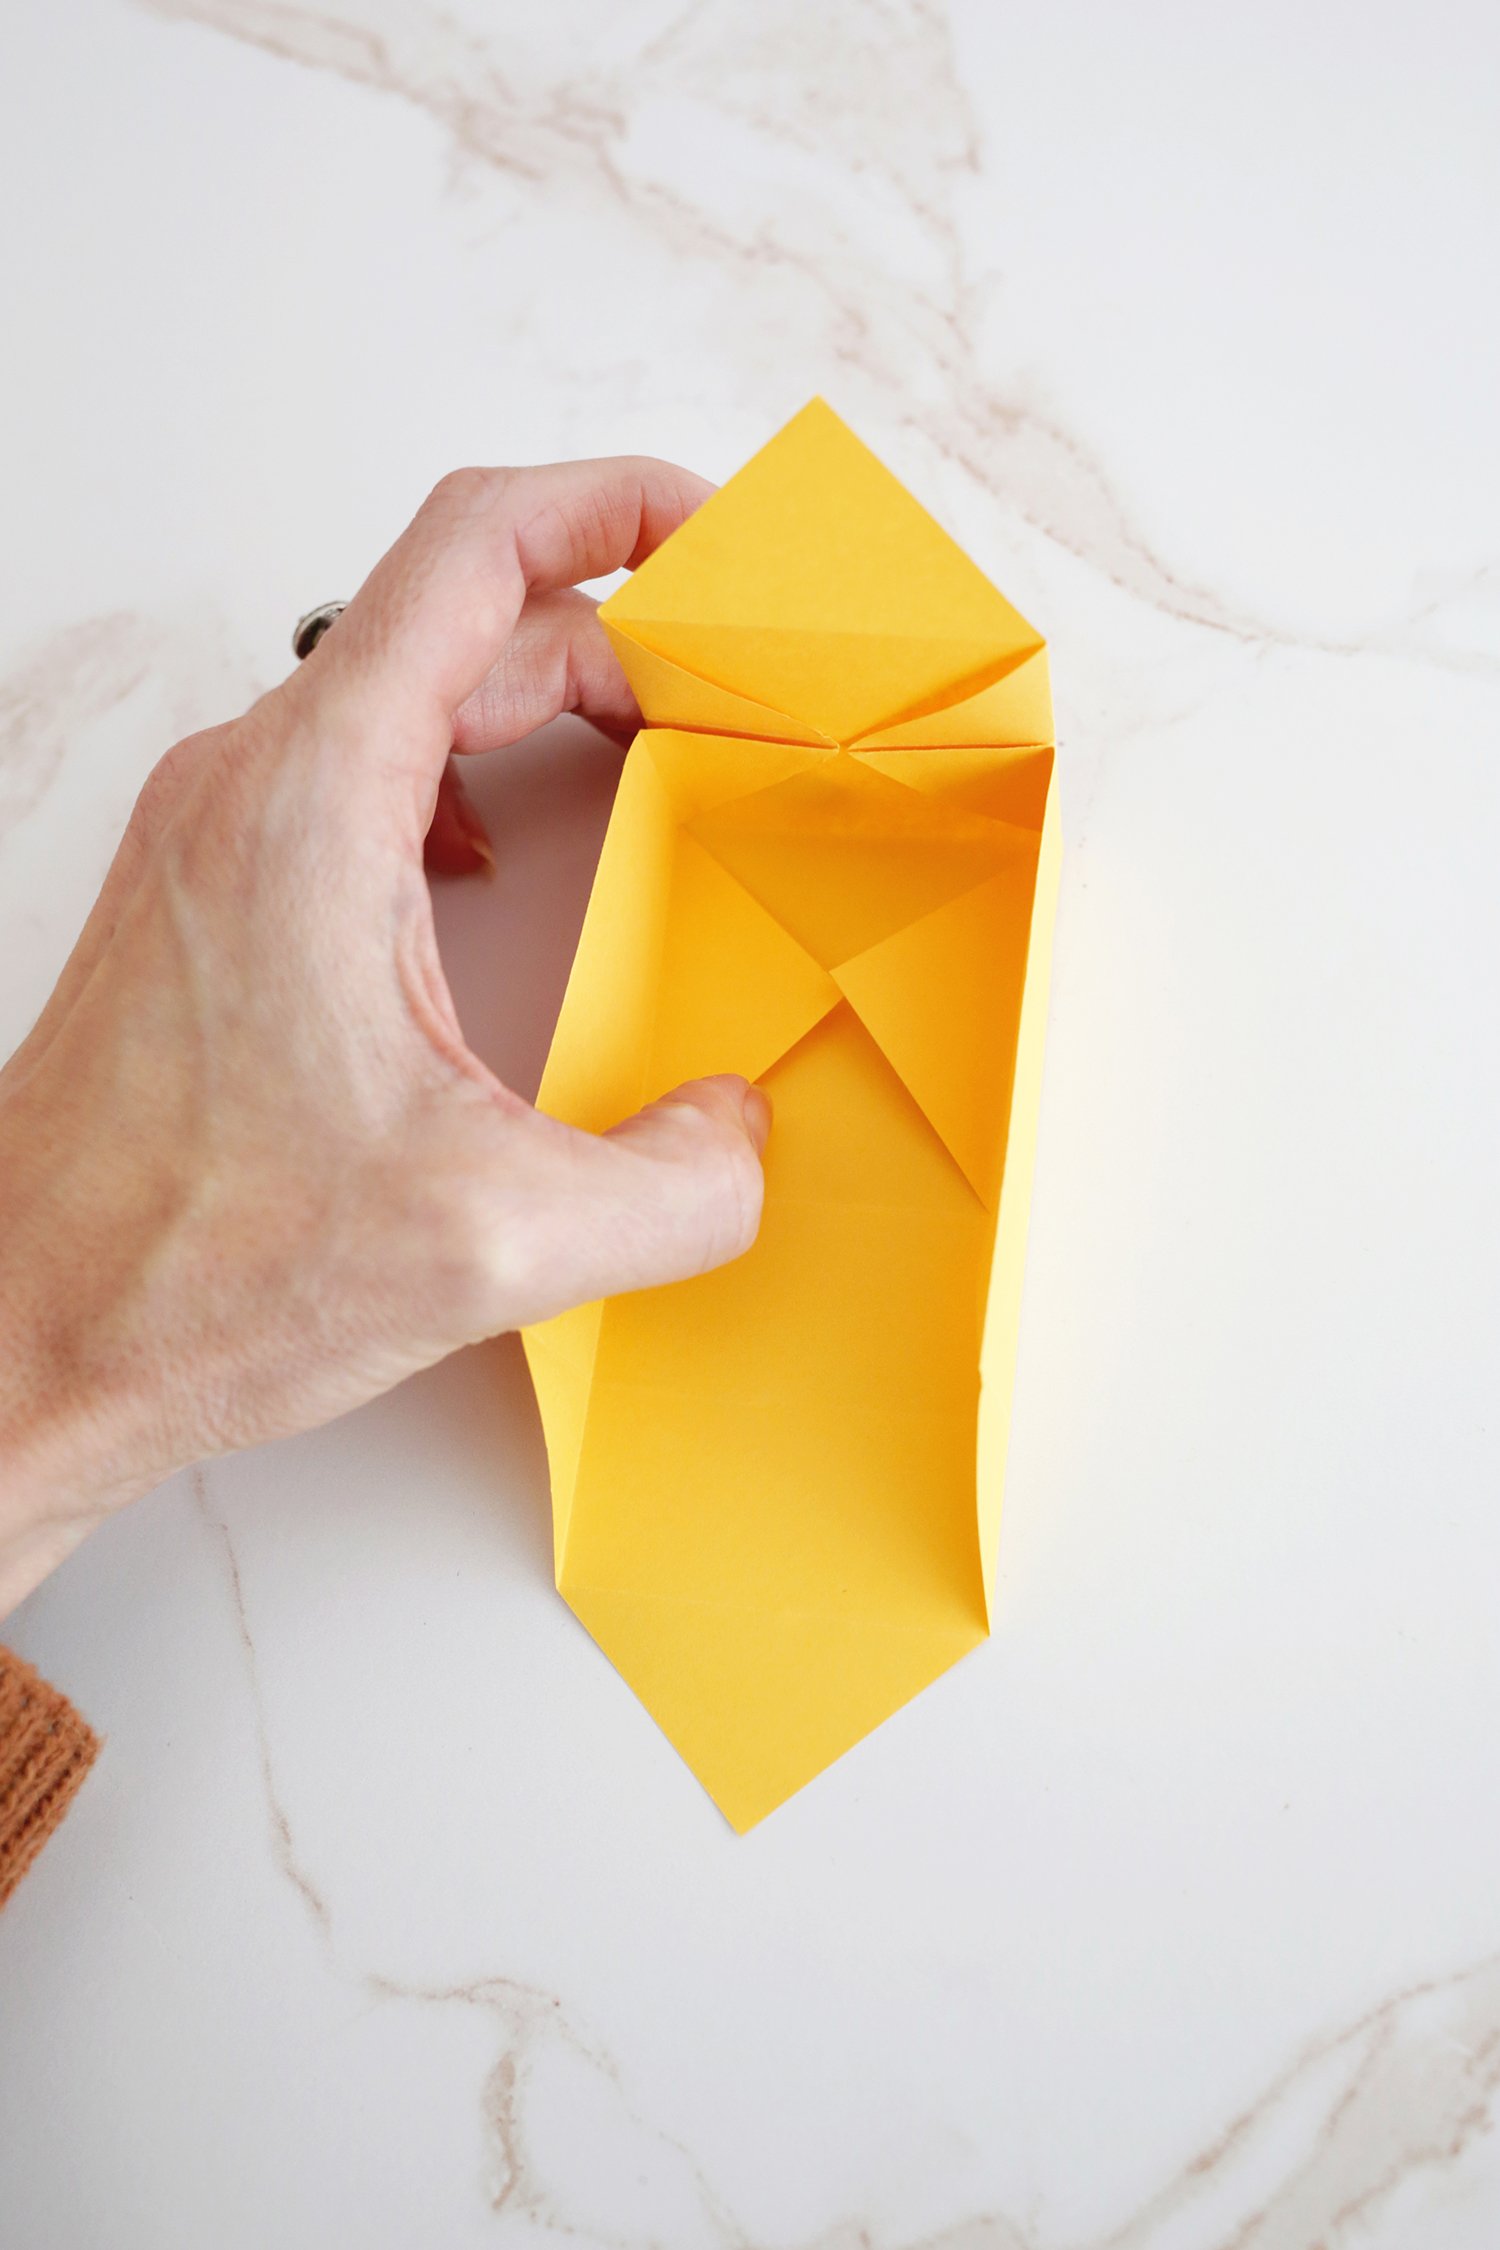
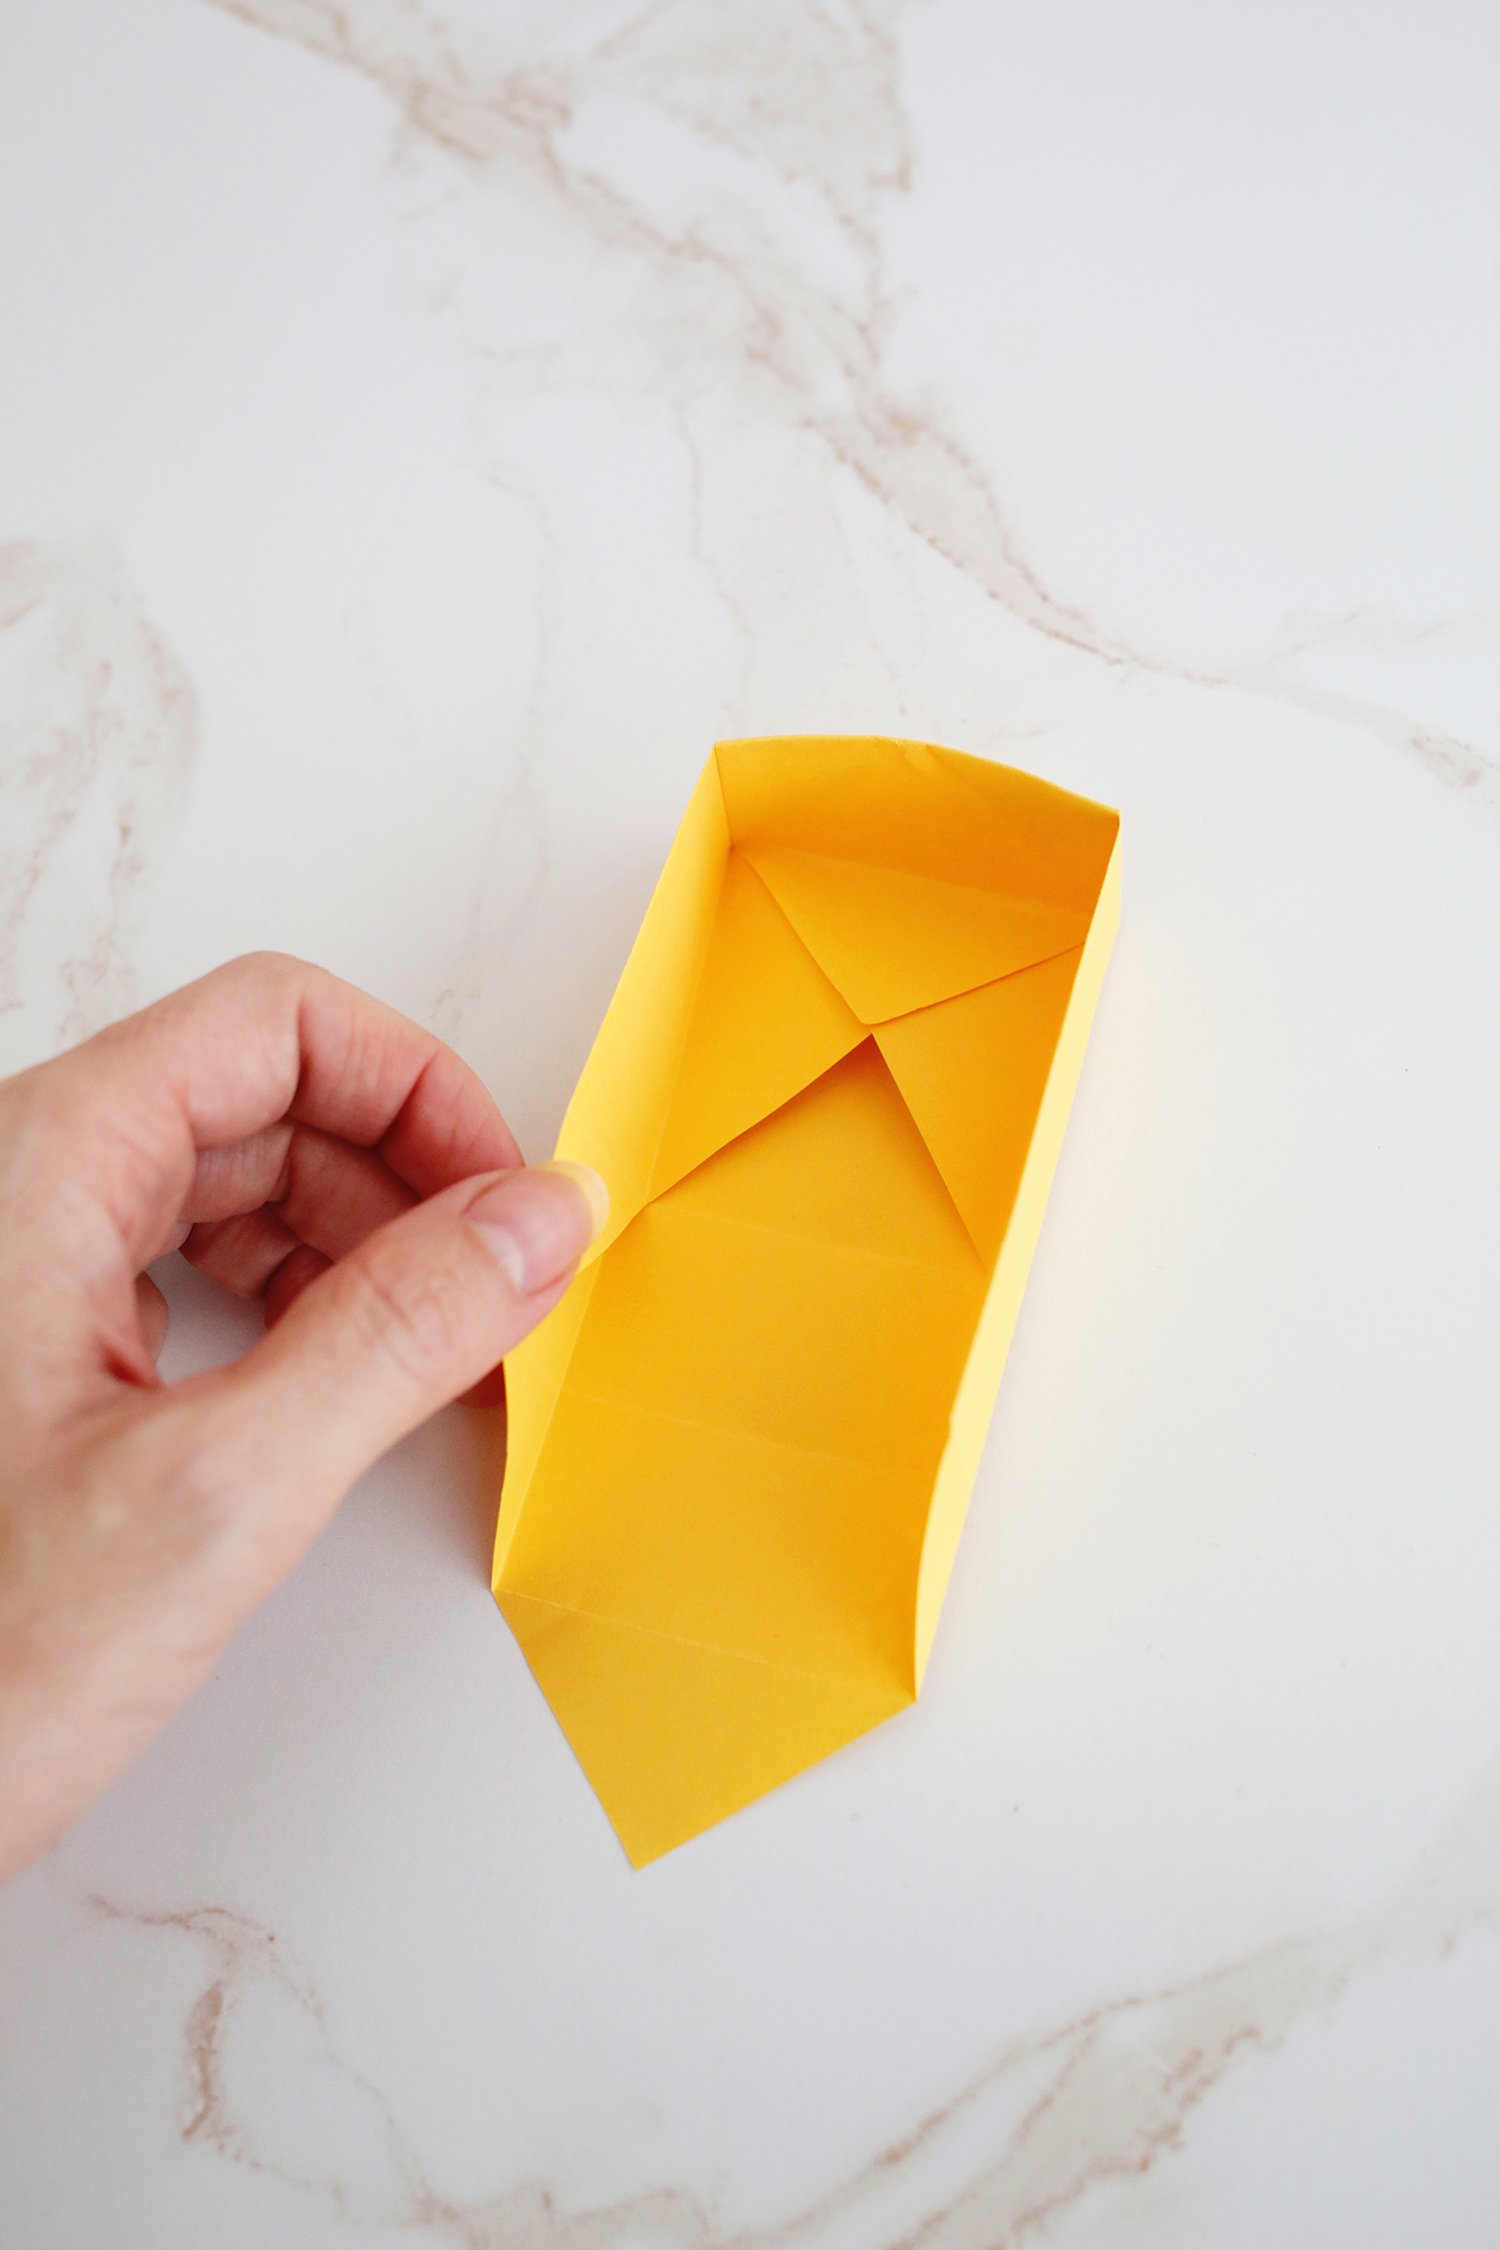
Step 13: Repeat on the right side of the box to form that corner.
Step 14: Fold down the top flap into the box.
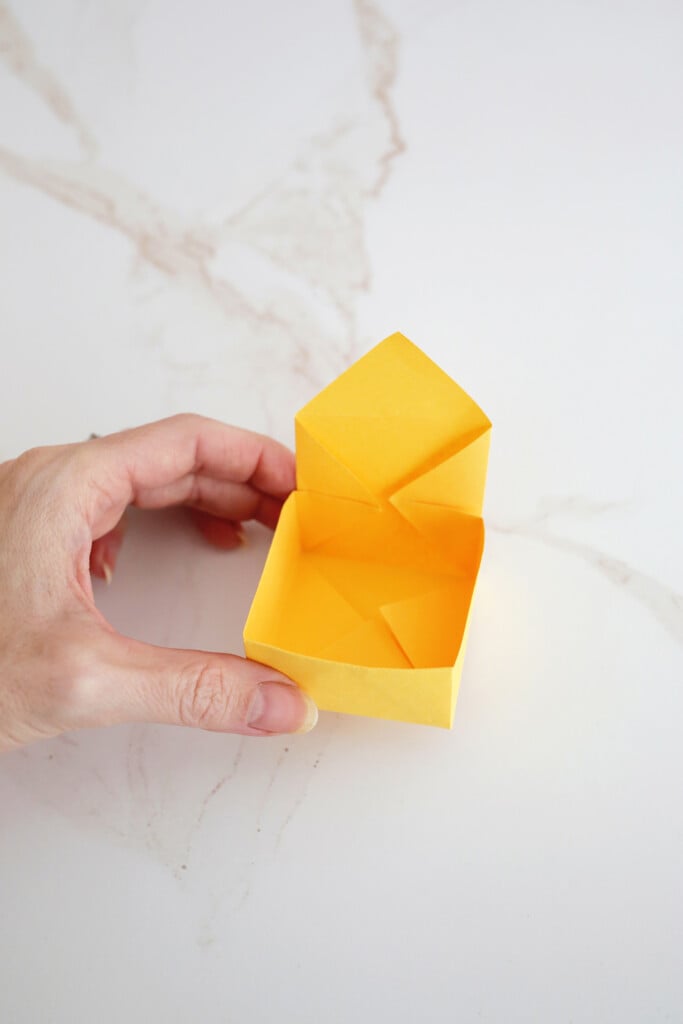
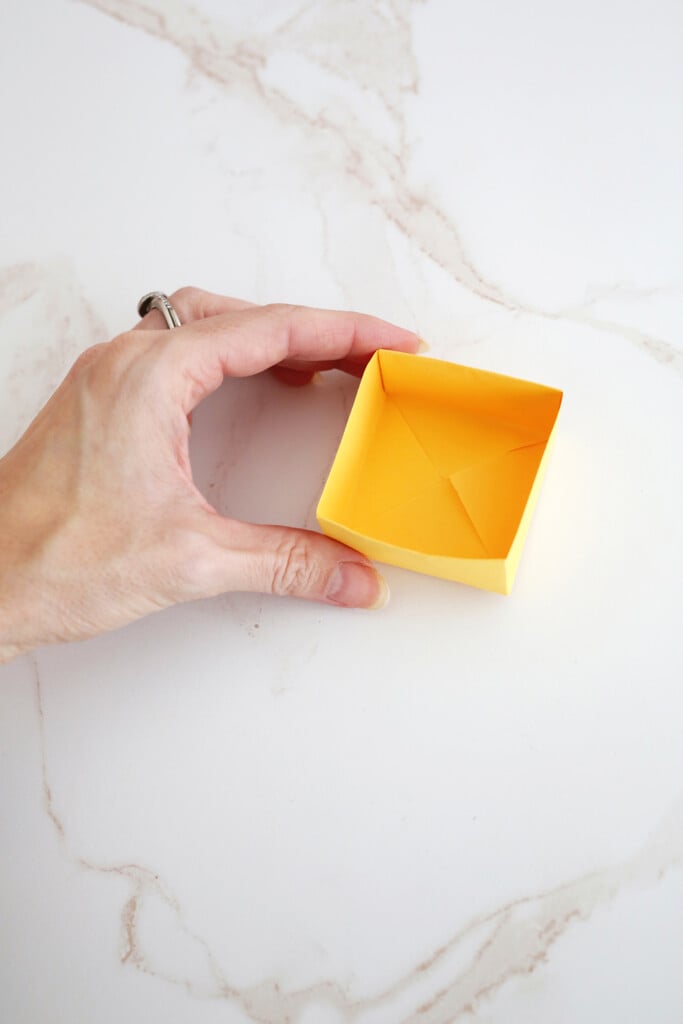
Step 15: Rotate the box and repeat making those two corners.
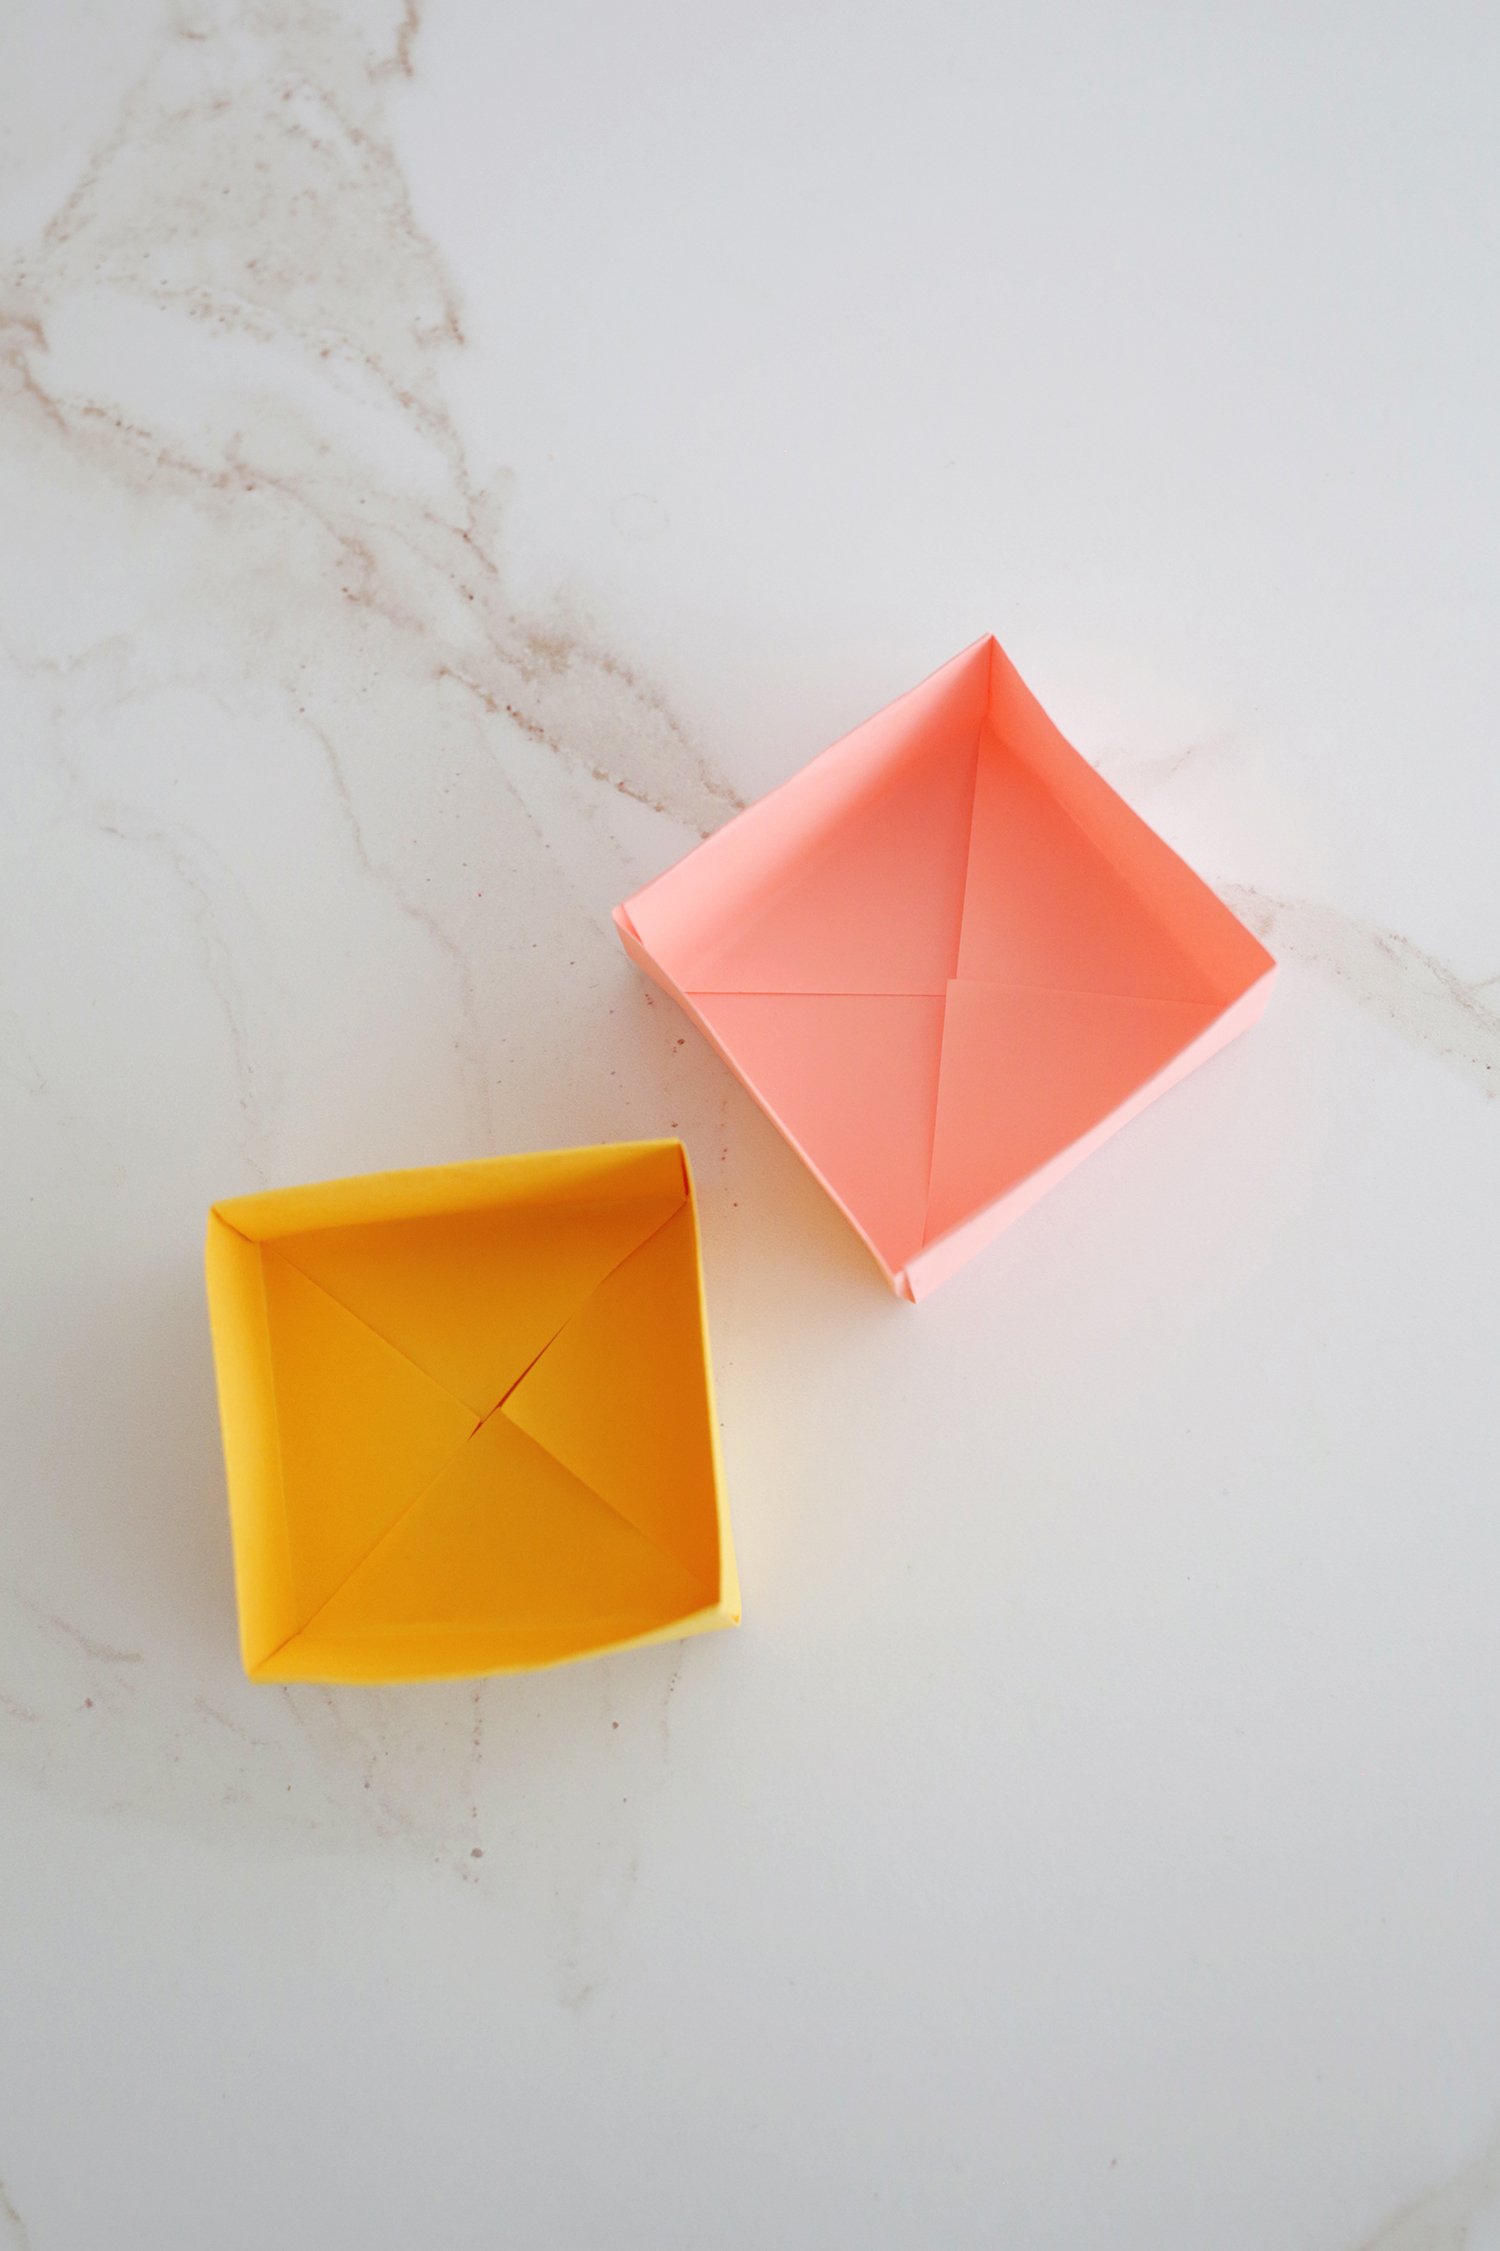
Step 16: Fold the flap down in again and your box is complete!
Tips to make an origami box
- When making a crease, use your fingernail and run it along the crease to really sharpen the edge.
- Take your time making the folds and sides as symmetrical as you can so the box is a perfect square.

Get creative ideas for recipes, crafts, decor, and more in your inbox!
 Get the Recipe
Ingredients
Equipment
Instructions
- Step 1: Lay your square on the table in front of you.
- Step 2: Fold your paper in half top to bottom edge and then unfold.
- Step 3: Fold the left edge to the right edge and then unfold.
- Step 4: Fold the bottom right corner into the middle to meet the center of the paper.
- Step 5: Fold all corners into the center point.
- Step 6: Fold the left edge in to meet the center point of your paper.
- Step 7: Fold the right side into meet the middle.
- Step 8: Unfold the sides, rotate the paper and unfold the top and bottom flaps.
- Step 9: Fold the right side of your paper over to meet the middle point.
- Step 10: Repeat with the left side of your paper.
- Step 11: Lift the top part up at the crease to make it stand up.
- Step 12: Open the left side to form one corner of the box.
- Step 13: Repeat on the right side of the box to form that corner.
- Step 14: Fold down the top flap into the box.
- Step 15: Rotate the box and repeat making those two corners.
- Step 16: Fold the flap down in again and your box is complete!
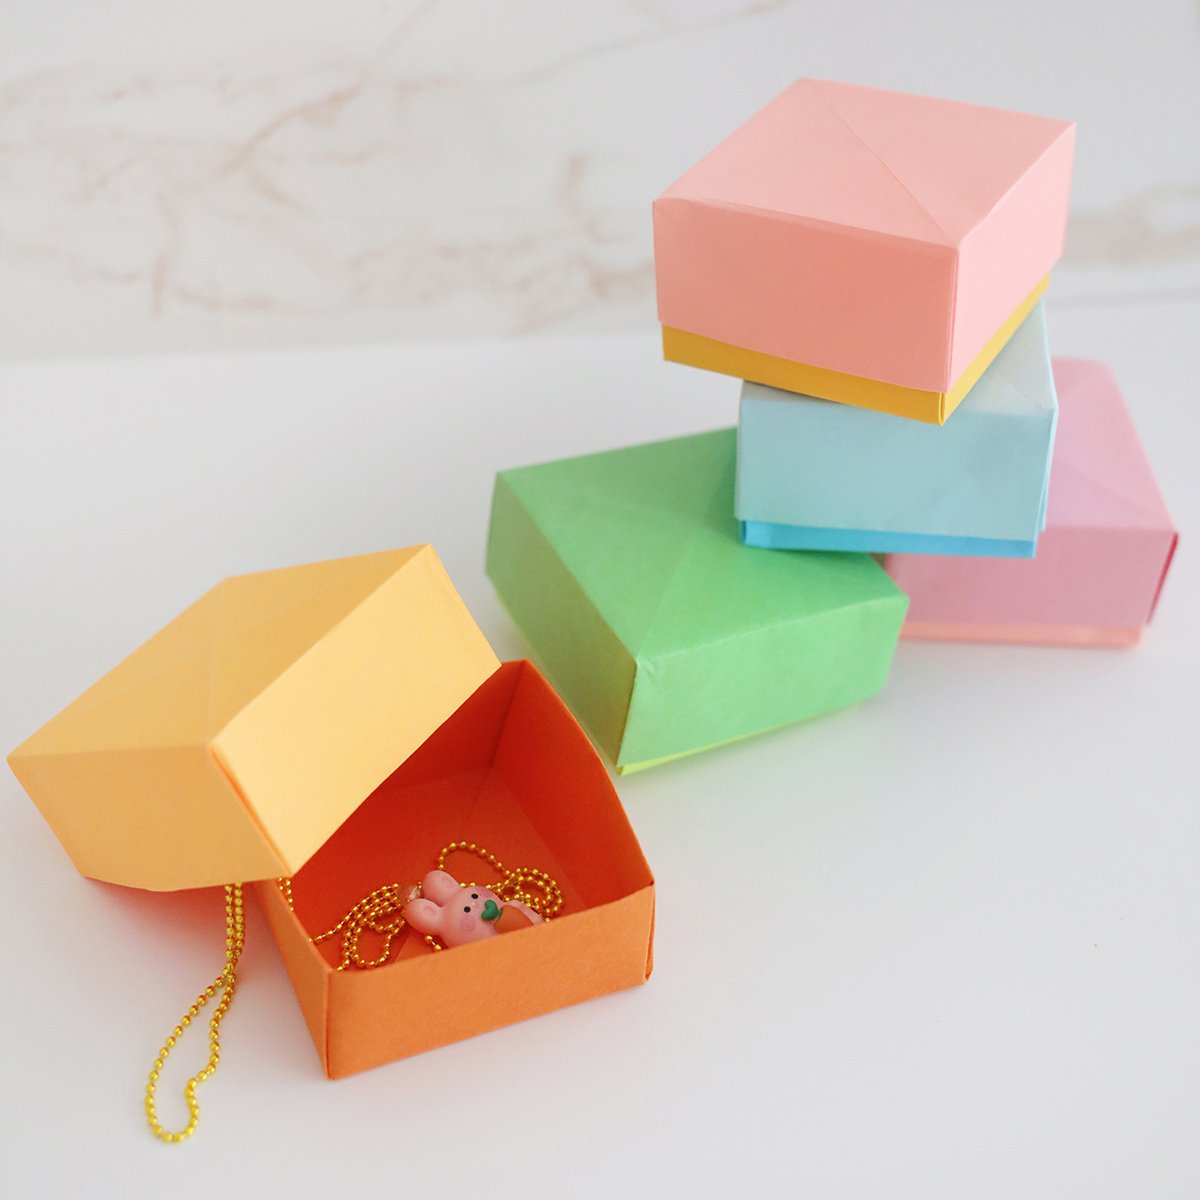


Such a fun project! Perfect for small gifts