Do you have a little one learning about Palm Sunday and Easter? This Palm Sunday Handprint craft is the perfect way for them to visualize what it would have been like when Jesus entered Jerusalem! It would be a great craft to have set out along with our cross template for coloring or more crafting.
Palm Sunday is the Sunday before Easter and the start of Holy Week in the Christian tradition. It’s an important day that marks the lead up to Easter. This craft is a simple way to introduce the occasion to kids and explain why we look forward to Easter.

Craft Overview: Palm Sunday Handprint
Ready In: 15-20 minutes
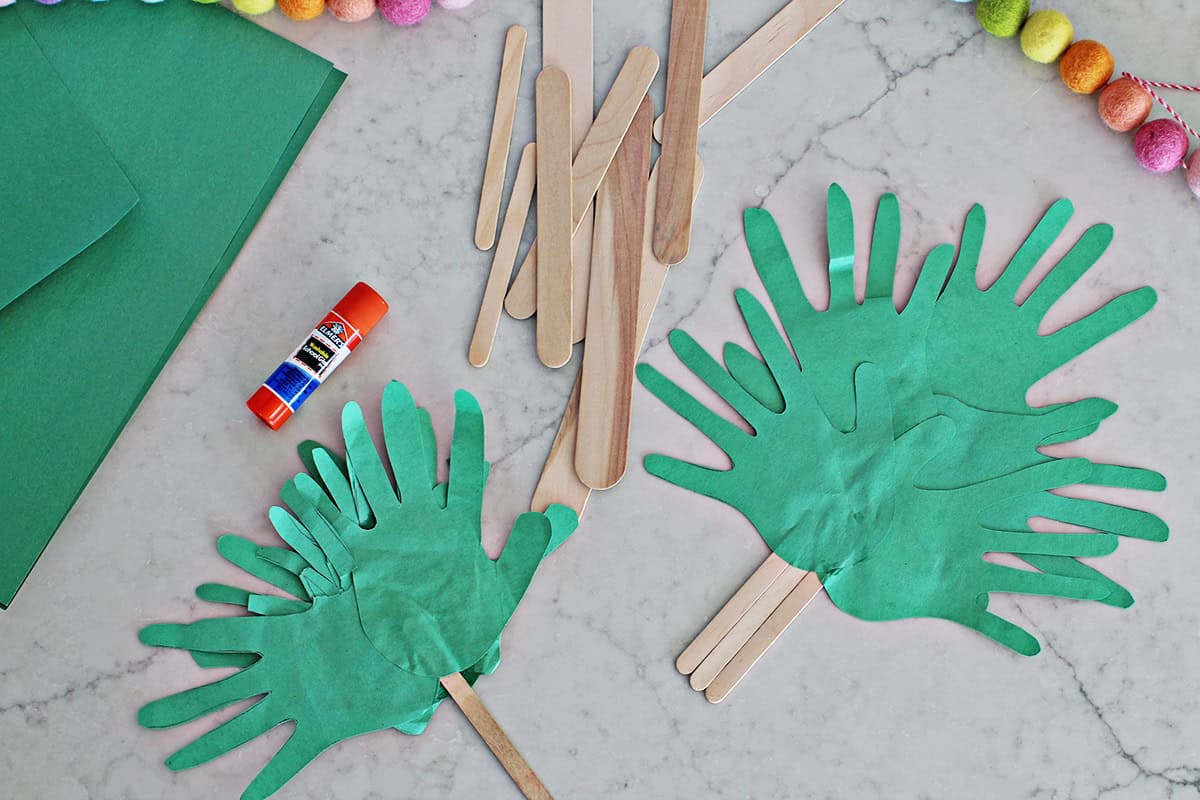
Makes: One palm branch from handprints that kids can practice waving.
Supplies: All you need is green craft paper, scissors, a gluestick and popsicles sticks.
Why You’ll Love It: This is a simple craft that can introduce Palm Sunday to smaller children.
Summarize and Save this Content On:
Key Supplies
- Green construction paper
- Glue stick, glue or tape
- popsicle sticks– I like the large size but you can use smaller ones too!
How to Make a Palm Sunday Handprint Craft
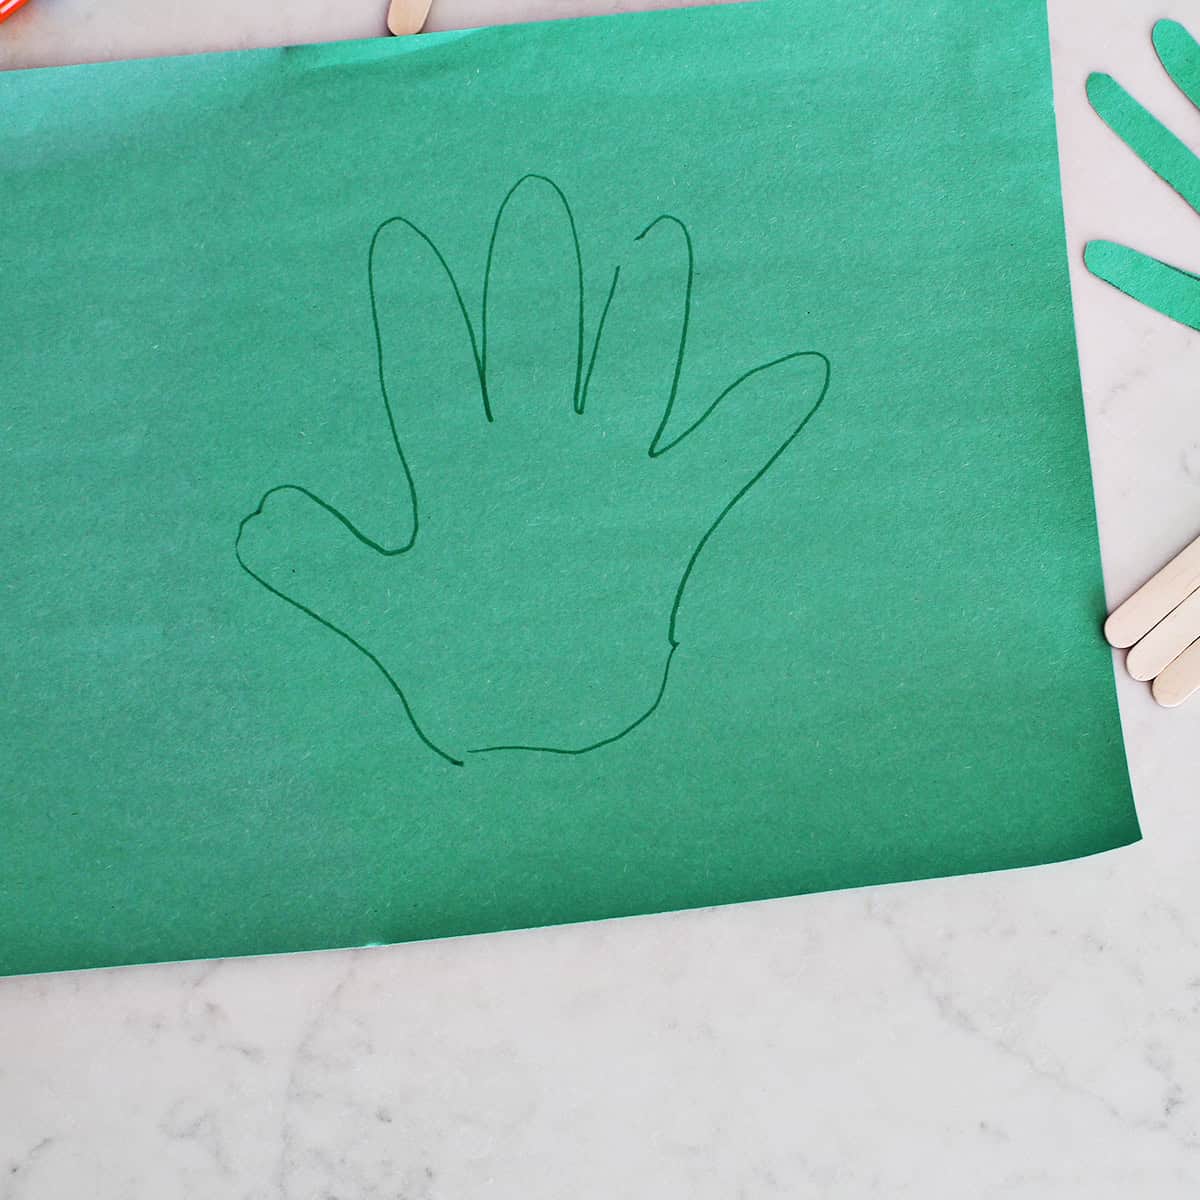
Step 1. Start by tracing your child’s hand onto a piece of green construction paper. If they’re old enough they can do this themselves!
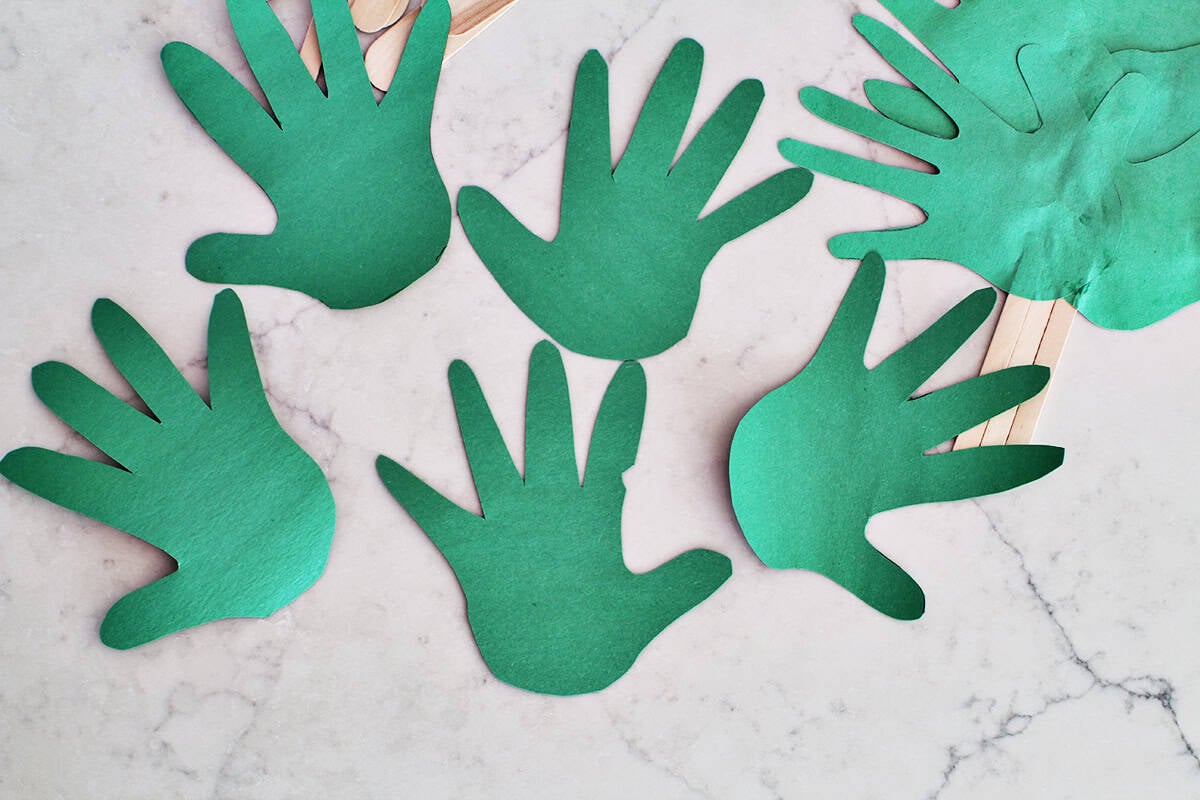
Step 2. Using scissors, (age-appropriate) cut out their handprint. Using that as a template, trace it 4 more times so you have 5 handprints total.
Cut out all the handprints.
Would you like to save this?

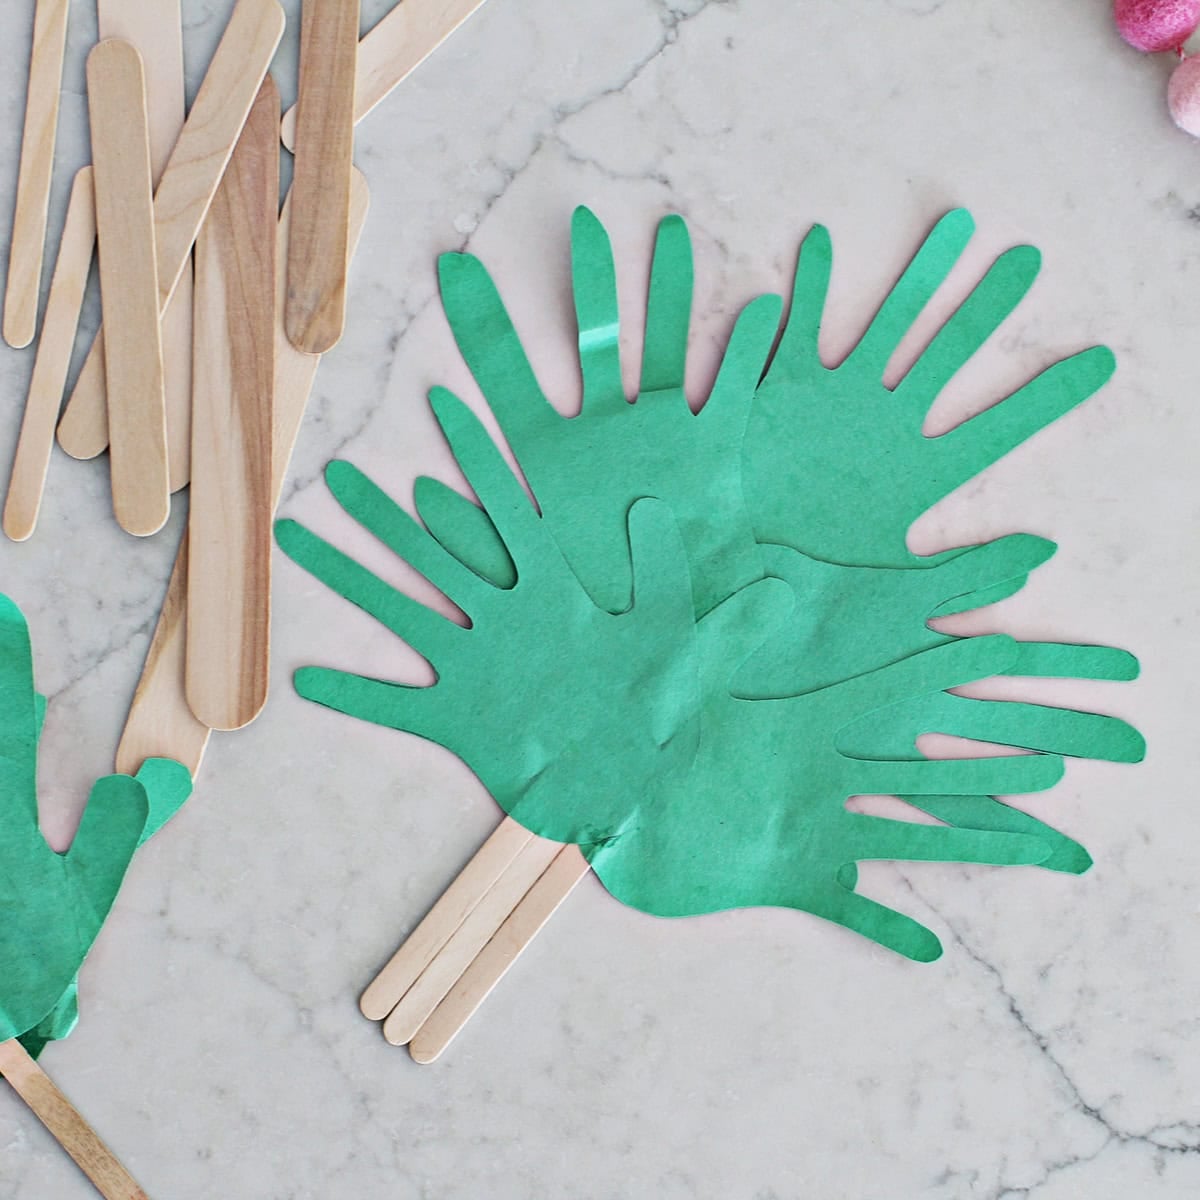
Step 3. Place one handprint and then align two horizontally and glue together, almost making a triangle. You want one with their fingers pointing forward or up, one pointing to the left, and one pointing to the right.
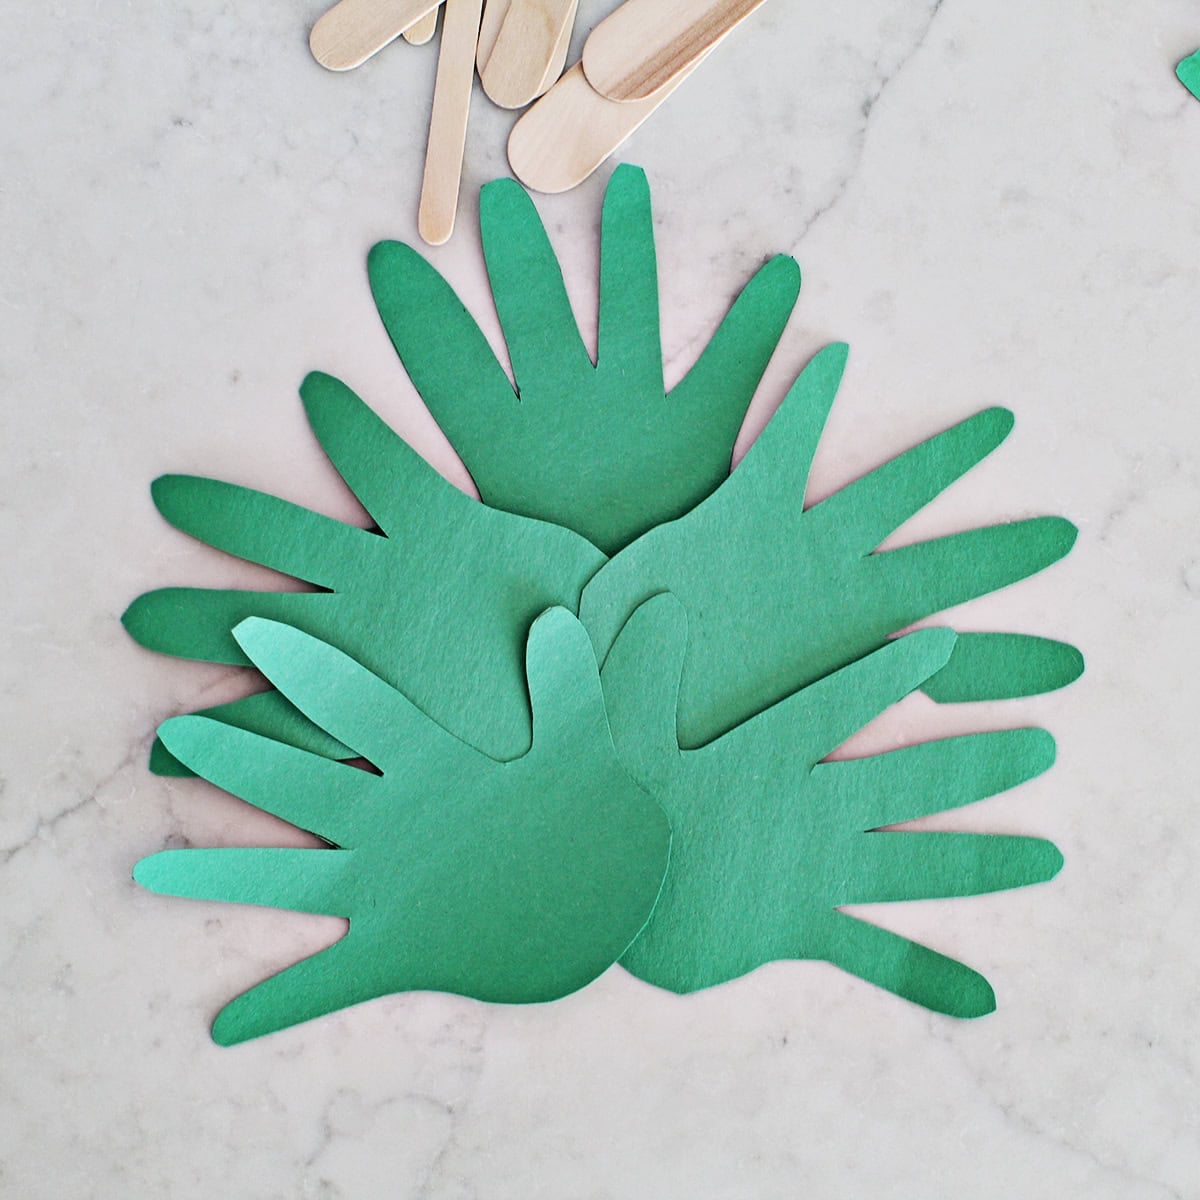
Step 4. Using your glue stick, glue the handprints together. Add another layer of handprints.

Step 5. Finally, turn the papers over and glue on a gluestick about halfway down. Make sure you’ll be able to wave the leaves (handprints).

 Get the Recipe

Ingredients
- 3 pieces green construction paper
- 1 large popsicle stick, or several smaller ones.
- 1 glue stick
- 1 pen, pencil or marker
Equipment
Instructions
- Start by tracing your child's hand onto a piece of green construction paper. If they're old enough they can do this themselves!
- Using scissors, (age-appropriate) cut out their handprint. Using that as a template, trace it 4 more times so you have 5 handprints total.
- Cut out all the handprints.
- Place one handprint and then align two horizontally and glue together, almost making a triangle. You want one with their fingers pointing forward or up, one pointing to the left, and one pointing to the right.
- Using your glue stick, glue the handprints together. Add another layer of handprints.
- Finally, turn the papers over and glue on a gluestick about halfway down. Make sure you'll be able to wave the leaves (handprints).
My kindergartner and 3rd grade niece had fun making these!