
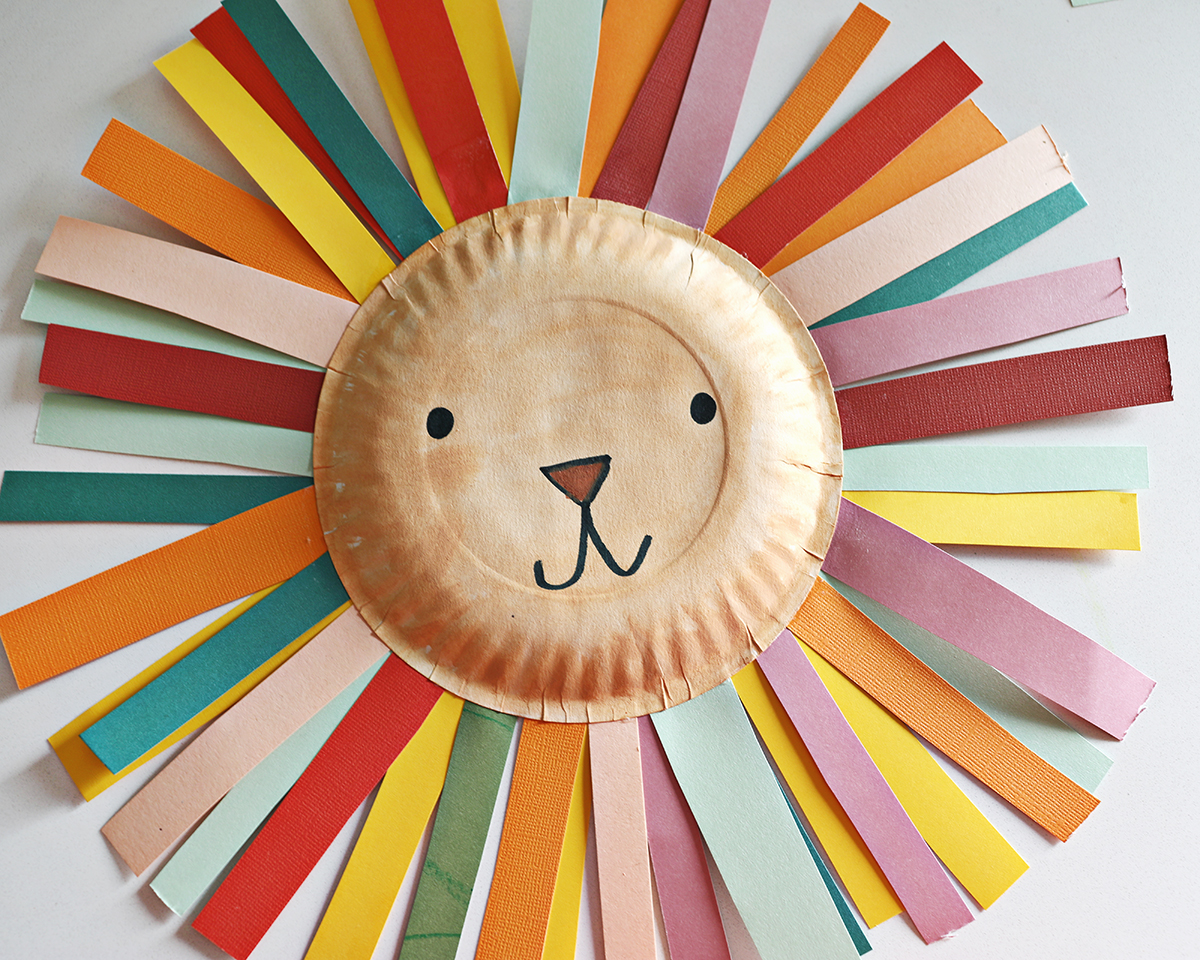
My children love all things rainbow AND all things The Lion King, so this project was an instant win for us! They had so much fun making their own lions and I have to say, I think this is a frame worthy project. They turned out so unique.
Making a paper plate lion is a great way to prep for a trip to the zoo, or just to have an animal-themed craft. It’s especially great for preschoolers who may be learning to use scissors or working on their colors.
It’s not just for preschool, though. You can make this really with any child by adjusting the steps and helping as needed.
Related: 10 Handprint Animal Crafts That Kids Will Love!
Paper Plate Crafts for Kids:
I love projects with classic, easy-to-find supplies like popsicle sticks, toilet paper rolls, and paper plates. There is something nostalgic and timeless about them. I keep all these supplies stocked in a drawer, ready to craft!
If you’re looking for ways to use basic supplies, we’re so glad you’re here and are cheering you on! Getting creative can feel way more daunting than it is, and the more you make, the more ideas you’ll have!
More Animal-Themed Crafts and Activities:
- 10 Handprint Animal Crafts
- Animal Memory Game – Free Printable
- Owl Template – Free Printable
- How to Make a Unicorn Cake
What You’ll Need to Make the Rainbow Lion:
- Paper plates painted with light brown (and fully dry) acrylic paint. You can use small or large paper plates (I used both plate sizes).
- Various colors of cardstock or construction paper cut into strips.
- School glue
- Scissors
- Paintbrush
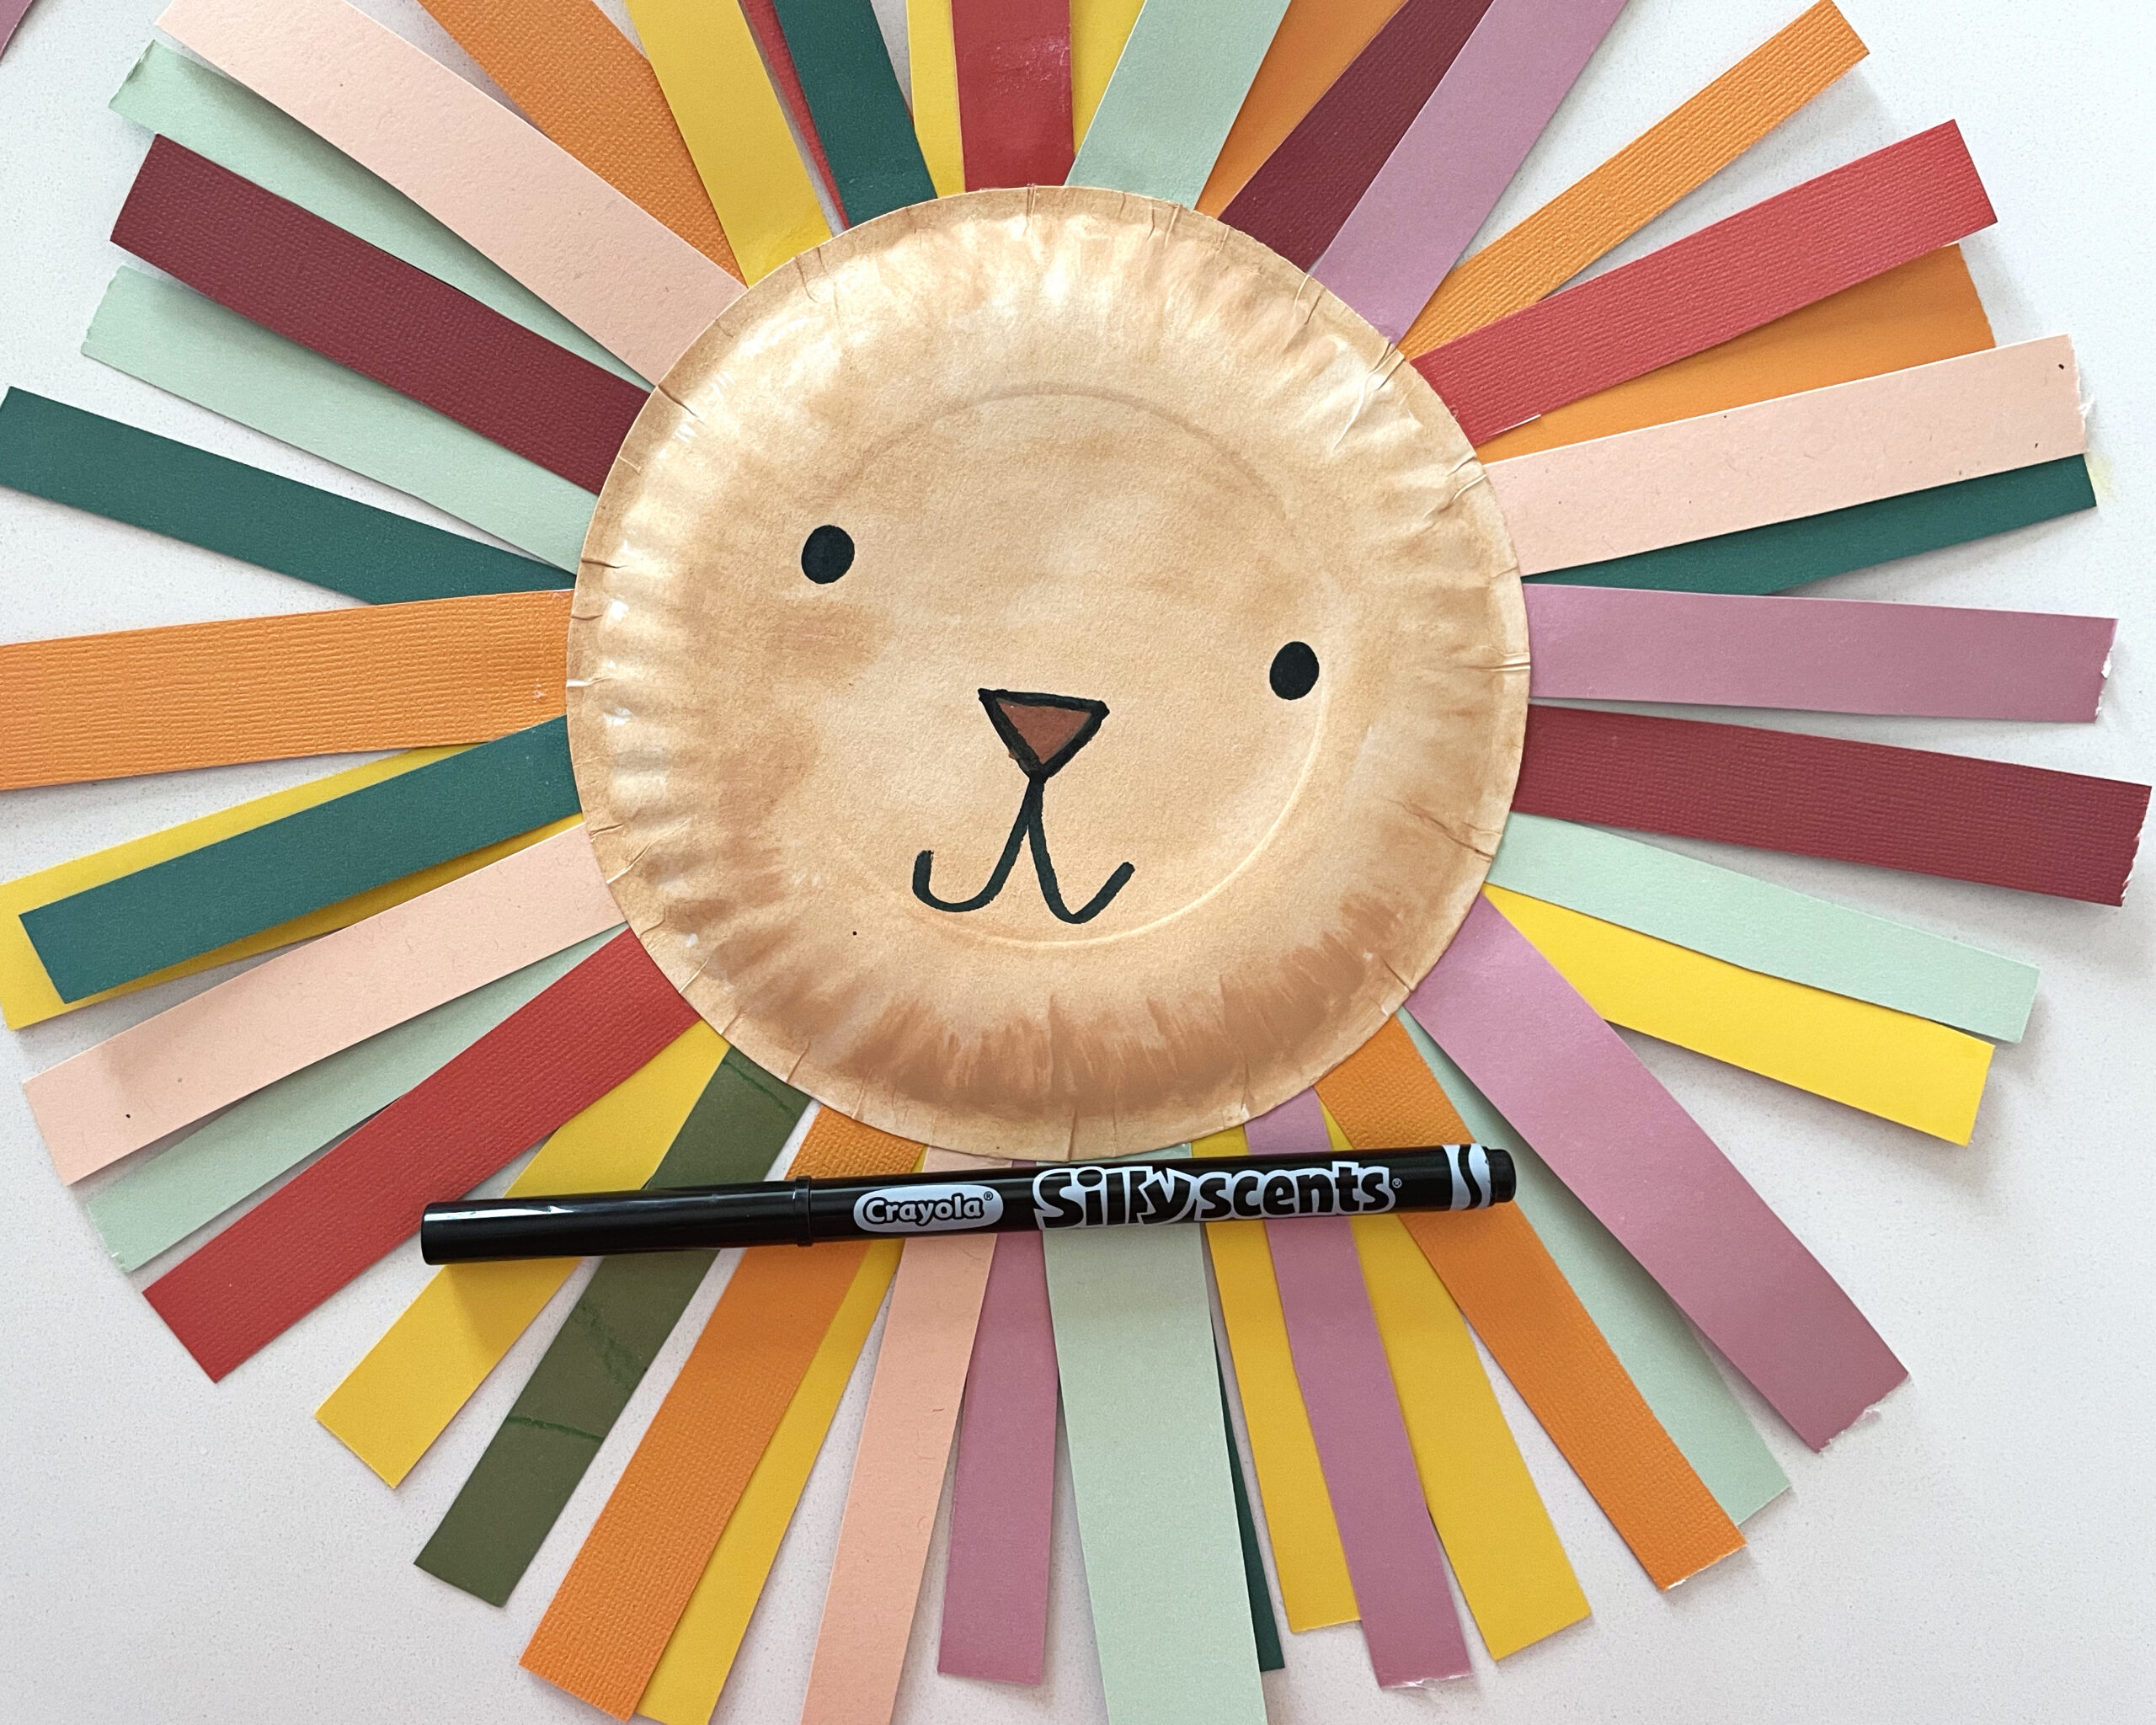
- Black and brown markers
Assembling Your Lion:
This project takes about 20 minutes to make, plus dry time.
Would you like to save this?
- Before you begin, prep the paper plates you will be using by painting them light brown. I used beige acrylic craft paint and a watery brush to get the soft look that mine have. Let the plates dry completely.
- Prep the strips by cutting pieces of construction paper and then cutting each strip in half after that. Note: This is a great way to use scraps of paper as well. If you are doing this project with an elementary age child, let them do all the cutting. If you are doing it with a younger child, prep the paper strips in advance.
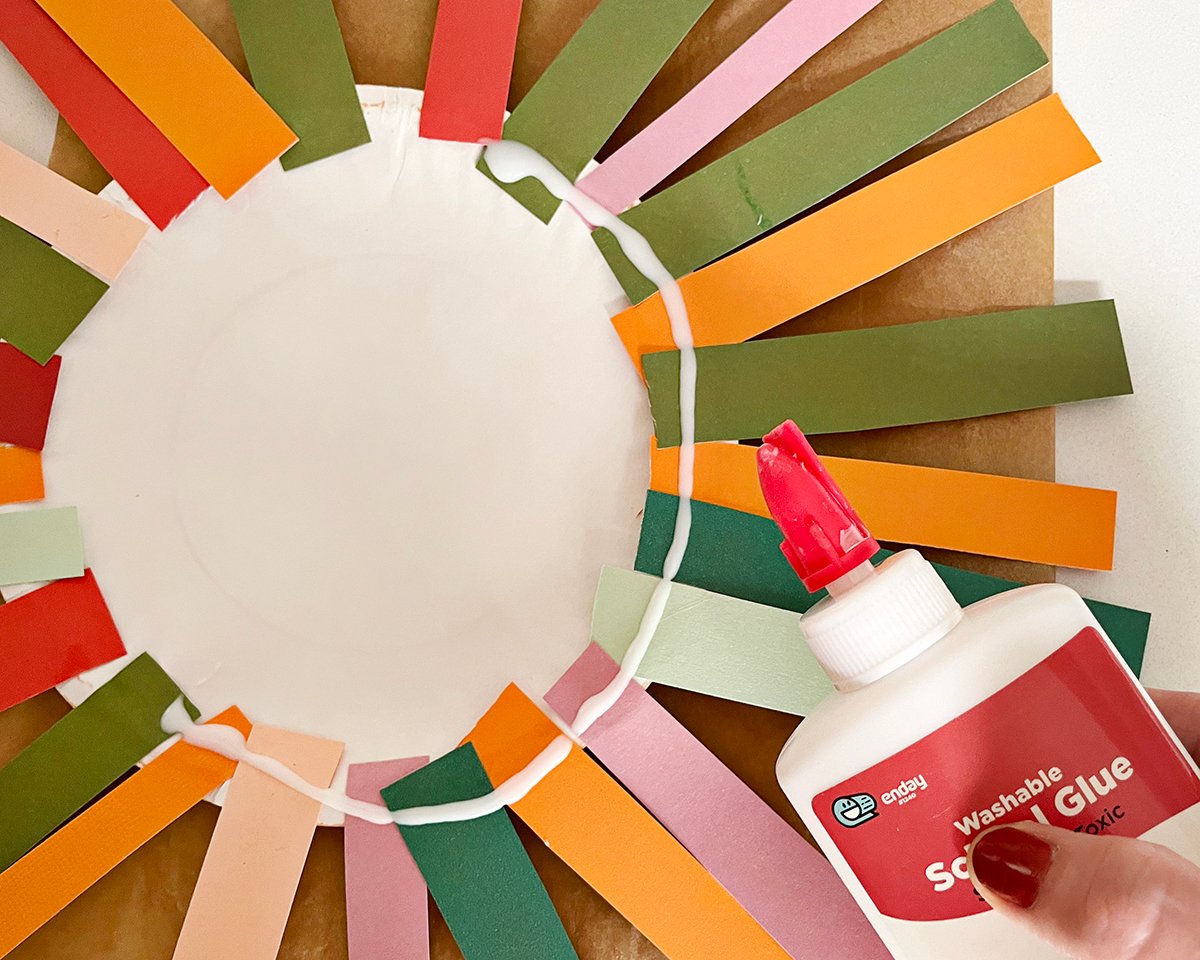
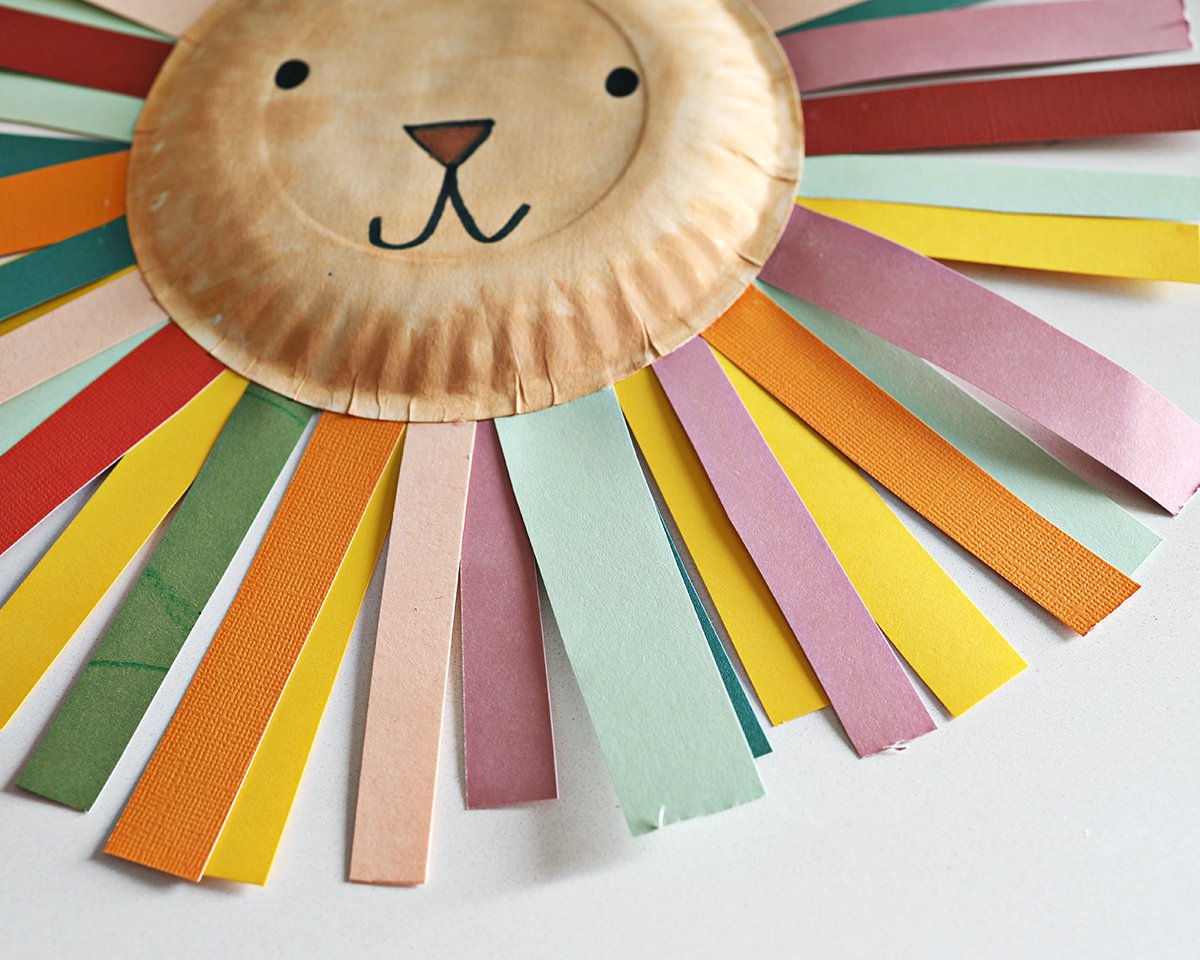
- To attach the paper “mane” to the paper plate, turn the paper plate over and add a line of glue all the way around the outer edge. Attach paper strips close to the edge of the paper plate. Once you have a full layer, add another full line of glue all the way around the paper plate over the first layer. Adding more strips will add more fullness to your lion’s mane.
- Keep adding strips until you are happy with the density. Allow the paper strips to dry completely. For the last step, draw a face on the lion.
Tips for Making a Paper Plate Lion:
- Use leftover scraps of paper from other projects to make your lion mane. You could also use tissue paper or other materials to make it a sensory type of craft.
- If you’re making this with a younger child who can’t cut with scissors yet, it may be helpful to prep the paper pieces for the mane in advance.
- Wait until everything is completely dry before drawing on the lion face.
- If you have a kiddo who will want to craft right away, you can even pre-paint the plate so that they can start assembling without having to wait for the paint to dry.
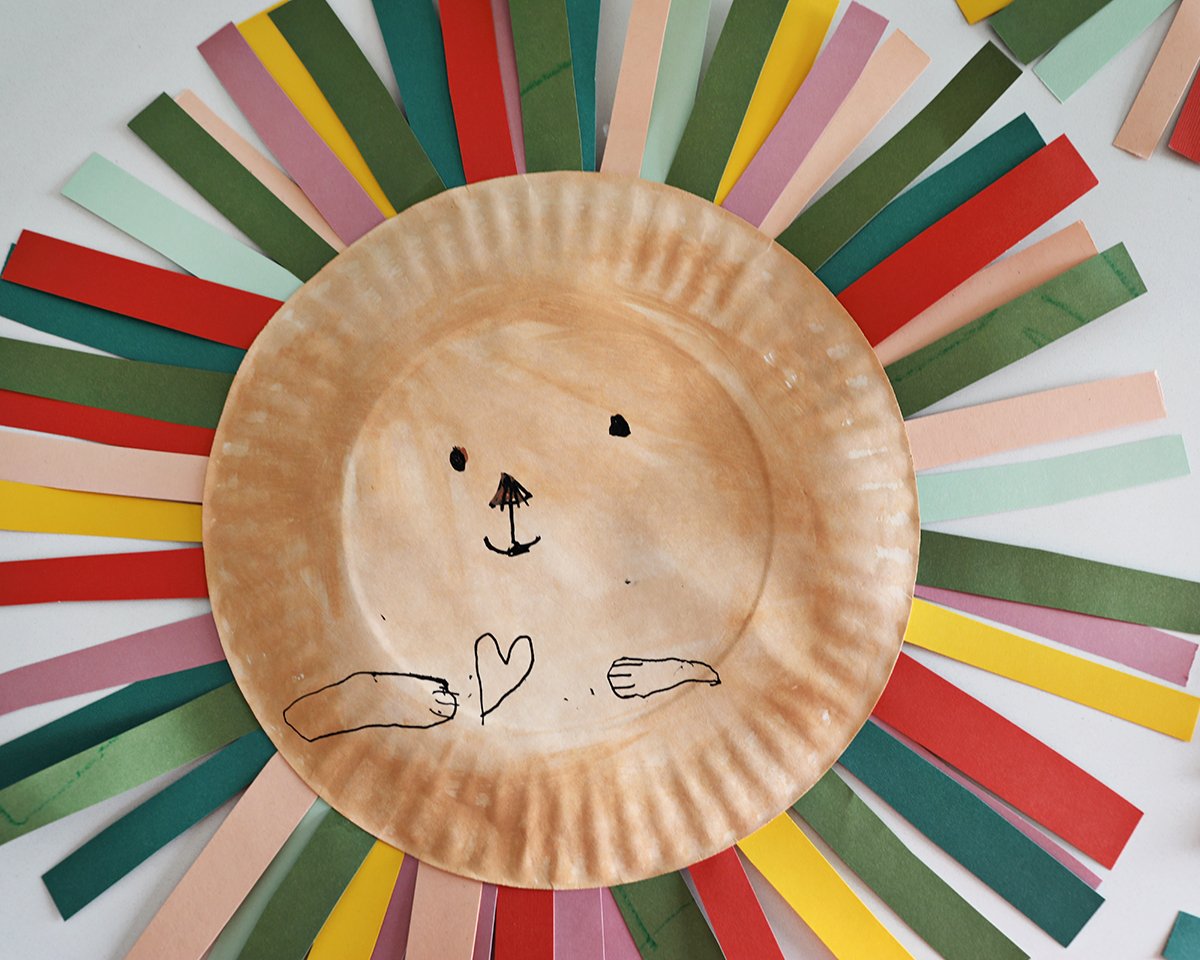
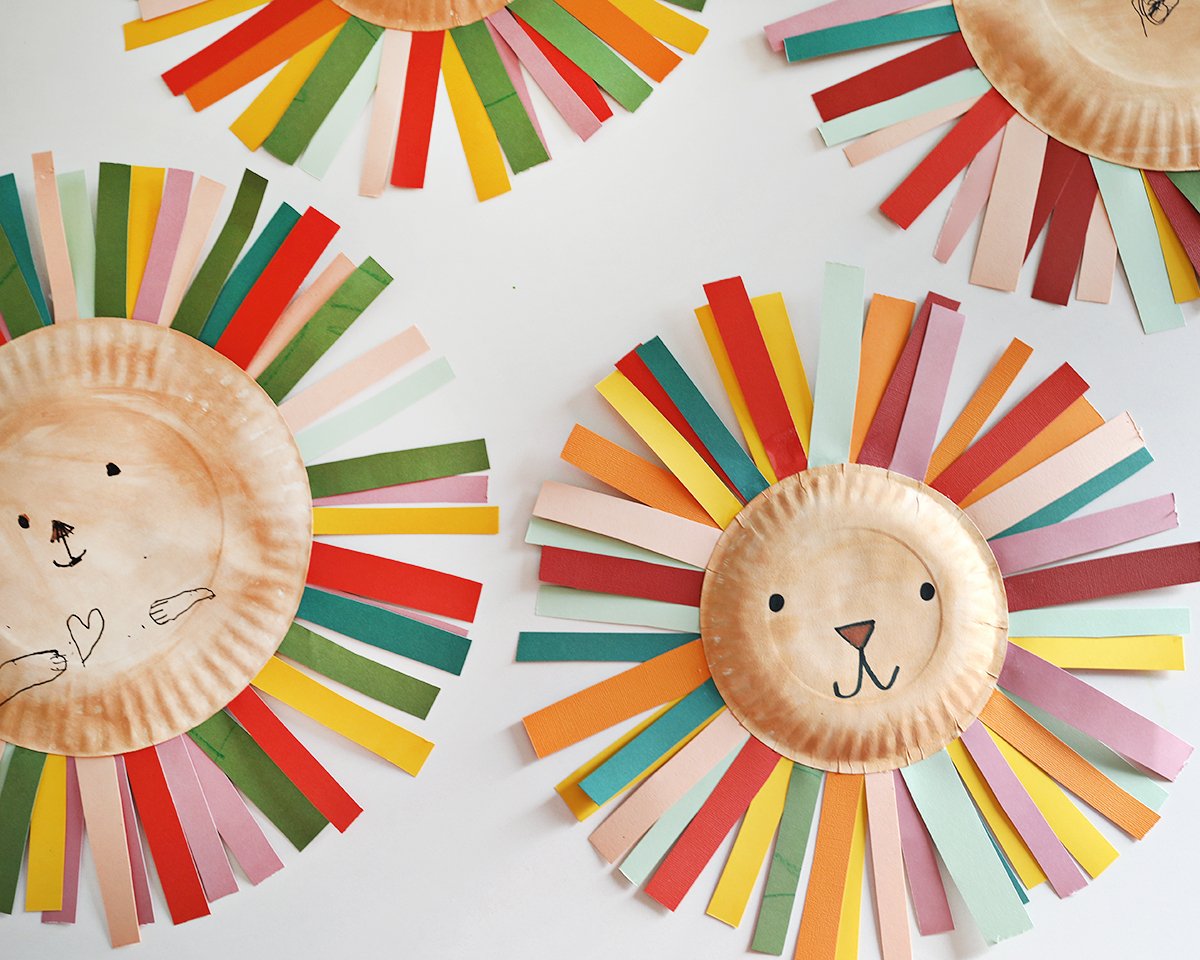
Here’s a lion made by my 7-year-old. This project is perfect for preschool and elementary ages!
More Paper Plate Crafts:
- Watermelon Paper Plate Craft
- Monster Paper Plate Craft
- Paper Plate Santa Craft
- Christmas Tree Paper Plate Craft

Get creative ideas for recipes, crafts, decor, and more in your inbox!
 Get the How-To

Supplies
- acrylic paint (light brown)
- 1 paper plate painted light brown (and fully dry) (you can use small or large paper plates; I used both plate sizes.)
- Various colors of card stock or construction paper (cut into strips)
- 1 bottle school glue
- 2 markers (black and brown)
Instructions
- Before you begin, prep the paper plates you will be using by painting them light brown. I used beige acrylic craft paint and a watery brush to get the soft look that mine have. Let the plates dry completely.
- Prep the strips by cutting pieces of construction paper and then cutting each strip in half after that. Note: This is a great way to use scraps of paper as well. If you are doing this project with an elementary age child, let them do all the cutting. If you are doing it with a younger child, prep the paper strips in advance.
- To attach the paper "mane" to the paper plate, turn the paper plate over and add a line of glue all the way around the outer edge.
- Attach paper strips close to the edge of the paper plate. Once you have a full layer, add another full line of glue all the way around the paper plate over the first layer. Adding more strips will add more fullness to your lion's mane.
- Keep adding strips until you are happy with the density.
- Allow the paper strips to dry completely.
- For the last step, draw a face on the lion.