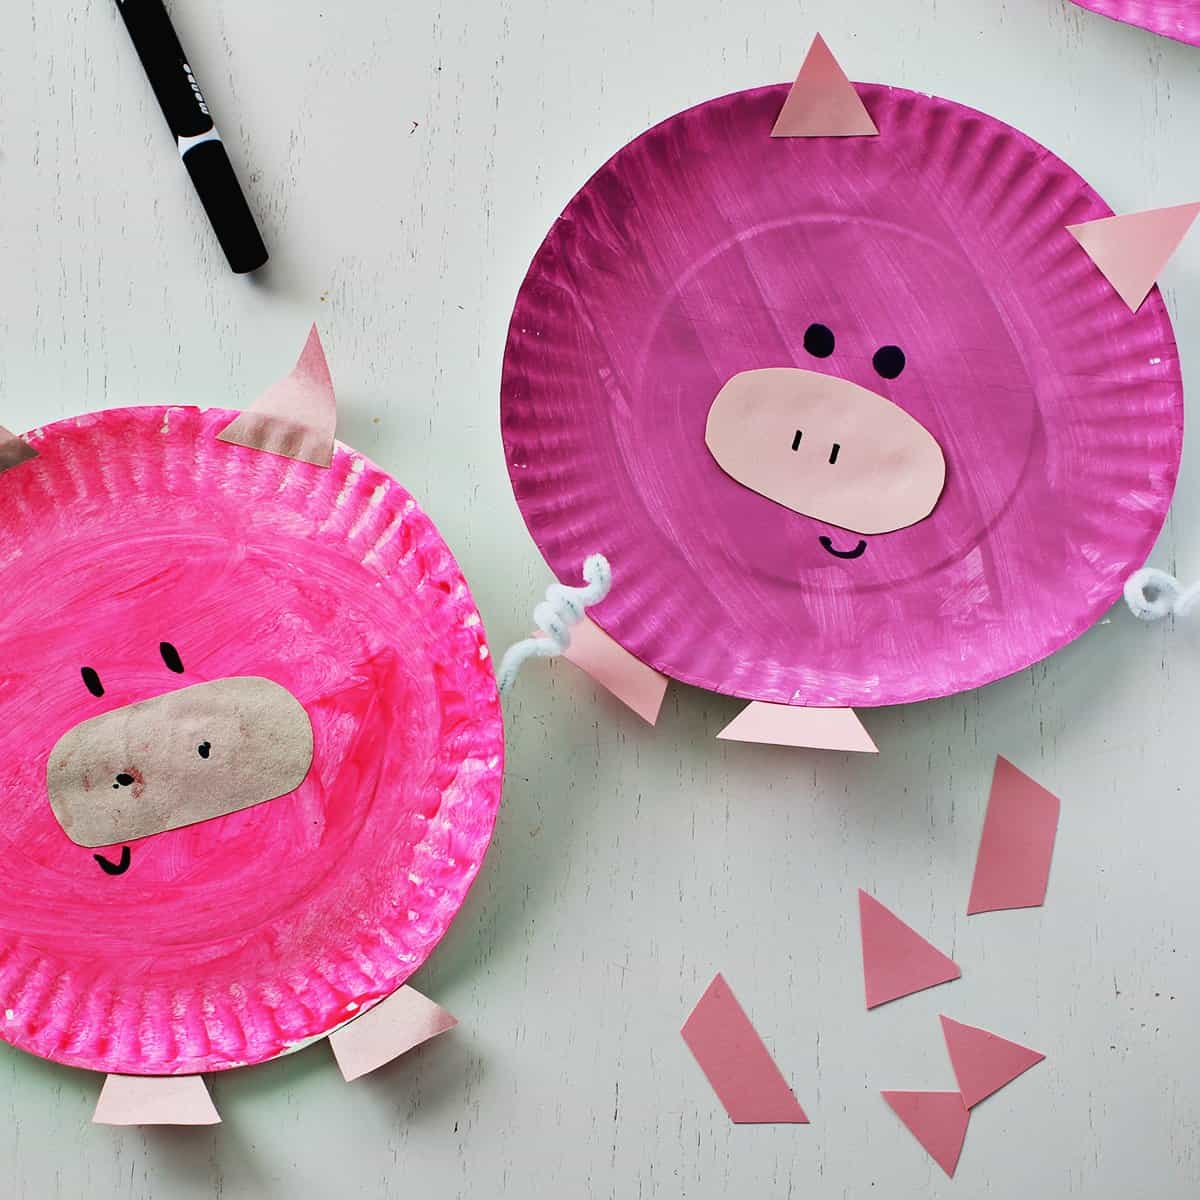
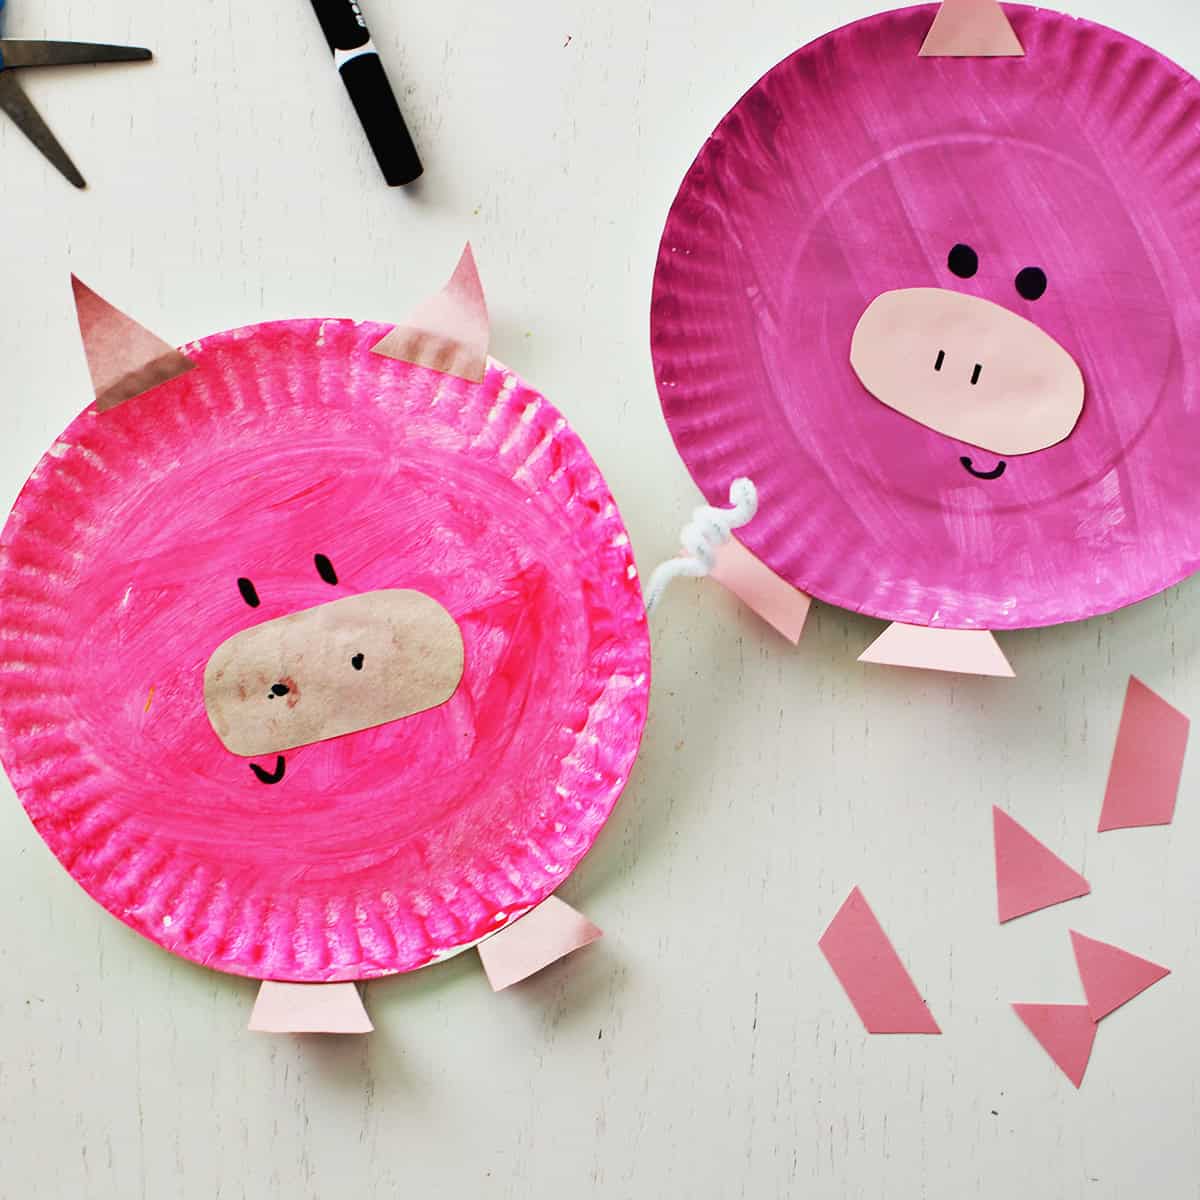
This simple craft is a great way for kids to learn about farm animals or just as an activity for them to get creative with! This paper plate pig craft is a fun and easy activity for kids. It’s not just for preschool, though. You can make this really with any child by adjusting the steps and helping as needed.
I love how versatile paper plate crafts for kids can be. This project only needs paper, glue and a paper plate. Add in a pipe cleaner for a tail and make this little piggie however you want! You can use paint or markers and it can be customized with other colors.
Why kids love paper plate crafts
I love projects with classic, easy-to-find supplies like popsicle sticks, toilet paper rolls, and paper plates. There is something nostalgic and timeless about them. Kids can get creative and love seeing what they can turn into too!
- Easy to find supplies are everything! Easy to find, easy to make, easy on parents and easy for kids.
- The best kind of kids projects are things you already have in your home, or can easily grab on your next grocery store trip.
- If you mess up it’s very easy and possible to start over.
Supplies for your Paper Plate Pig
- Paper plates
- Scissors (remember to do the cutting if your child isn’t ready to yet.)
- Construction paper scraps or cardstock in pink
- Markers, crayons or paint in pink and black
- School glue or a gluestick
Steps for Your Paper Plate Pig
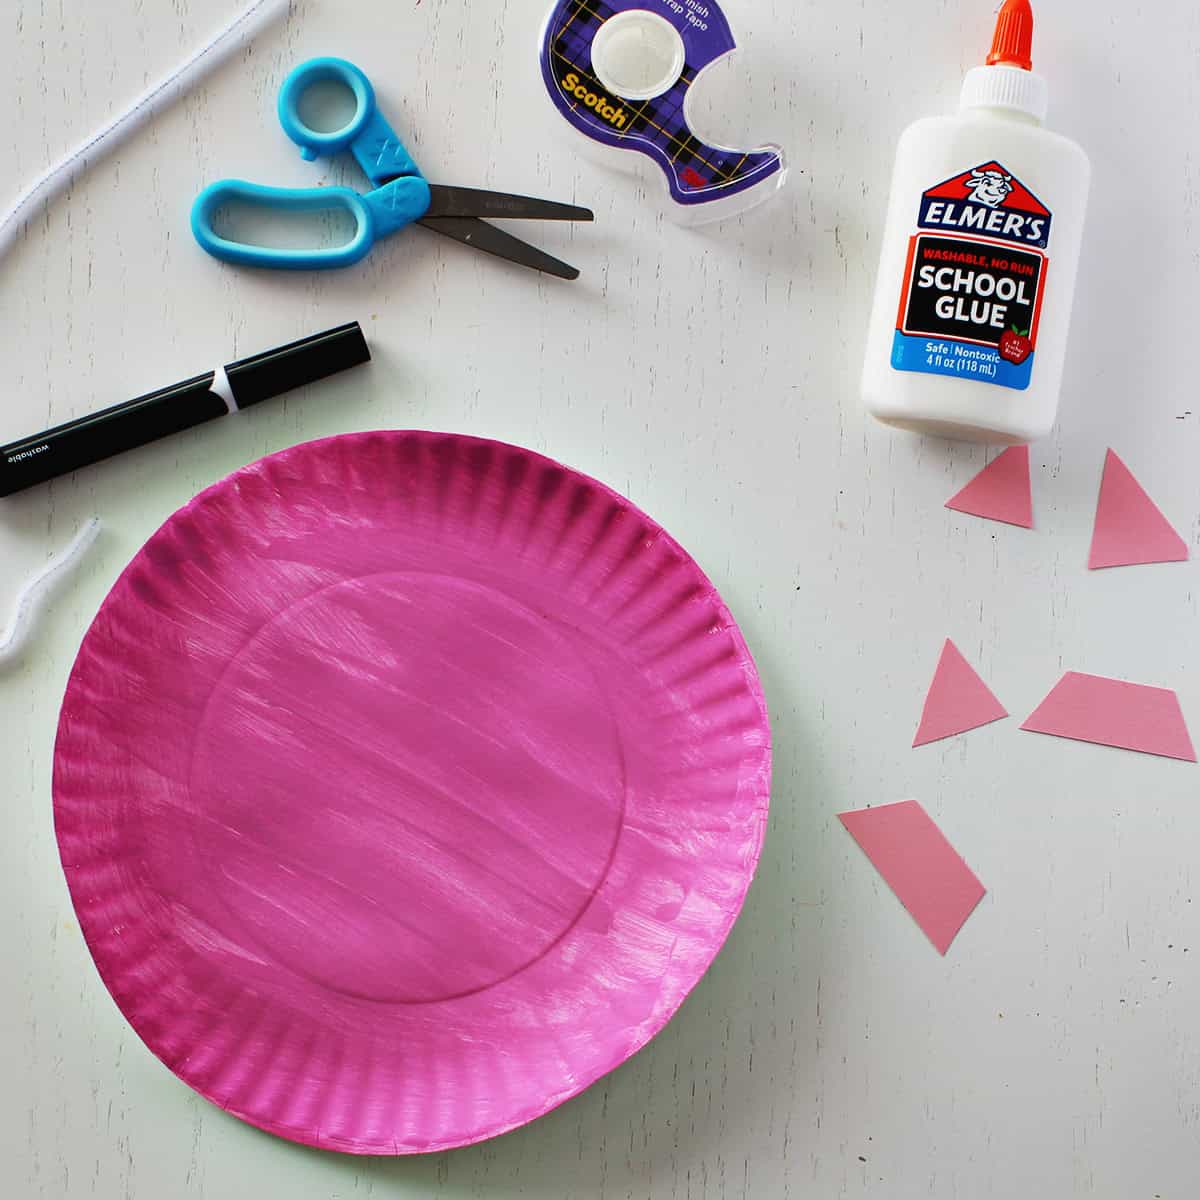
Begin by painting or coloring your plate pink. If you’re wanting this to be a faster craft you can use markers, crayons or colored pencils. You could also pre-paint plates too and have them ready for the kid to pick from.
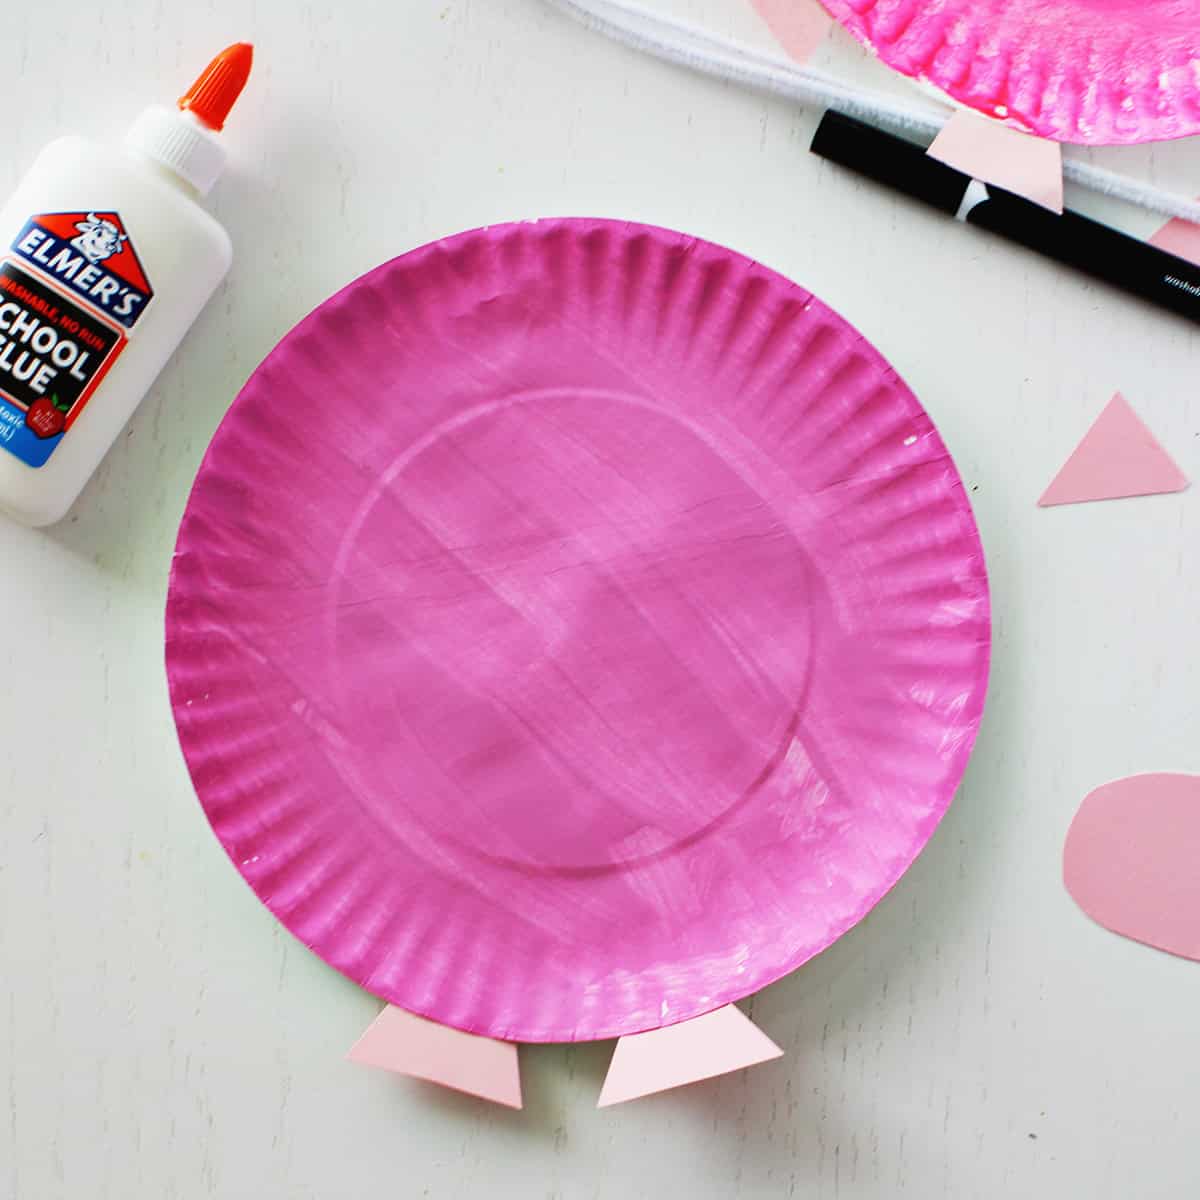
Cut out two pig hooves from the pink construction paper. Using school glue or a gluestick attach to the back of the plate. You could also use tape.
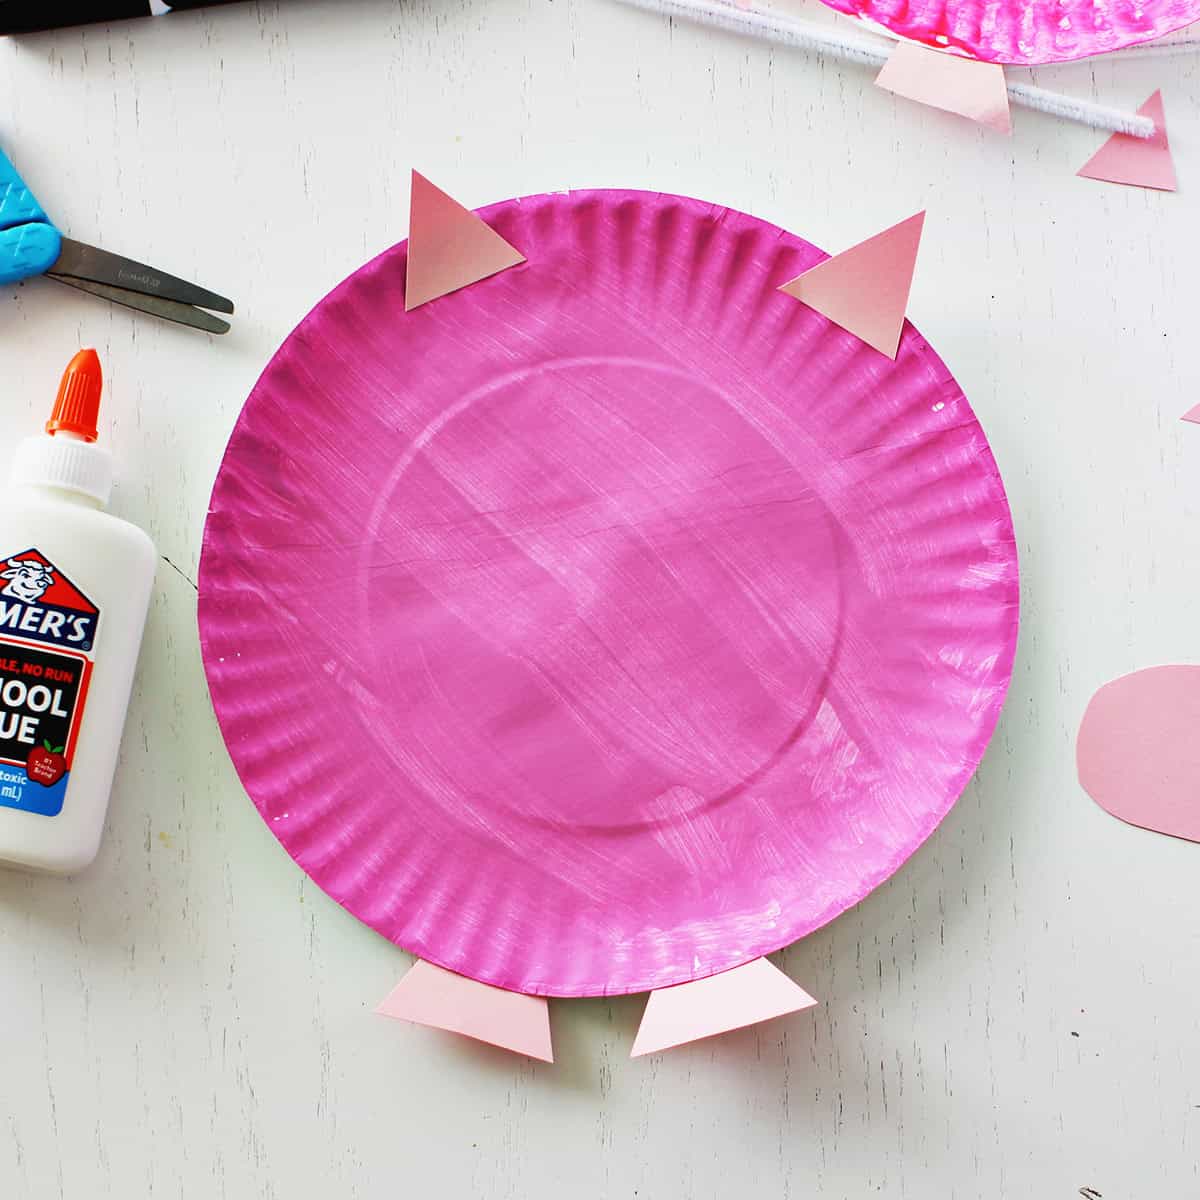
Glue on two pink triangles for pig ears. Add an oval or circle to the middle of the plate.
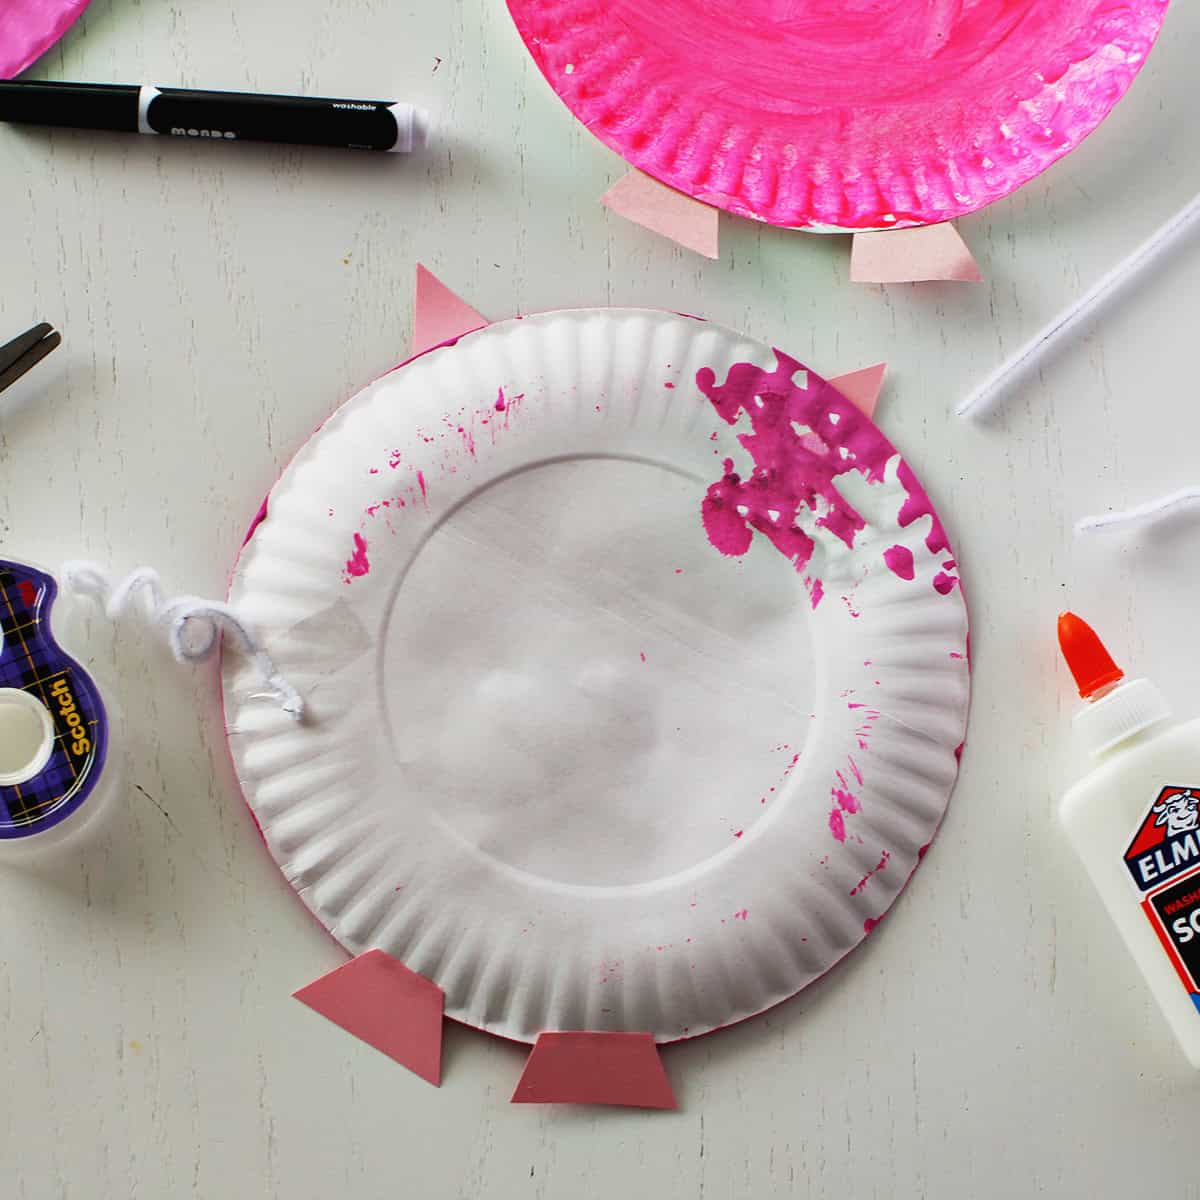
Twist half of a white pipe cleaner around your finger to make it into a spiral shape. Turn your plate around and tape the tail onto the plate.
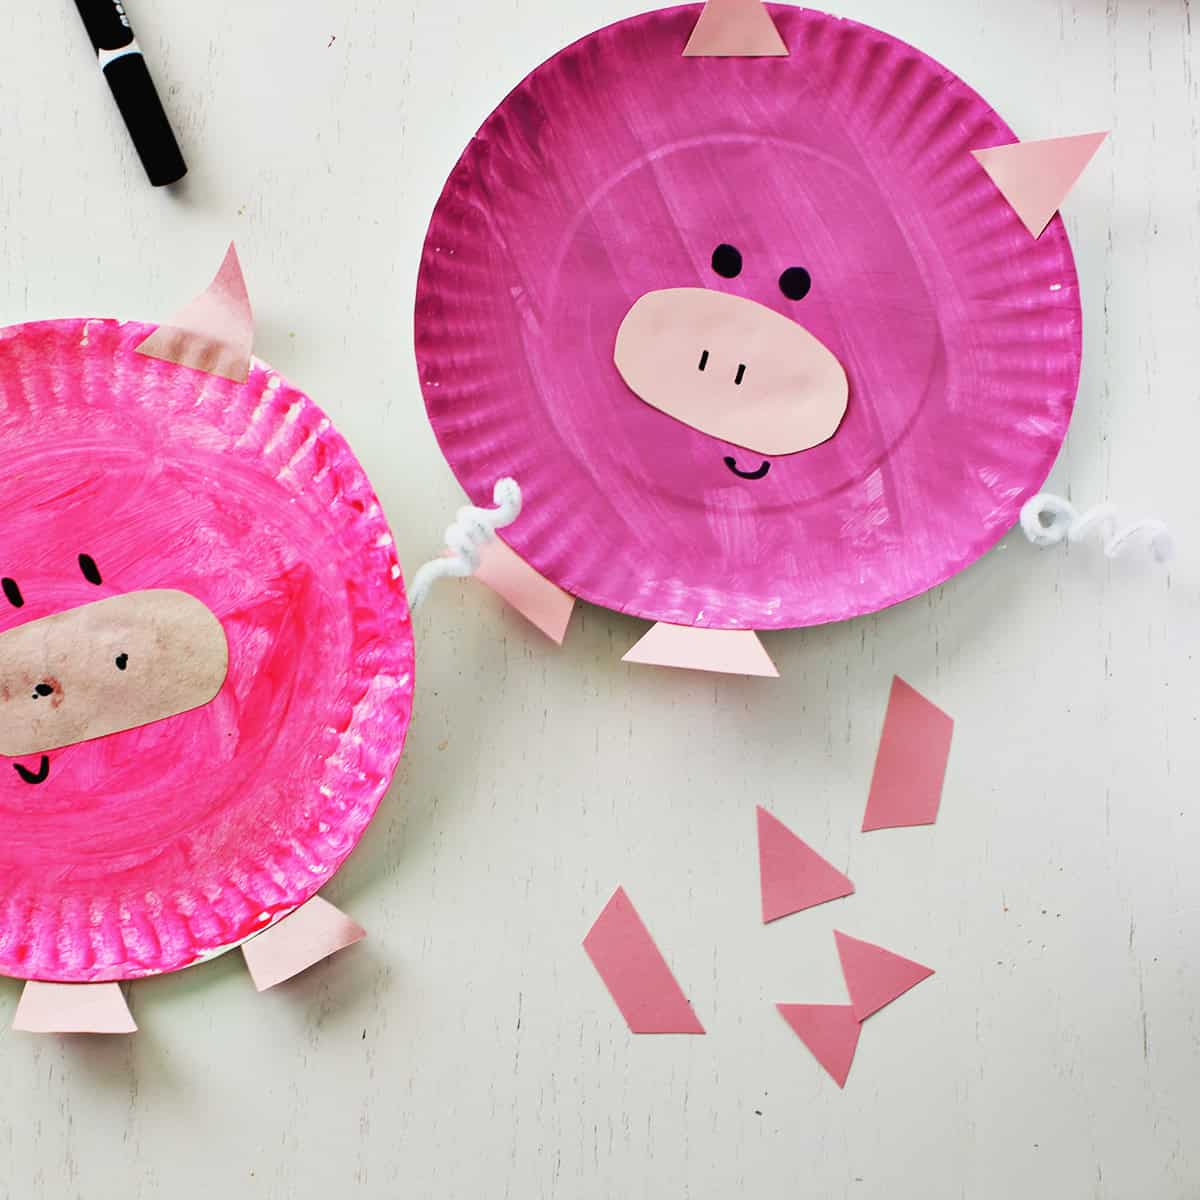
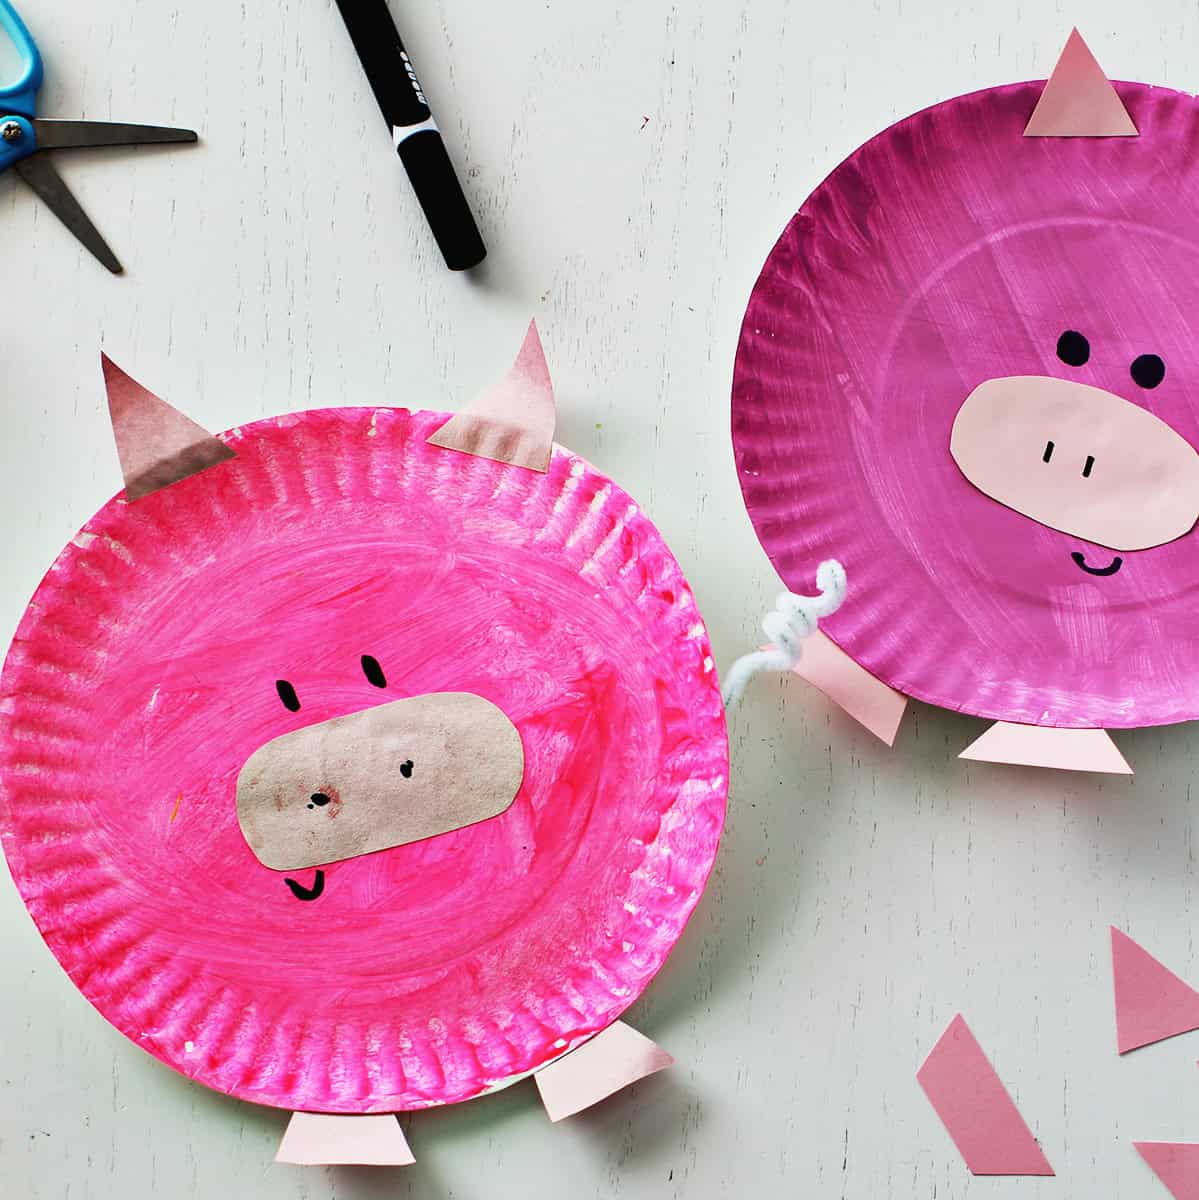
Finally, add your details with a black marker. Add two dots for eyes, the nostrils and a smile!
Tips for Making a Paper Plate Pig:
- Use leftover scraps of paper from other projects.
- If you’re making this with a younger child who can’t cut with scissors yet, it may be helpful to prep the paper pieces for the eyes, legs and tongue in advance.
- If you have a kiddo who will want to craft right away, you can even pre-paint the plate so that they can start assembling without having to wait for the paint to dry.
Looking for more Paper Plate Crafts for Kids?
Get creative ideas for recipes, crafts, decor, and more in your inbox!
 Get the How-To
Supplies
- 1 piece pink construction paper or cardstock
- 1 glue stick or tube of school glue
- 1 paper plate (painted or colored pink)
- ½ piece pipe cleaner
- 1 black marker
Instructions
- Begin by painting or coloring your plate pink. If you're wanting this to be a faster craft you can use markers, crayons or colored pencils. You could also pre-paint plates too and have them ready for the kid to pick from.Cut out two pig hooves from the pink construction paper. Using school glue or a gluestick attach to the back of the plate. You could also use tape. Glue on two pink triangles for pig ears. Add an oval or circle to the middle of the plate. Twist half of a white pipe cleaner around your finger to make it into a spiral shape. Turn your plate around and tape the tail onto the plate.
- Cut out two pig hooves from the pink construction paper. Using school glue or a gluestick attach to the back of the plate.
- Using school glue or a gluestick attach to the back of the plate. You could also use tape. Glue on two pink triangles for pig ears.
- Add an oval or circle to the middle of the plate.
- Twist half of a white pipe cleaner around your finger to make it into a spiral shape. Turn your plate around and tape the tail onto the plate.
- Finally, add your details with your black marker, including the nostrils, eyes and a smile.
