Would you like to save this?
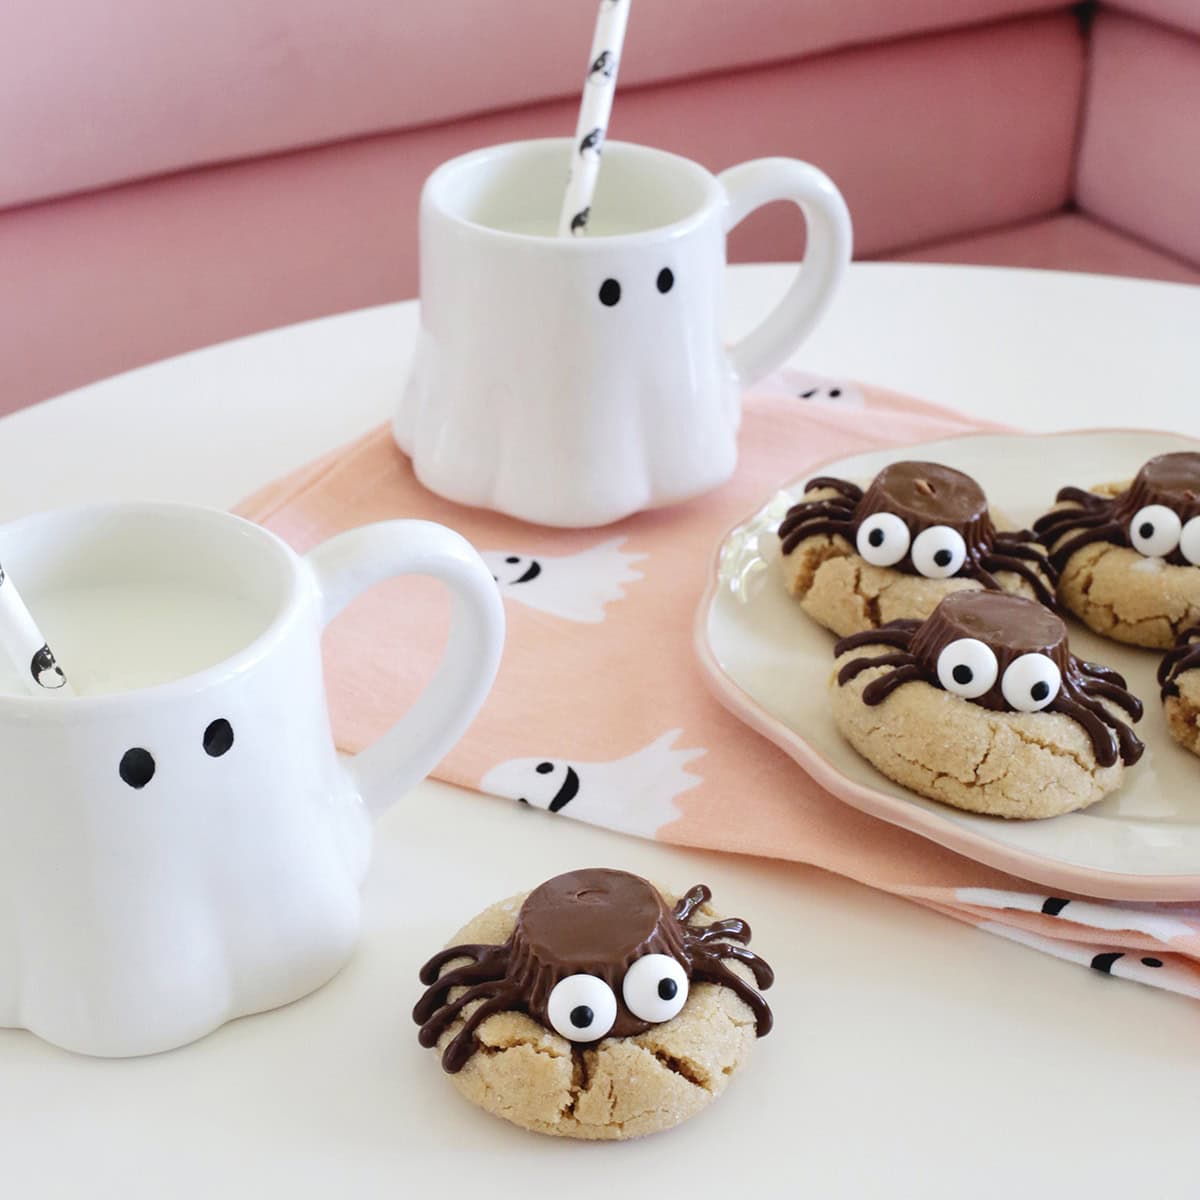
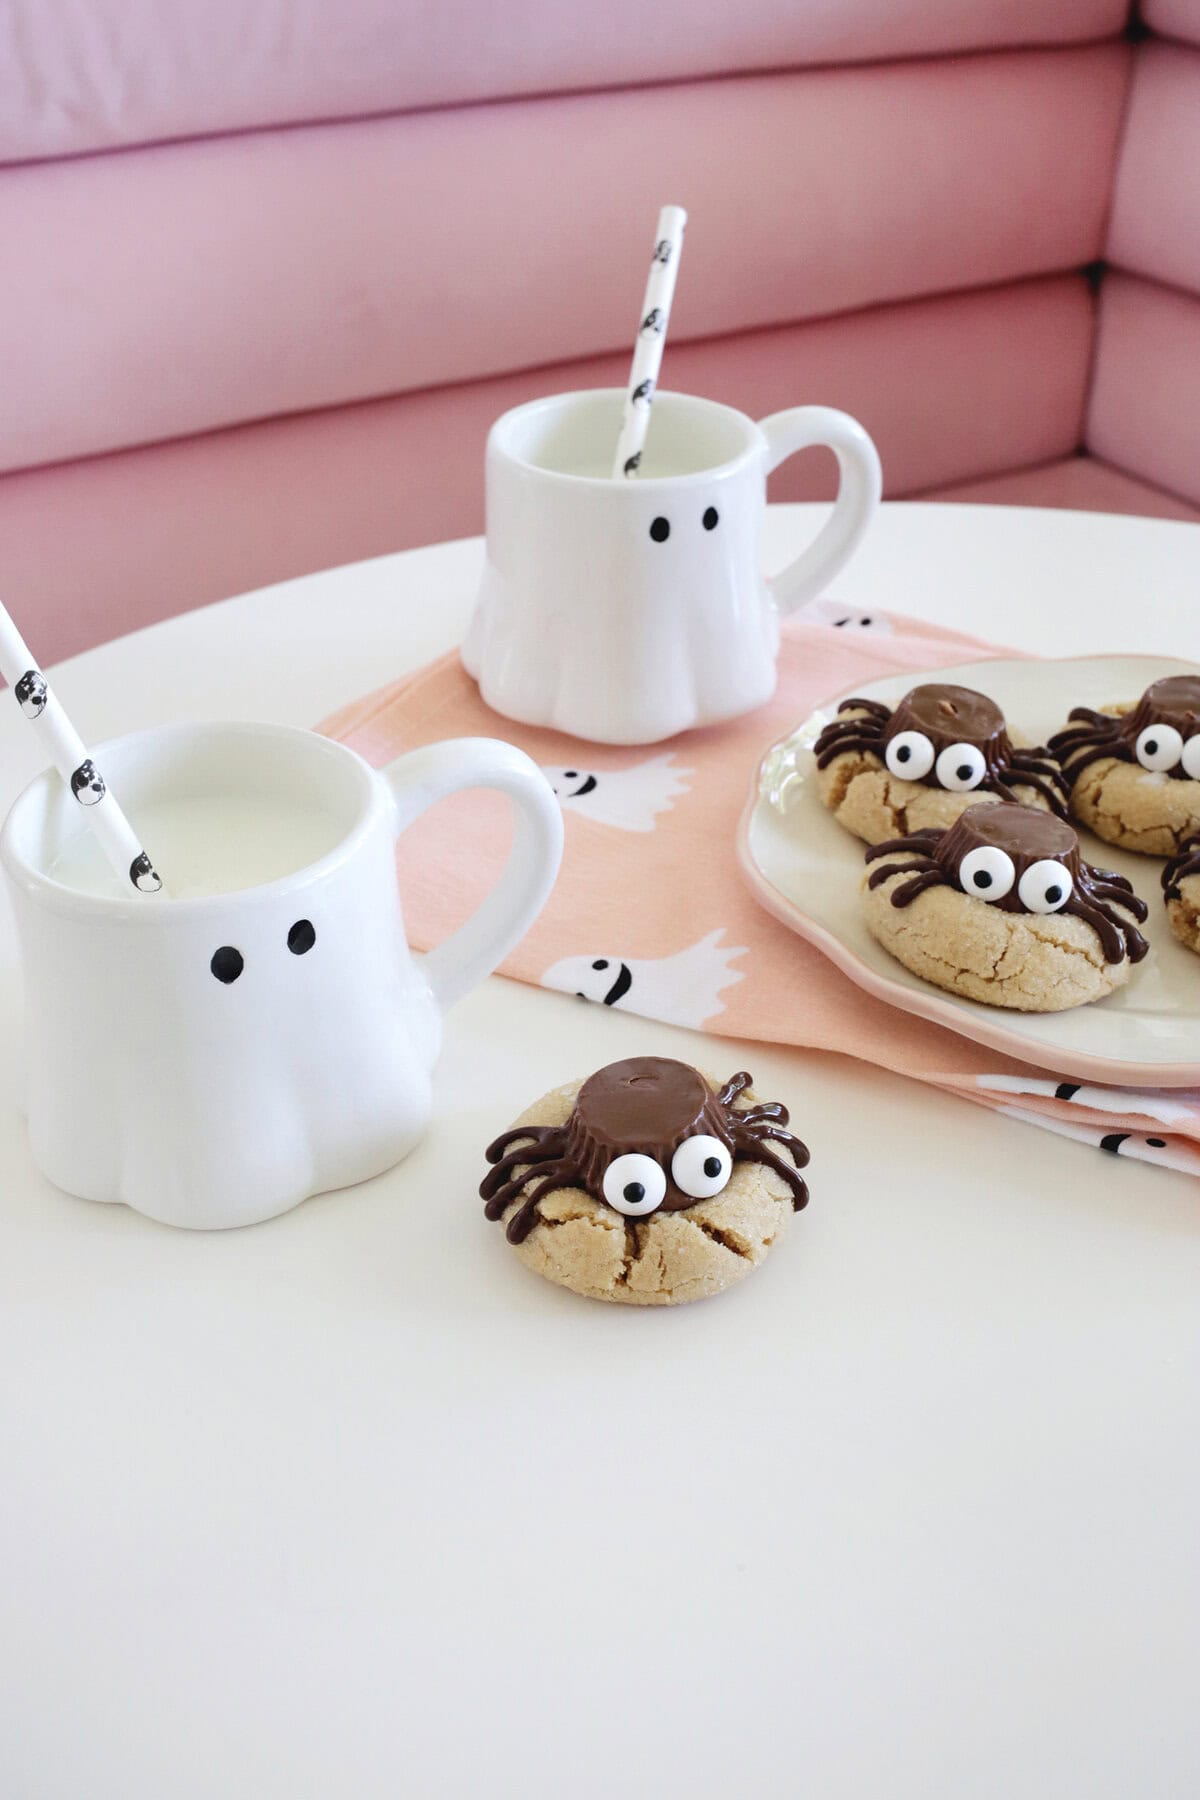
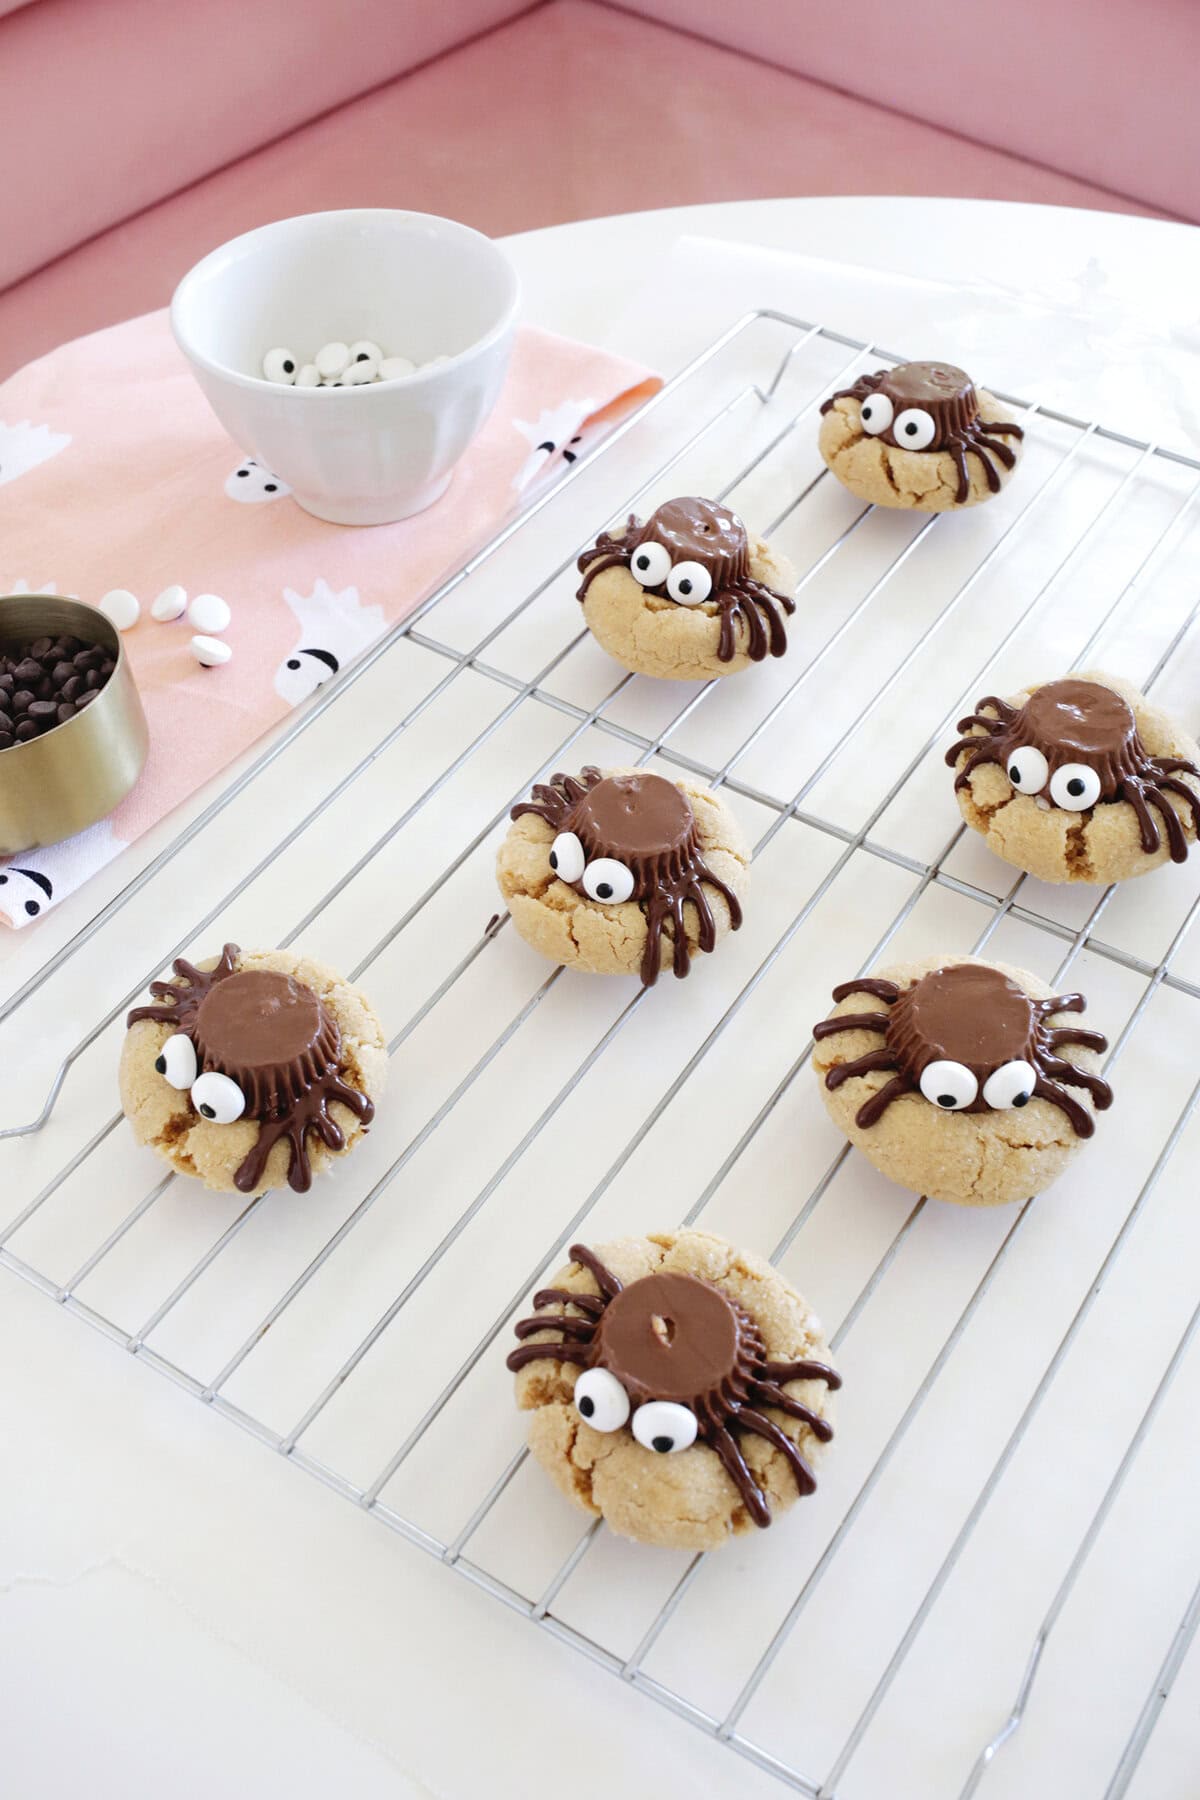
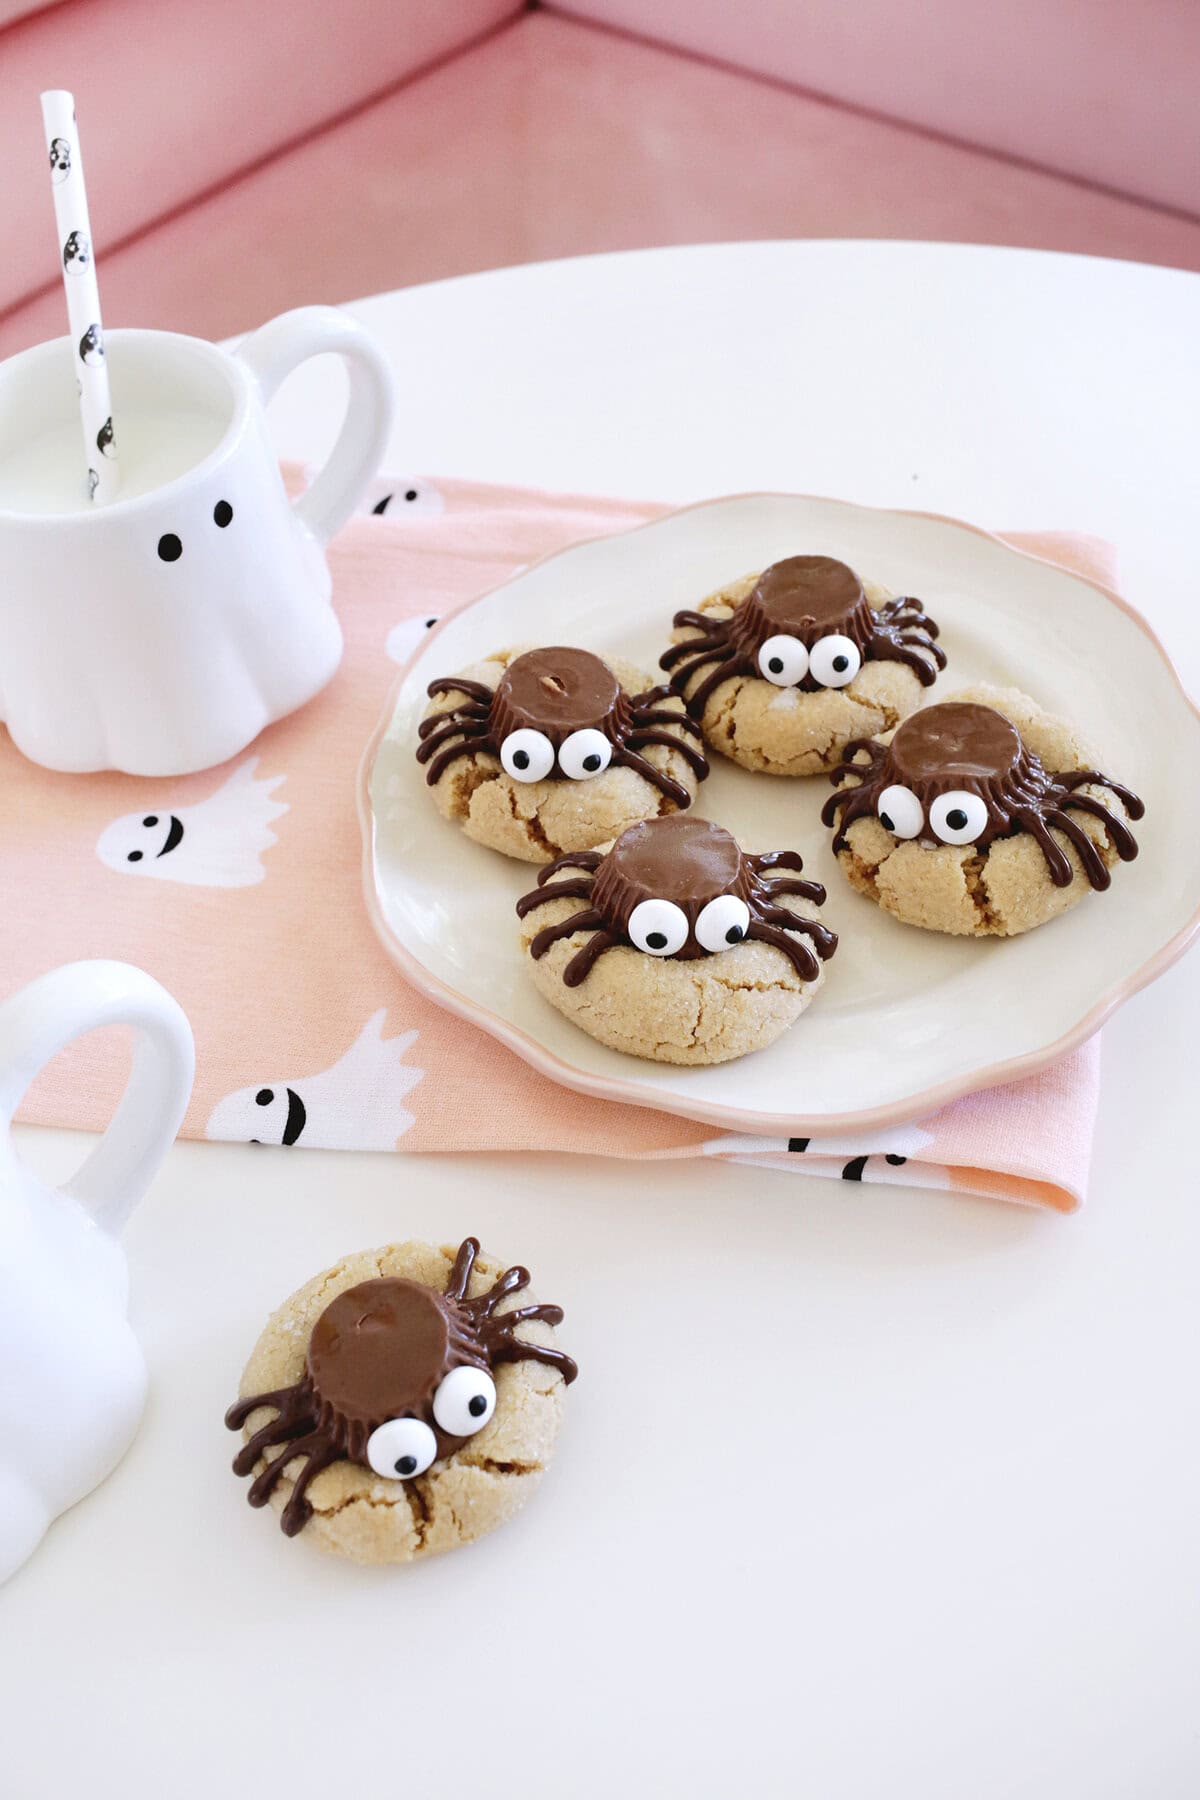
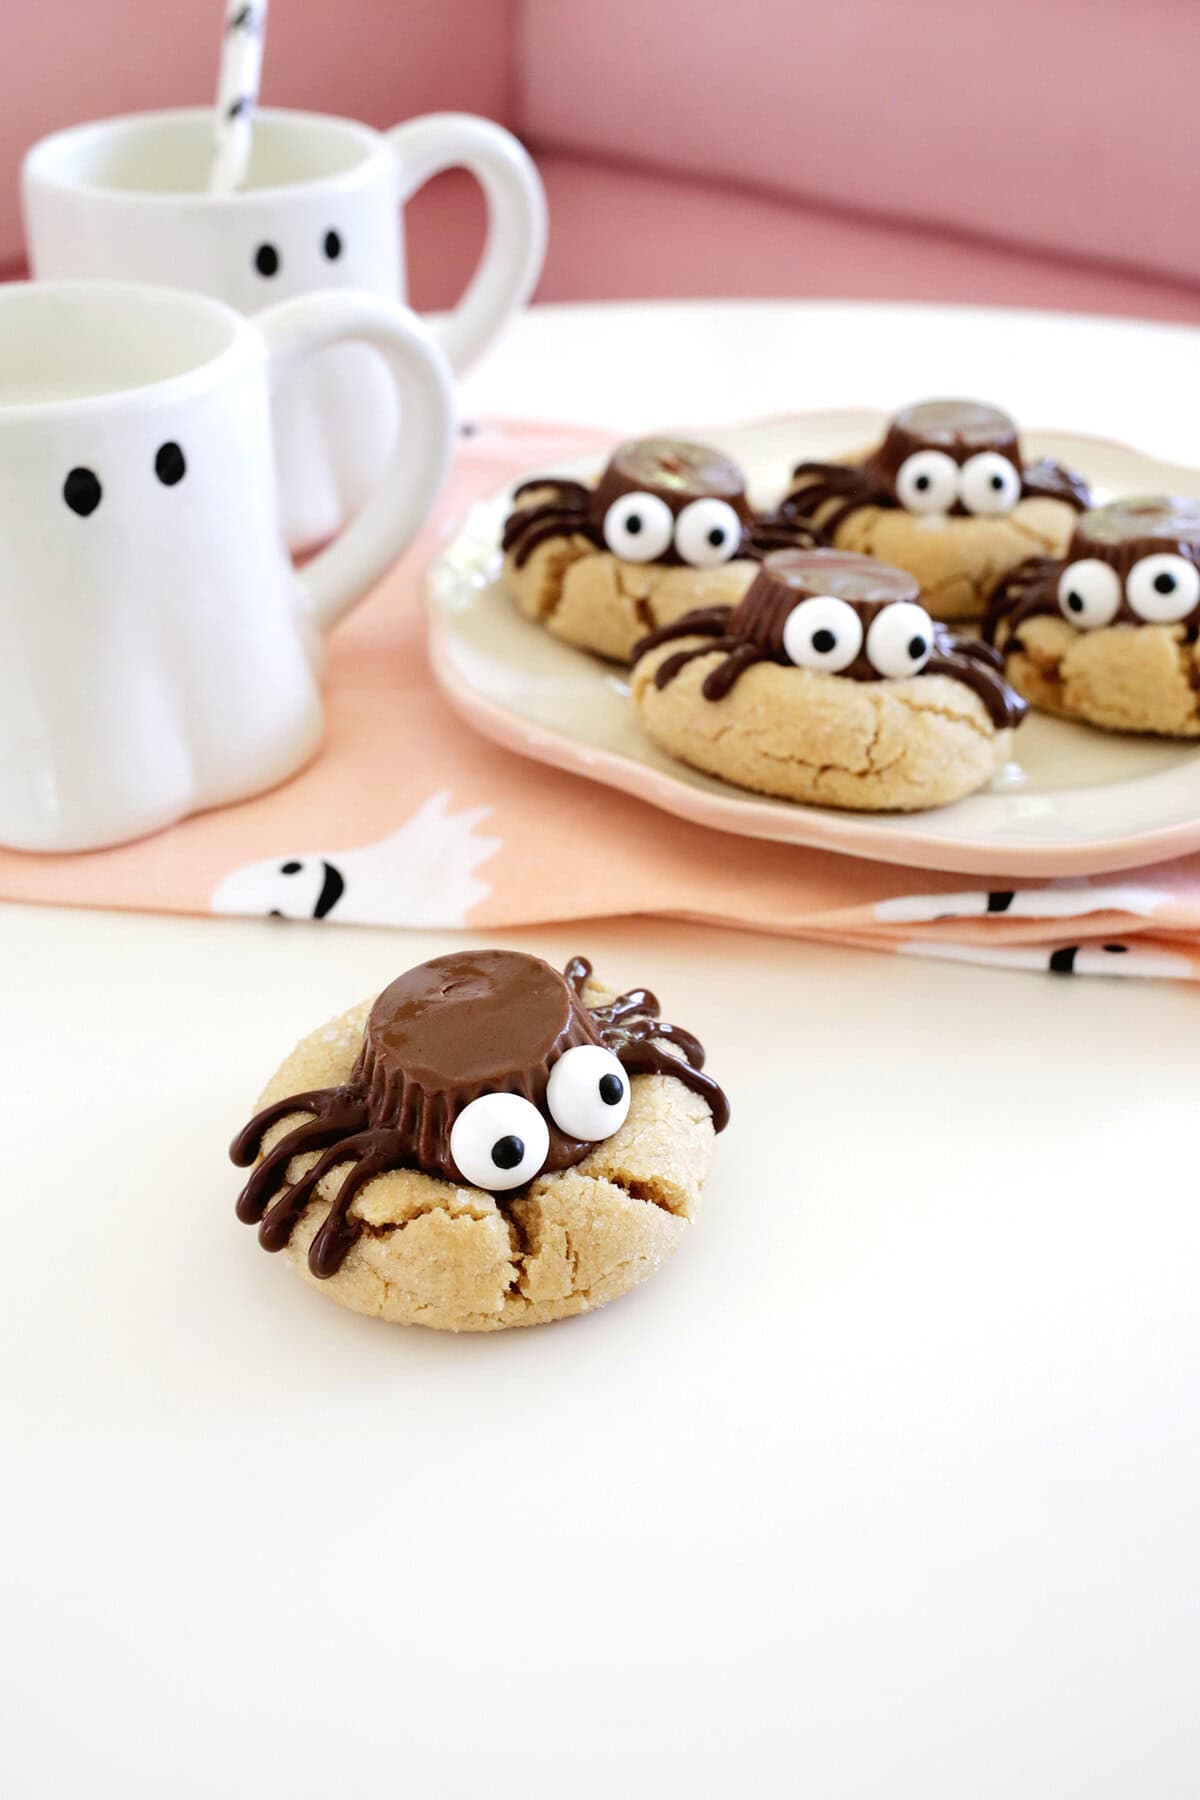
These peanut butter spider cookies are a hit for kids at your next Halloween party (or any time of the year for spider lovers!). They are fast to make, soft and chewy on the inside with mini Reese’s cups on top, and your little ones can help make them so everyone can get involved.
These spider cookies are essentially a peanut butter blossom cookie with a mini Reese’s cup added to the top (instead of a Hershey’s kiss) and decorated with candy eyes and melted chocolate legs. Still a delicious combination but with a fun (and spooky) twist! If you’re wanting to make a peanut allergy friendly version, try using sunbutter mini cups and a sugar cookie base or an oreo!
Why You’ll Love Peanut Butter Spider Cookies:
They are easy to make! Simple pantry ingredients make up these soft and chewy peanut butter cookies-just stir, roll, and bake!
They are perfect for Halloween! While these are perfect for a kid-friendly Halloween party or snack, they are also a treat for bug lovers any time of the year.
Kids can help! kids can help mix the dough, roll the balls in sugar, or press on the candy bodies to help make these cookies great.
They are delicious! Who doesn’t love the classic combination of chocolate and peanut butter? Sign us up!
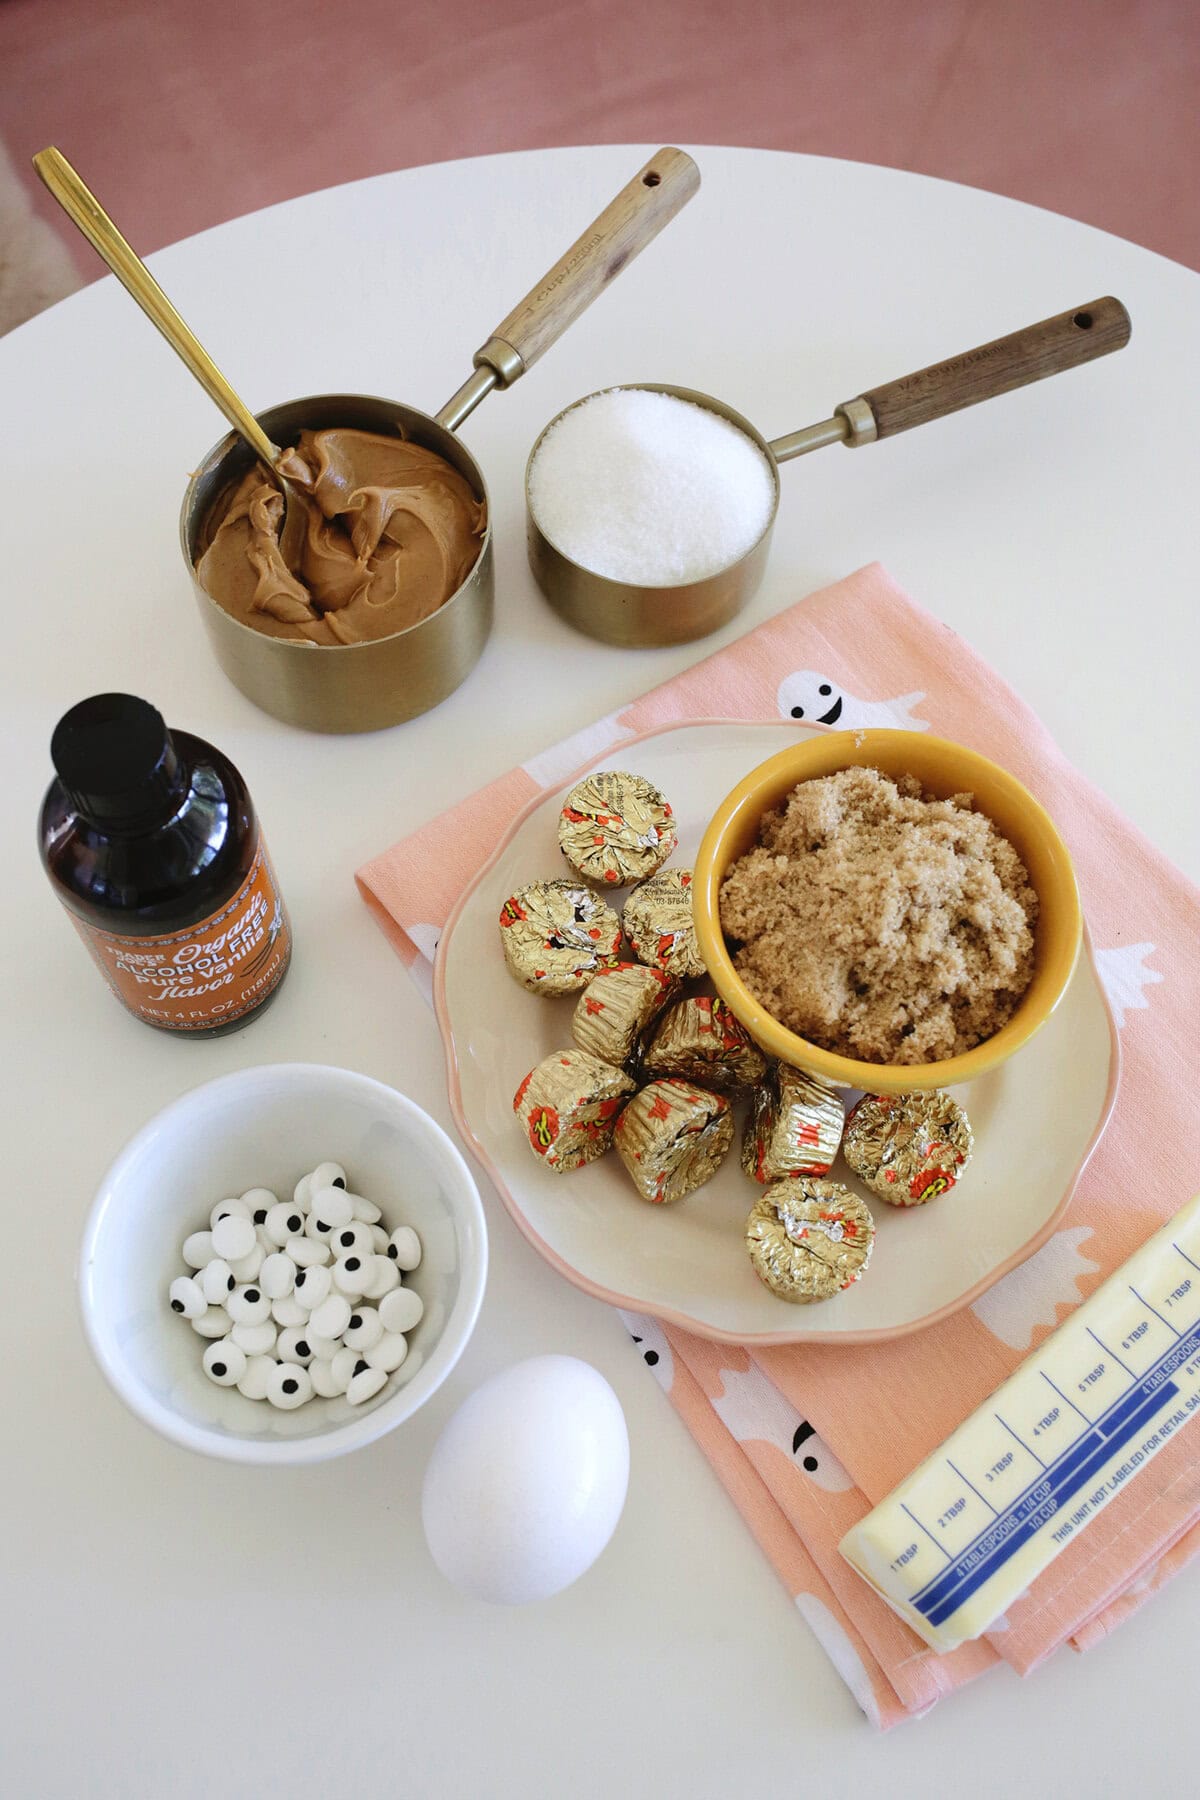
Peanut Butter Spider Cookie Ingredients:
- Creamy peanut butter- The chunky natural peanut butters won’t work as well in this recipe since they separate, so go for a smoother creamy option that has stabilizers.
- Butter (softened)- Unsalted butter is best to control the salt level, but salted will work too.
- All-purpose flour- No fancy flour here, just regular all-purpose flour will do.
- White sugar- Plain old granulated sugar is part of what makes these cookies sweet and you’ll roll your dough balls in the sugar as well.
- Light brown sugar- Adding in some brown sugar gives the cookies a deeper molasses flavor.
- Salt- You can lesses the amount by half if using salted butter
- Egg (room temperature)- You’ll just need one egg for this recipe.
- Vanilla extract- Just a little bit adds a subtle sweet vanilla note.
- Baking soda- A small amount will help your cookies fluff up while baking.
Additional items to create the spider:
- Mini Reese’s peanut butter cups- You’ll unwrap these and freeze first to keep them from melting once pressed into the cookies.
- Candy eyes- Having a set of candy eyeballs around for baking with kids is a must!
- Melting chocolate discs or chocolate chips- You’ll use these to pipe the legs of your spider.
How to make Peanut Butter Spider Cookies:
Chill your candy: Unwrap and freeze your mini Reese’s ahead of time.
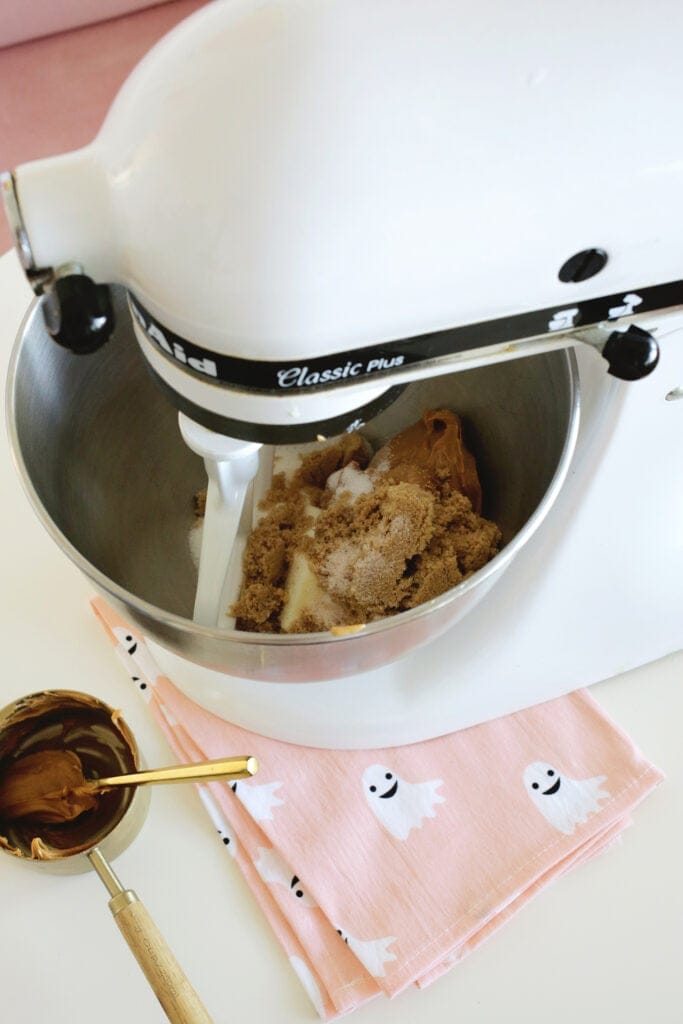
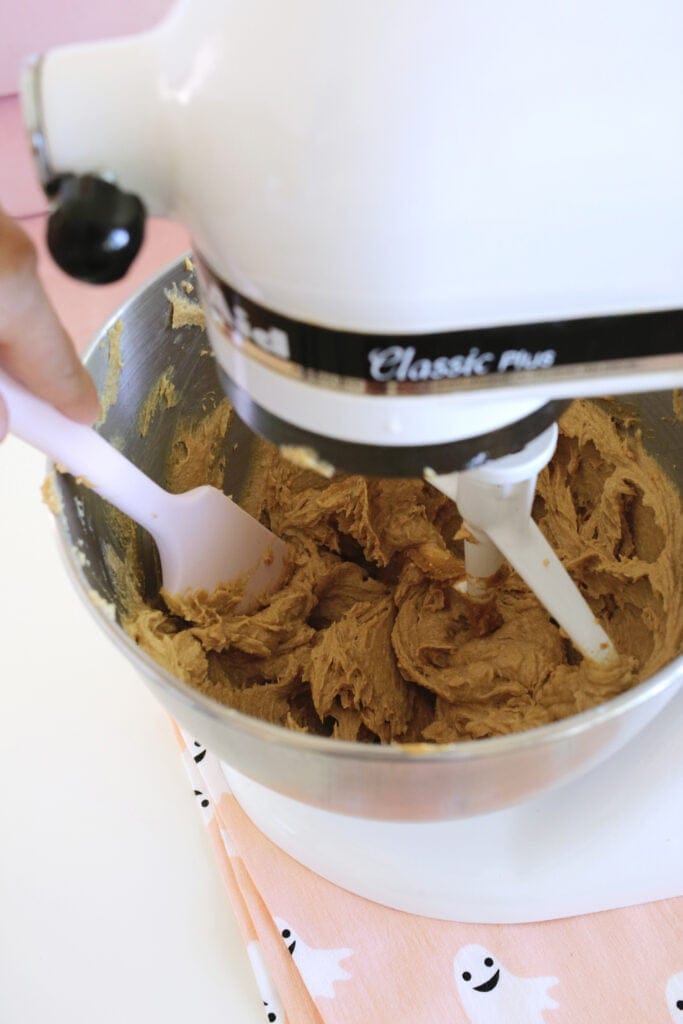
Mix your dough: Add your butter, peanut butter, sugar and salt to a large bowl and use a stand or hand mixer to cream together until combined. Add egg and vanilla and mix again. Add in flour and baking soda and mix until just combined.
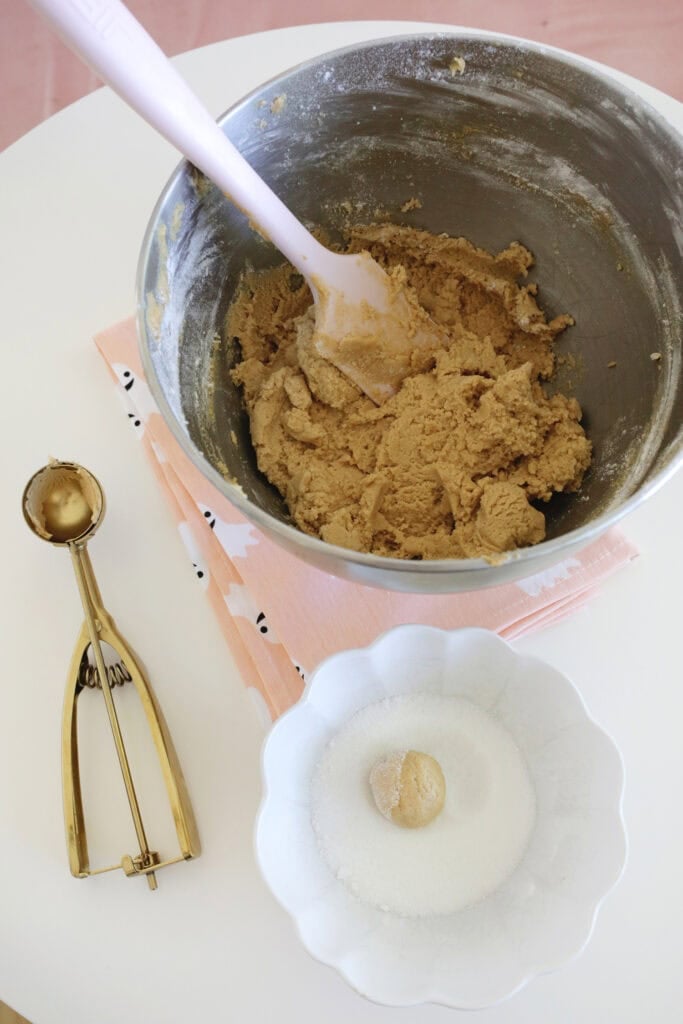
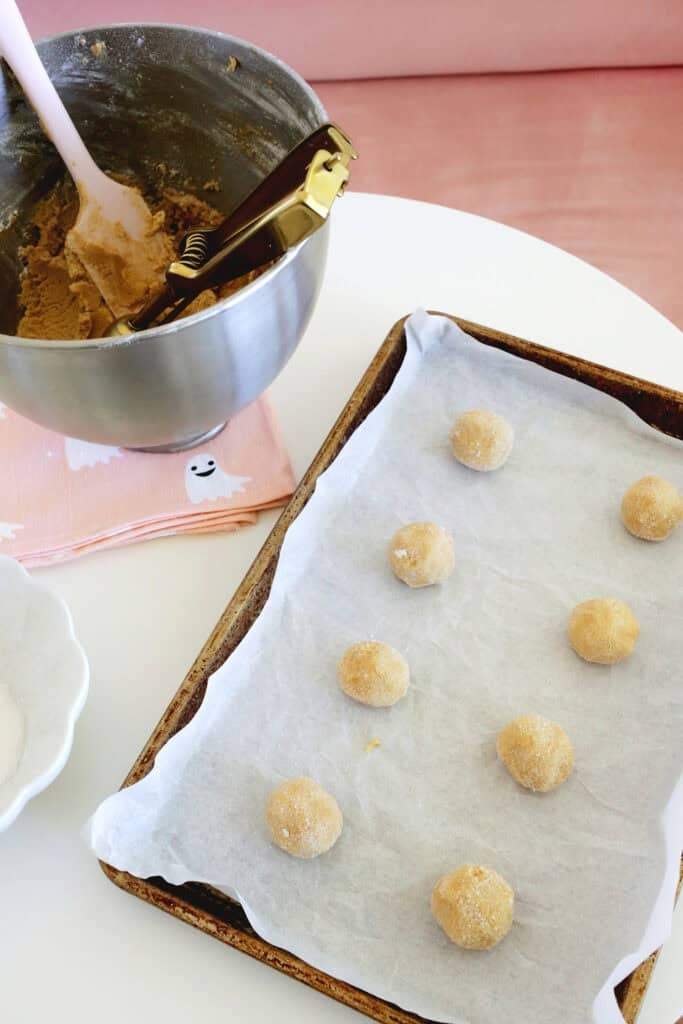
Roll dough balls: Scoop your dough into uniform balls about 1″ wide and roll in extra granulated sugar to coat. Place about 2″ apart on baking sheet lined with parchment.
Bake cookies: Bake for 8-10 minutes in a 375° oven or until cookies are just starting to crack around the edges and look firm on top.
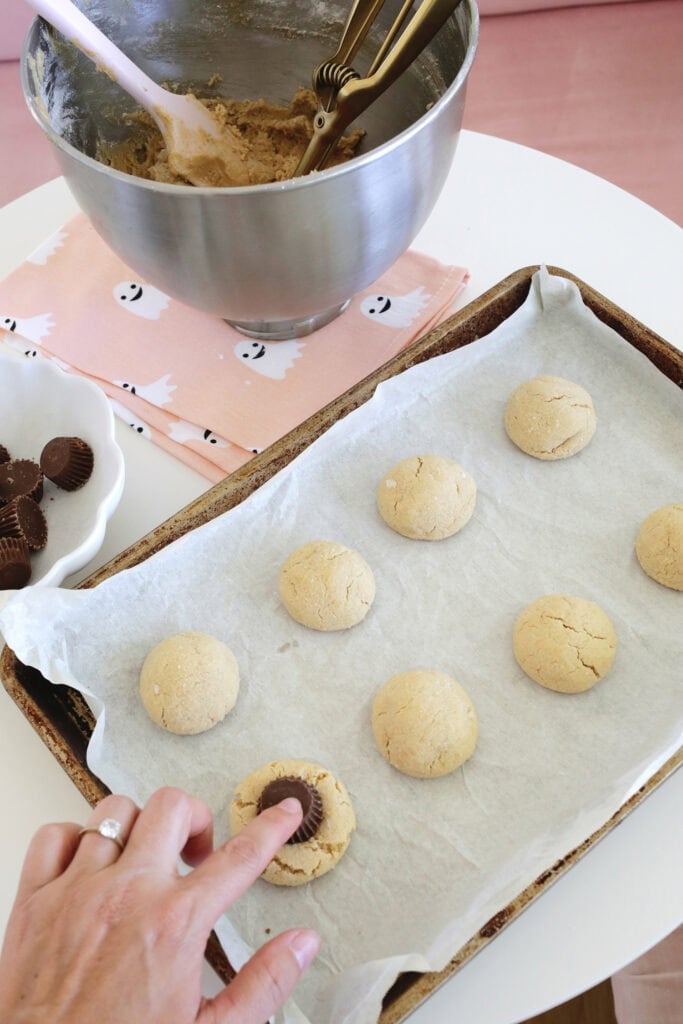
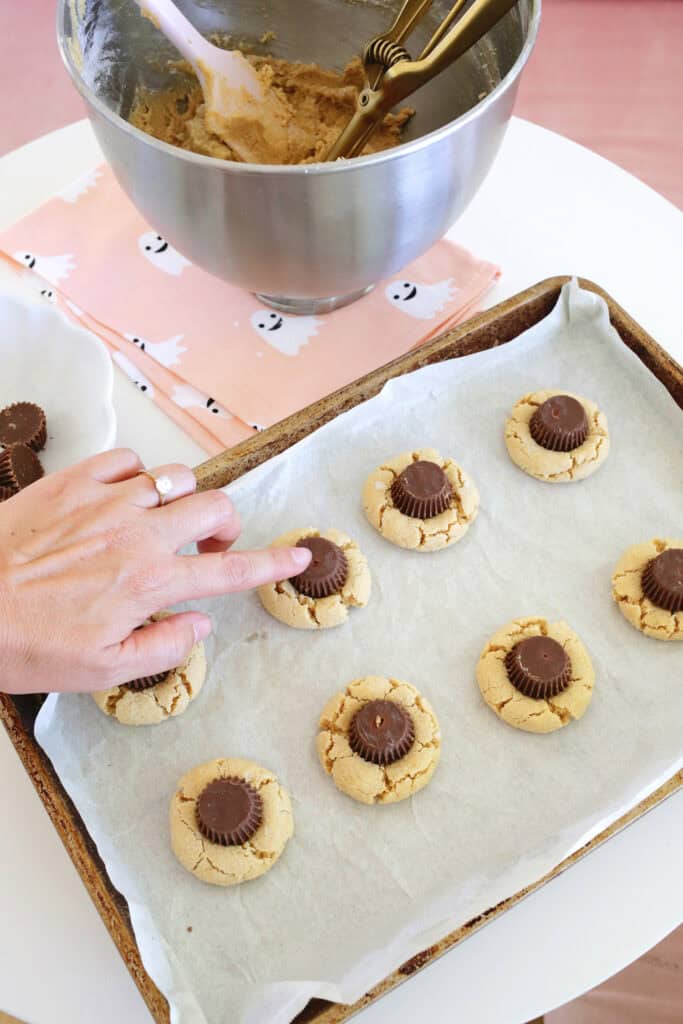
Add decorations! As soon as you remove your cookies from the oven, add your frozen Reese’s cups into the center of each cookie, pressing in lightly. Allow cookies to cool about 15 minutes before moving to a cooling rack.
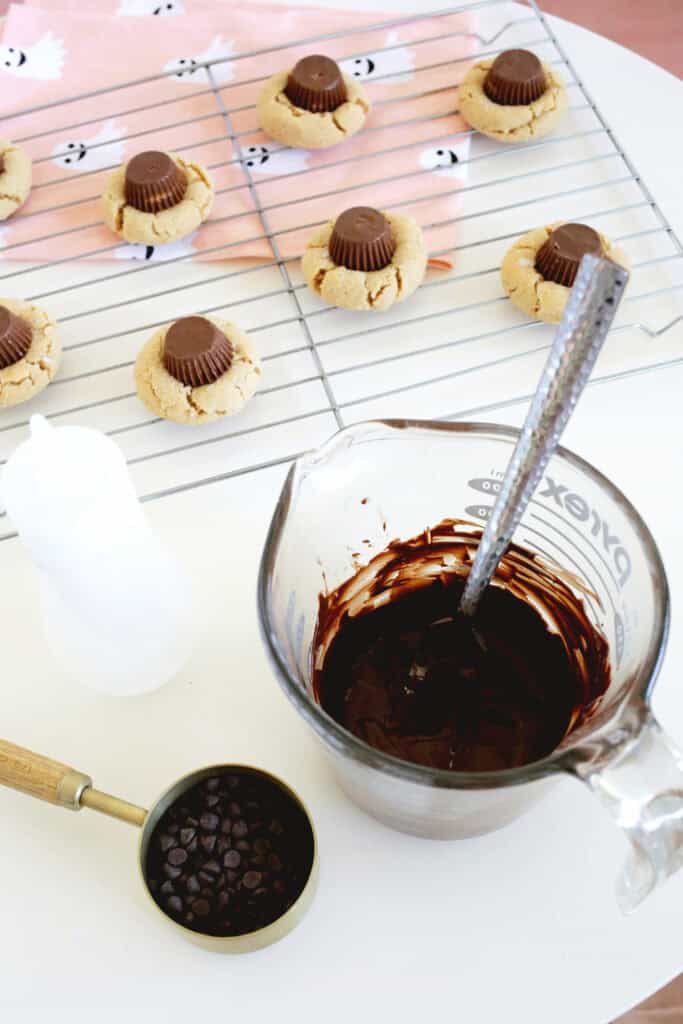
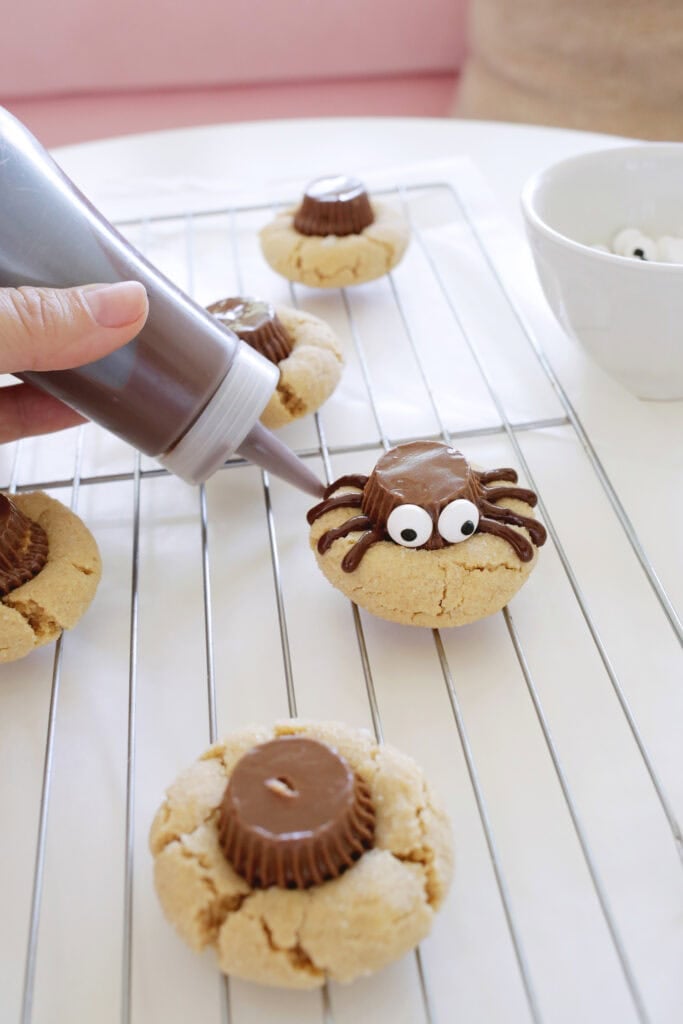
Once totally cool, melt some chocolate in the microwave (stir every minute until melted) and use a piping bag/bottle or cut a corner of a ziplock bag to pipe chocolate legs onto each spider. Use melted chocolate as glue for candy eyes as well.
TIP: For uniform cookies, use a small cookie scoop to ensure dough balls are the same size.
Tips for making Peanut Butter Spider Cookies:
- Keep size consistent: Try and keep your cookie balls all the same size so they bake evenly (a small cookie scoop can help!).
- Chill your candy: Unwrapping and freezing your mini Reese’s ahead of time helps cut down on how much they melt when added, but if you’re in a time crunch you can use them as-is and glue them on with melted chocolate when cookies have cooled a bit.
- Don’t use runny chocolate: If your melted chocolate is super runny when melted, let it cool a bit before piping so it keeps it’s shape as you add the legs.
Can I make Peanut Butter Spider Cookies with store-bought cookies?
Yes! You can buy premade peanut butter cookies and attach your Reese’s cup to the top with a little bit of melted chocolate (the same chocolate you’ll use for the legs). Use the chocolate as a glue to attach the eyes to the Reese’s cup as well.
If your store doesn’t sell a peanut butter blossom type of cookie, you could also use sugar cookies or golden Oreo’s as the base as well.
Frequently Asked Questions
Can I freeze peanut butter spider cookies?
Yes! You can freeze them before or after they are cooked. To freeze the dough, do all the steps until they are rolled into balls (don’t dip in sugar yet) and then flash freeze them on a tray before bagging them all together with layers of parchment paper between them so they don’t stick. Thaw in fridge overnight before continuing to roll in sugar and bake.
Baked cookies will last in the freezer for 2-3 months if you wrap them in cling wrap first to avoid freezer burn and seal in a freezer-safe container.
How do I store peanut butter spider cookies?
Store in an air-tight container and they will last on the counter for 3-4 days or up to two weeks in the fridge.
Can you make the dough ahead of time?
Yes, you can prep the dough a day in advance and leave it covered in plastic wrap in the fridge before rolling into balls. Just continue with the rolling, baking, and decorating steps the next day.
Peanut Butter Spider Cookie Variations:
- Try using a round truffle for the spider’s body instead of the Reese’s cup.
- Also you could use a sunflower butter cup if you have allergies in your family!
- You can use very think black licorice for the spider’s legs, or even thin pretzel sticks
- To be extra spooky, you can buy candy eyes with red bloodshot veins
Looking for more Halloween fun? Check out:
- Halloween Bingo (free printable!)
- Halloween Slime
- Ghost Template (free printable!)
- Halloween Dirt Cups
- Halloween Handprint Crafts
Get creative ideas for recipes, crafts, decor, and more in your inbox!
 Get the Recipe

Ingredients
- ¾ cup creamy peanut butter
- ½ cup unsalted butter (softened)
- ½ cup granulated sugar (plus a little extra for rolling)
- ½ cup packed light brown sugar
- ¼ tsp salt
- 1 large egg (room temperature)
- 1½ tsp vanilla extract
- 1½ cups all-purpose flour
- ½ tsp baking soda
Equipment
Instructions
- Chill your candy: Unwrap and freeze your mini Reese's ahead of time. This is optional and if you're in a time crunch you can use melted chocolate to 'glue' the reeses on ahead of time.
- Preheat your oven to 375℉.
- Add your butter, peanut butter, sugar and salt to a large bowl and use a stand or hand mixer to cream together until combined.
- Add egg and vanilla and mix again.
- Add in flour and baking soda and mix until just combined.
- Scoop your dough into uniform balls about 1" wide and roll in extra granulated sugar to coat. Place about 2" apart on baking sheet lined with parchment.
- Bake for 8-10 minutes in a 375℉ oven or until cookies are just starting to crack around the edges and look firm on top.
- As soon as you remove your cookies from the oven, add your frozen Reese's cups into the center of each cookie, pressing in lightly. Allow cookies to cool about 15 minutes before moving to a cooling rack.
- Once totally cool, melt some chocolate in the microwave (stir every minute until melted) and use a piping bag/bottle or cut a corner of a ziplock bag to pipe chocolate legs onto each spider. Use melted chocolate as glue for candy eyes as well.
Notes
- Keep size consistent: Try and keep your cookie balls all the same size so they bake evenly (a small cookie scoop can help!).
- Chill your candy: Unwrapping and freezing your mini Reese’s ahead of time helps cut down on how much they melt when added, but if you’re in a time crunch you can use them as-is and glue them on with melted chocolate when cookies have cooled a bit.
- Don’t use runny chocolate: If your melted chocolate is super runny when melted, let it cool a bit before piping so it keeps it’s shape as you add the legs.