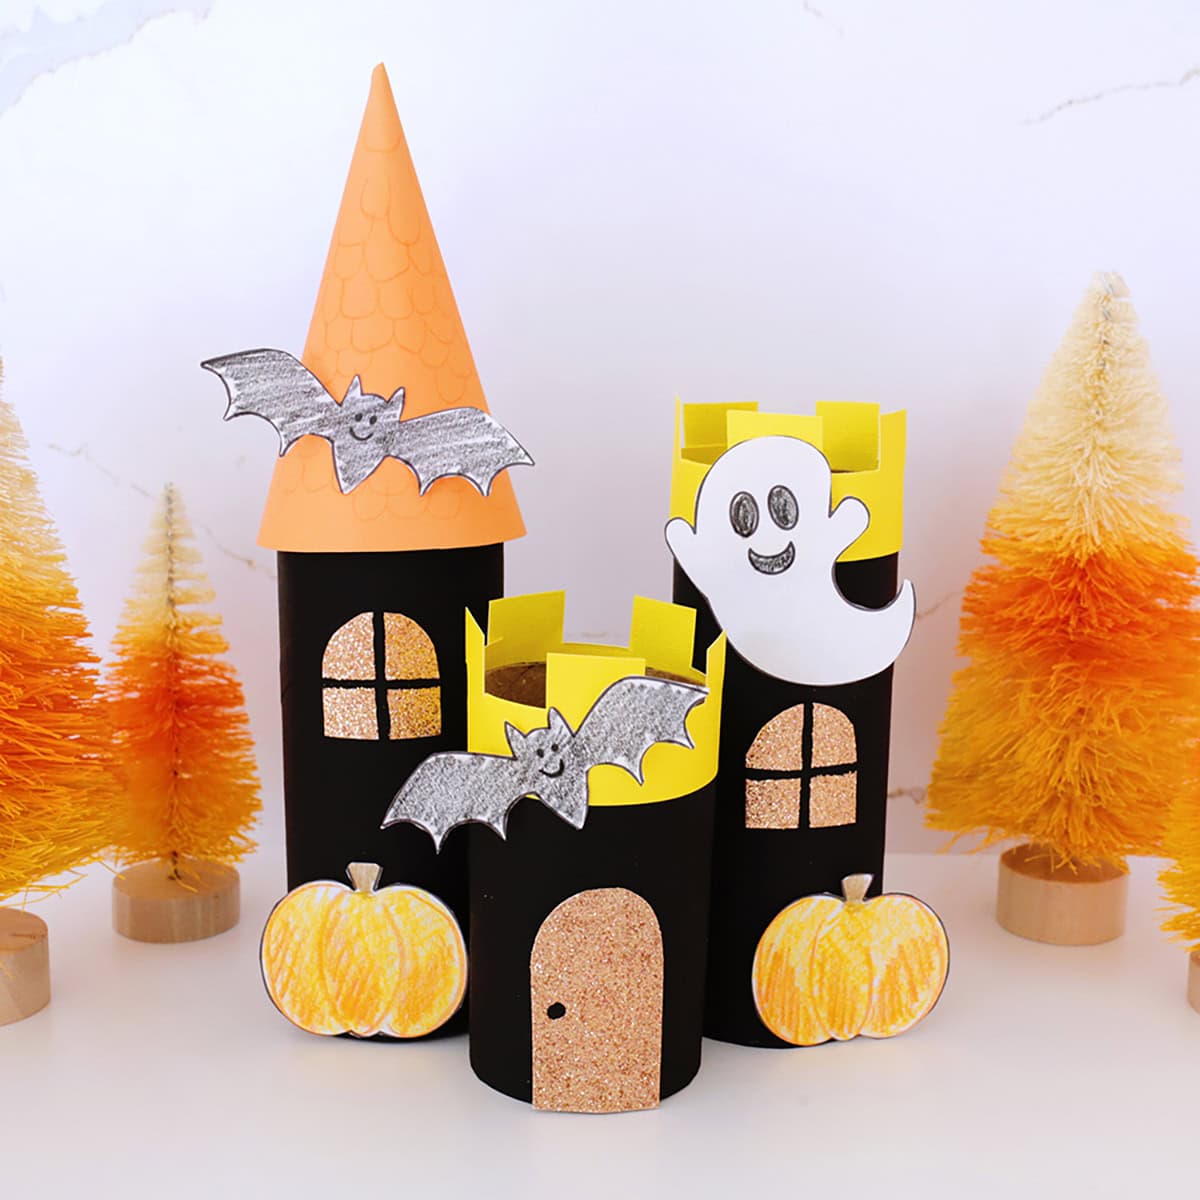
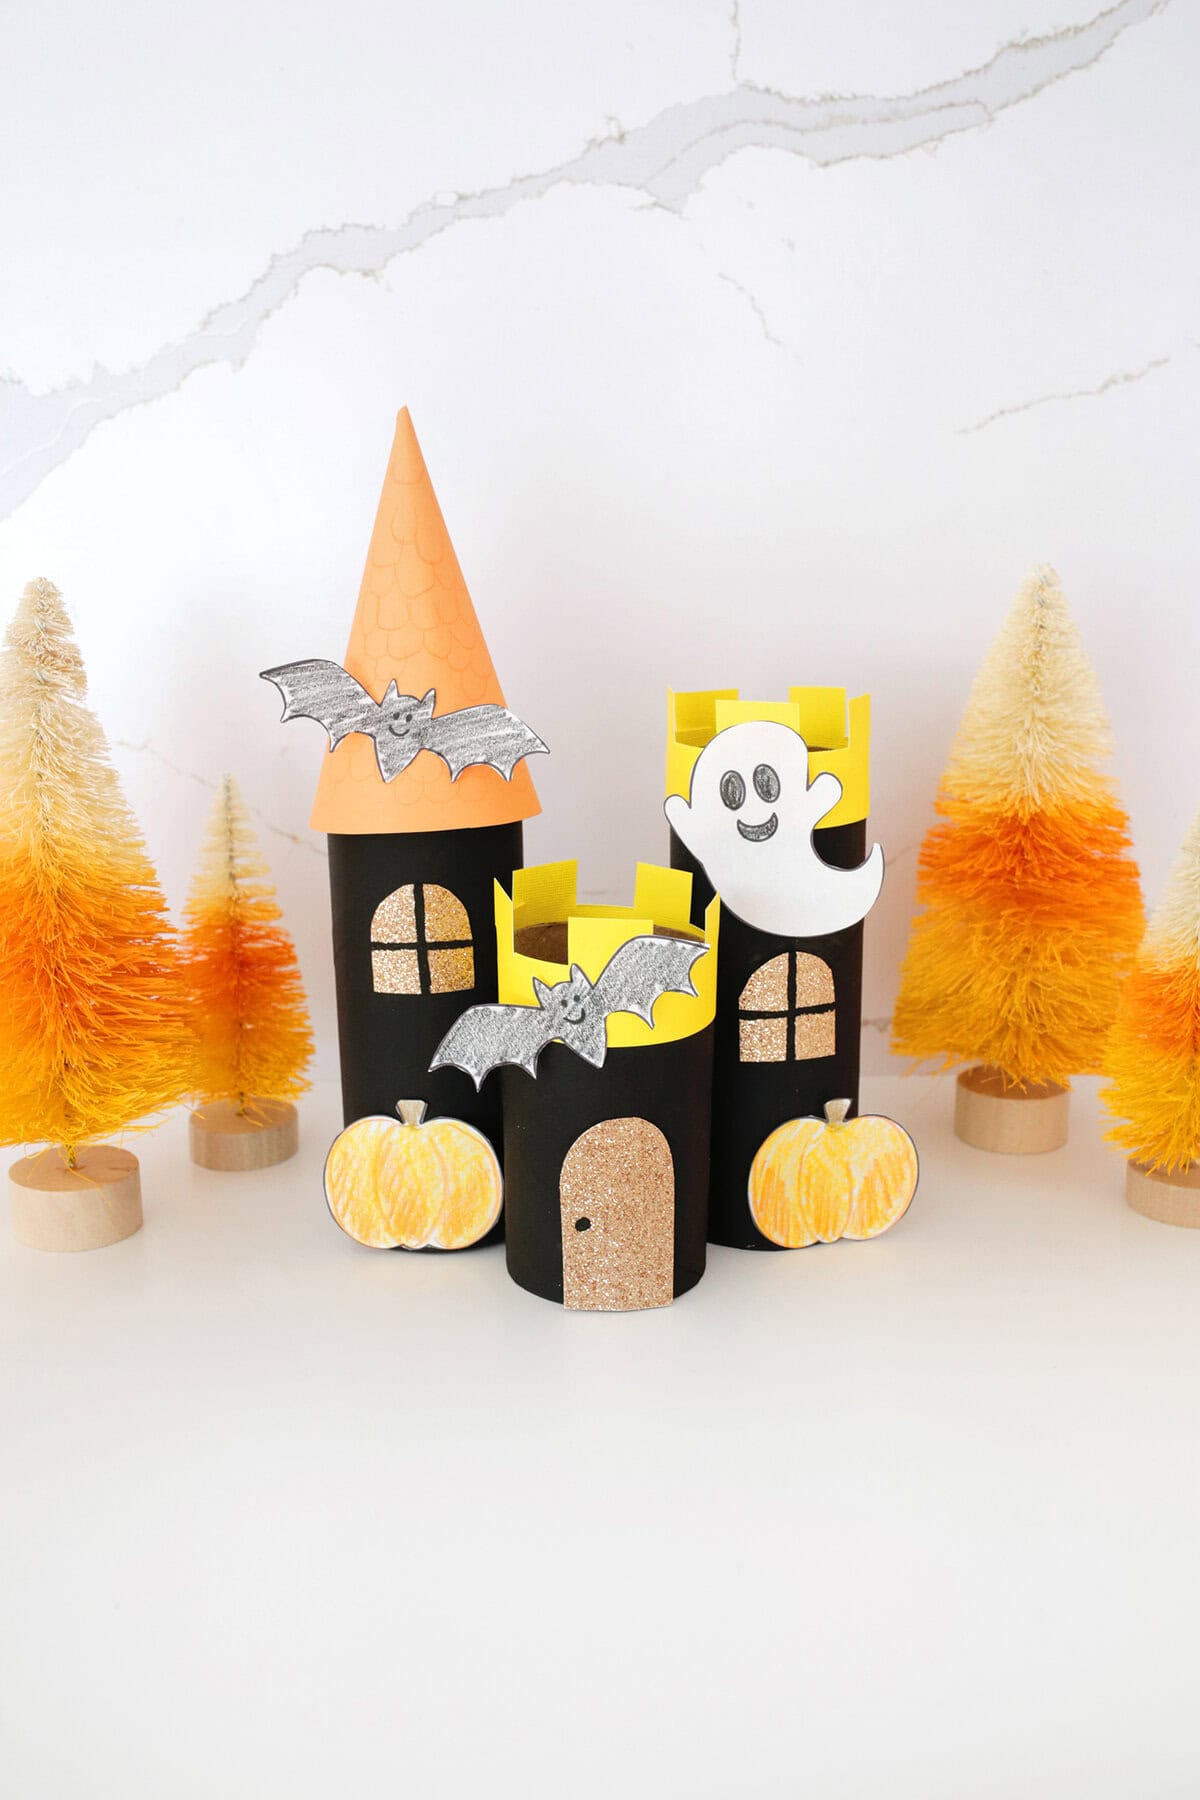
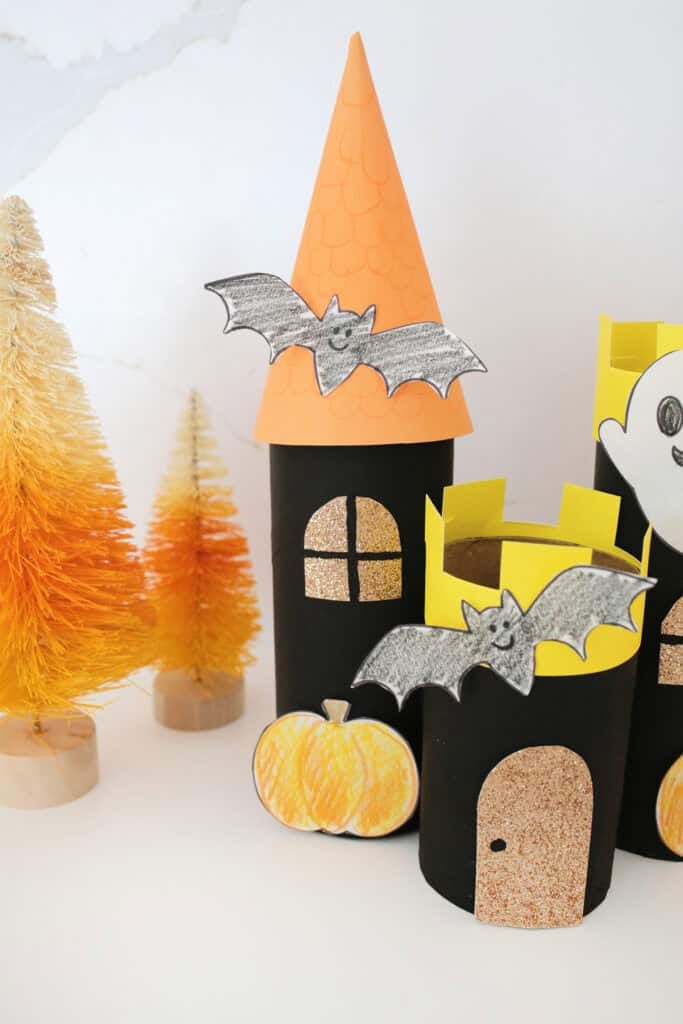
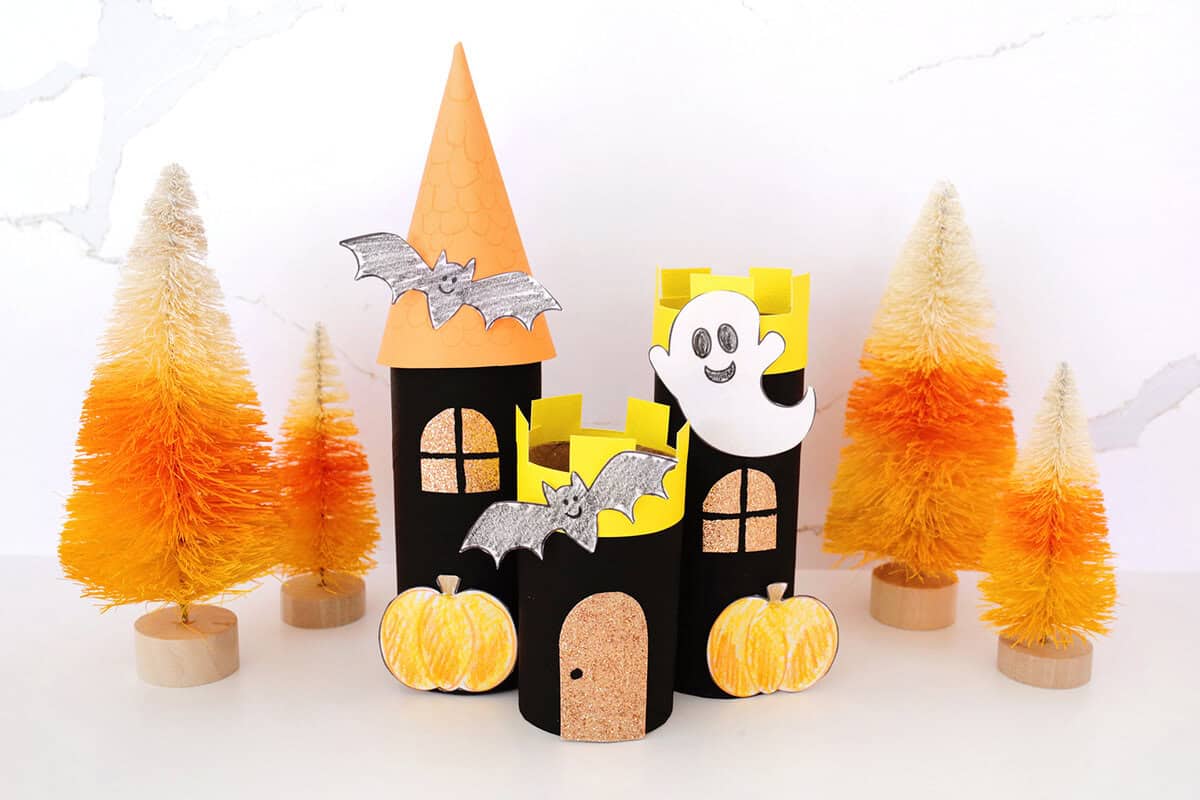
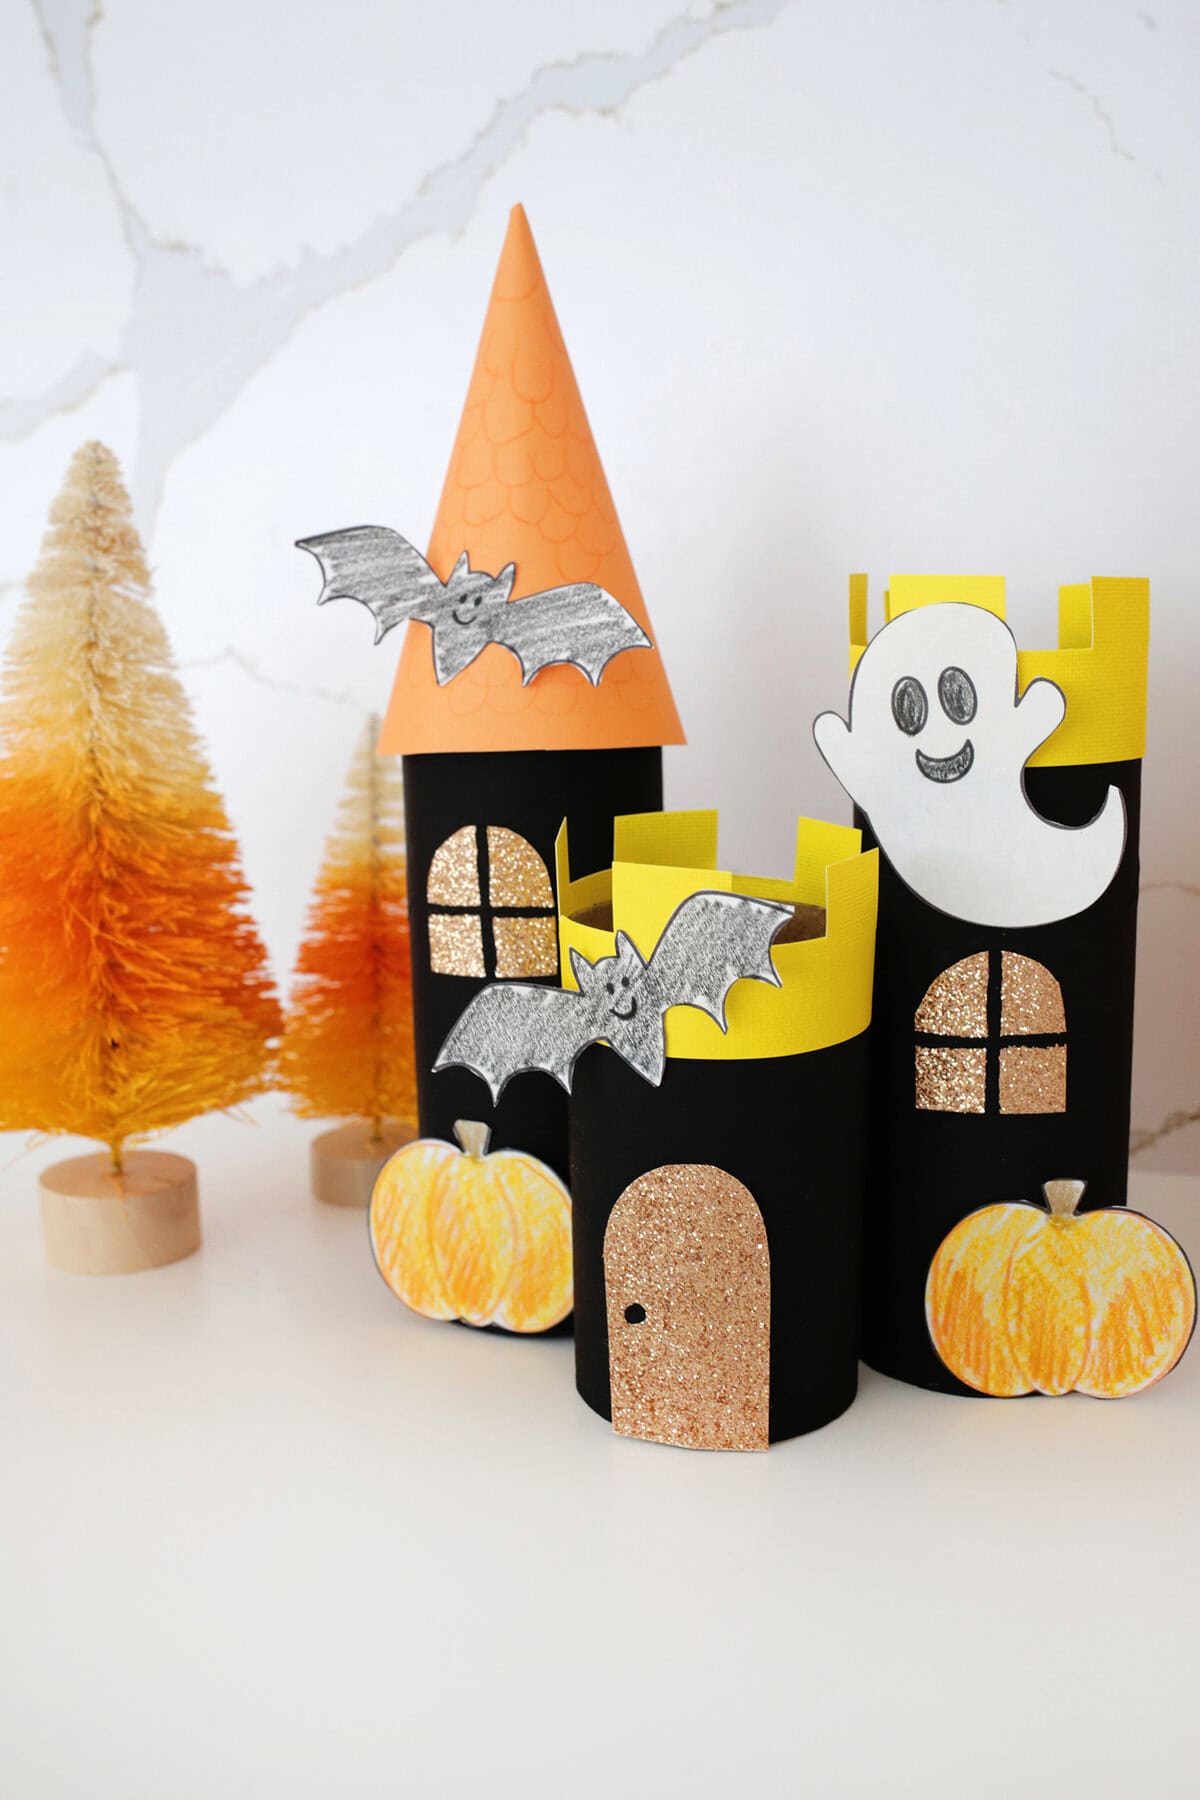
When it comes to Halloween crafts with your kids, making this mini haunted house out of toilet paper rolls is so much fun, it’s scary! All you need are a few simple supplies and our free printable to turn empty toilet paper (or paper towel) rolls into the cutest Halloween castle this side of Transylvania.
Using basic supplies is such a fun way to spark some creativity. We love using paper plates, toilet paper rolls and other household supplies to get crafting! Keep a stash handy, you might need to make some spooky Halloween paper plates next!
Why you’ll love a Toilet Paper Roll Haunted House:
- It’s easy: This craft uses simple supplies that can be gathered quickly and is fun for all crafter skill levels.
- You can customize each one: You can do what’s shown here or you can use your own colors and mix and match for a custom castle look!
- Great group project: This is a great classroom project or Halloween party craft! It is fun for a wide age range.
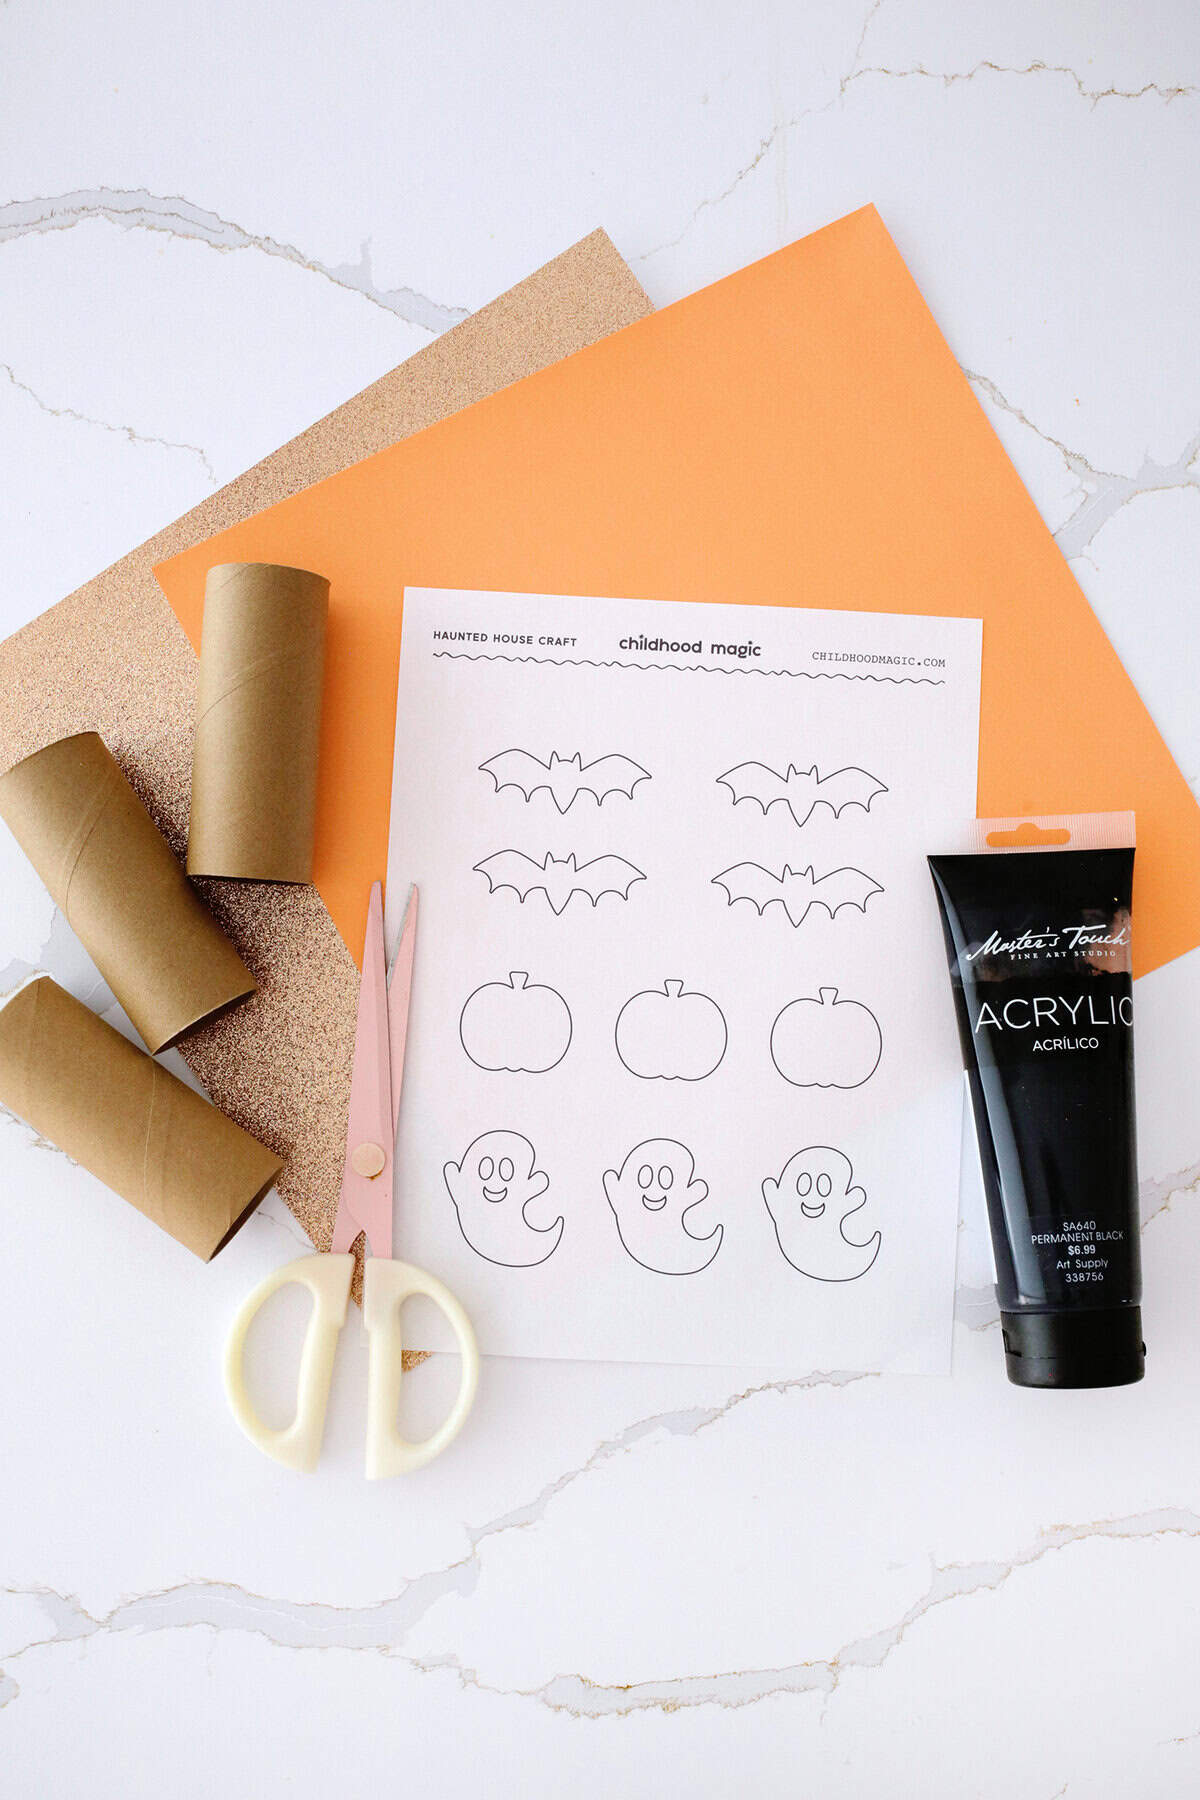
Supplies:
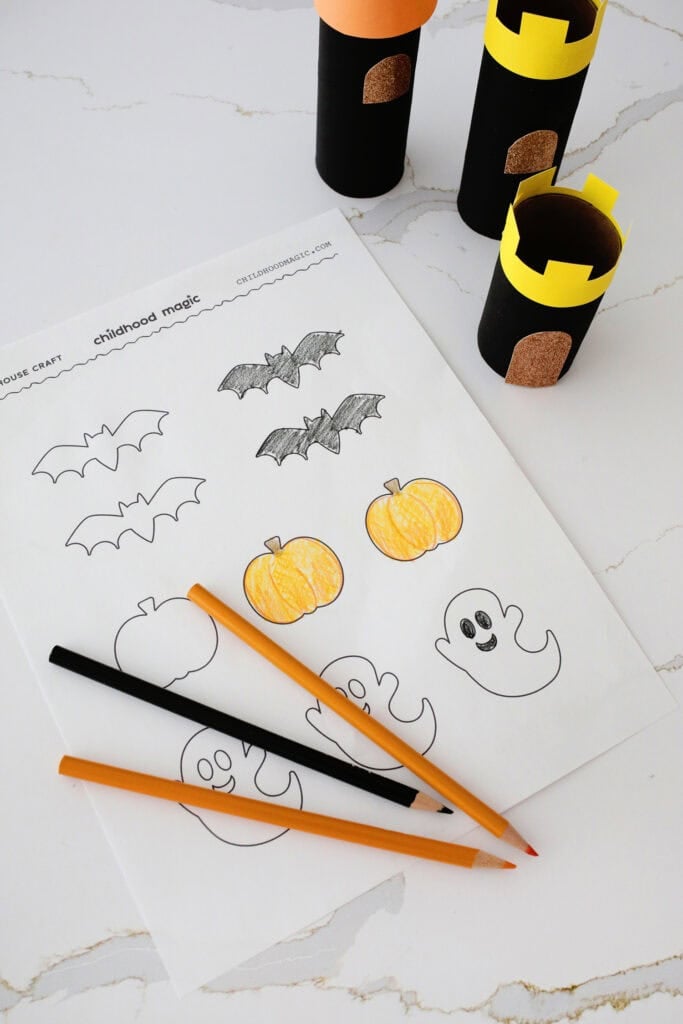
- Free Haunted House Printable: We’ve got your haunted castle ghost, pumpkins, and bats all ready to go! Just print, color, and cut!
- Empty toilet paper rolls or paper towel rolls: You can use either for this project! We used 3 TP rolls so 1-2 paper towel rolls should be enough.
- Colored paper: I used colored paper to make the door, window, roof, and turret details. Use whatever construction or glitter paper you have on hand!
- Acrylic paint: You can also cover your castle with black construction paper if you want a paint free version, but acrylic craft paint is affordable and dries very quickly.
- Scissors and glue: You can use glue sticks for a kid-friendly option, or an adult can use a low temp glue gun to help assemble the haunted house castles.
- Coloring supplies: Use crayons, color pencils, or markers to color on your castle and bring our Halloween printable characters to life!
TIP: If you don’t have enough empty toilet paper rolls, you can also roll thick cardstock or construction paper into tubes instead!
How to make a Toilet Paper Roll Haunted House:
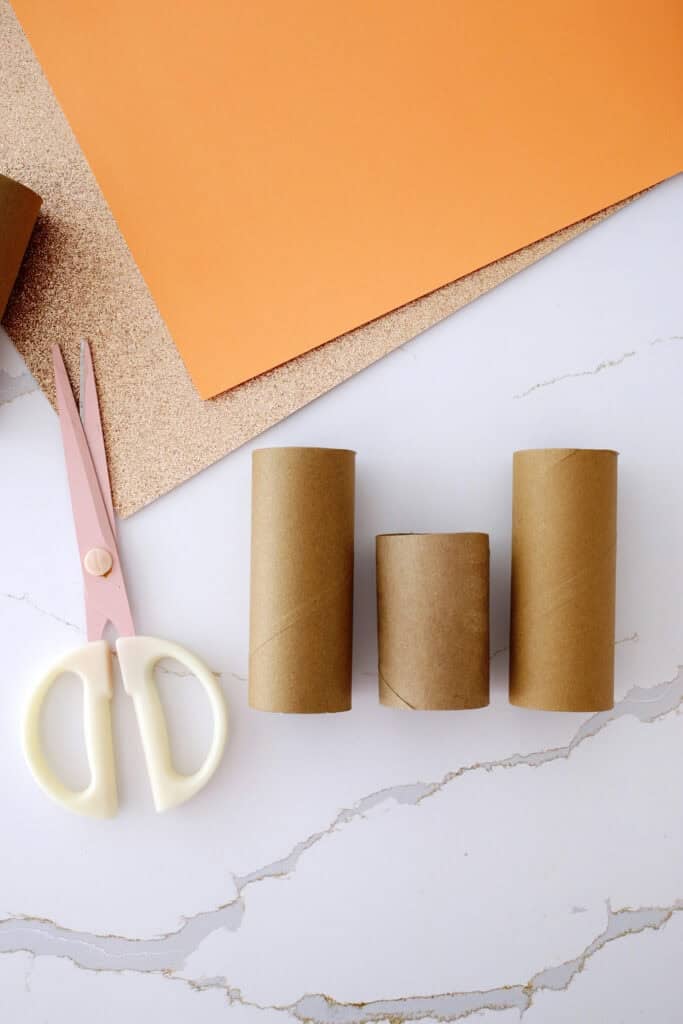
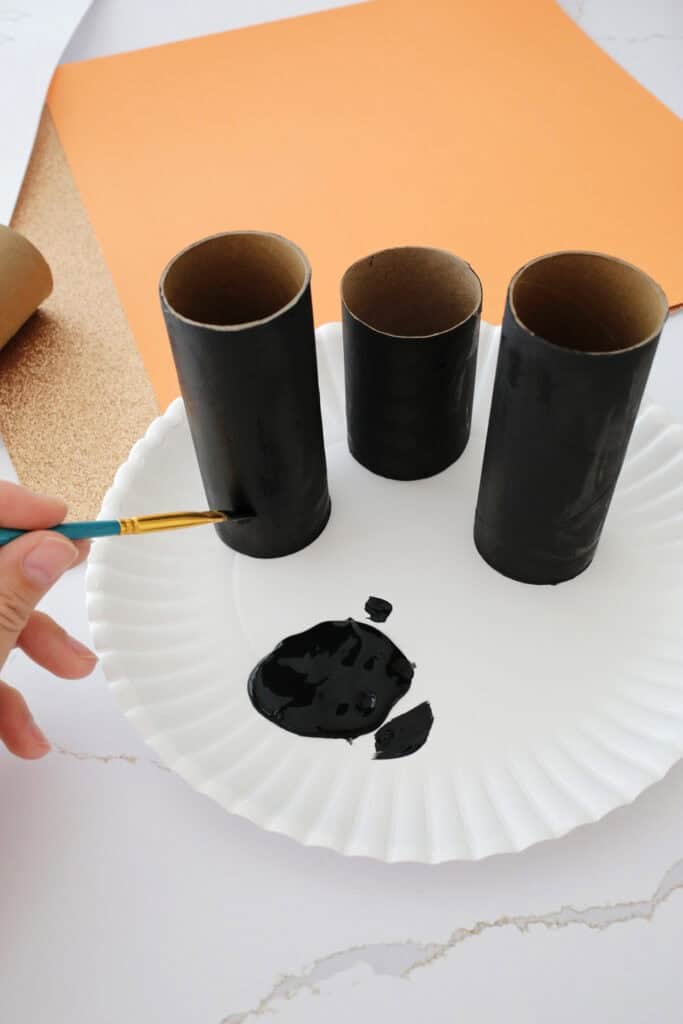
Cut your roll: Start with 3 toilet paper rolls and cut one 2″ shorter than the others. Use scissors or you can use a bread knife if rolls are too thick for scissors.
Paint rolls black: Use your acrylic paint to paint your rolls black or cover them in black construction paper. Secure with glue or tape for a no-paint option.
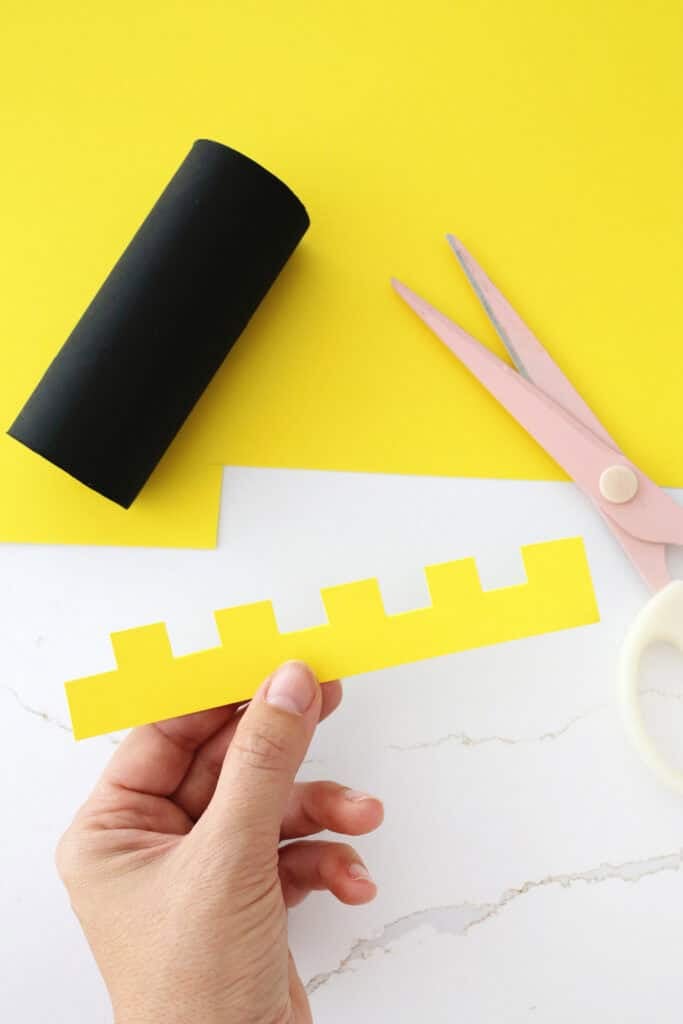
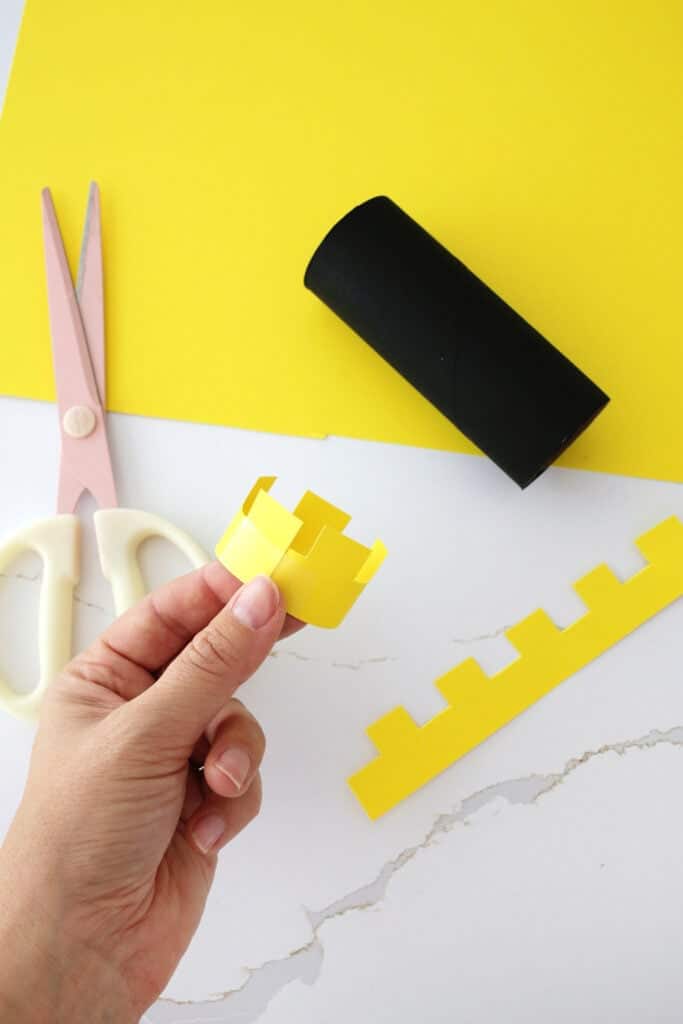
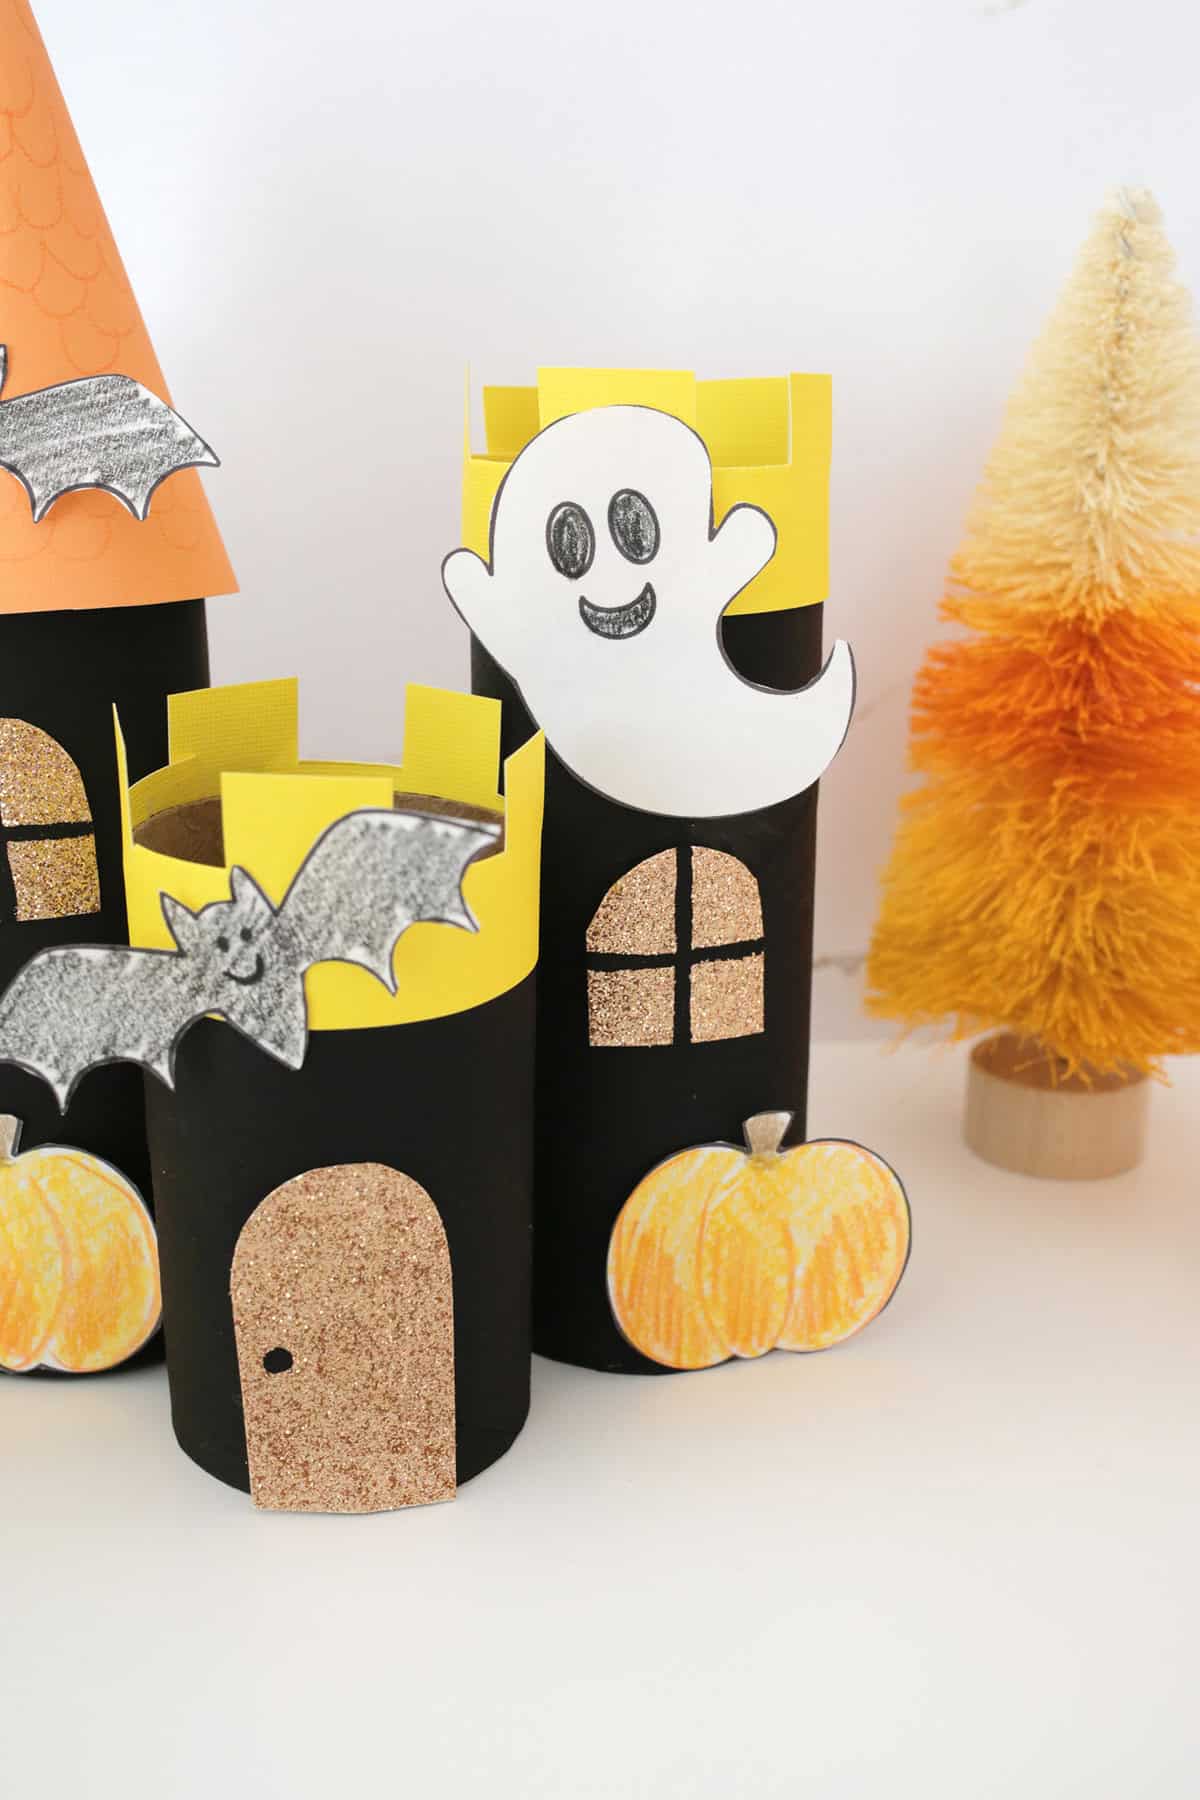
Make haunted house details: Make your cone roof (steps for that below) and checkerboard shaped tops (they are actually called crenellation!) from colored paper. To make the crenellation, cut a 2″ strip of paper and cut the checkered shape out of the top half of the paper. Size it to fit the top of your roll and tape or glue the overlap in place.
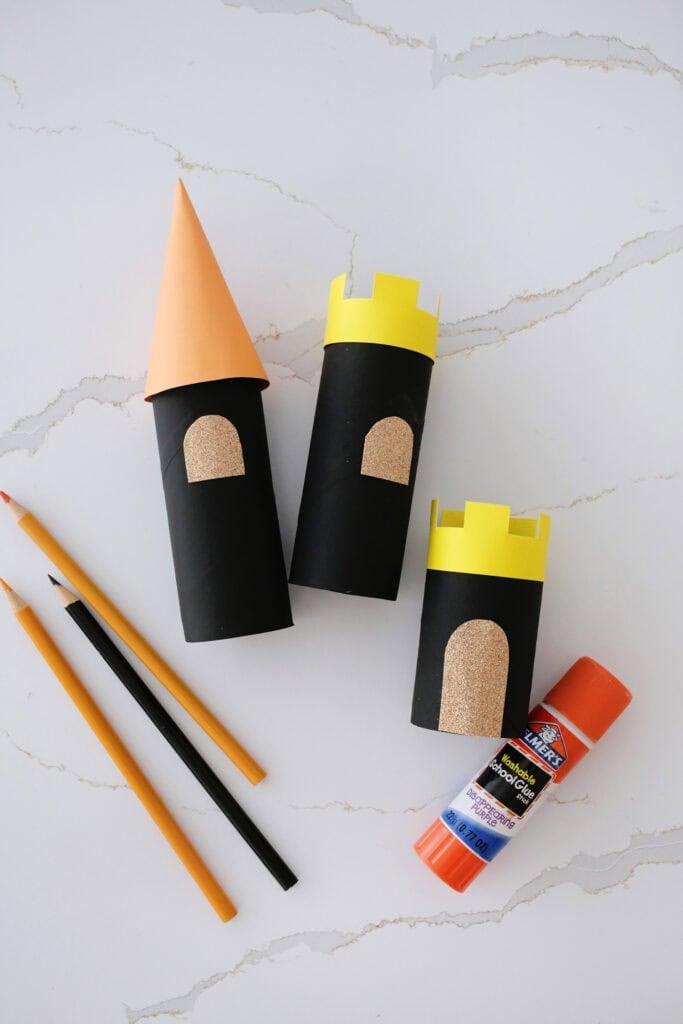
Cut windows and door: Use more paper (glitter paper is so fun for crafts like this!) to create a domed/round/square windows and doors for your haunted house wherever you like! Glue in place.
Color printable: Print our free printable to add some sweet and spooky fun to your haunted house. You can color in the sheet as-is, or you can cut out the shapes and trace them on to colored paper to cut out a solid colored version as well.
Would you like to save this?
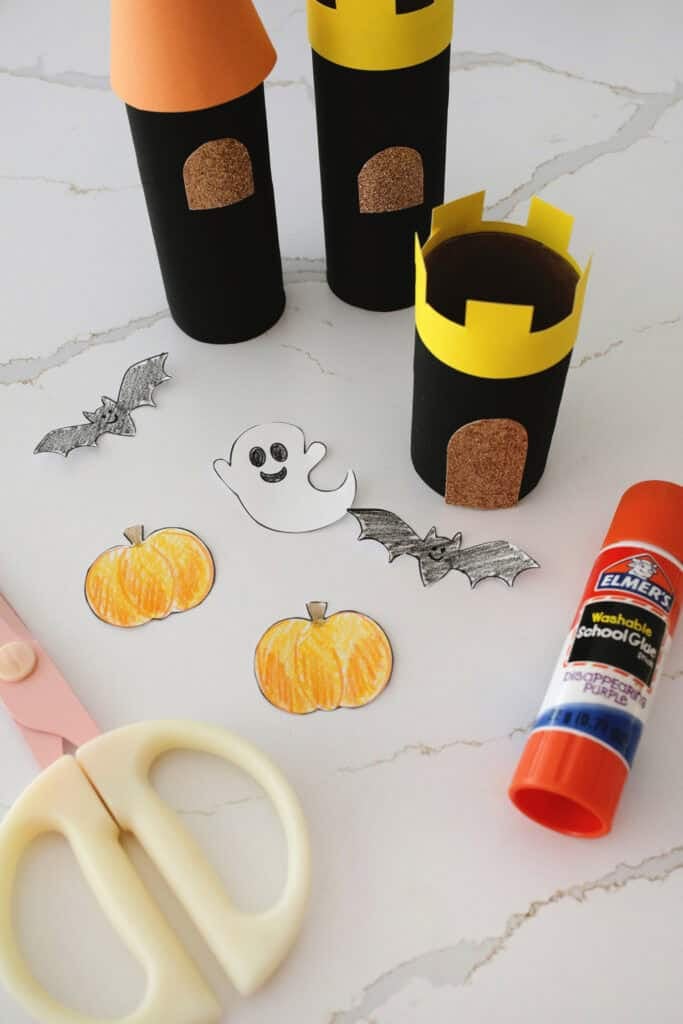
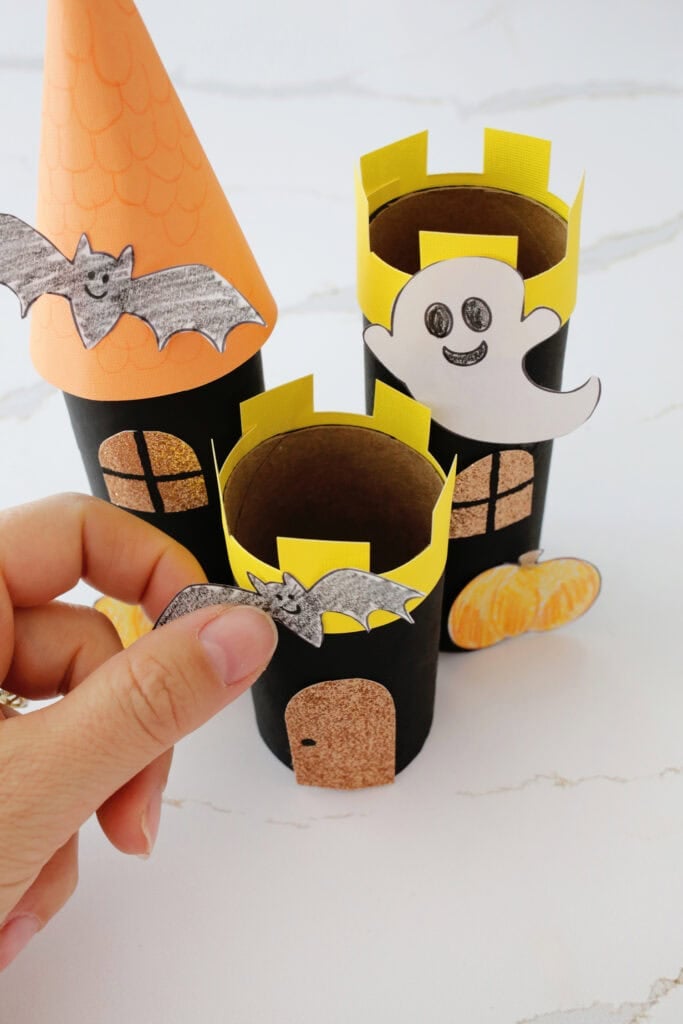
Add shapes to haunted house: Glue on your spooky shapes wherever you like on each castle section and then glue the sections together to finish your creation!
How to make a cone-shaped roof:

Cut out half of an 8″ wide circle (use a plate or bowl about that size to trace onto paper).
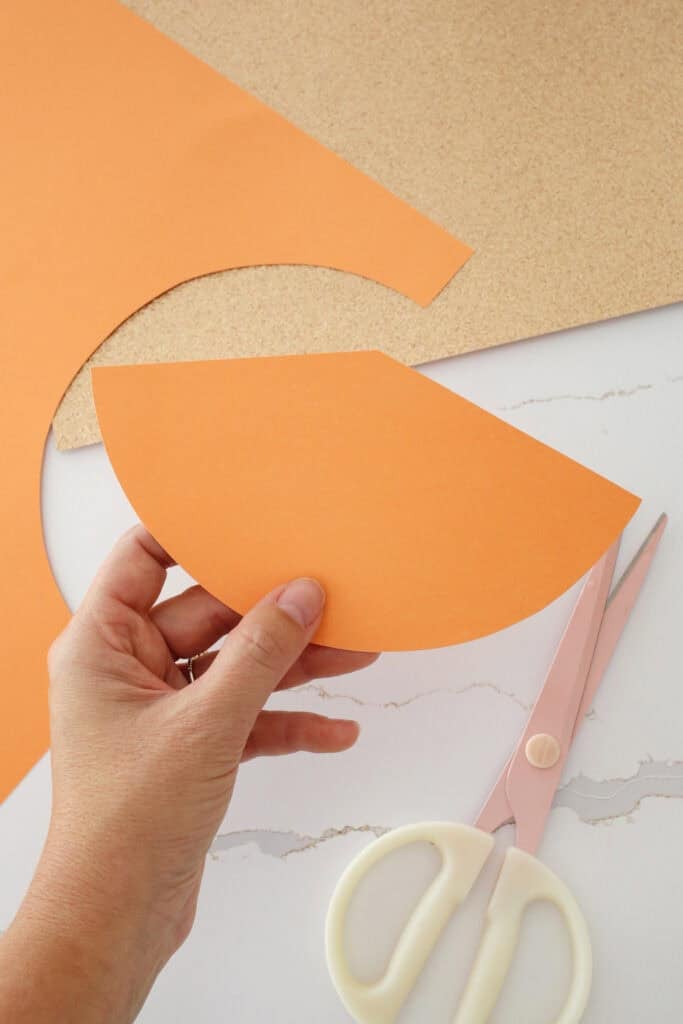
Cut away a section of the half circle to reduce the amount of bulk when you make your cone.
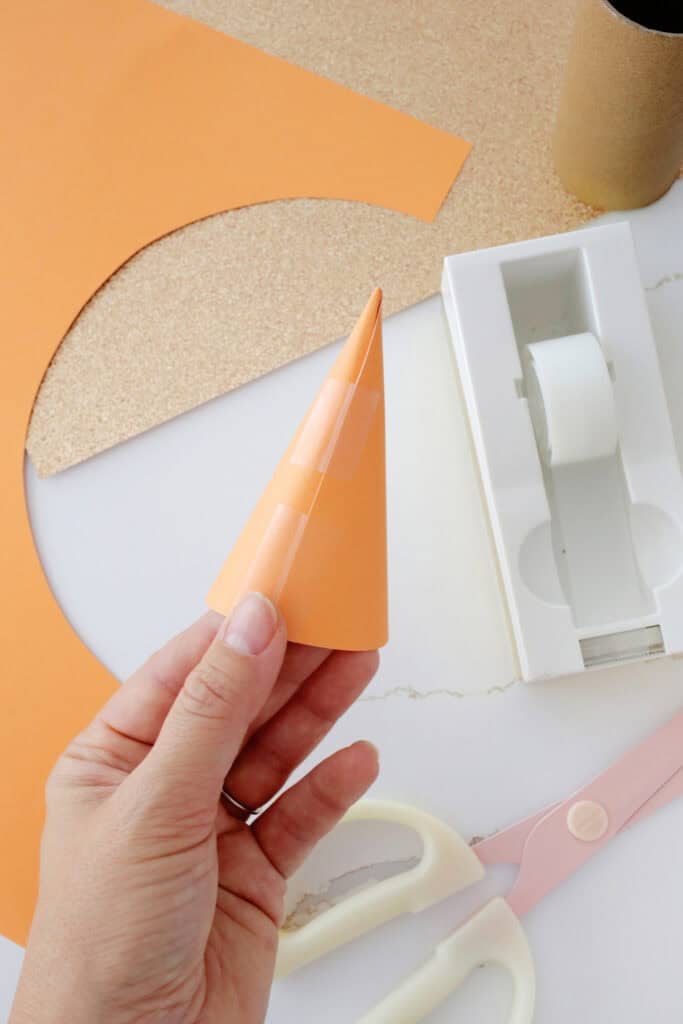
Overlap the straight edges until your desired cone size is achieved. Tape or glue in place (toilet paper rolls make need less overlap to fit properly as they can be a little wider than TP rolls).
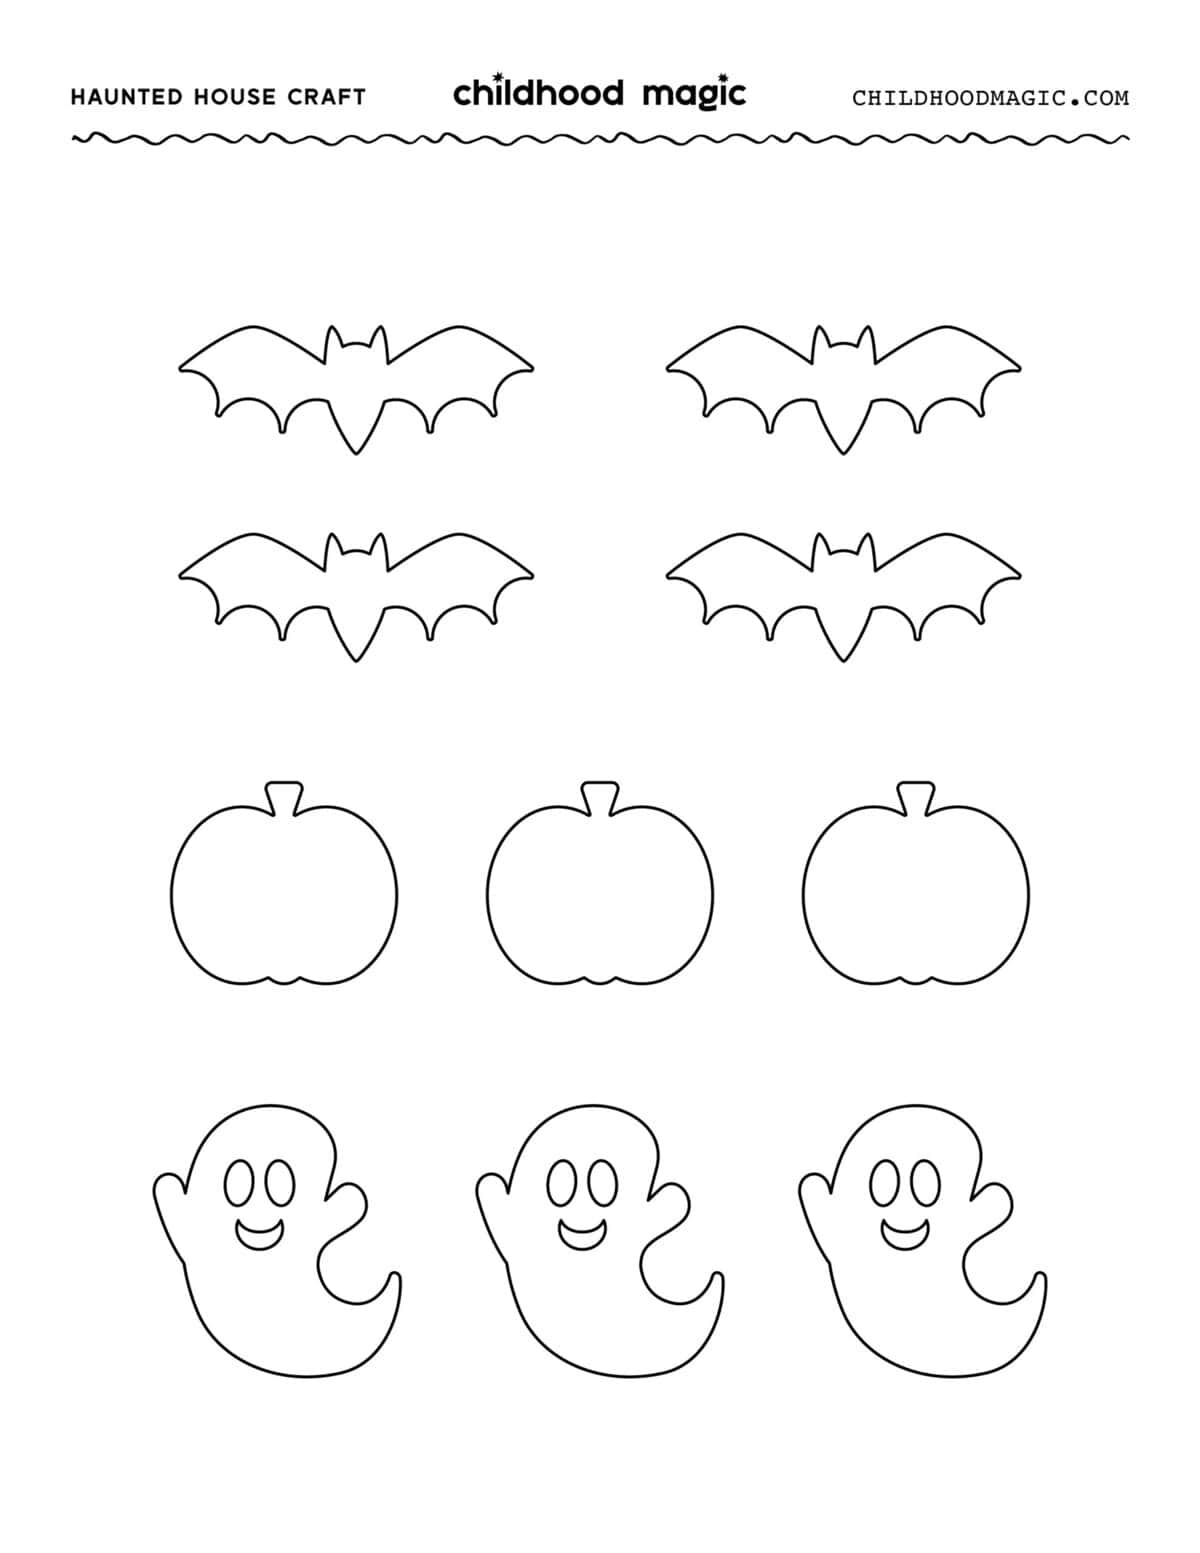
Haunted House Craft Printable
Here is the Haunted House printable for the bat, pumpkin and ghost for this Halloween craft. If you’re looking for larger variations or single page printables check out our Bat Template, Pumpkin Outlines and Ghost Templates!
Tips for a Toilet Paper Haunted House:
- Try using a white or gold paint pen on your black castle to draw windows or make brick or stone shapes.
- If you’re going to play with the castle, use a low-temp hot glue gun or generous amount of school glue (allow to fully dry) rather than a glue stick to keep the castle turrets together.
- Use Lego or other toys to create a moat, castle walls or other parts of the scenery!
- If using for a group craft, have the cone roofs and checkered crenellation already cut out and taped/glued for a faster assembly.
Looking for more Halloween fun? Check out:
- Peanut Butter Spider Cookies
- Halloween Bingo (free printable!)
- Halloween Slime
- Ghost Template (free printable!)
- Halloween Dirt Cups
- Halloween Handprint Crafts

Get creative ideas for recipes, crafts, decor, and more in your inbox!
 Get the How-To

Supplies
- 3 toilet paper rolls (or use cardstock, or a paper towel roll)
- 1 haunted house printable
- 1 tube acryic paint
- 3-4 pieces cardstock (for towers)
- 1 gluestick, school glue, or low-temp hot glue gun (with adult supervision/help)
- crayons, markers (to decorate)
Instructions
- Cut your roll: Start with 3 toilet paper rolls and cut one 2" shorter than the others. Use scissors or and adult can use a bread knife if rolls are too thick for scissors.
- Paint rolls black: Use your acrylic paint to paint your rolls black or cover them in black construction paper. Secure with glue or tape for a no-paint option.
- Make haunted house details: Make your cone roof (steps for that below) and checkerboard shaped tops (they are actually called crenellation!) from colored paper. To make the crenellation, cut a 2" strip of paper and cut the checkered shape out of the top half of the paper. Size it to fit the top of your roll and tape or glue the overlap in place.
- Cut windows and door: Use more paper (glitter paper is so fun for crafts like this!) to create a domed/round/square windows and doors for your haunted house wherever you like! Glue in place.
- Color printable: Print our free printable to add some sweet and spooky fun to your haunted house. You can color in the sheet as-is, or you can cut out the shapes and trace them on to colored paper to cut out a solid colored version as well.
How to Make a Cone Shaped Roof
- Cut out half of an 8" wide circle (use a plate or bowl about that size to trace onto paper).
- Cut away a section of the half circle to reduce the amount of bulk when you make your cone.
- Overlap the straight edges until your desired cone size is achieved. Tape or glue in place (toilet paper rolls make need less overlap to fit properly as they can be a little wider than TP rolls).