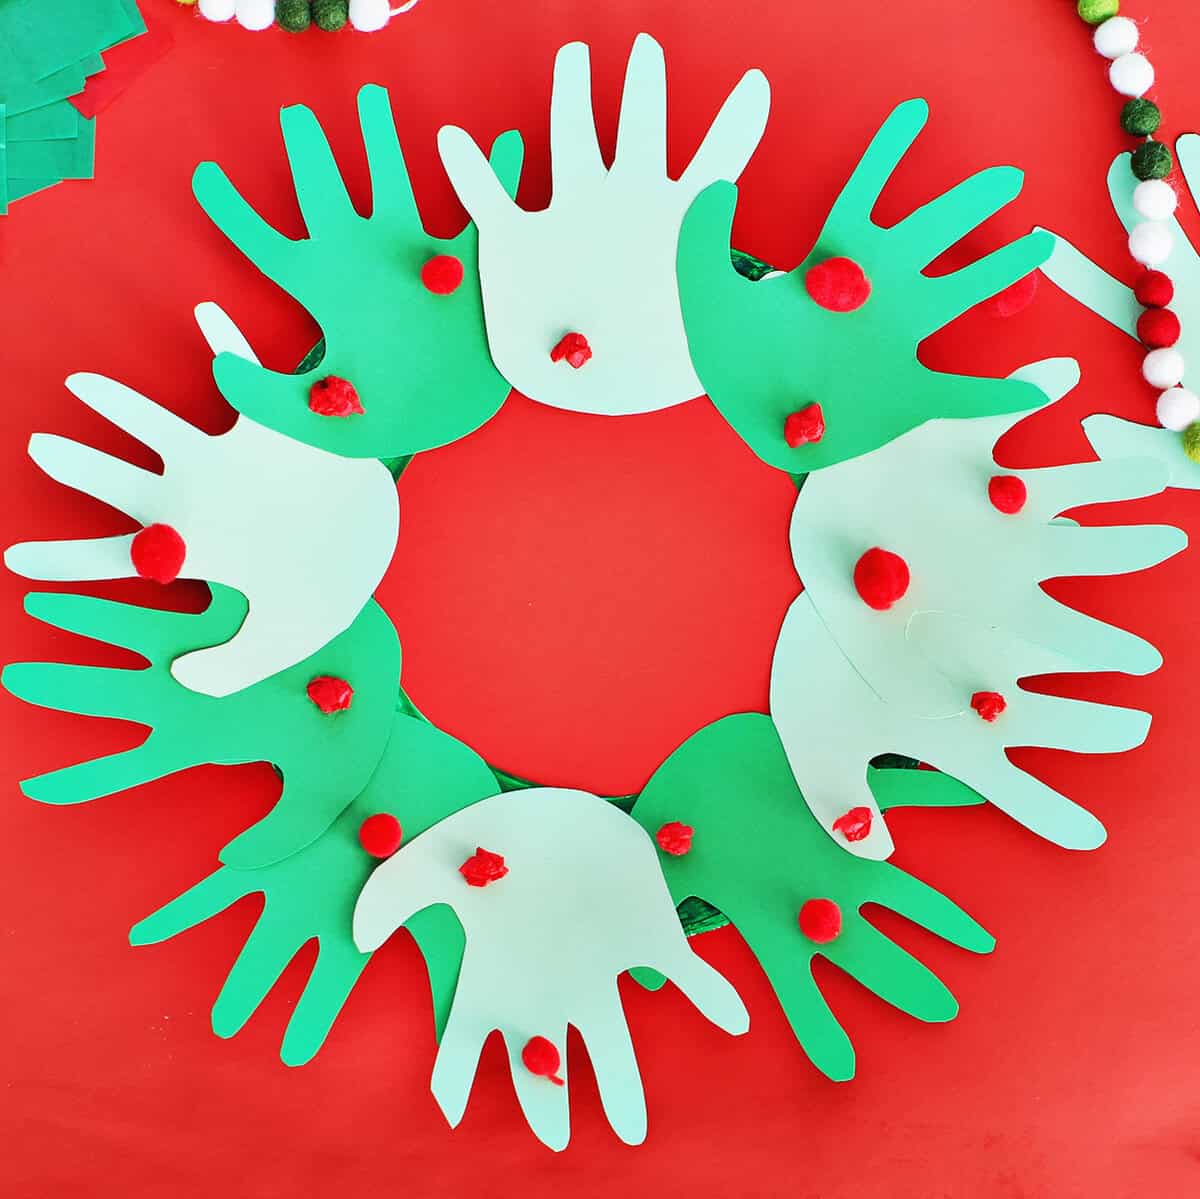
This craft was originally featured in our Christmas handprint art post, but I wanted to create a step by step tutorial in case you’re crafting this winter season.
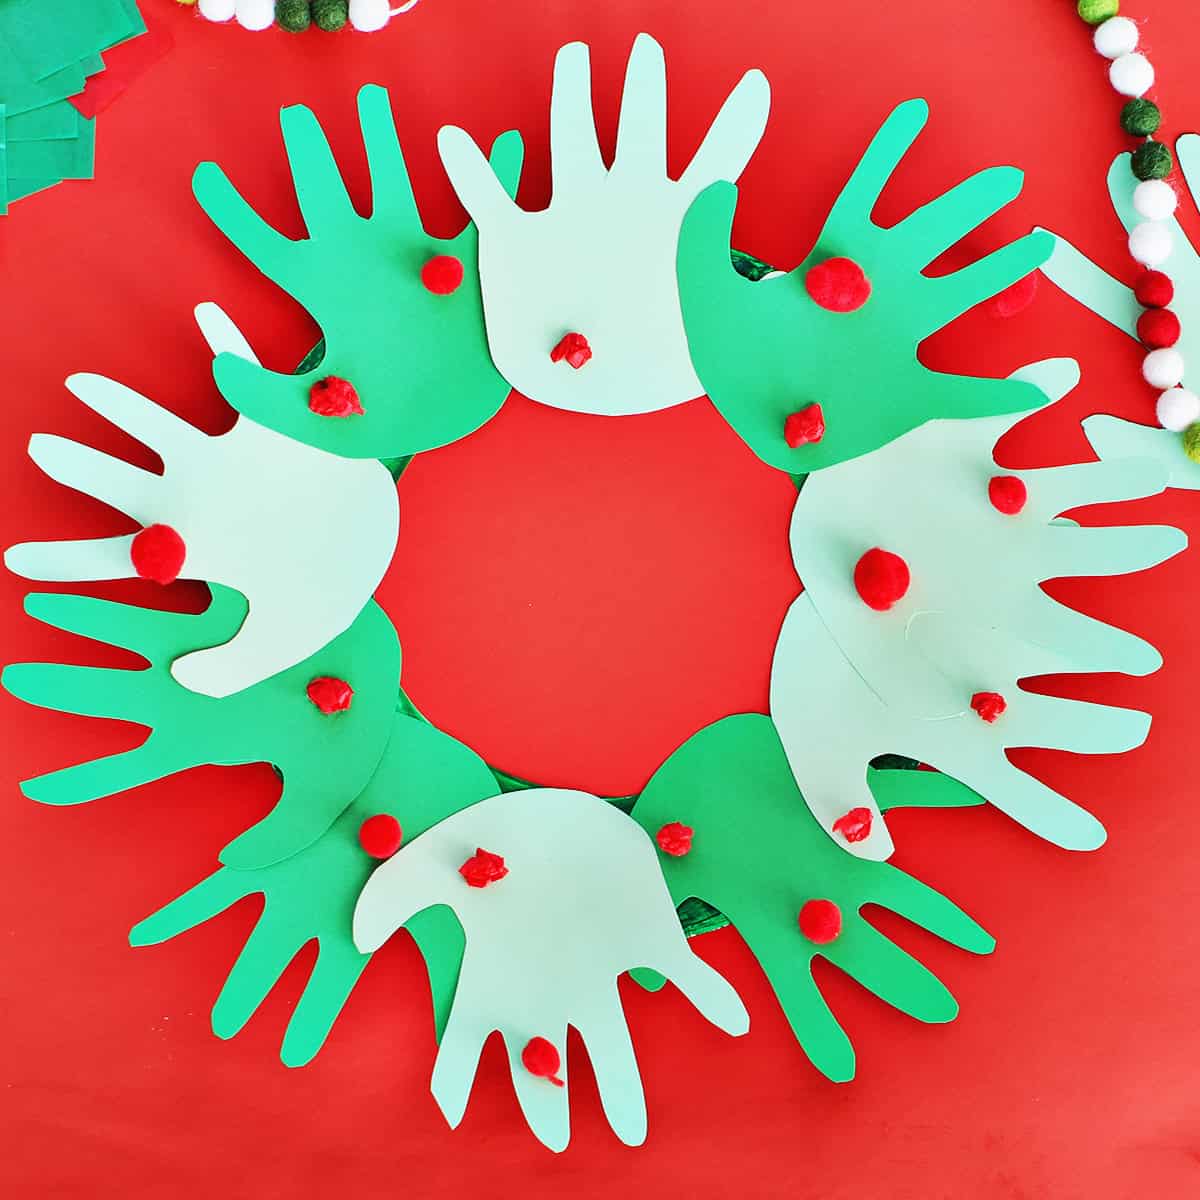
There’s no better time for handprint crafts than around Christmas. There’s something so nostalgic about this special keepsake and to mark how they grow! This Christmas handprint wreath craft will be something you cherish for years to come, and it makes a great gift too!
Why kids love paper plate and handprint crafts
I love projects with classic, easy-to-find supplies like popsicle sticks, toilet paper rolls, and paper plates. There is something nostalgic and timeless about them. Kids can get creative and love seeing what they can turn into too!
- Easy to find supplies are everything! Easy to find, easy to make, easy on parents and easy for kids.
- Handprints are a fun way for kids to create a custom keepsake and they’re proud of how it’s made from their handprints!
- If you mess up it’s very easy and possible to start over.
Supplies for your Handprint Wreath
- Paper plate
- Scissors (remember to do the cutting if your child isn’t ready to yet.)
- Construction paper or cardstock in shades of green
- I love this paint stick, but you could also use basic paint with a brush
- School glue and gluestick
- Tissue squares or poms to make berries
- Pencil or marker to trace handprint
Steps for Your Christmas Handprint Wreath
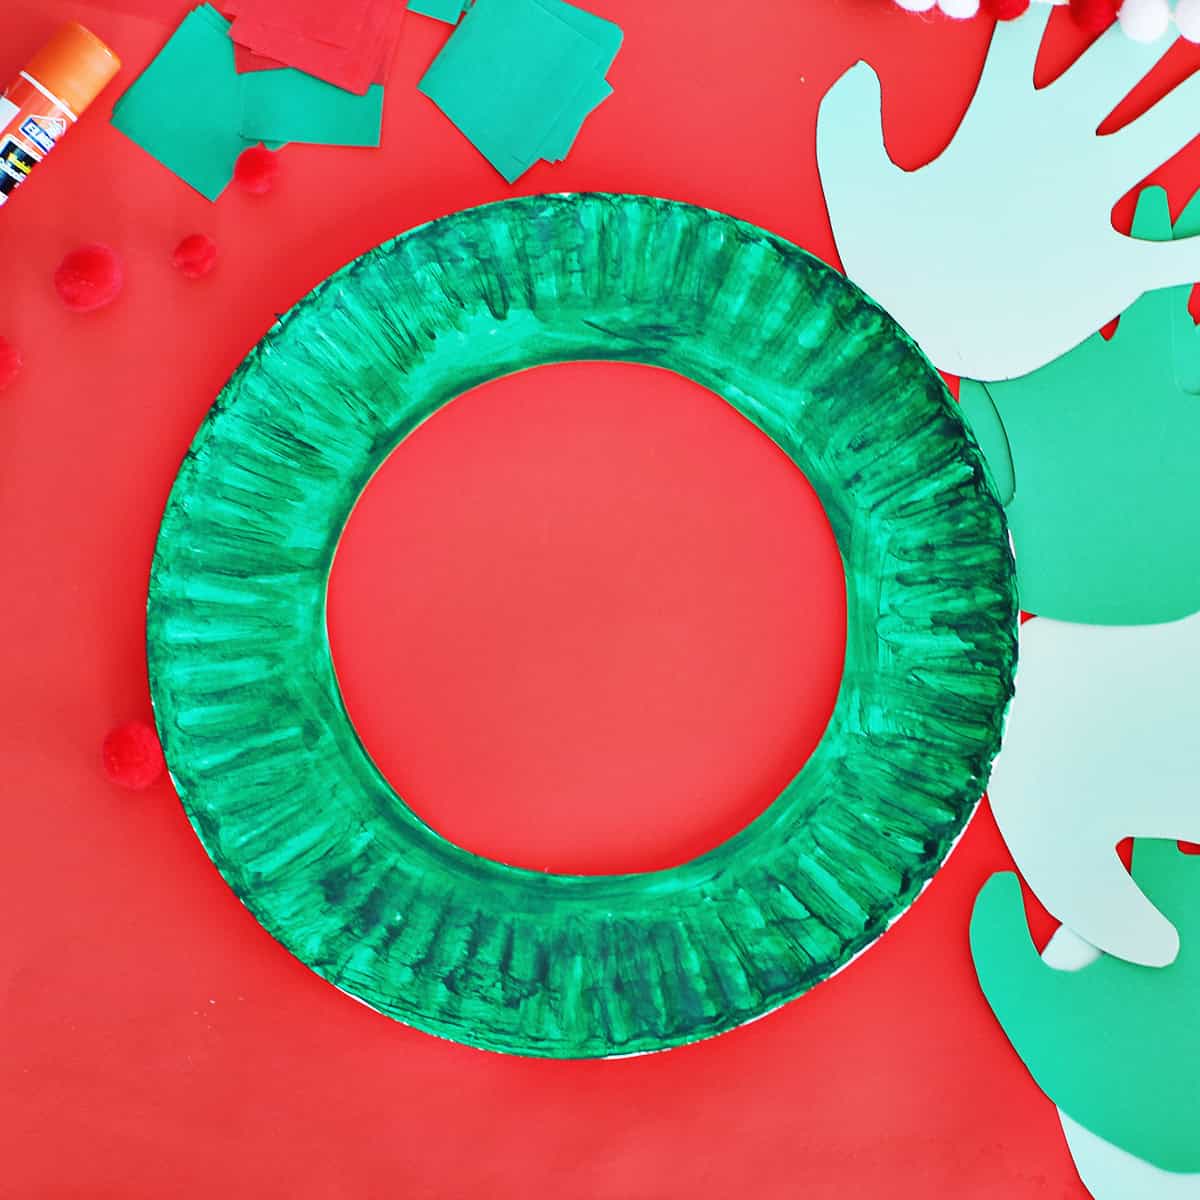
Begin by painting or coloring your plate green. If you’re wanting this to be a faster craft you can use markers, crayons or colored pencils. You could also pre-paint plates too and have them ready for the kid to pick from. Cut out the center of the plate to form a ring.
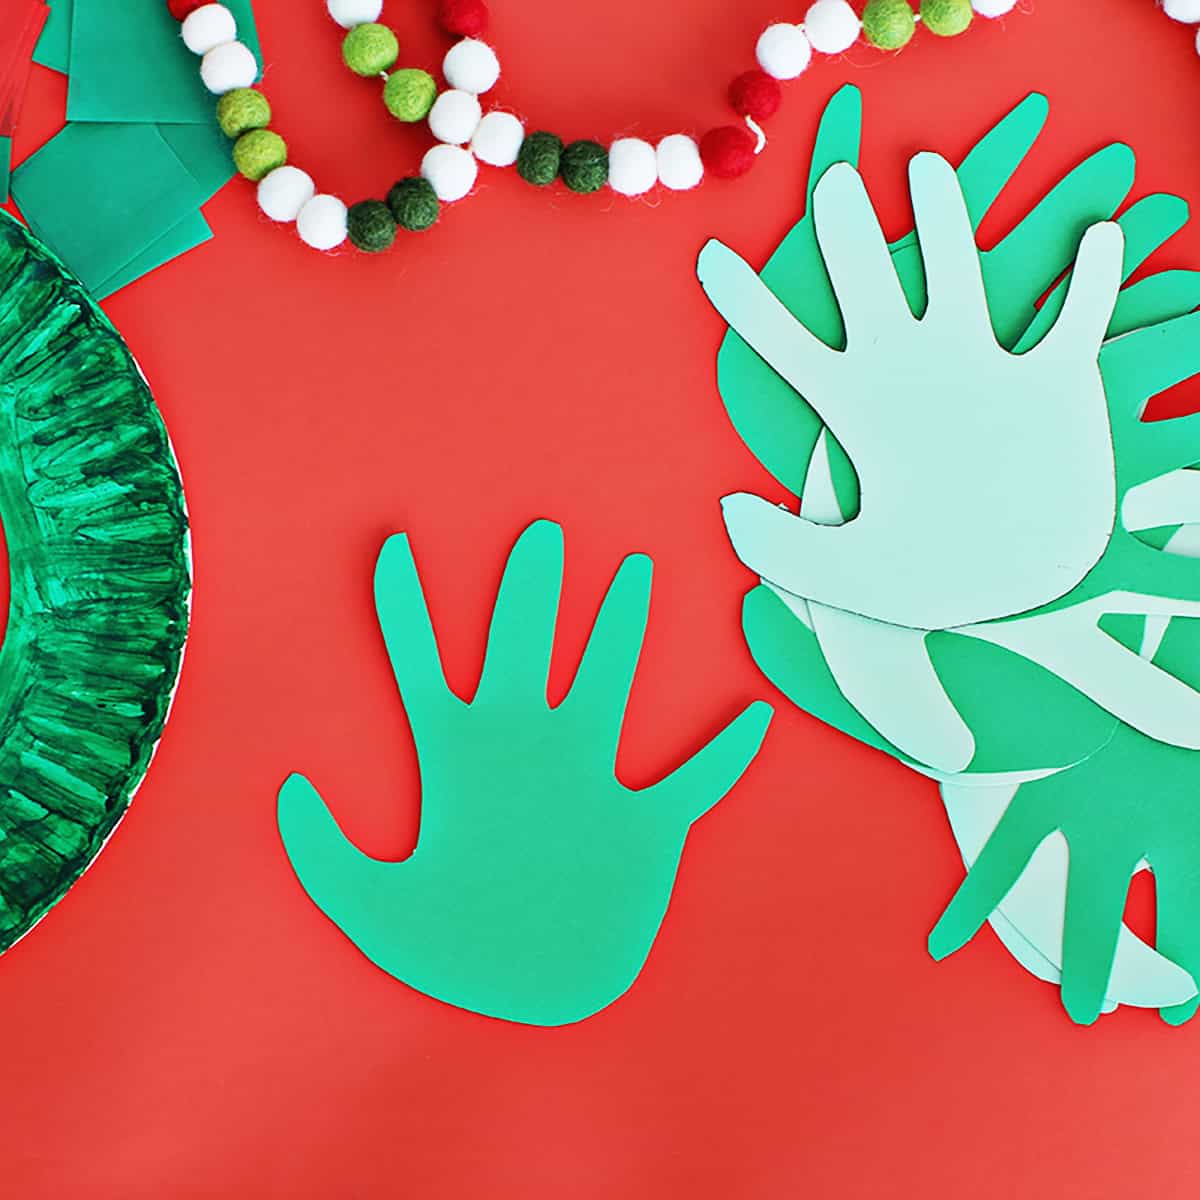
Trace your child’s handprint onto a piece of green cardstock or construction paper. Use that as a template or trace again. You’ll want 10-12 handprints.
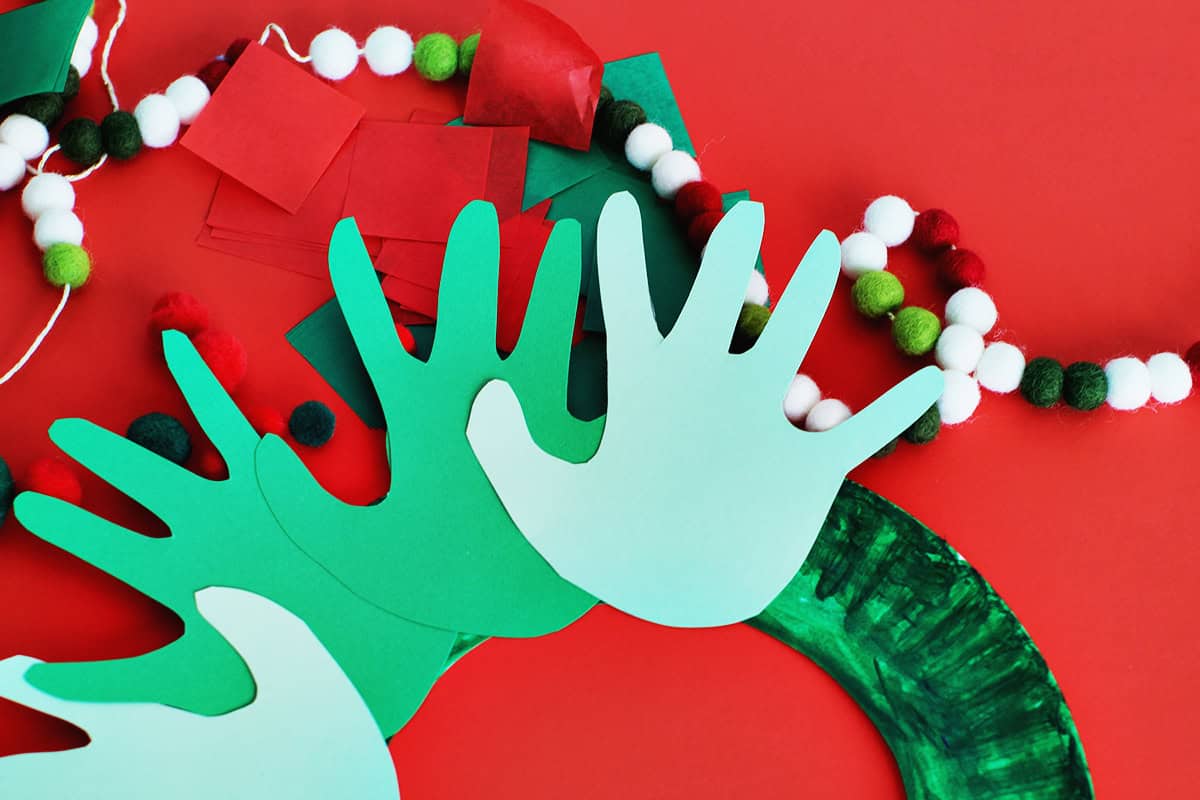
Using school glue or a gluestick and your handprints to the paper plate ring.
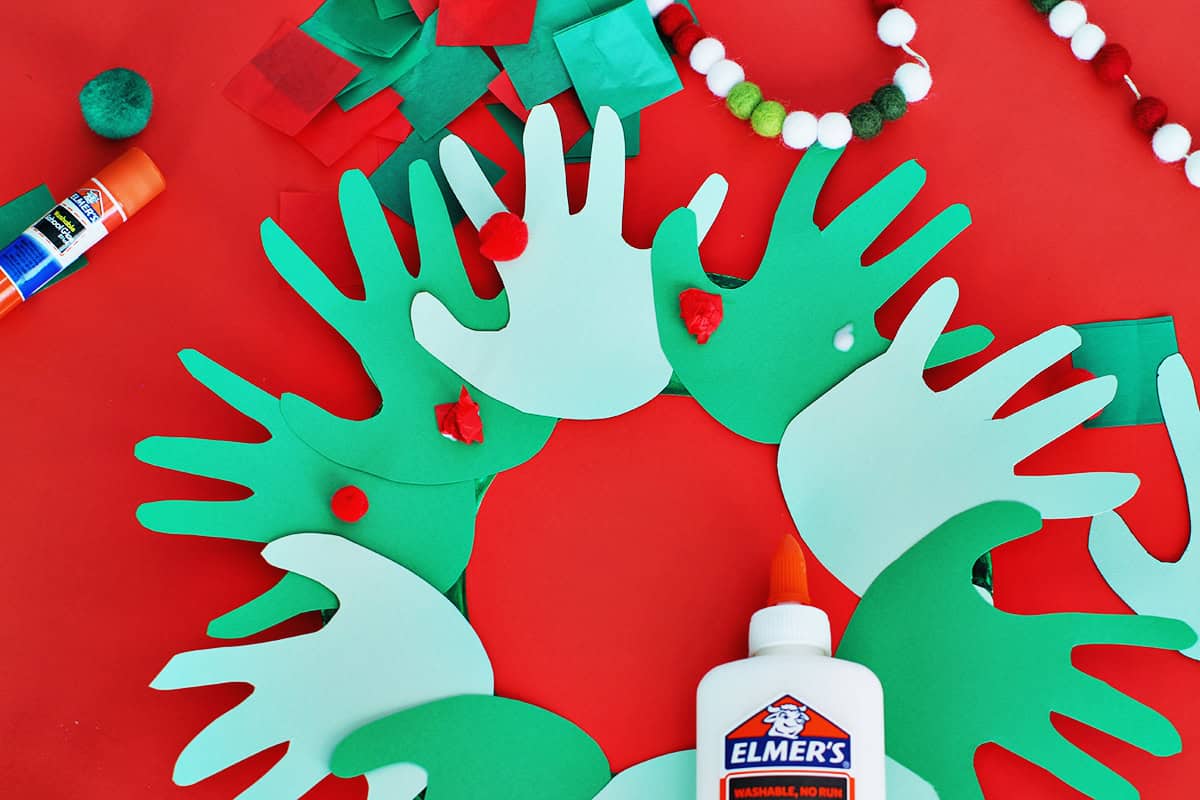
Start adding tissue paper balls or poms onto the handprint wreath.
Tips for Making a Paper Plate Christmas Wreath:
- Use leftover scraps of paper from other projects.
- If you’re making this with a younger child who can’t cut with scissors yet, it may be helpful to trace their handprint and do the cutting for them.
- Let them add the berries wherever they want- you could also add a bow!

Get creative ideas for recipes, crafts, decor, and more in your inbox!
 Get the How-To

Supplies
- 1 paper plate
- 1 green paint stick
- 4 pieces green cardstock
- 1 pencil
- 10 pieces red tissue paper or poms
Instructions
- Begin by painting or coloring your plate green. If you're wanting this to be a faster craft you can use markers, crayons or colored pencils. You could also pre-paint plates too and have them ready for the kid to pick from.
- Cut out the center of the plate to form a ring.
- Trace your child's handprint onto a piece of green cardstock or construction paper. Use that as a template or trace again. You'll want 10-12 handprints.
- Using school glue or a gluestick and your handprints to the paper plate ring.
- Start adding tissue paper balls or poms onto the handprint wreath.