When making paper mache, you want the right texture for your paste that’s both messy and goopy—which kids love!
Old school traditional paper mache paste was usually made with boiling hot water and glue. That’s not always the best scenarios for younger children who are just learning to paper mache.
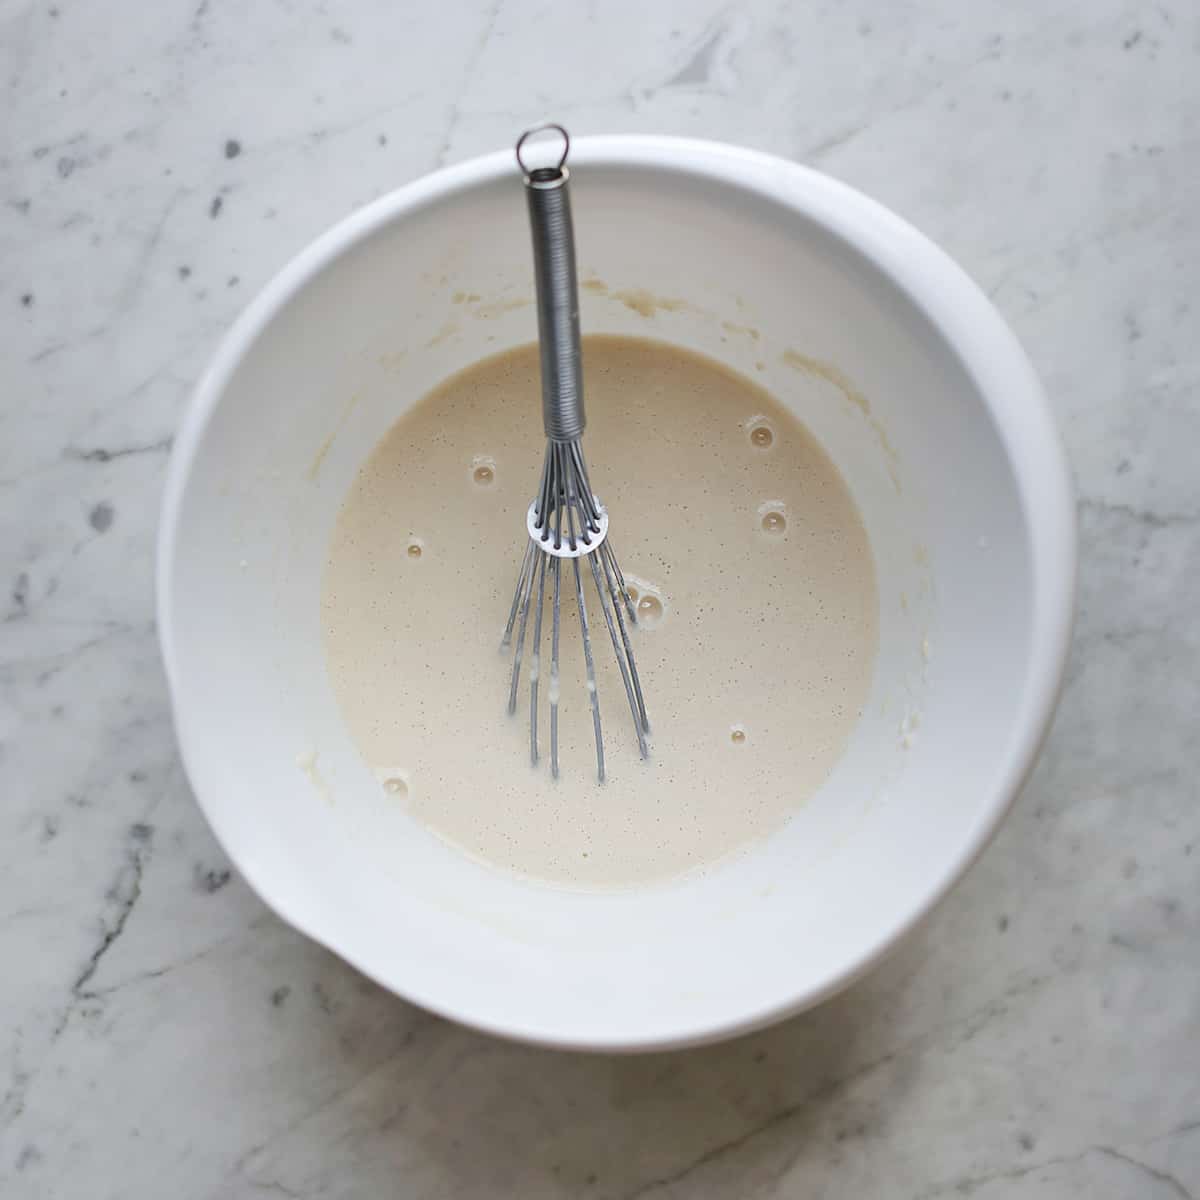
This paper mache paste recipe is made from just two ingredients, and is safe for kids and adults of almost all ages (exceptions being very young children who are still putting everything in their mouths).
This recipe still creates a strong paper mache glue and is quick and easy to make. Once you have a batch of paper mache paste, it’s very simple to create paper mache projects of all sizes and shapes!
This is such a fun skill, and you likely already have all the supplies you need. You can also easily double or triple this recipe (more of a ratio) to make a bulk batch in a classroom setting.
Other Activities to Try:
Ingredients:
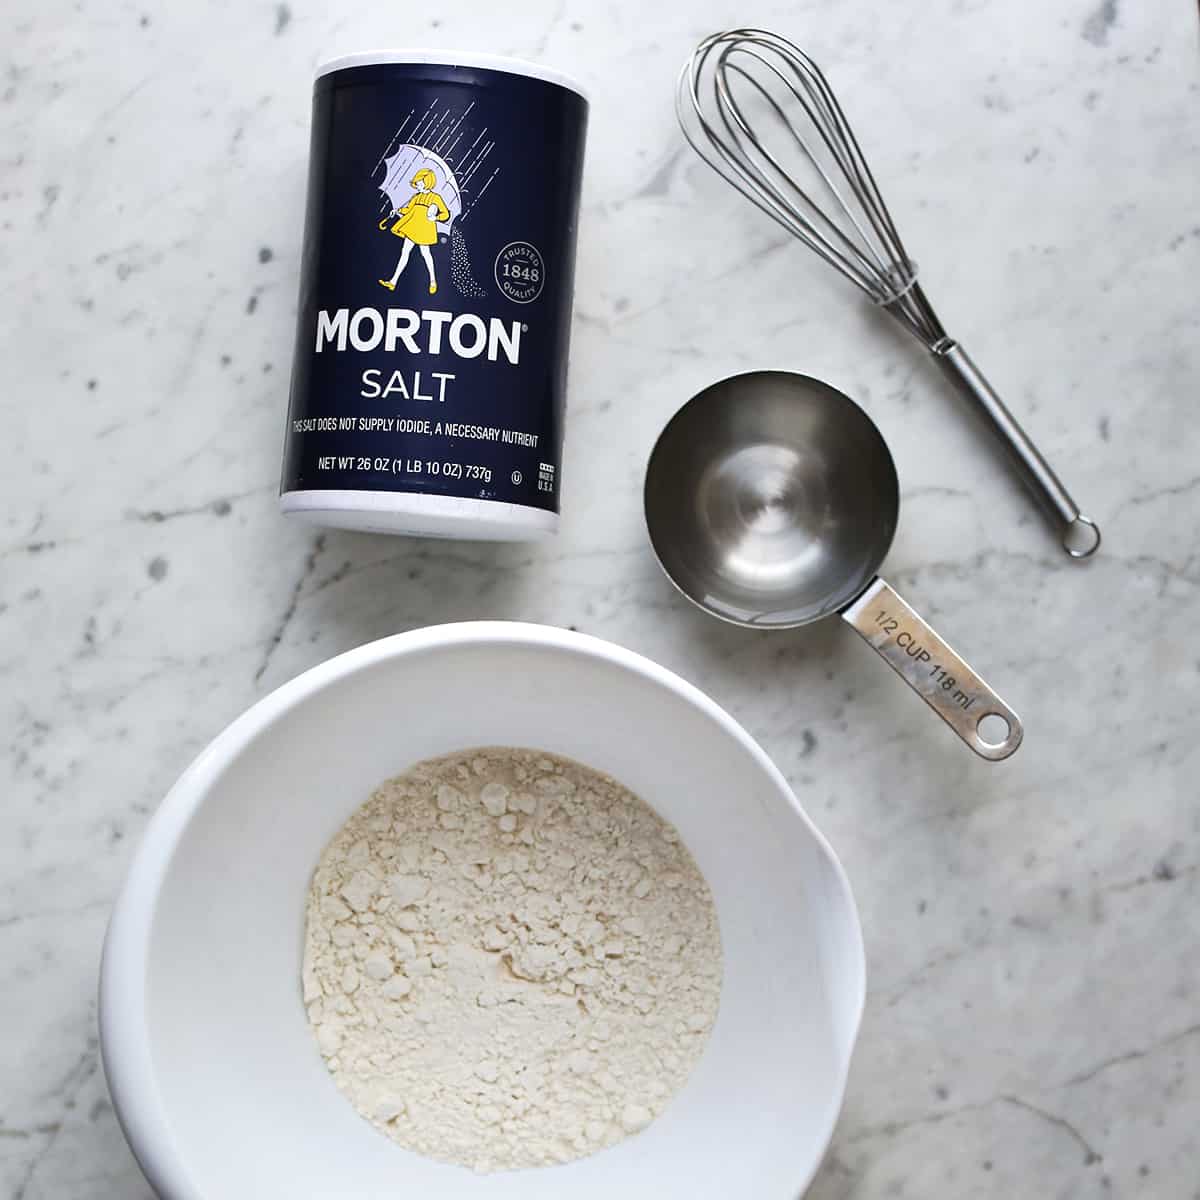
You can make large or small batches of paper mache paste with this recipe. If you are unsure how much you will need, start with 1 cup all-purpose flour to 2 cups of water. Here’s the ratio to use:
No-Cook Paper Mache Paste = 1 Part All-Purpose Flour + 2 Parts Water
While you can use glue to create a paper mache paste, flour is cheaper and works just as well. The biggest difference is that glue will give you a clearer finish, and the flour has a slightly floury/dusty finish.
Typically, the finished product is painted over, but it’s something to keep in mind when you’re picking your recipe (depending on how you want to finish the craft).
Tips for Making Your Paper Mache Glue:
- Some people have had more success using hot water. I used cool tap water and it has stayed very durable. If you have any issue with the paste not holding, you could try hot water.
- If you live in a climate with high humidity, you may also want to sprinkle in a little salt to the paste mix. This helps to prevent mold from forming.
- Since all the supplies to make paper mache paste are non-toxic and food safe, you can use kitchen bowls, whisks, or spoons. You don’t have to use separate items since you can simply wash and reuse them for other kitchen tasks.
- Be sure to wash your supplies and utensils before the paper mache hardens. Whoever is in charge of dishes will thank you!
- Once the paste has been whisked together, it’s best to use it within four hours or so. If you need to store the paste for longer, do so in an airtight container so it won’t dry out.
- If the smell bothers you, add a bit of cinnamon into the mixture and it will help!
Would you like to save this?
Using Your Paste:
One thing to do before (or right after making your paste) is to prepare your paper. Cut paper into strips or small pieces and keep a pile available and ready.
To use your glue, take a strip of the paper and then dip both sides in the paste. Use your hands or the side of the bowl to remove excess paste before applying to your object.
What Kind of Paper Can I Use for Paper Mache?
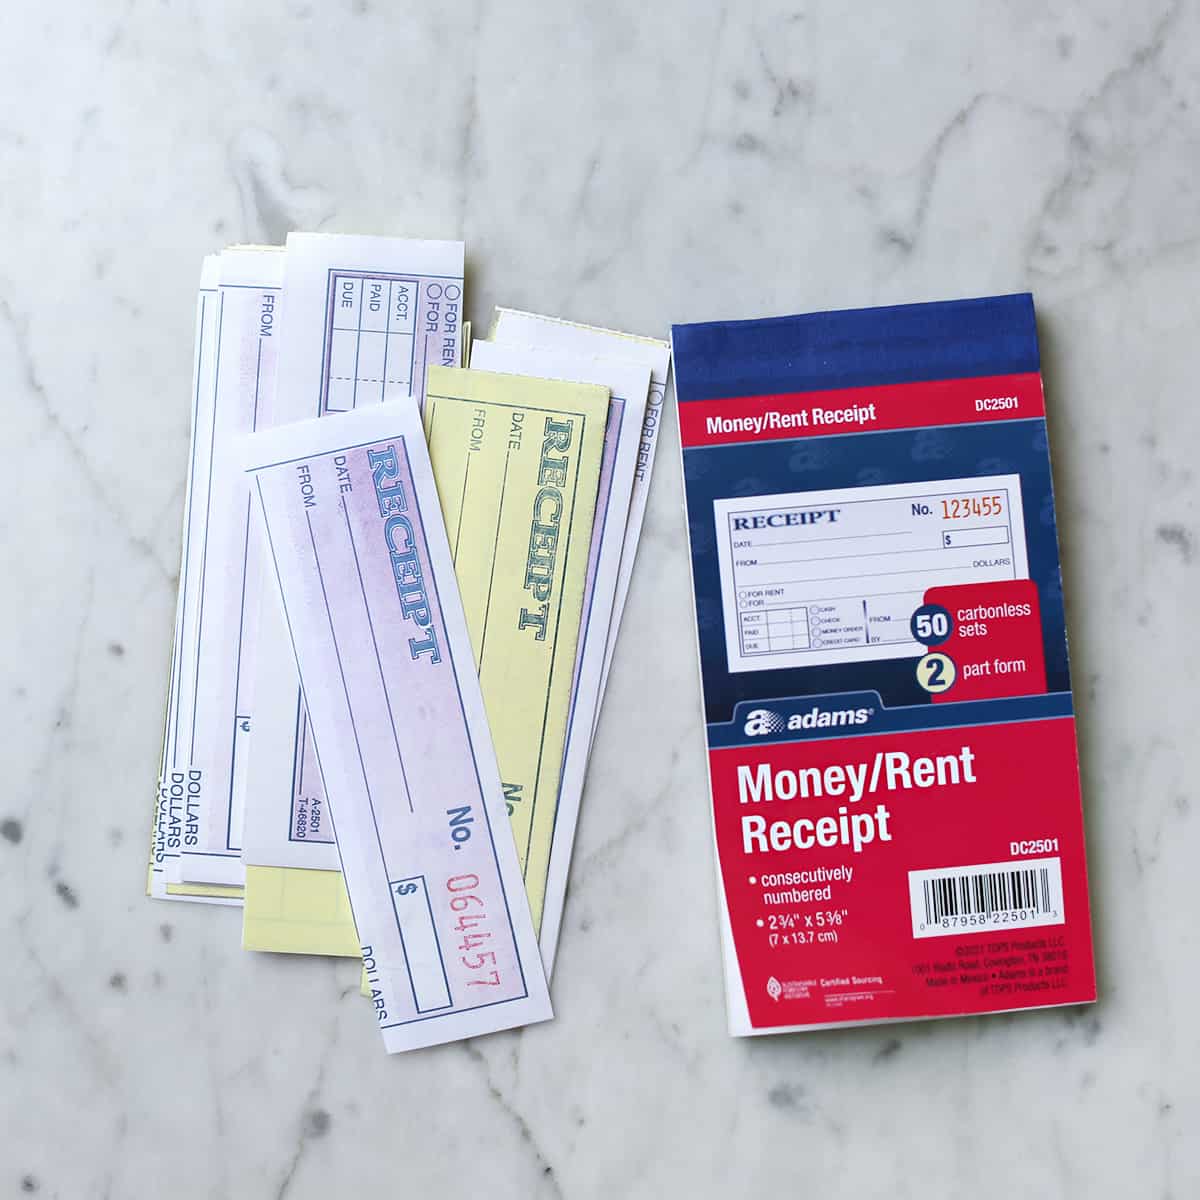
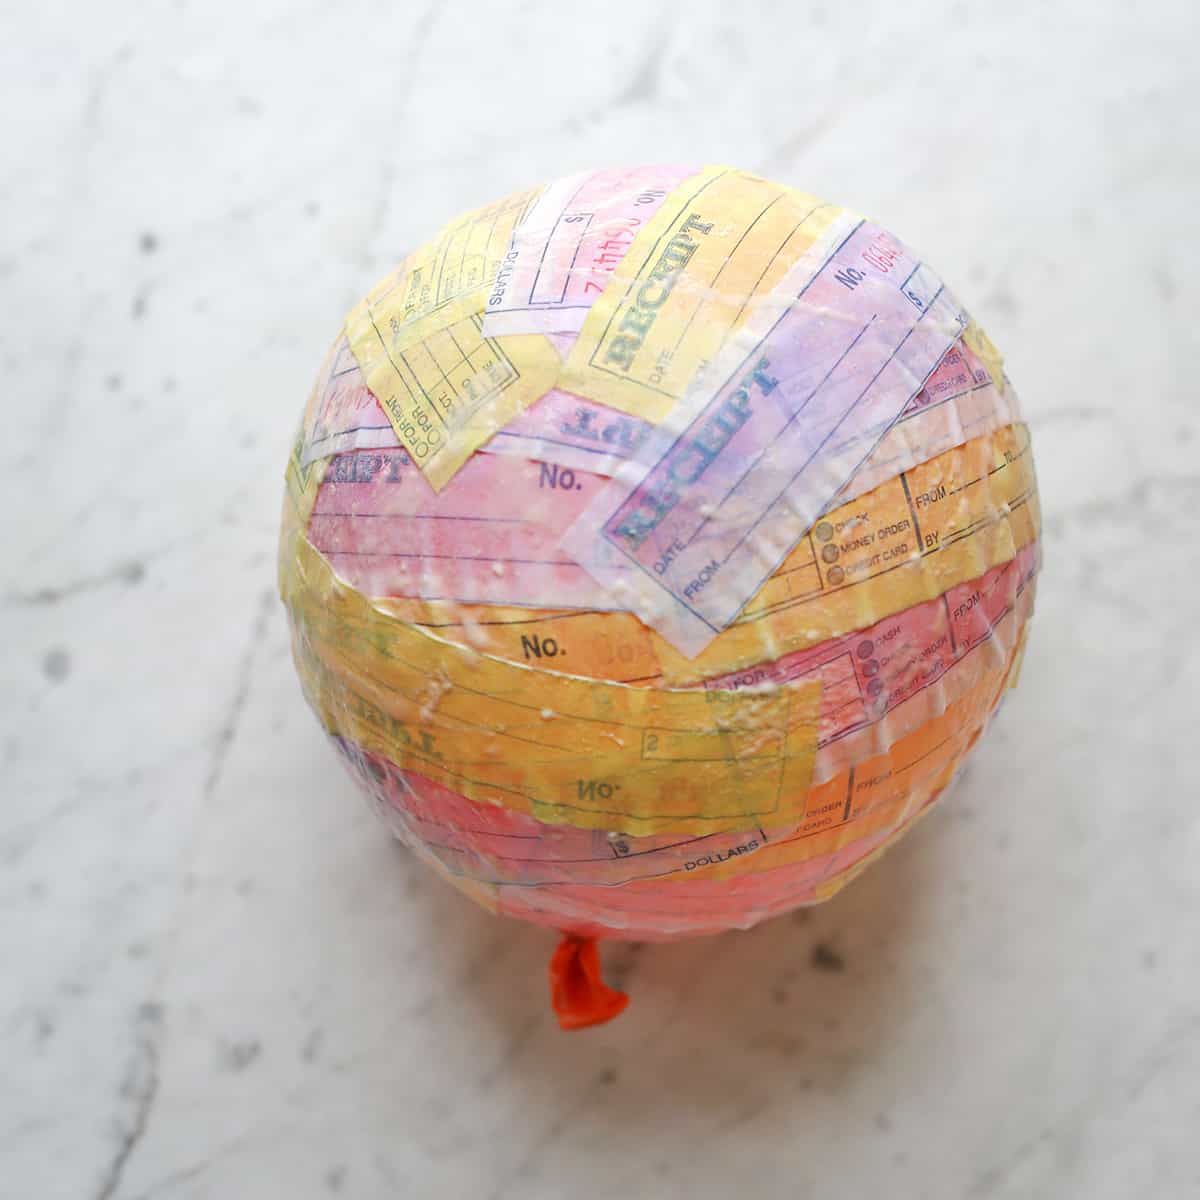
Newspaper is the traditional supply, but any thin paper can work well. I used money receipt paper, as it’s thin like carbon paper (just a little thicker than tissue paper).
You do not need to use a specific paper, so if you see old newspapers or old receipt books while thrifting or at a garage sale, pick them up for paper mache projects! The more absorbent the paper you’re using, the better!
Papers to avoid are anything thick like cardstock, greeting cards, or papers for painting (like watercolor paper).
Paper Mache Craft Ideas:
- The paper mache pinata is a classic and favorite paper mache craft for a reason! So fun!
- Make a paper mache volcano or hot air balloon.
- Make bowls painted in various colors. These make great gifts!
- Try a paper mache globe and practice painting the oceans and continents.
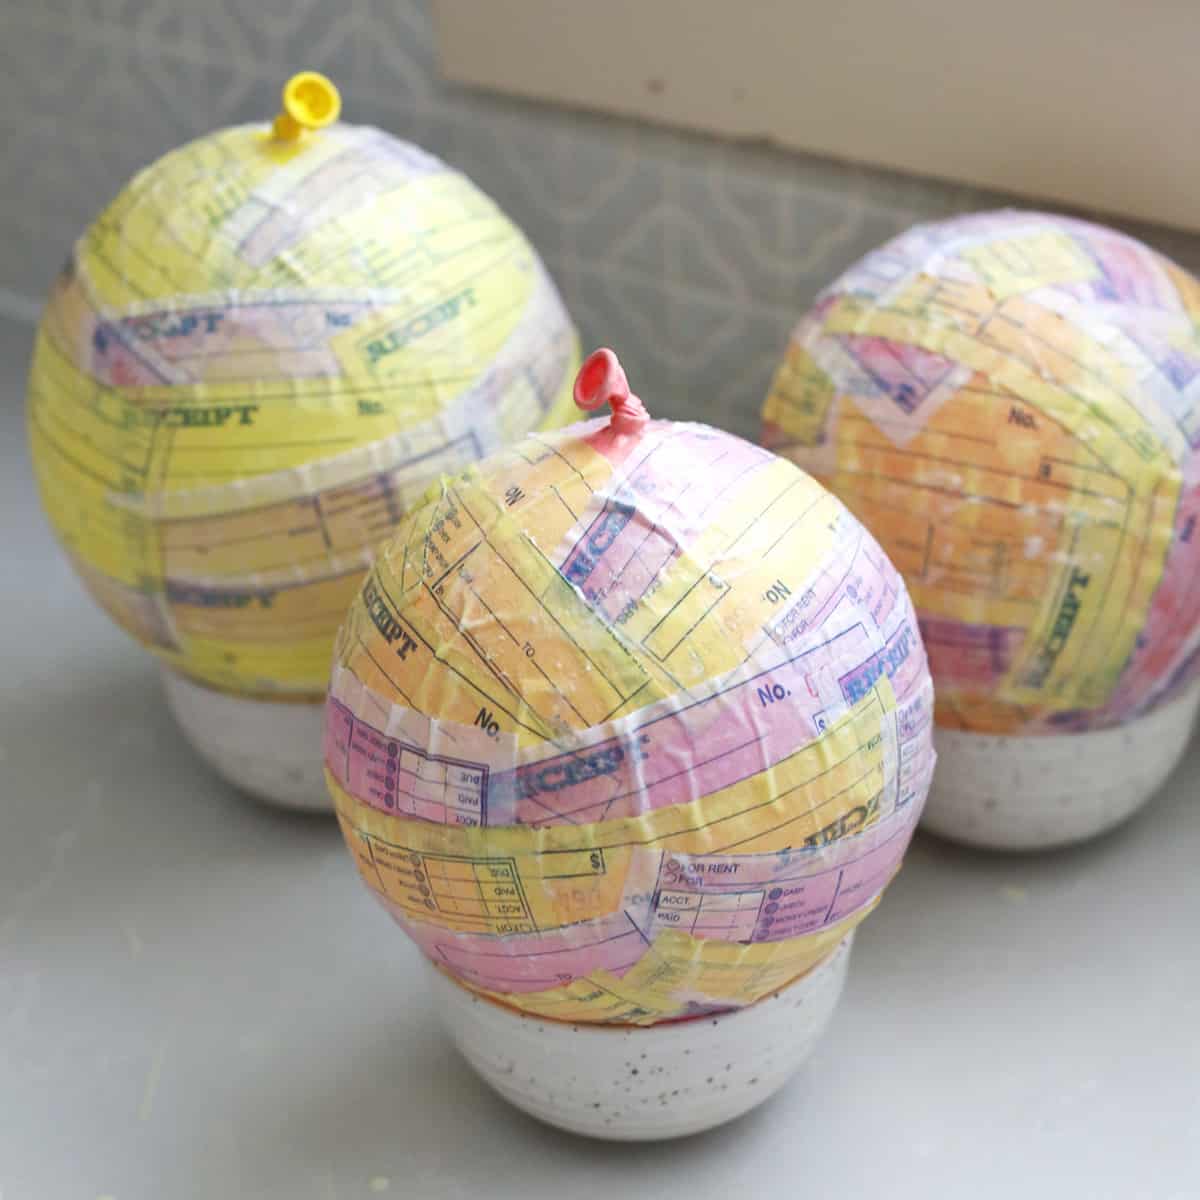
Allow your paper mache paste to dry out for at least eight hours or overnight. You will be able to tell if your paper mache project is ready to be painted because it should feel completely dry to the touch.
Read more tips on how to paper mache here.
Get creative ideas for recipes, crafts, decor, and more in your inbox!
 Get the How-To
Supplies
- 1 part all-purpose flour
- 2 parts water
- ¼ teaspoon salt (optional)
Instructions
- In a mixing bowl, combine the flour and salt if using.
- Add water.
- Whisk until no lumps remain.
- Use within four hours of making.
Notes
- If you need to save or store your paper mache paste, you can do so in an airtight container. Just make sure it doesn’t dry out.


I’m so excited to try this with my kids!
What is 1 part?
It could be any measurement. For example it could be 1 cup flour and 2 cups water. But if you were wanting to make a larger amount, maybe you are making a classroom of projects, then you could might want 5 cups of flour and 10 cups of water.