Ready to bring winter inside? Or pretend it’s a snow storm during the summer? This snow slime is the perfect slime activity to create some indoor magic. It’s a variation of our fluffy cloud slime but with a fun wintery and science twist.
Safety note- this activity requires adult supervision and slime is not safe to eat. Make sure the child you are planning this activity for is ready for a slime craft before attempting.
Slime is so fun because of how many ways you can customize it. Try our sand slime for a summer-themed variation next, or our galaxy slime if you’re ready to blast off to space!

What is Snow Slime?
Snow slime is a variation of fluffy cloud slime with added instant snow and glitter to enhance the texture and to make the slime have the appearance of snow. Fluffy slime is the perfect base for snow slime because it has a marshmallow like consistency that makes it fun to squish, stretch and twist!
Ingredients and Tools
- White School Glue (You can also use clear and I do recommend Elmer’s)
- Baking Soda
- Contact Solution (This is your activator, I use the linked brand but just make sure it has boric acid and sodium borate otherwise the consistency won’t be slimey)
- Shaving Cream
- Instant Snow
- Water (for instant snow)
- Glitter (optional)
- Mixing Bowls, spatula and measuring spoons (I like having a separate crafting set I keep on hand from my normal kitchen set!)
- Storage containers

Step By Step Snow Slime Recipe
Make Your Slime Base
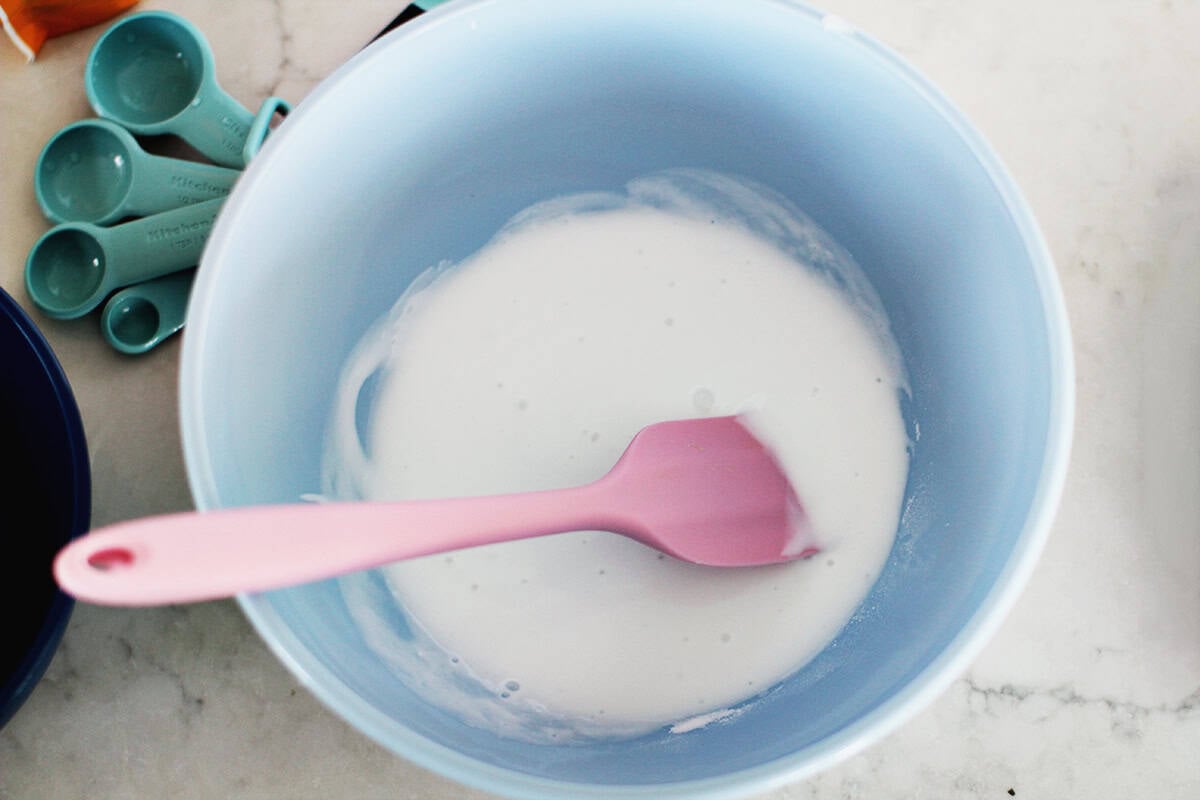
For your slime base, you’ll follow our basic slime recipe. Add your 6 oz (3/4 cup) of white glue and baking soda to a bowl. This is a regular sized bottle plus a bit of extra. If you think you may make a lot of snow or if you just craft a lot it’s probably worth buying a bulk size. It’s a bit easier to measure too!
Next, add your contact solution. Stir to combine. I like to use a bowl and spatula until all the ingredients have been added.
Transform Slime Base to Fluffy Slime
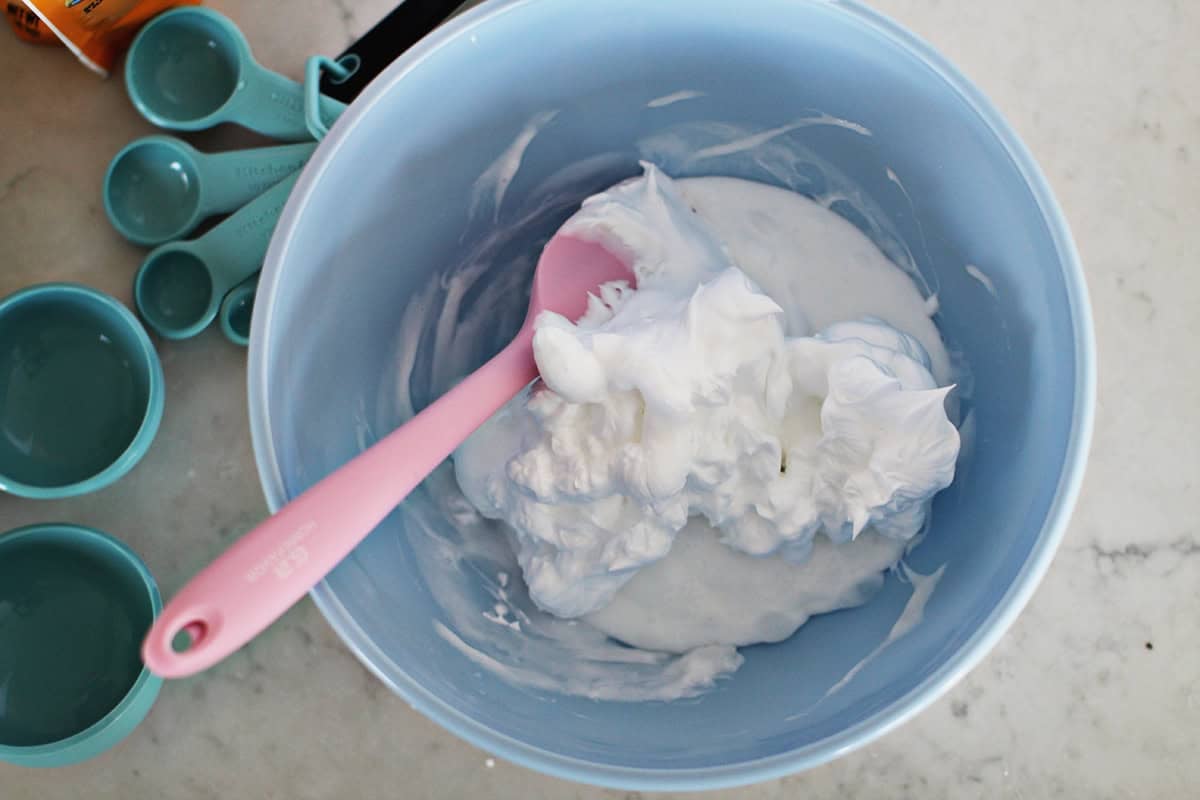
This next step is when it becomes fluffy cloud slime! Add your shaving cream and stir to combine. Set aside and allow slime to settle while prepping your snow.
Would you like to save this?
Make Your Instant Snow
This part is so fun!! Using the provided scoop, add your snow to a bowl. Following the package instructions, pour 1/4 cup water over the snow. (Double check which snow you’re using to make sure the ratio is the same.) Let kids do this part because it really is so fast and magical to watch! It’s a science experiment all of it’s own! The key is the sodium polyacrylate- which is actually the same ‘magical’ part of diapers that expands when wet.

Add your glitter to this snow bowl. This is the one part I don’t measure because glitter is glitter and measure with your heart. 🙂 Set aside your bowl of snow, you’ll combine it with your slime last.
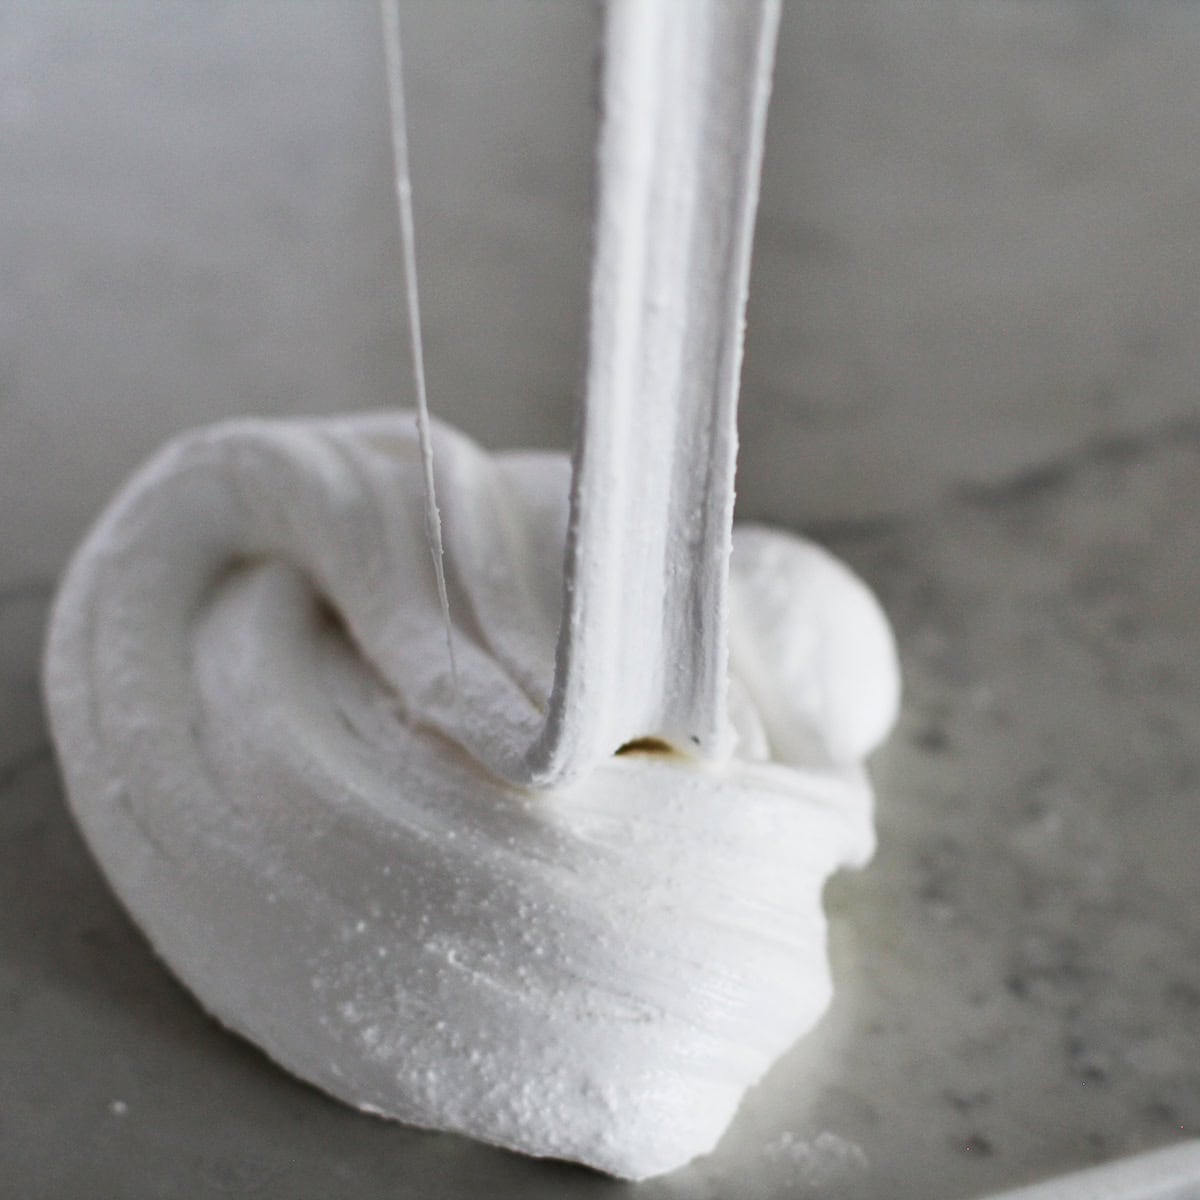
Combine Slime and Snow
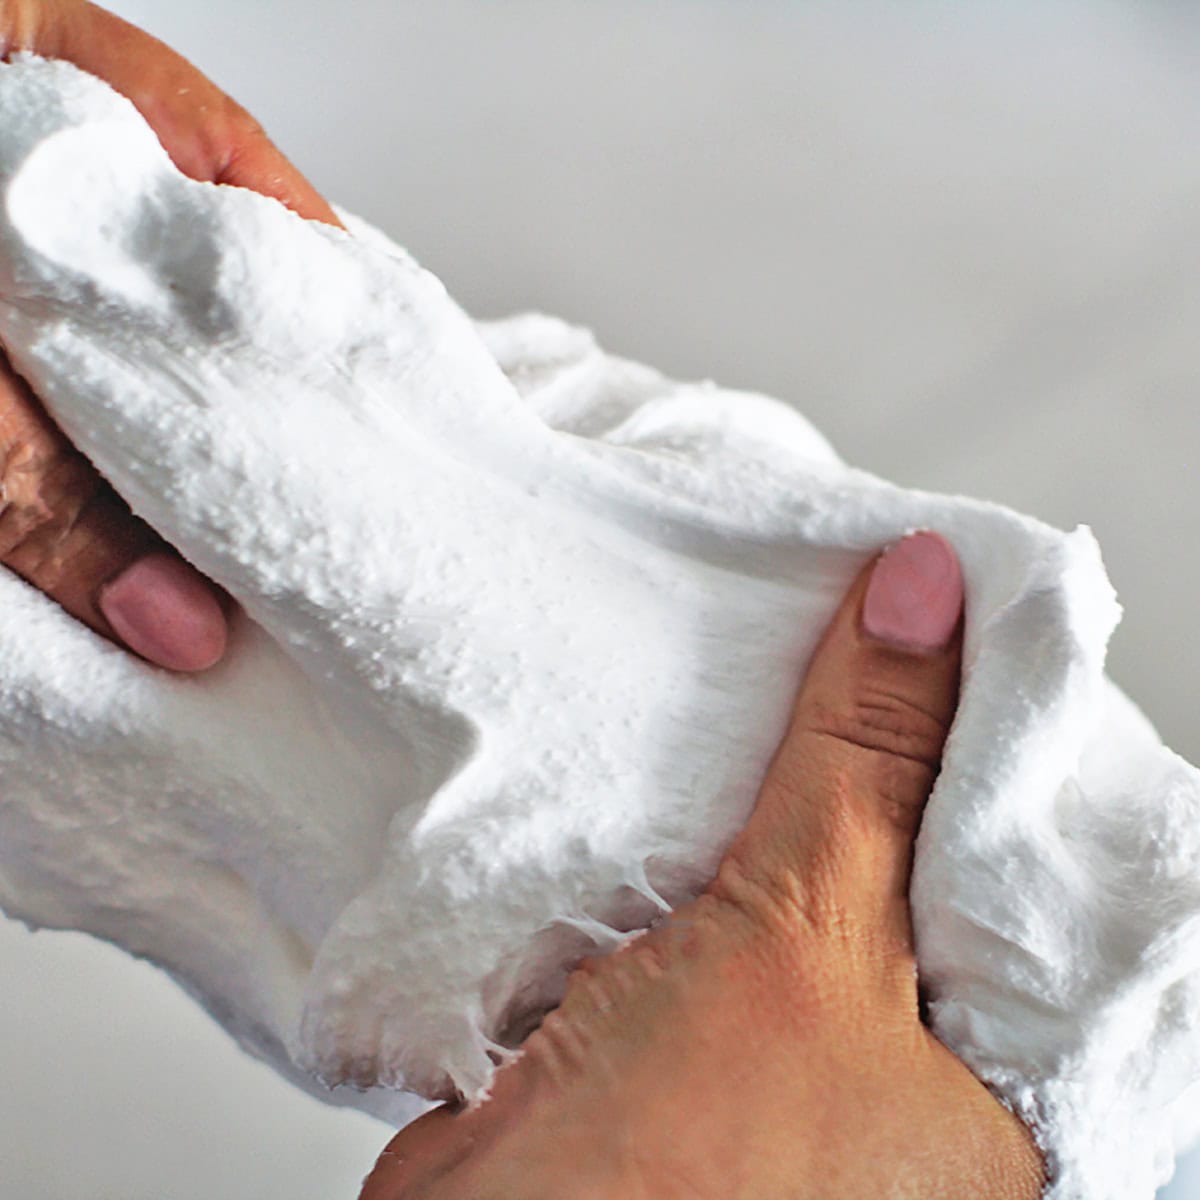
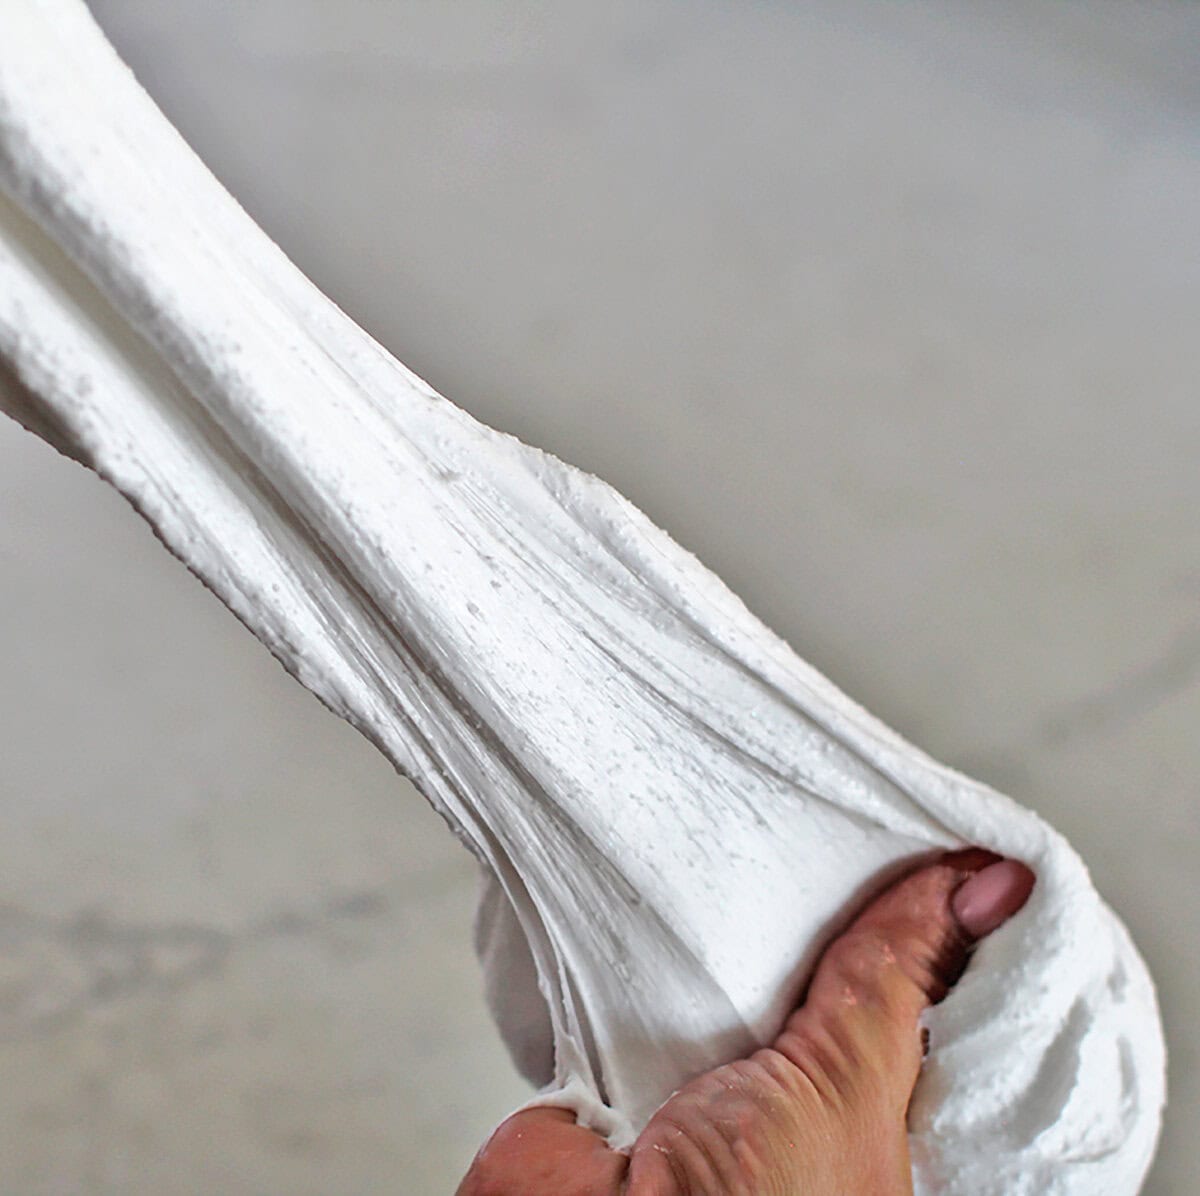
Finally, combine your instant snow with your fluffy slime. Start by stirring and folding in with a spatula, then transition to your counter and begin to knead until it become fluffy and stretchy.
Frequently Asked Questions
Why is my Snow Slime Too Sticky?
Sometimes if there’s too much water in the snow you’ll need to a few more drops of contact solution to balance it out.
Why is my Snow Slime too dry?
There may be too much activator (contact solution) or the snow may need to be rehydrated. Try adding a few drops (slowly) of warm water.
Do I have to use contact solution?
Nope. You can use borax or Elmer’s has a brand of slime activator you can buy.
How long with my snow slime last?
Fluffy slime can last a long time if stored properly in an airtight container, but the recommended play time is within 2-3 days.

Storing Snow Slime and Slime Clean-up
To store your snow slime, add to an airtight container. I really like these food storage containers, they’re a great size for this amount of slime.
To clean up following slime time, use the slime itself to collect as much as possible off hands and counters. Immediately wash hands with soap and water. Reminder- this activity requires adult supervision and attention from start to finish. Use warm, soapy water to clean off surfaces. If you get it on clothing, you can remove with warm water or wait for it to dry then scrape off.

Get creative ideas for recipes, crafts, decor, and more in your inbox!
 Get the How-To

Supplies
- ¾ cup white school glue (I recommend Elmers)
- ½ tsp baking soda
- 1½ tbsp contact solution (I use the Renu brand)
- 2 cups shaving cream
- 1 scoop instant snow (about a tsp, but scooper is provided)
- 1 pinch glitter (optional)
Instructions
- For your slime base, you'll follow our basic slime recipe. Add your 6 oz (3/4 cup) of white glue and baking soda to a bowl.
- Next, add your contact solution. Stir to combine. I like to use a bowl and spatula until all the ingredients have been added.
- Add your shaving cream and stir to combine. Set aside and allow slime to settle while prepping your snow.
- Using the provided scoop, add your snow to a bowl. Following the package instructions, pour 1/4 cup water over the snow. (Double check which snow you're using to make sure the ratio is the same.)
- Add your glitter to this snow bowl.
- Finally, combine your instant snow with your fluffy slime. Start by stirring and folding in with a spatula, then transition to your counter and begin to knead until it becomes fluffy and stretchy.
- To store your snow slime, add to an airtight container.