When it comes to summer treats, few things can compare to the cool and creamy delight of a Jello pudding pop.
Whether you have fond childhood memories of enjoying these frozen treats or are simply a fan of creamy desserts, making homemade Jello pudding pops is a fun and easy way to satisfy your sweet tooth.
In this blog post, we’ll take you through a simple step-by-step guide to creating your own delicious Jello pudding pops at home. And you can find more kid-friendly recipes in our Recipe archive.
Related: Next, try making Dirt Cups, Jello Jigglers, Kool-Aid Pickles, or Candied Grapes for a fun, summertime treat!
Ingredients
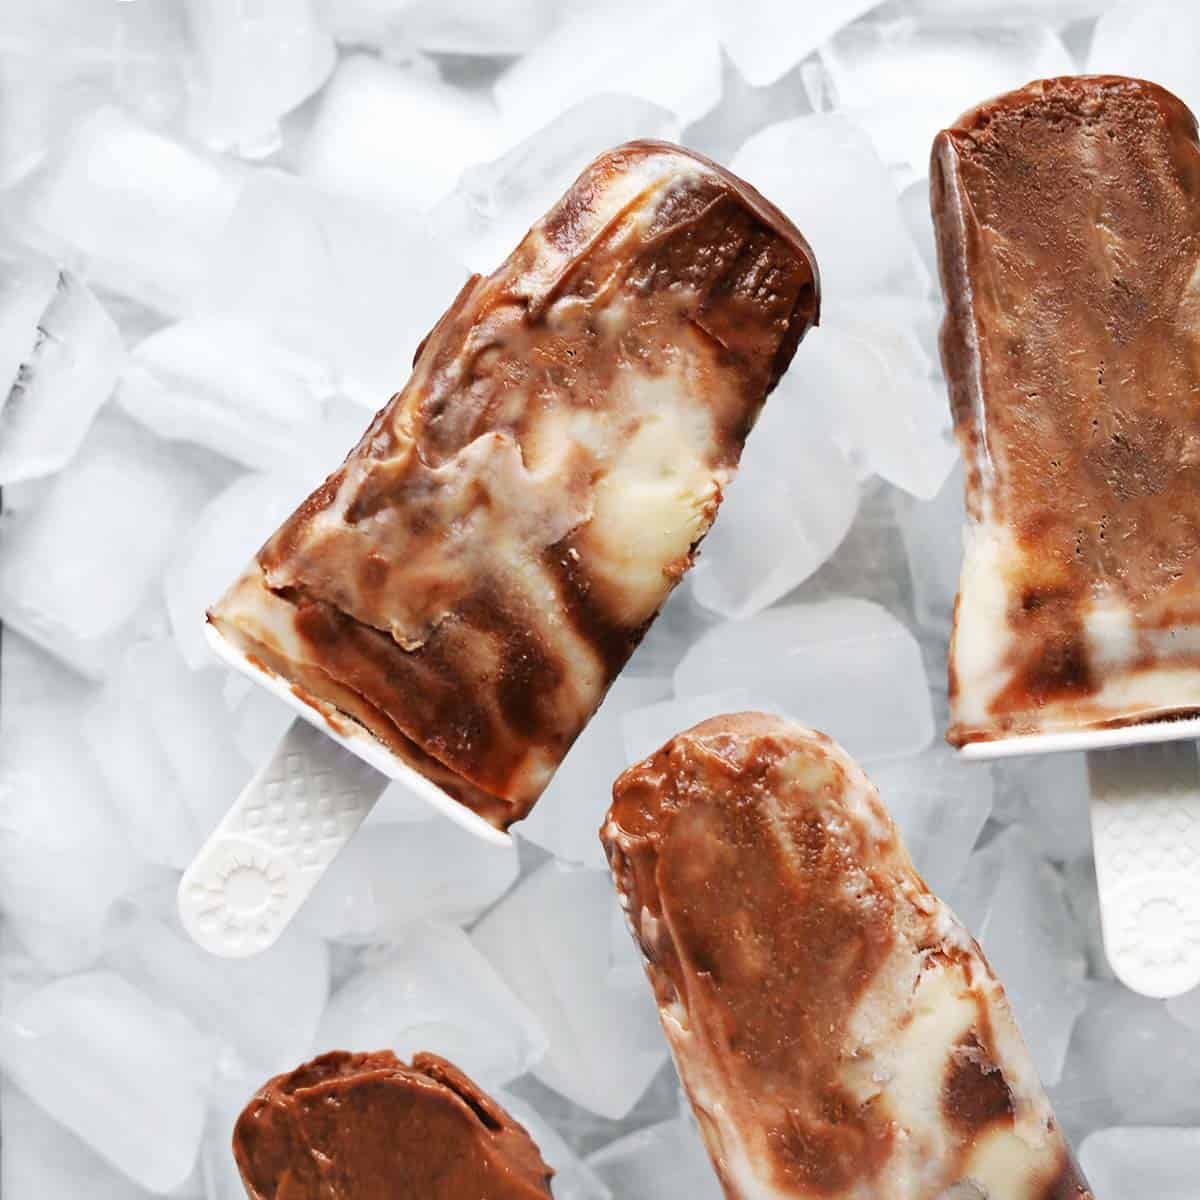
If you want to make marbled or swirled pudding pops with two flavors, you will need two different Jello pudding mixes.
Directions
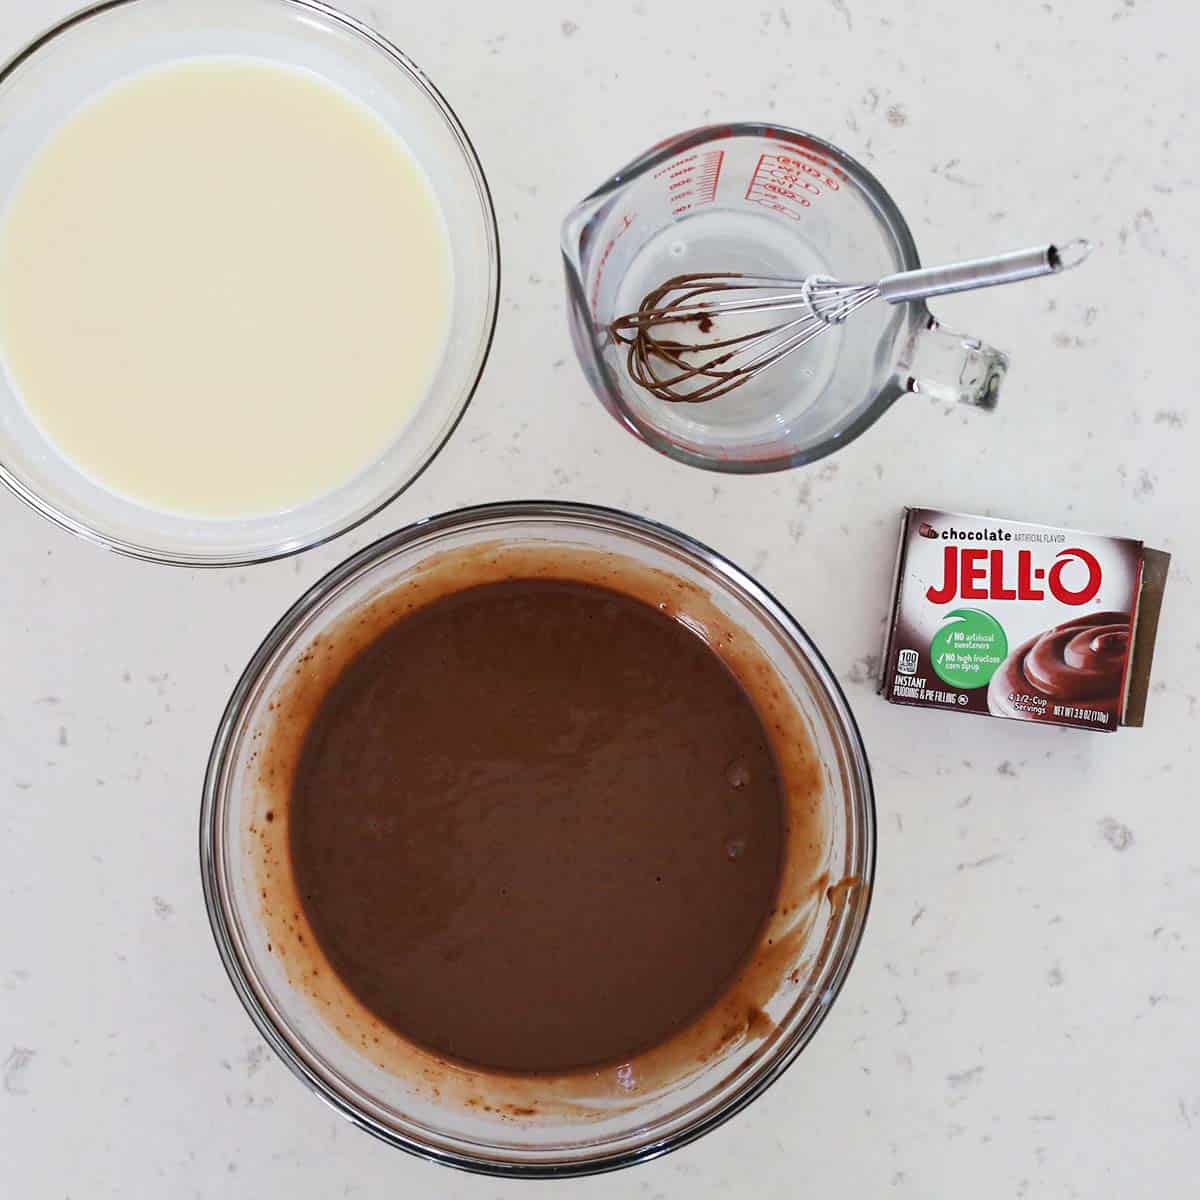
Begin by pouring the contents of the Jello instant pudding mix into a medium-sized bowl.
Gradually pour the cold milk into the bowl with the pudding mix. Use a whisk or spoon to combine the milk and pudding mix, ensuring that there are no lumps. Continue stirring for about 2 minutes until the mixture starts to thicken.
Would you like to save this?
Take your popsicle molds or small paper cups and carefully pour the prepared pudding mixture into each mold.
I usually do this by adding the pudding to a ziplock bag or pastry bag and then piping it into the mold like I would frosting. Leave a little space at the top to allow for expansion when freezing.
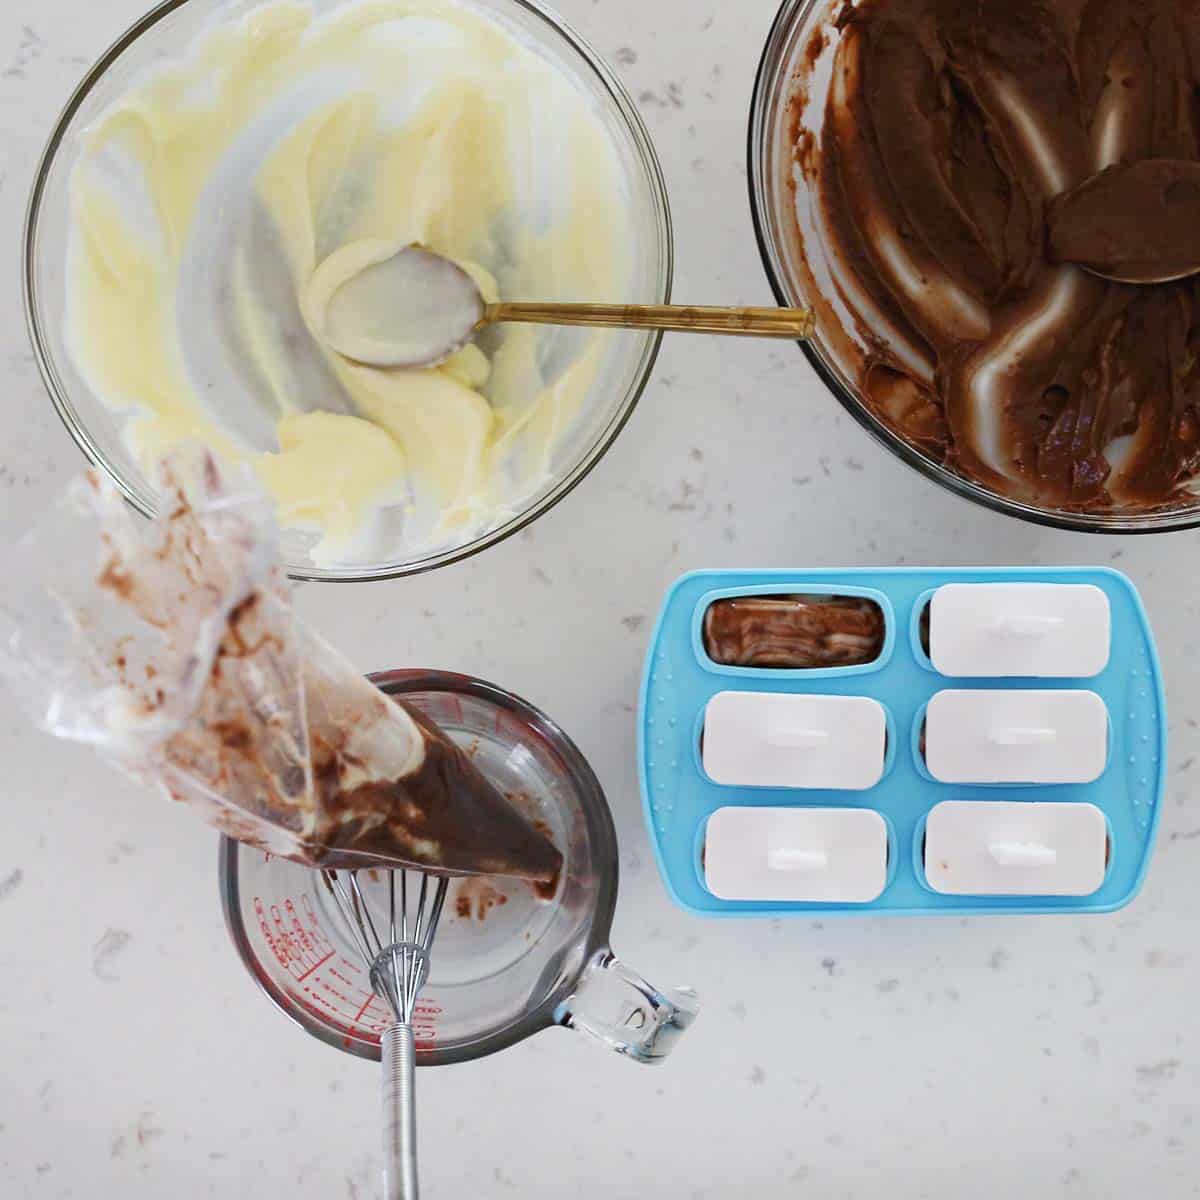
Place the filled molds or cups in the freezer. It usually takes around 4-6 hours for the Jello pudding pops to freeze completely.
You can check the readiness by inserting a popsicle stick into the center of a pop—if it stands upright, the pops are ready.
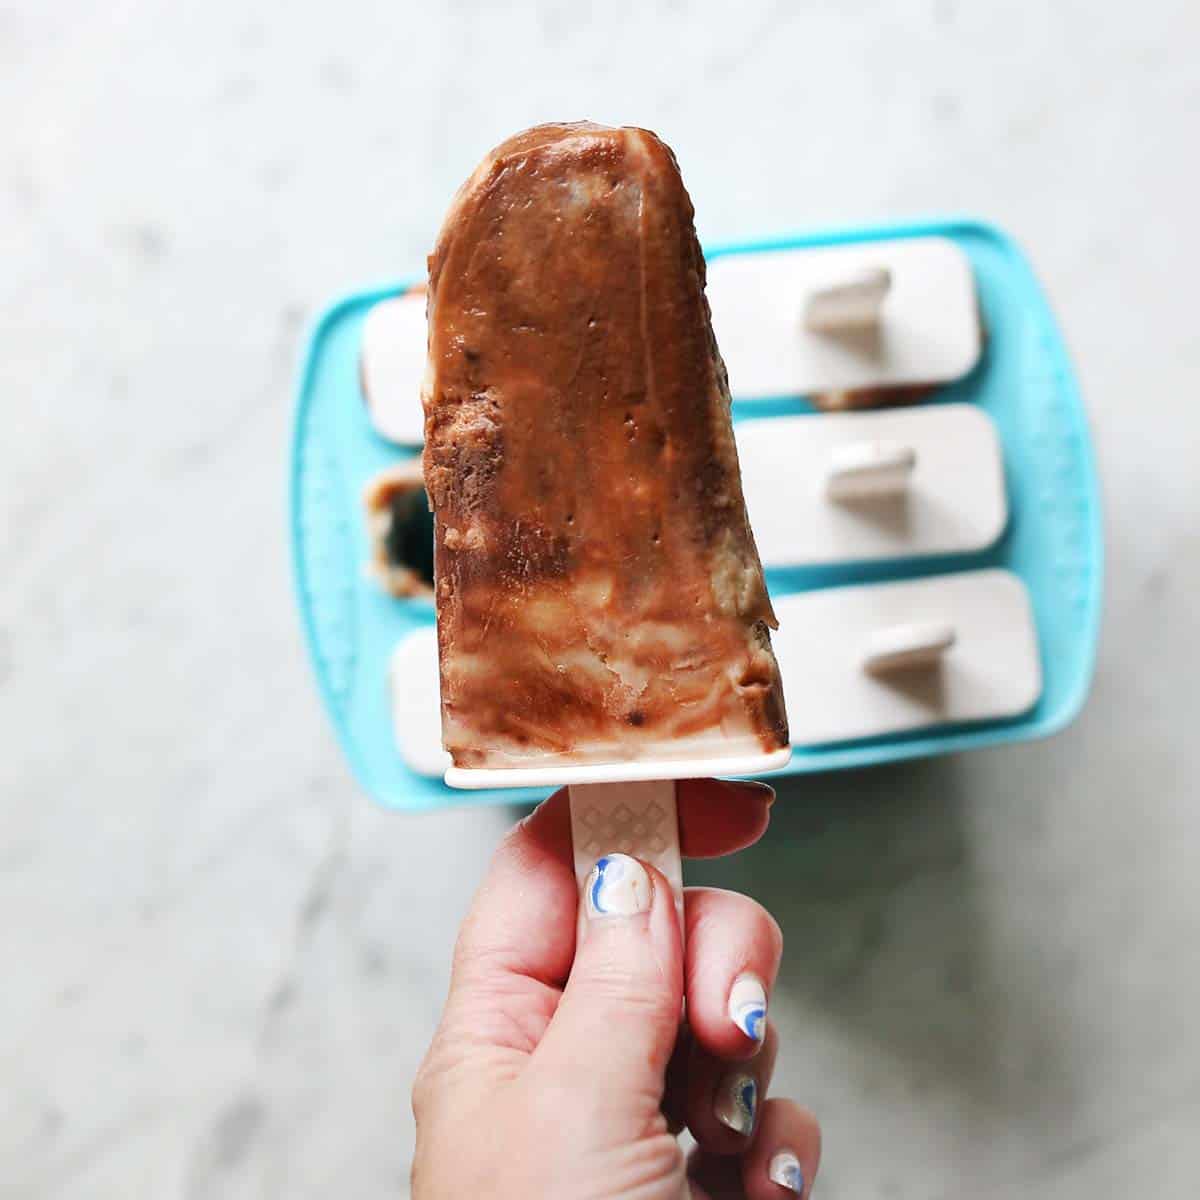
Sometimes popsicles will easily remove from molds. But, if yours stick or seem too frozen to be able to easily slide from the mold, submerge the bottom part of the mold in warm water (taking care no water gets into the popsicles) until you can easily remove them.
More No-Bake Dessert Recipes:
- Kool-Aid Pie
- American Flag Toast
- Froot Loops Rainbow Snack
- Bunny English Muffin
- 4th of July Charcuterie Board for kids
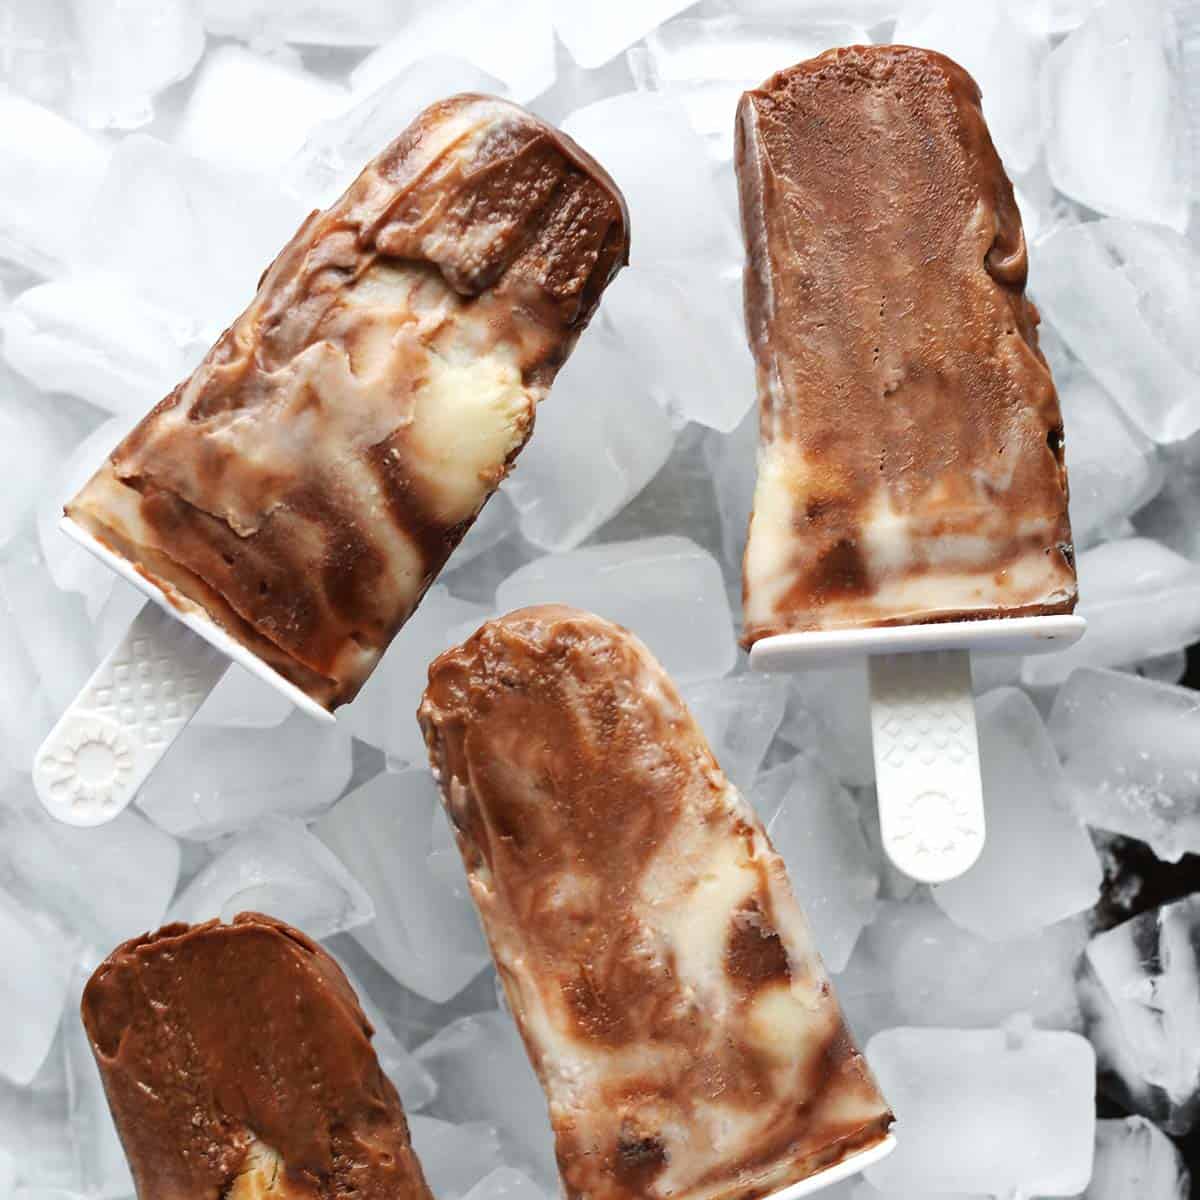
Making homemade Jello pudding pops is a delightful way to beat the heat and enjoy a refreshing treat. With just a few simple steps and readily available ingredients, you can recreate the nostalgic taste of these beloved frozen desserts.
Whether you’re planning a summer gathering or simply want to indulge in a creamy and delicious snack, Jello pudding pops are sure to please both kids and adults alike.
Get creative ideas for recipes, crafts, decor, and more in your inbox!
 Get the Recipe
Ingredients
- 1 box jello pudding mix
- 1 ¾ cup milk
Equipment
Instructions
- Begin by pouring the contents of the Jello instant pudding mix into a medium-sized bowl.
- Gradually pour the cold milk into the bowl with the pudding mix. Use a whisk or spoon to combine the milk and pudding mix, ensuring that there are no lumps.
- Continue stirring for about 2 minutes until the mixture starts to thicken.
- Take your popsicle molds or small paper cups and carefully pour the prepared pudding mixture into each mold. Leave a little space at the top to allow for expansion when freezing.
- Place the filled molds or cups in the freezer. It usually takes around 4-6 hours for the Jello pudding pops to freeze completely. You can check the readiness by inserting a popsicle stick into the center of a pop—if it stands upright, the pops are ready.
Notes
- If you want to make marbled or swirled pudding pops with two flavors, you will need two different Jello pudding mixes. And it will double the number of popsicles this recipe will make.
- I usually fill the popsicle molds by adding the pudding to a ziplock bag or pastry bag and then piping it into the mold like I would frosting.
- Sometimes popsicles will easily remove from molds. But, if yours stick or seem too frozen to be able to easily slide from the mold, submerge the bottom part of the mold in warm water (taking care no water gets into the popsicles) until you can easily remove them.
Nutrition
Notice: Nutrition is auto-calculated, using Spoonacular, for your convenience. Where relevant, we recommend using your own nutrition calculations.

Can’t wait to make these!