
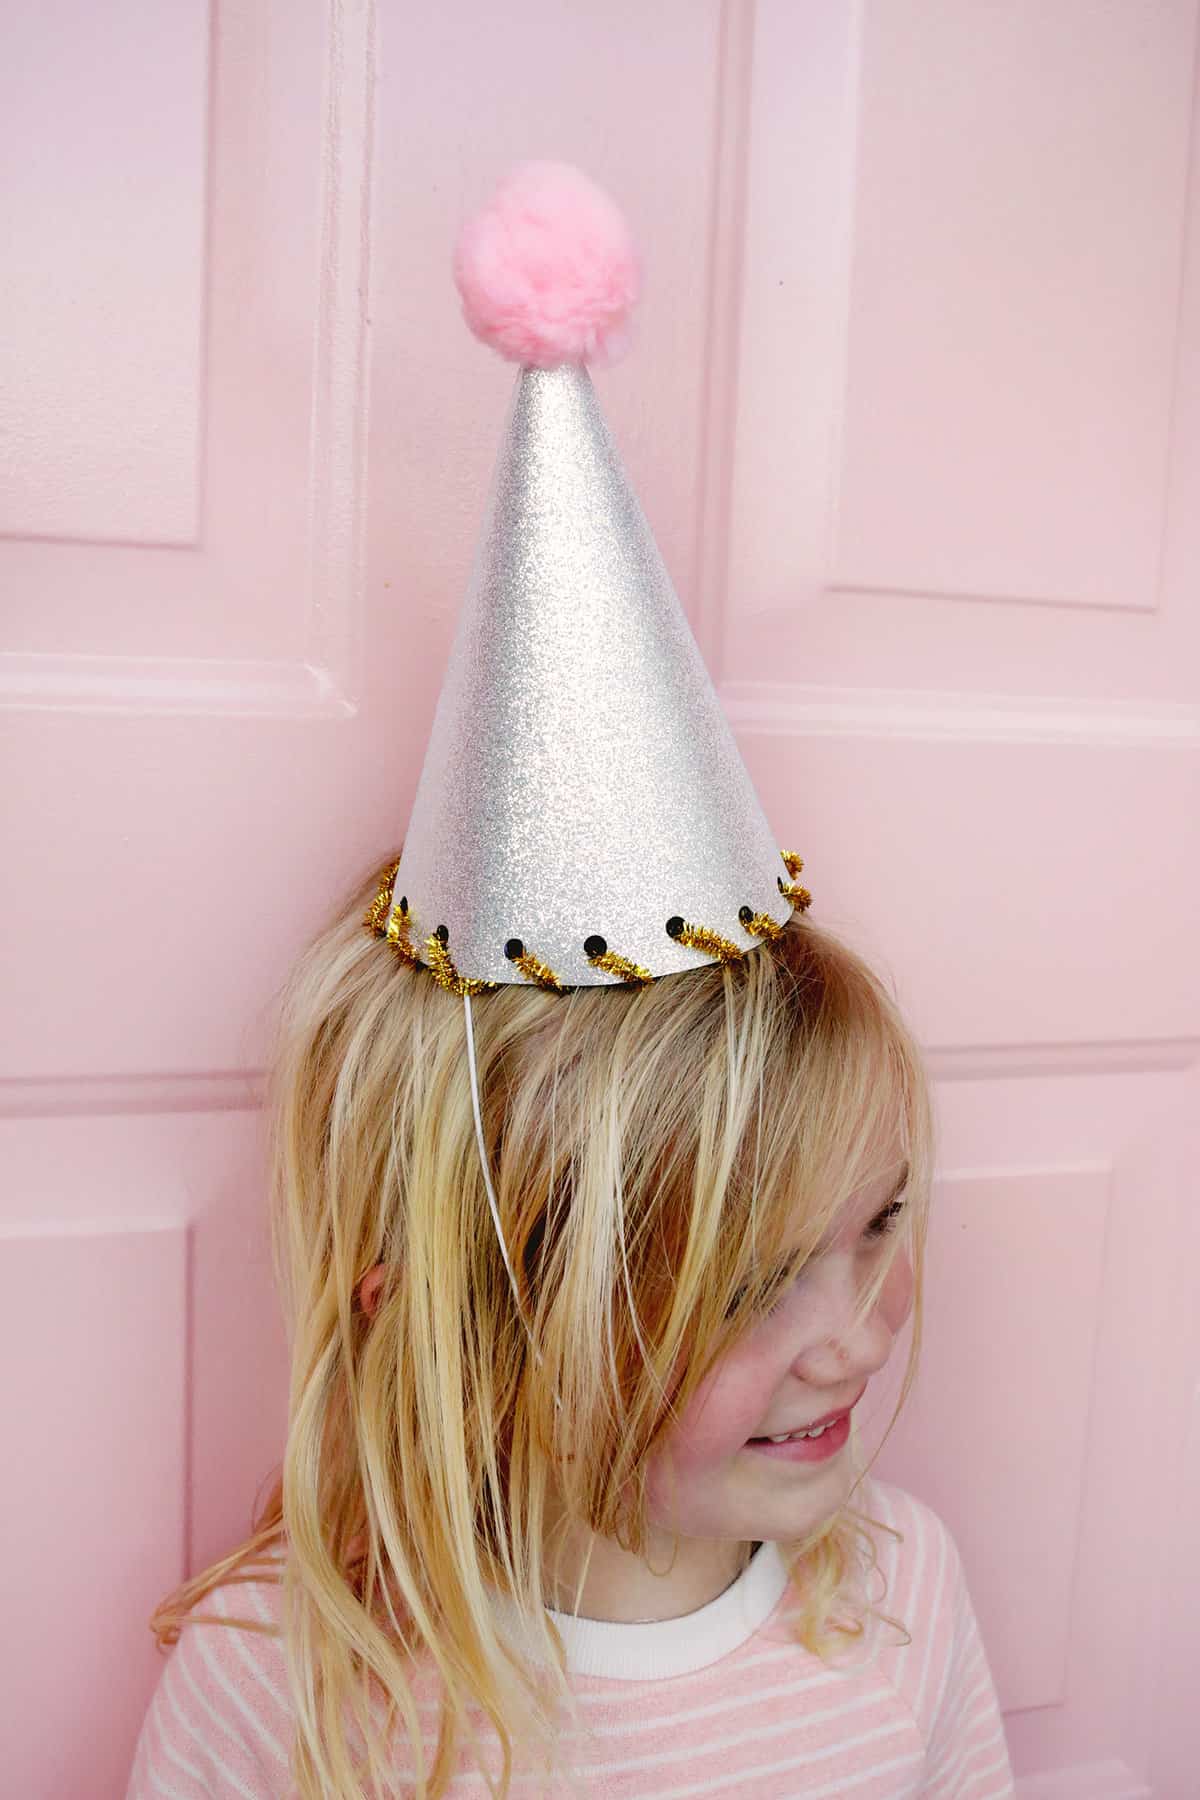
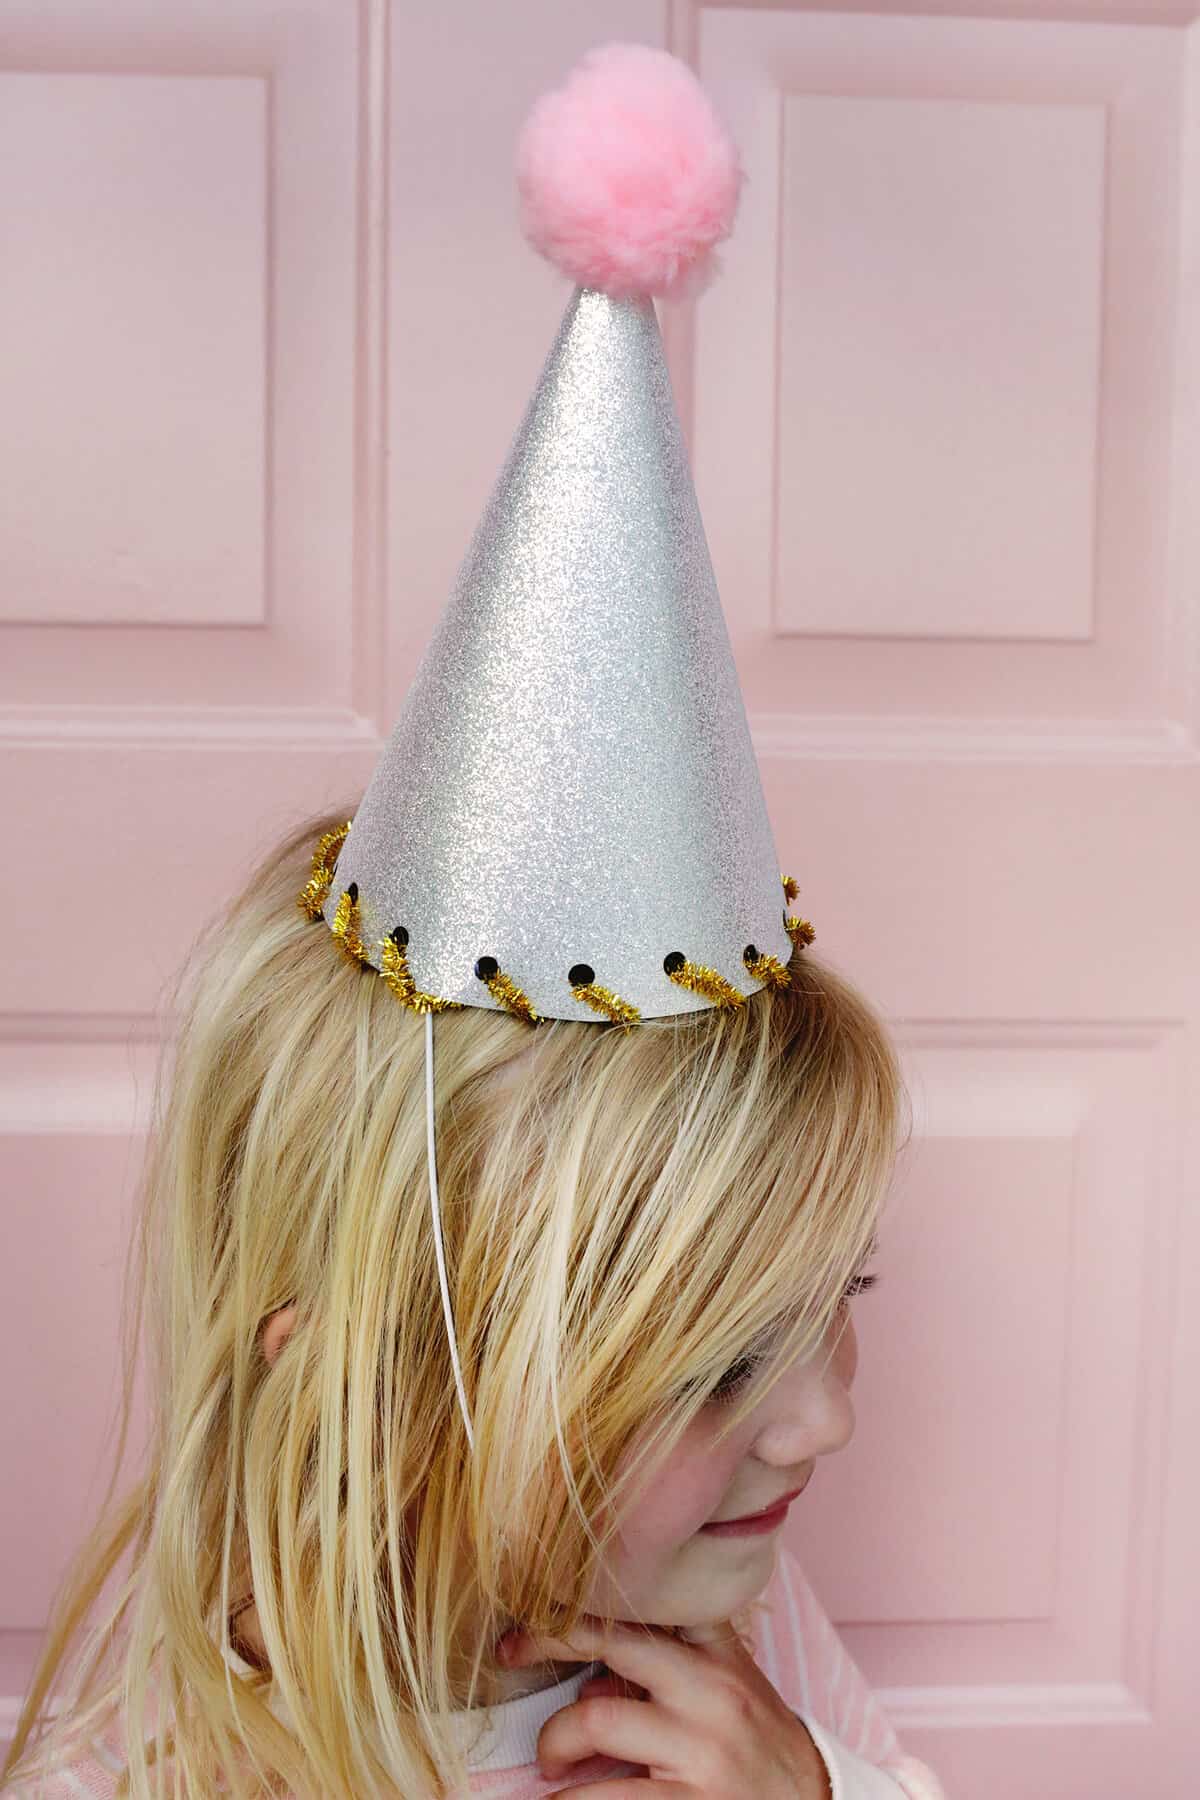
Whether you’re planning a birthday, special event, or just need an excuse to make any day special, you’ll want this party hat DIY! Kids can use the craft skills they’re learning like cutting and gluing paper to help. You can even help them make a mini version for stuffed animals or favorite toys!
To make this project, you’ll need basic supplies like cardstock, poster board, glue, and scissors. You can customize your party hat with ribbons, tissue paper, a pom pom, or a variety of other fun additions.
Why Kids Love Helping with this Craft:
- Kids can help make their own party hats or versions for their friends, making it a fun activity.
- They’ll be excited for a party and will think it’s very grownup that they get to help!
- If you make a mini version, they can even host their own themed party for favorite dolls, toys or stuffed animals.
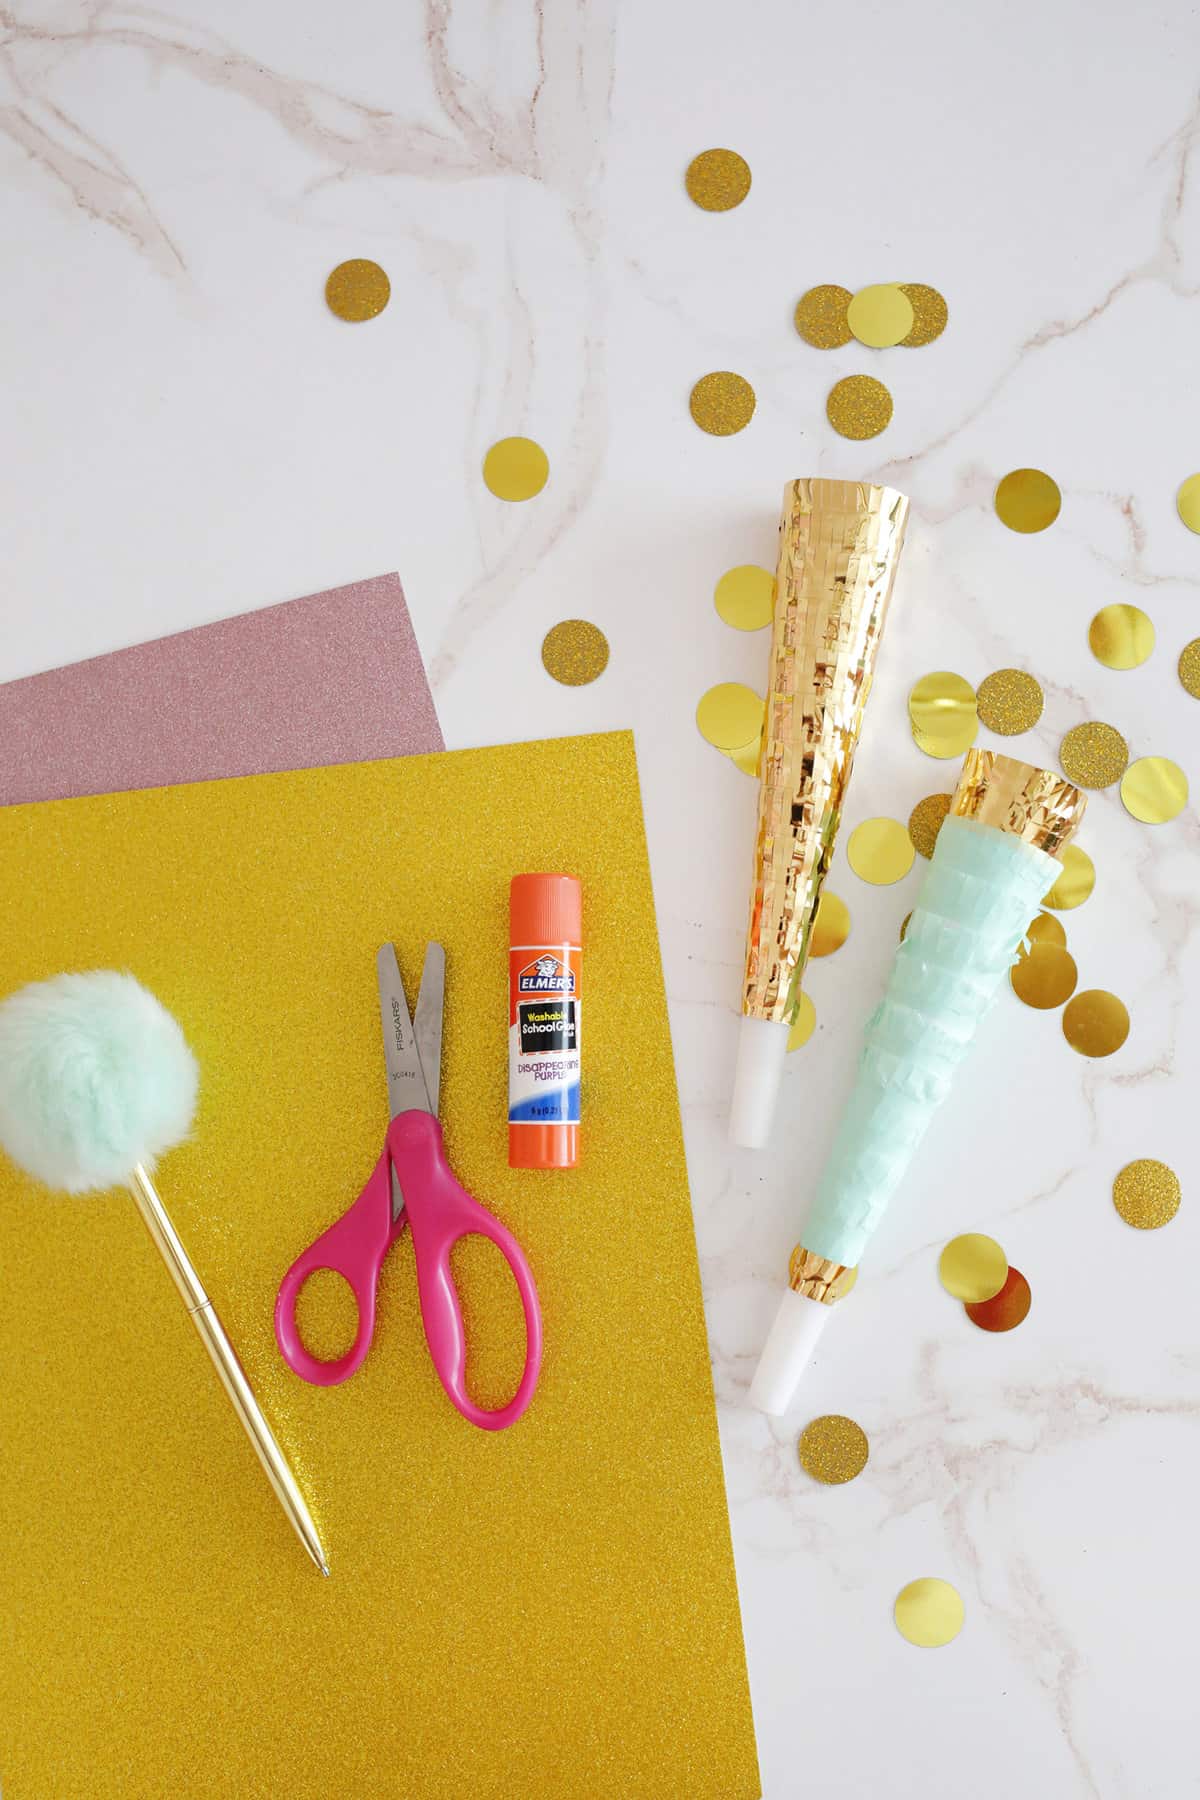
What Supplies You’ll Need:
- Cardstock or any paper (scrapbooking paper works great, too!)
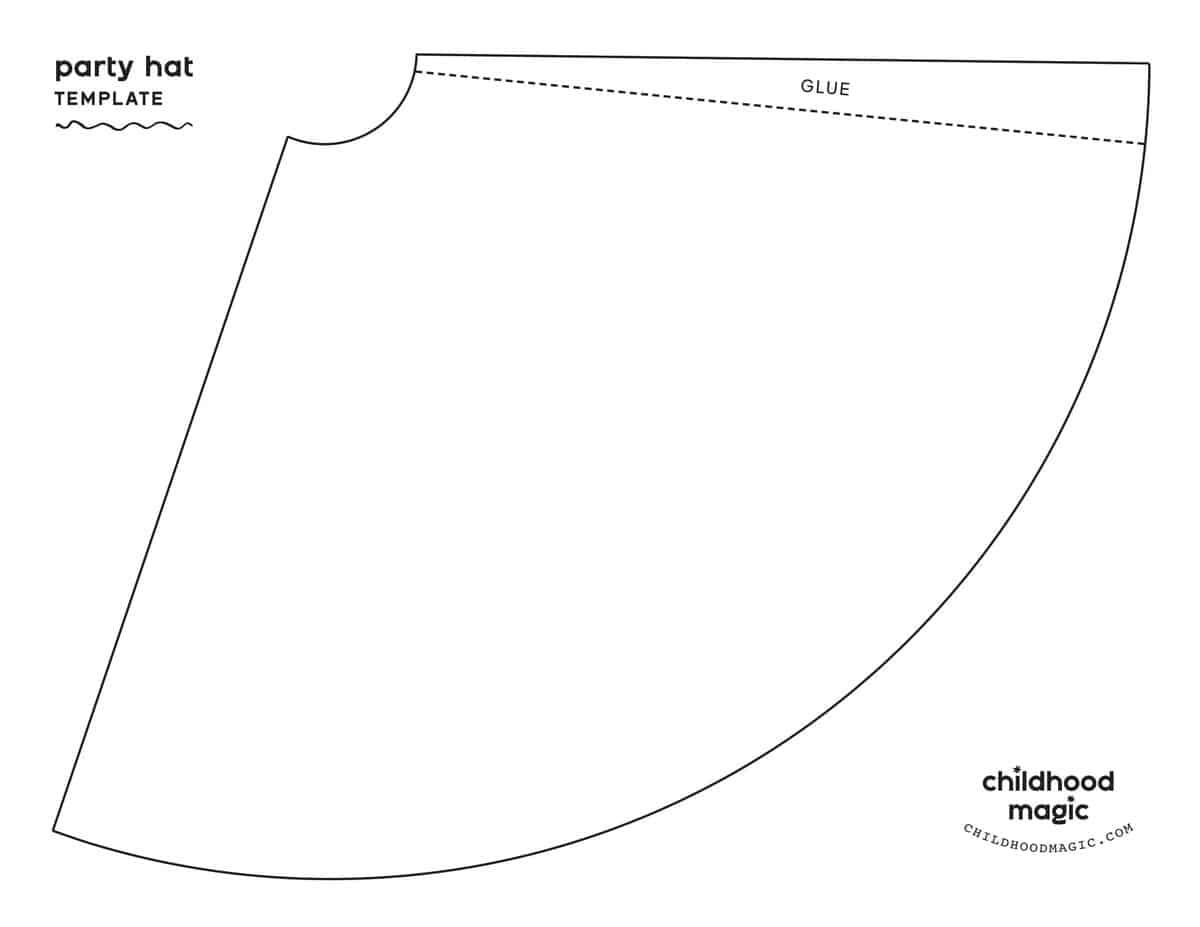
- Party hat template
- Glue or low-temp glue gun, depending on the weight of the paper
- Pom poms to top the hat with
- Elastic cord, cut long enough to fit a kiddo or adult-sized head
- Tape or stapler to attach elastic
- Hole punch (optional)
- Pipe cleaners (optional)
- Markers or puff paint to decorate
- Scissors
How to Make Your Party Hat:
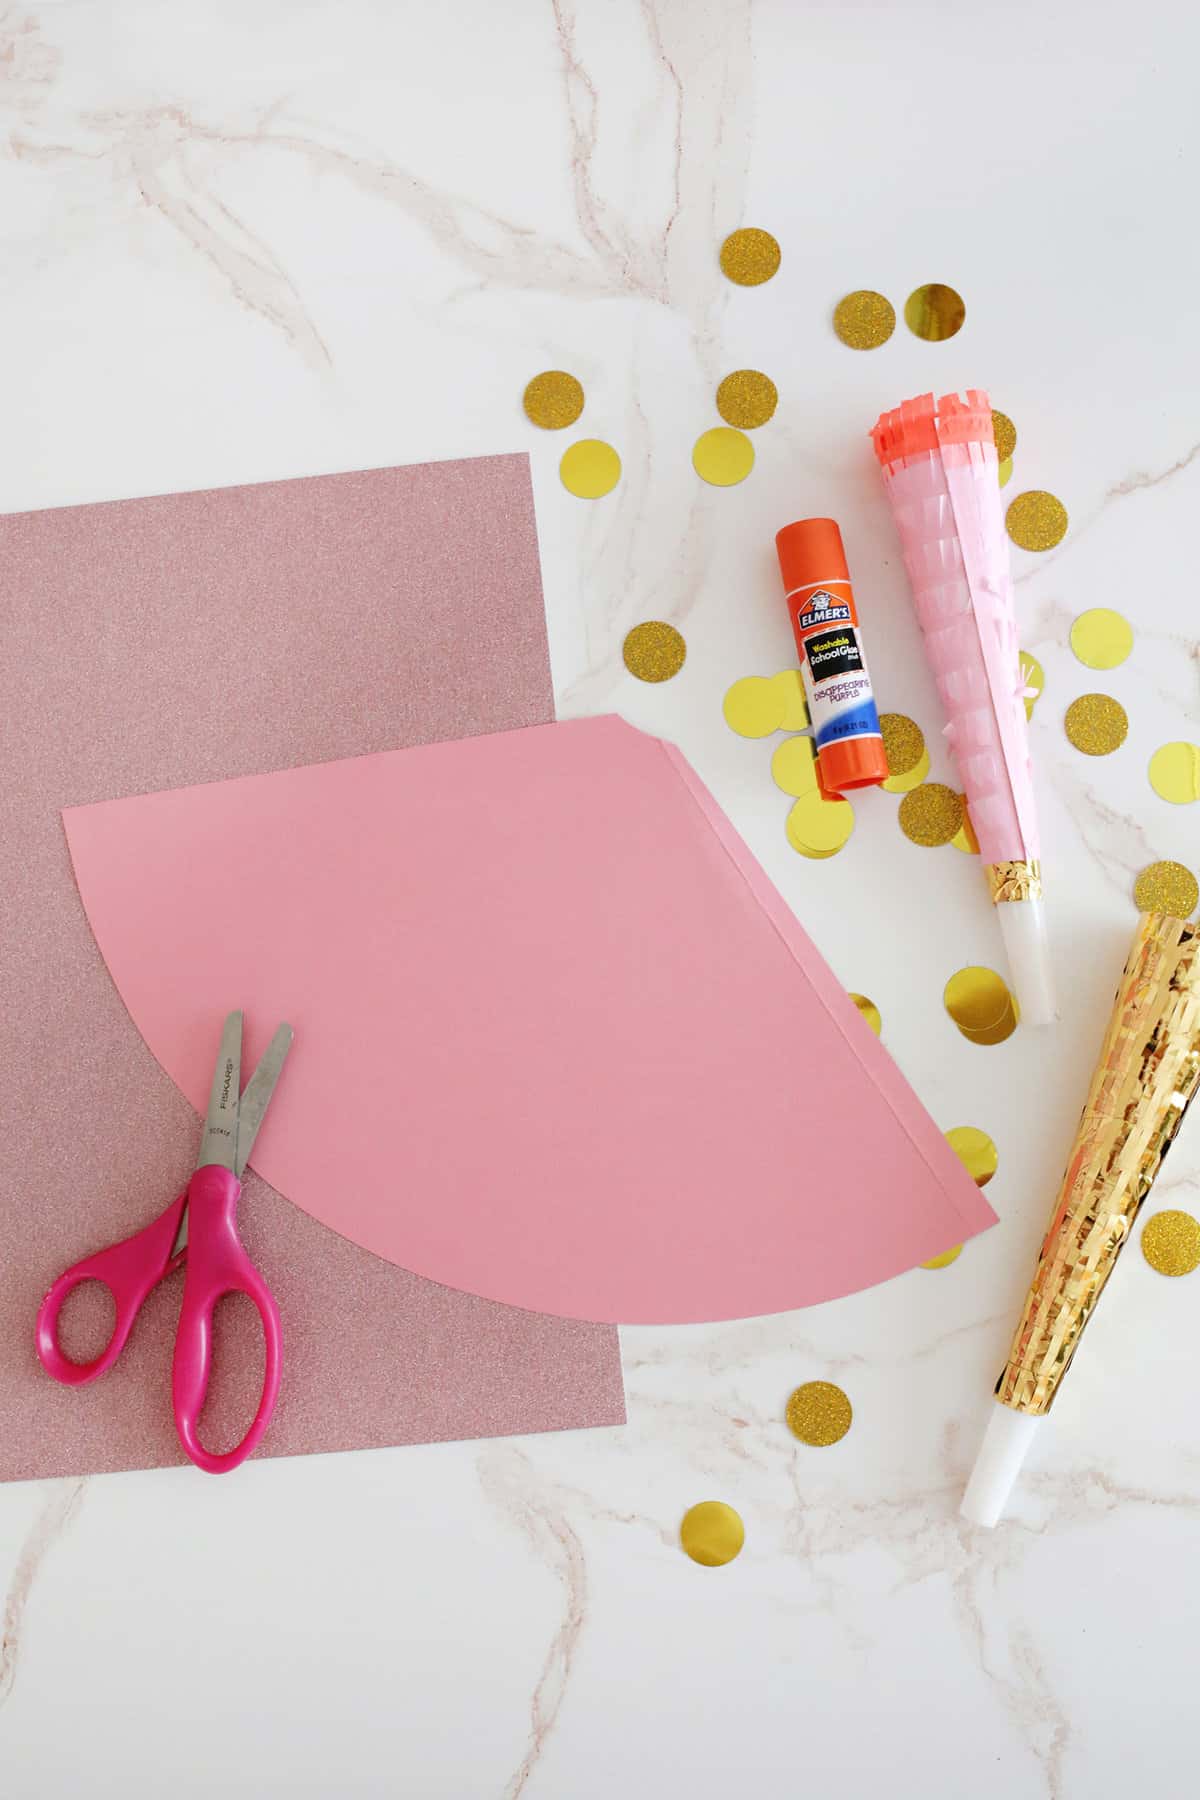
- Print the party hat template and trace it onto your piece of paper that will be your hat. Cut out the template shape and crease on the dotted line.
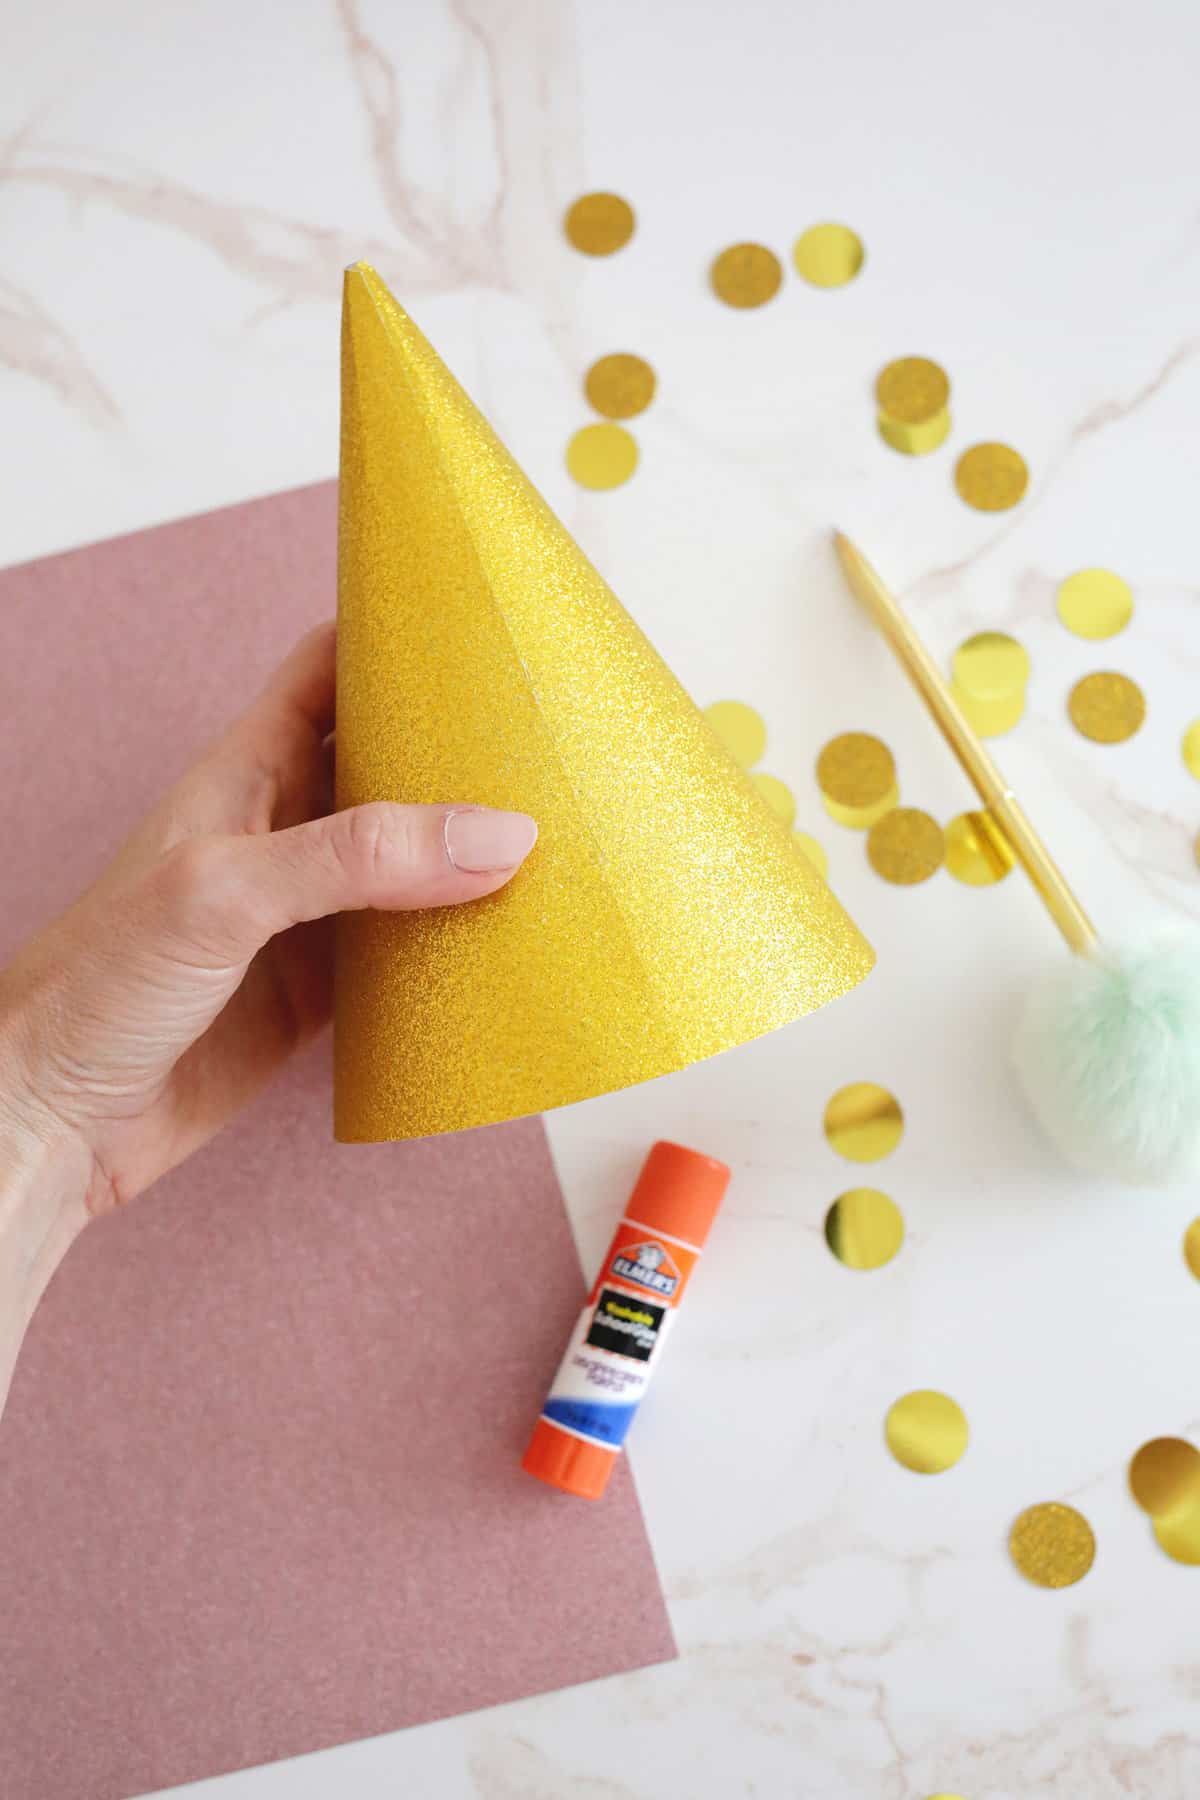
- Wrap the paper into a cone shape and use a glue stick, school glue, or glue gun to glue the creased tab section onto the opposite side to make a hat shape.
- If the hat is having trouble staying put while the glue dries, you can put a few pieces of tape on the inside across the seam to keep it in place while it dries.
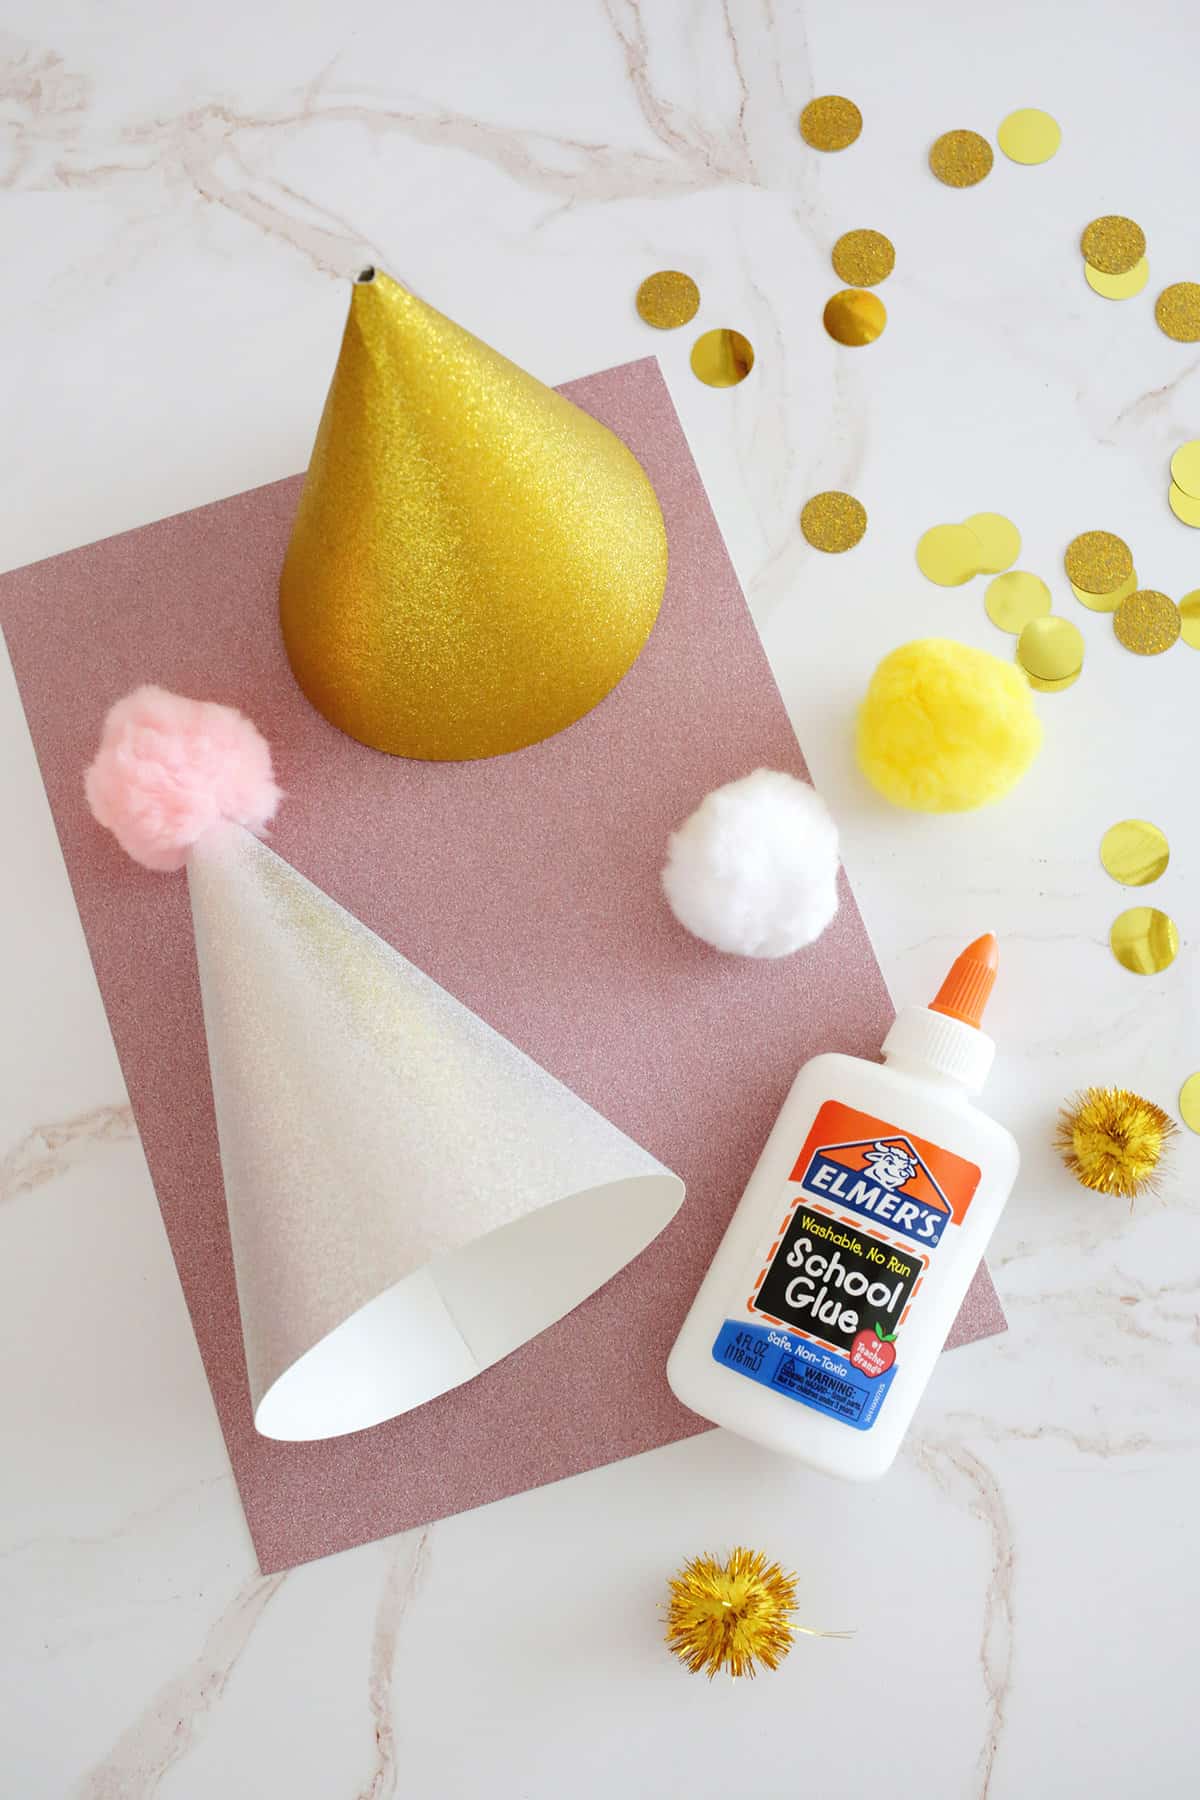
- Use your glue to add your pom pom to the top of your hat.
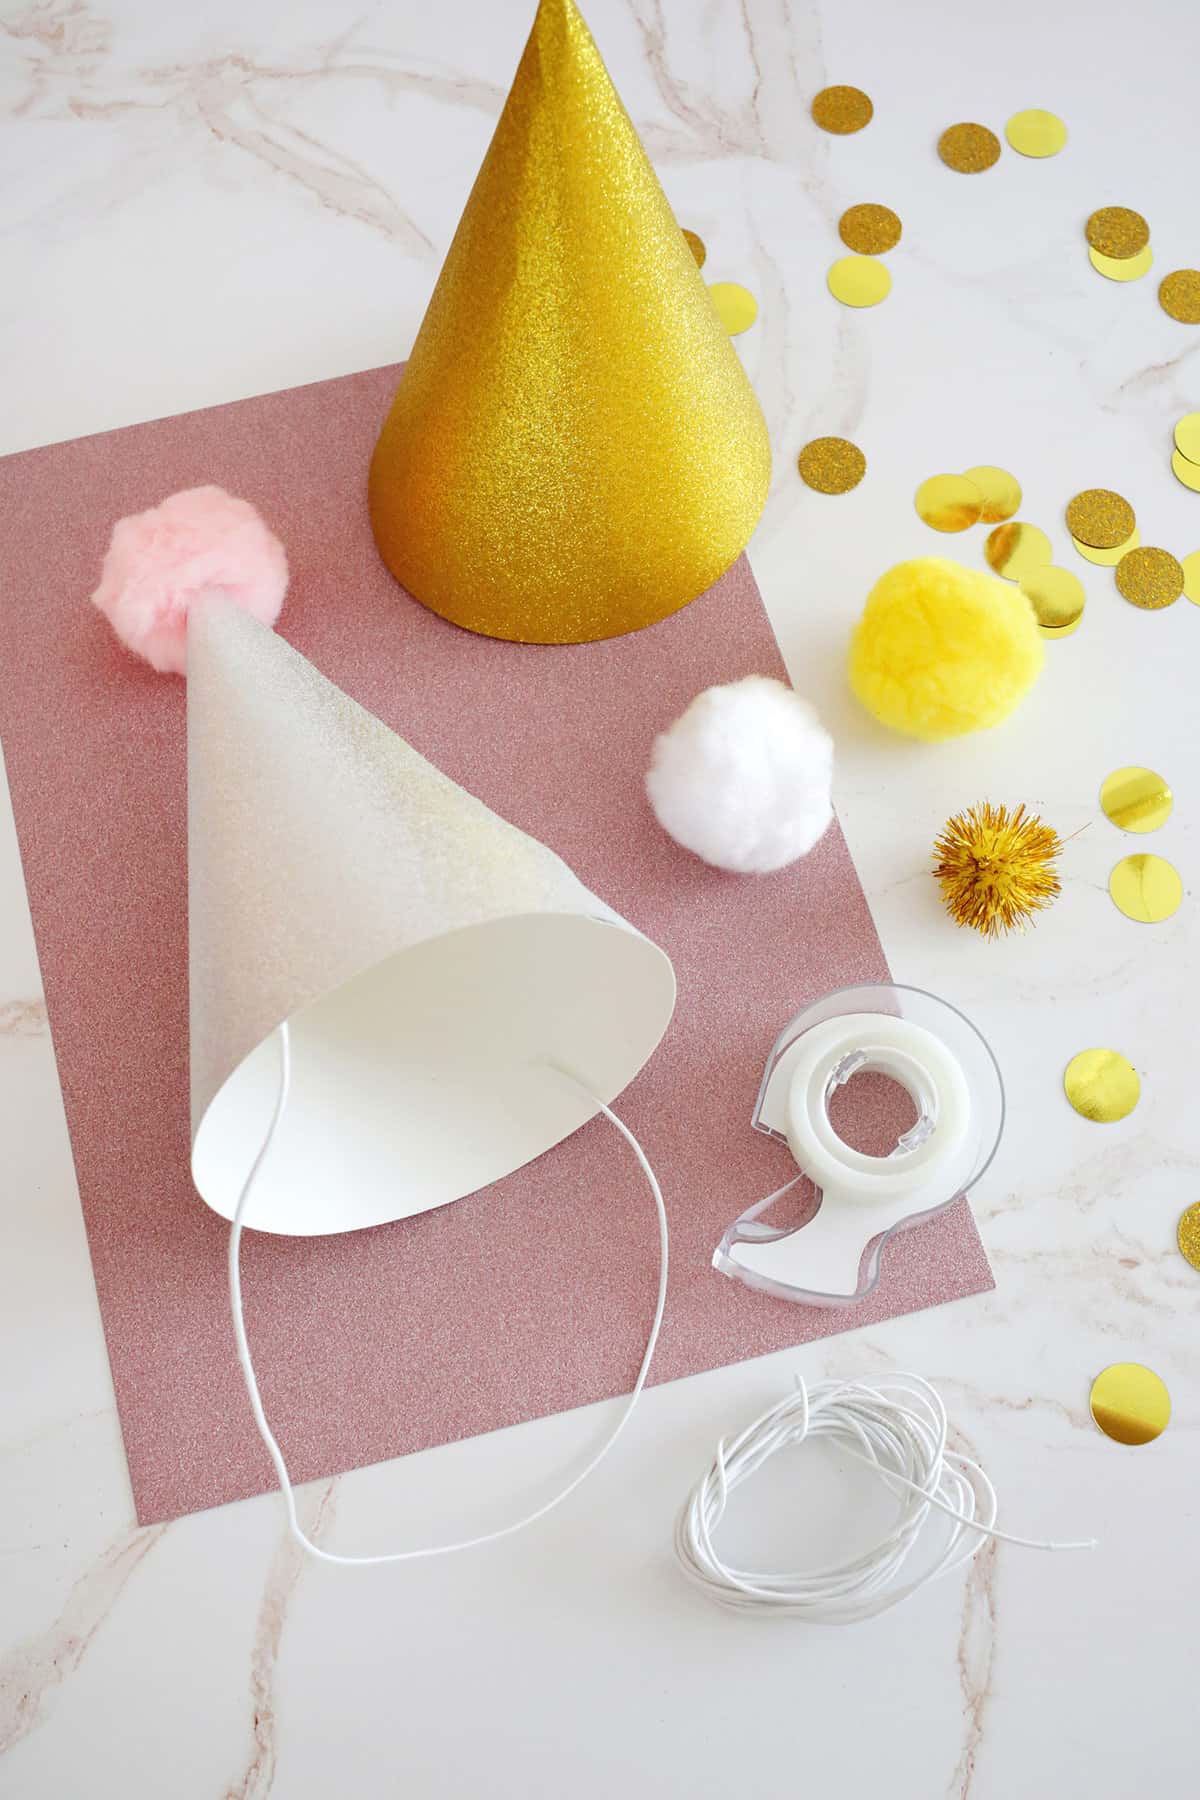
- Cut your elastic to size and attach it to the inside of your hat on both sides with either tape or a stapler.
Would you like to save this?
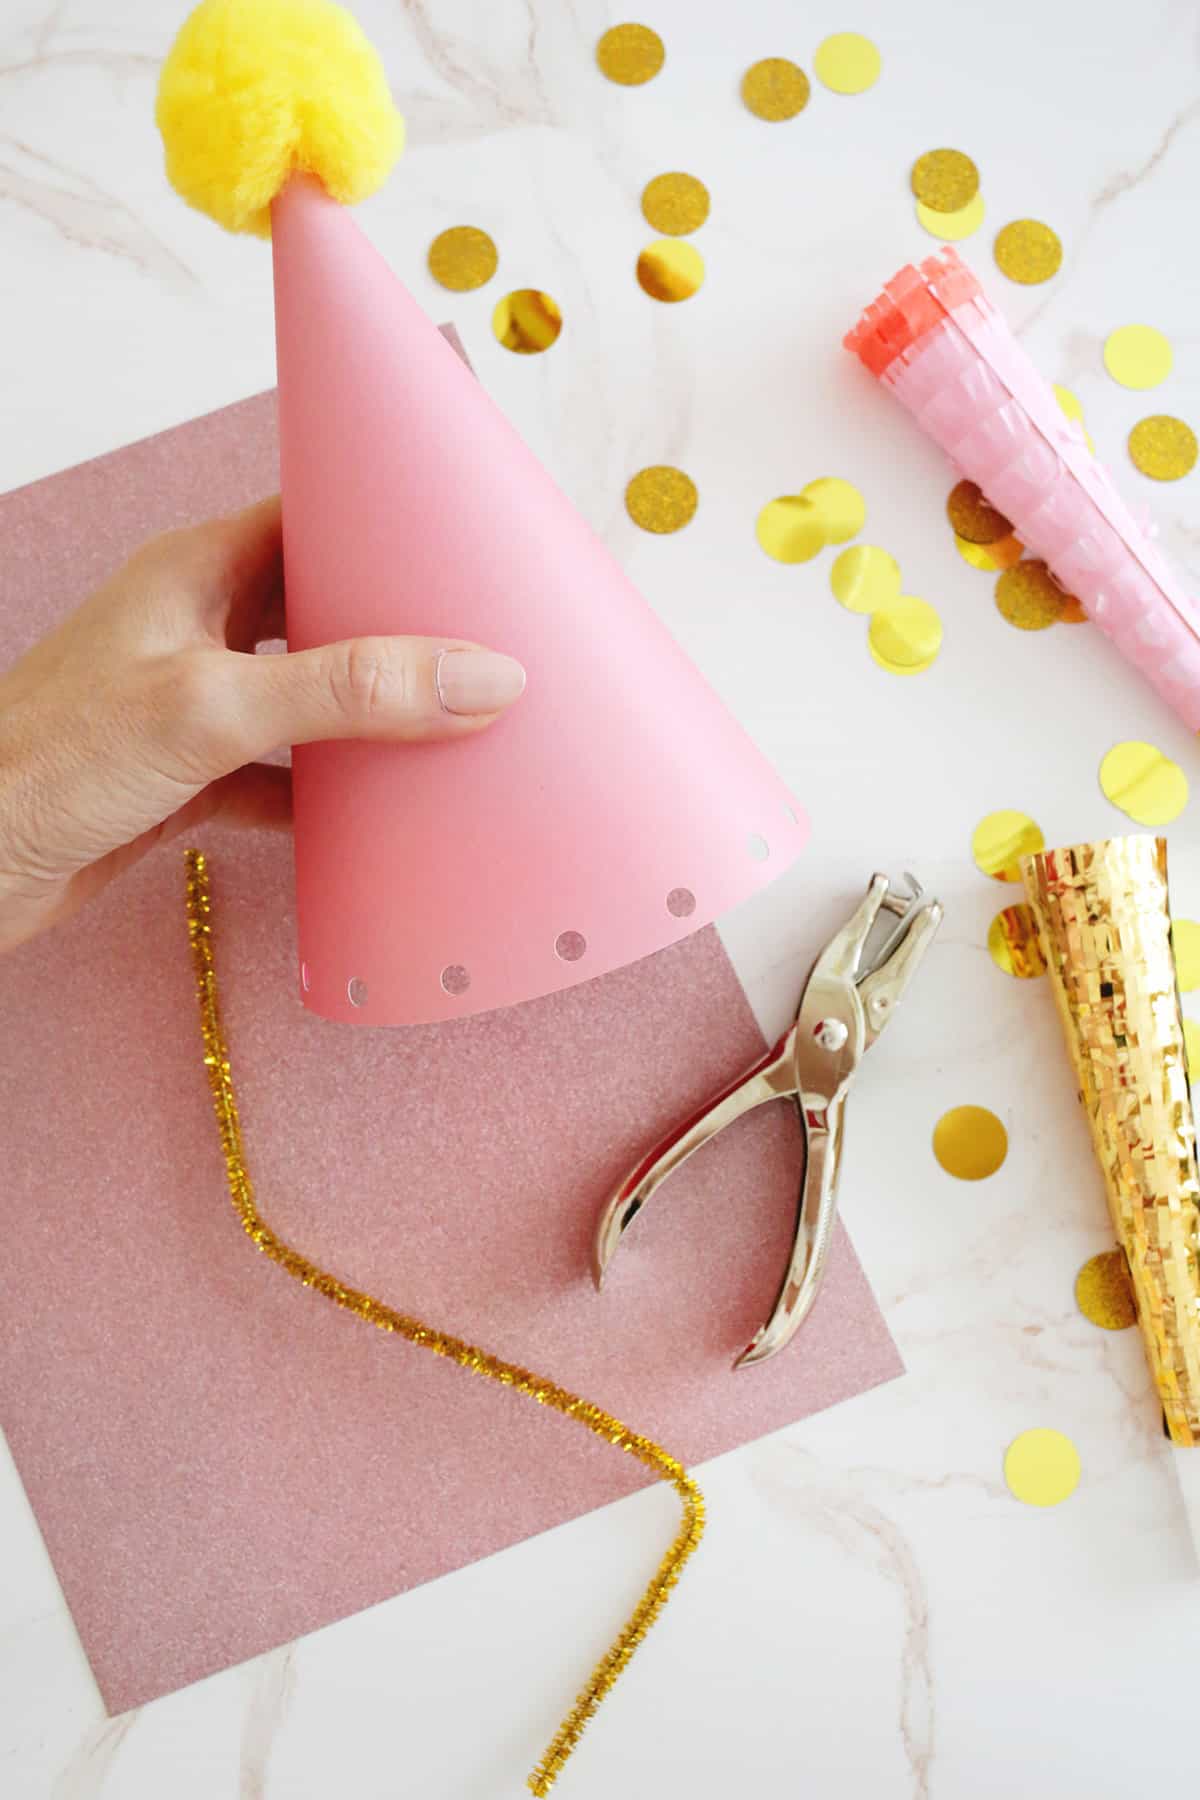
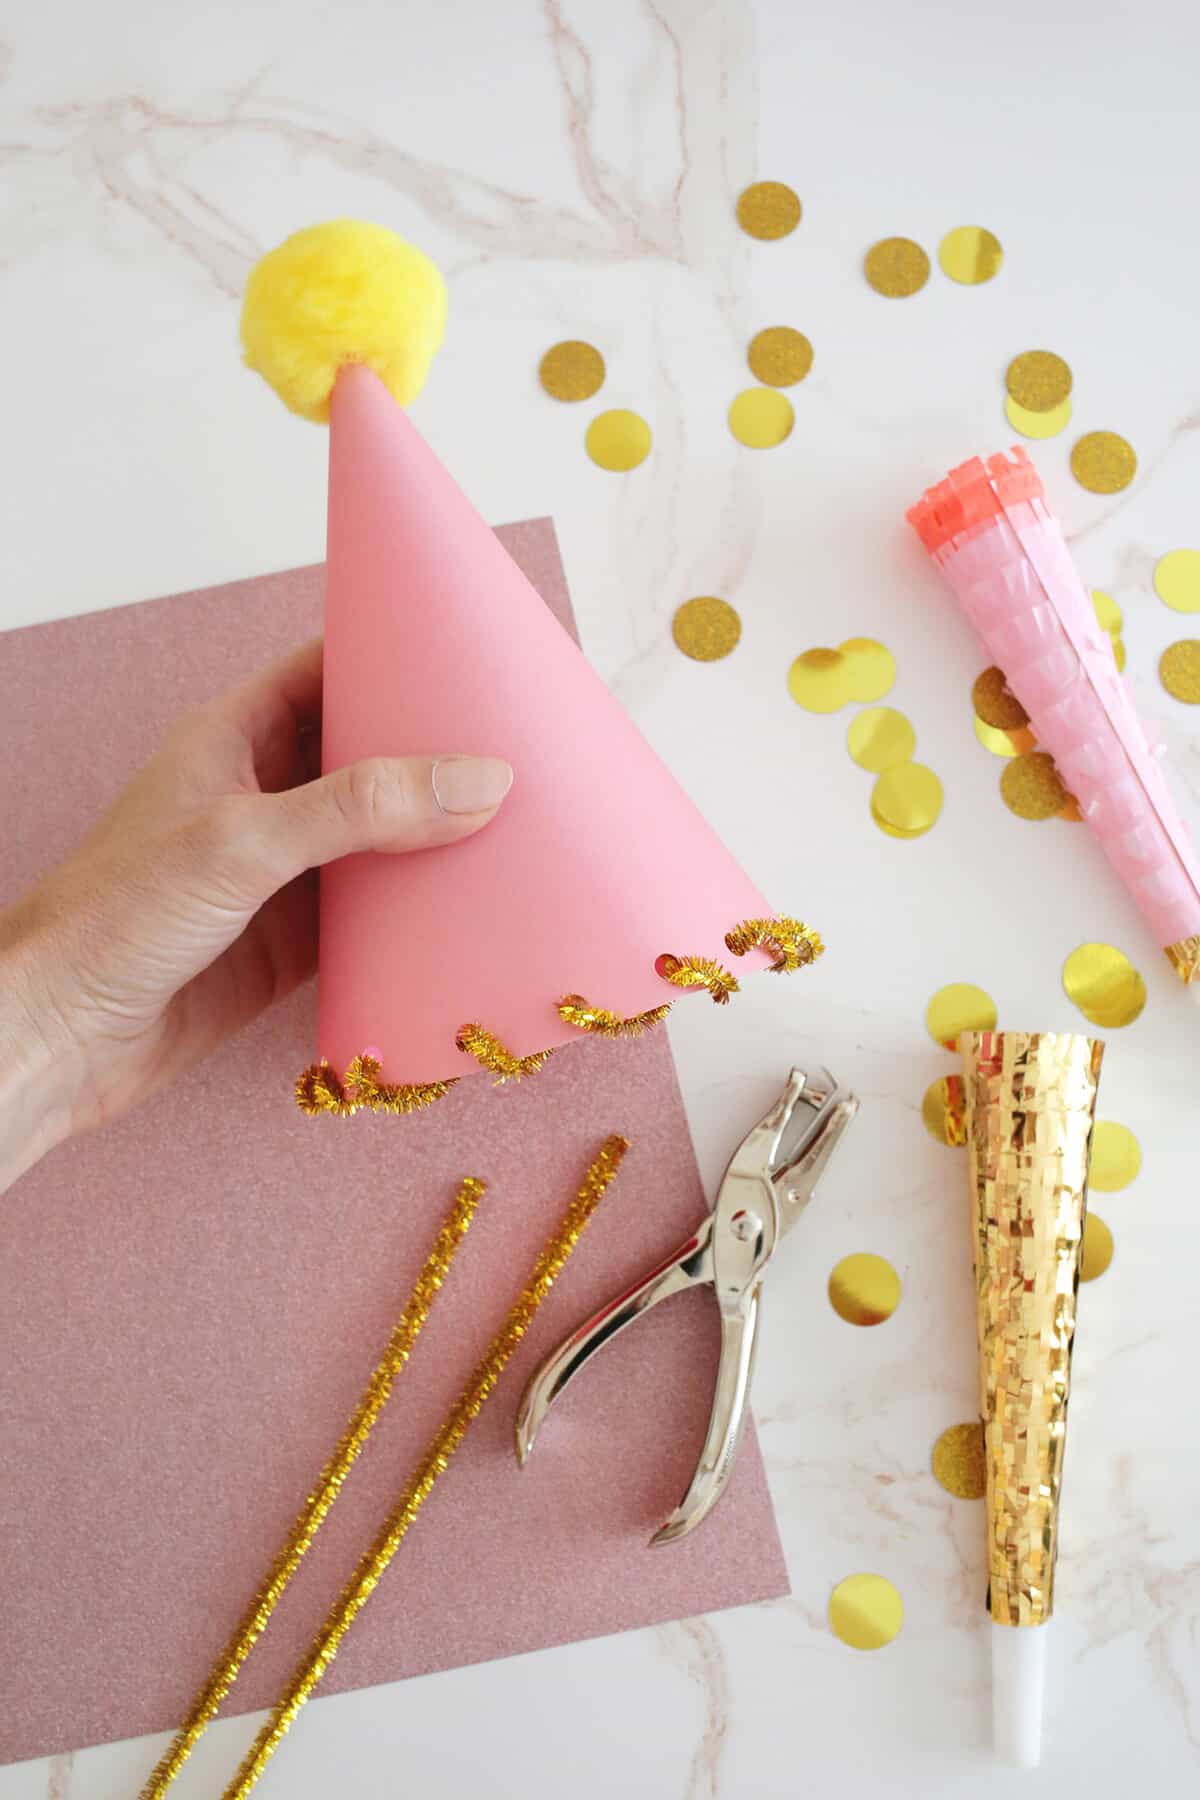
- If you want to add some decoration to the bottom of your hat, use your hole punch to punch holes around the bottom of your hat (at least 1″ apart), and then wind a pipe cleaner though the holes around the edge of the hat.

- Decorate the hats with markers (or puff paints for older kids), let it dry, and your hat is ready to use!

Tips for Making a DIY Party Hat:
- Thicker paper that’s harder to bend will need a hot glue gun to make the party cone, but thinner paper can be glued with a glue stick.
- Let your kiddo help with the craft so that they can be excited to tell their friends that they had a part in the party planning.

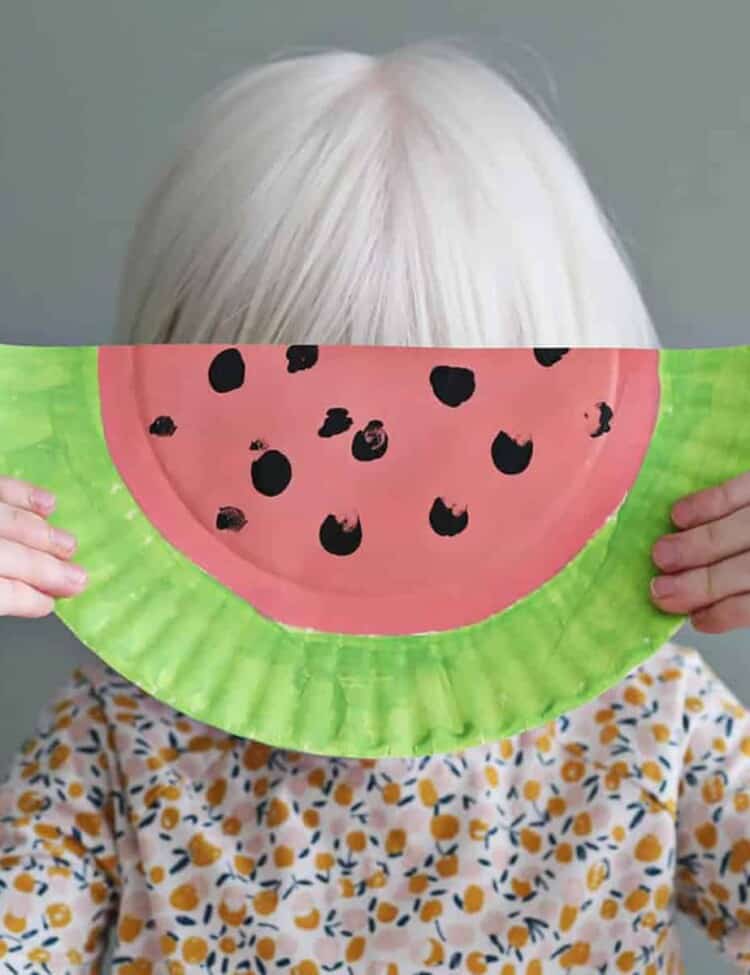
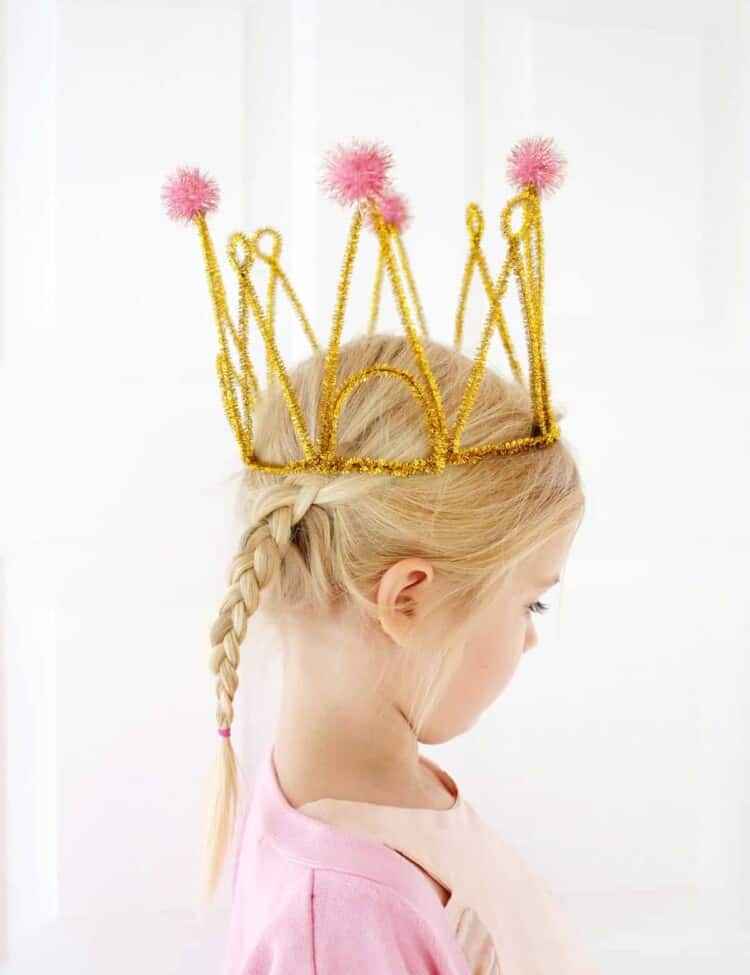
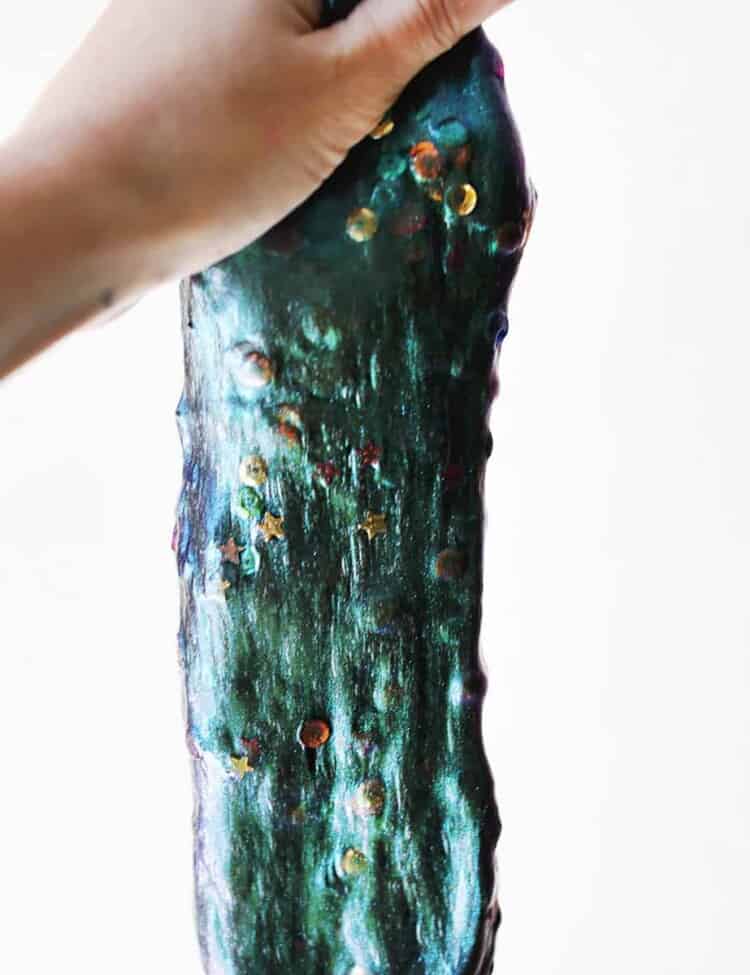
More Simple Crafts for Kids to Try!
My daughter loves to have mini party hats for her stuffed animals’ pretend birthday parties, so this template can also be printed smaller.
To do this, adjust the scale on your print settings before printing. You can even make mini hats for stuffed friends and dolls.
Tips for Making Hats for a Party:
- Use the hats for a party activity! Make the base of the hats before the party and set out markers, etc., for the kids to each decorate their own, or add their own pipe cleaners and pom poms.
- If you’re making several hats for a party and you don’t know the kid head sizes for the elastic (especially if you’re having lot of different ages), make it extra long and then cut it at the bottom of the chin strap so you can quickly tie it under the chin for each child.
- If all the kids are about the same age, you can probably use your kid’s head for a guide and the elastic should stretch to fit everyone.
DIY Party Hat FAQ
How do you store a cone party hat?
The best way to store these hats is to put them in a container where they won’t be crushed.
You can nest them inside each other a bit to save space (especially if you didn’t choose to put pom poms on the top) and they will keep very well until the next party.
 Get the Recipe

Ingredients
- 1 piece paper (in color/design and thickness of choice)
Equipment
Instructions
- Print the party hat template and trace it onto your piece of paper that will be your hat. Cut out the template shape and crease on the dotted line.
- Wrap the paper into a cone shape and use a glue stick, school glue, or glue gun to glue the creased tab section onto the opposite side to make a hat shape.
- If the hat is having trouble staying put while the glue dries, you can put a few pieces of tape on the inside across the seam to keep it in place while it dries.
- Use your glue to add your pom pom to the top of your hat.
- Cut your elastic to size and attach it to the inside of your hat on both sides with either tape or a stapler.
- If you want to add some decoration to the bottom of your hat, use your hole punch to punch holes around the bottom of your hat (at least 1" apart), and then wind a pipe cleaner though the holes around the edge of the hat.
- Decorate the hats with markers (or puff paints for older kids), let it dry, and your hat is ready to use!
OK this is so cute. I made 8 of these for my daughter’s 5th birthday last month and they turned out great — the template saved me so much time. One thing though, I used regular printer paper the first time and it was way too flimsy. Switched to cardstock and it held up much better. For my son’s party next month I’m actually going to buy pre-made cone hats (found some CPSIA certified ones from GINYOU that come in packs of 20) because I’m hosting 15 kids and honestly don’t have 3 hours to craft again lol. But for smaller parties? This DIY is 100% the move.
Yay! I’m so glad the template worked for your party! I’m with you on the larger amounts too, sometimes you just need to save time! 🙂