We all scream for ice cream! Sometimes a craft that matches a snack or treat is all you need to make a summer memory. Whether you’re going to try a science experiment like making ice cream in a bag or just want an easy way for kids to get creative this paper plate ice cream craft is a fun one!
This craft uses cardstock paper, a glue stick and paint sticks and can be completed in 20 minutes! It’d be great for a kicking off summer party or to be paired with our printable ice cream cone template. Paper plate crafts are great because they really spark creativity from turning something simple into something unique and fun.

Craft Oveview: Paper Plate Ice Cream Craft
Ready In: 15-20 minutes
Makes: One taco paper plate ice cream craft that kids can make to help celebrate summer!
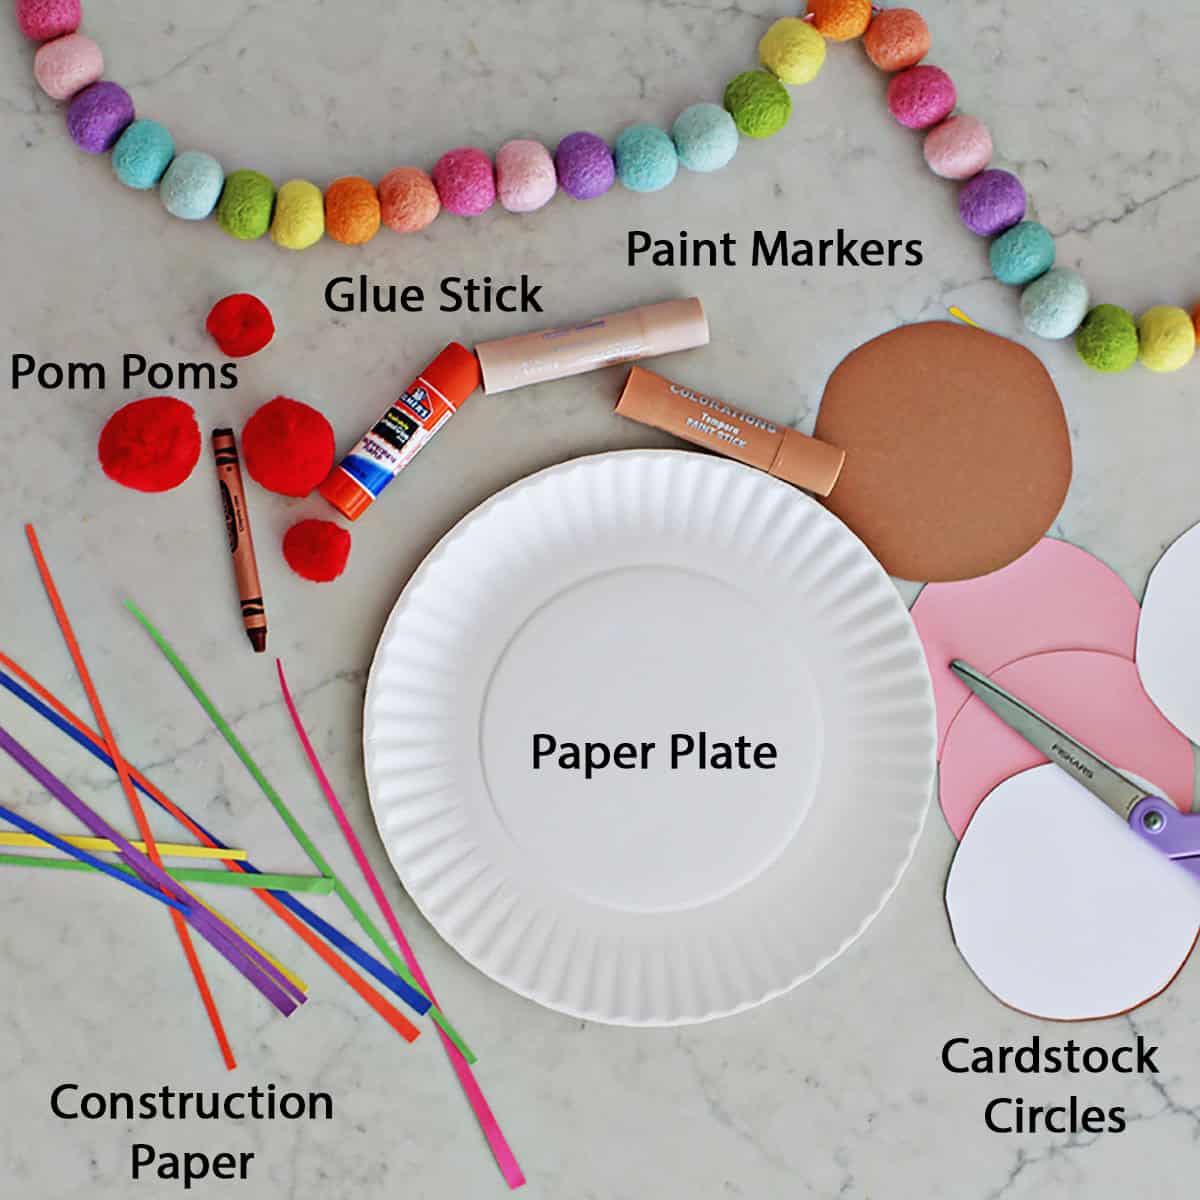
Supplies: All you need is a paper plate, construction paper, a glue stick and a beige paint stick.
Why You’ll Love It: This is a simple craft that can be a fun activity to kick off summer!
Summarize and Save this Content On:
Key Supplies
- Tempura paint stick– I love these for paper plate crafts! You don’t have to wait super long for them to dry and they’re easy for little hands to use. You could also use acrylic paint or markers.
- Glue stick- you could use school glue but the glue stick worked great when I made these.
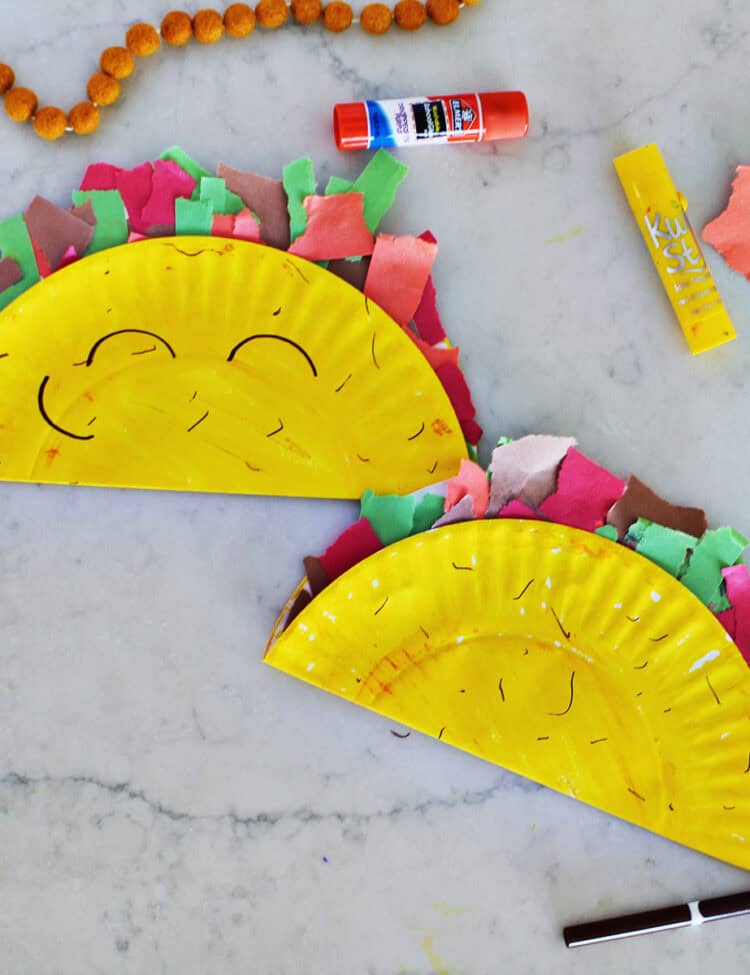
- Construction paper in taco topping colors. You could use tissue paper, cardstock or colored paper for this as well.
How to Make a Paper Plate Ice Cream Craft
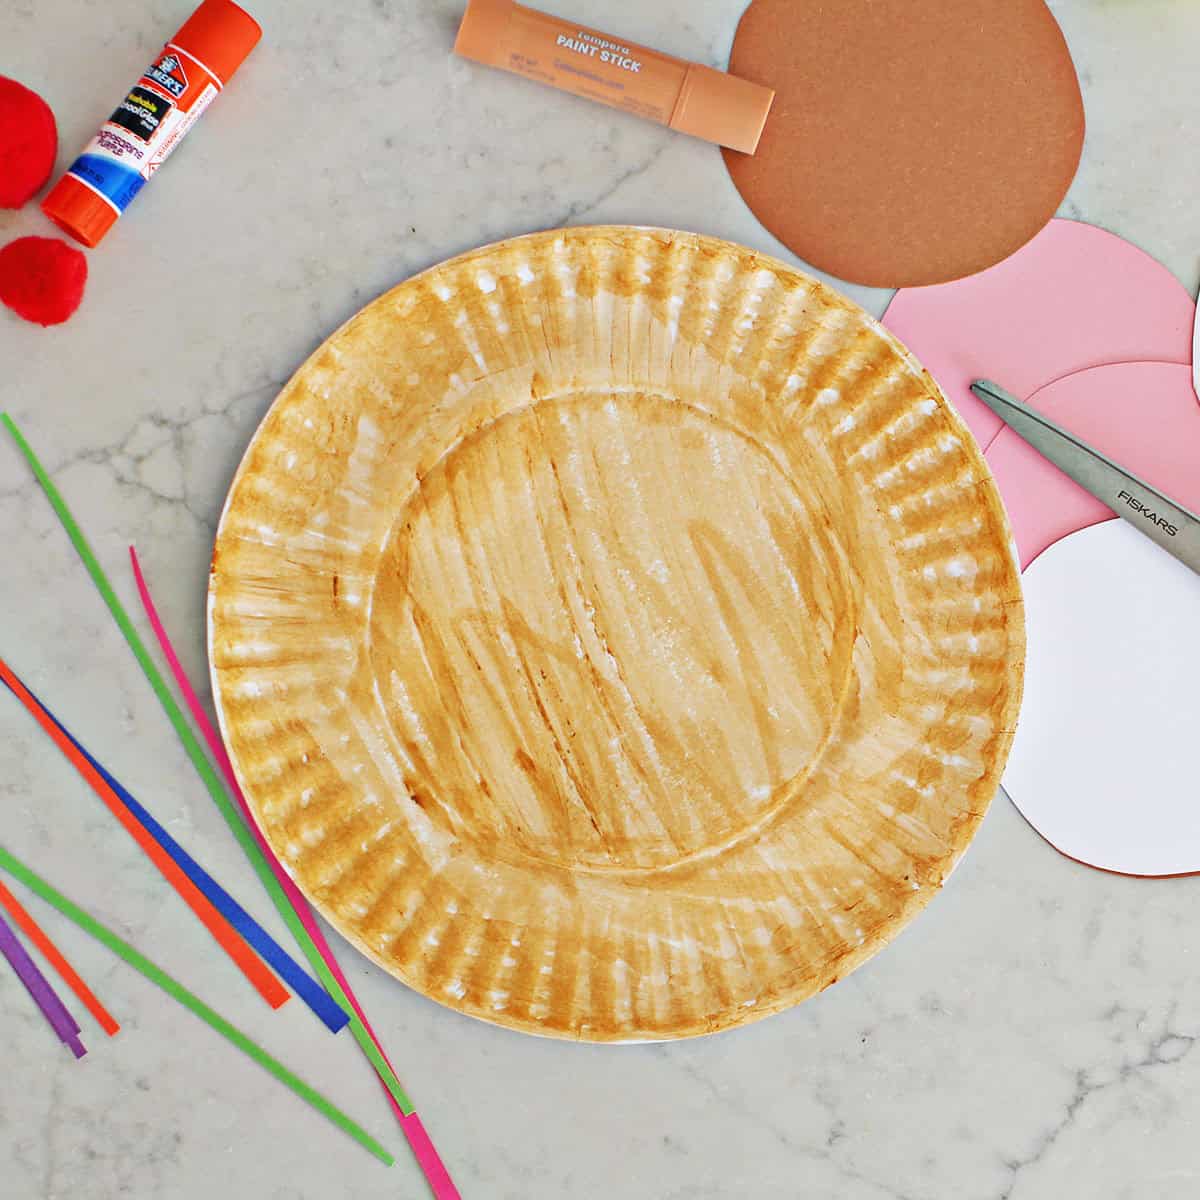
Step 1. Paint your paper plate a light brown or beige color. You can use acrylic paint, markers, or I recommend using Tempura paint sticks.
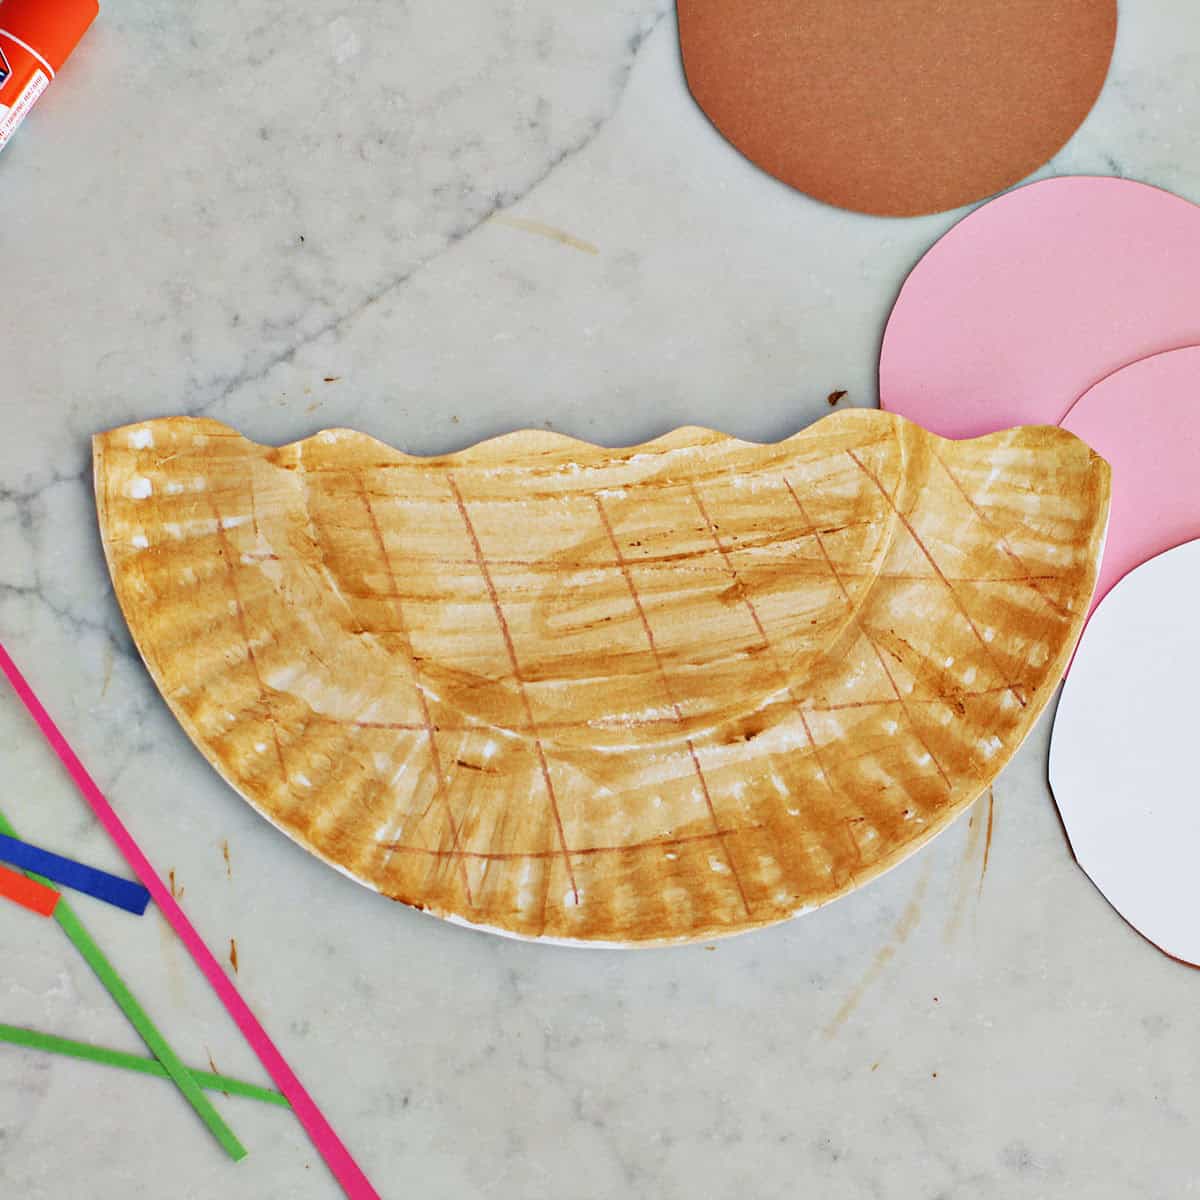
Step 2. Cut your paper plate in half. I did a scallop cut! Use a crayon or a slightly darker paint color to make it look like a waffle bowl/cone.
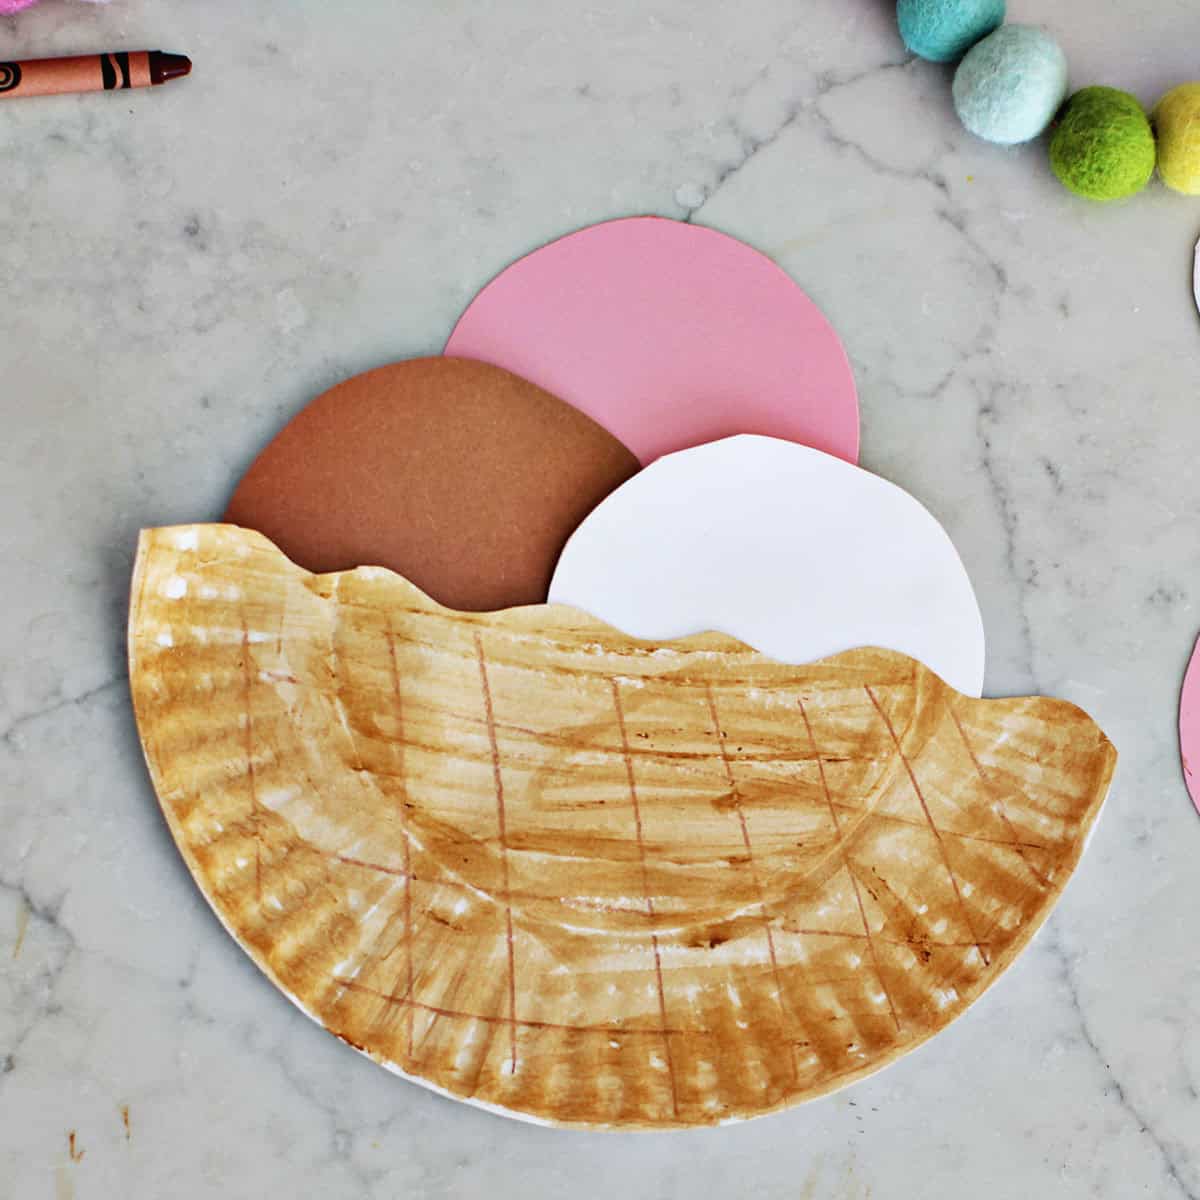
Step 3. Cut out cardstock circles to look like scoops of ice cream. Using a glue stick, glue them to the back of your paper plate.
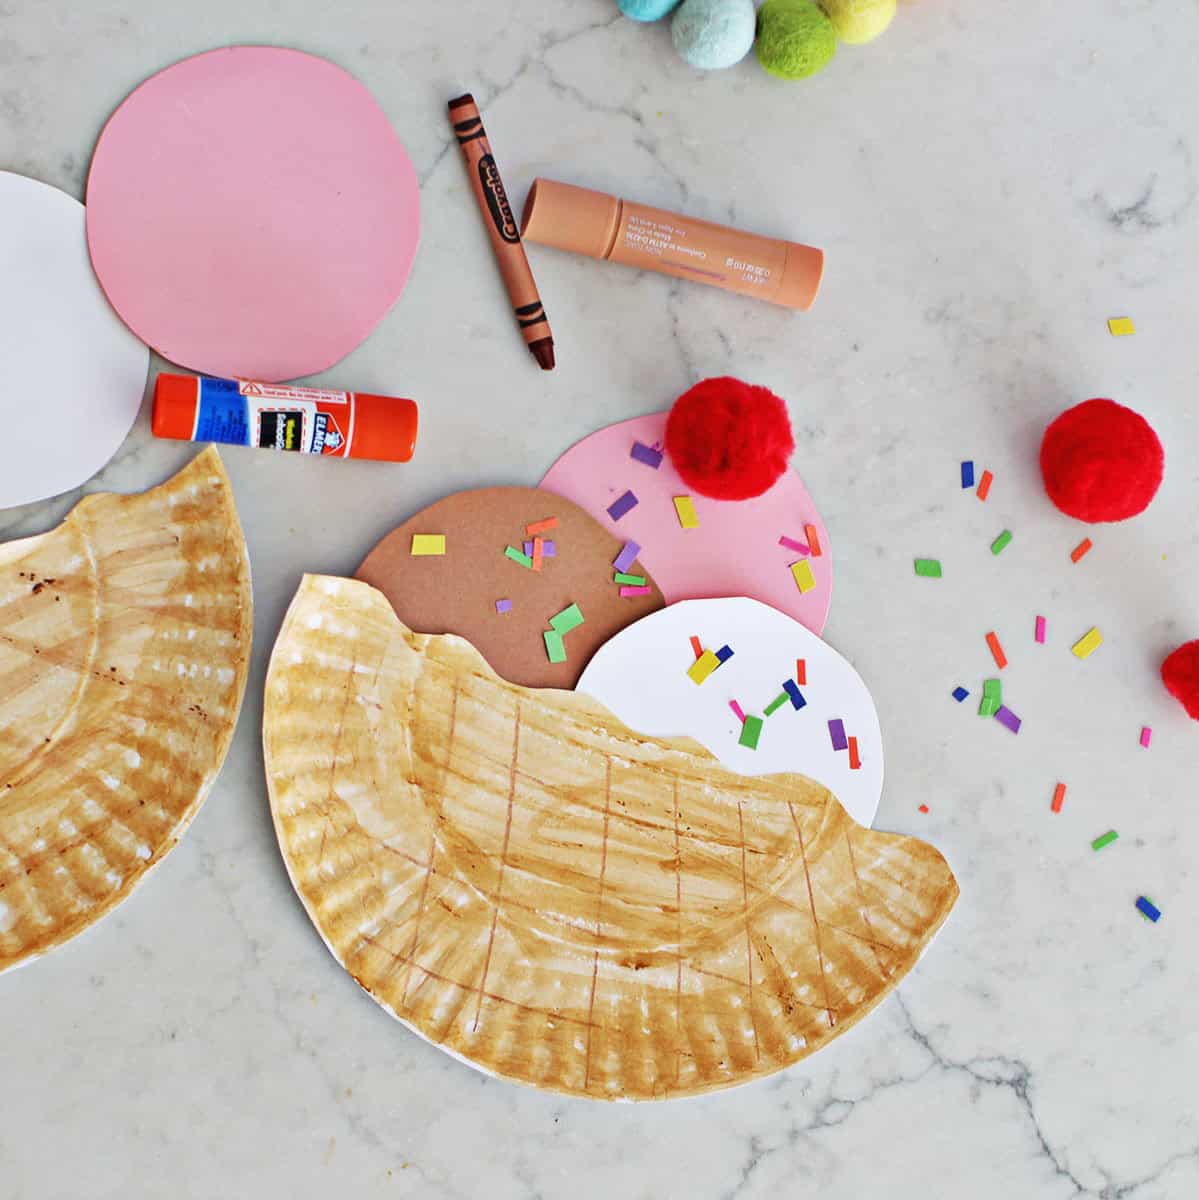
Step 4. After you’ve glued on your ice cream scoops, add any details! I used cut paper to make sprinkles and a red pom to be a cherry. Glitter would be a fun addition too!
 Get the Recipe

Ingredients
- 1 paper plate
- 1 tempera paint stick (you could also use markers, crayons, or paint.)
- 3-4 pieces cardstock paper (you could use scraps of different colors too!)
- 1 glue stick
- 1 red pom
- 3-4 colors of construction paper (or confetti, glitter, or anything else you want to 'top' your ice cream with.)
Equipment
Instructions
- Paint your paper plate a light brown or beige color. You can use acrylic paint, markers, or I recommend using Tempera paint sticks.
- Cut your paper plate in half. I cut mine to make it look like it was curvy!
- Use a crayon or a slightly darker paint color to make it look like a waffle bowl/cone.
- Cut out cardstock circles to look like scoops of ice cream.
- Using a glue stick, glue them to the back of your paper plate.
- After you've glued on your ice cream scoops, add any details! I used cut paper to make sprinkles and a red pom to be a cherry. Glitter would be a fun addition too!
This one turned out so cute!