
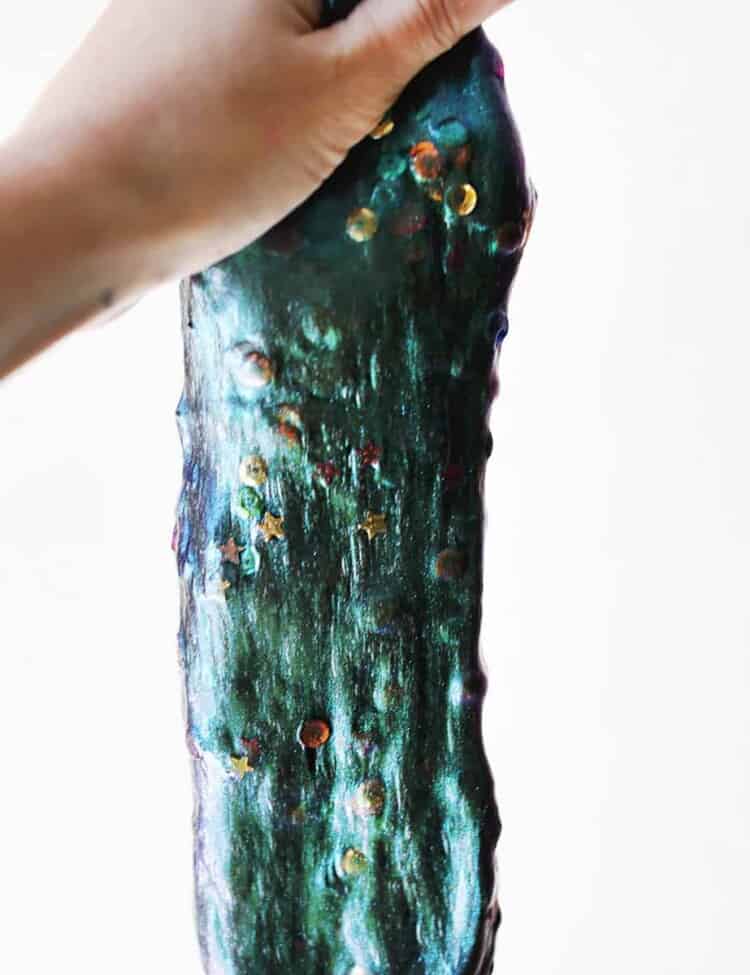
Do you have a kiddo who loves slime? This fairy slime is a homemade pink glitter slime recipe and a fun twist on our traditional slime tutorial. Whether your child really loves glitter, unicorns or even pink this is a fun one to try!
Slime is a simple sensory activity. Kids love squishing and stretching it. This recipe only needs 3 ingredients and can be ready in 10 minutes. Make sand slime next, check out our easy ocean slime, or try fluffy slime with one additional add-in!
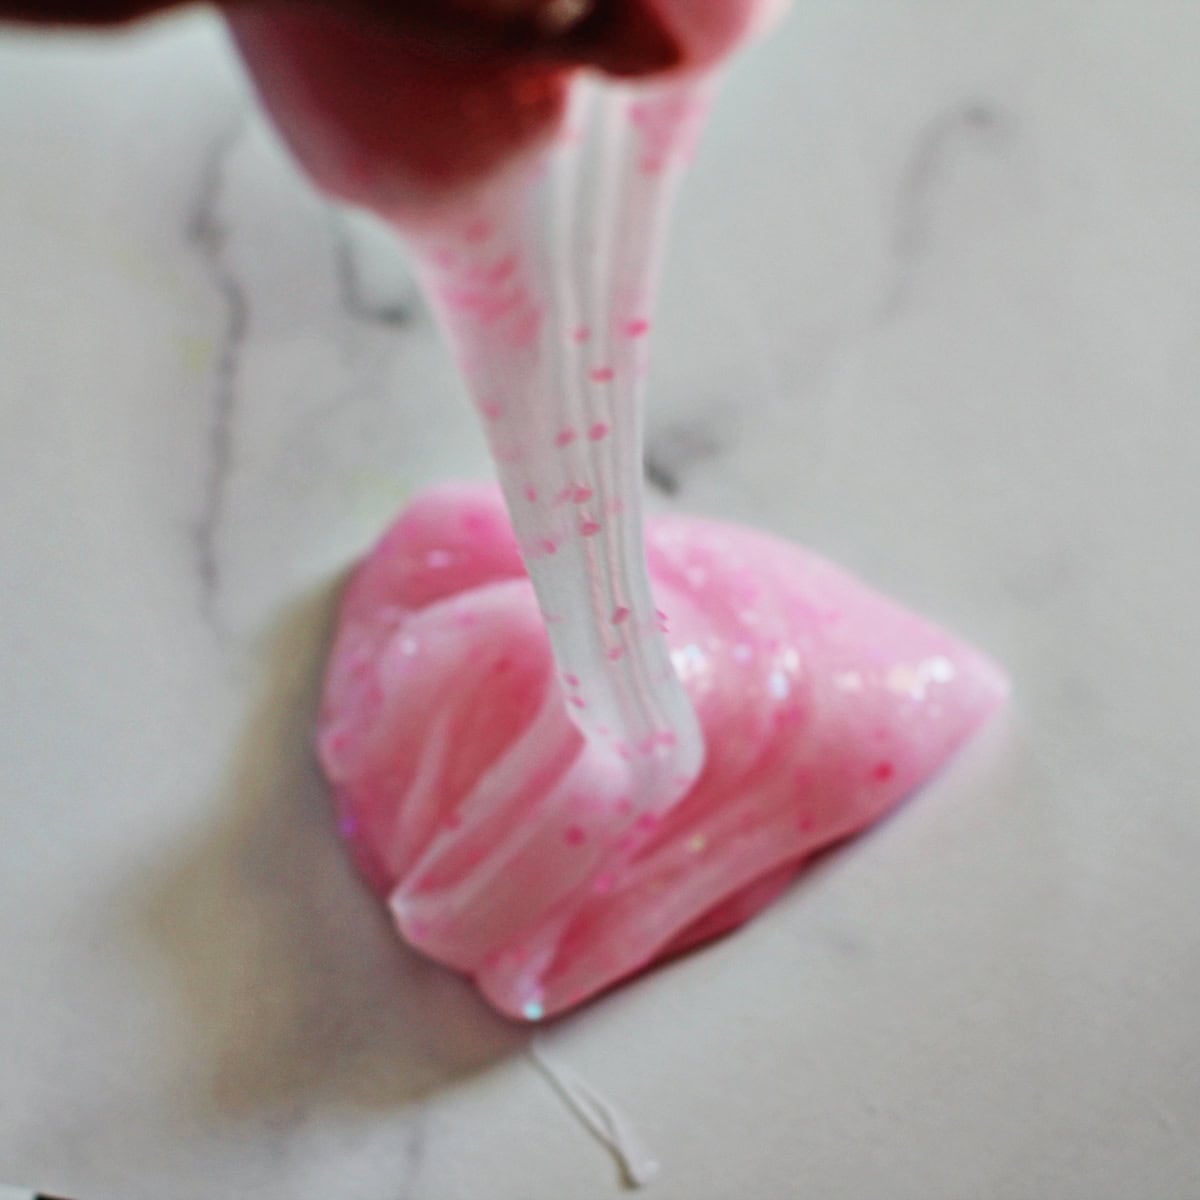
Quck Guide: Fairy Slime
Time Needed: 15-20 minutes, additional for cleanup.
Recommended Age: 4+ with adult supervision.
Safety note: This fairy slime recipe is for sensory play, it is not edible. Always supervise children to make sure they don’t put slime in their mouths.
Storage: Store slime in an airtight container. If stored properly it can last 3 weeks or more.
Note from Claire- Let kids help customize their slime by picking colors or by adding glitter!
Summarize and Save this Content On:
Key Supplies
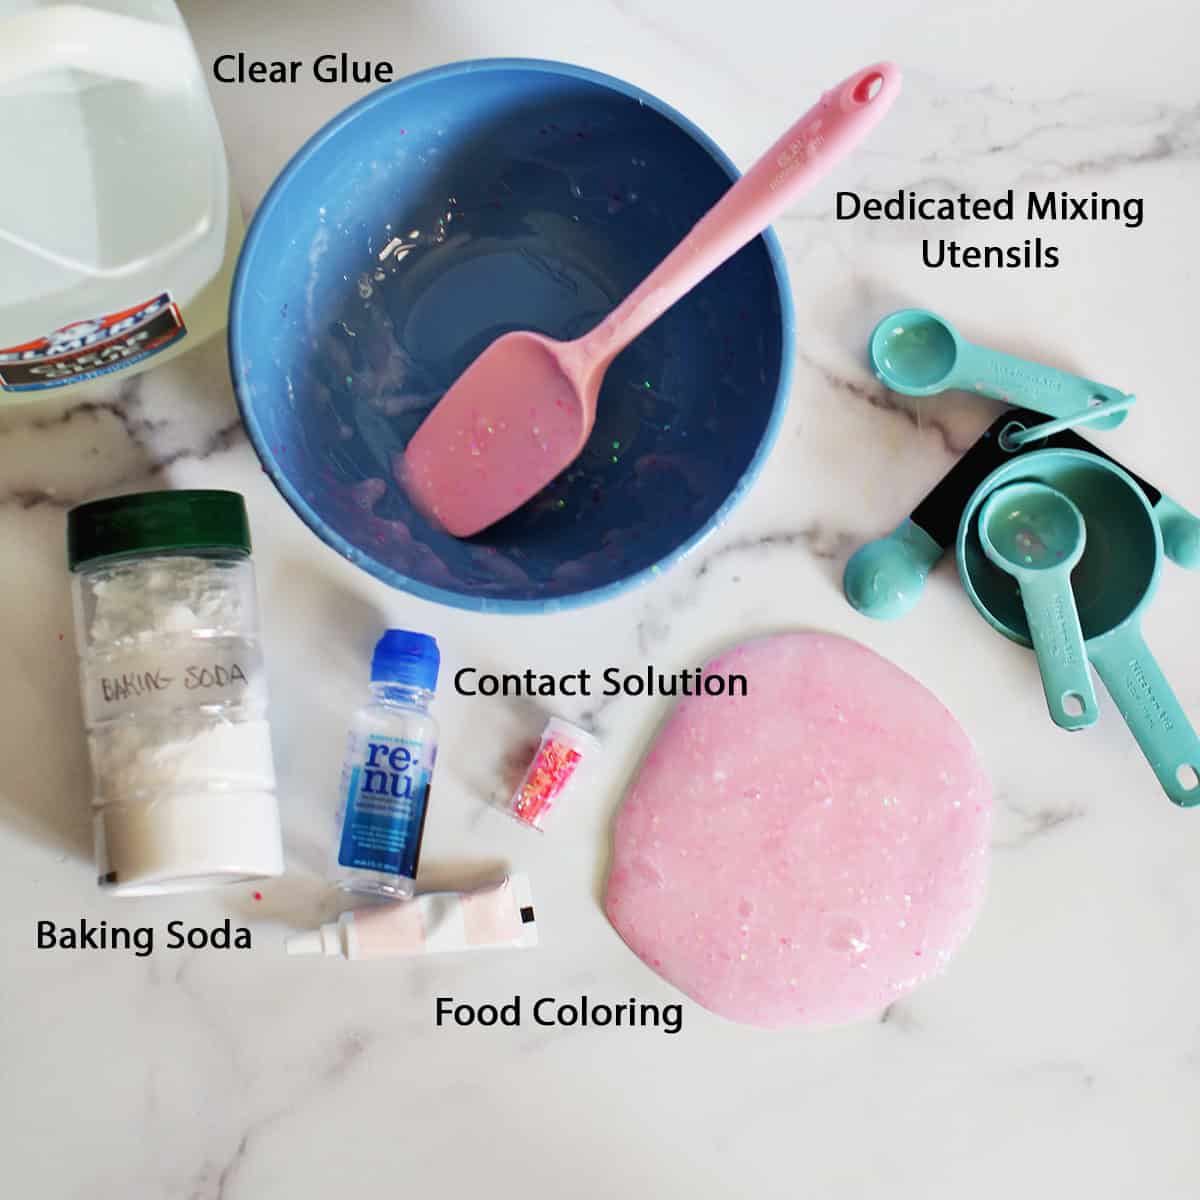
- Glue- you can use glitter glue, metallic glue, or use clear glue and add food coloring. I used Elmer’s clear glue, (in bulk!) food coloring and glitter.
- The contact solution is important! I only will use the brand re-nu from now on. I struggled with my test batch of this recipe because I substituted to contact solution.
- Glitter! I used iridescent pink glitter from this pack, (CLAIRE15 for 15% off) but you could use glitter glue or any glitter to make this fairy slime.
Get the full list of ingredients and measurements on the printable recipe card below.
How to Make Fairy Slime
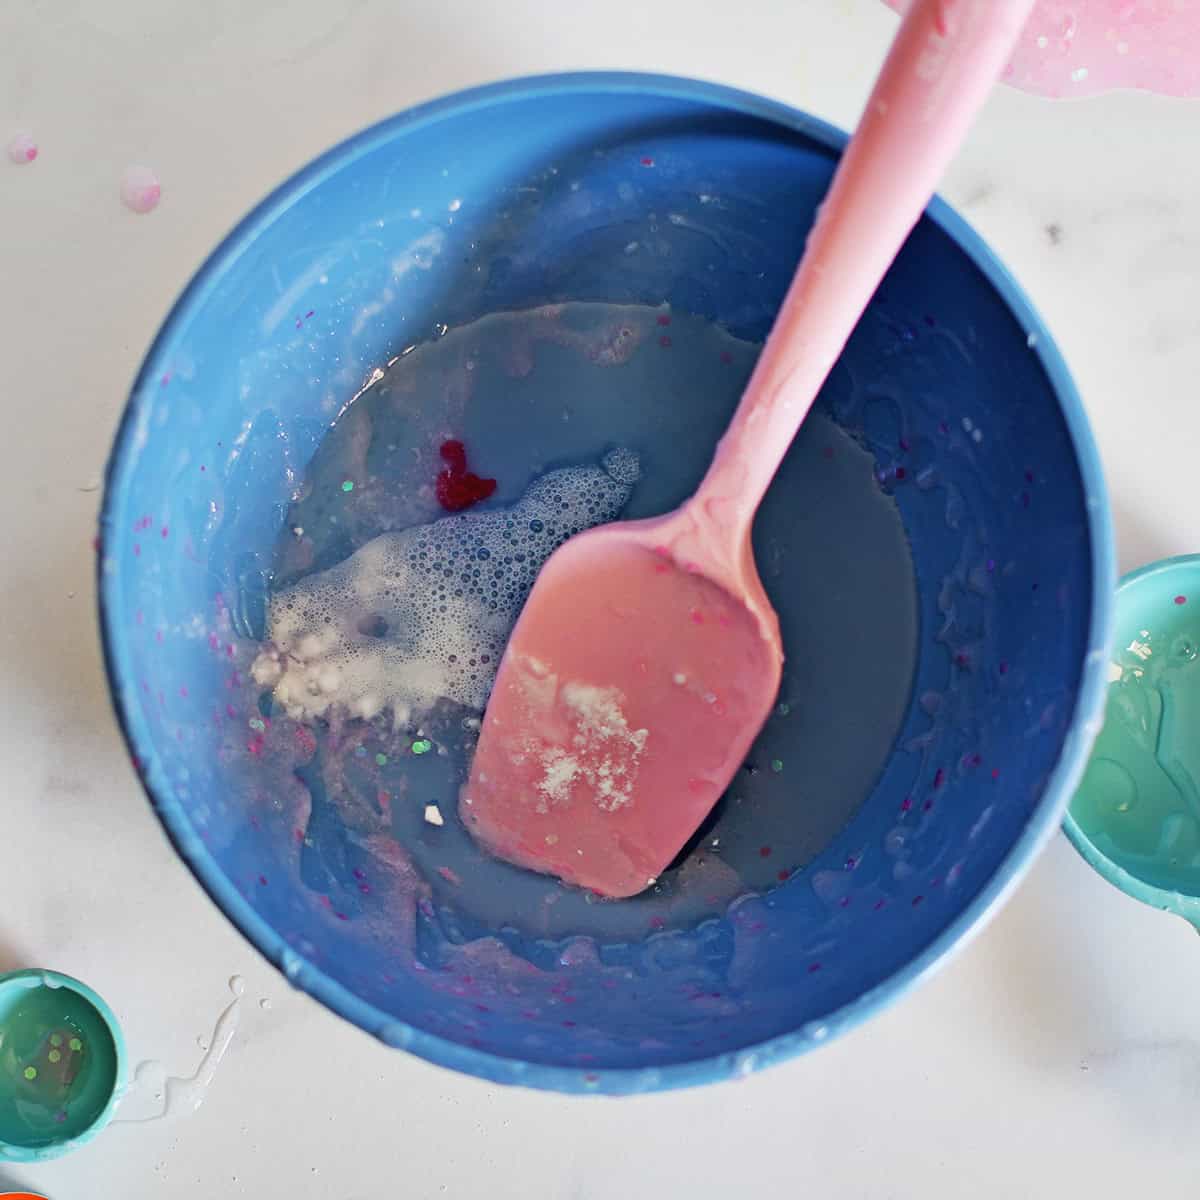
Step 1. Combine your baking soda, food coloring and contact solution in a bowl.
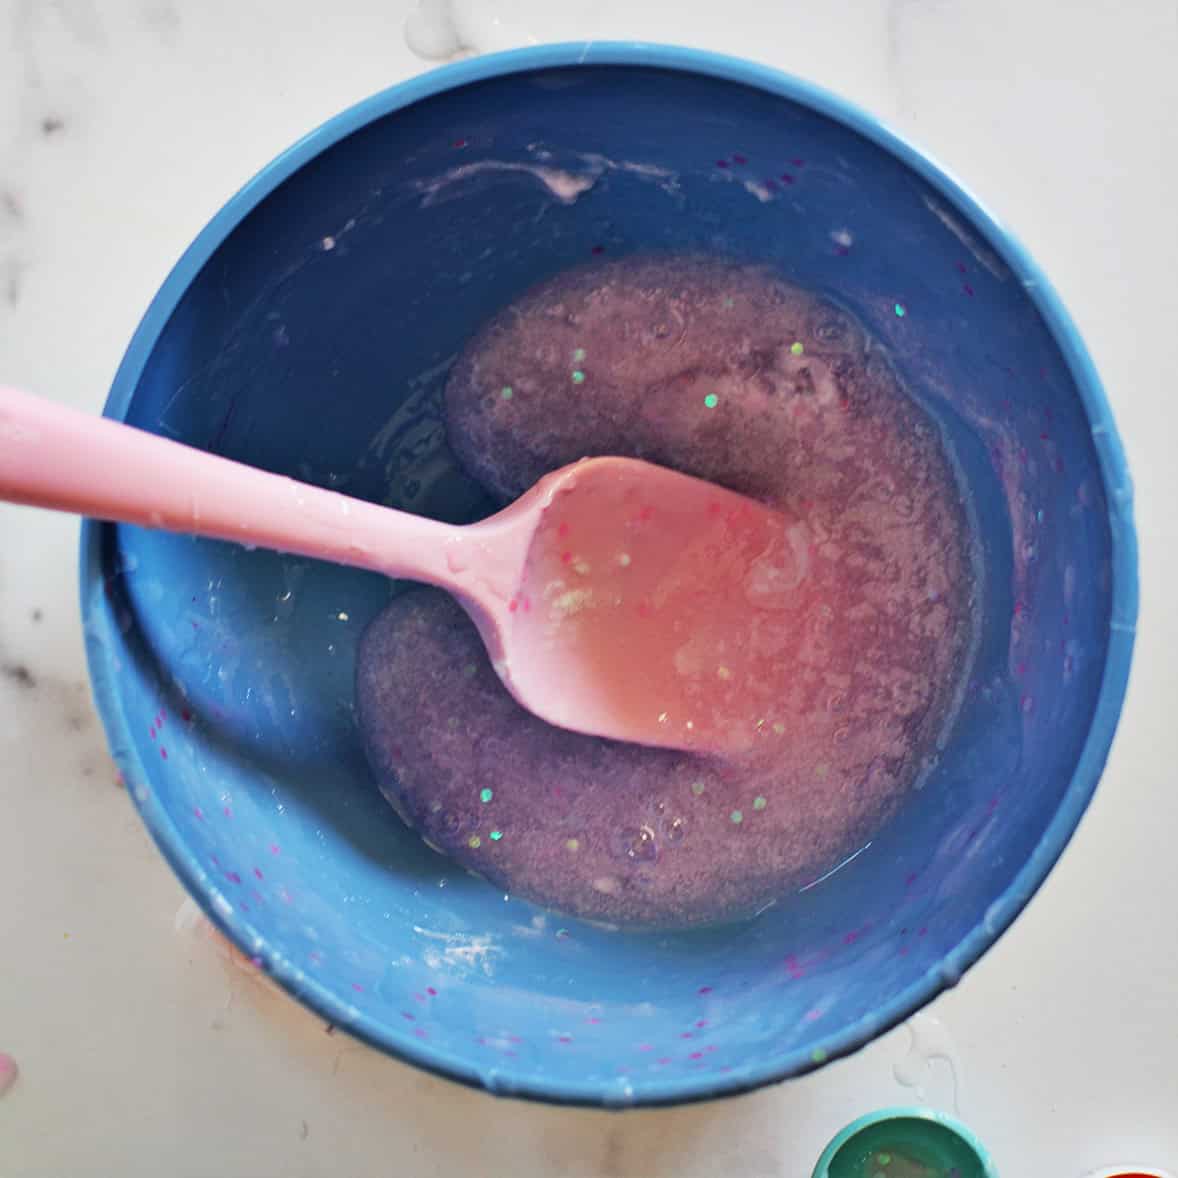
Step 2. Add your glue to the contact solution. Add any glitter Stir to combine. Keep stirring! Eventually it will start to stick together and you’ll need to take it out of the bowl, but this can take a few minutes.
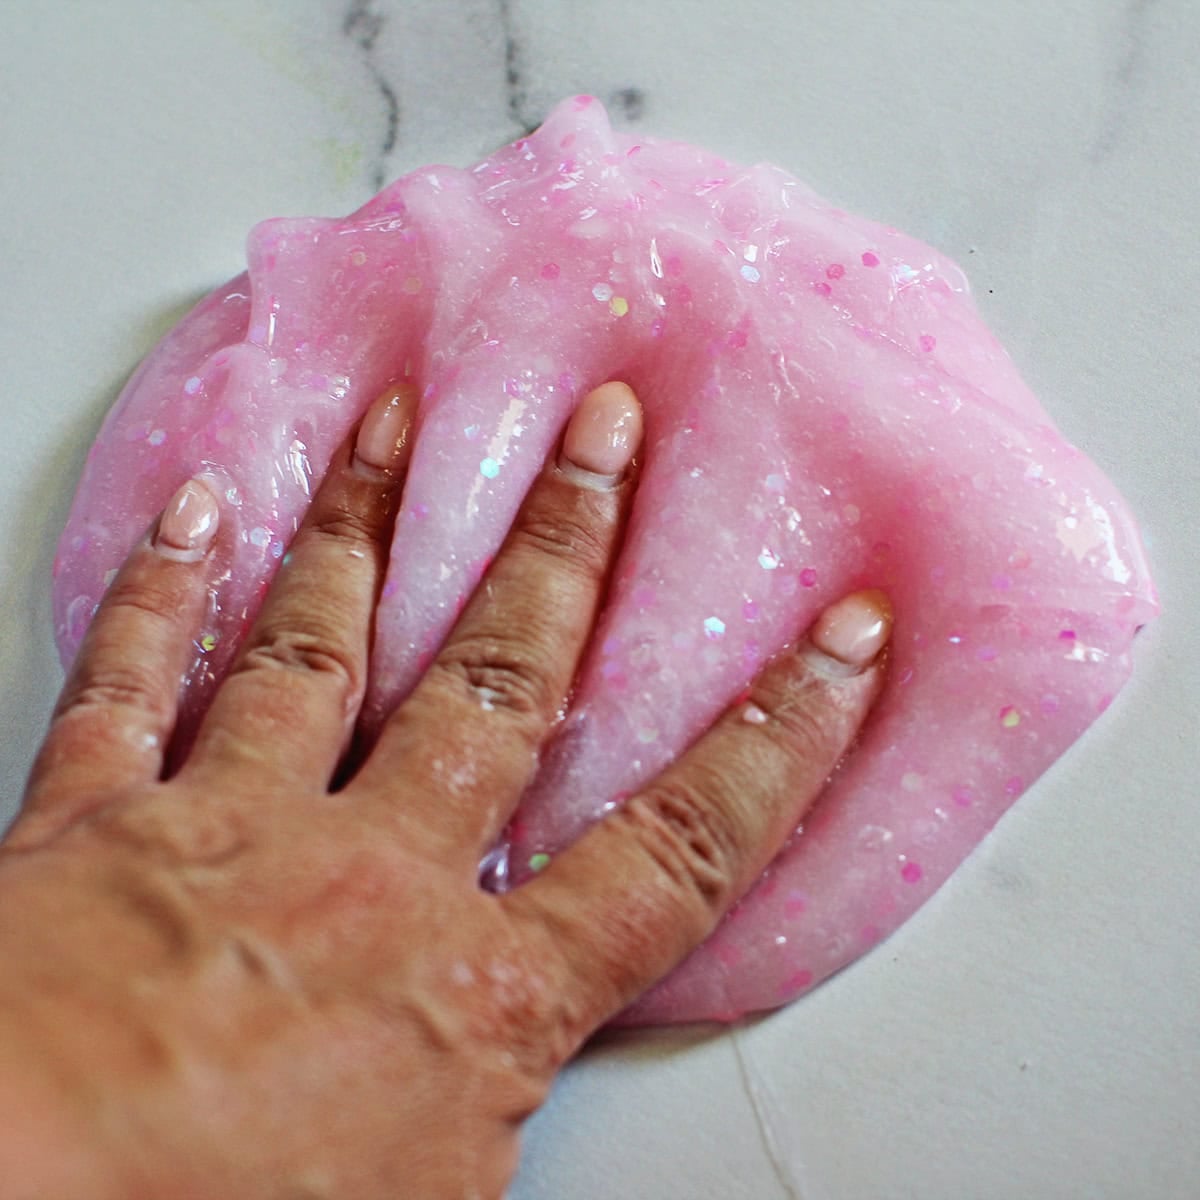
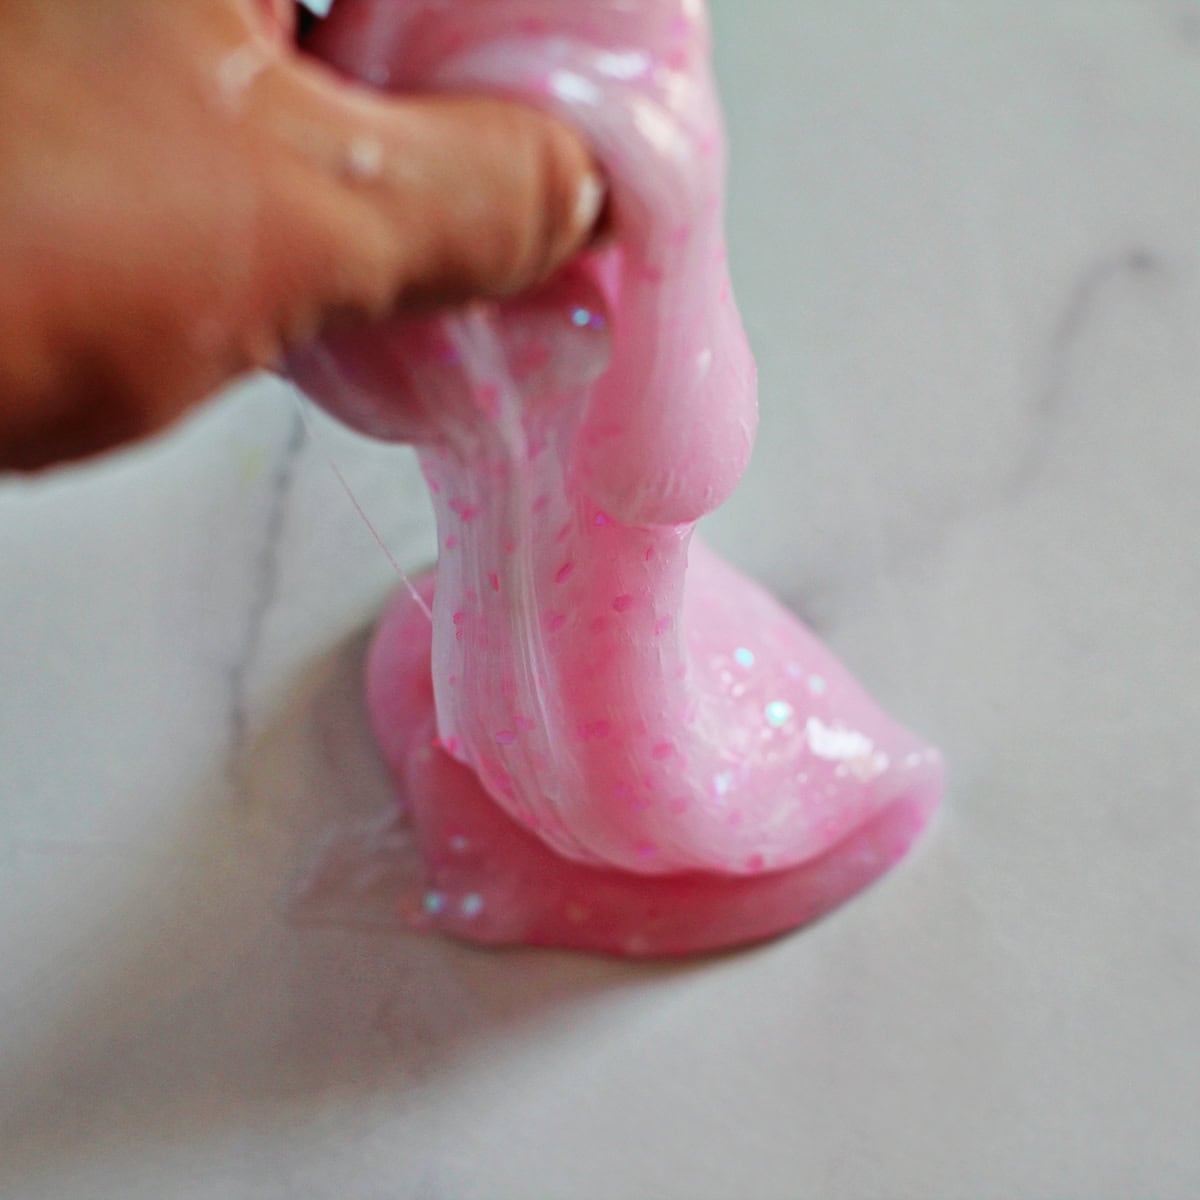
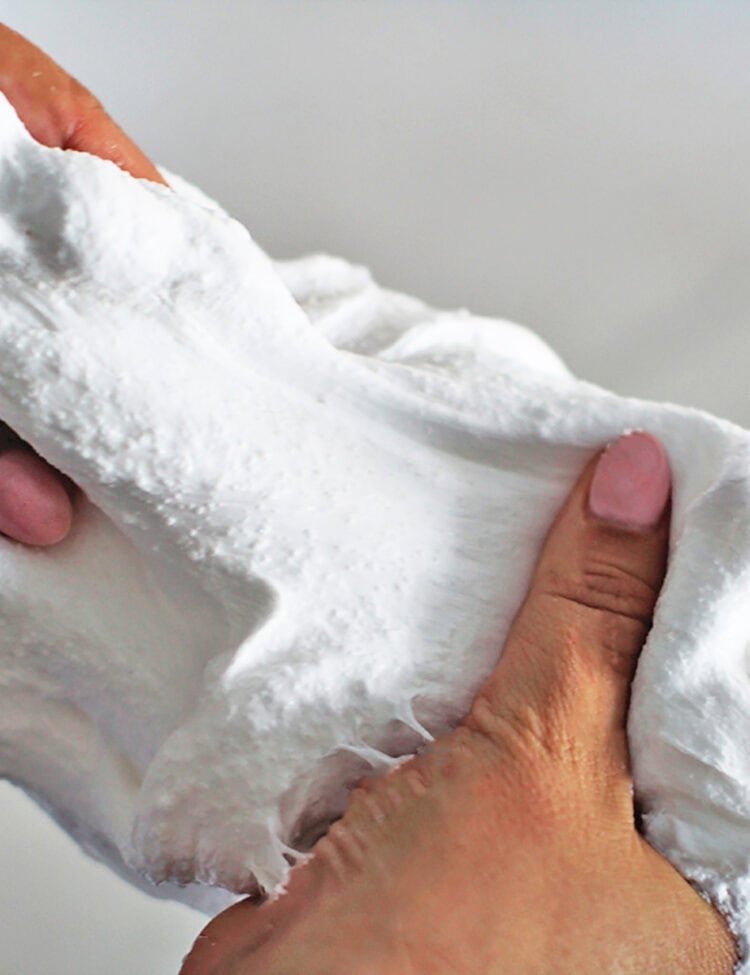
Step 3. Remove from bowl and begin t knead. This is the part of the process where I wonder if I’ll ever get it off my counter. Keep going and soon it will collect on itself and be stretchy and not as sticky.
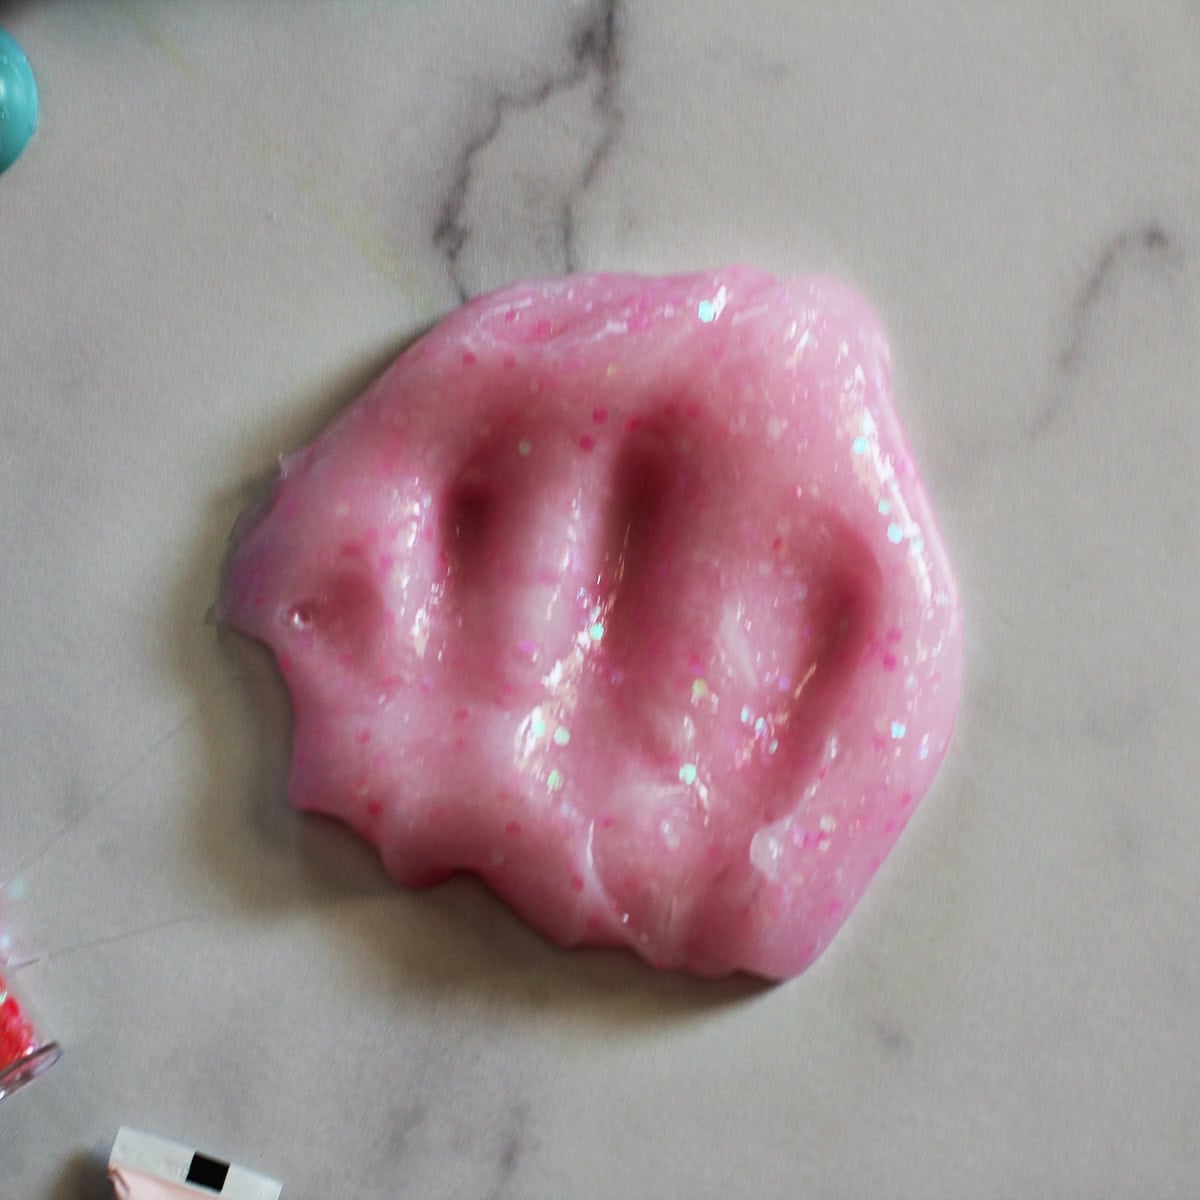
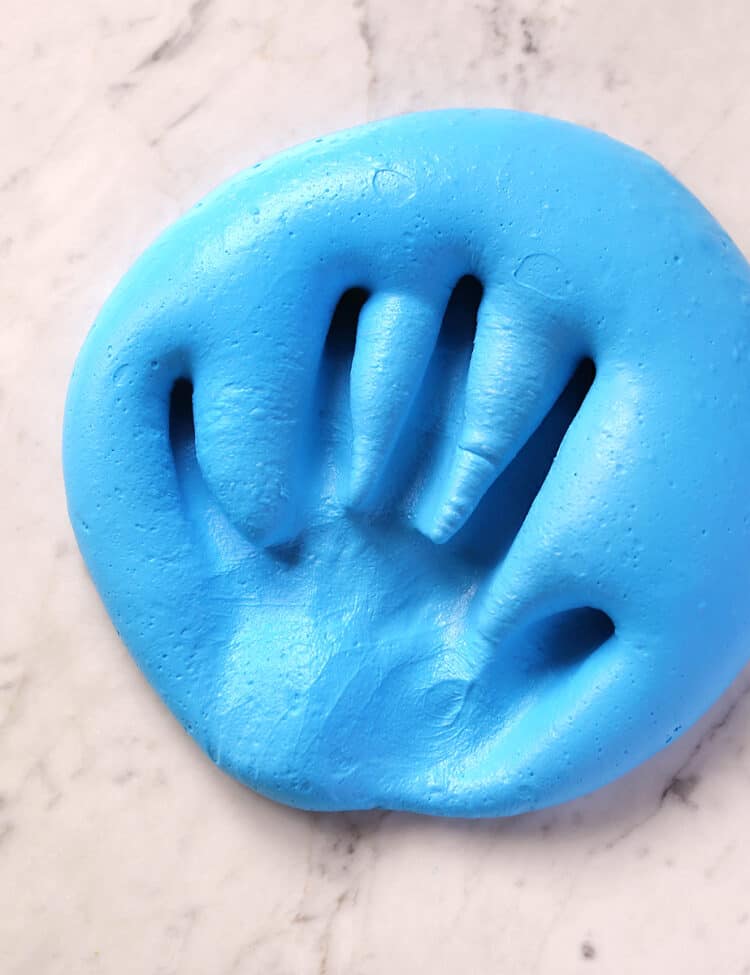
Step 4. Once you can remove your hand print easily or it’s sticking to itself it’s ready to play with! One nice thing is you can use the activated slime to help clean up any that got spread around.
Storing Slime
One you make your slime and are done playing with it, your biggest question is most likely going to be what to do with it or how to store it.
Would you like to save this?
I like to store homemade slime in these reusable plastic containers. In a pinch, you can use ziplock bags or anything that will keep the slime from drying out (being in contact with air). Another option is empty Easter egg containers.
Fairy Slime FAQ
If your slime is super sticky and clings to your hands or surfaces, you may need to add more contact solution or other activator. Start by adding a very small amount and increase until you reach the desired consistency.
Slime is very easy to clean off of non-porous surfaces as it will cling to itself, so you can use slime to clean up stray bits left behind. Try not to get slime in porous areas like thick carpets or fuzzy clothing, as it may not clean off as easily.
Homemade slime lasts at least 2-3 days, but if you store it well in an airtight container so that it doesn’t dry out, it can last even longer.
 Get the Recipe

Ingredients
- ¾ cup clear glue (I used Elmer's glue for this recipe.)
- 1½ tbsp contact solution (I recommend the ReNu brand)
- ½ tsp baking soda
- 2-3 drops food coloring
- 1 pinch glitter (as needed)
Equipment
Instructions
- Combine your baking soda, food coloring and contact solution in a bowl.
- Add your glue to the contact solution. Add any glitter Stir to combine.
- Keep stirring! Eventually it will start to stick together and you'll need to take it out of the bowl, but this can take a few minutes.
- Remove from bowl and begin to knead. This is the part of the process where I wonder if I'll ever get it off my counter. Keep going and soon it will collect on itself and be stretchy and not as sticky.
- Once you can remove your hand print easily or it's sticking to itself it's ready to play with! One nice thing is you can use the activated slime to help clean up any that got spread around.
This was so pretty!