
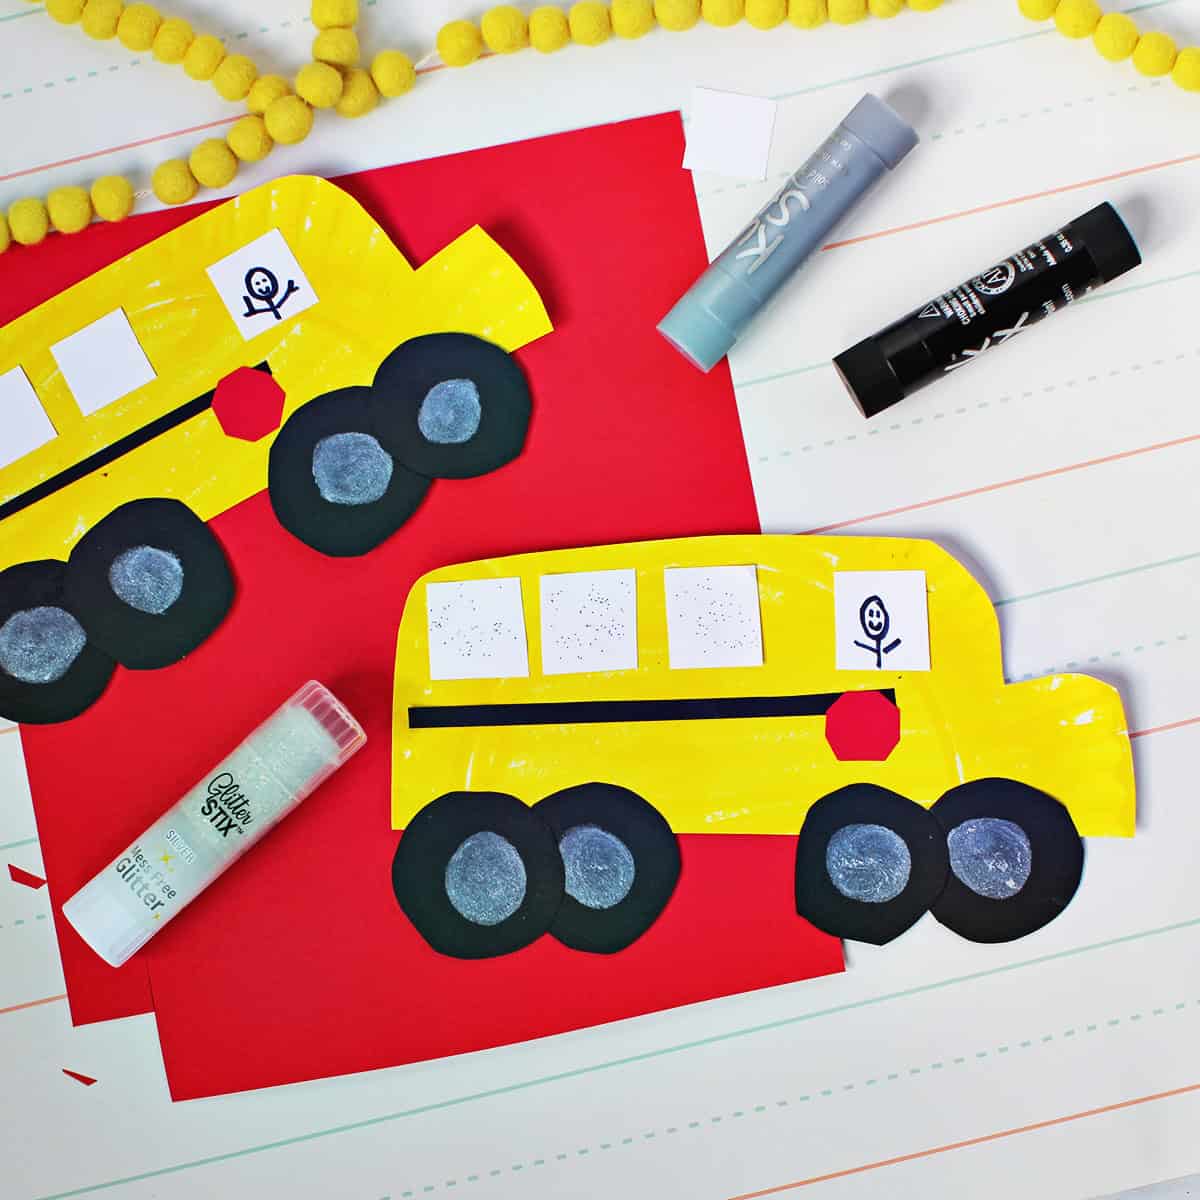
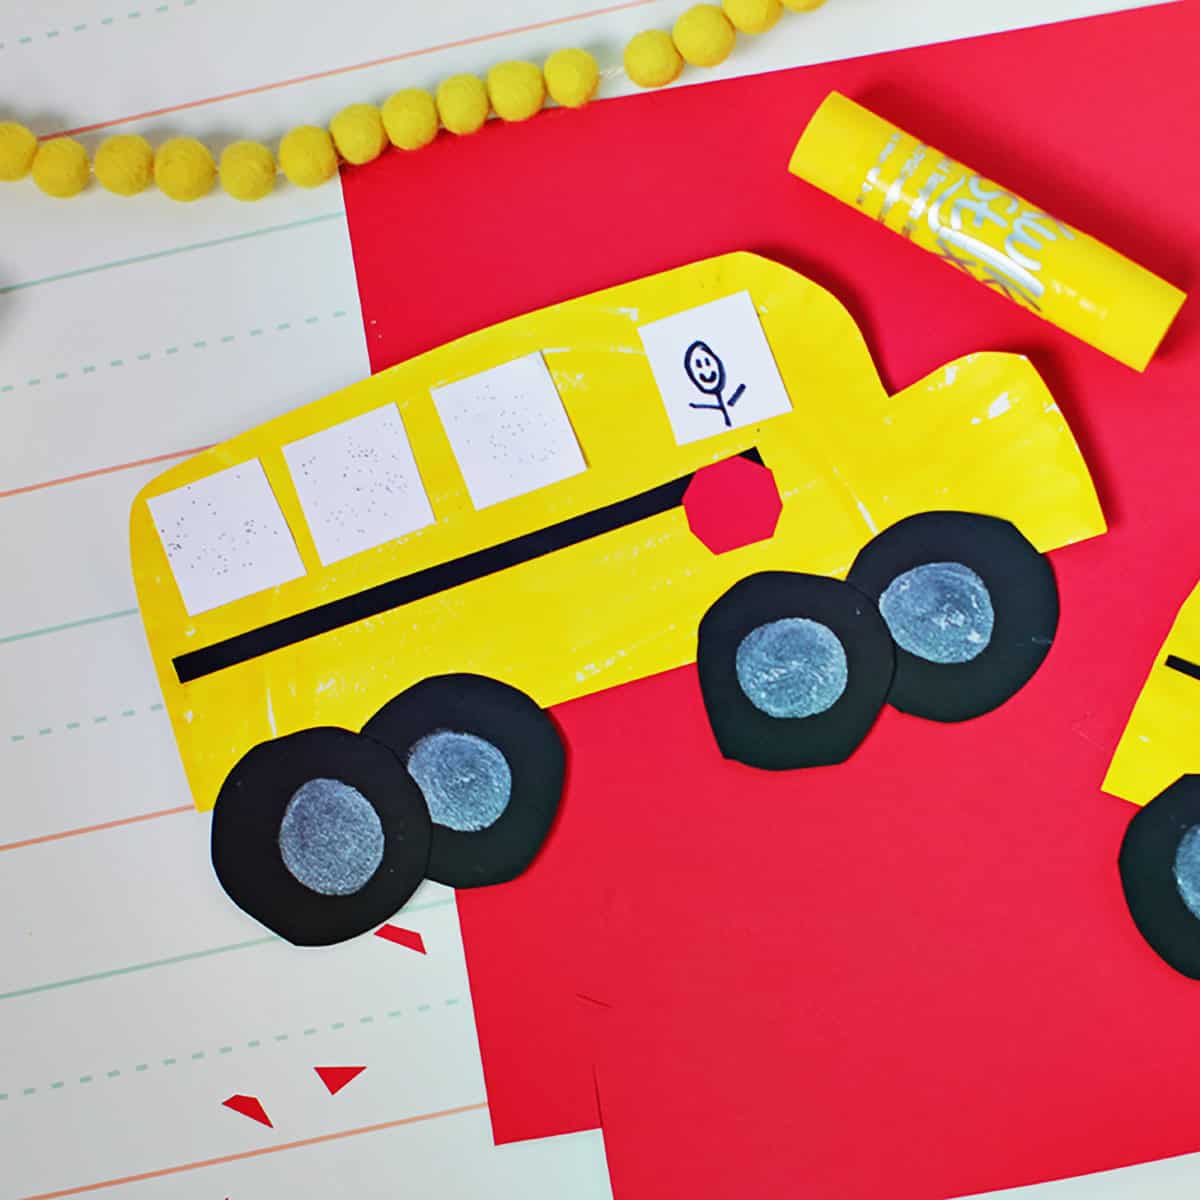
Whether it’s back to school season or you’ve just introduced your kiddo to the wheels on the bus song, this paper plate school bus is a fun craft to make with them!
This post is in partnership with The Pencil Grip. I have been a huge fan of their paint stix since discovering them, and am so excited to be working together. They are one of the first craft supplies I always grab and are especially perfect for paper plate projects! The paint goes on easily and smoothly, and the best part is how quickly they dry. It only takes about a minute! The hardest thing as a mom is keeping attention spans going for crafting. These have been a game changer at my house!
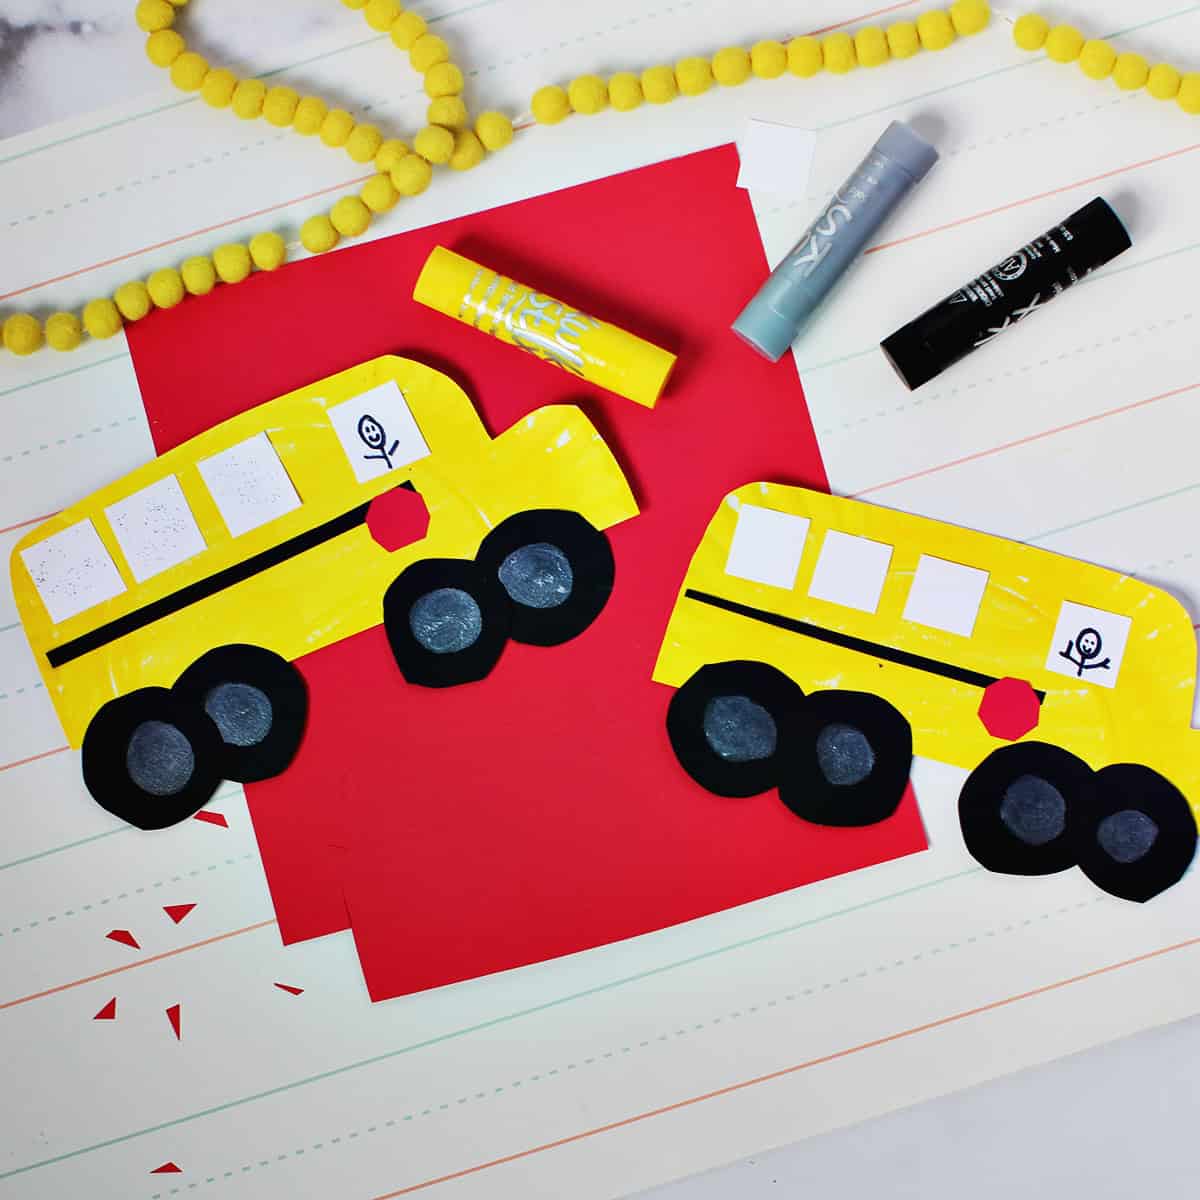
Paper Plate School Bus
Ready In: 10-15 minutes
Makes: One paper plate school bus ready to drive to school!
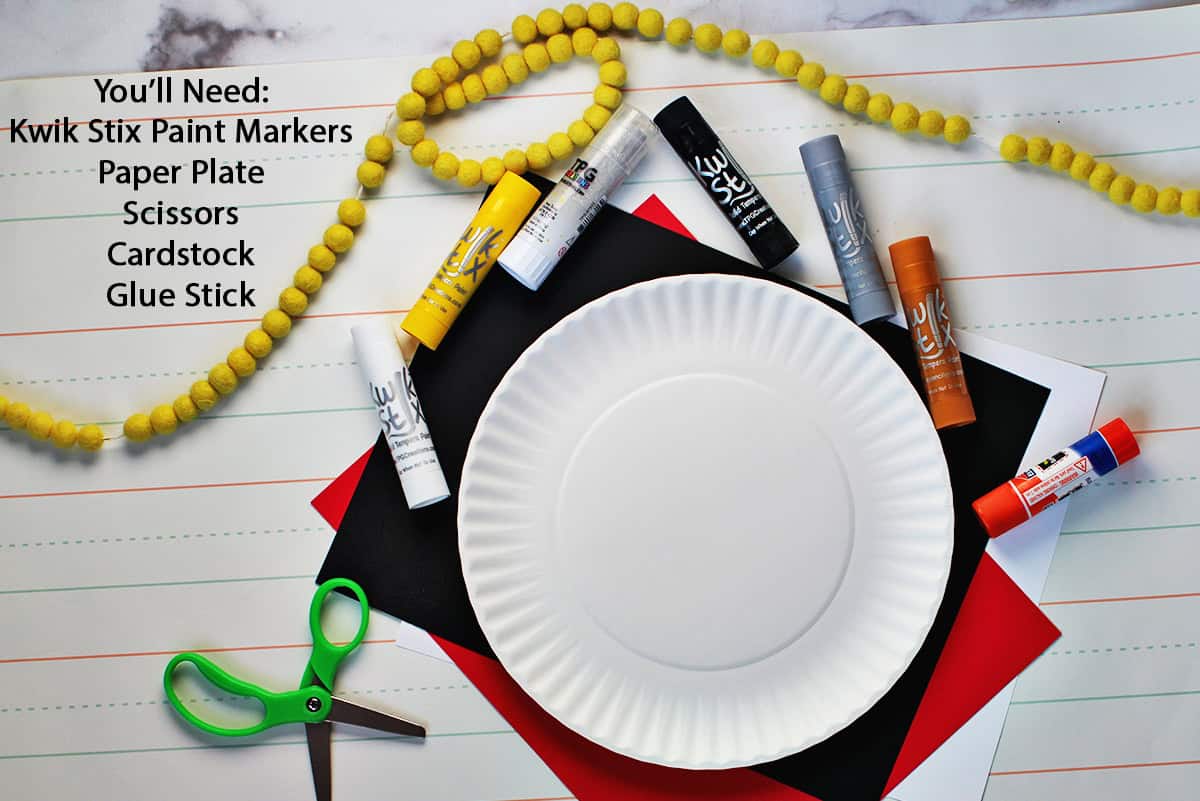
Supplies: All you need are Kwik Stix paint markers, a paper plate, construction or cardstock paper, a glue stick and scissors.
Why You’ll Love It: This is a simple craft that can be customized by kids to make it their own. You could even put their picture in the windows!
Summarize and Save this Content On:
Key Supplies
- Kwik Stix paint in yellow and silver. Check out their glitter paint stix too!
- Paper plate
- Construction paper or cardstock paper- I used black, white and red.
- Glue stick
How to Make a Paper Plate School Bus
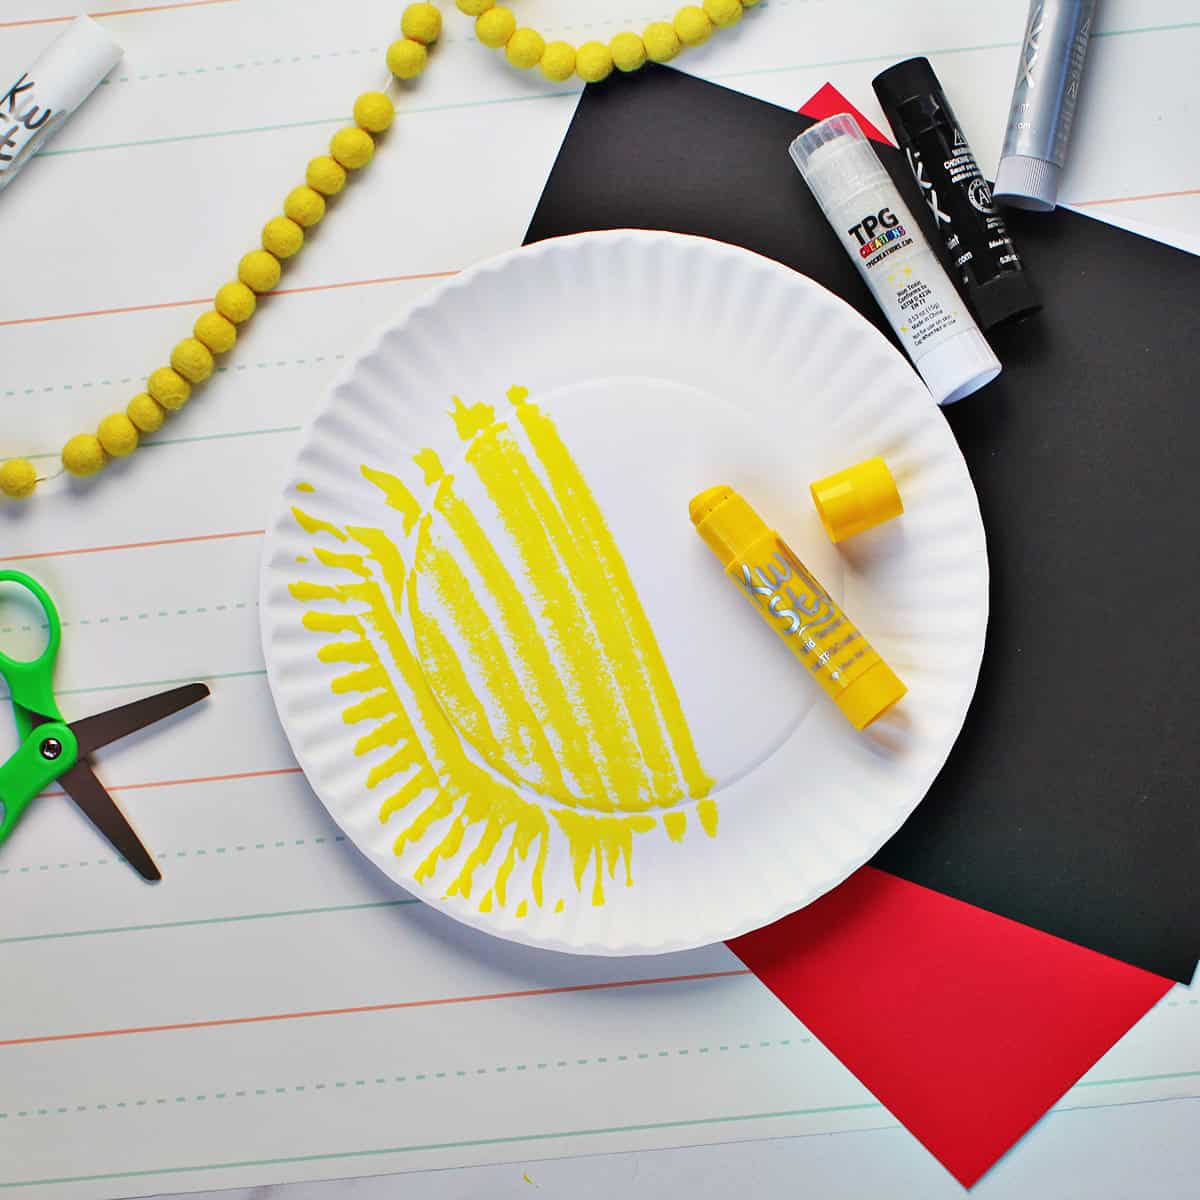
Step 1. Start by using your Kwik Stix yellow paint stick to paint your paper plate. I love these paint stix because they dry so quickly! And they go on smoothly. My tip is to have an extra paper plate under the one you’re working on so kids can just use them like crayons and draw all over the plate to fill it.
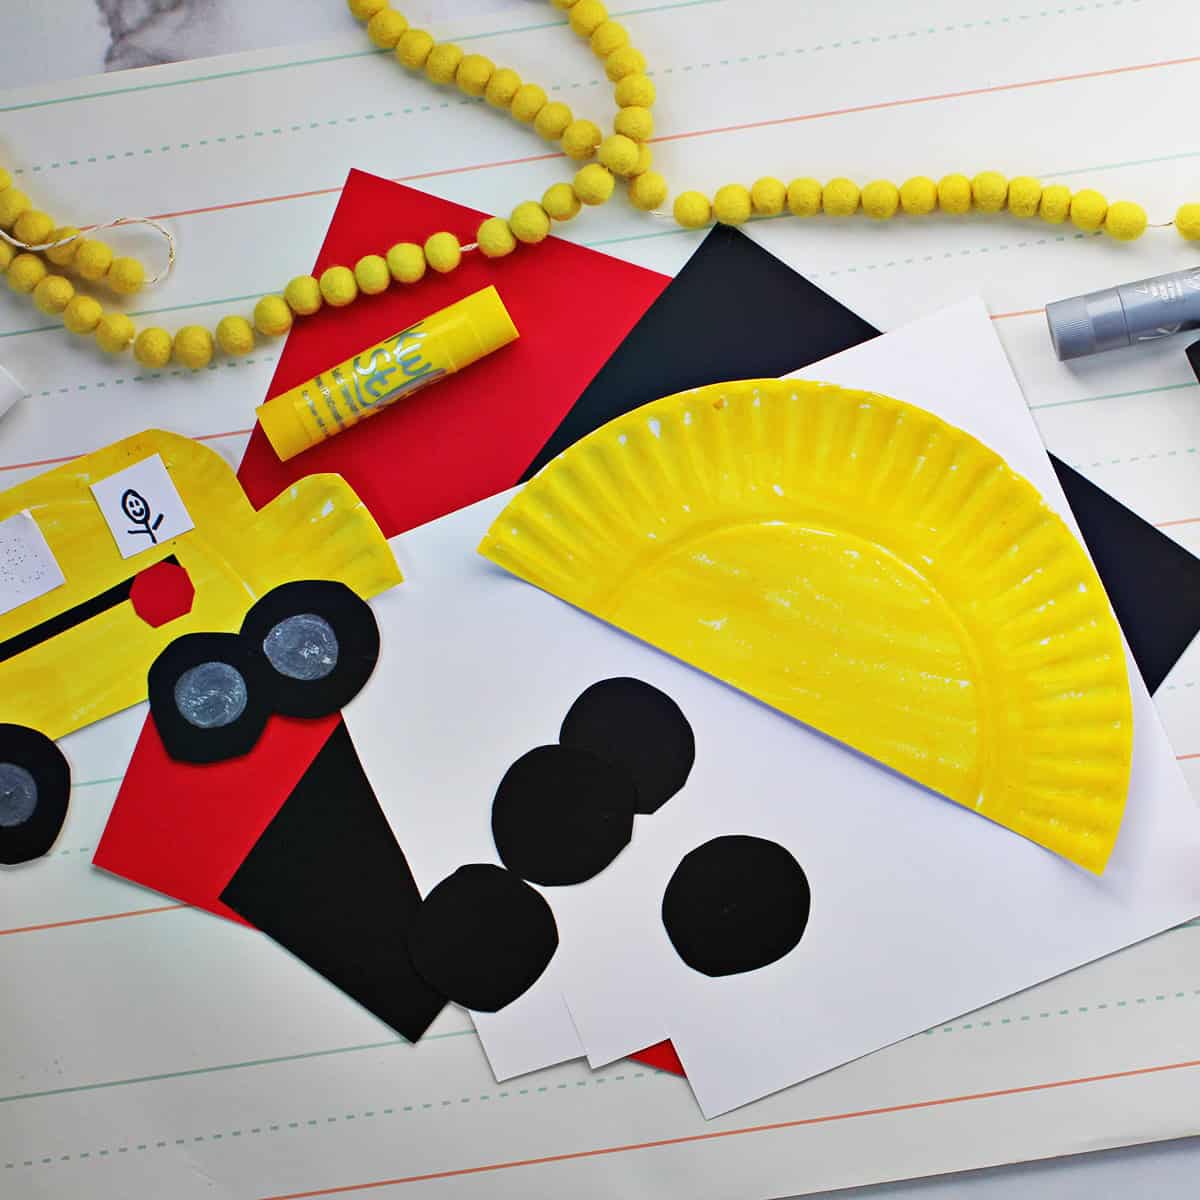
Step 2. Give the paint a minute or two to dry then cut the paper plate in half.
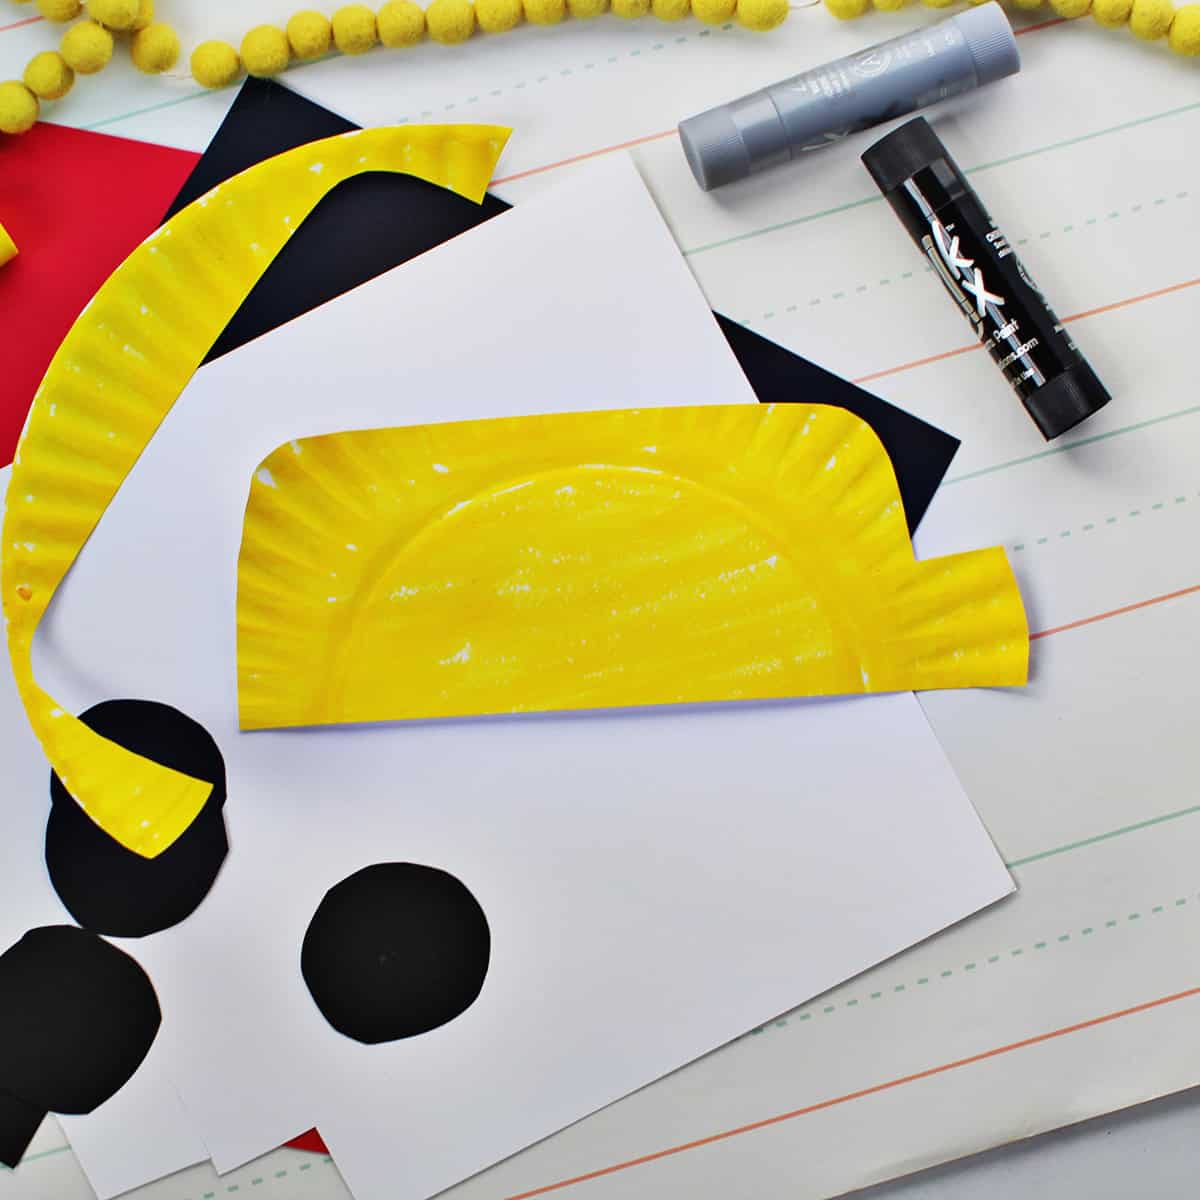
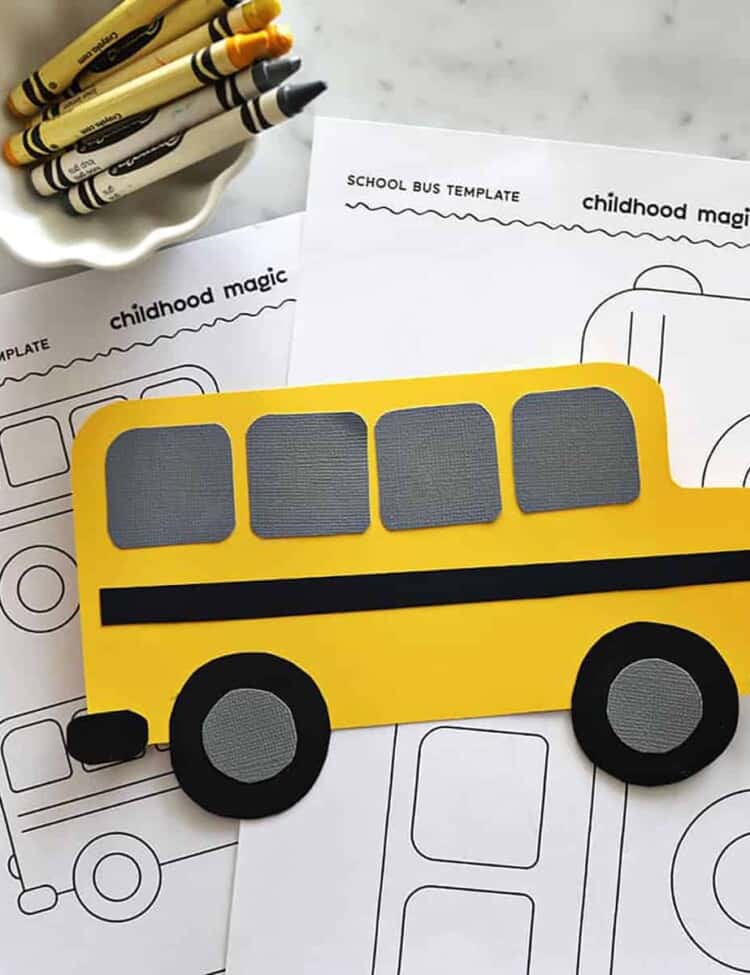
Step 3. Next you’ll cut out the bus shape. Create a hood, the roof line and a slightly rounded back door.
Next you’ll cut out the bus shape. Create a hood, the roof line and a slightly rounded back door.
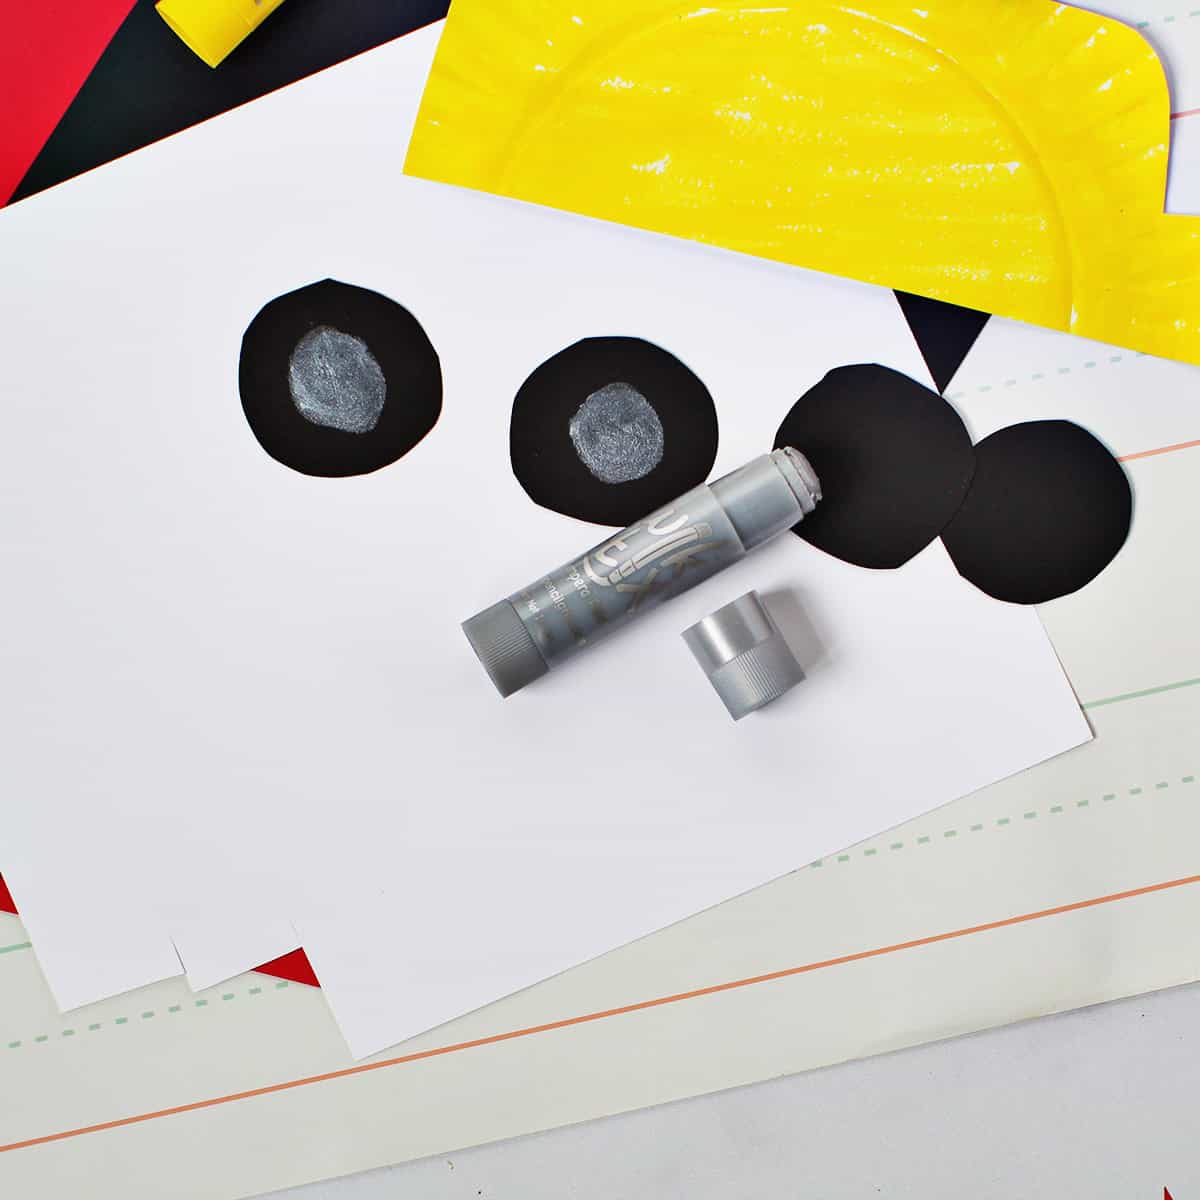
Step 4. Cut out detail pieces from your cardstock- I added a stripe, windows and a mini stop sign. How fun would stickers be on the side of the bus too?!
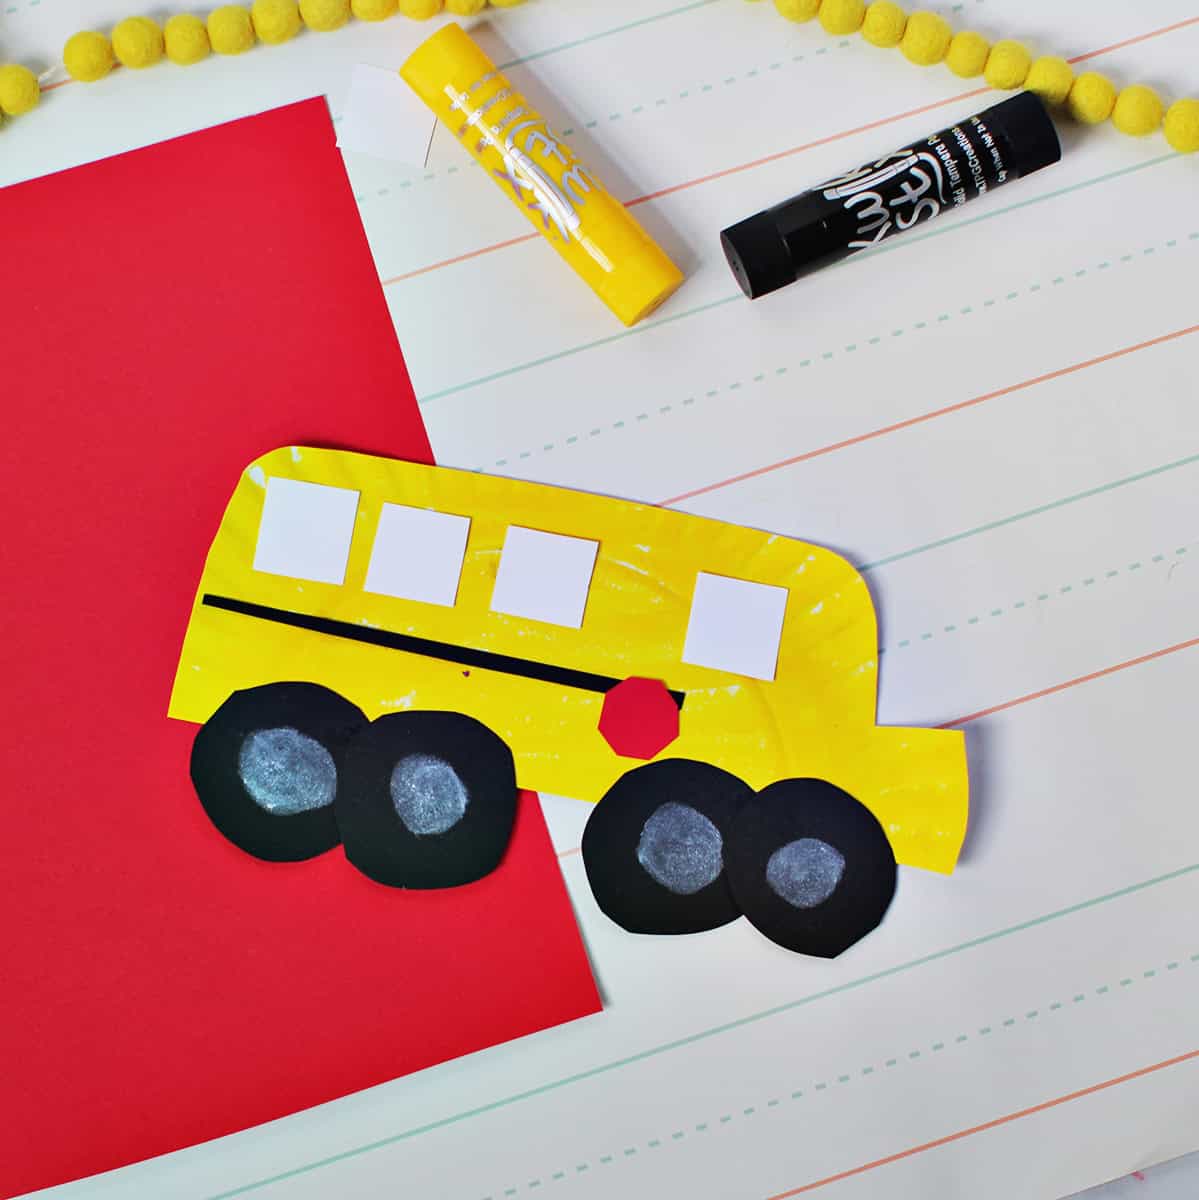
Step 5. Glue on your details. The Kwik Stix glitter stick is perfect to make it a bit sparkly too! Draw on a face for the bus driver or you could add your child’s photo into one of the seats!

 Get the Recipe

Ingredients
- 2 Kwik Stix- in yellow and silver
- 1 paper plate
- 3 pieces of construction paper or cardstock (white, black and red)
- 1 gluestick
Equipment
Instructions
- Start by using your Kwik Stix yellow paint stick to paint your paper plate. I love these paint stix because they dry so quickly! And they go on smoothly. My tip is to have an extra paper plate under the one you're working on so kids can just use them like crayons and draw all over the plate to fill it.
- Give the paint a minute or two to dry then cut the paper plate in half.
- Next you'll cut out the bus shape. Create a hood, the roof line and a slightly rounded back door.
- Cut out detail pieces from your cardstock- I added a stripe, windows and a mini stop sign. How fun would stickers be on the side of the bus too?! Glue on your details. The Kwik Stix glitter stick is perfect to make it a bit sparkly.
- Draw on a face for the bus driver or you could add your child's photo into one of the seats!