
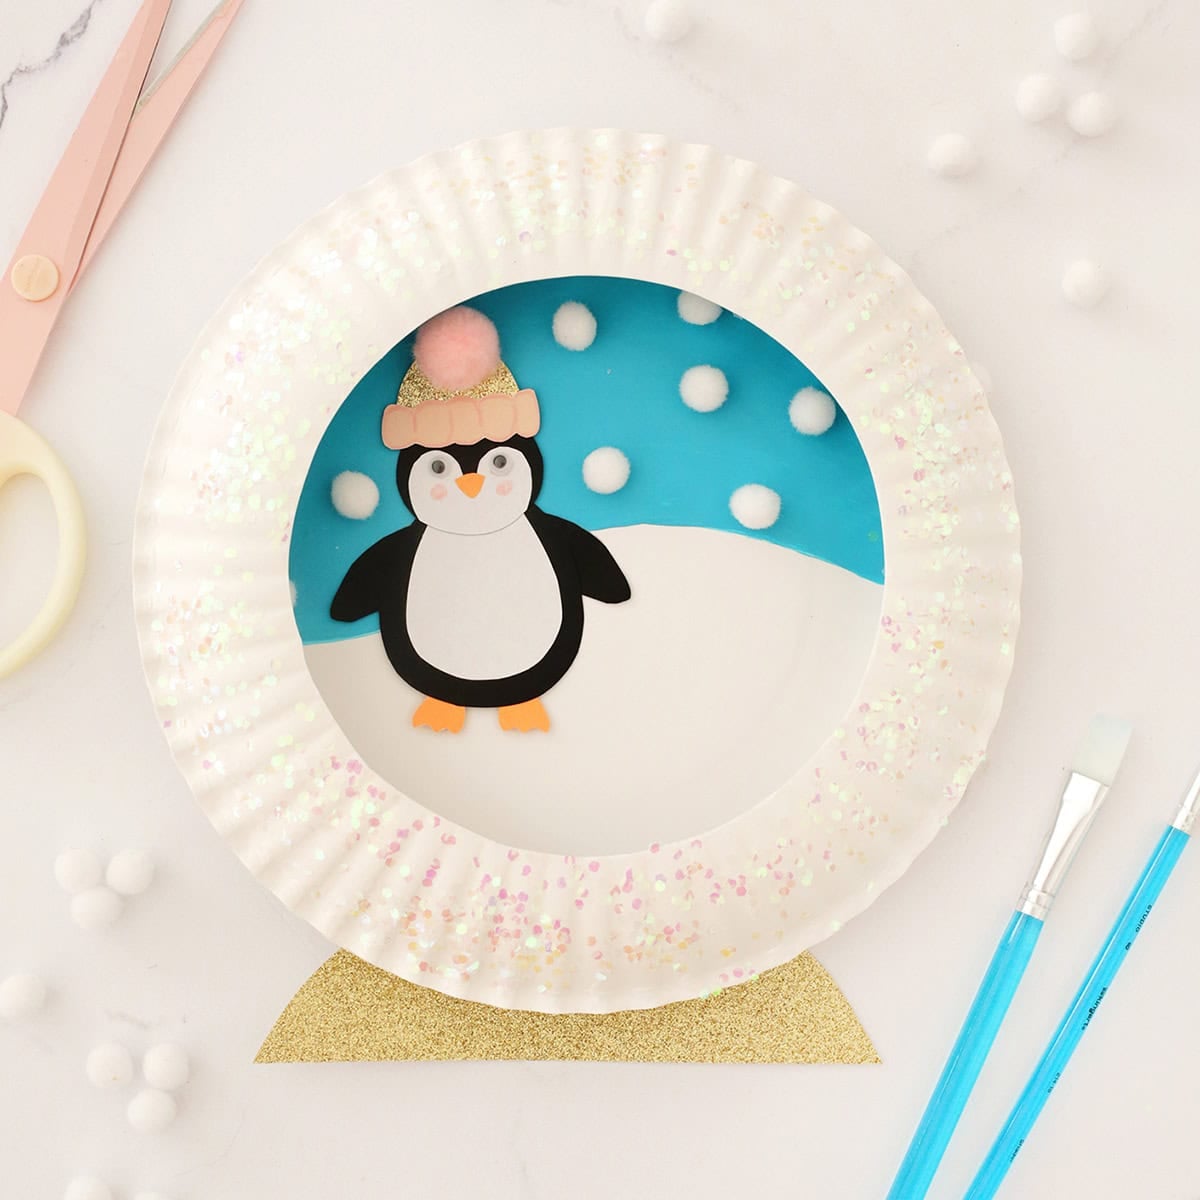
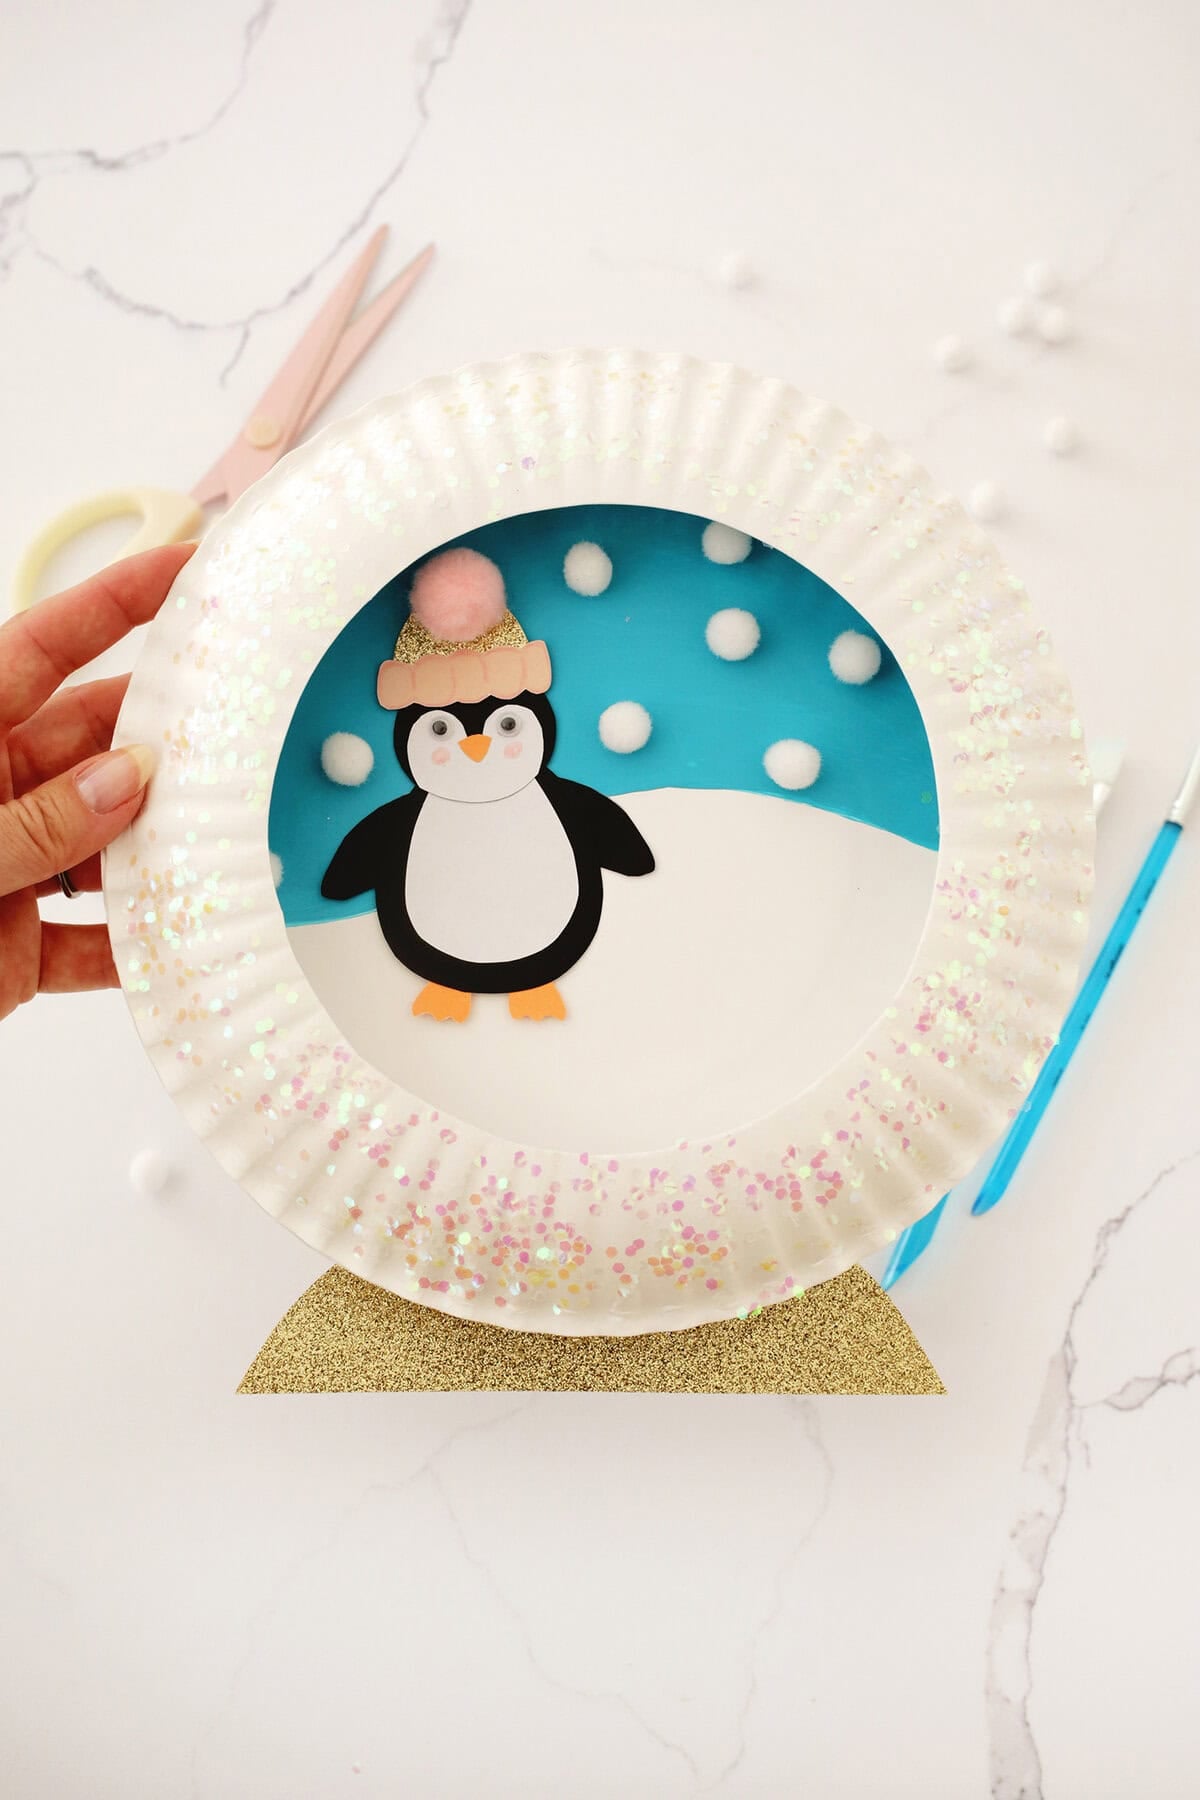
This paper plate snowglobe craft is the perfect way to spend a winter afternoon and a fun activity while kids are home for winter break. You only need a few simple supplies that you most likely already have around the house, and it makes a cute Christmas gift for family and friends. You can even customize it with your own photos to make it personalized to your kid!
Paper plate crafts are great because they are affordable and even little kiddos can help get in on the fun. You can make it as simple or as complex as you like with your scenery so older kids can add as much detail as they want.
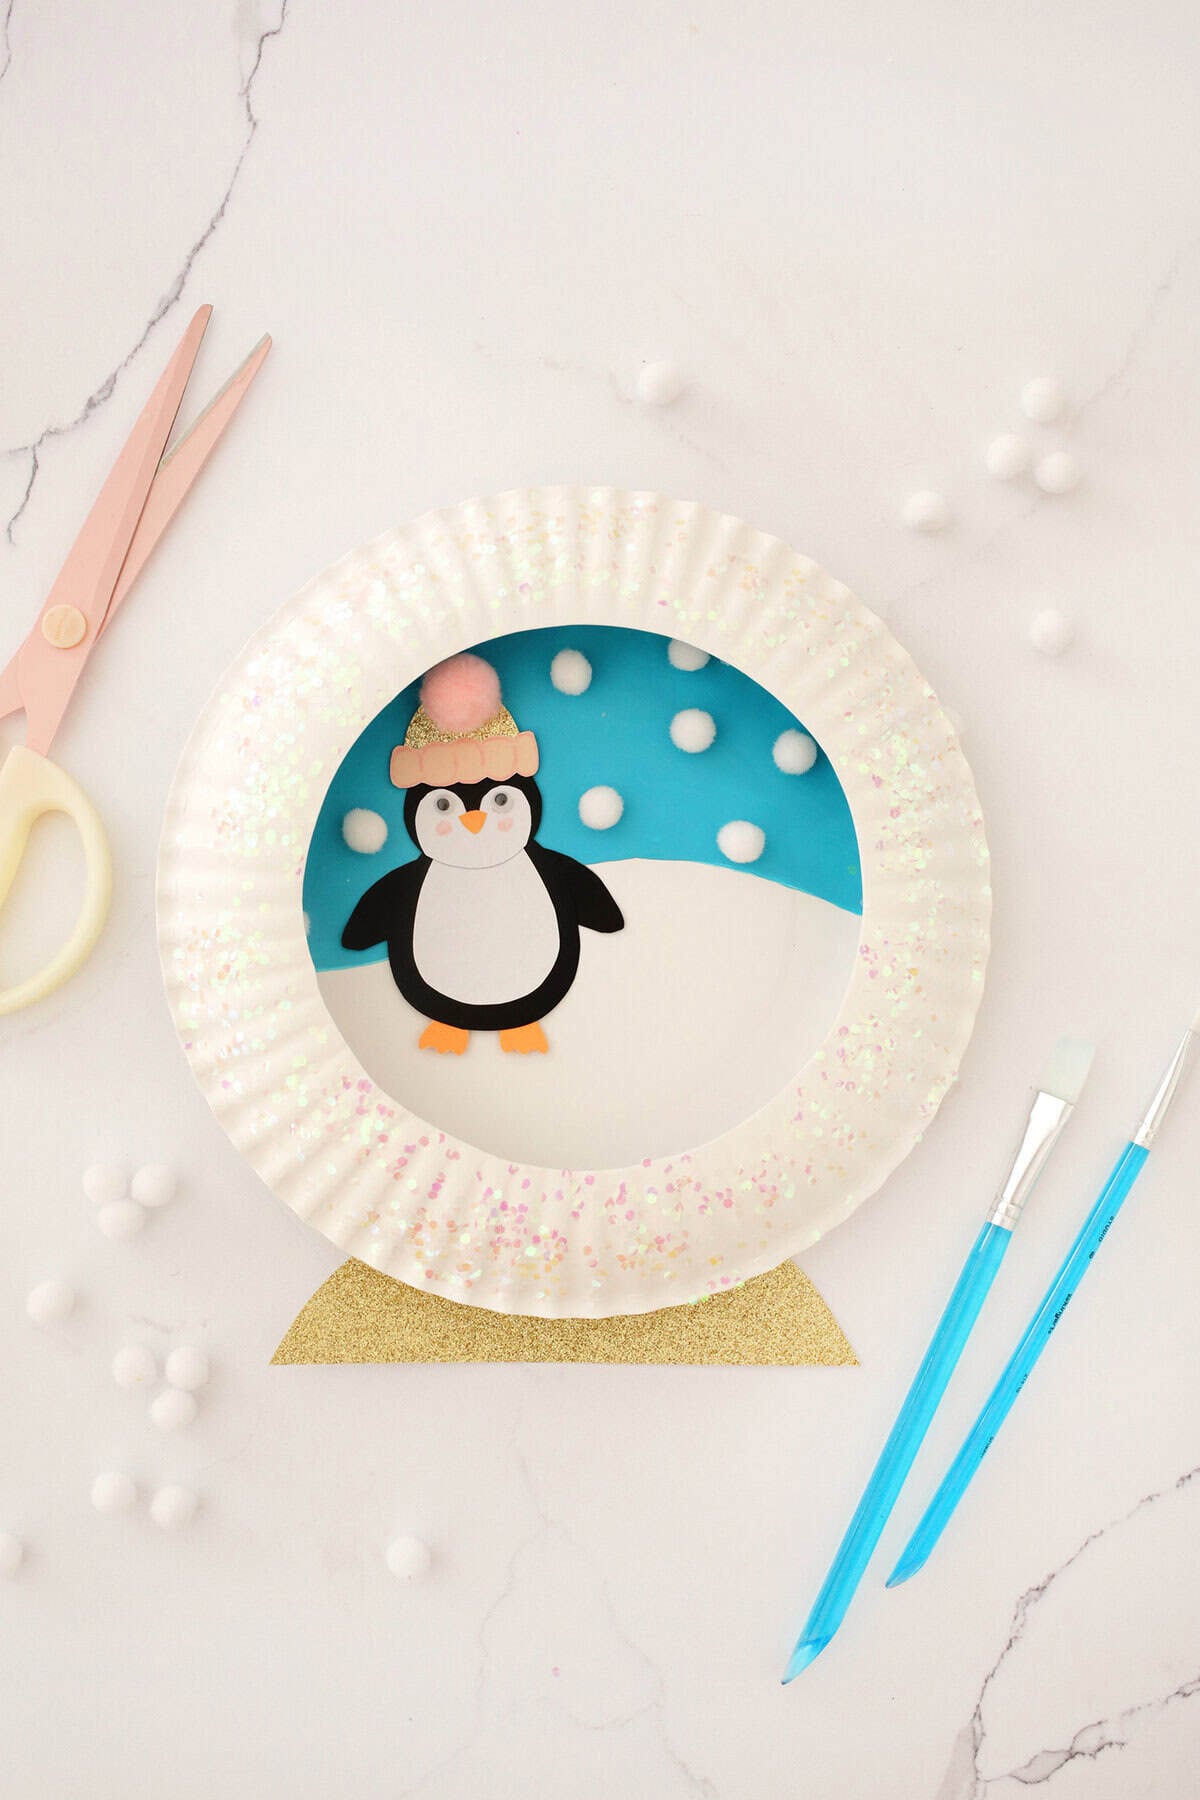
Quick Guide: Paper Plate Snowglobe Craft
Ready In: 10-20 minutes.
Main Supplies: Paper plates, colored paper, glue
Why You’ll Love It: These are so cute and a perfect winter craft!
Key Supplies
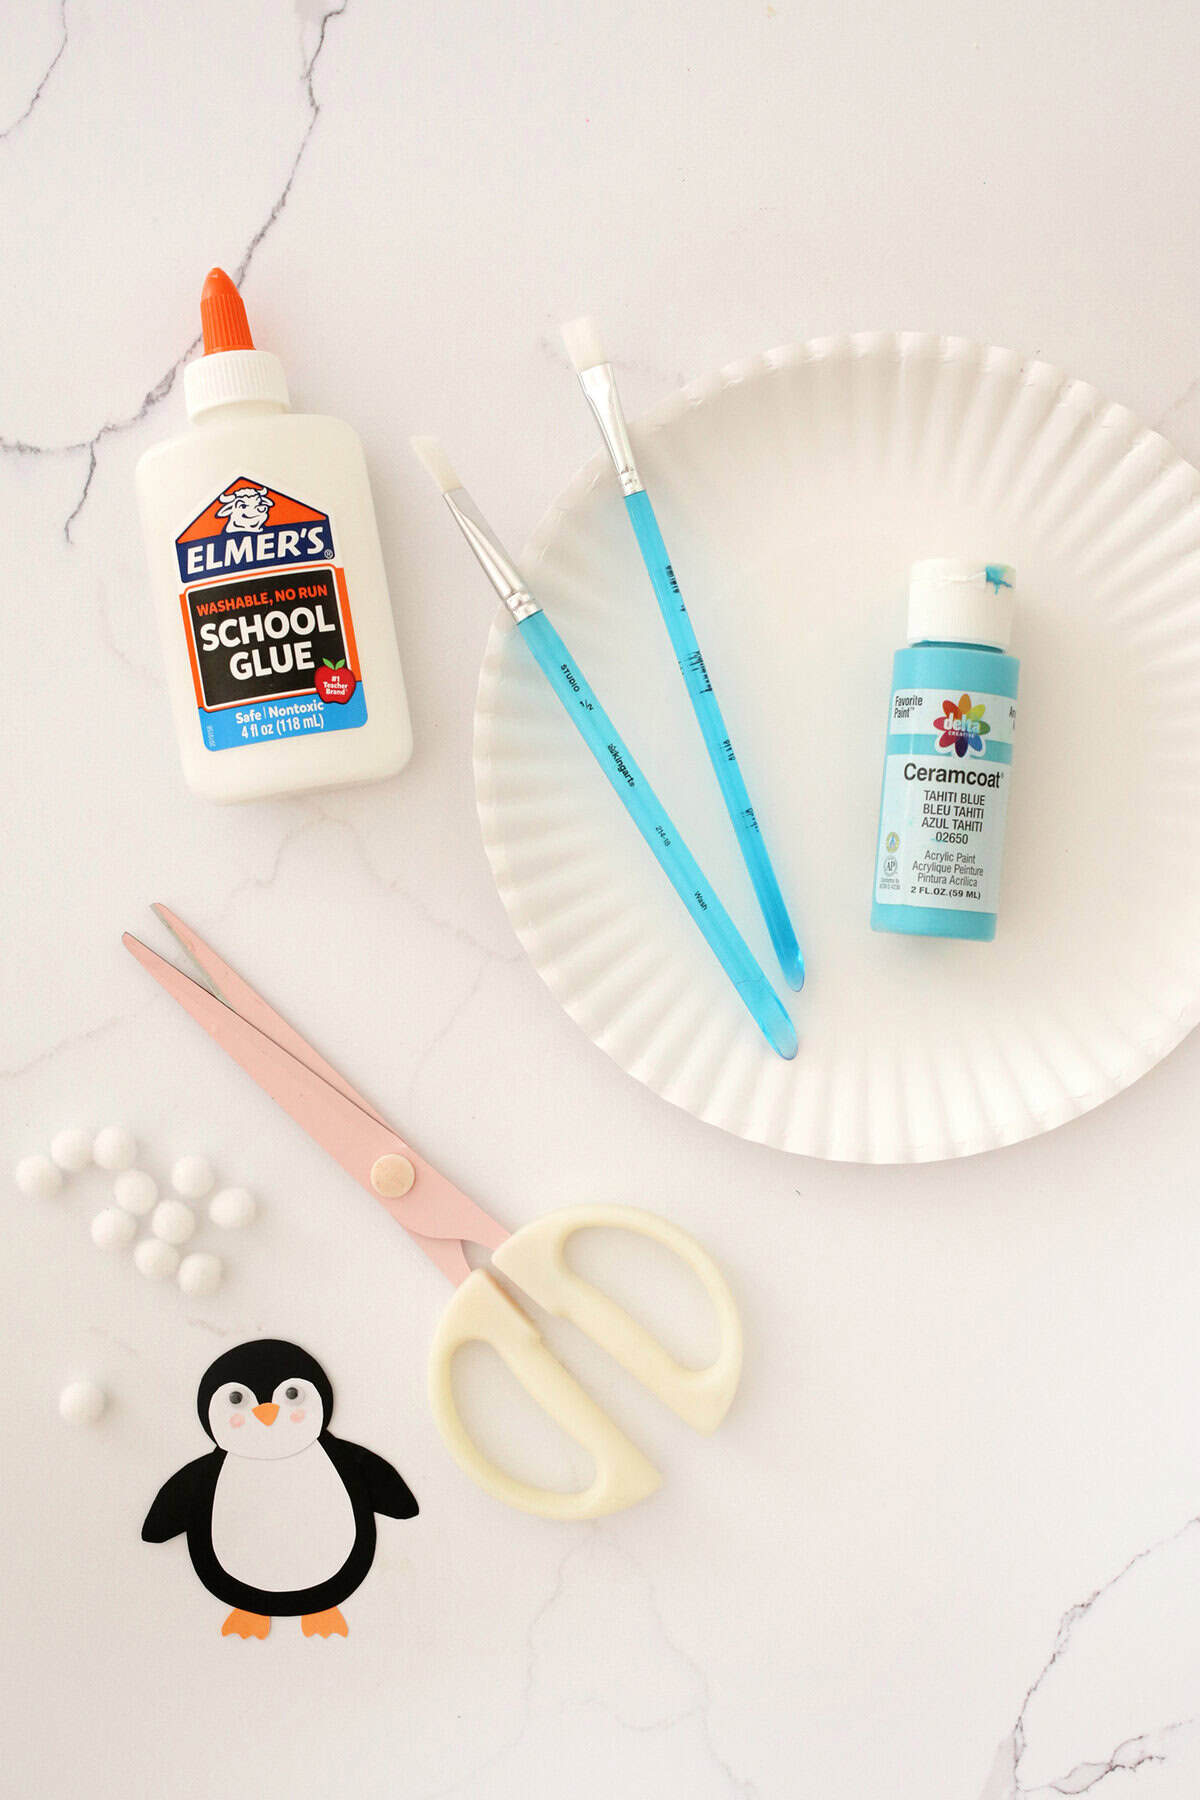
- Paper plates: You’ll need 2 per snowglobe
- Glue: Regular school glue works great, you can also use a low temp hot glue gun if an adult is using it for the kiddos.
- Blue paint: Acrylic paint dries quickly and is an easy clean up for this craft. You can use paint stix too!
- Colored paper: You’ll want black, white, and orange paper to make your penguin and a brown or glitter paper for the base of your snowglobe.
- Small pom poms: This will be your snow in your snowglobe.
- Free penguin template: You can download our free penguin template here!
- Glitter (optional): You can add a glittery frame with some loose glitter! You can use either school glue or Mod Podge to attach your glitter to your frame.
Tips for making a paper plate snowglobe:
- If you don’t have small white pom poms, you can also use snowflake stickers or just paint dabs of white with a brush or q-tip for the snowflakes as well.
- If you want to make your craft a “working” snowglobe, you can cover the hole of your top plate frame cutout with plastic wrap (just glue it around the inside edge and trim the excess) and then leave your snow pom poms loose to float around in your snowglobe when you shake it.
- Have fun with whatever scenery you want to make! You can add trees or a sled, or even cut out a winter photo of your kiddo to be in the snowglobe too!
How to Make A Paper Plate Snowglobe
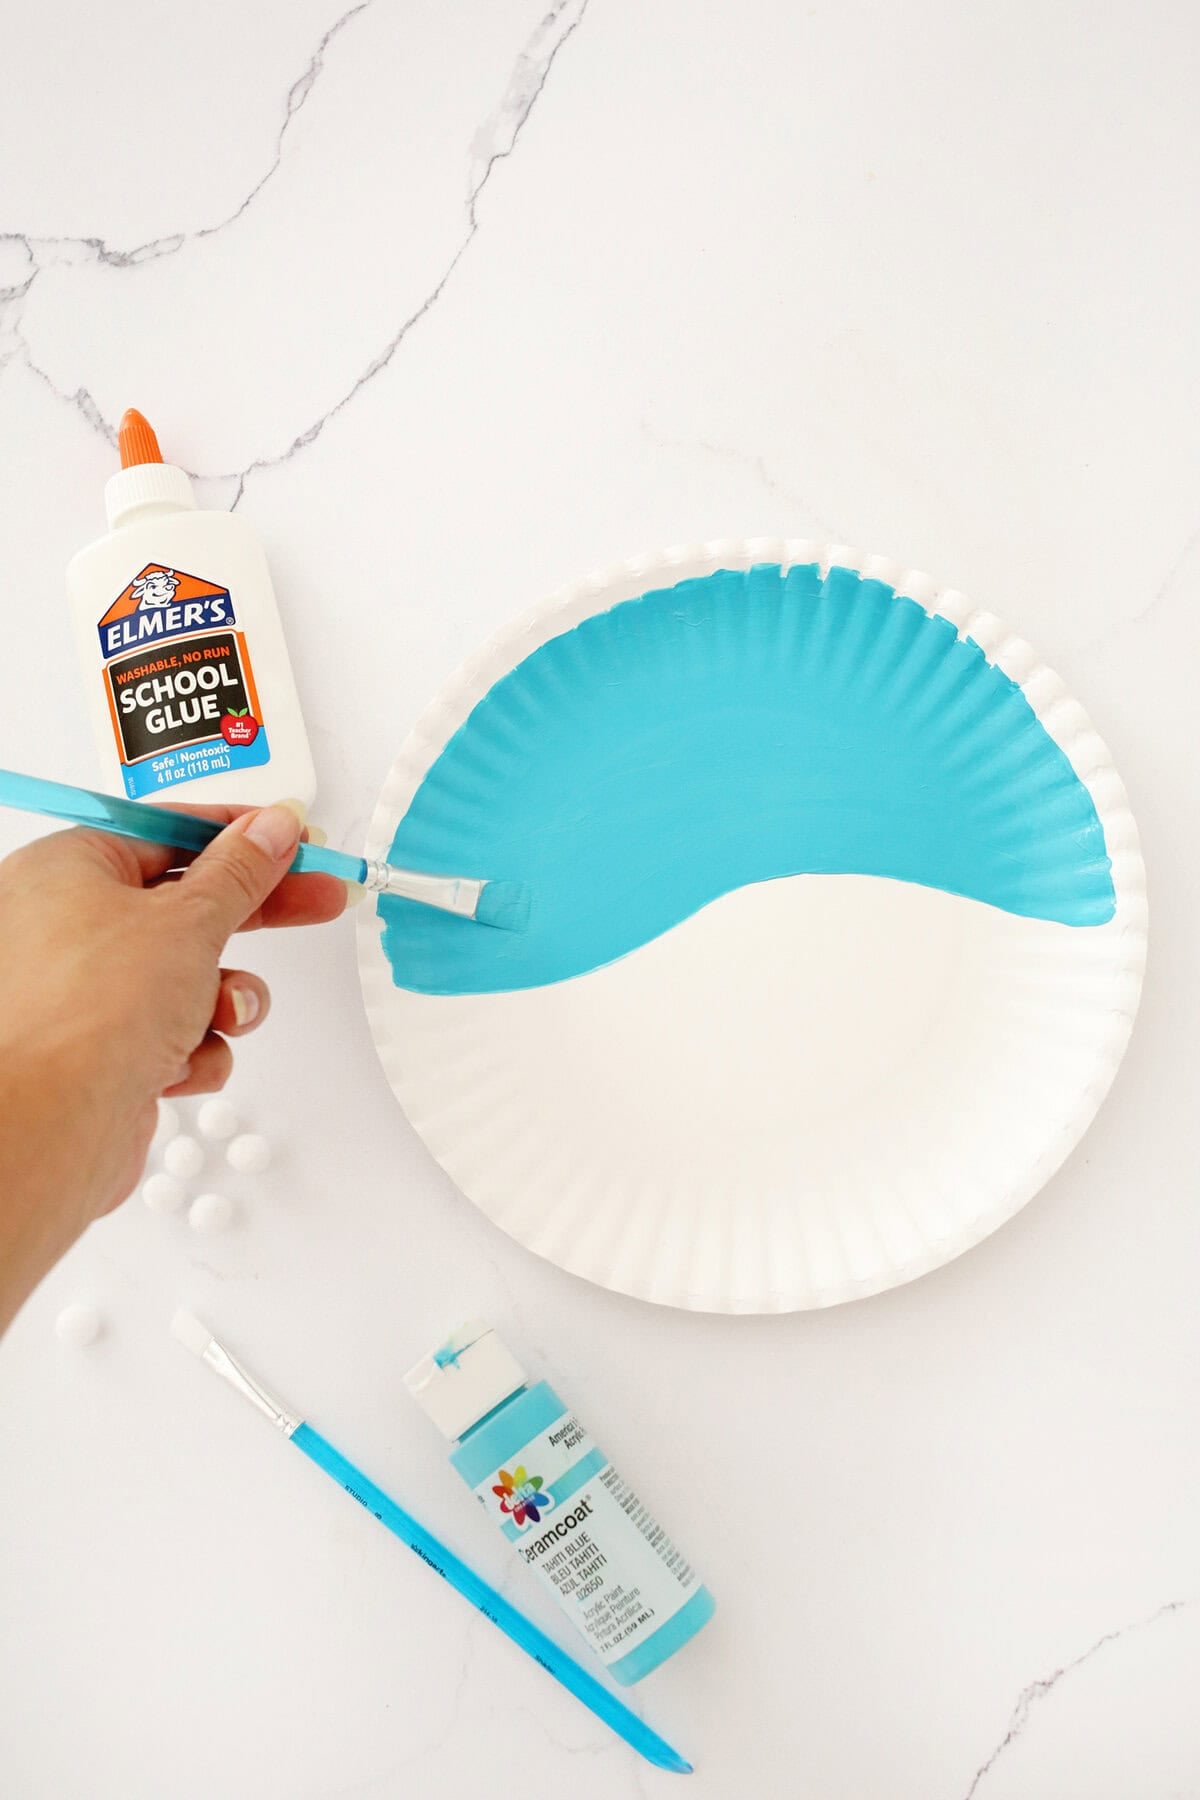
Step 1. Paint half of your first paper plate a light blue color in a wave shape to be your snowy hill. Let dry.
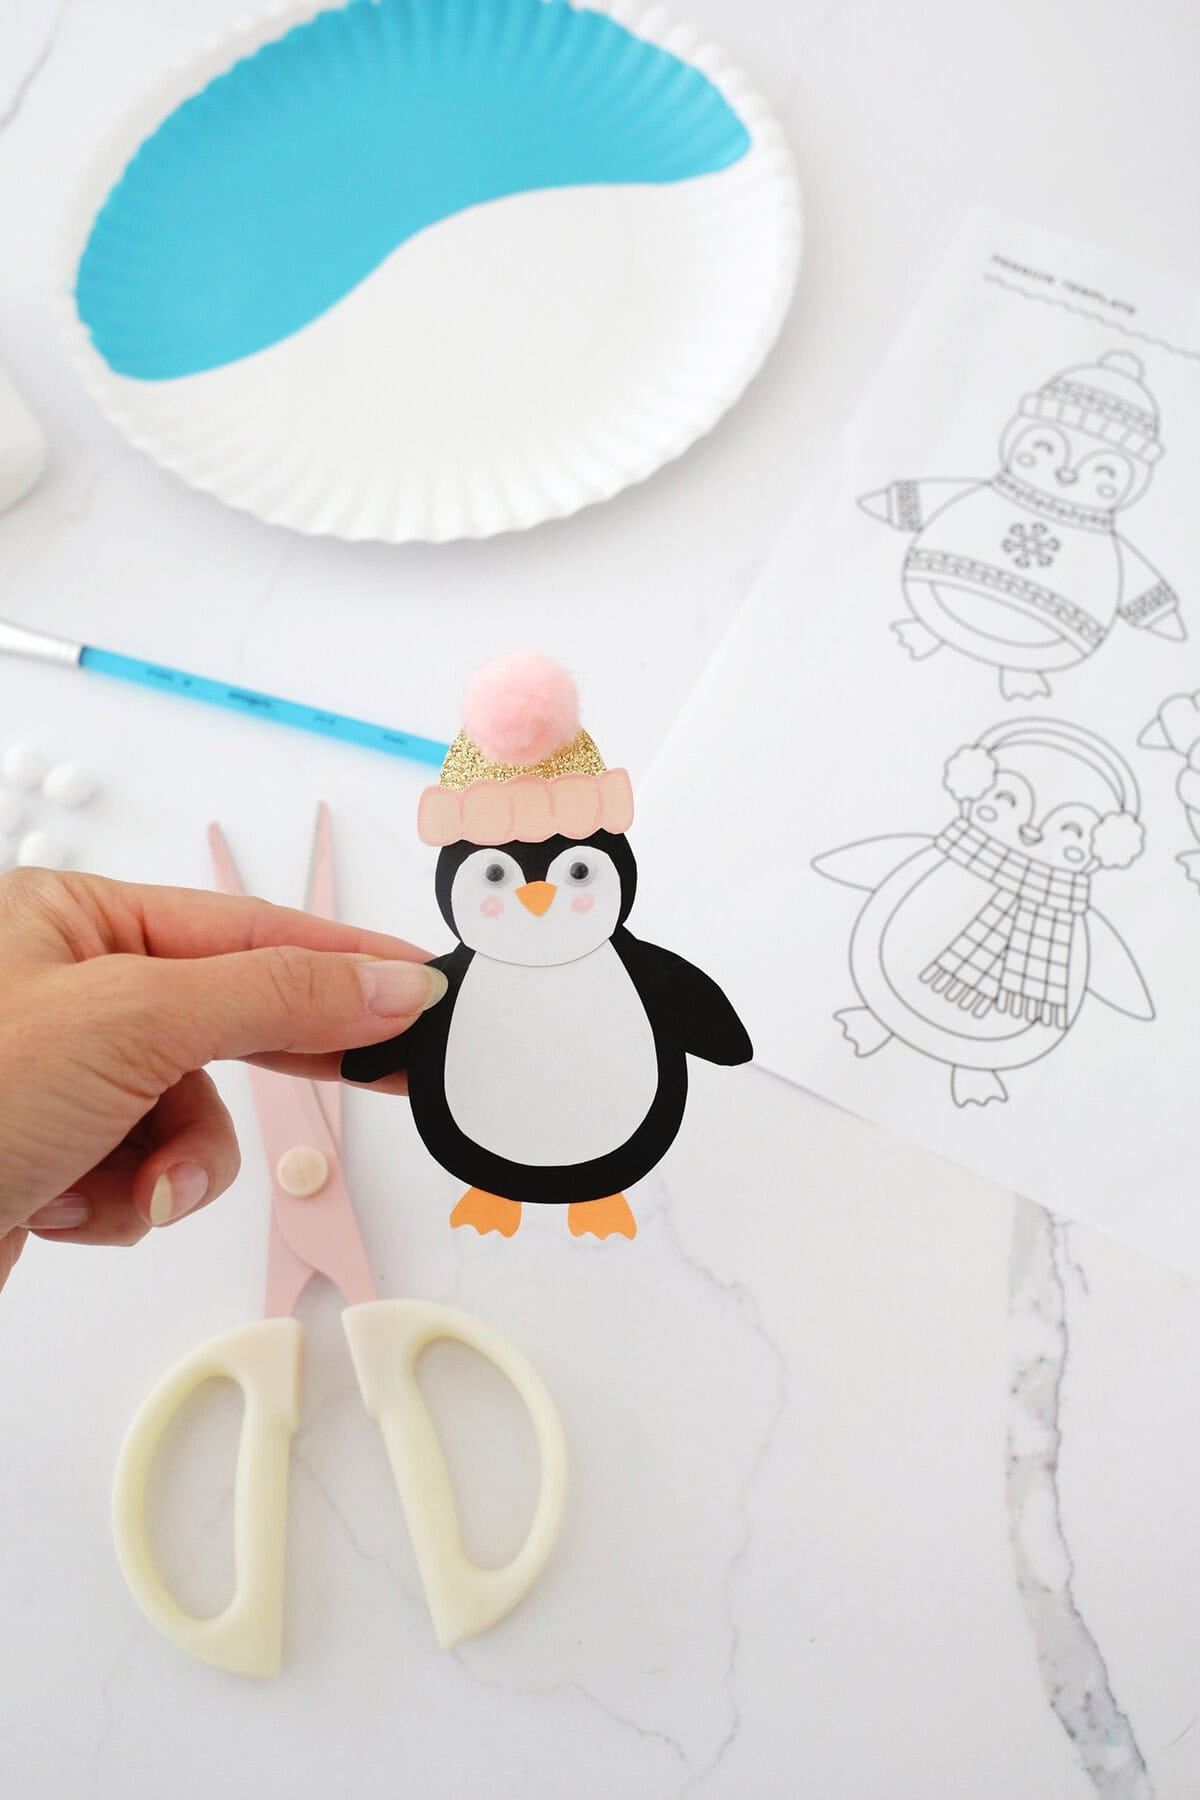
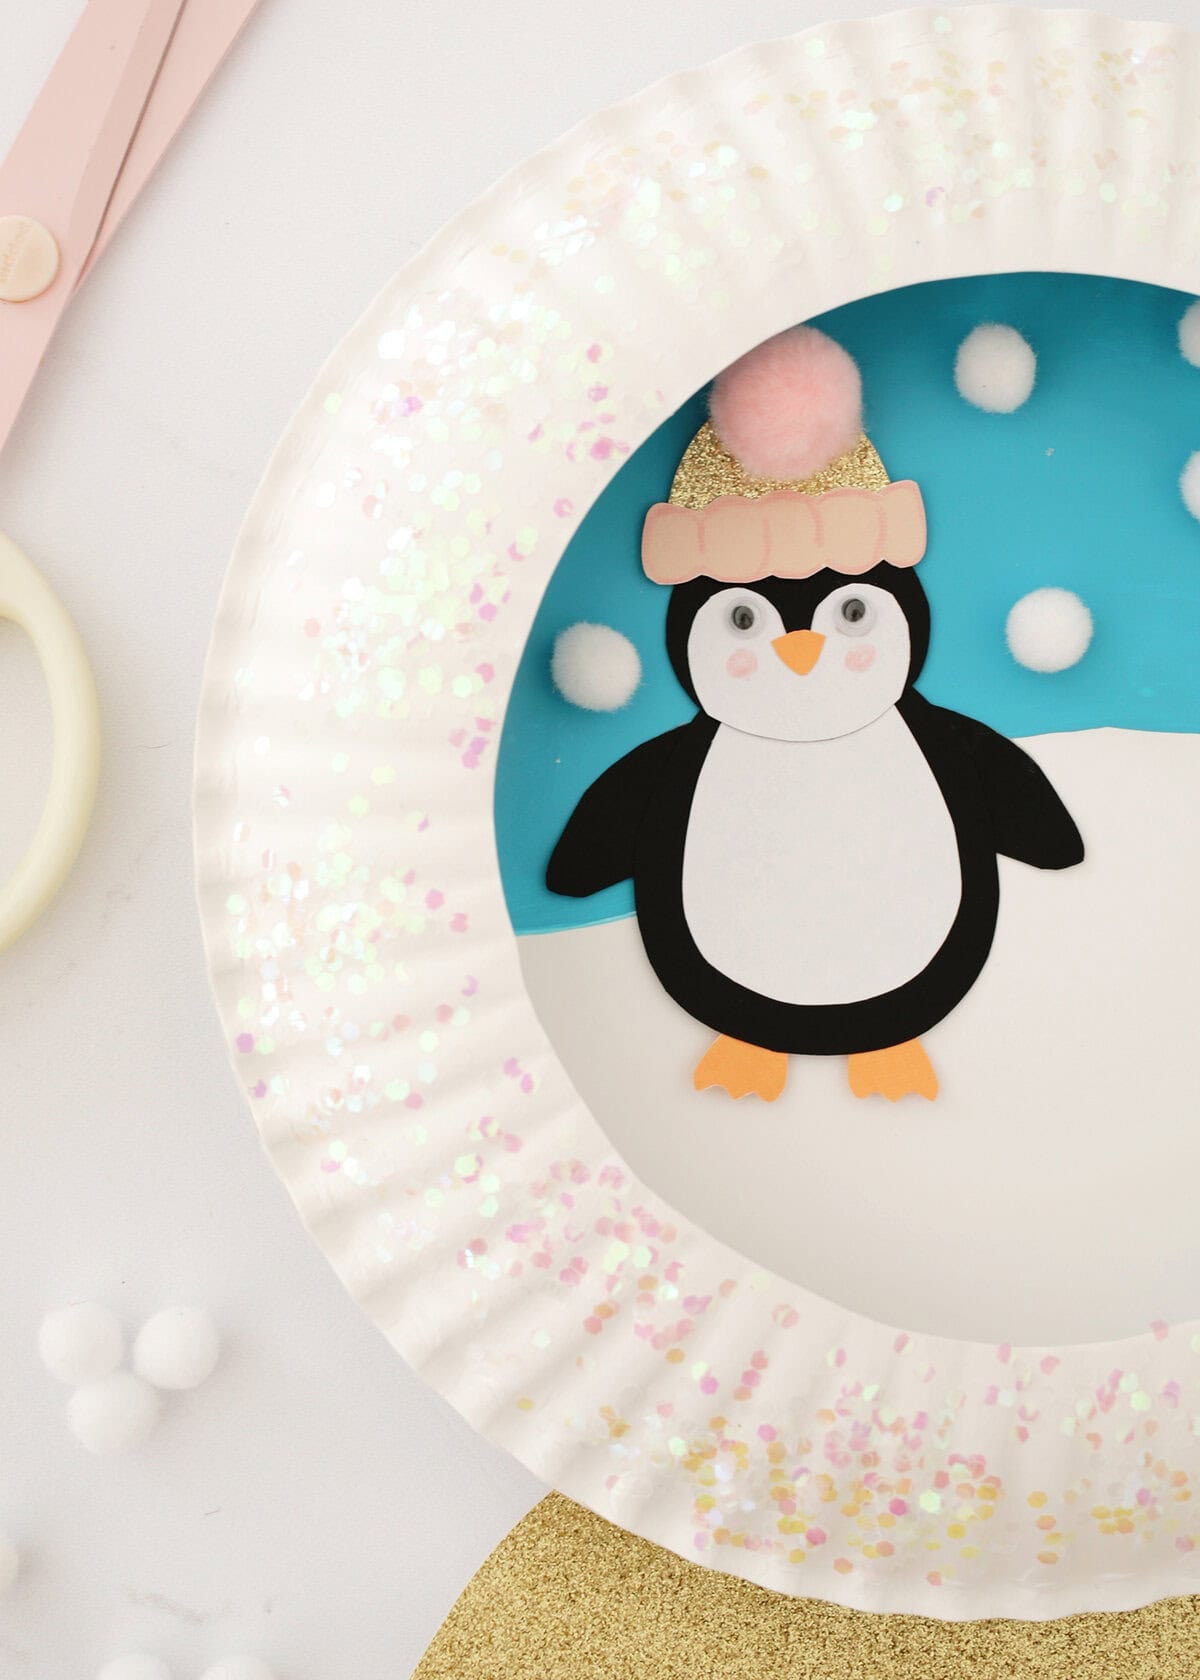
Step 2. Using our free penguin template, you can either let your kiddo color in one of our smaller penguin templates to simply cut out and glue (easier method), or you can print one of the plain larger cutout templates at a smaller size (you can adjust the printing size proportion on your print settings when you go to print it off your phone or computer) and cut out each section to make a paper version like ours.
Google eyes are a cute touch in either version!
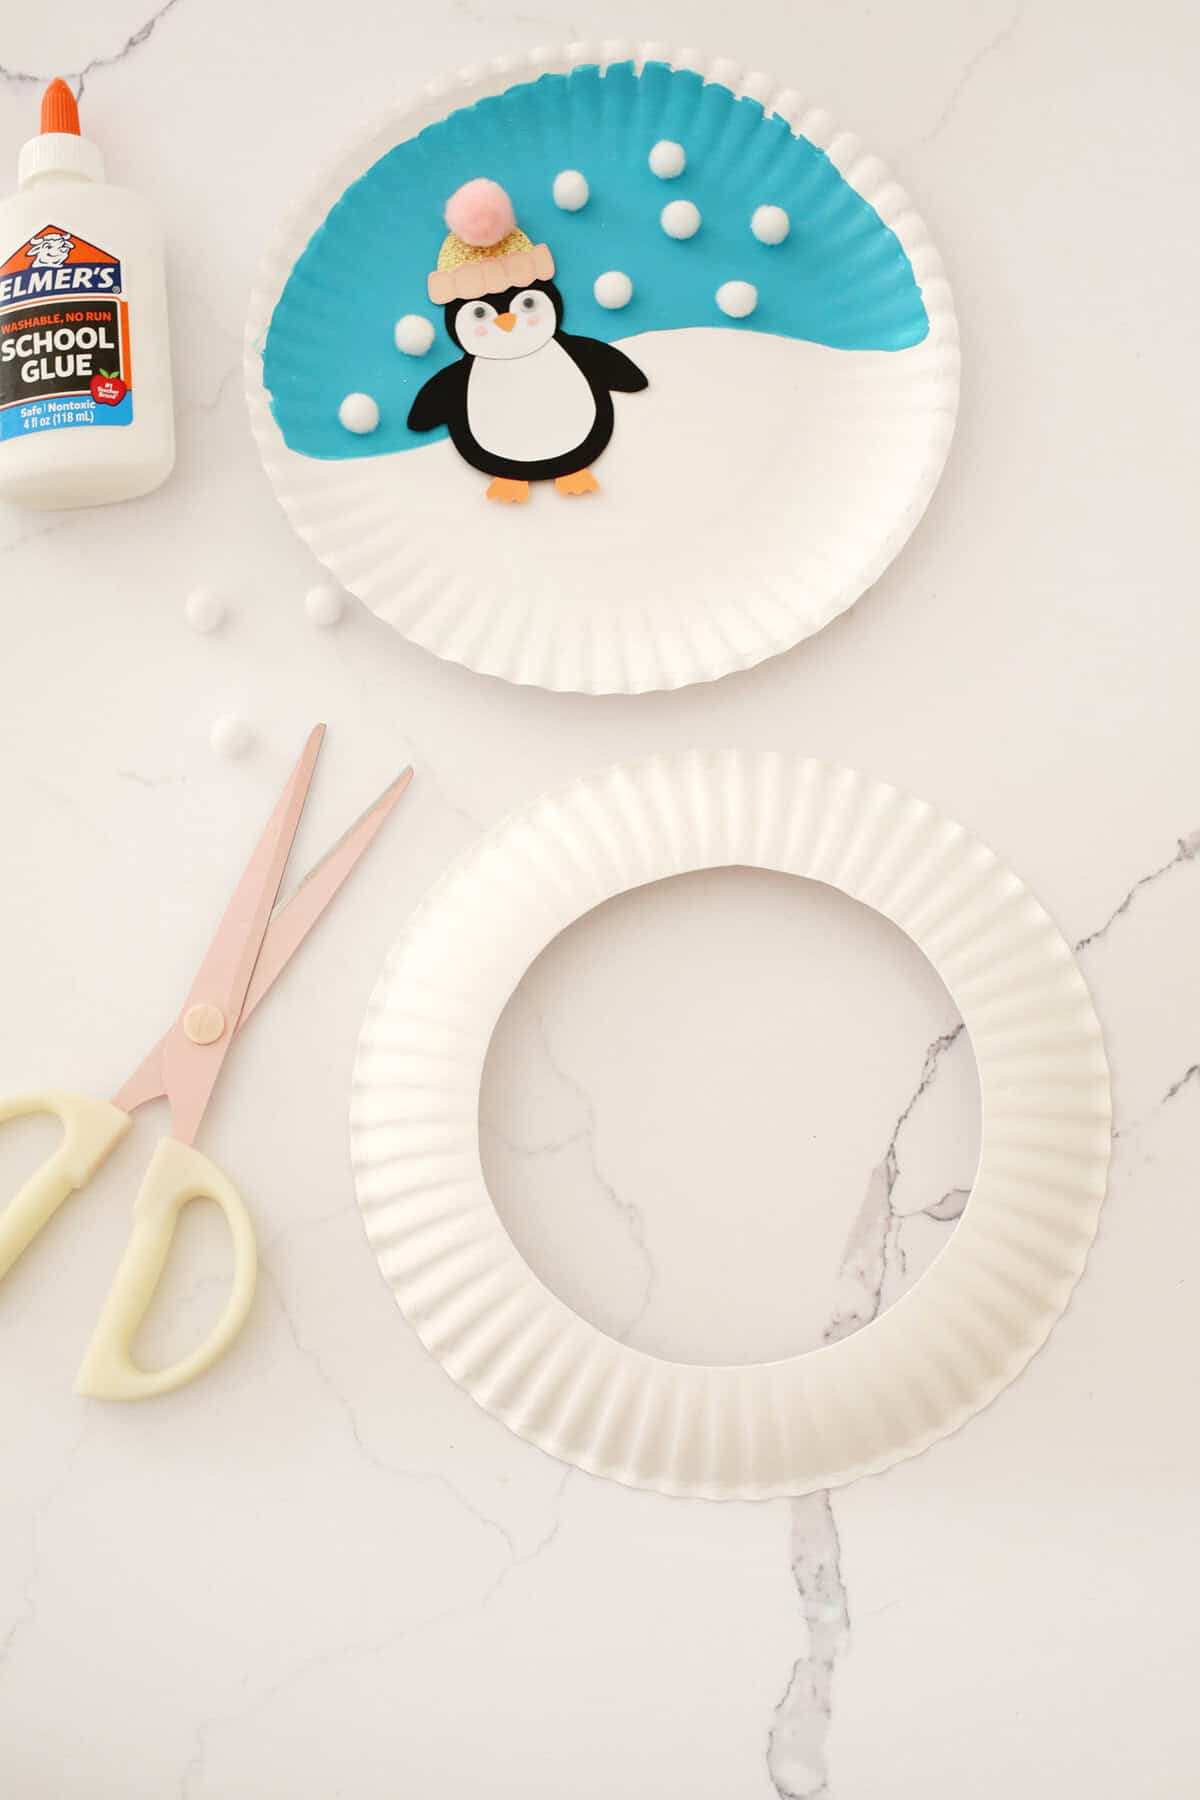
Step 3. Glue your penguin onto your plate and add your snow pom poms with a dash of school glue.
Cut out the center of your second paper plate to be your frame for your snowglobe.
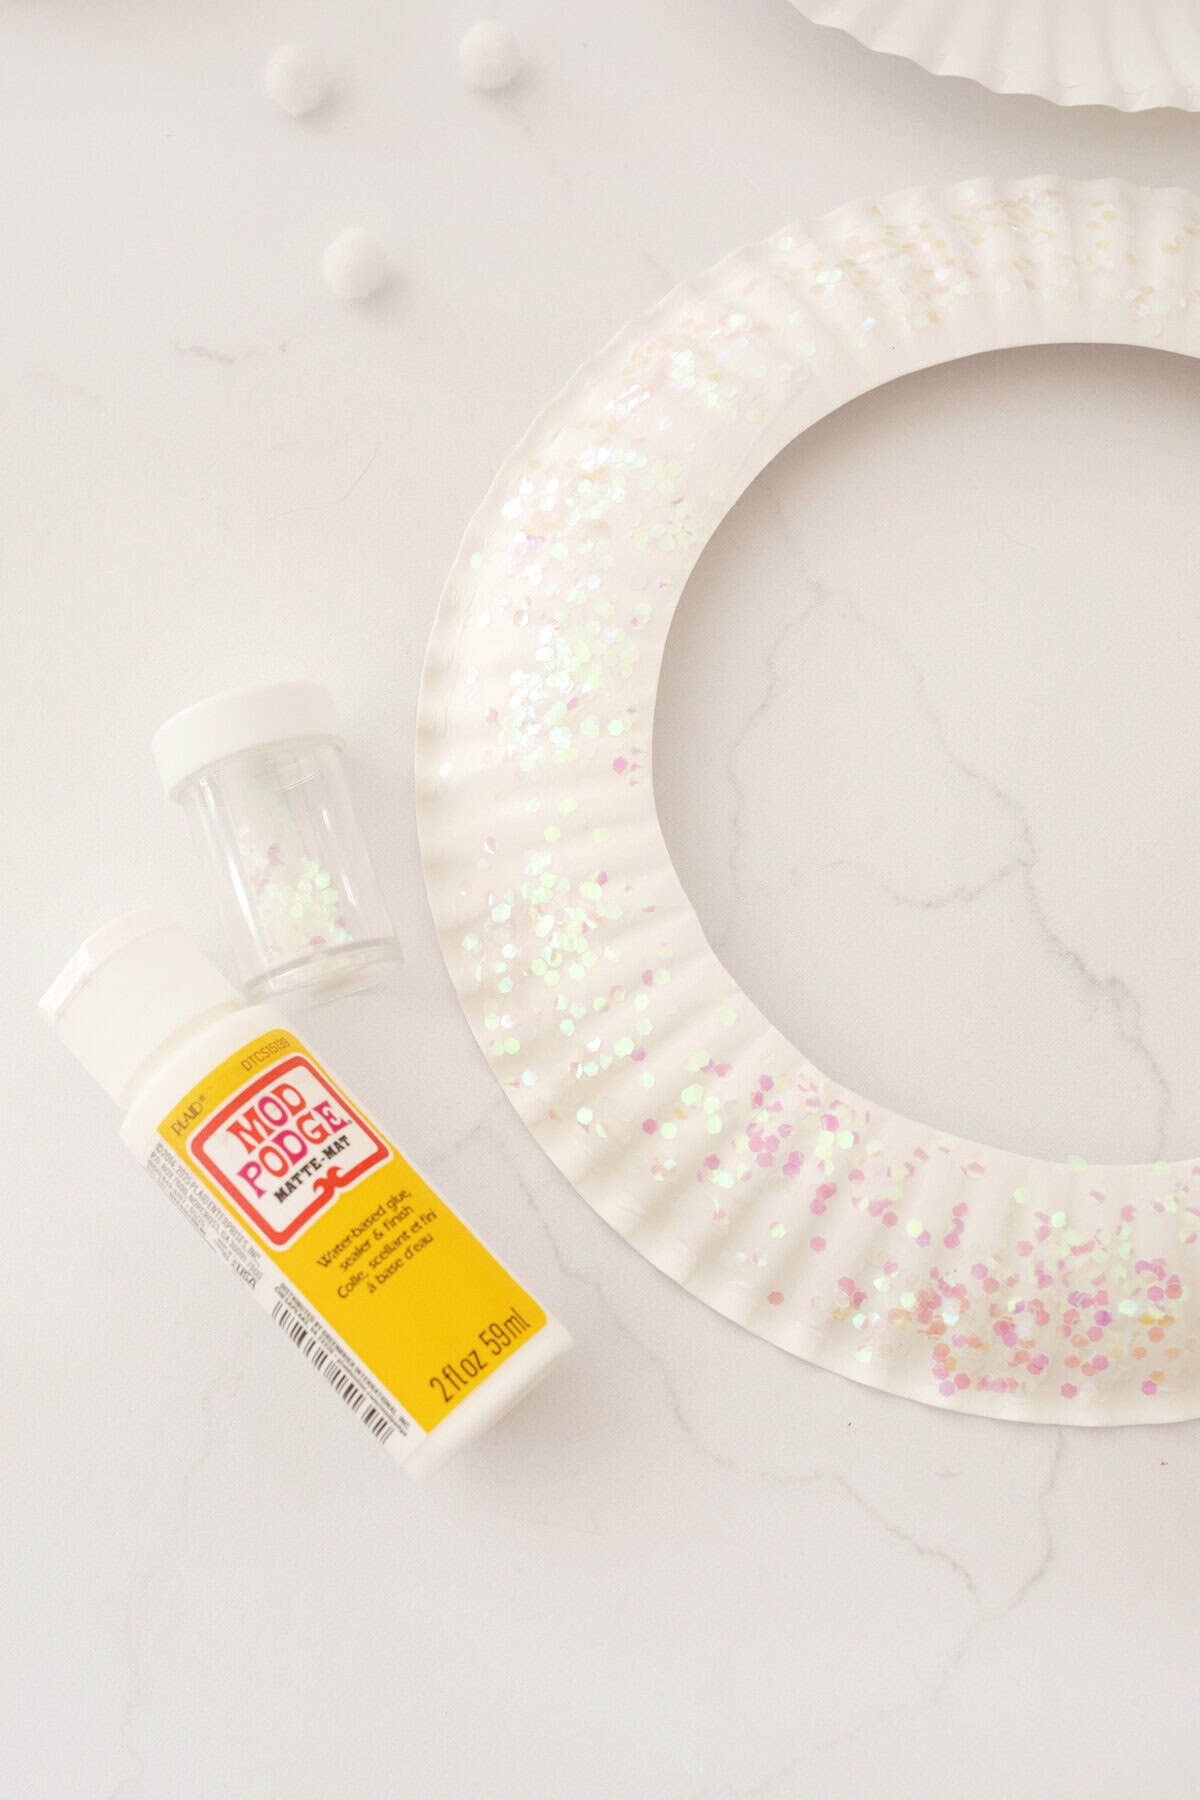
Step 4. Optional, but you can use a paintbrush to cover your frame with Mod Podge or school glue and sprinkle some loose glitter on for some sparkle. Let dry completely and sprinkle your glitter over a tray or trash can for easier clean up.
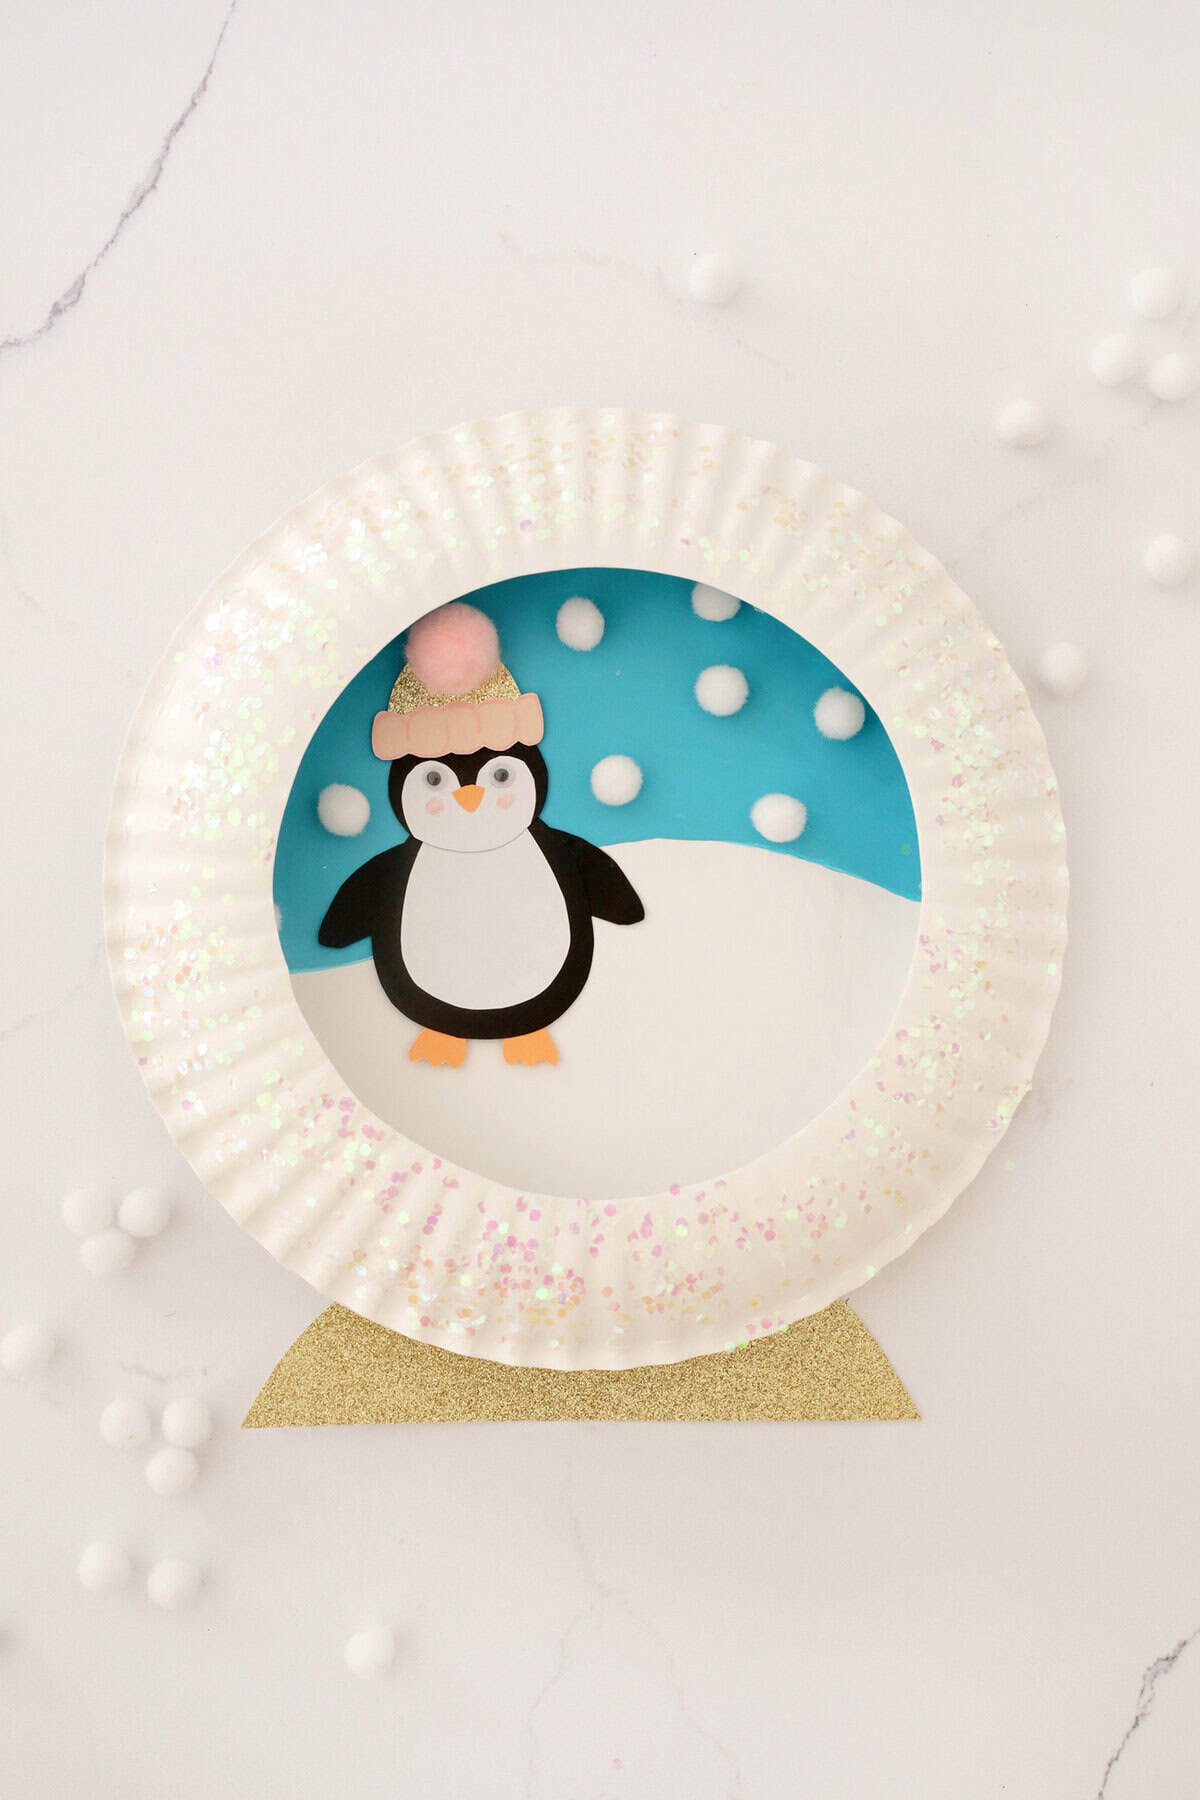
Step 5. Glue your frame onto your first paper plate around the edges and add a snowglobe stand at the bottom if you like.
For the stand, I traced part of a cereal bowl over the edge of a piece of glitter paper and then glued it on the back of the paper plates, but you can also just cut a large triangle shape too.




 Get the Recipe

Ingredients
- 2 Paper plates: You’ll need 2 per snowglobe
- 1 tbsp Glue: Regular school glue works great (you can also use a low temp hot glue gun if an adult is using it for the kiddos.)
- as needed Blue paint: Acrylic paint dries quickly and is an easy clean up for this craft. You can use paint stix too!
- 3 pieces Colored paper: You'll want black, white, and orange paper and brown or glitter (for the base of the snowglobe.)
- 5-10 Small pom poms: This will be your snow in your snowglobe.
- Glitter (optional: You can add a glittery frame with some loose glitter! You can use either school glue or Mod Podge to attach your glitter to your frame.)
Equipment
Instructions
- Paint half of your first paper plate a light blue color in a wave shape to be your snowy hill. Let dry.
- Using our free penguin template, you can either let your kiddo color in one of our smaller penguin templates to simply cut out and glue (easier method), or you can print one of the plain larger cutout templates at a smaller size (you can adjust the printing size proportion on your print settings when you go to print it off your phone or computer) and cut out each section to make a paper version like ours. Google eyes are a cute touch in either version!
- Glue your penguin onto your plate and add your snow pom poms with a dash of school glue.
- Cut out the center of your second paper plate to be your frame for your snowglobe.
- Optional, but you can use a paintbrush to cover your frame with Mod Podge or school glue and sprinkle some loose glitter on for some sparkle. Let dry completely and sprinkle your glitter over a tray or trash can for easier clean up.
- Glue your frame onto your first paper plate around the edges and add a snowglobe stand at the bottom if you like.
- For the stand, I traced part of a cereal bowl over the edge of a piece of glitter paper and then glued it on the back of the paper plates, but you can also just cut a large triangle shape too.