
Making pumpkin slime is a fun way to play with pumpkin guts without actually playing with pumpkin guts! This simple slime adaptation is a twist on our basic slime recipe for fall. Because, everything is more fun and magical in fall in my opinion!
All you need to make slime are a few supplies and 15-20 minutes. You can customize your slime a few different ways, make it before you carve pumpkins or even before doing a puking pumpkin experiment!
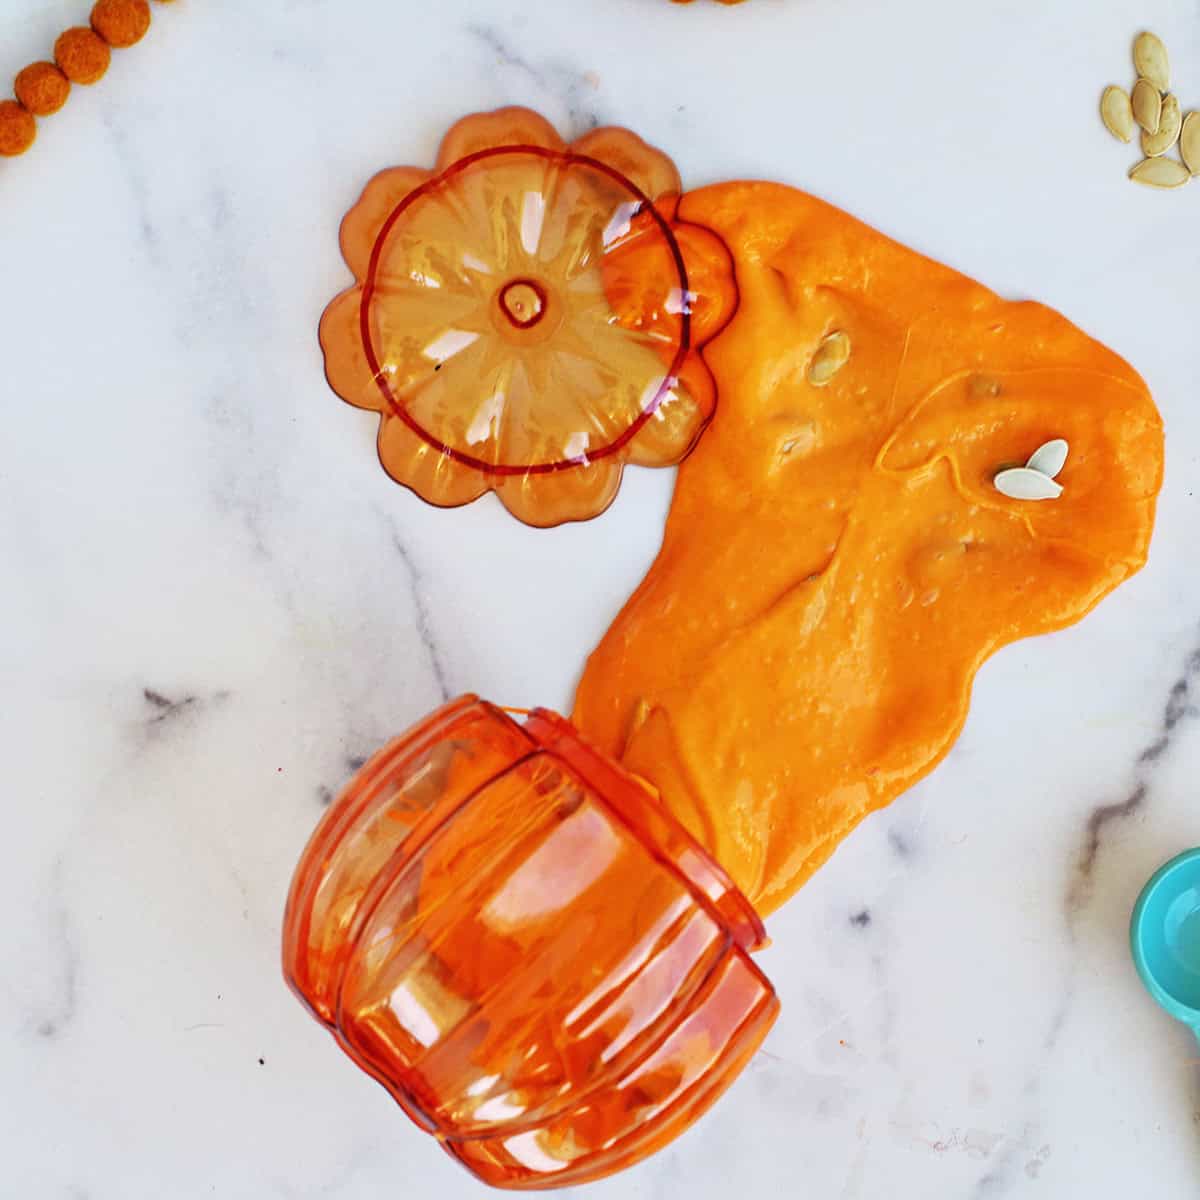
Quick Guide: Pumpkin Slime
Time Needed: 15-20 minutes, additional for cleanup.
Recommended Age: 4+ with adult supervision.
Safety note: This slime recipe is for sensory play, it is not edible. Always supervise children to make sure they don’t put slime in their mouths.
Storage: Store slime in an airtight container. If stored properly it can last 3 weeks or more.
Note from Claire- Let kids help customize their slime by picking colors, deciding if it’s fluffy, clear, or any other fun ideas they have!
Summarize and Save this Content On:
Key Supplies
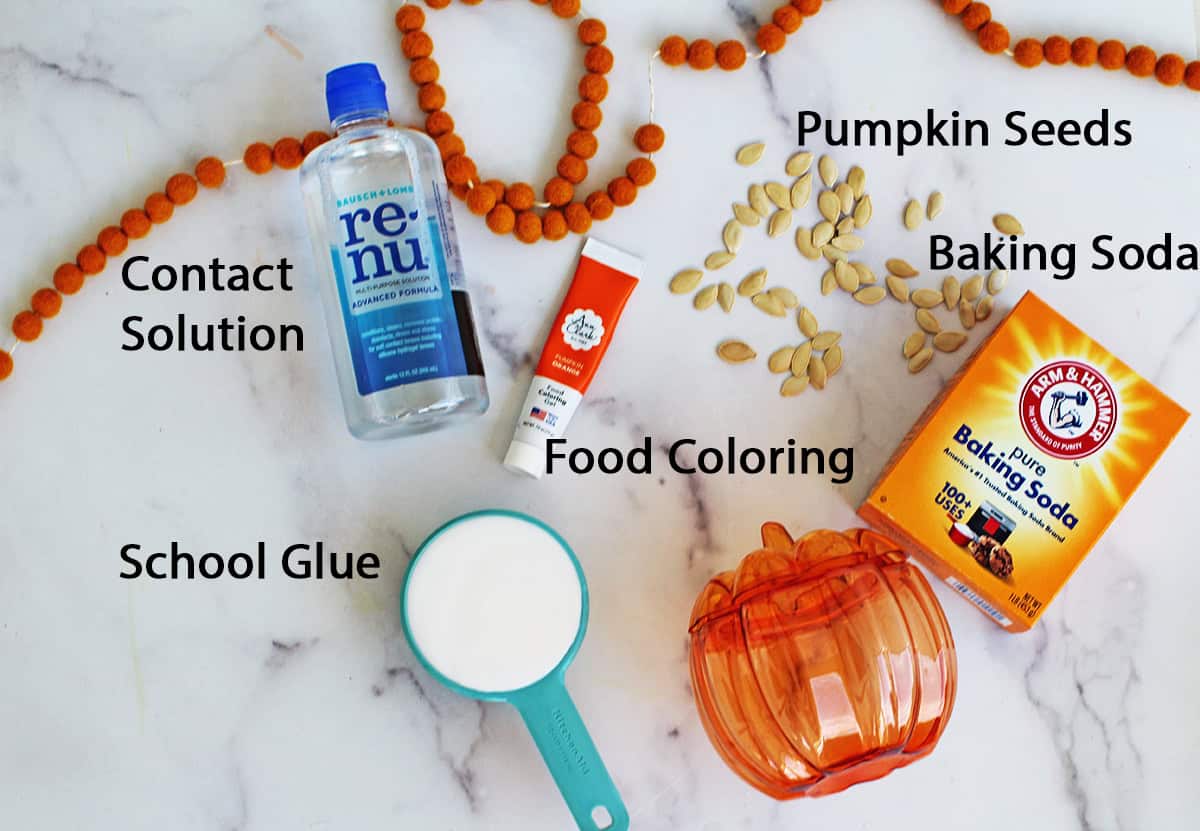
- School glue– I recommend using Elmer’s school glue in bulk for all your slime and puffy paint crafting! You’ll need 6 ounces of glue – which is 3/4 cup. Most bottles come in a 4oz size so you’ll need 2 bottles, so that and the easy pouring is why I recommend going with bulk.
- 1 1/2 tablespoons contact solution– make sure to get the kind with boric acid and sodium borate, like the ReNu brand, otherwise it won’t make the slime consistency.
- Baking soda
Tips and Troubleshooting for Making Pumpkin Slime
- If your slime won’t activate, try either kneading a bit longer or adding a few more drops of contact solution.
- Make sure the contact solution you’re using contains boric acid.
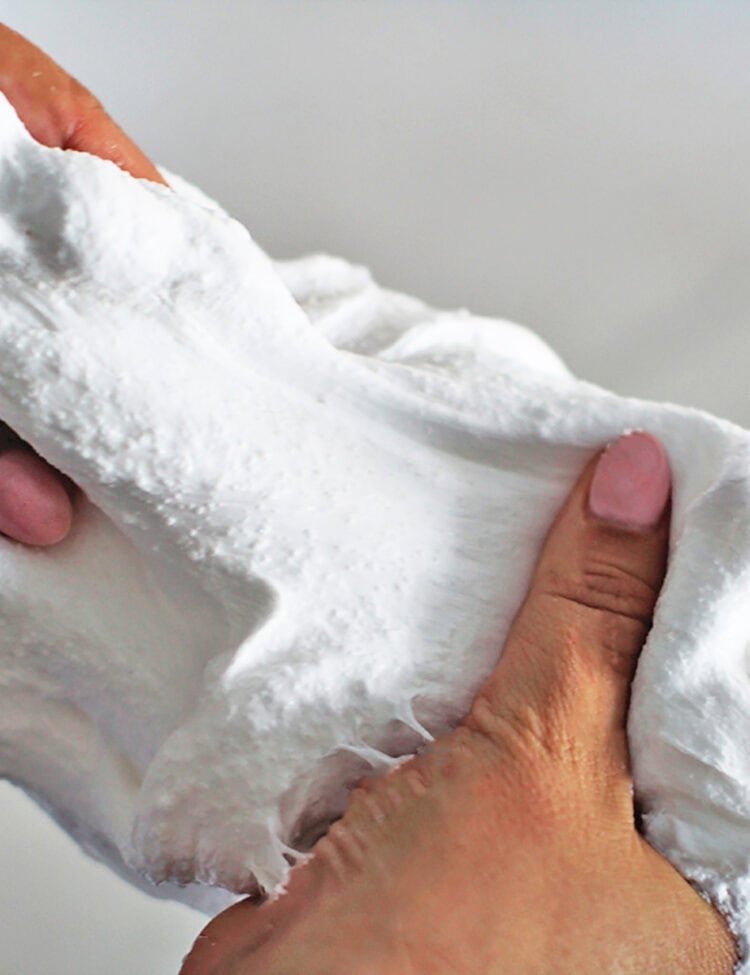
- Want fluffy slime? Add shaving cream for a different texture of slime!
- If you’re wanting the pumpkin seeds to be super visible try using clear glue instead of school glue.
How to Make Pumpkin Slime
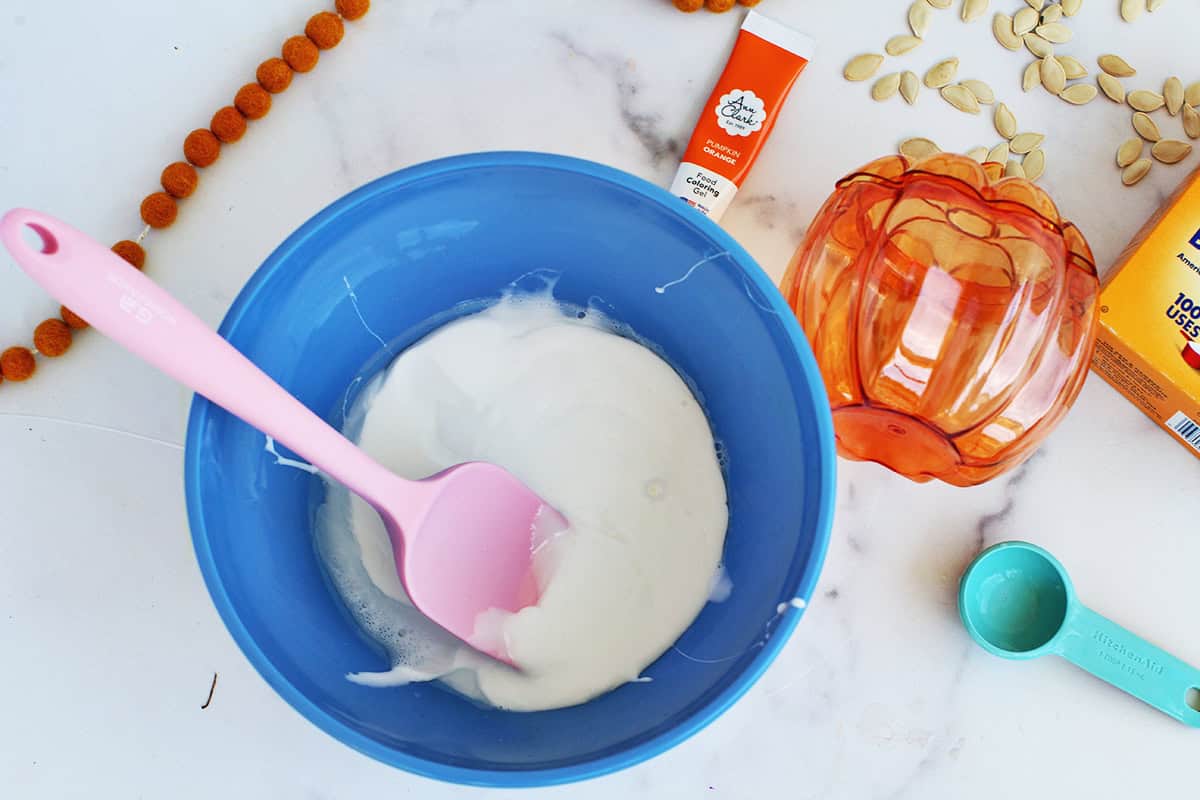
Step 1. Add your glue, contact solution and baking soda into a bowl. I like to keep a set just for crafting and making slime!
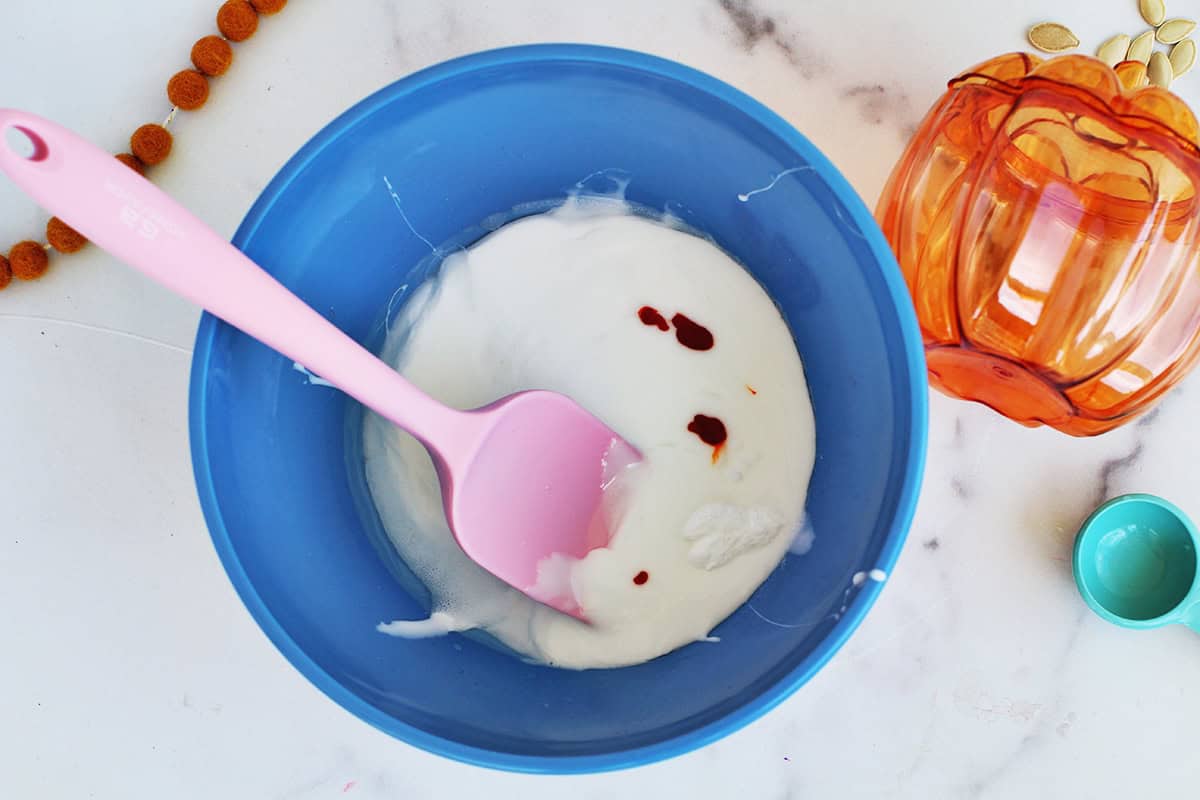
Step 2. Combine your slime ingredients and then add a few drops of orange food coloring.
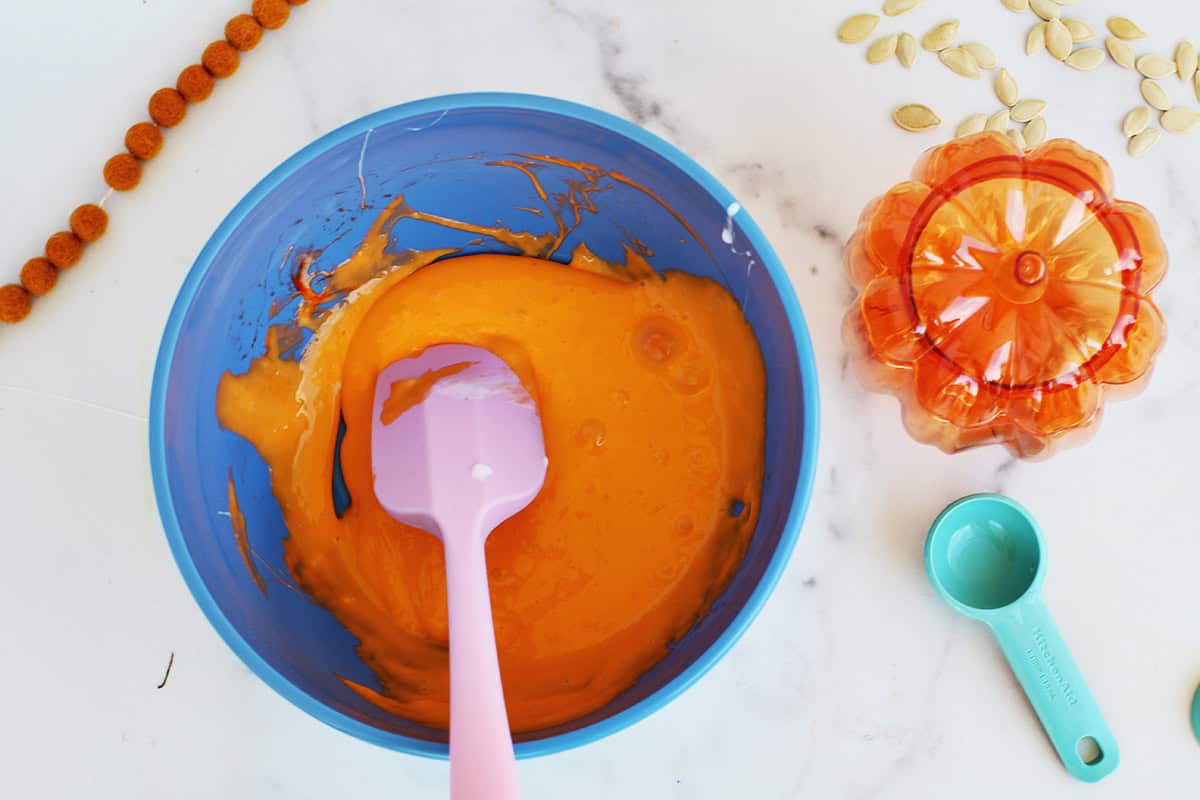
Step 3. Mix the slime ingredients together. It will take a few minutes but will begin to start to stick to itself.
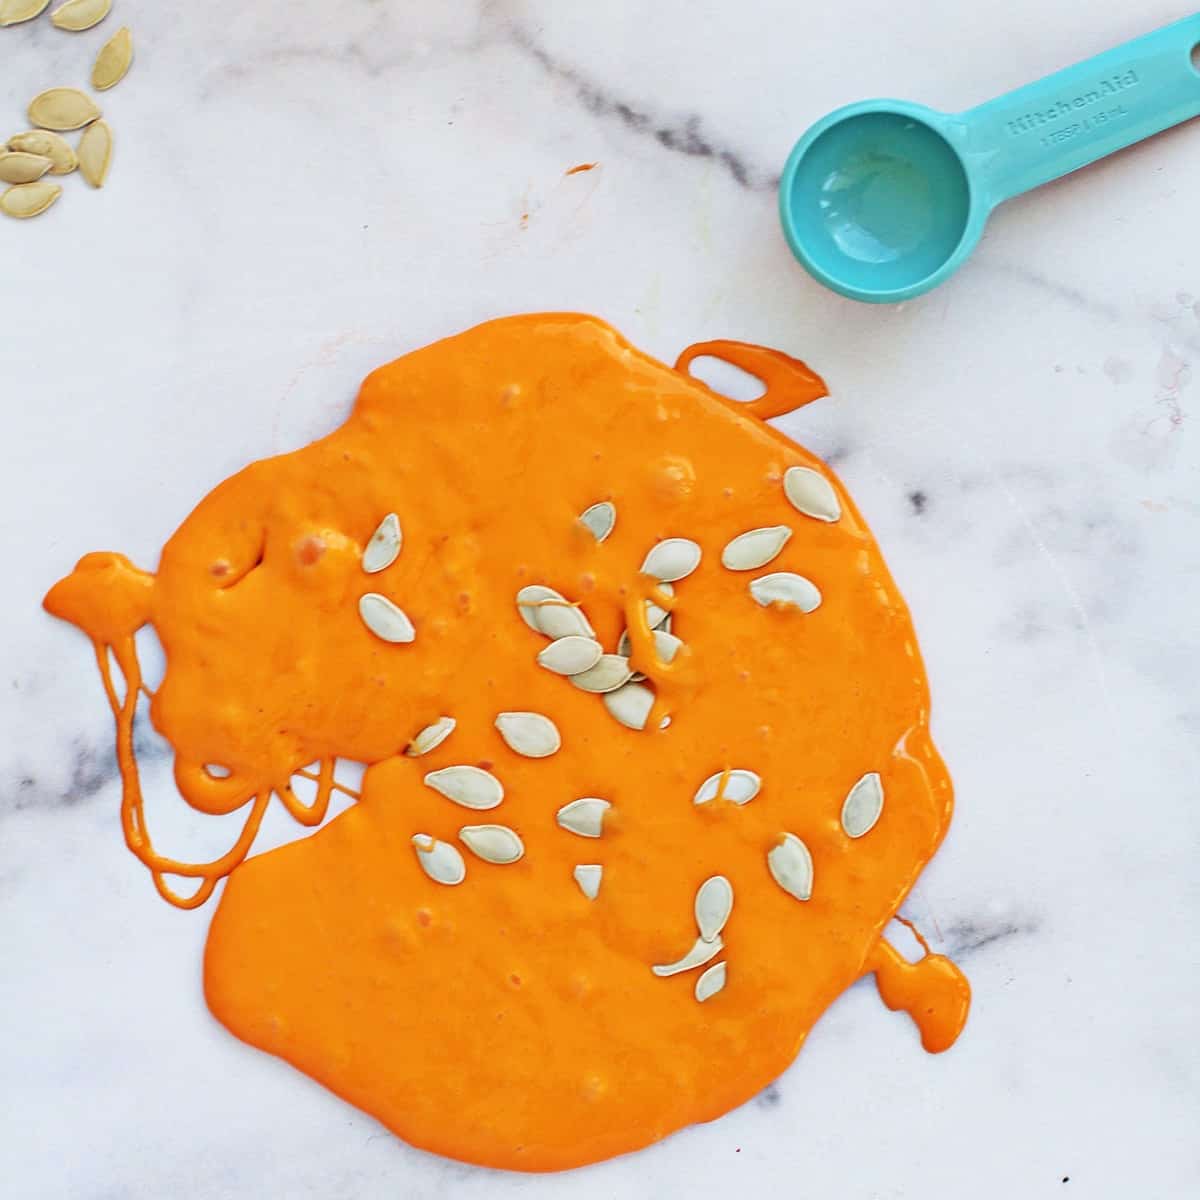
Step 4. After you pull it out of the mixing bowl, add your pumpkin seeds. If you want to make this more translucent so the seeds are more visible, use clear glue instead of regular school glue.
Add your pumpkin slime to a fun container and you’re ready to pull, twist, and play with your slime!
Storing Pumpkin Slime
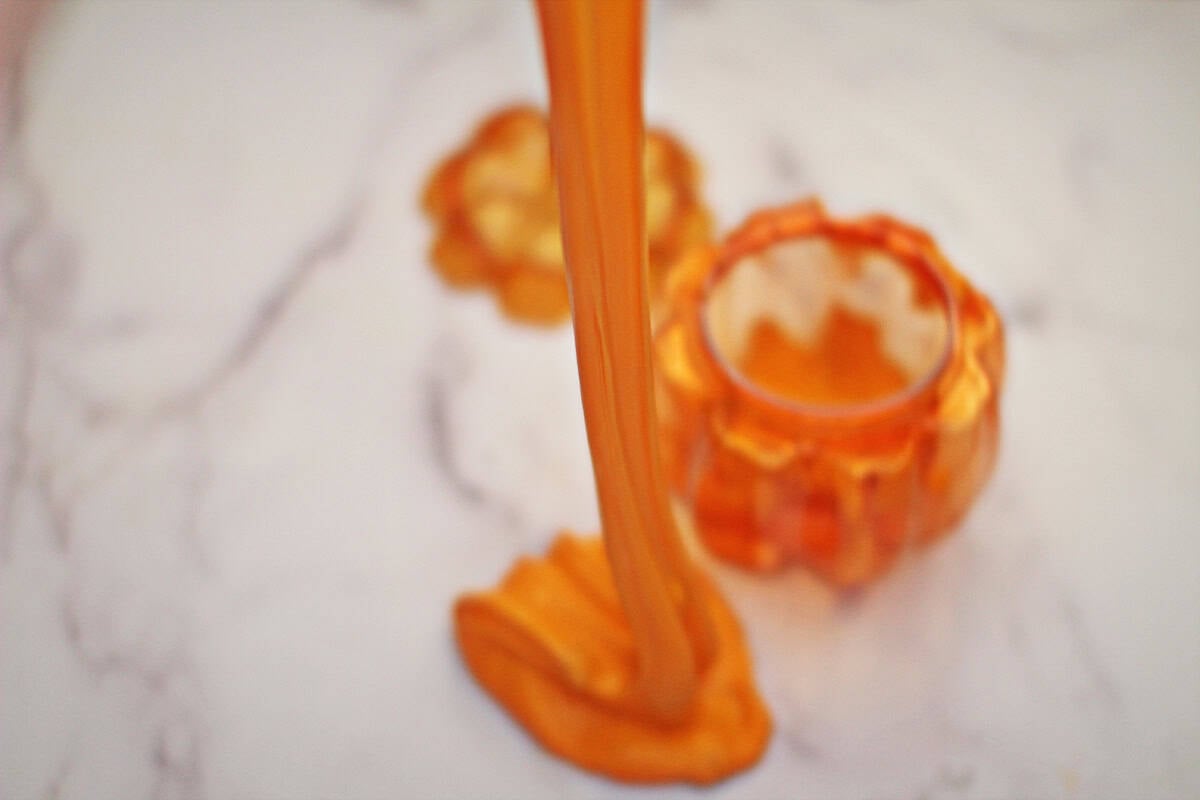
For play I put it in a fun pumpkin-shaped container so that it looked like we were pulling out the pumpkin guts. Usually you’ll want to store slime in an airtight container. I like to use these reusable plastic food storage containers, but other containers (or even a Ziploc bag) can work. You just want to keep air from drying the slime out. If you don’t use an airtight container it may start to harden/change consistency after the first day of play.
Would you like to save this?
 Get the Recipe

Ingredients
- 6 oz school glue
- 1½ tbsp contact solution
- ½ tsp baking soda
- 2-3 drops orange food coloring
Equipment
Instructions
- Add your glue, contact solution and baking soda into a bowl. I like to keep a set just for crafting and making slime!
- Combine your slime ingredients and add a few drops of food coloring and mix the slime ingredients together.
- It will take a few minutes but will begin to start to stick to itself. Once it starts to stick to itself you can remove it from the bowl and knead on a flat surface.
- After you pull it out of the mixing bowl or have reached your desired consistency, add your pumpkin seeds. If you want to make this more translucent so the seeds are more visible, use clear glue instead of regular school glue.
- Add your pumpkin slime to a fun container and you're ready to pull, twist, and play with your slime!
- Store in an airtight container and be sure to wash hands after playing with or making slime.
Easy to make and fun for fall!