
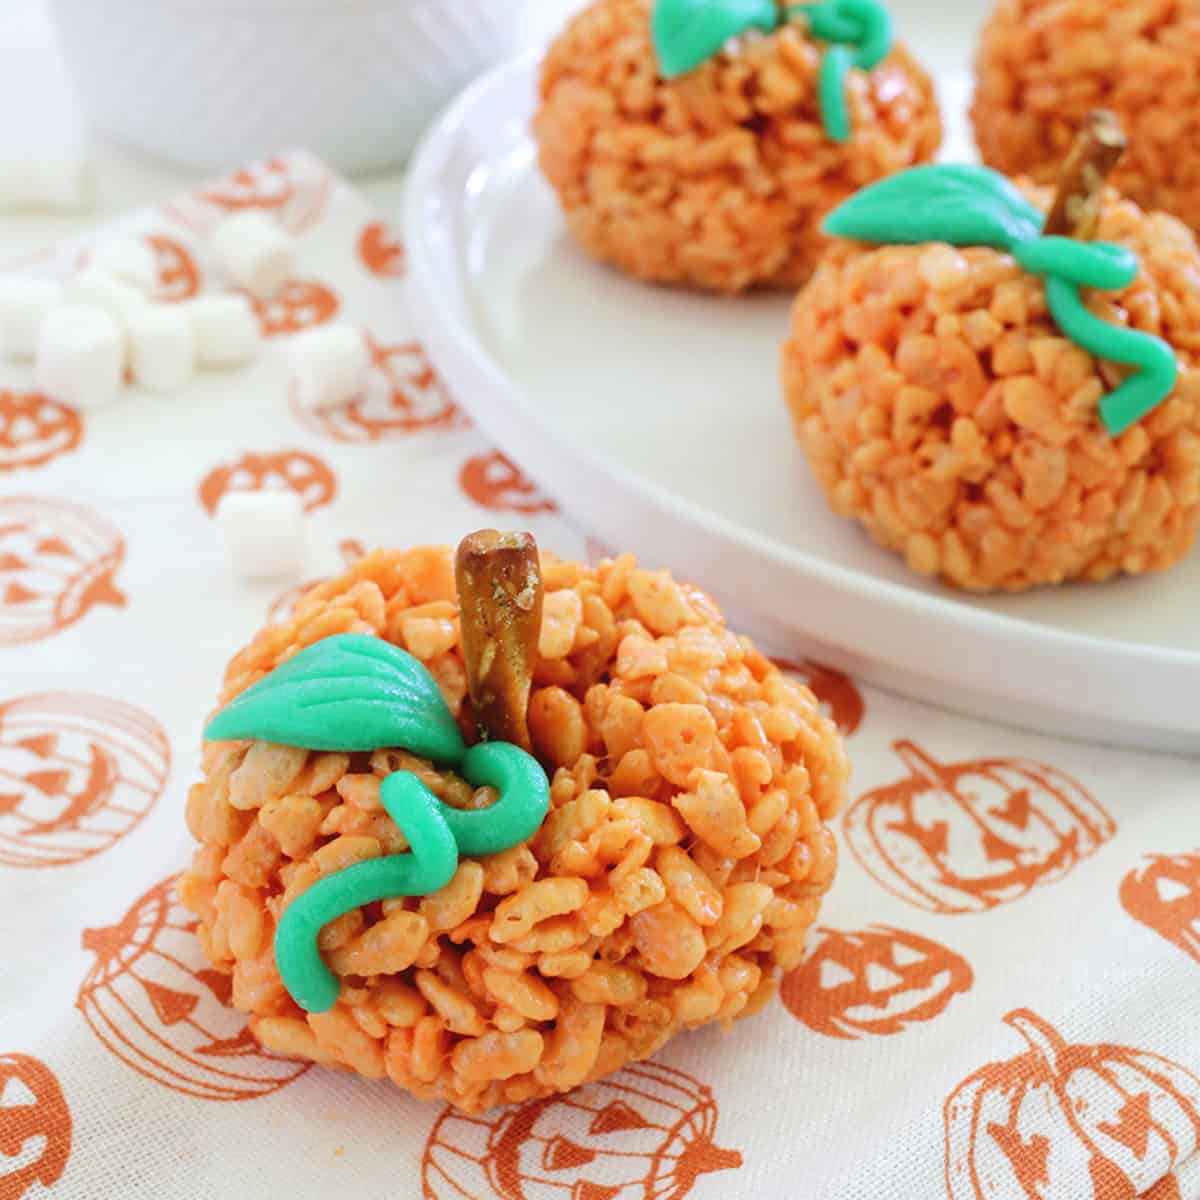
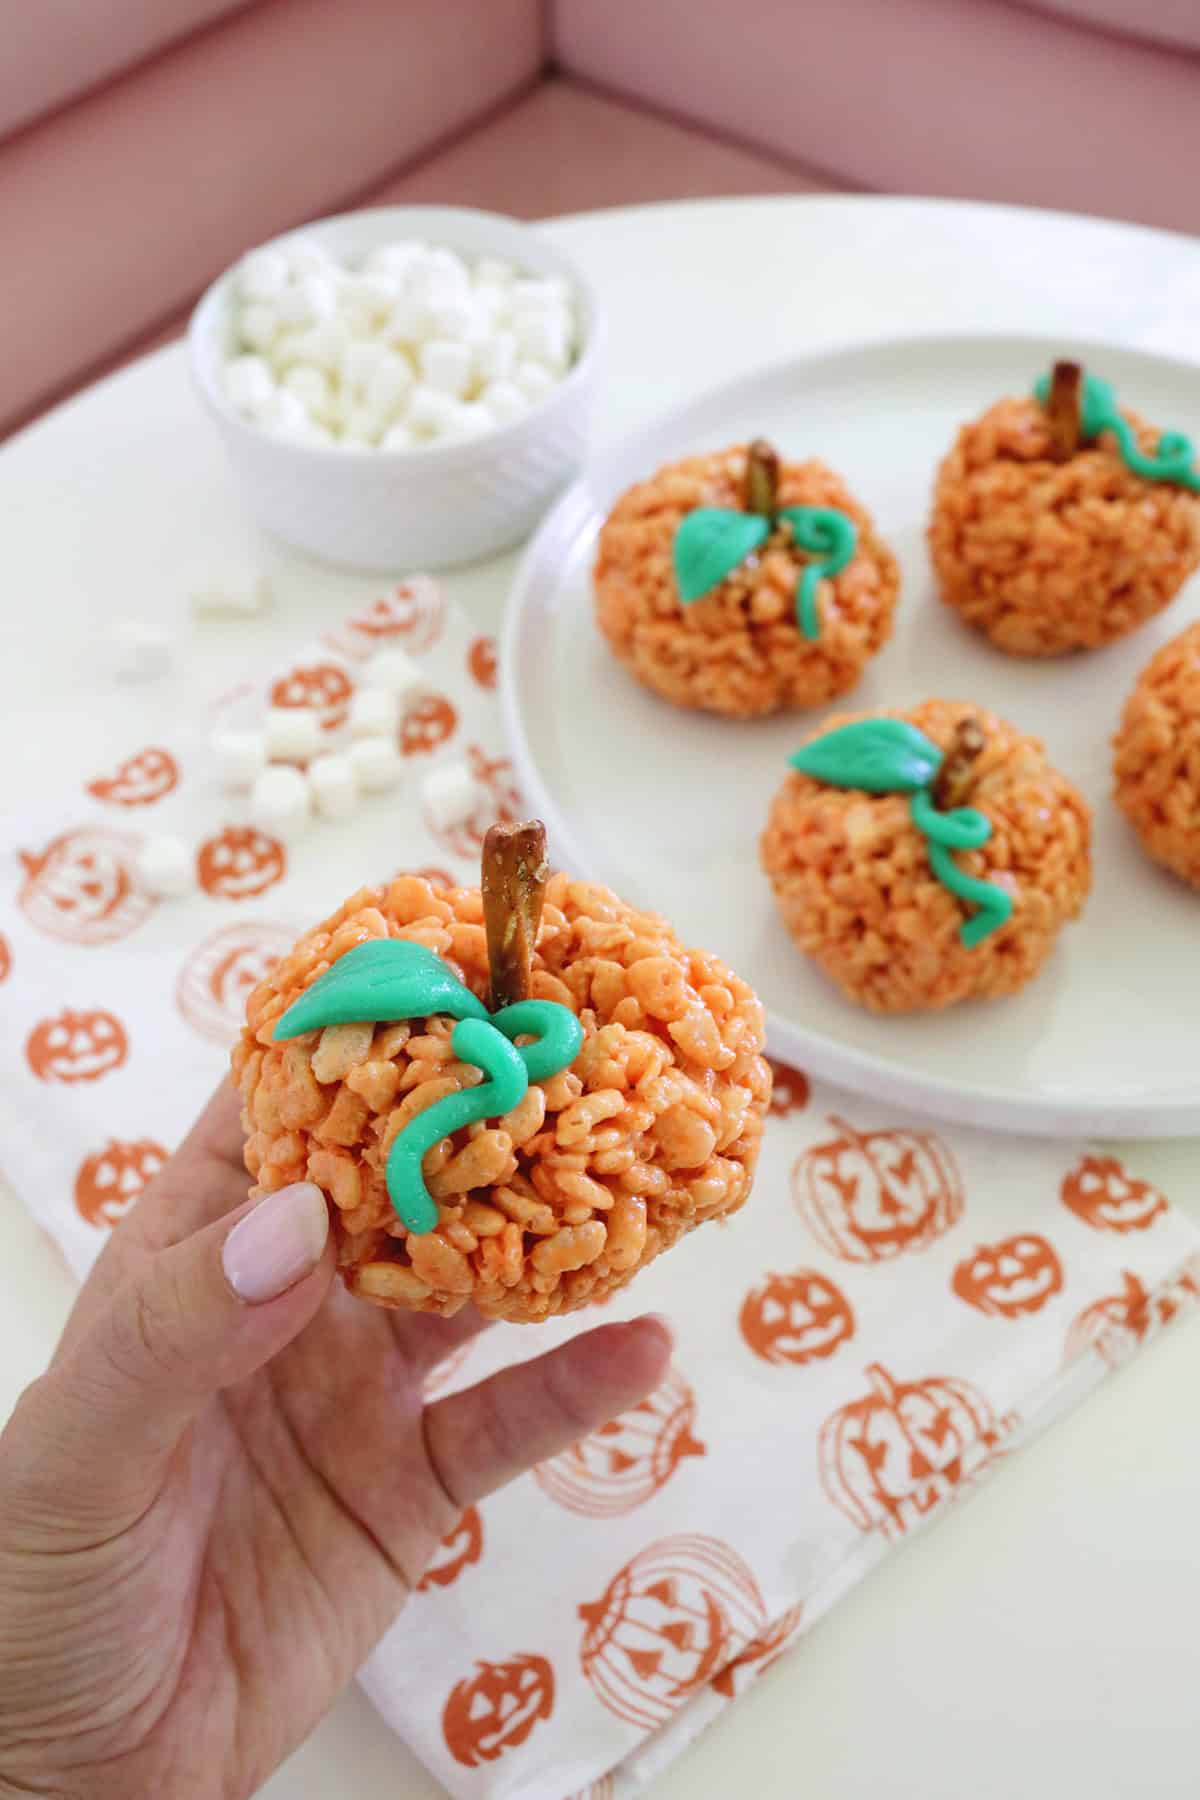
When it comes to fall, pumpkin treats are still a classic, and we love this easy pumpkin shaped Rice Krispies treat for the whole family to enjoy. Whether you are making them for a Halloween party, for on the way to the pumpkin patch or to feature at a fall bonfire night, these novelty treats are sure to bring a smile to everyone’s face.
These pumpkin shaped treats are quick to make and have lots of chances for little kids to help stir and decorate as you go.
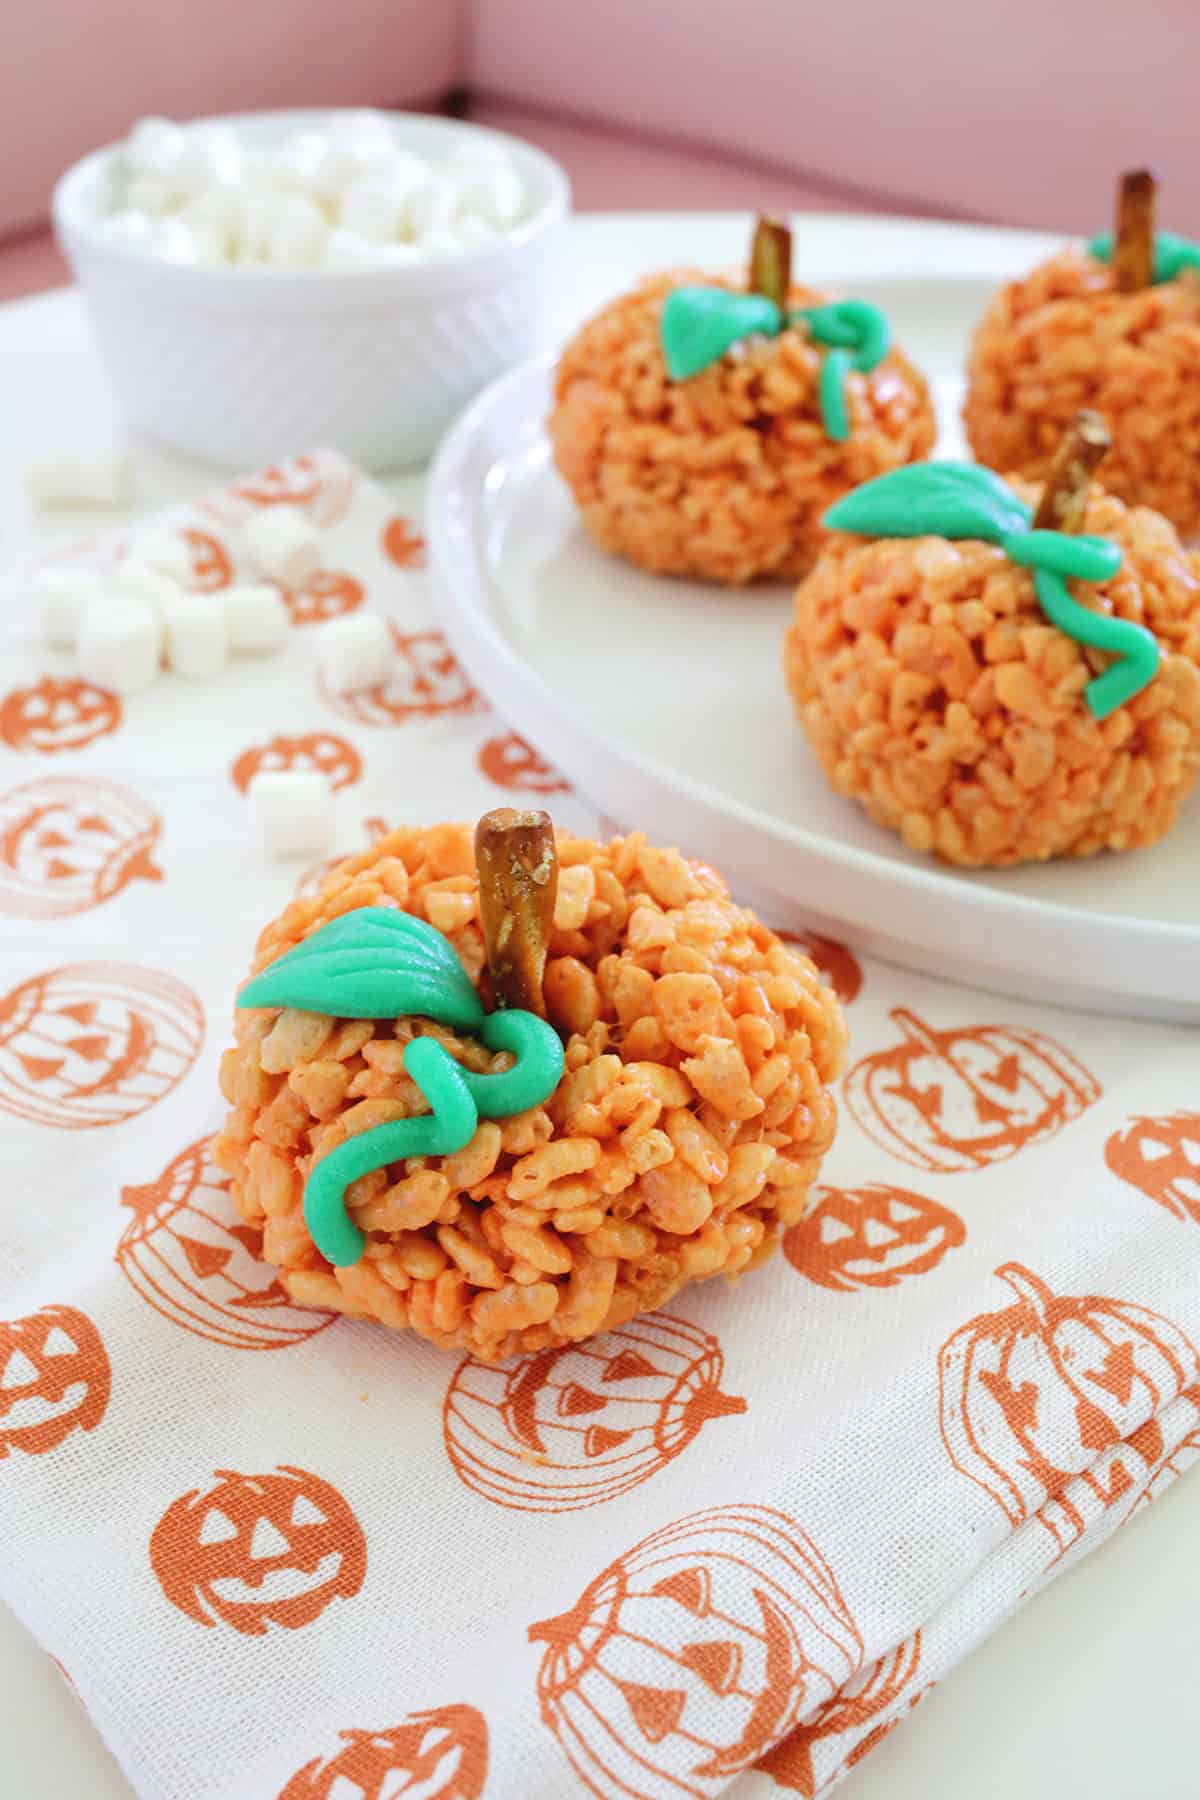
Pumpkin Shaped Rice Krispie Treats
Ready In: 10-20 minutes.
Serves: 6 people
Main Ingredients: Rice Krispie cereal, butter, marshmallows
Why You’ll Love It: These are so cute and perfect as a fall treat!
Summarize and Save this Content On:
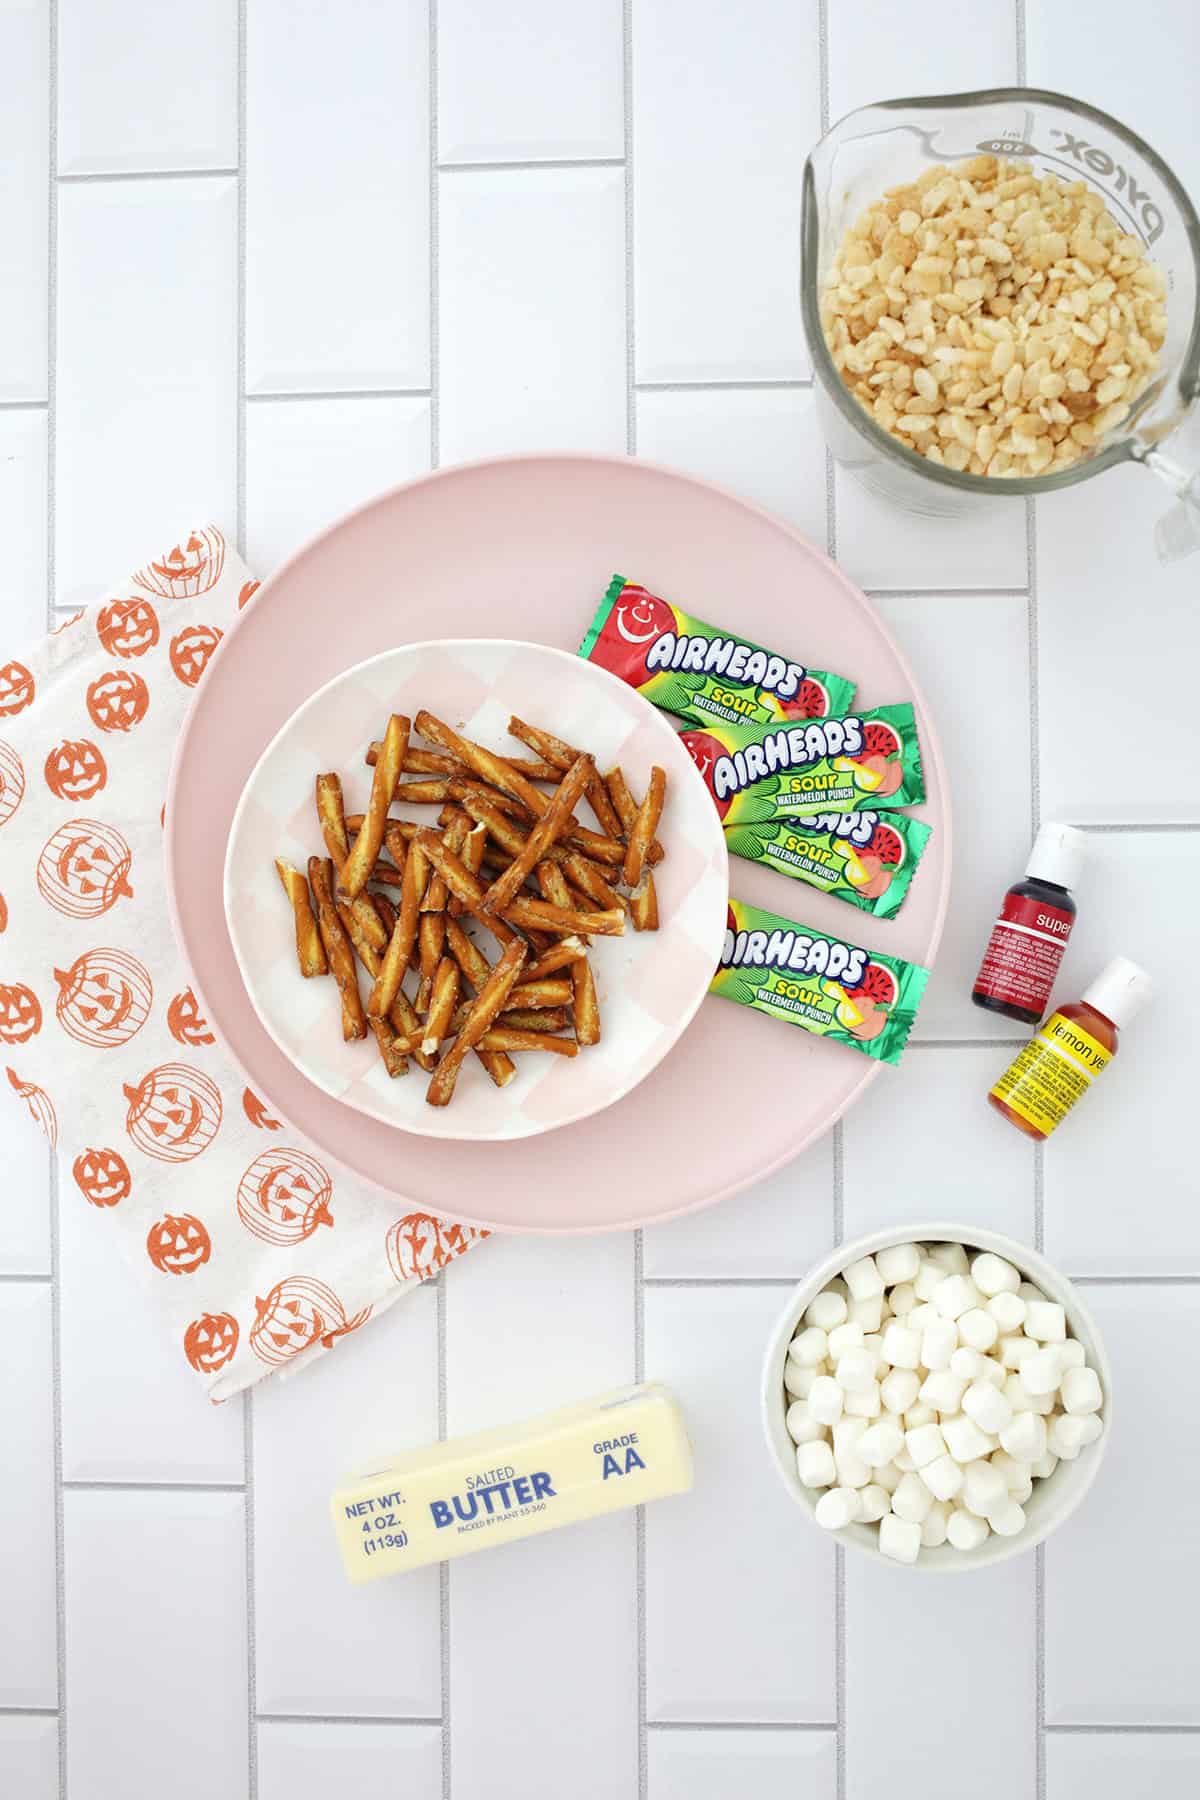
Key Ingredients
- Rice Krispies cereal: This will be the main base of your pumpkin-shaped treat.
- Salted butter: You can also used unsalted, but add a few shakes of salt into your melted butter to bring out the flavors a bit more.
- Mini marshmallows: You can also use larger ones (just measure out 10oz) but the mini ones melt faster.
- Orange food coloring: Gel colors are brighter than regular food coloring, and remember you can mix red and yellow if you don’t have an orange one.
- Pretzel rods or sticks: You don’t need very long ones for this recipe, so the shorter sticks will work as well as breaking up the longer ones.
- Non-stick cooking spray: Use this or a little cooking oil to oil your hands and keep the Rice Krispies mix from sticking to your hands as you form the pumpkins.
- Green AirHeads candies or green fondant: AirHeads work great if you don’t feel like rolling out fondant. And everyone in the room raises their hand! 🙂
- Get the full list of ingredients and measurements on the printable recipe card below.
Tips for making pumpkin shaped Rice Krispie treats:
- You can also use green icing to make your leaf and vine shape.
- Try a licorice stick for a stem.
- Drizzle your pumpkin with orange colored candy melt chocolate to add some chocolate flavor.
How to Make Pumpkin Shaped Rice Krispie Treats
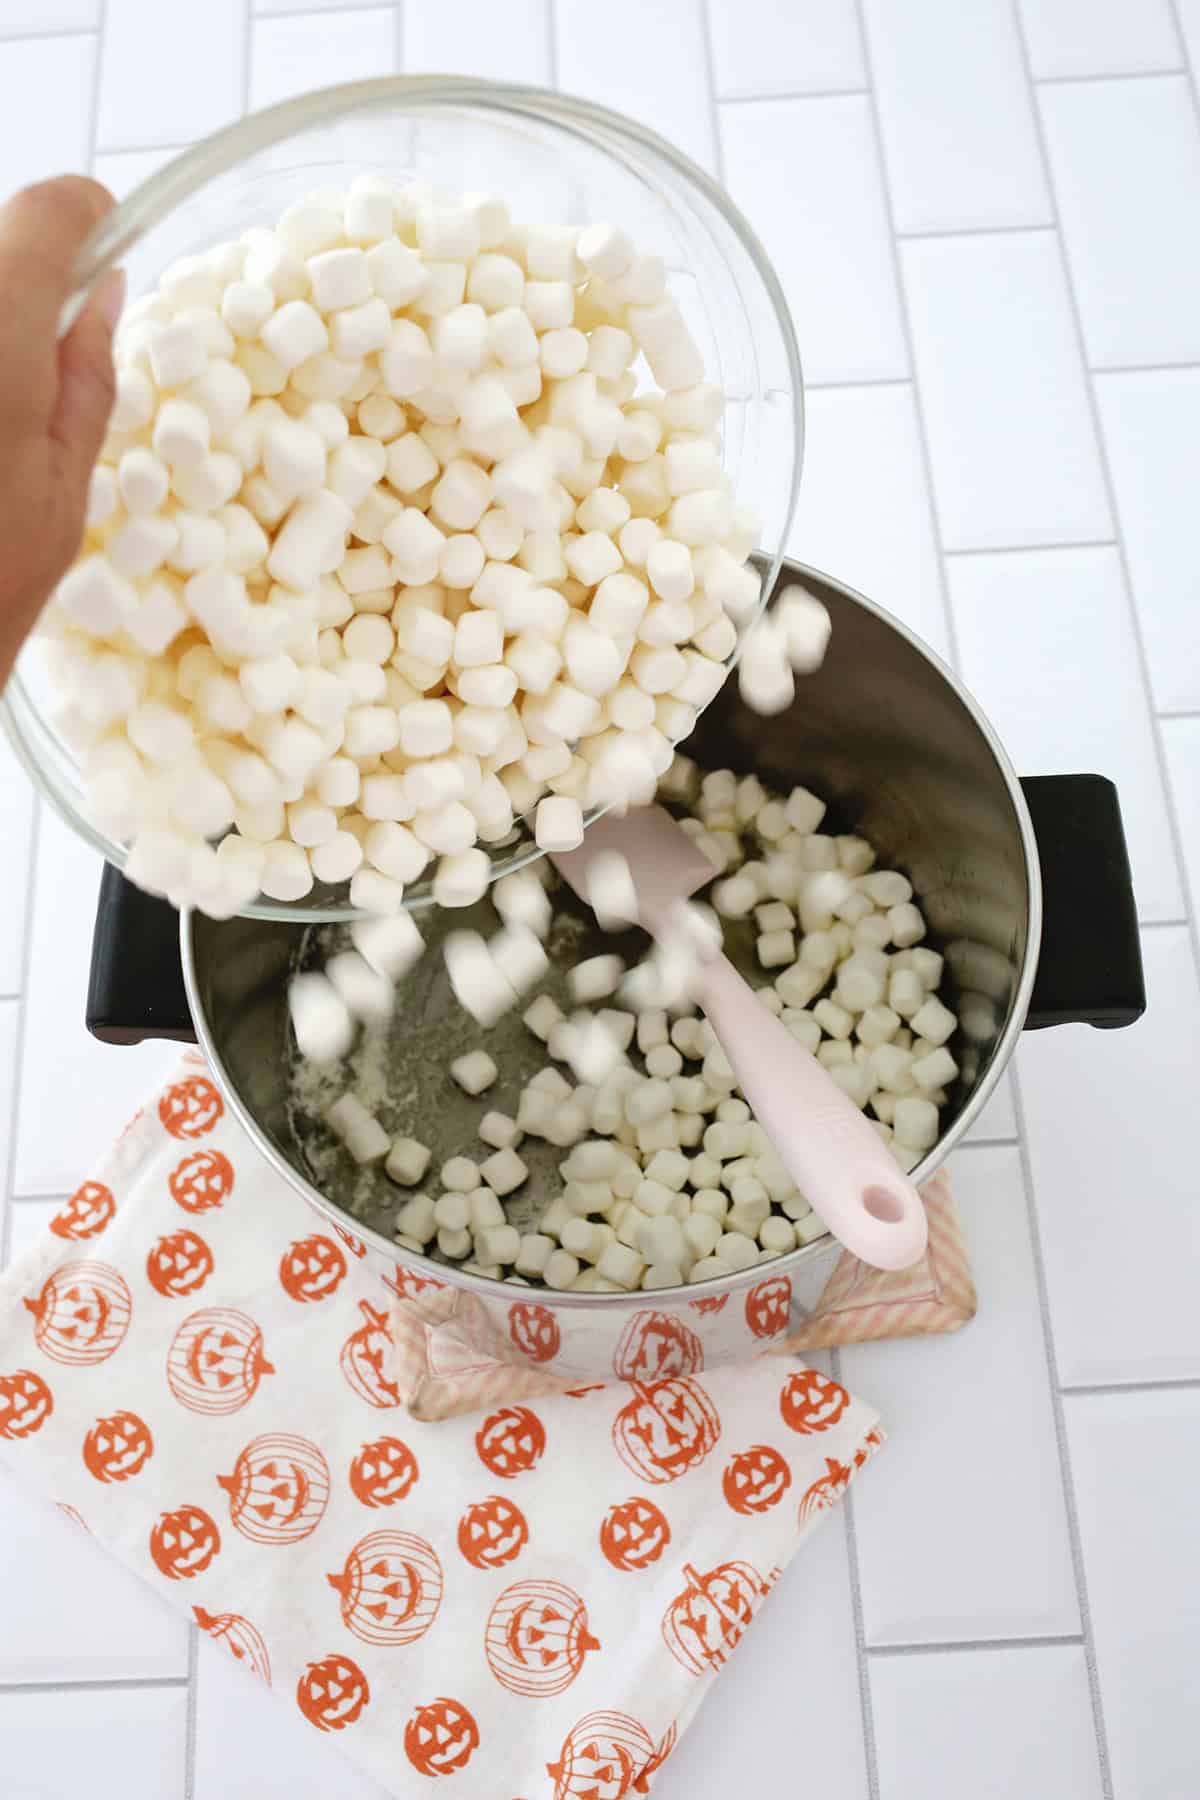
Step 1. Melt your butter in a large pot over low heat and add in your marshmallows. Stir until marshmallows are melted into the butter.
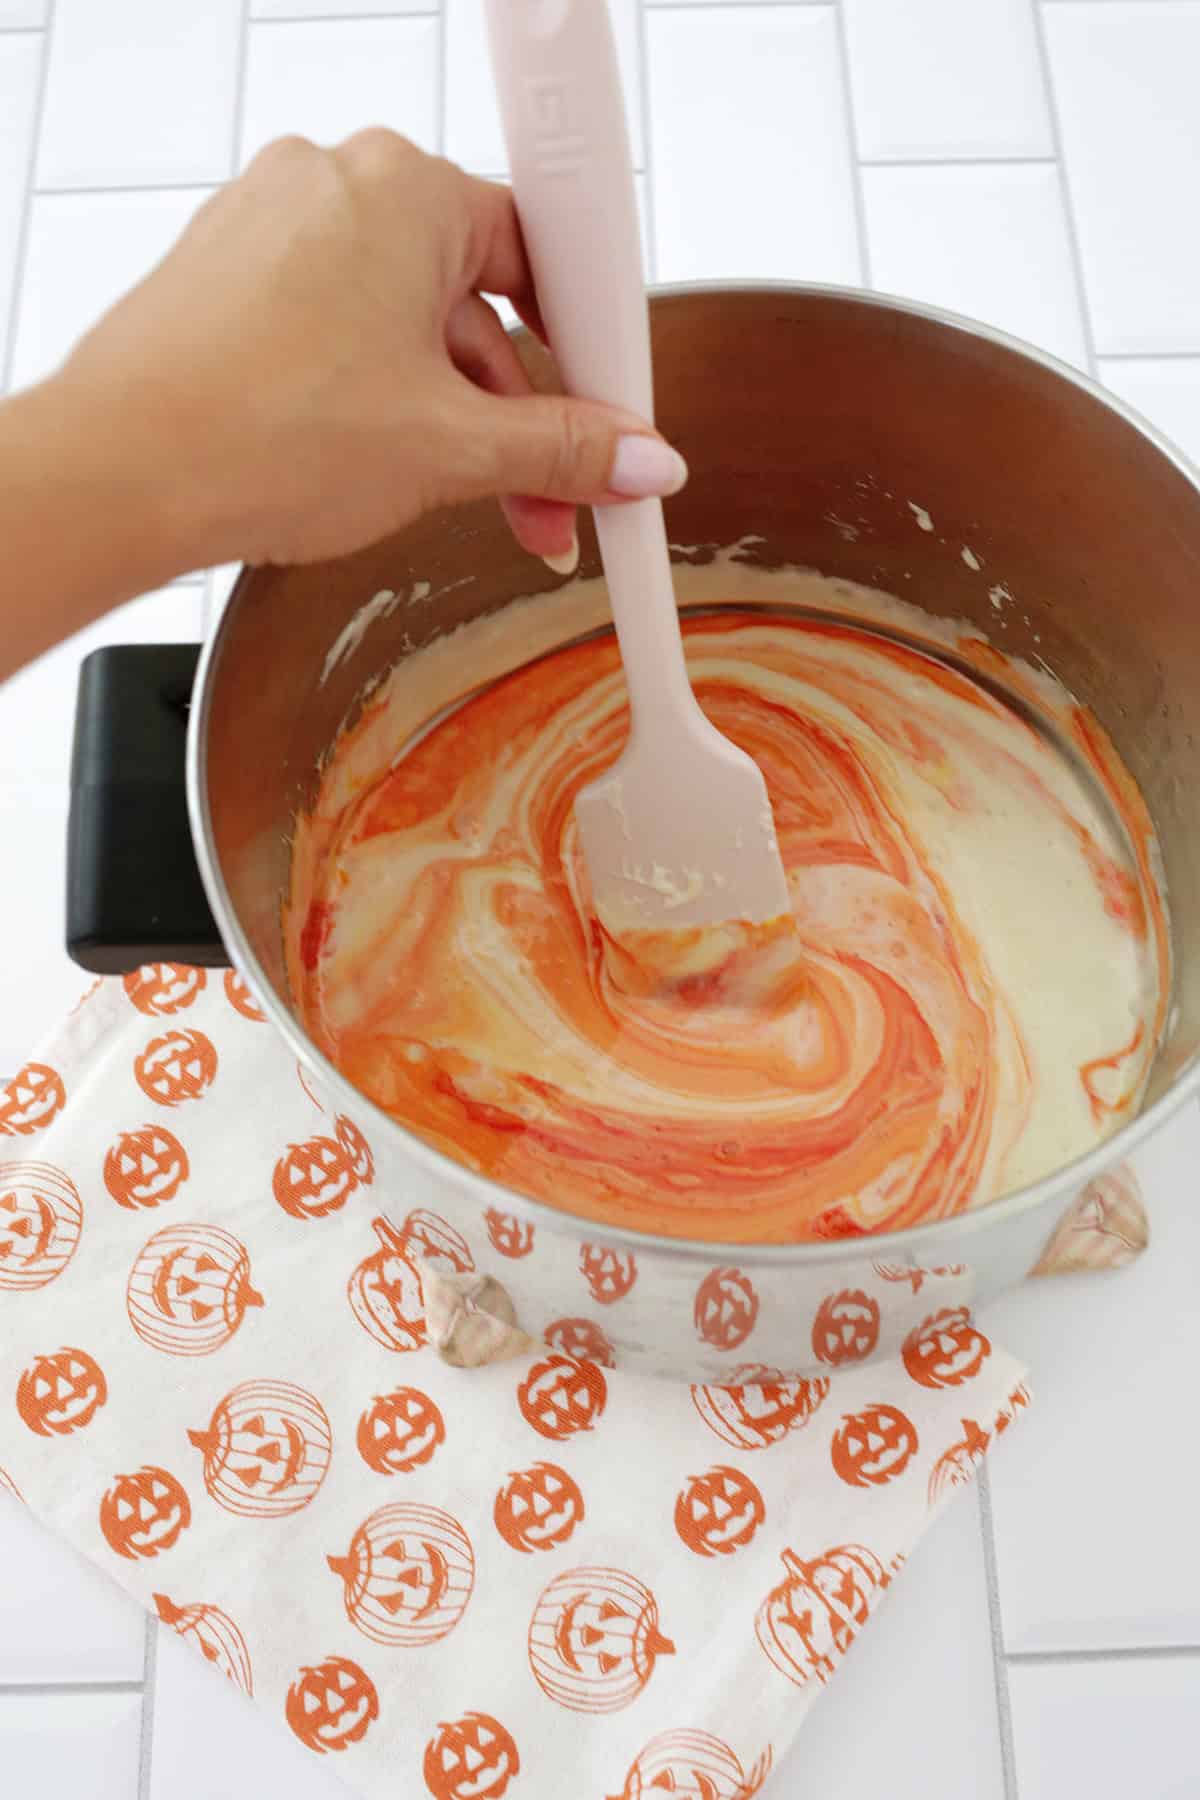
Step 2. Add your orange food coloring to achieve your desired hue and stir until well combined.
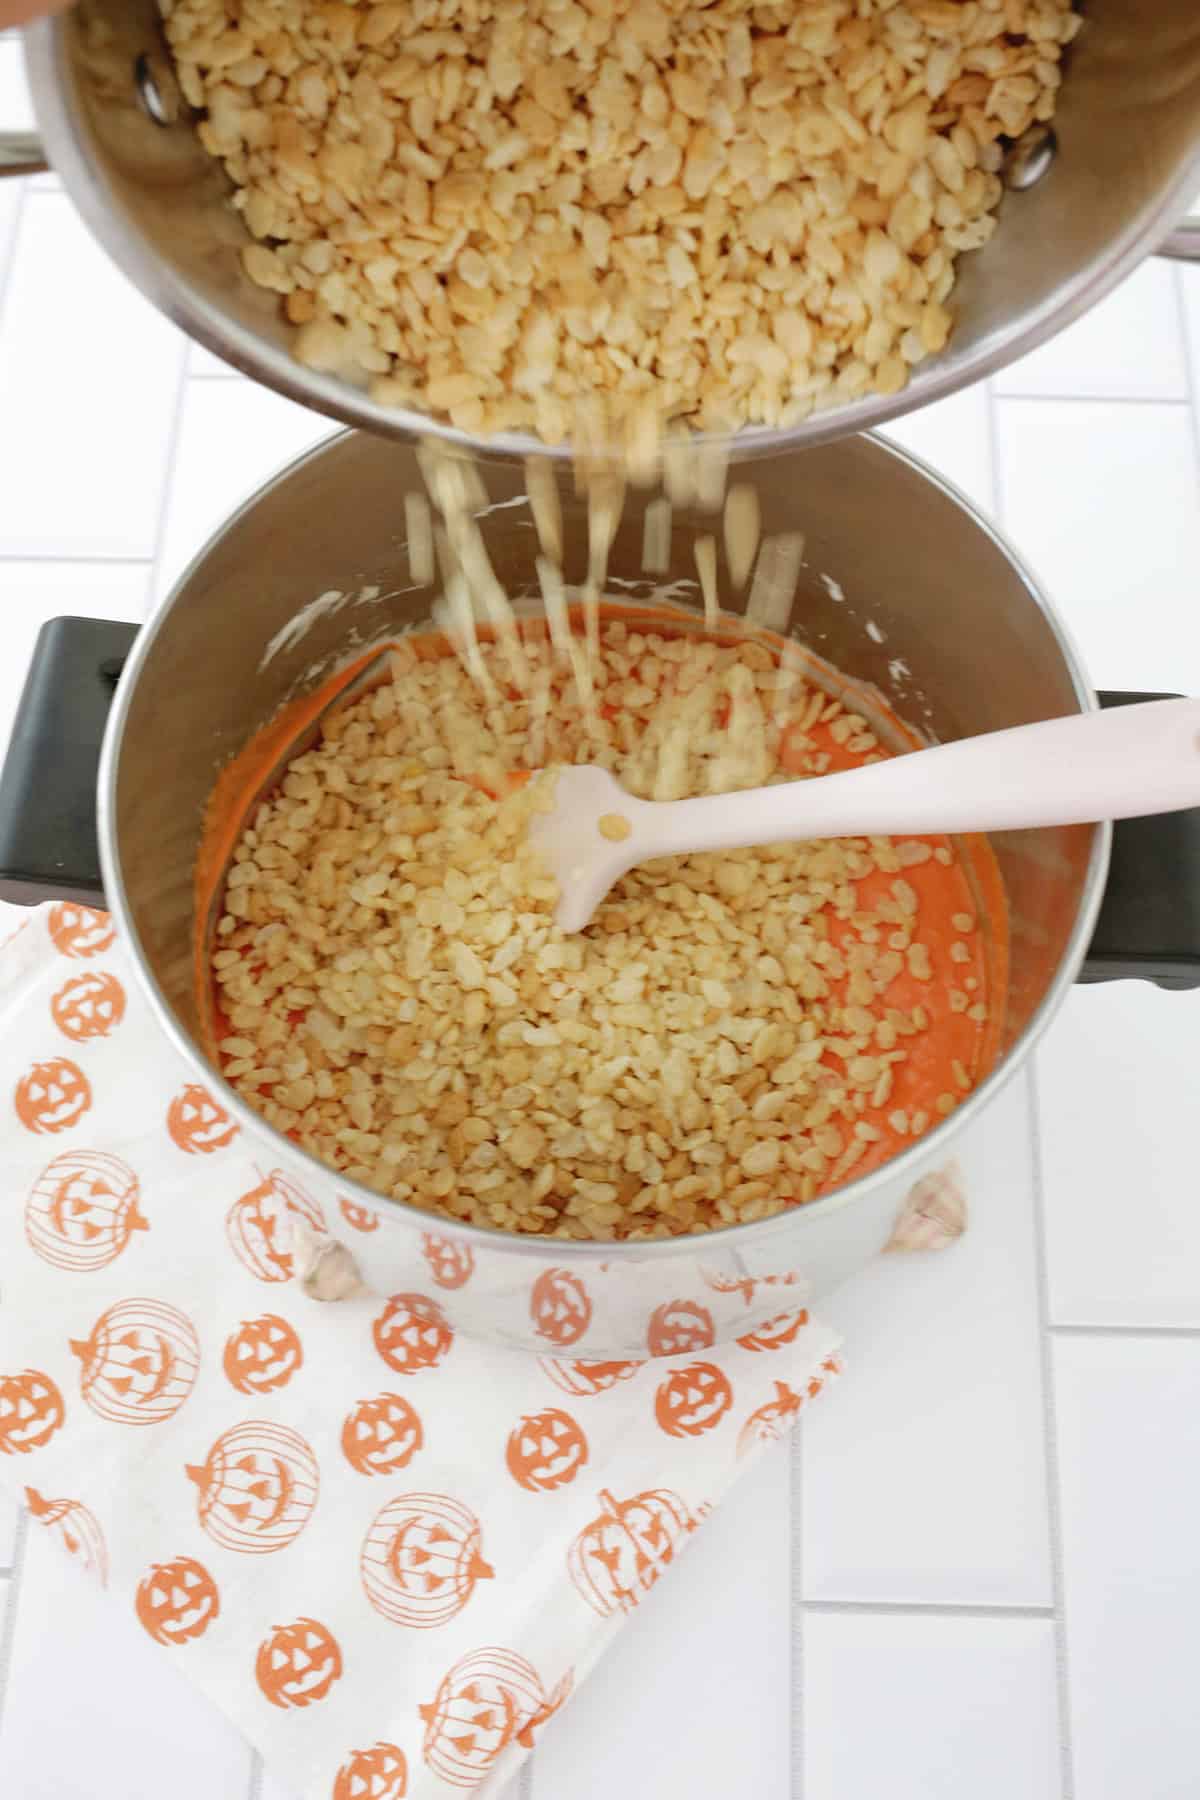
Step 3. Add in your Rice Krispies cereal and fold into the butter and marshmallow mixture until well combined.
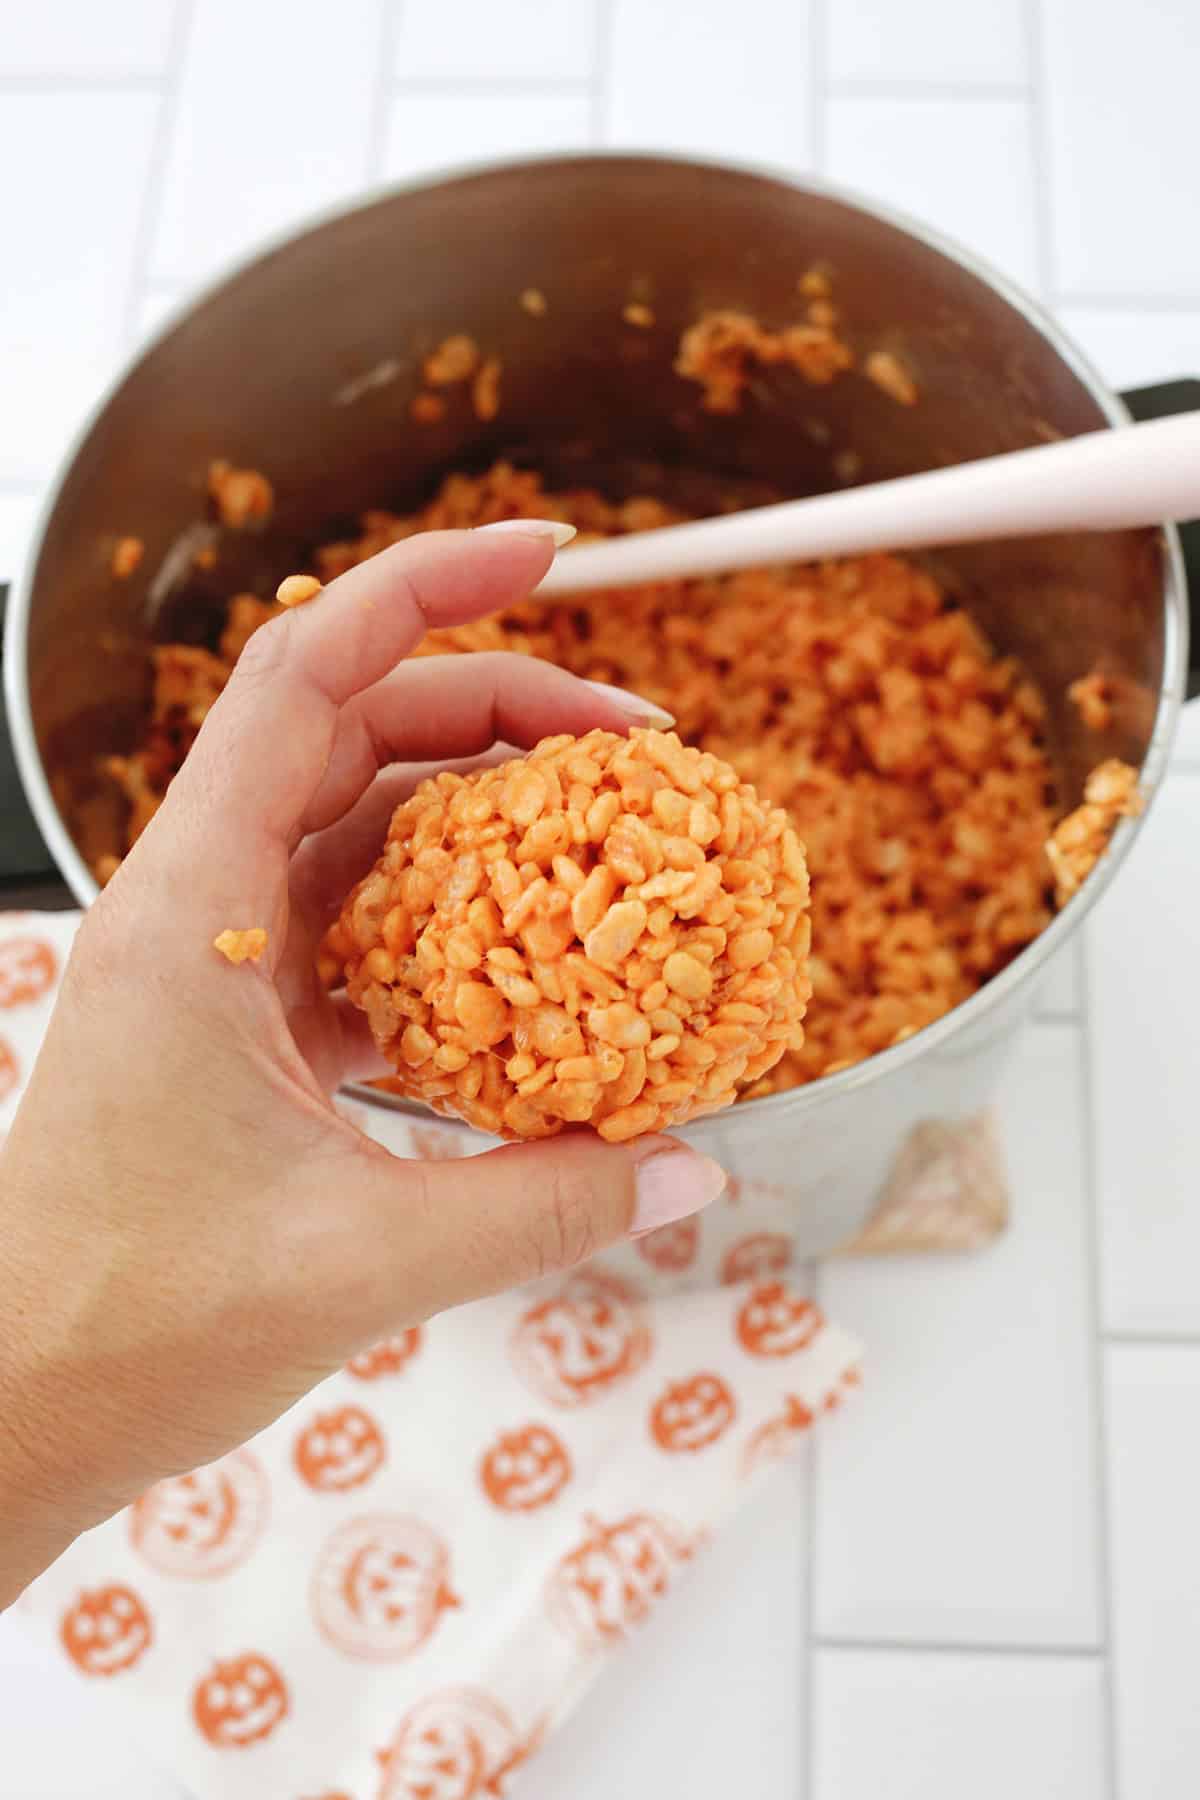
Step 4. Allow the mixture to cool a bit until it’s able to be handled without burning you.
The mixture will be sticky, so spray your hands with non-stick cooking spray (or use a cooking oil) to keep your hands from fully sticking to the mixture.
Shape into 9-10 balls and place on wax paper (or a lighly oiled plate or tray) to start to cool.
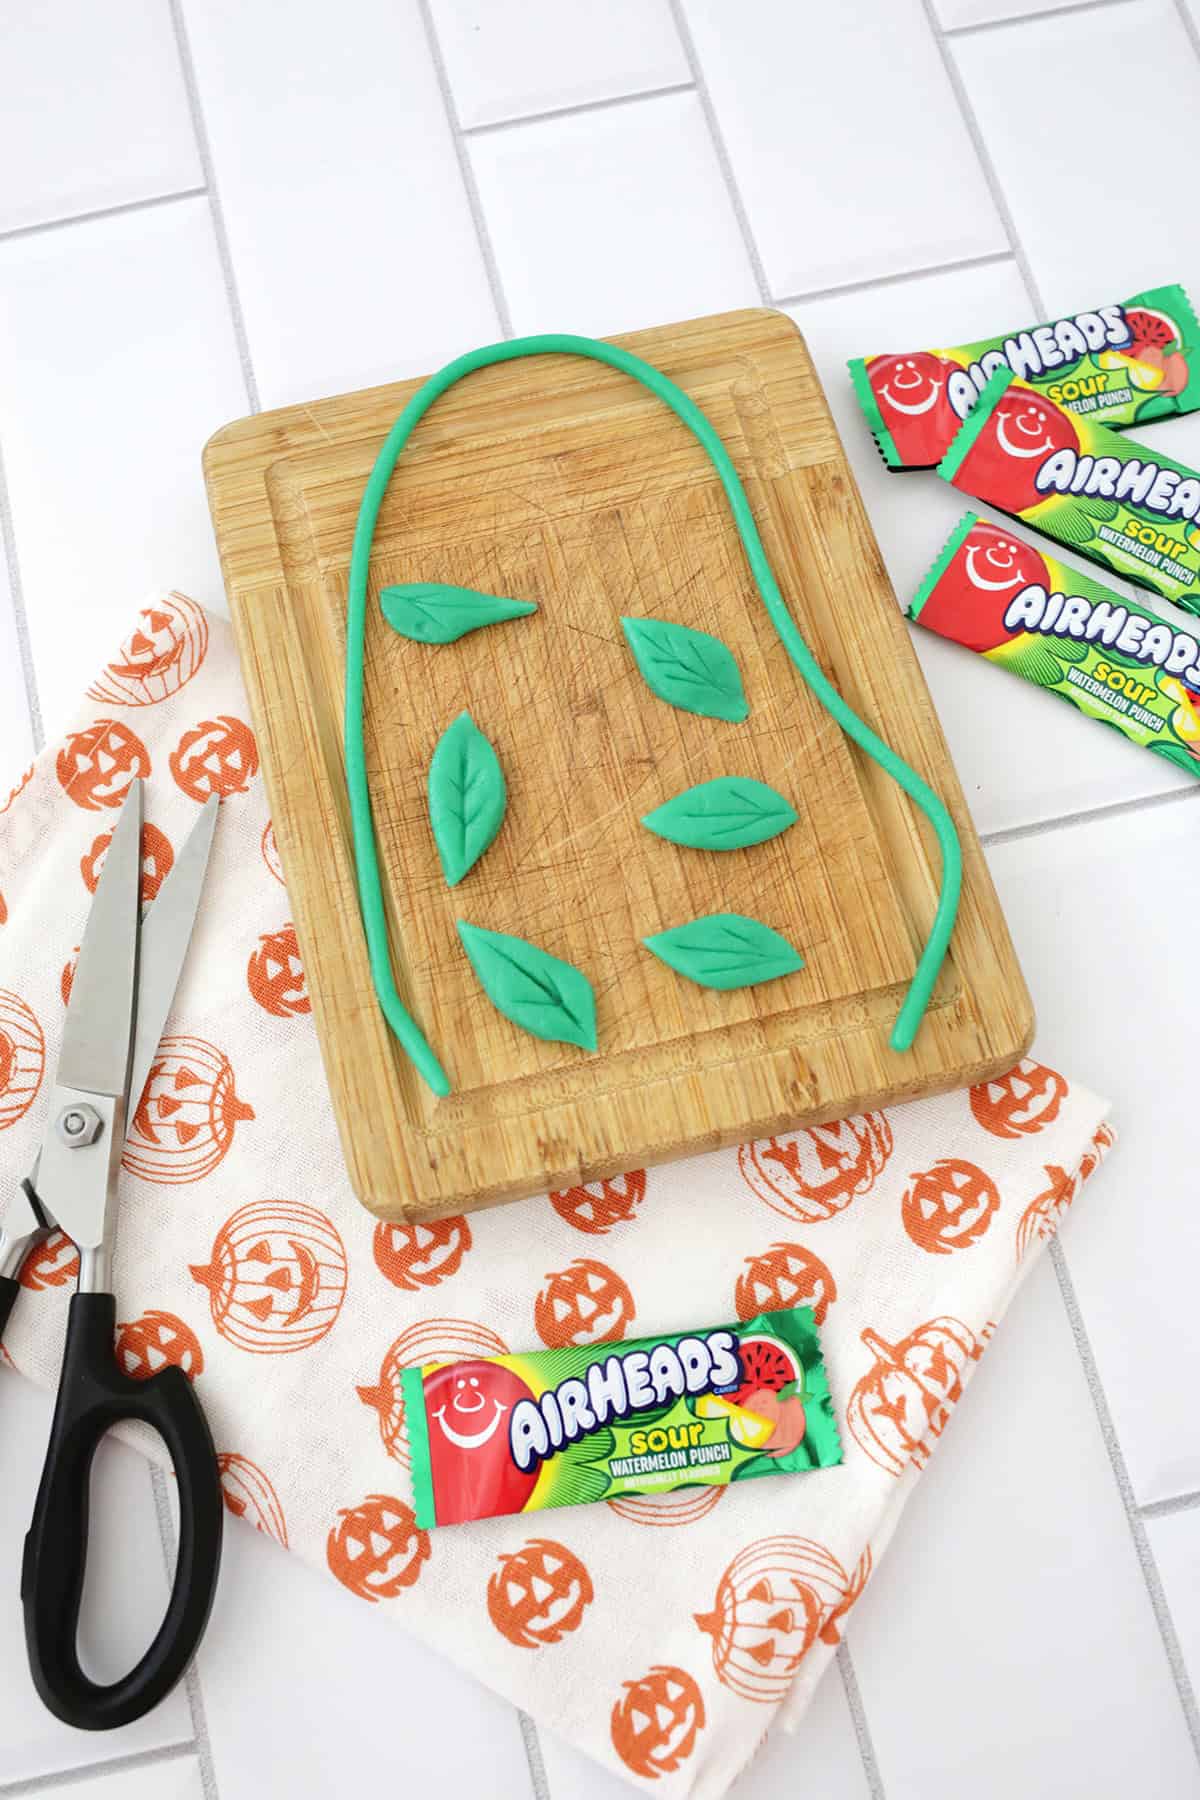
Step 5. Use kitchen scissors or a knife to cut out leaf shapes from AirHeads and use a butter knife to make leaf line indents.
You can also make a vine by rolling a snake shape, the same that you would with playdough, and rolling it as thin as you can.
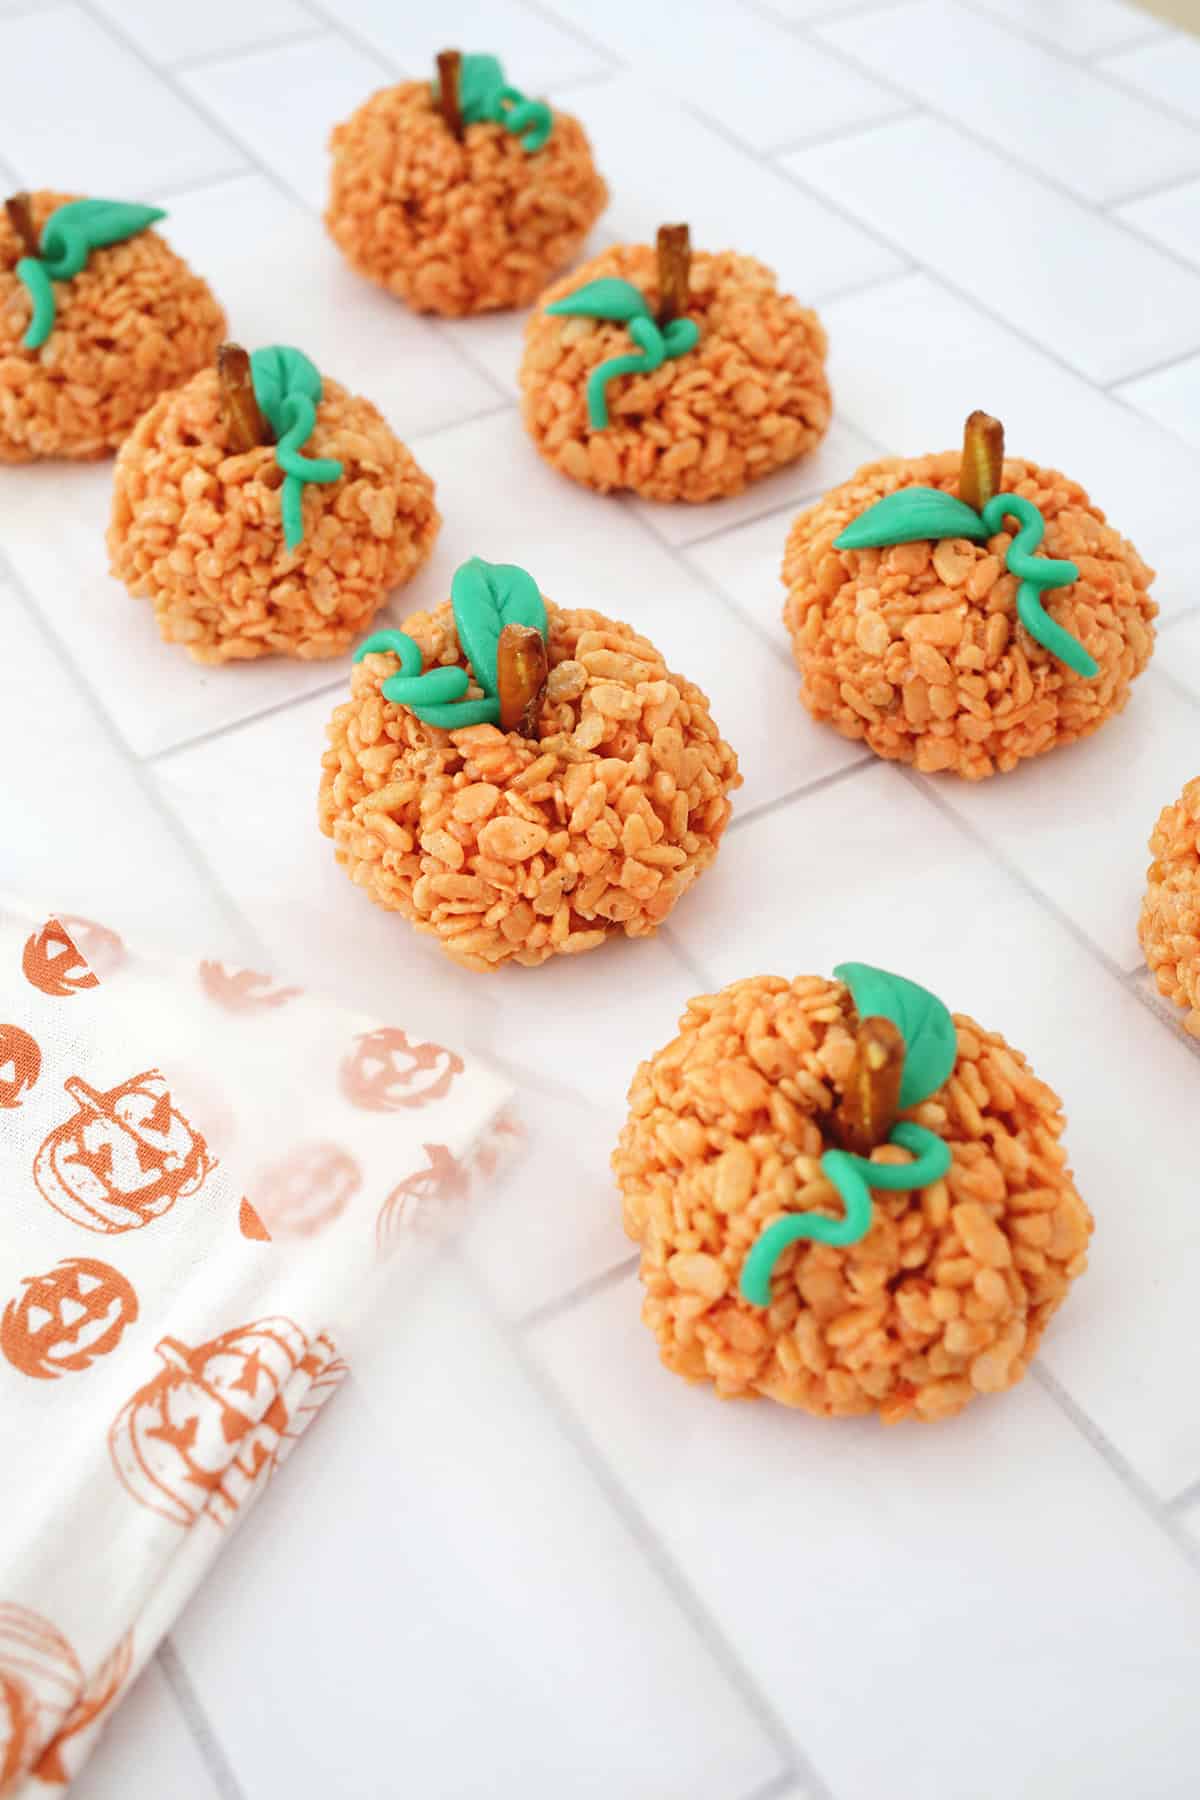
Step 6. Add pretzel sticks into the top of your pumpkin for the stems, and add your leafs and curl sections of your vine (you can wrap them around a straw to curl them). Once your treats are totally cool, it’s time to eat!
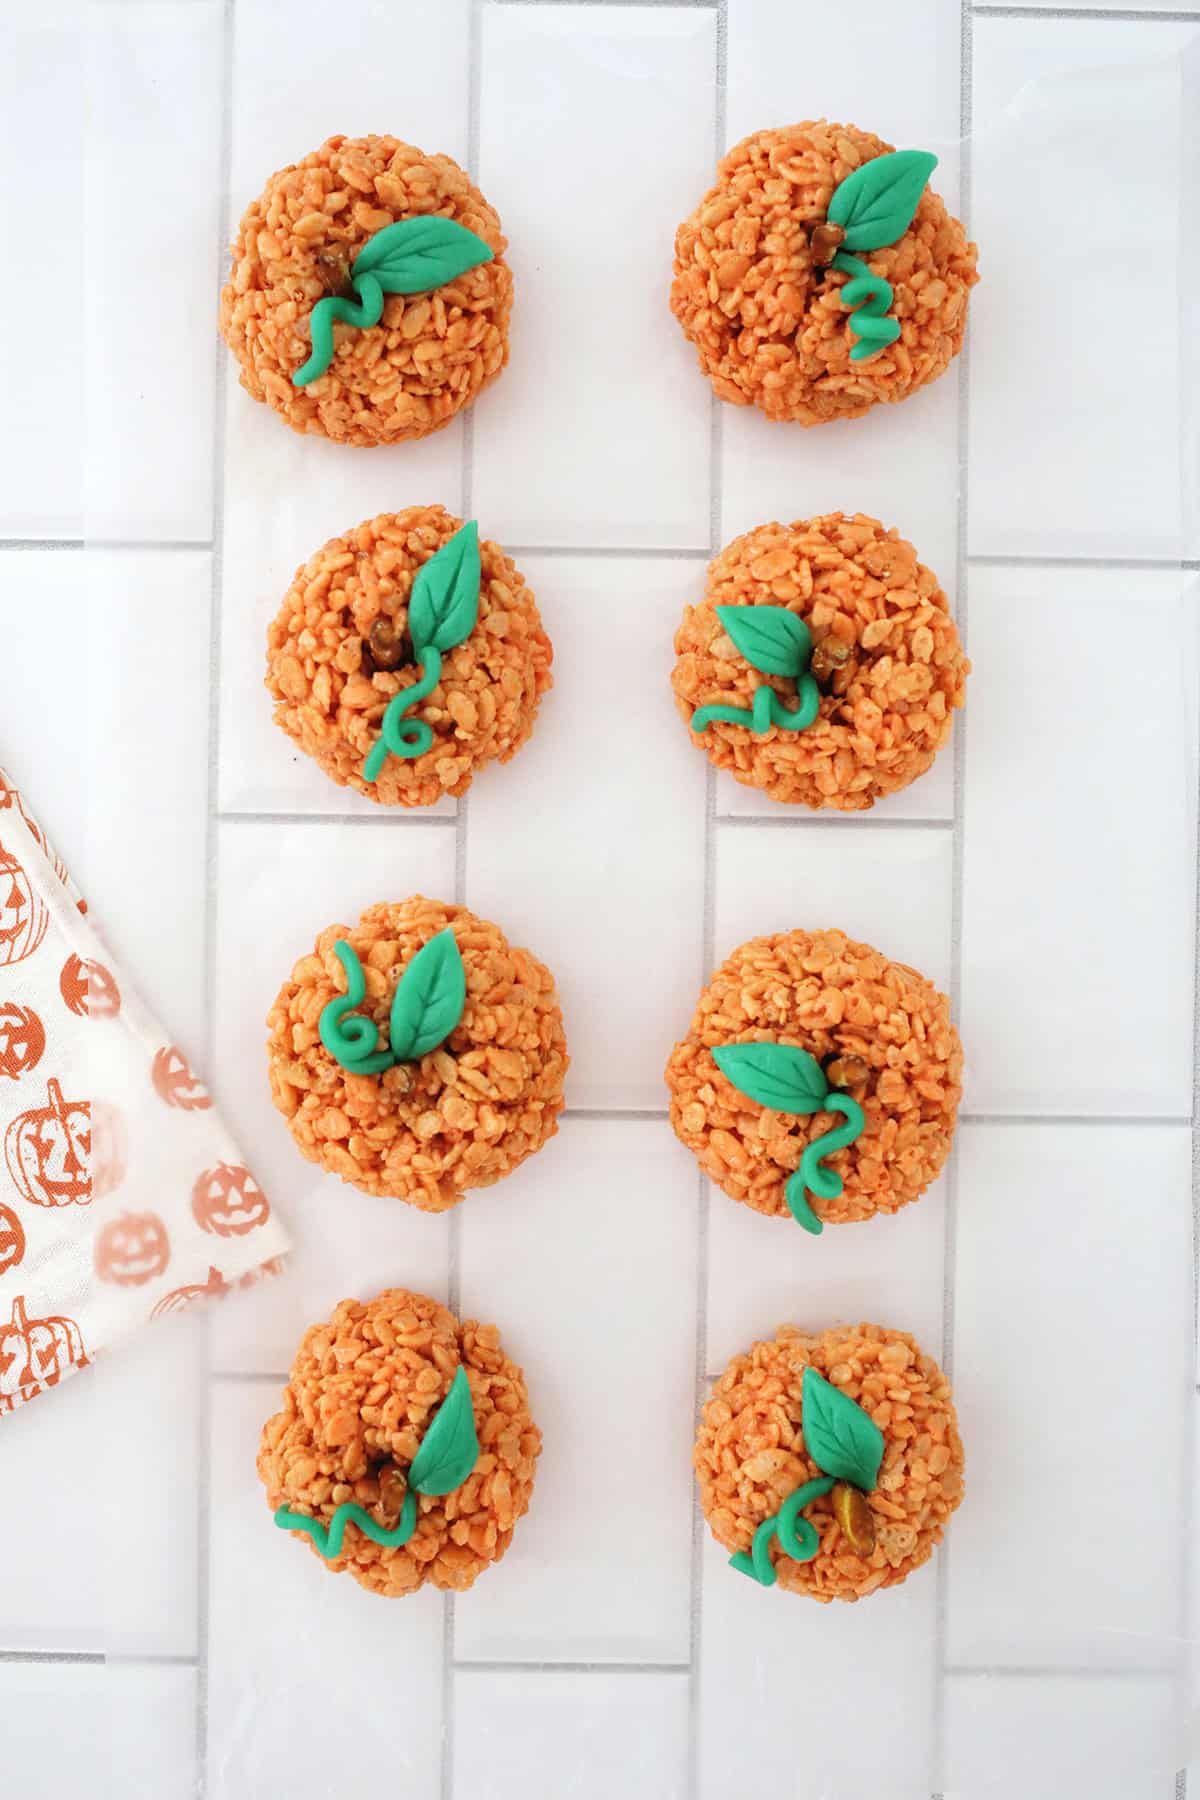
How do I store pumpkin shaped Rice Krispie treats?
You can store these on your counter in an airtight container for 3-4 days.
Would you like to save this?
 Get the Recipe

Ingredients
- 6 cups rice krispie cereal
- 3 tbsp salted butter (you can use non-salted if that's what you have, but then I'd add a few sprinkles of salt for the flavor.)
- 10 oz mini marshmallows
- 2-3 drops orange food coloring
- 4-6 pretzel sticks (2"-3" sections)
- 3-4 Mini green AirHeads
Equipment
Instructions
- Melt your butter in a large pot over low heat and add in your marshmallows. Stir until marshmallows are melted into the butter.
- Add your orange food coloring to achieve your desired hue and stir until well combined. Add in your Rice Krispies cereal and fold into the butter and marshmallow mixture until well combined.Allow the mixture to cool a bit until it's able to be handled without burning you.
- The mixture will be sticky, so spray your hands with non-stick cooking spray (or use a cooking oil) to keep your hands from fully sticking to the mixture.Shape into 9-10 balls and place on wax paper (or a lighly oiled plate or tray) to start to cool.
- Use kitchen scissors or a knife to cut out leaf shapes from AirHeads and use a butter knife to make leaf line indents.
- You can also make a vine by rolling a snake shape, the same that you would with playdough, and rolling it as thin as you can.
- Add pretzel sticks into the top of your pumpkin for the stems, and add your leafs and curl sections of your vine (you can wrap them around a straw to curl them). Once your treats are totally cool, it's time to eat!
Can’t wait to make these with my boys! They’ll think they’re so fun!